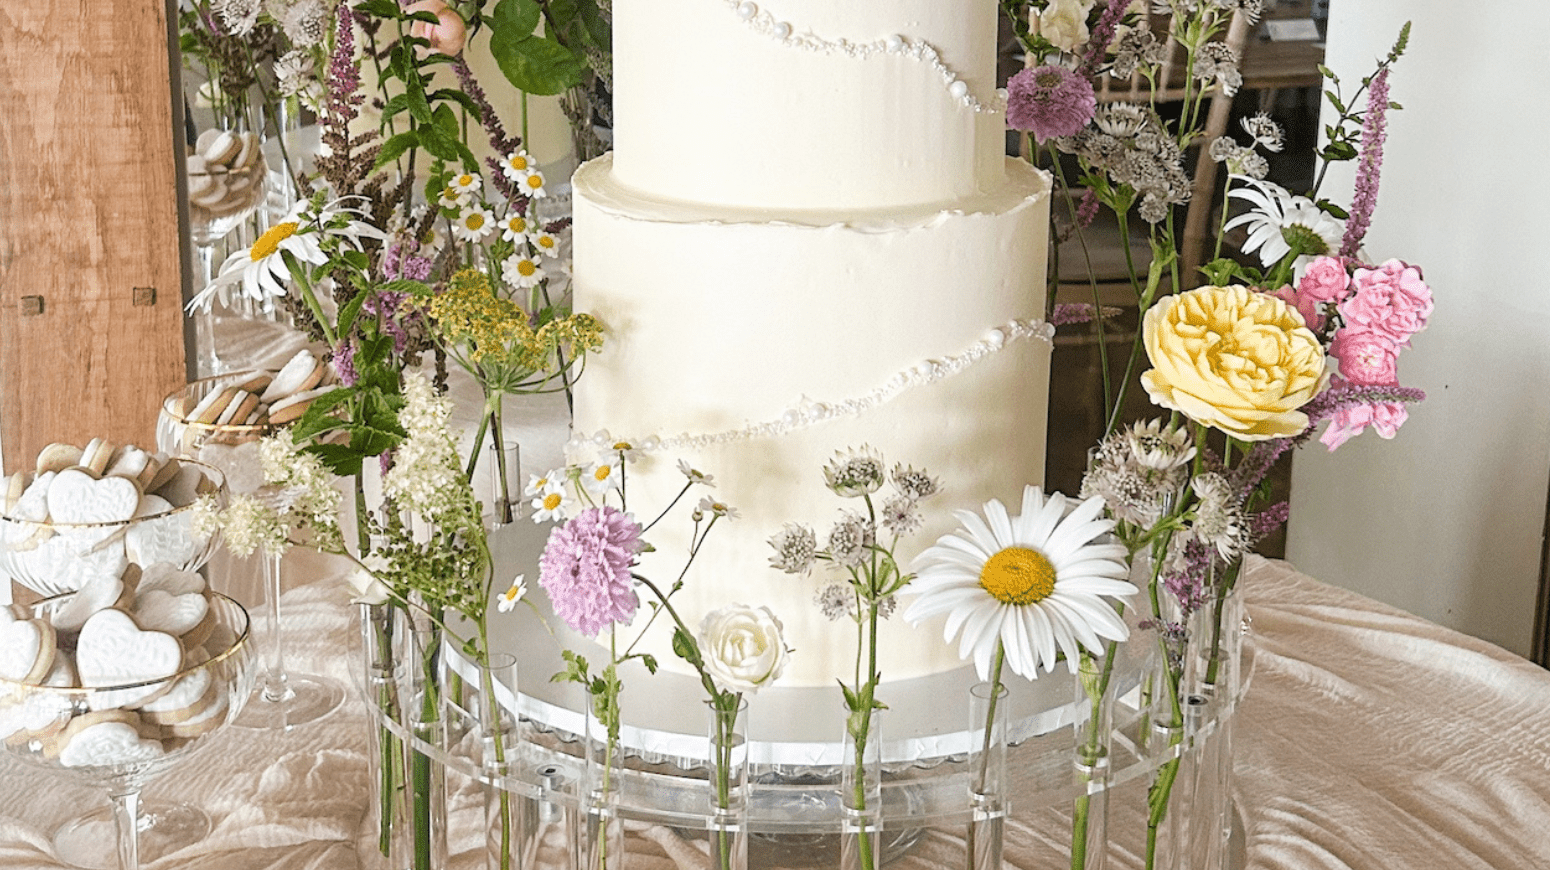
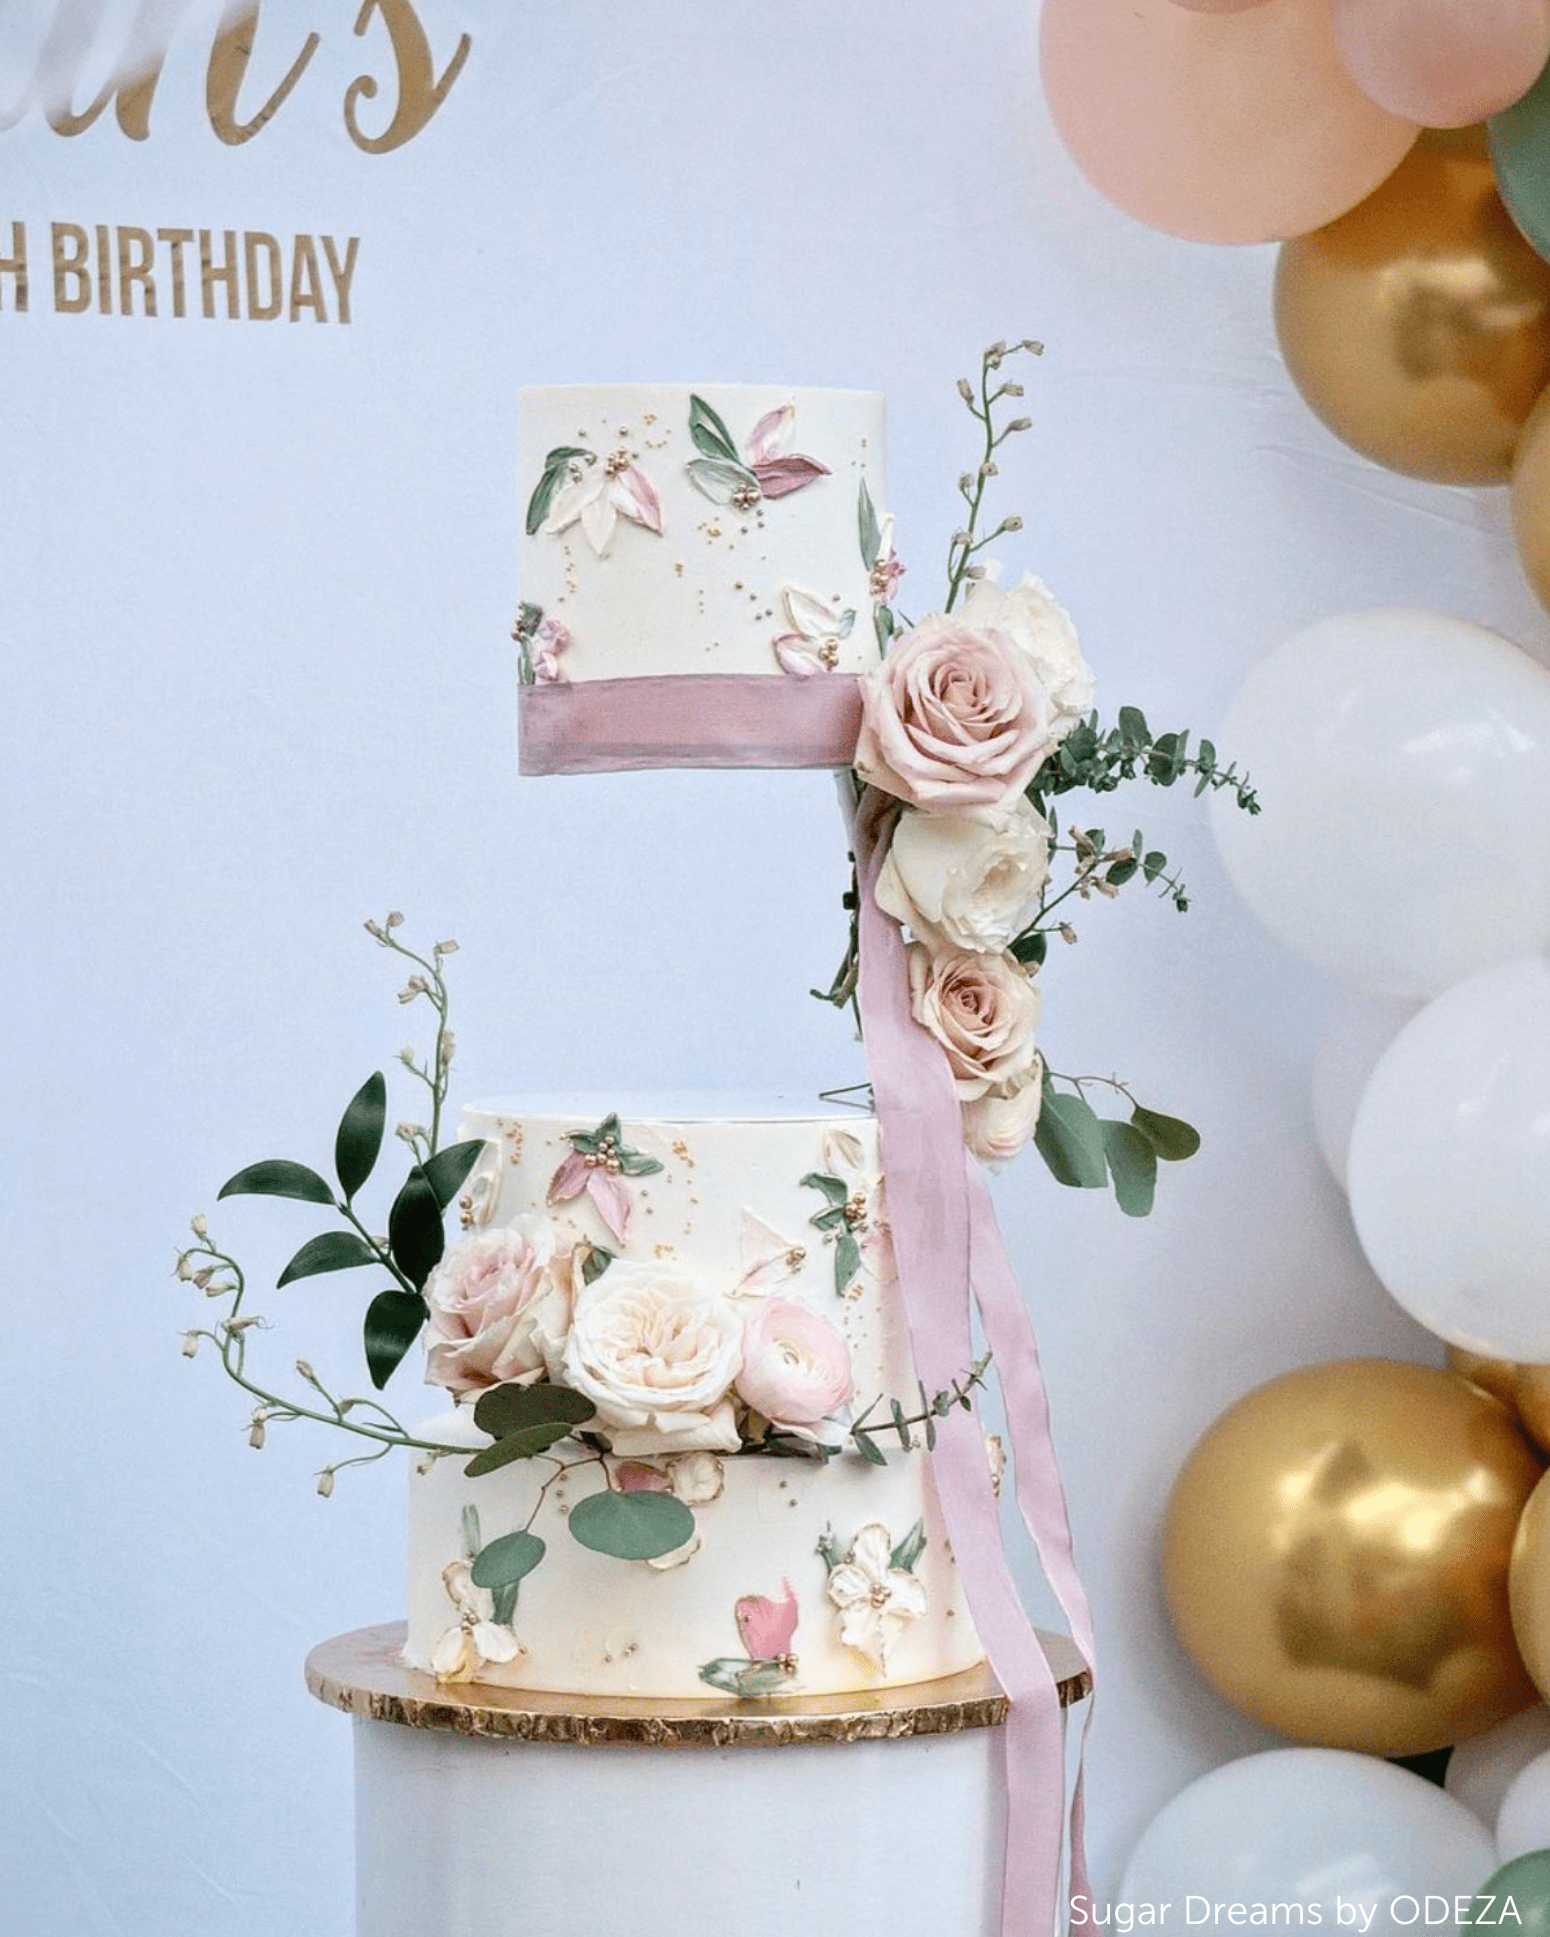


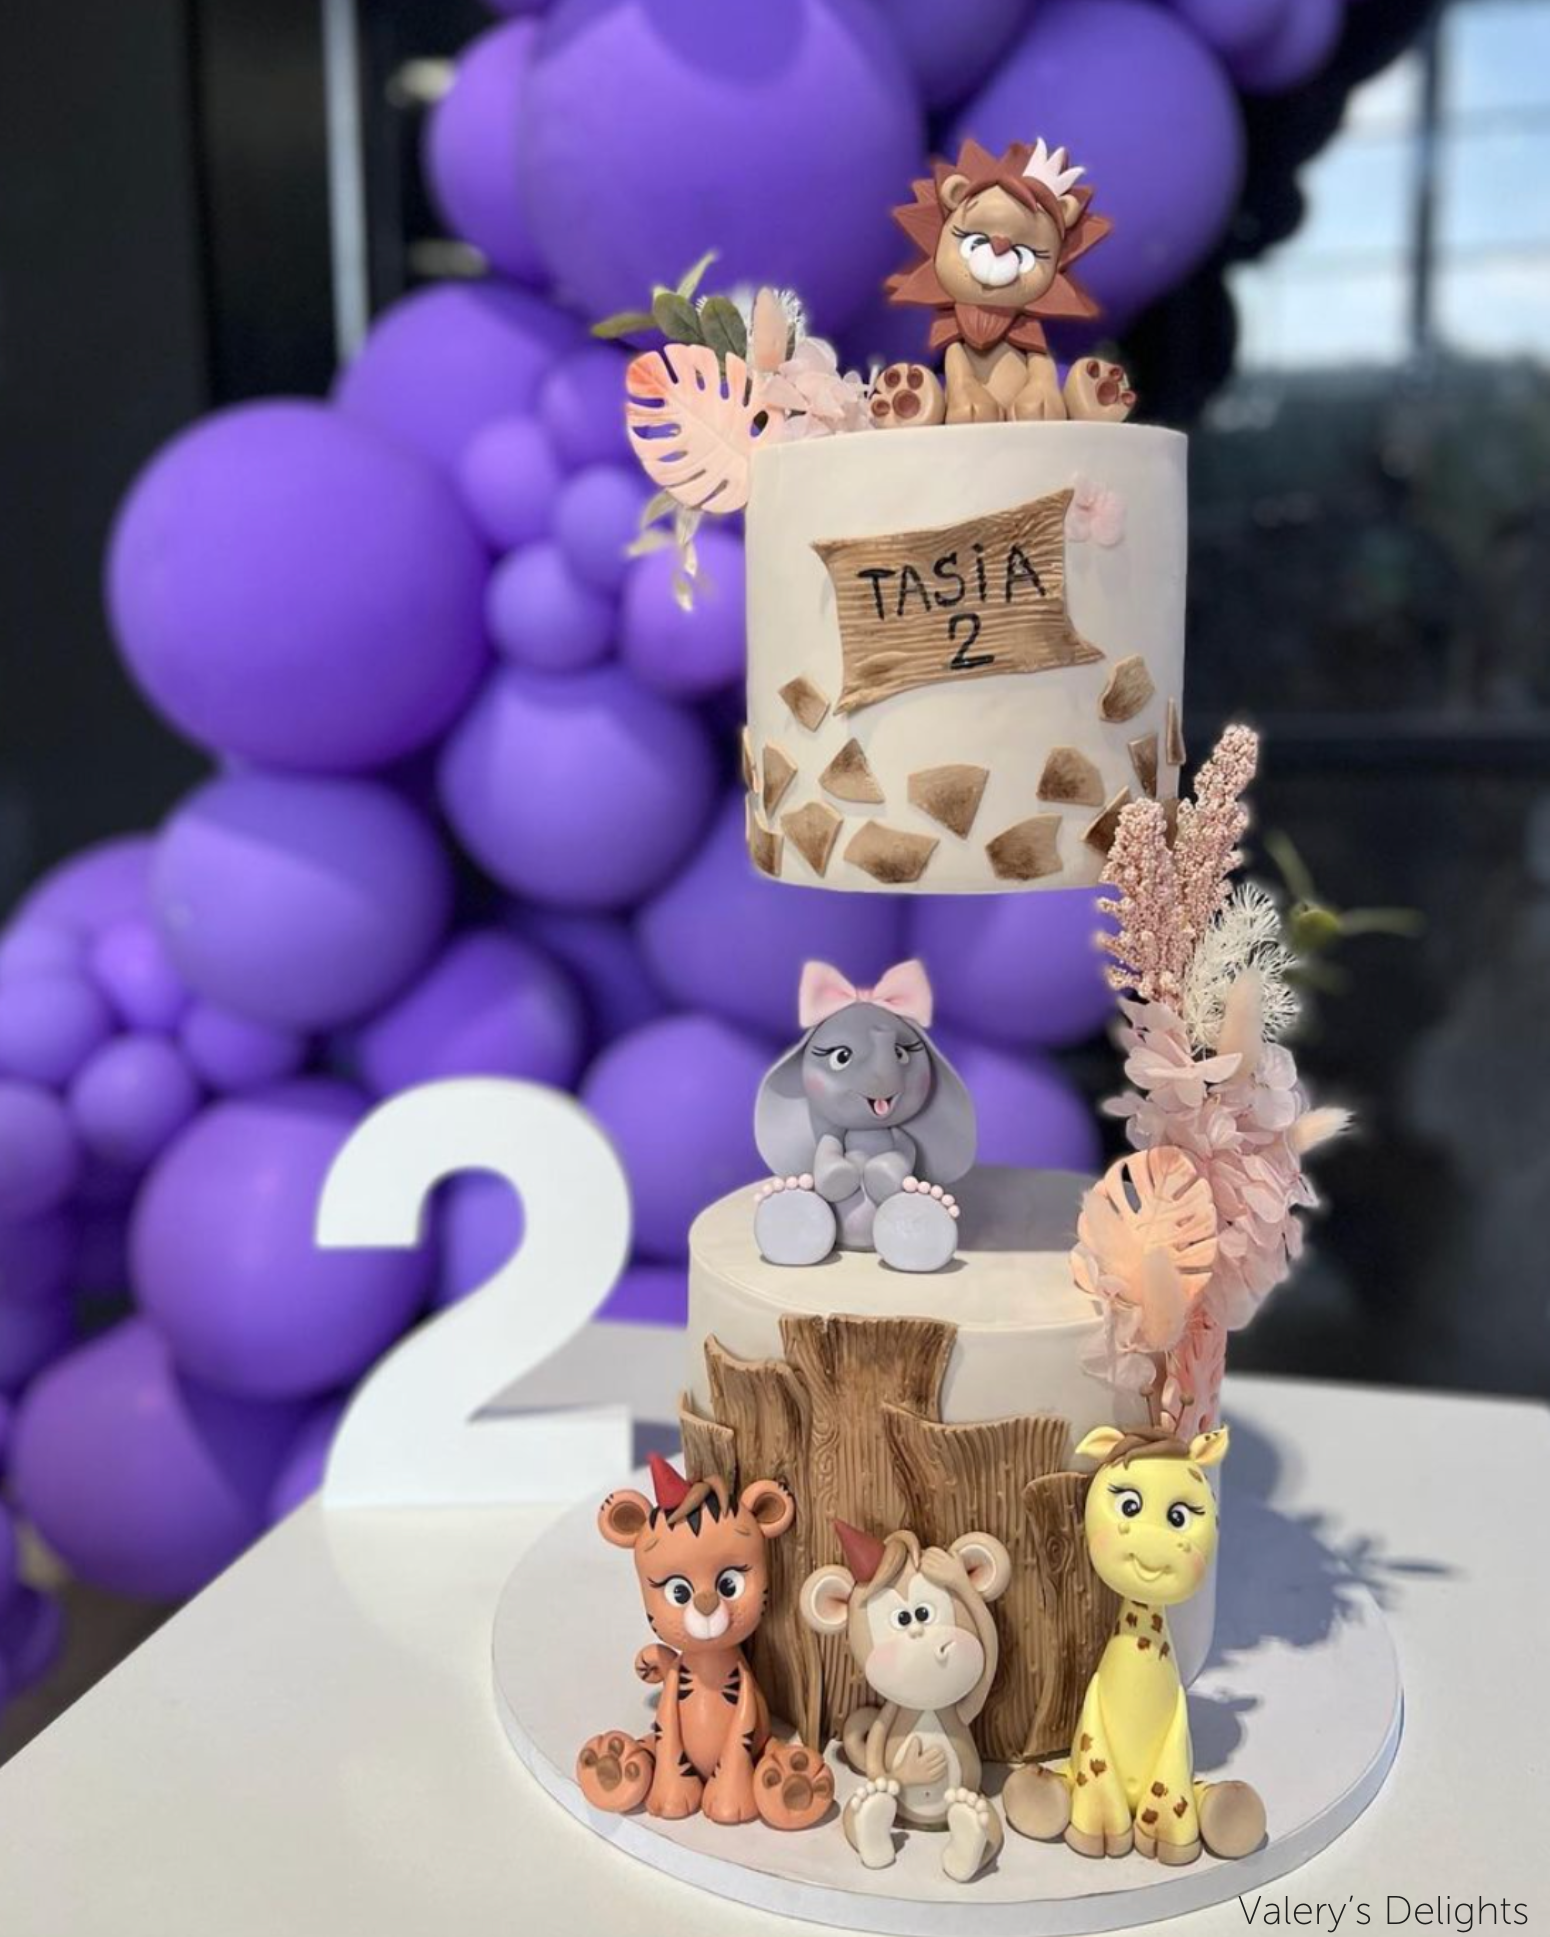
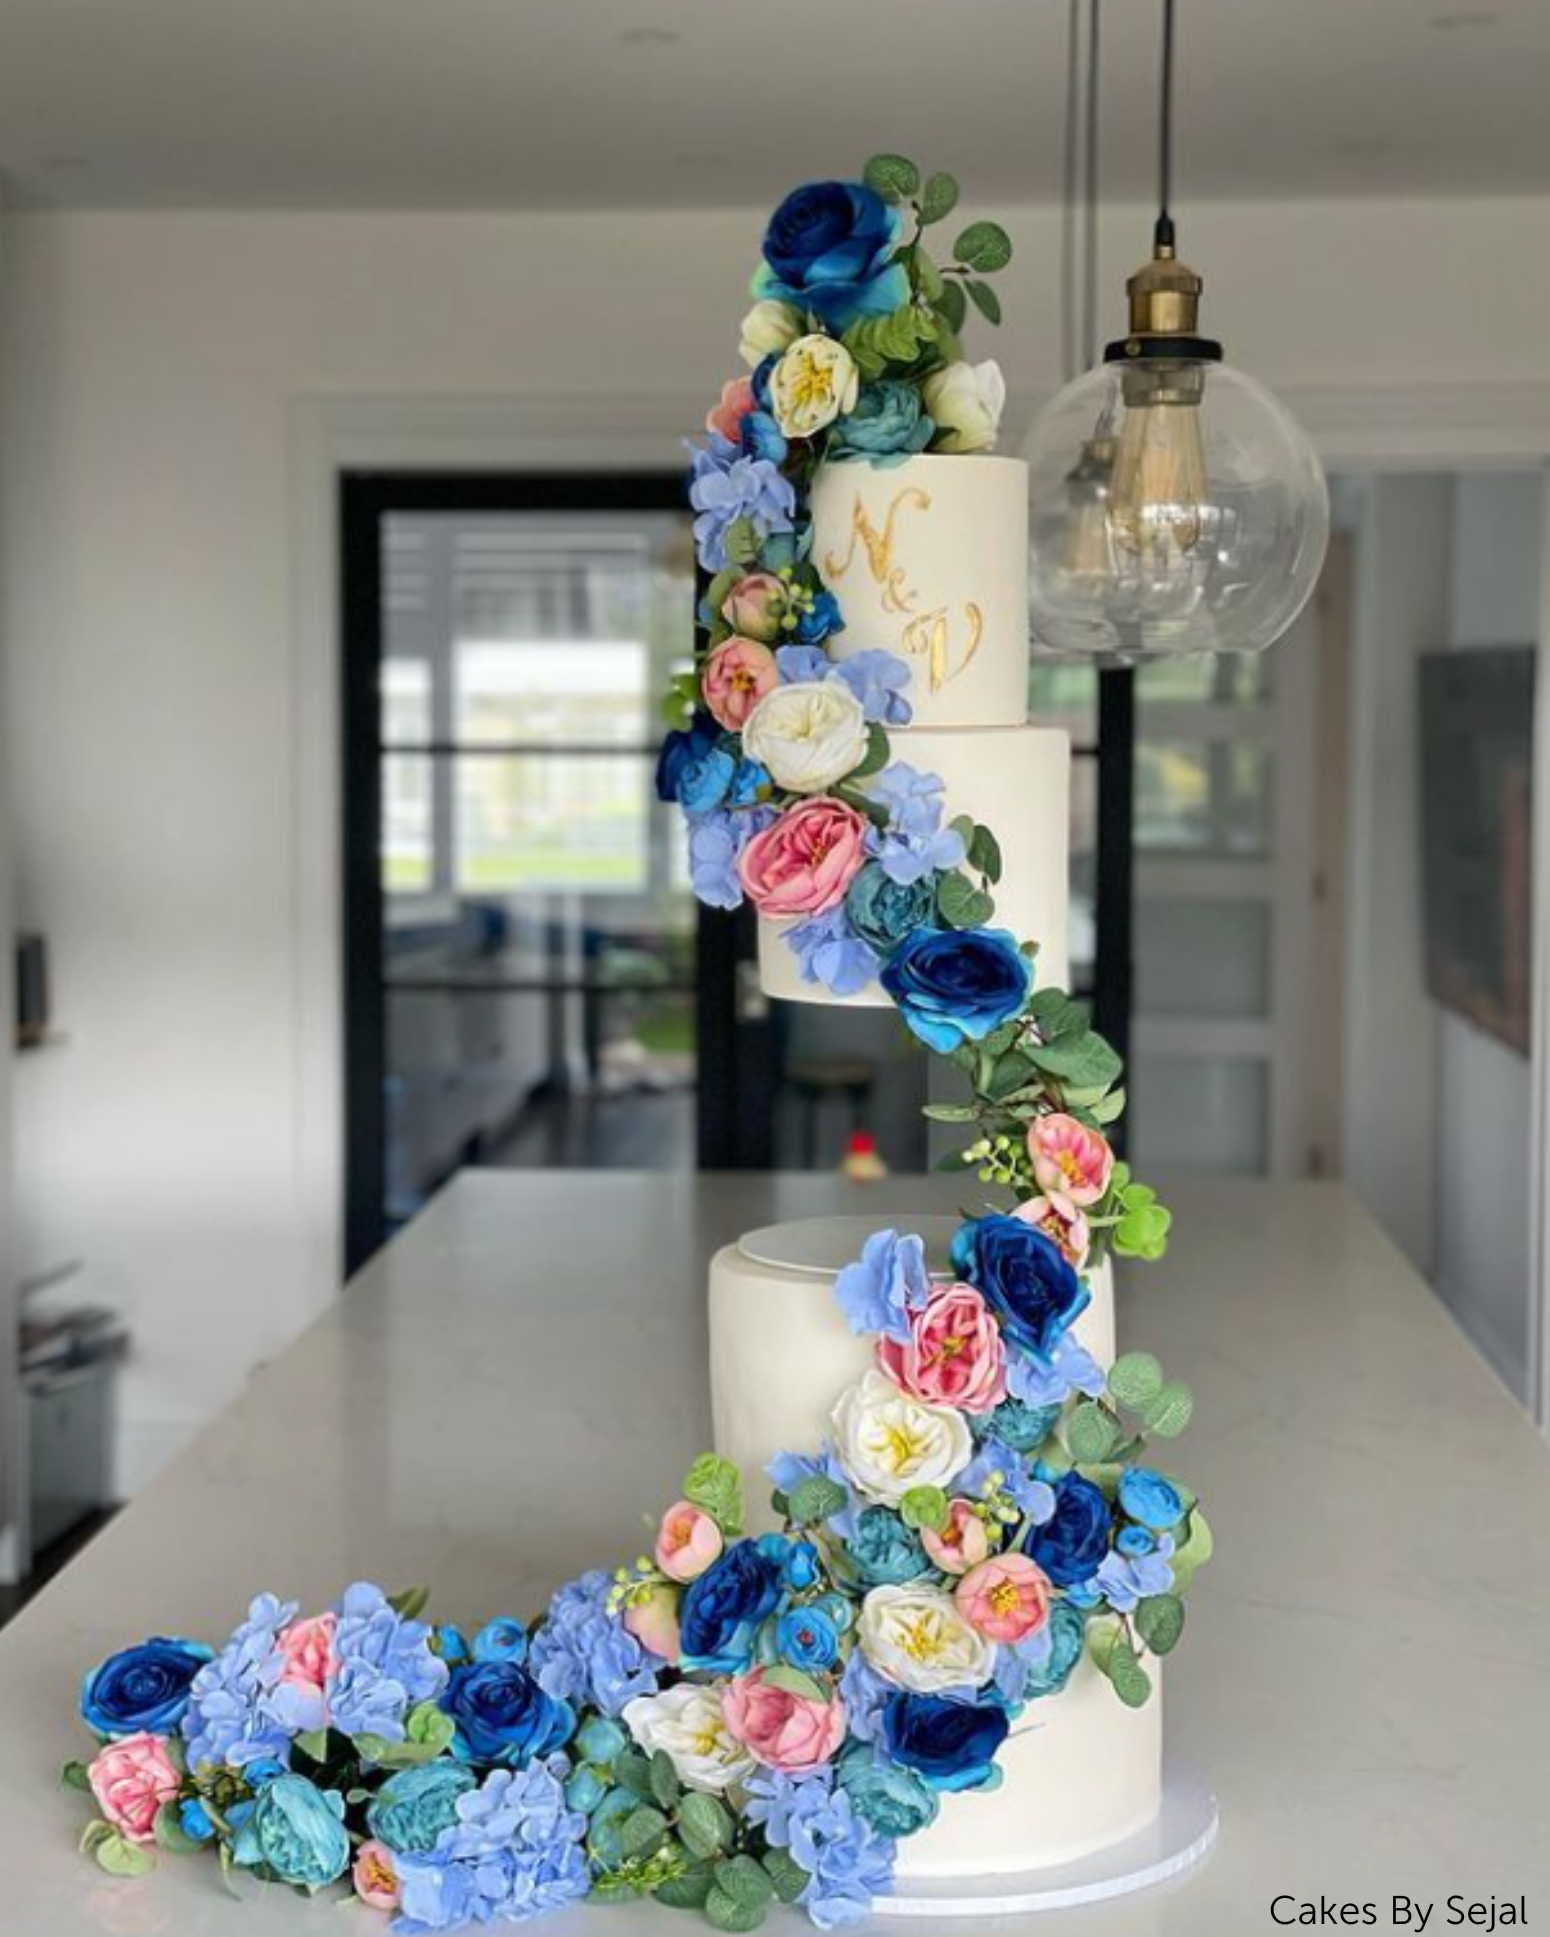
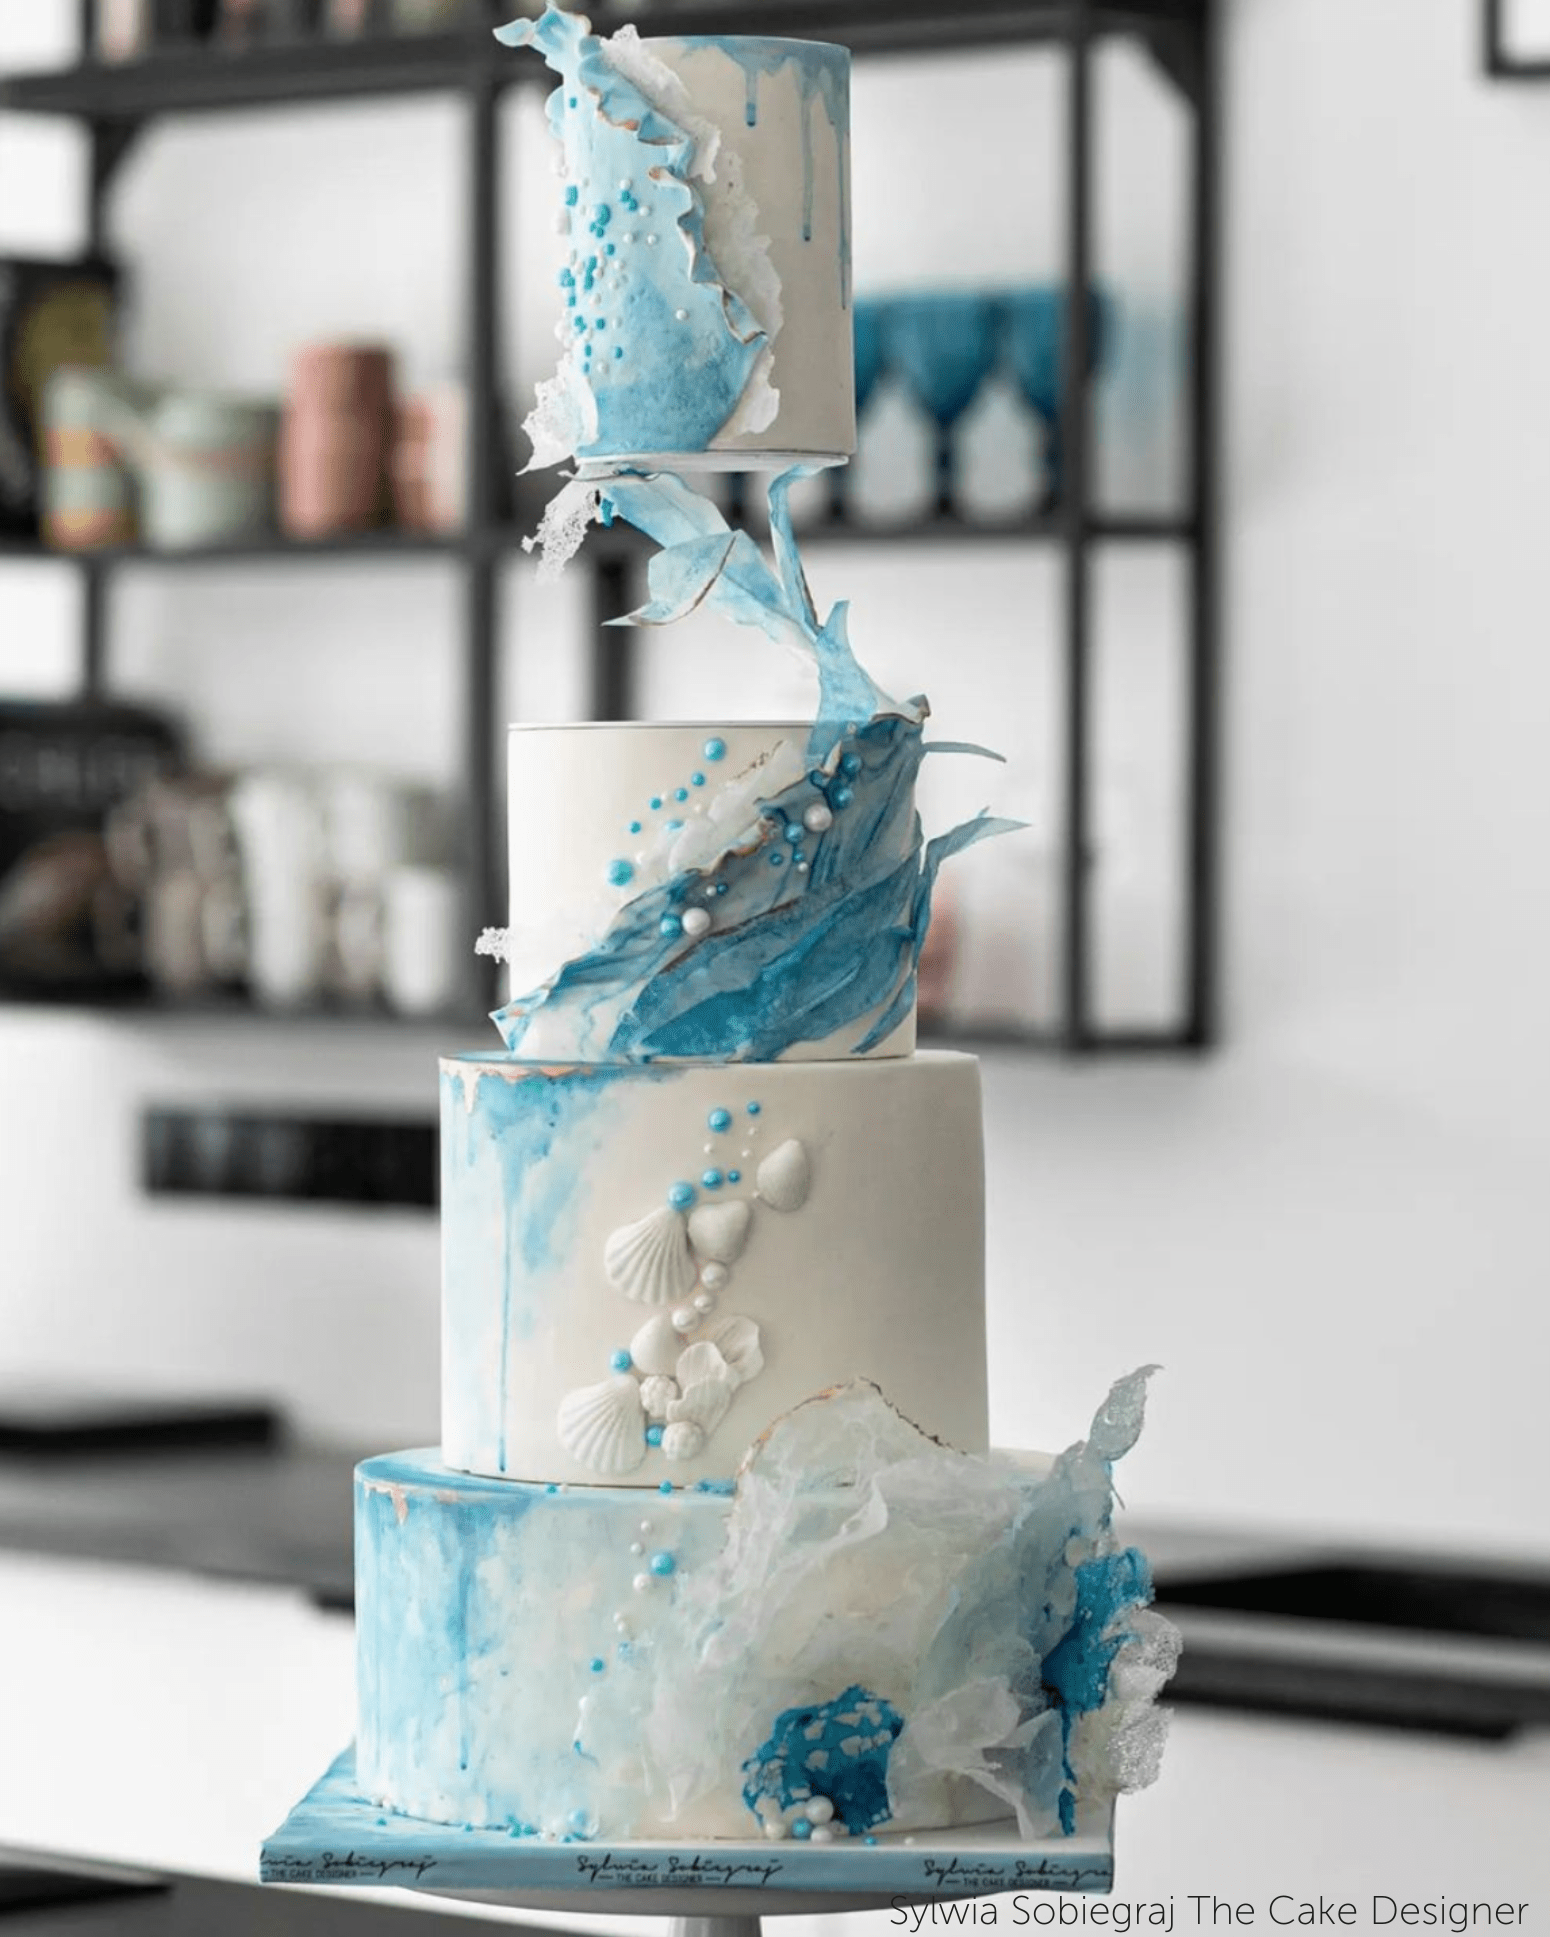
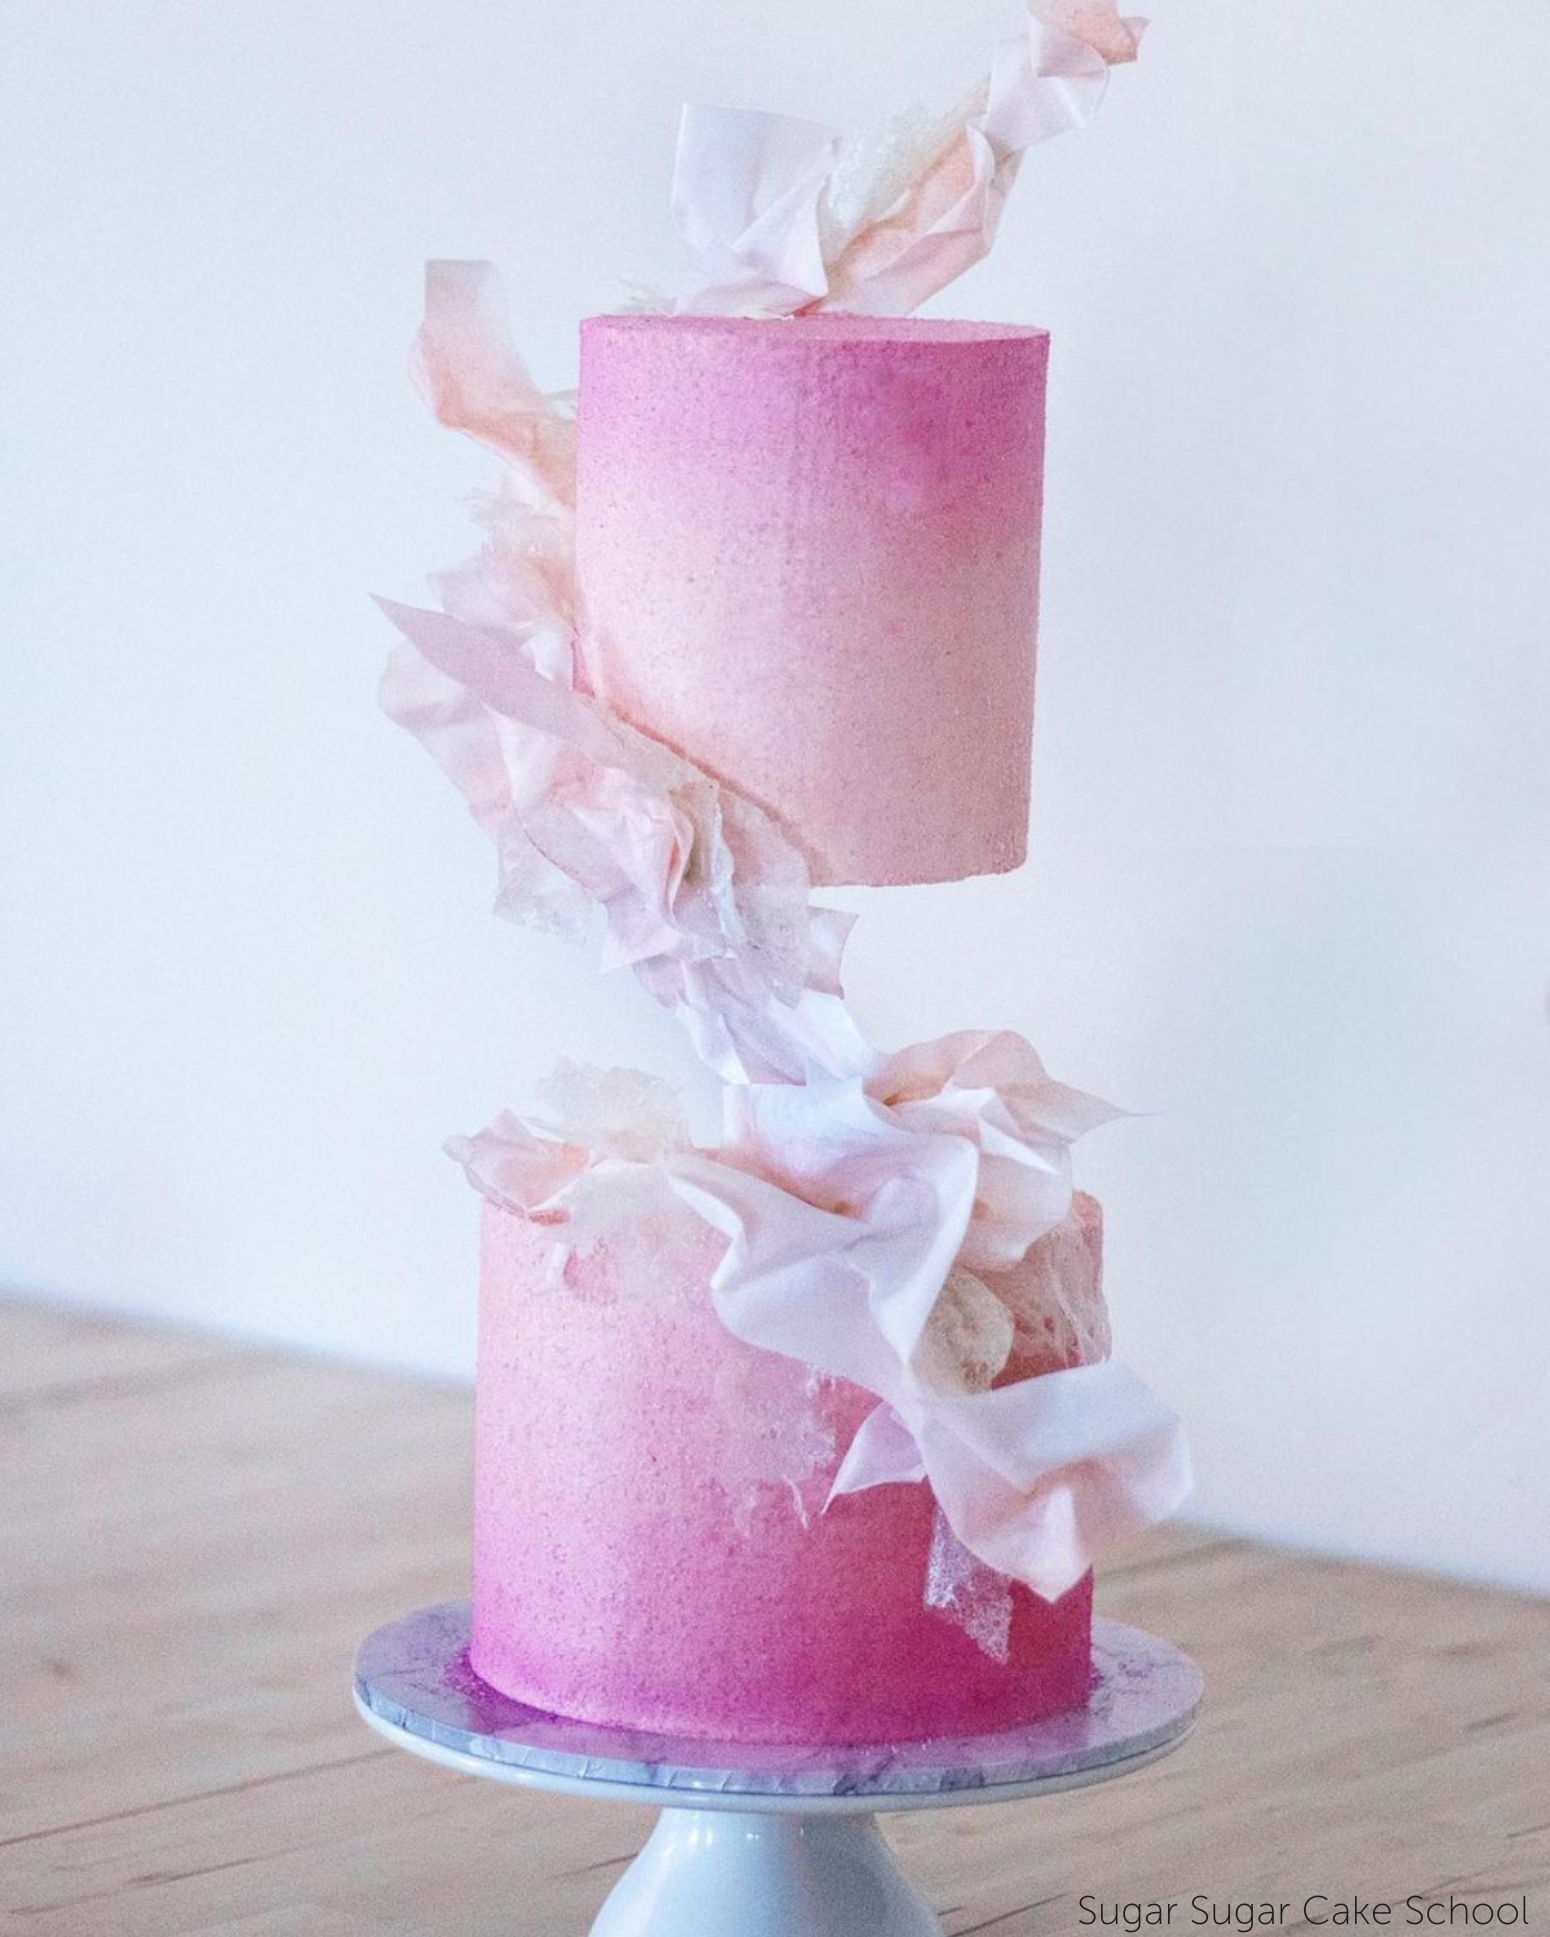
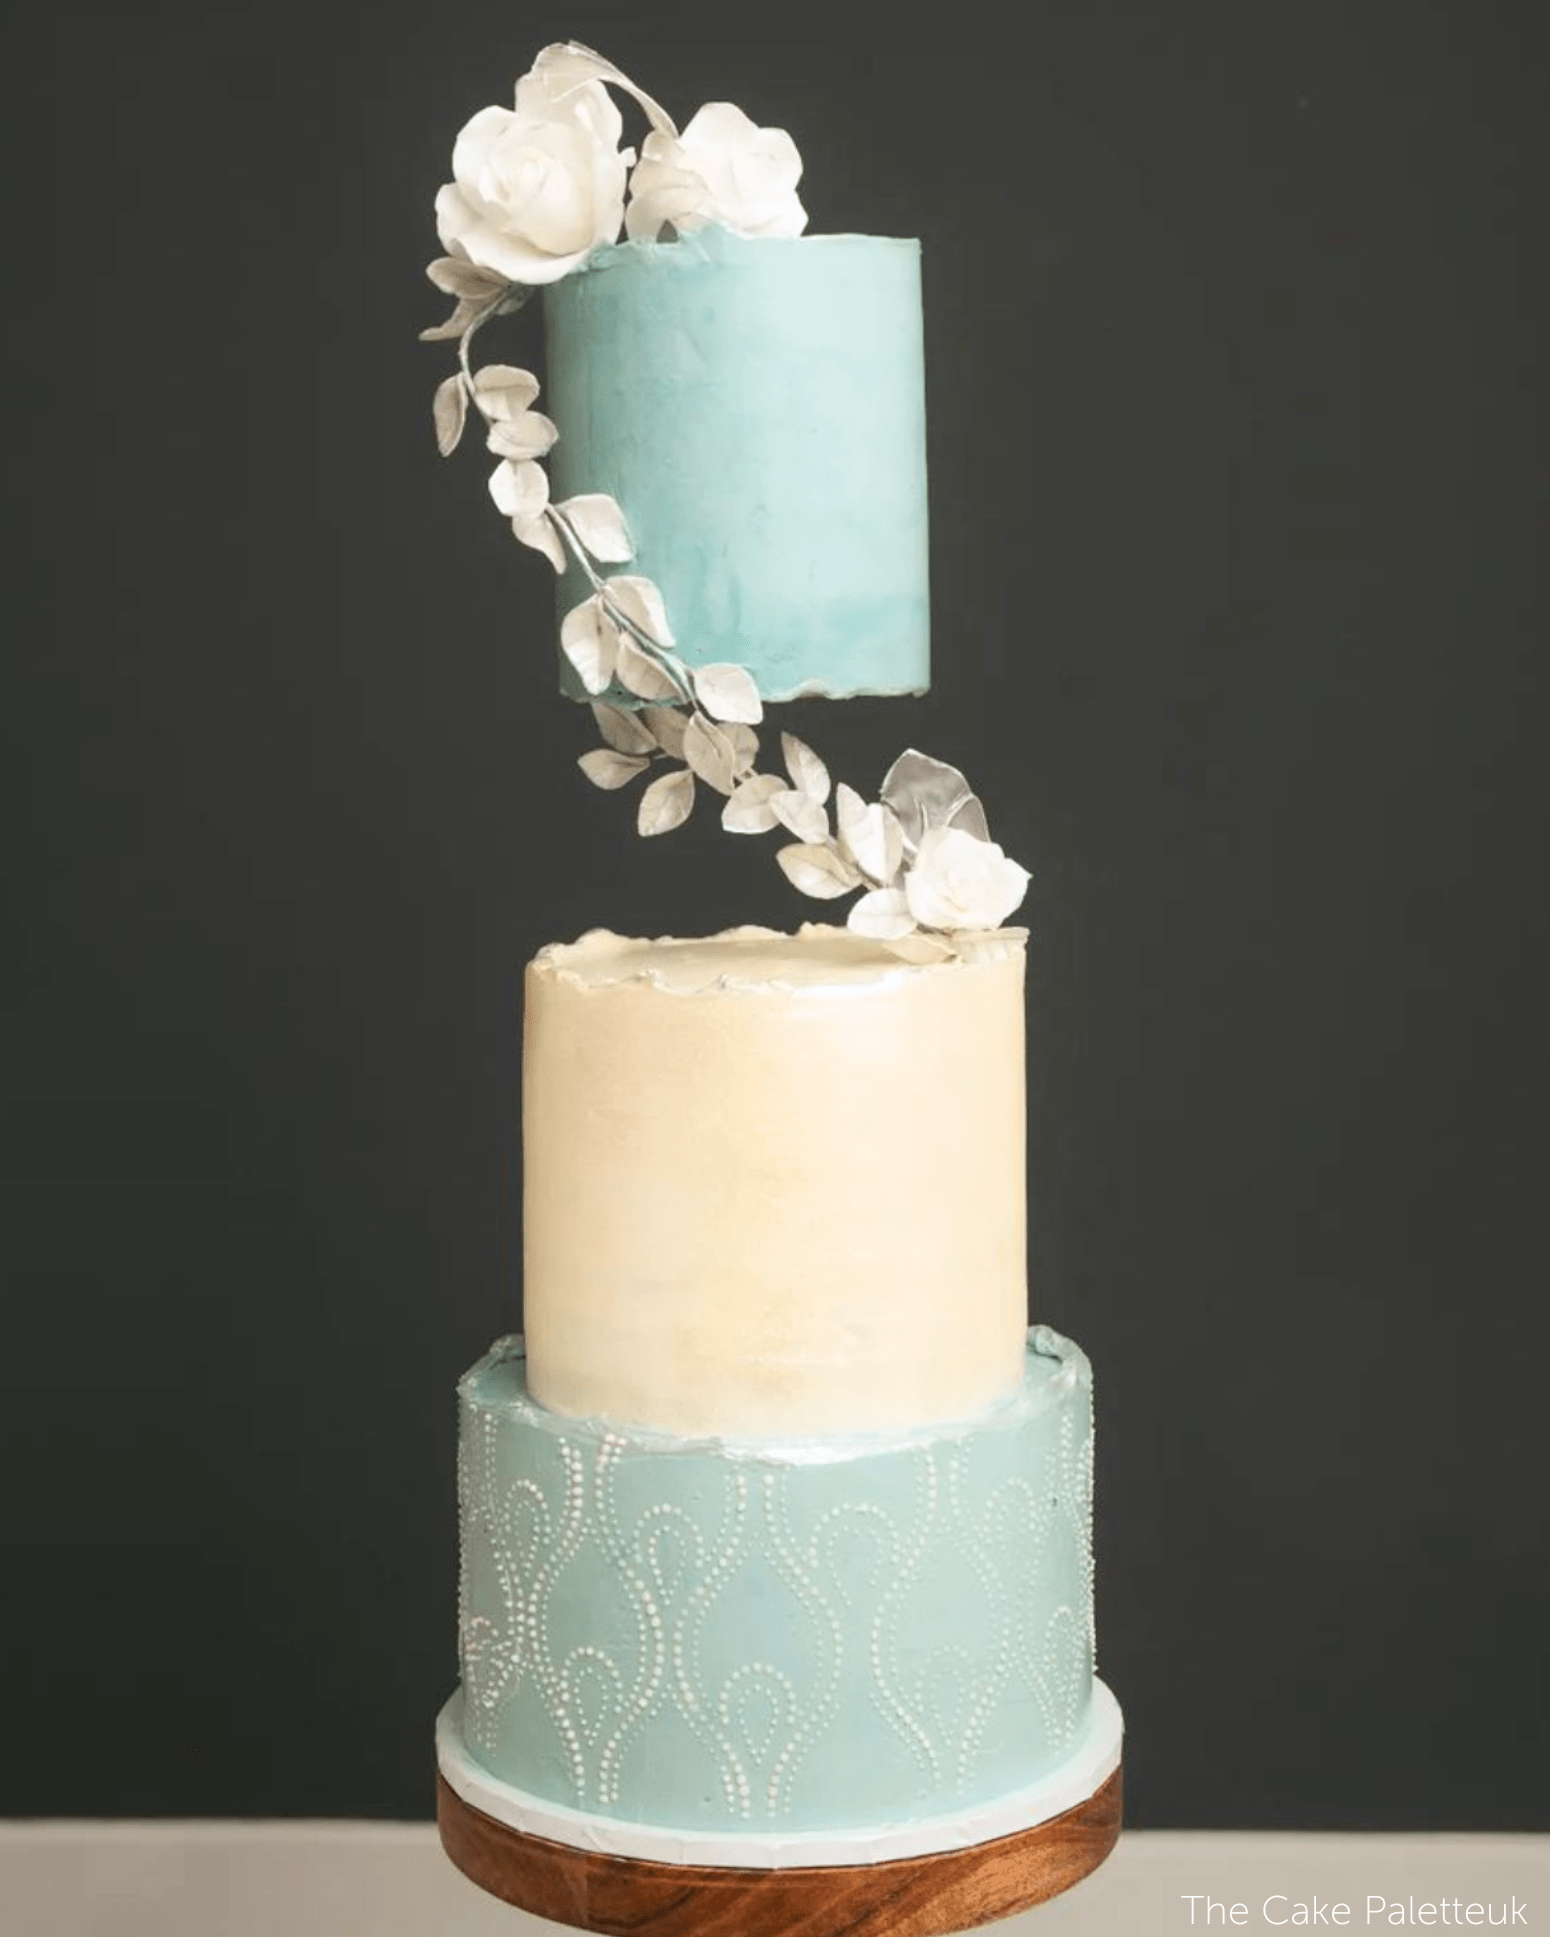


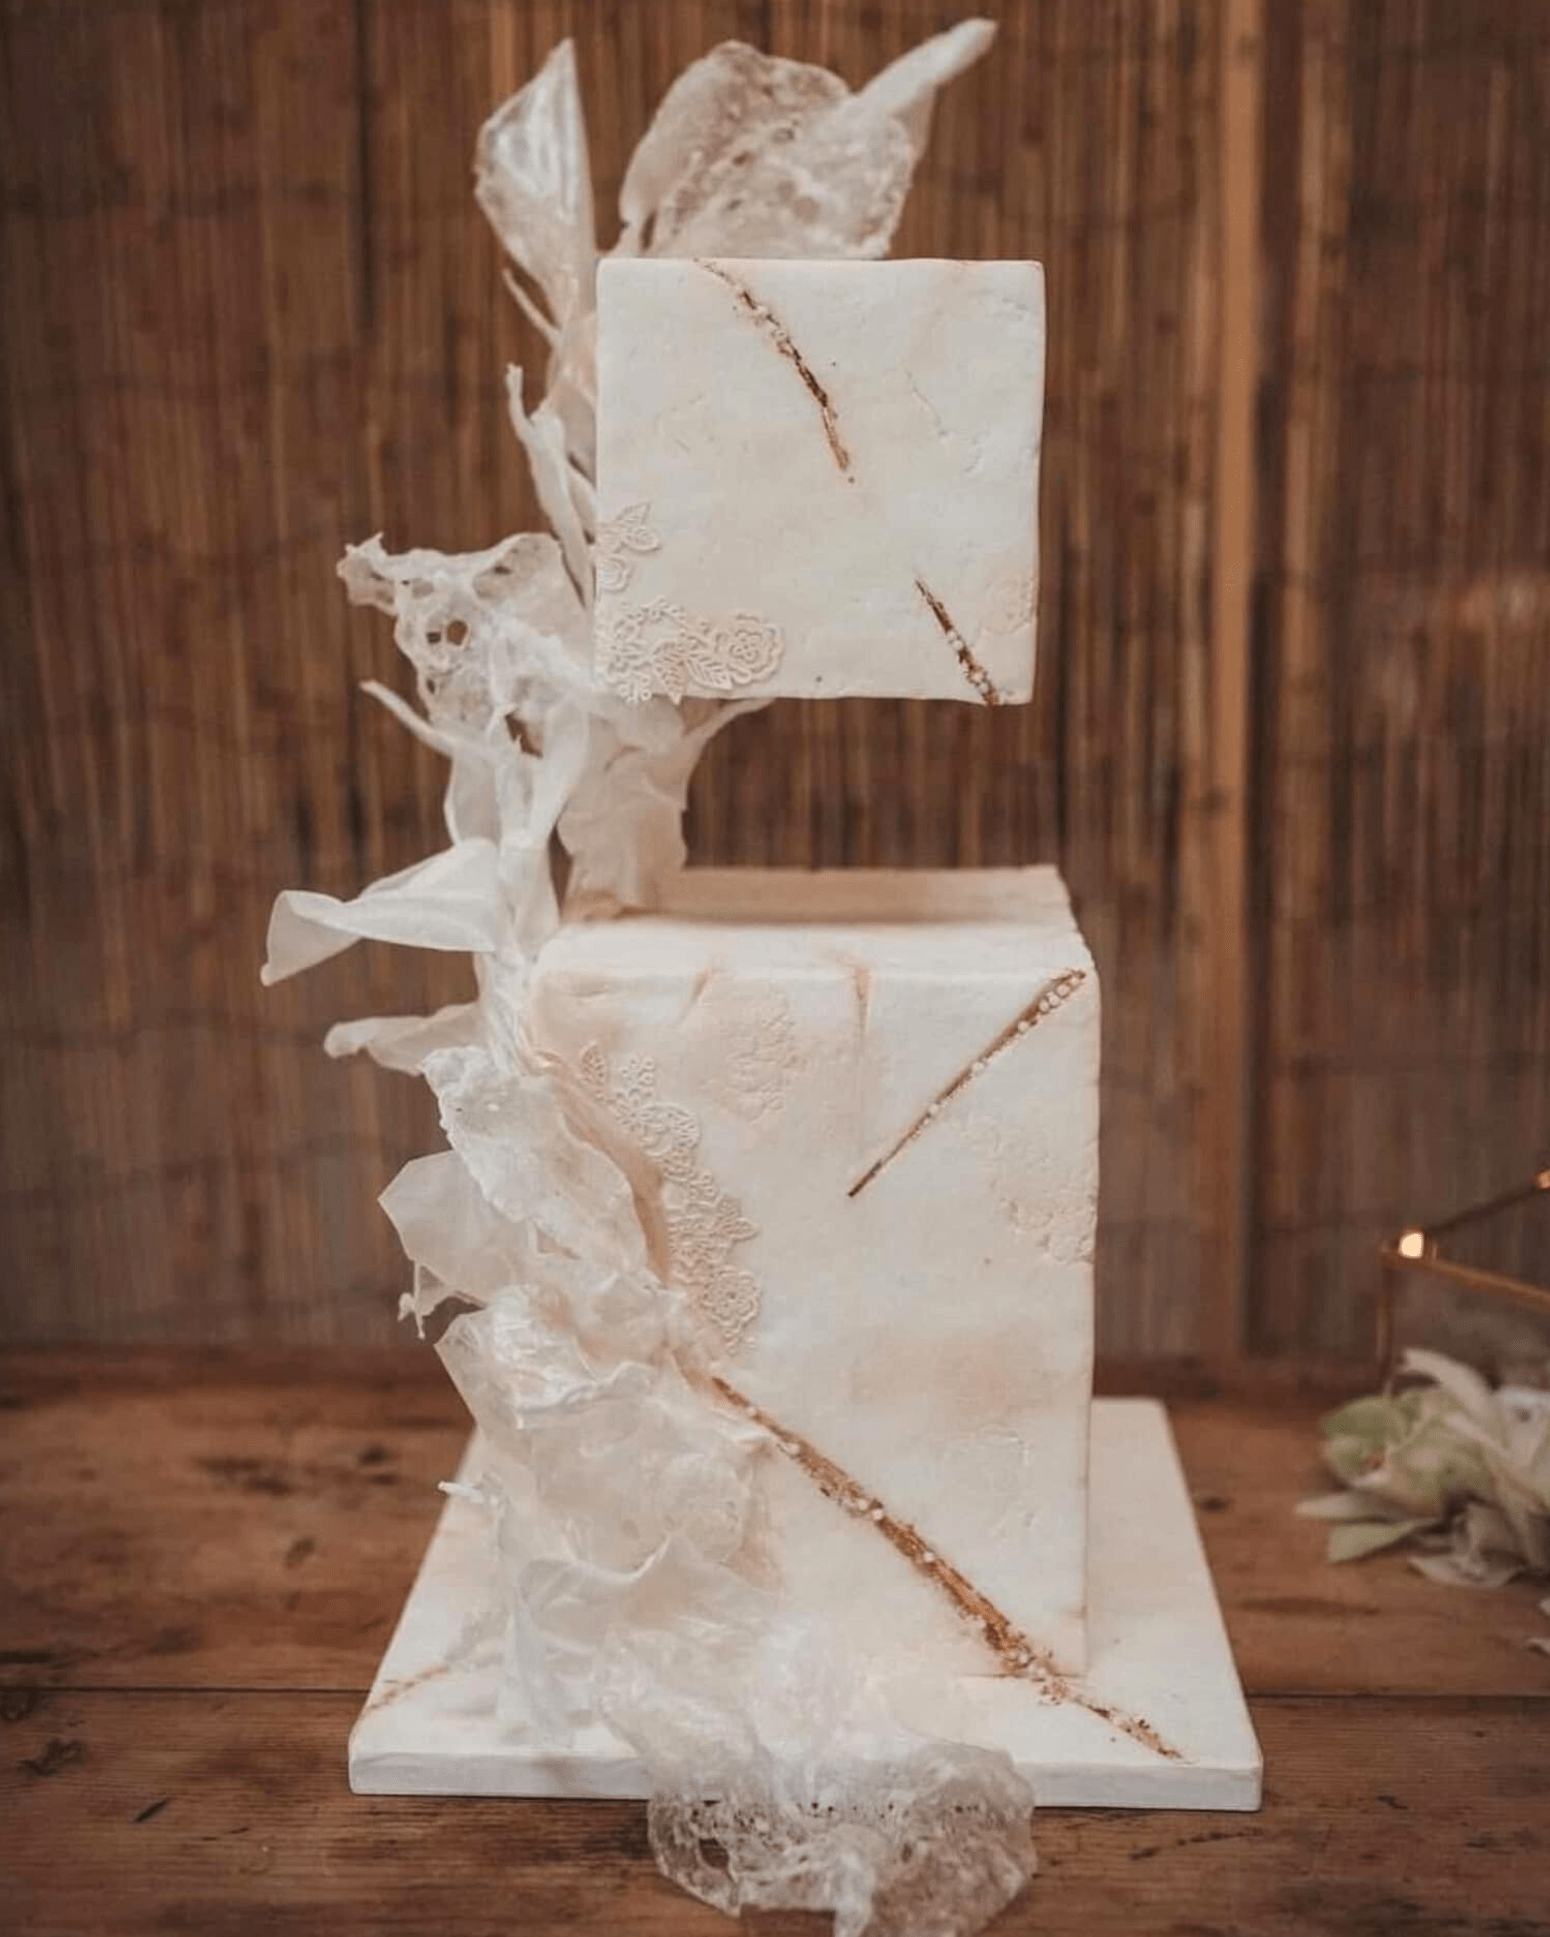


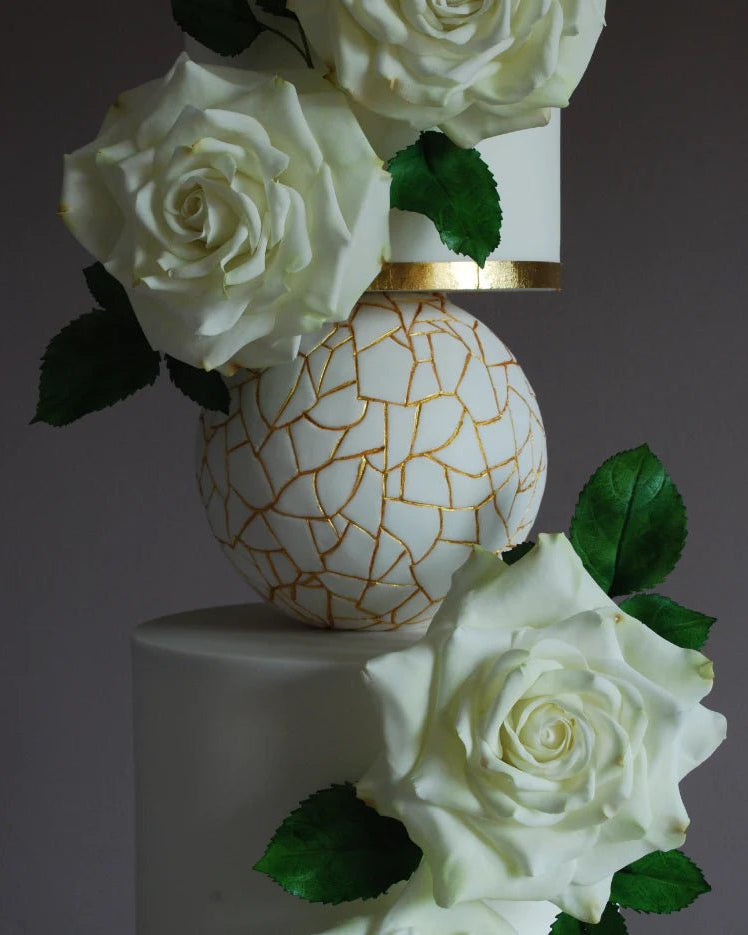

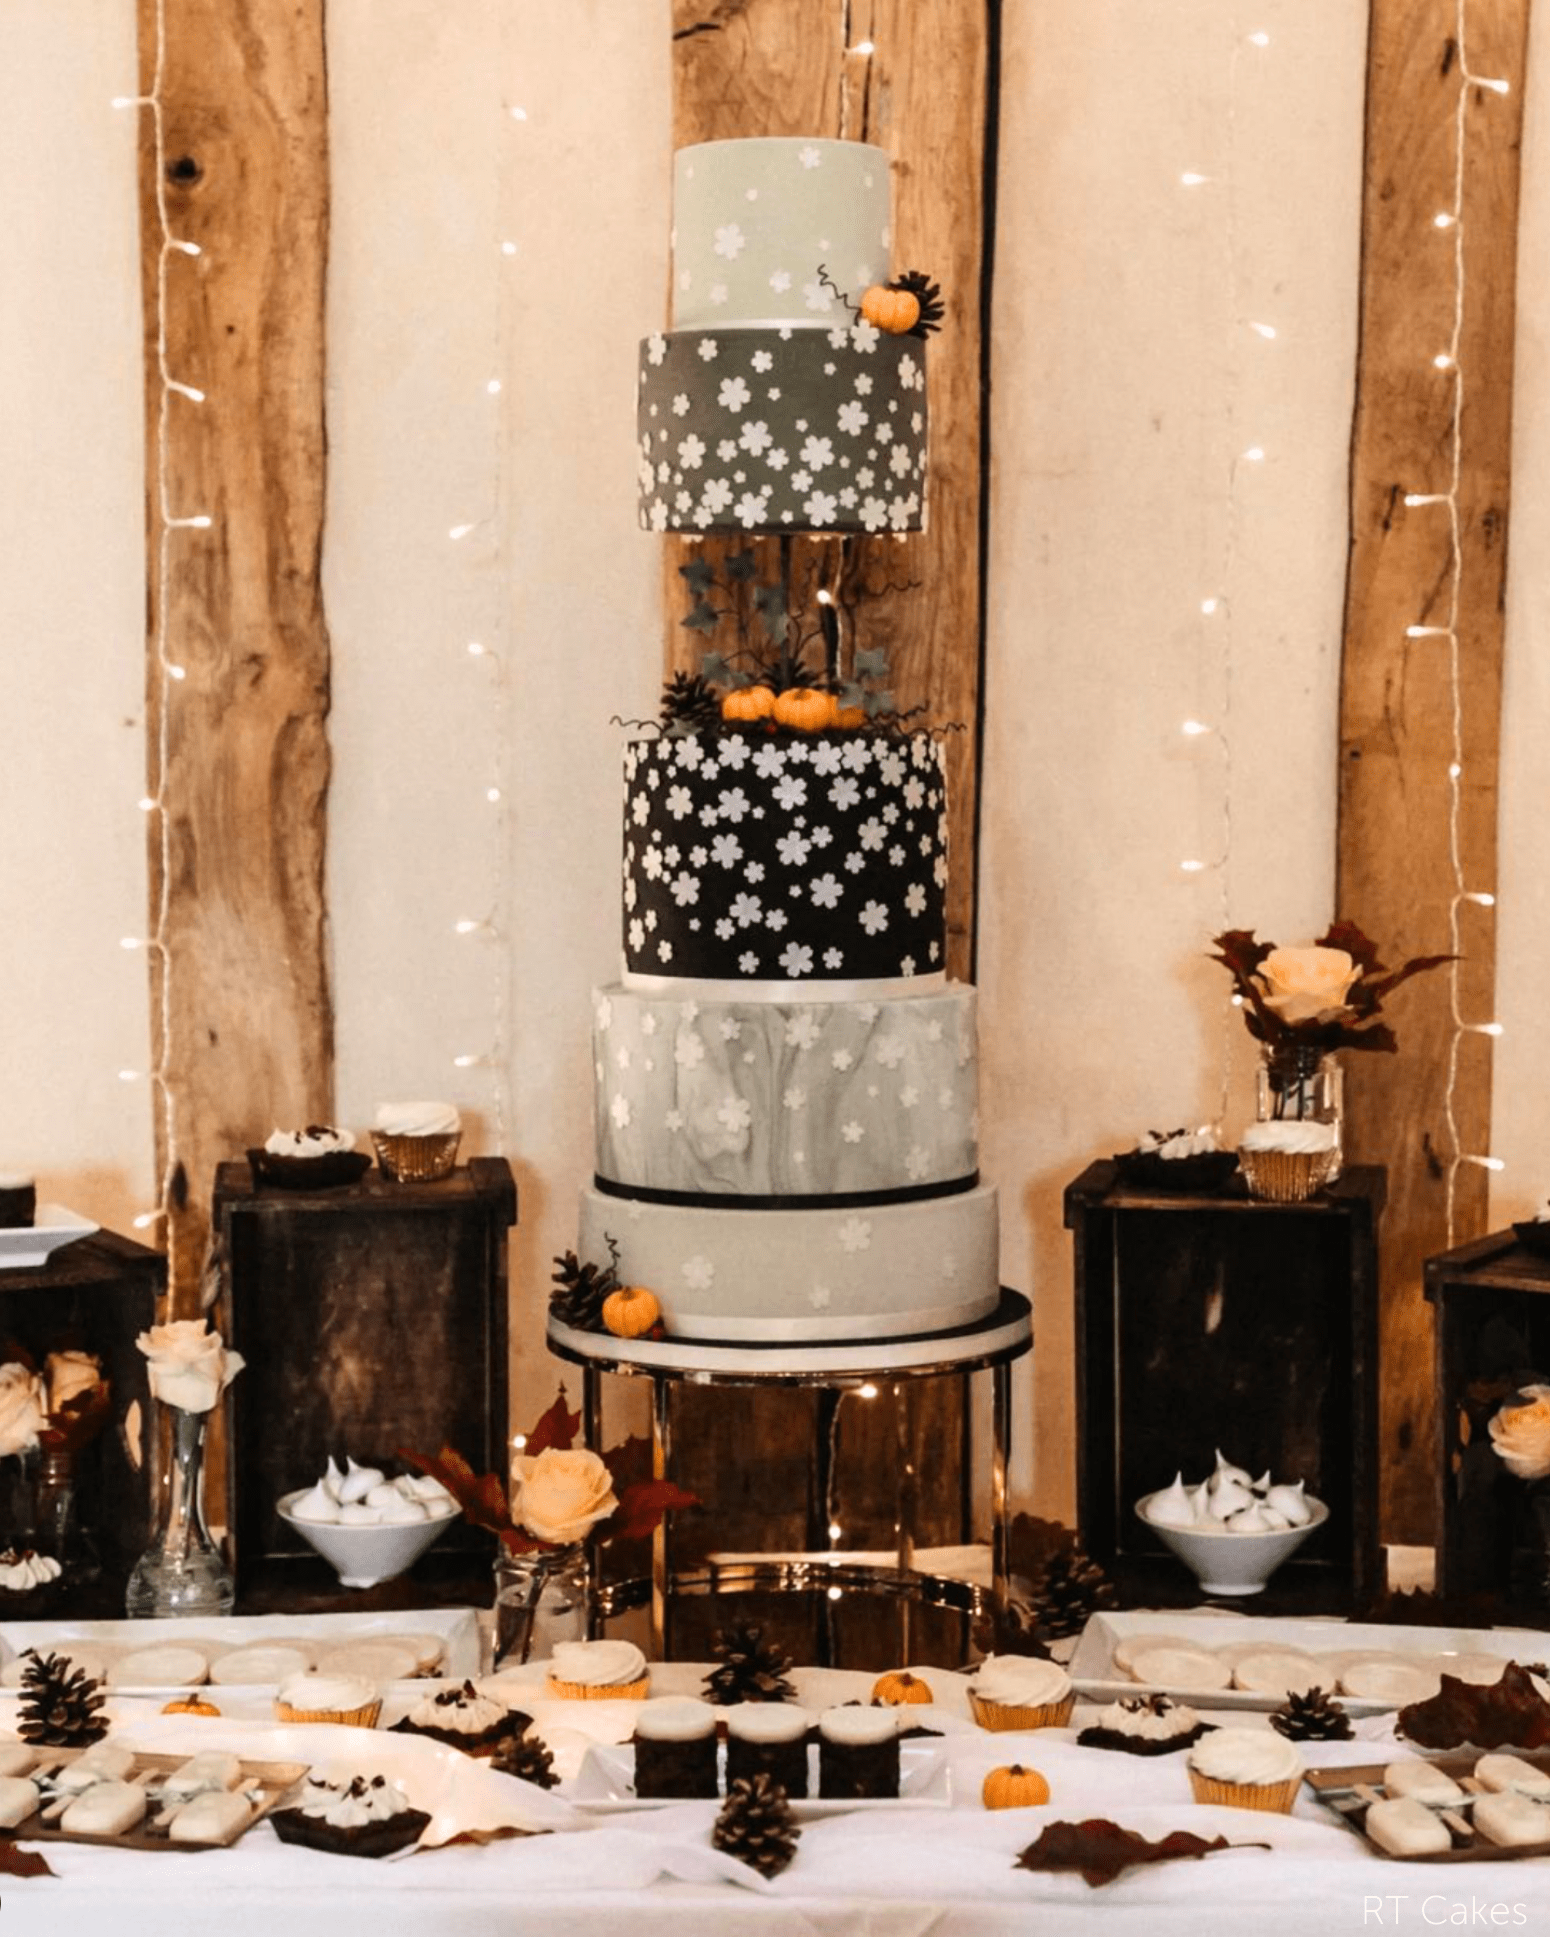


A floating tier cake is one of the most striking effects a decorator can offer, and it is far simpler to build than it looks. The illusion of a tier suspended in mid air comes down to one piece of equipment and a few careful steps. This is the complete PropTV guide to creating a floating tier cake, updated with the full Prop Options floating tier range, the four-part video series with our brand ambassador Jen from Cakey Lulu's, and the practical detail that keeps the effect clean and secure from your kitchen to the venue.
Whether you are working with a real cake or a dummy, the method is the same, and once you have built one you will reach for the technique again and again. We will cover what a floating tier separator is, how to choose the right one, the full step-by-step, and the finishing methods that hide the support completely.
What Is a Floating Tier Separator?
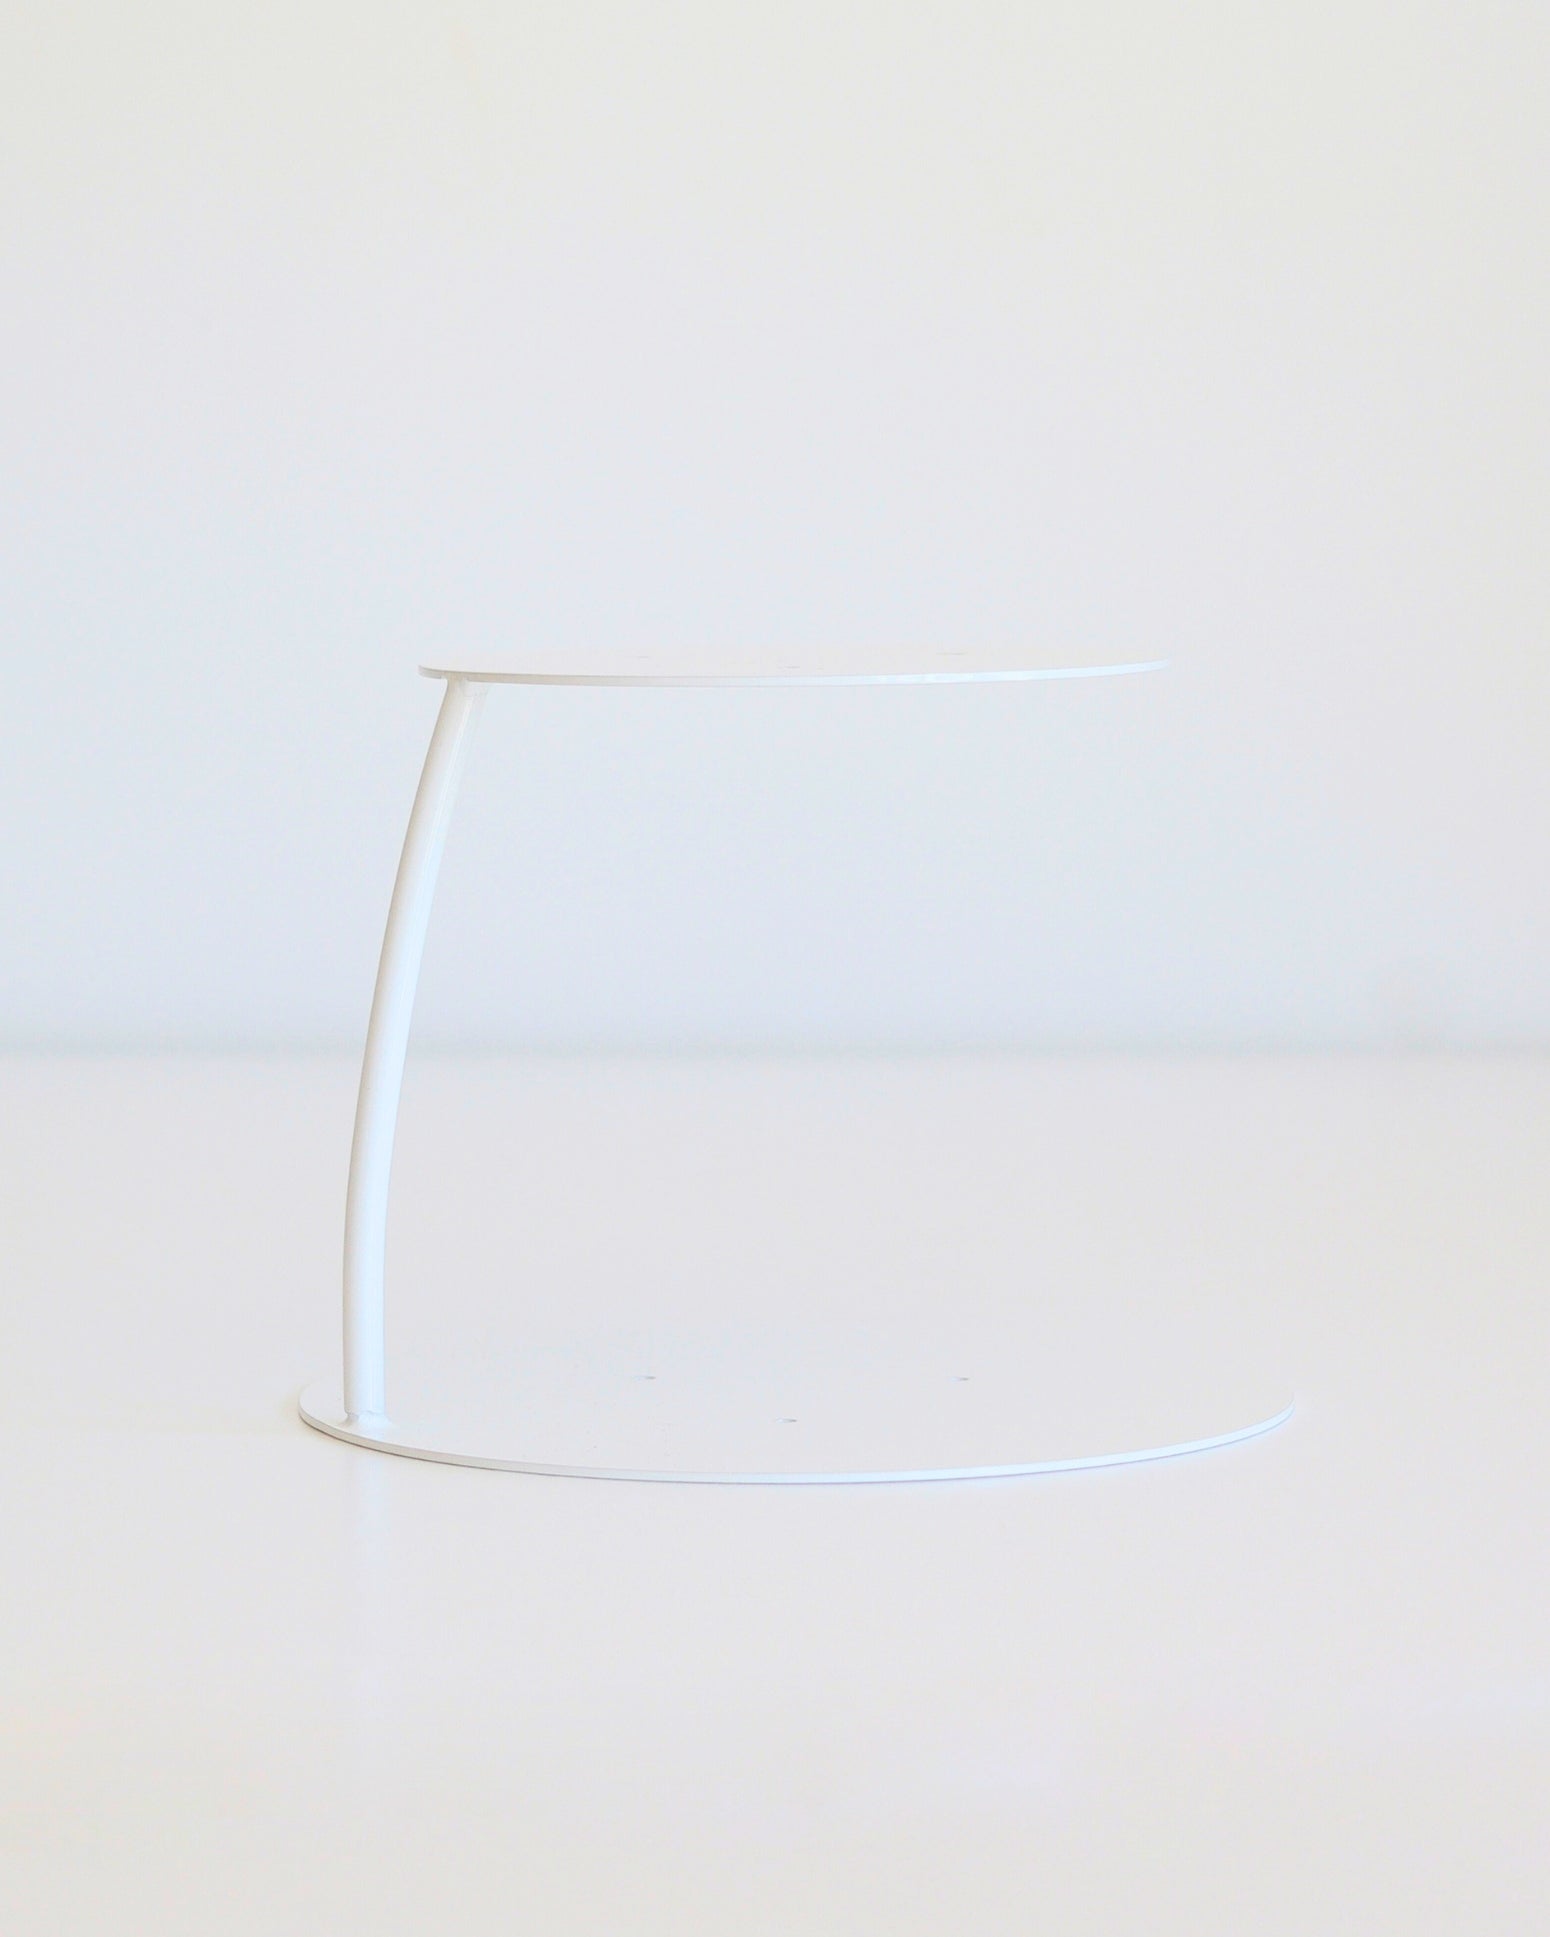
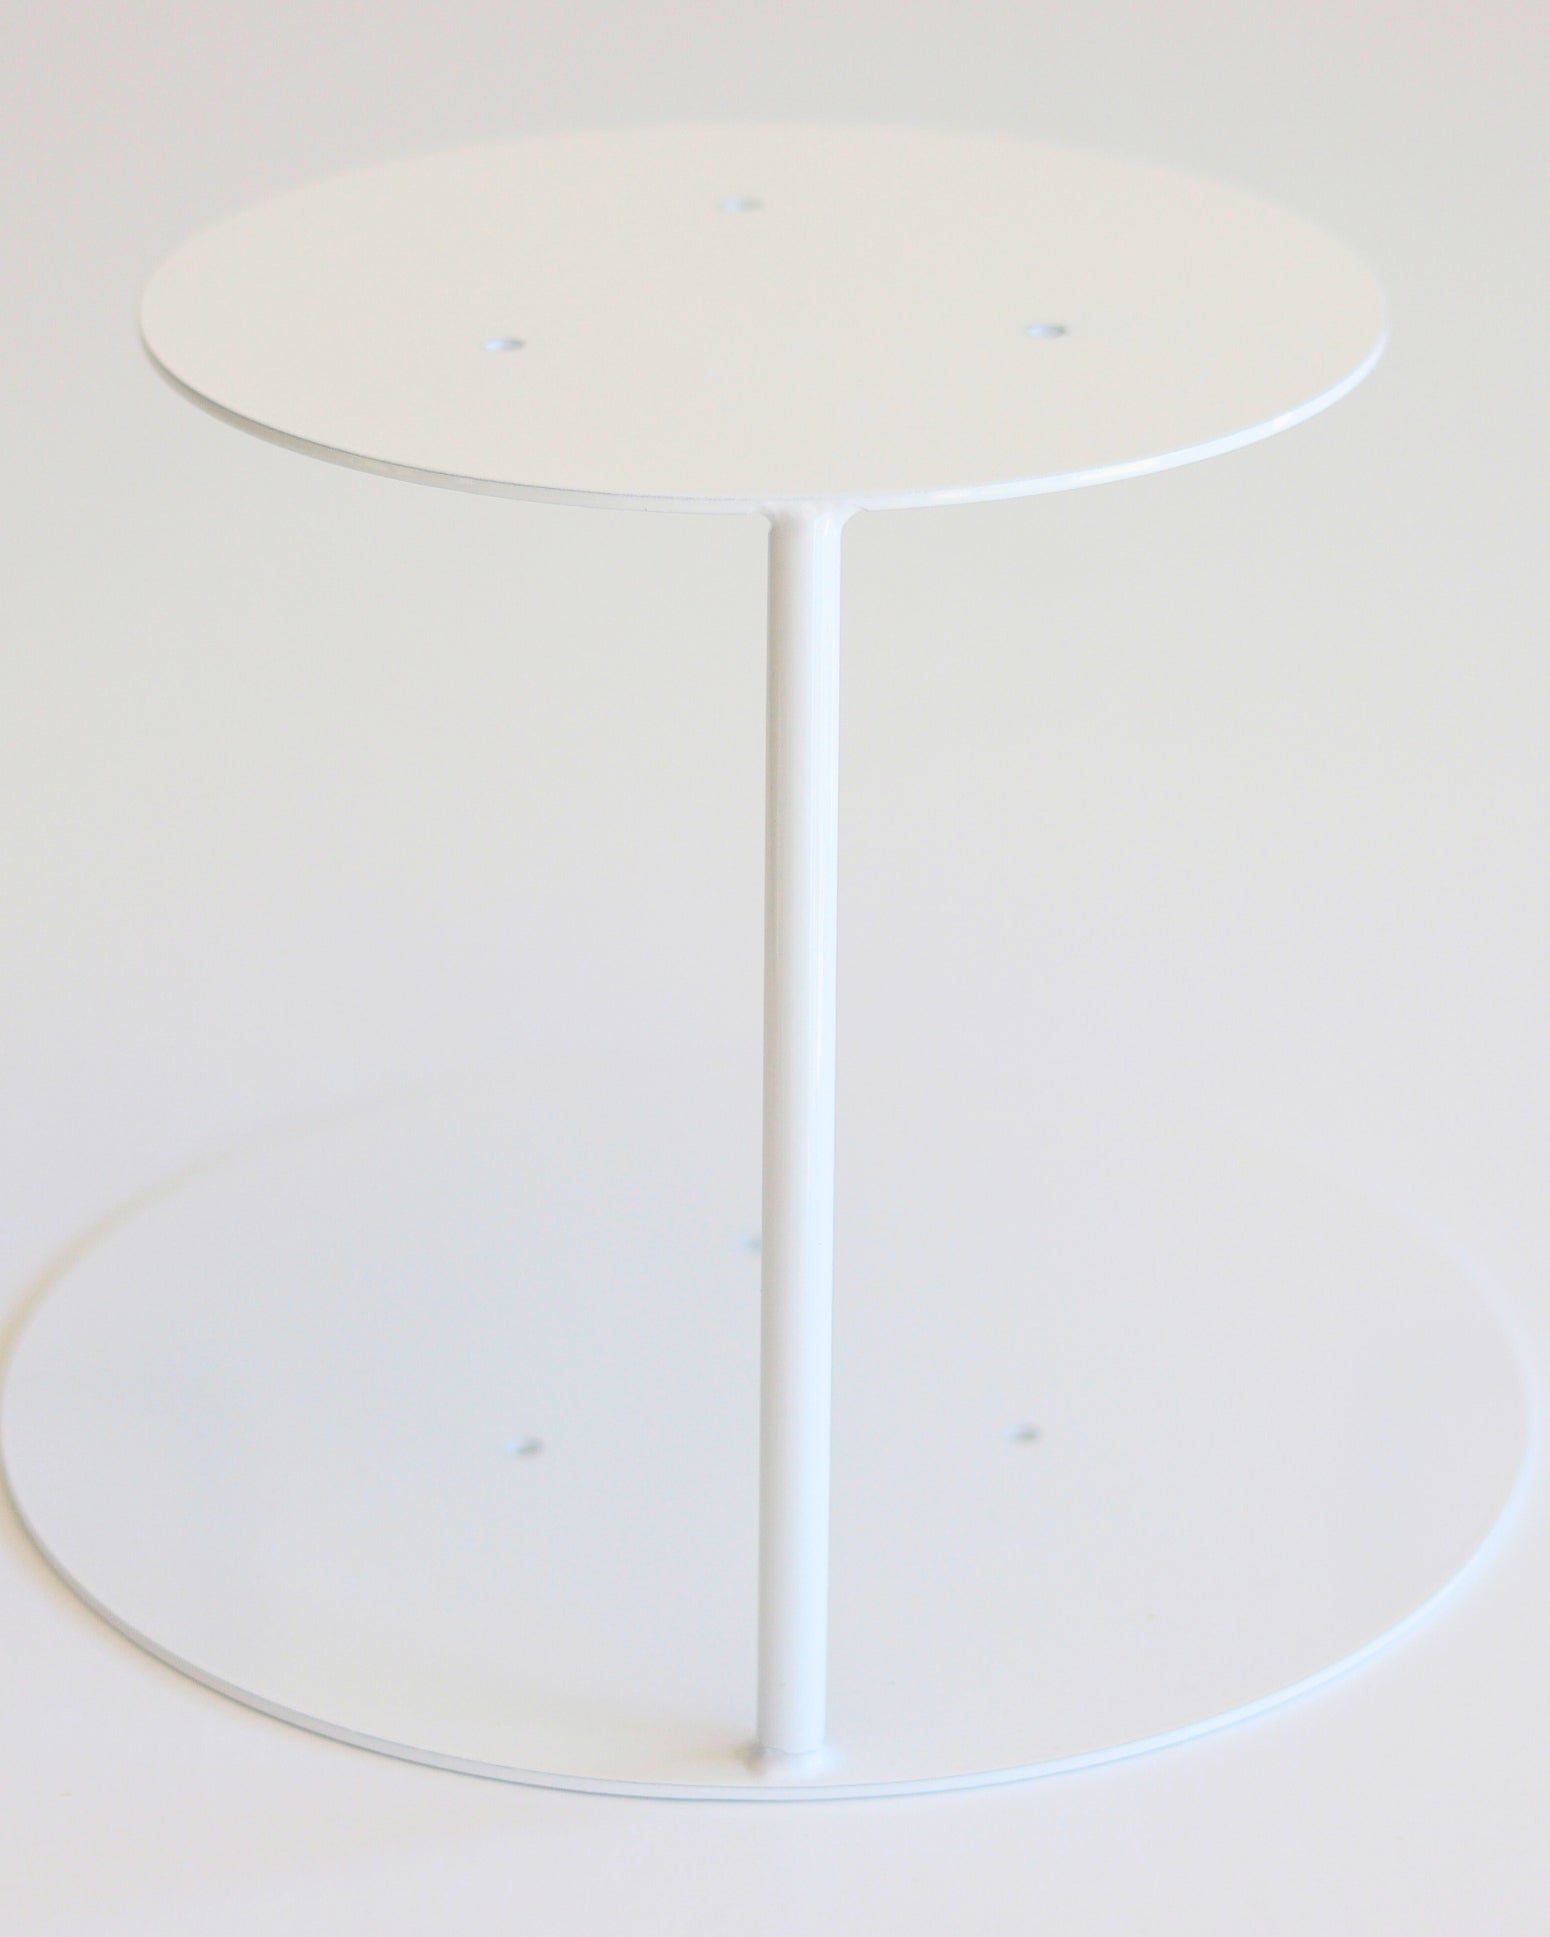
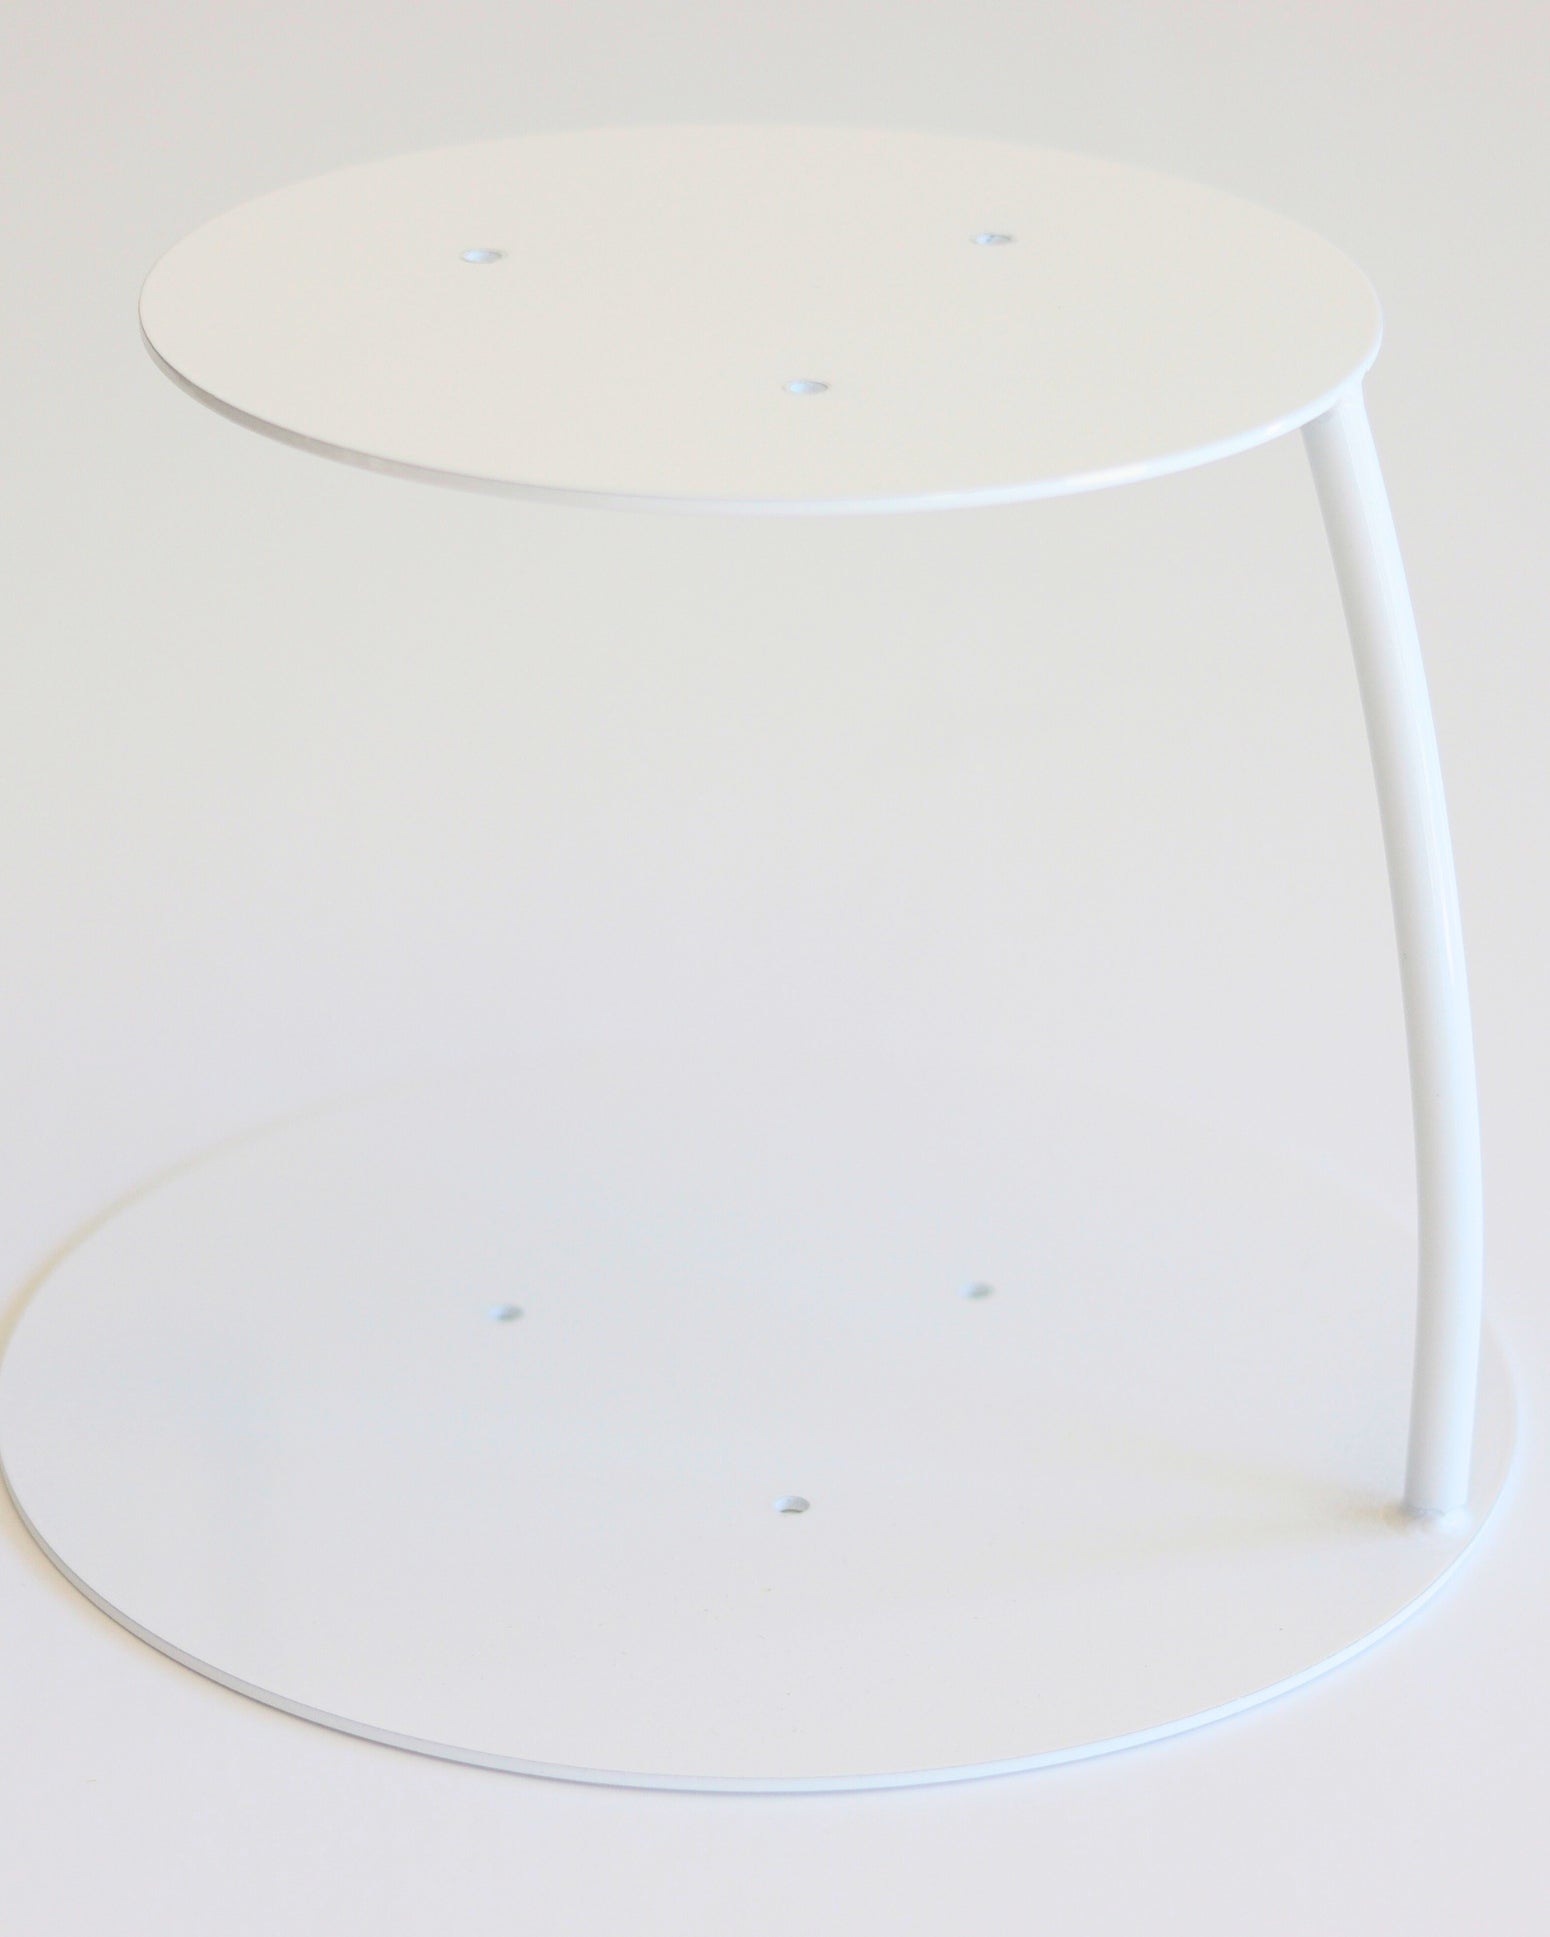
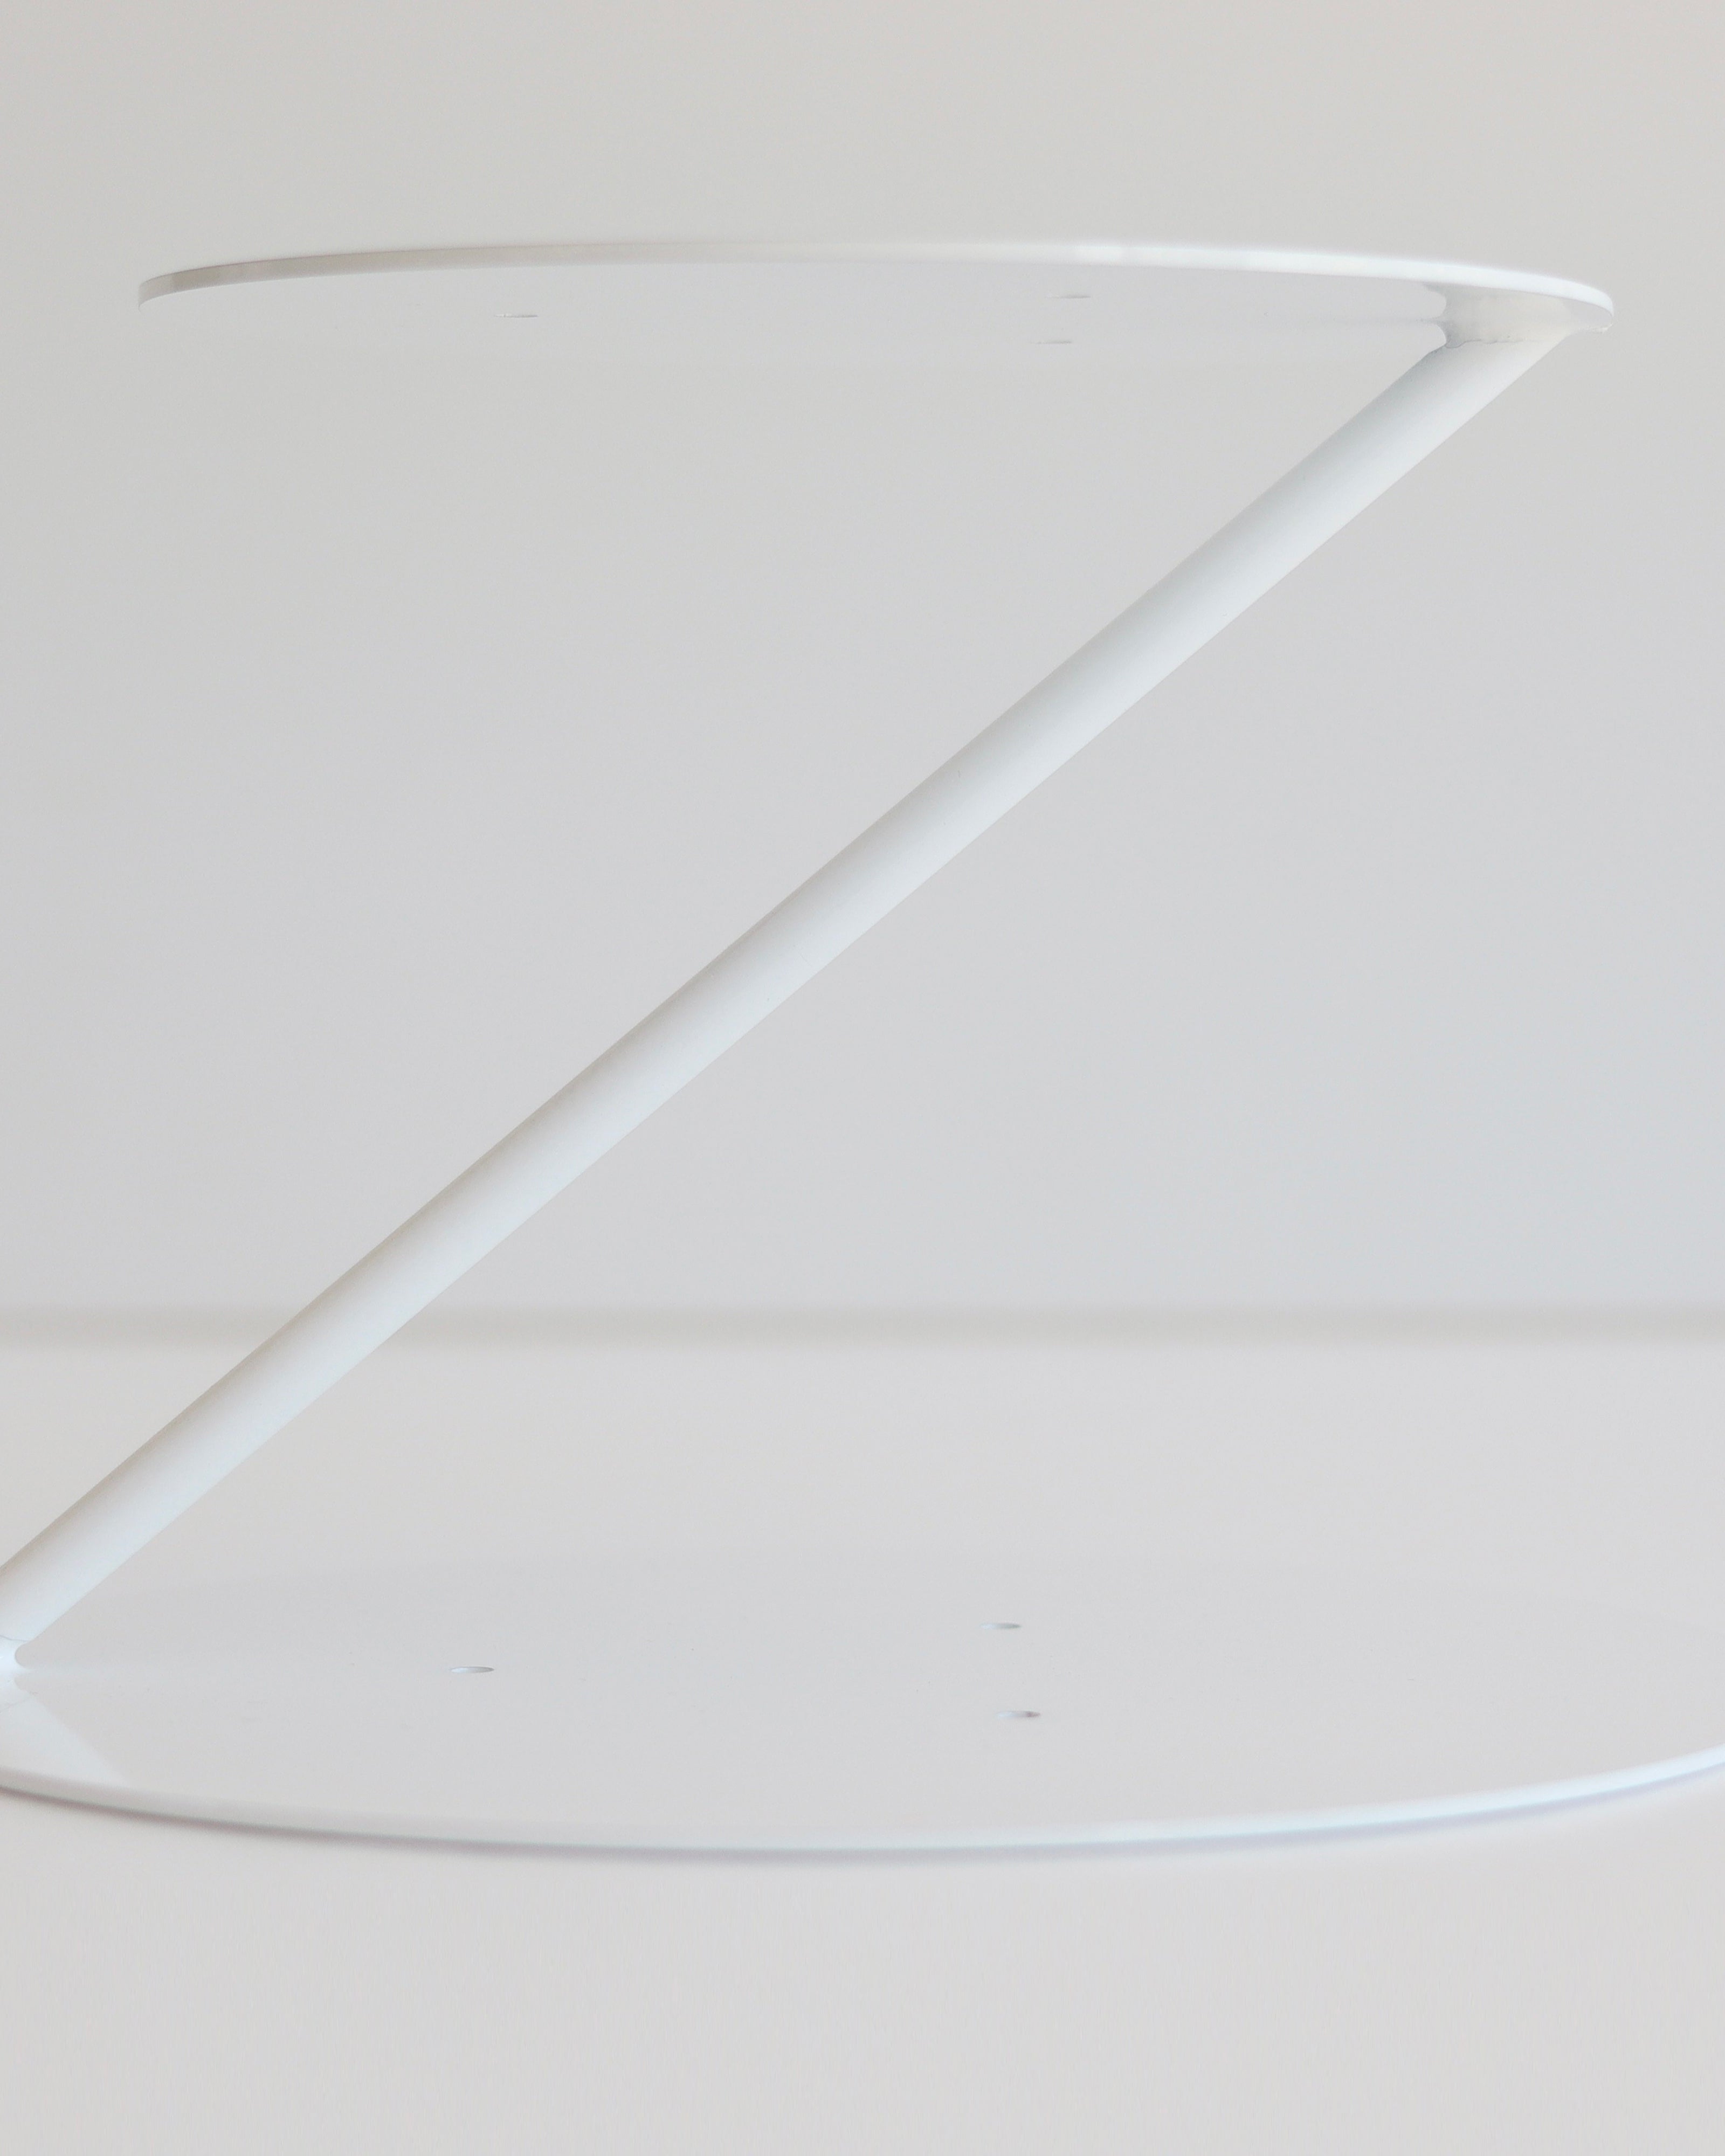
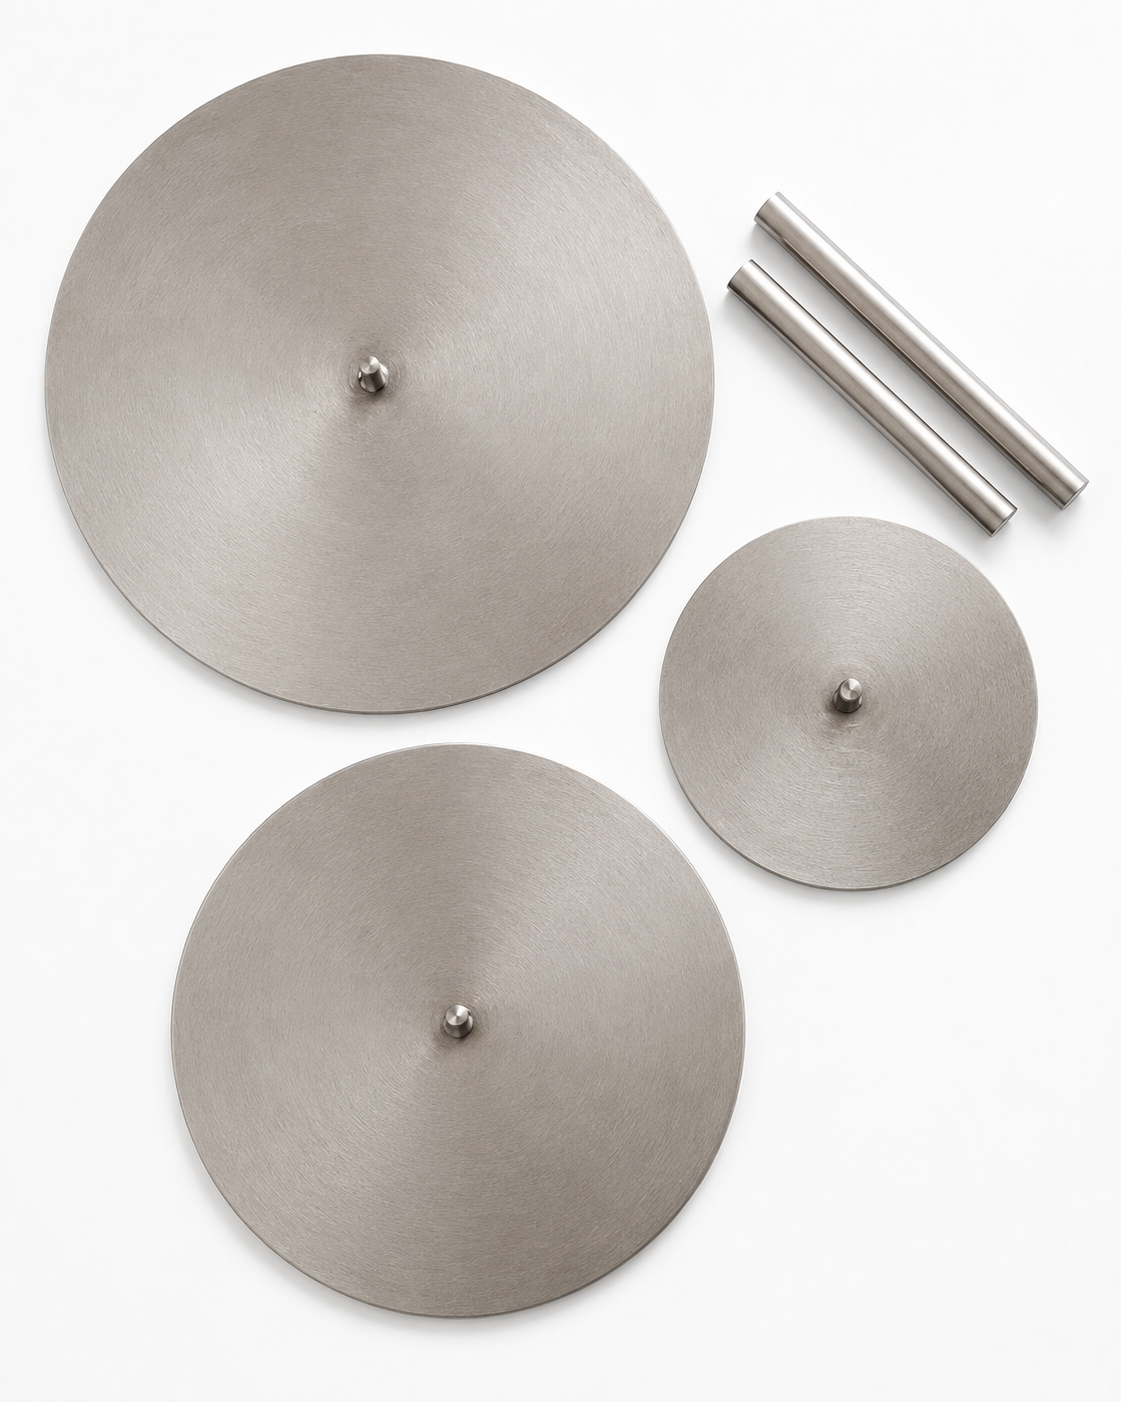
A floating tier separator sits between two tiers and carries the weight of the upper cake on a single concealed arm, so the gap beneath it reads as empty space. The Side Bar separator is the piece that made the look accessible. It adds height and presence to a tiered cake without extra cake to bake, and it is made from food-grade stainless steel, so it is safe with both real and dummy cakes. It arrives in a clean powder-coated white finish, ready to use straight out of the box, and it is PropSecure compatible for a locked, repeatable build.
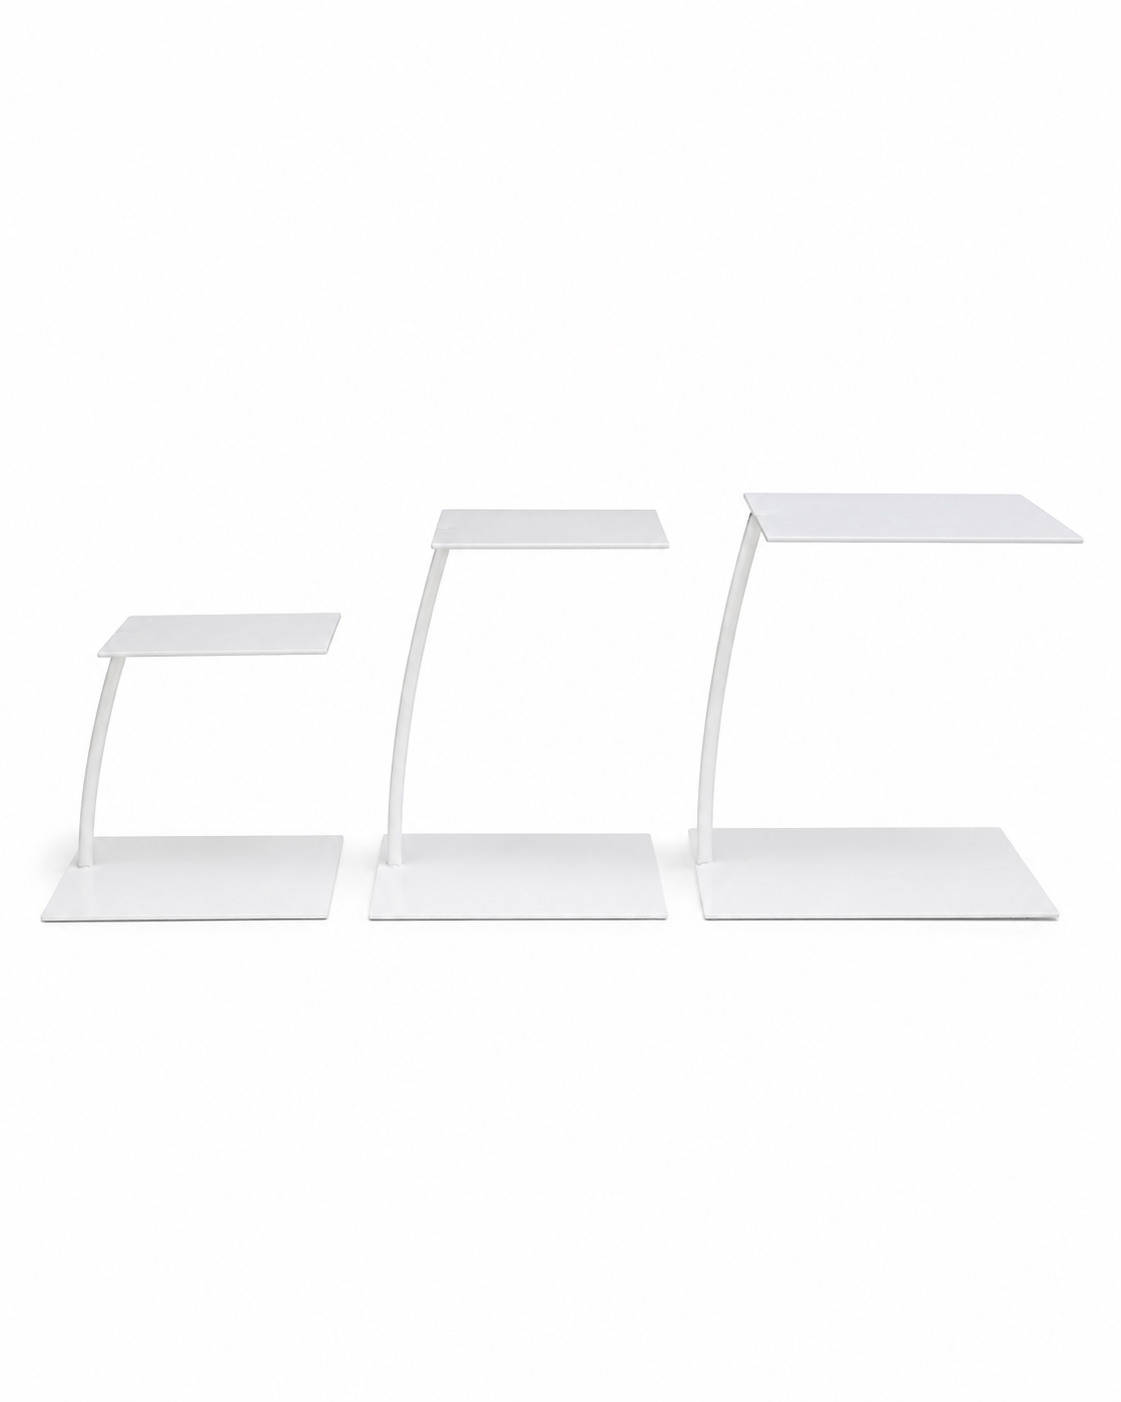
The design is a cantilever, which means the arm is built with a measured amount of flex so you can set the top plate to the exact level your cake needs. That single feature is what makes the separator work across cake weights, from a light dummy through to a denser fruit cake. Watch Jen introduce the Side Bar in Part One of the PropTV series below, then read on for how to choose the right separator for your design.

Which Floating Tier Separator Should You Choose?
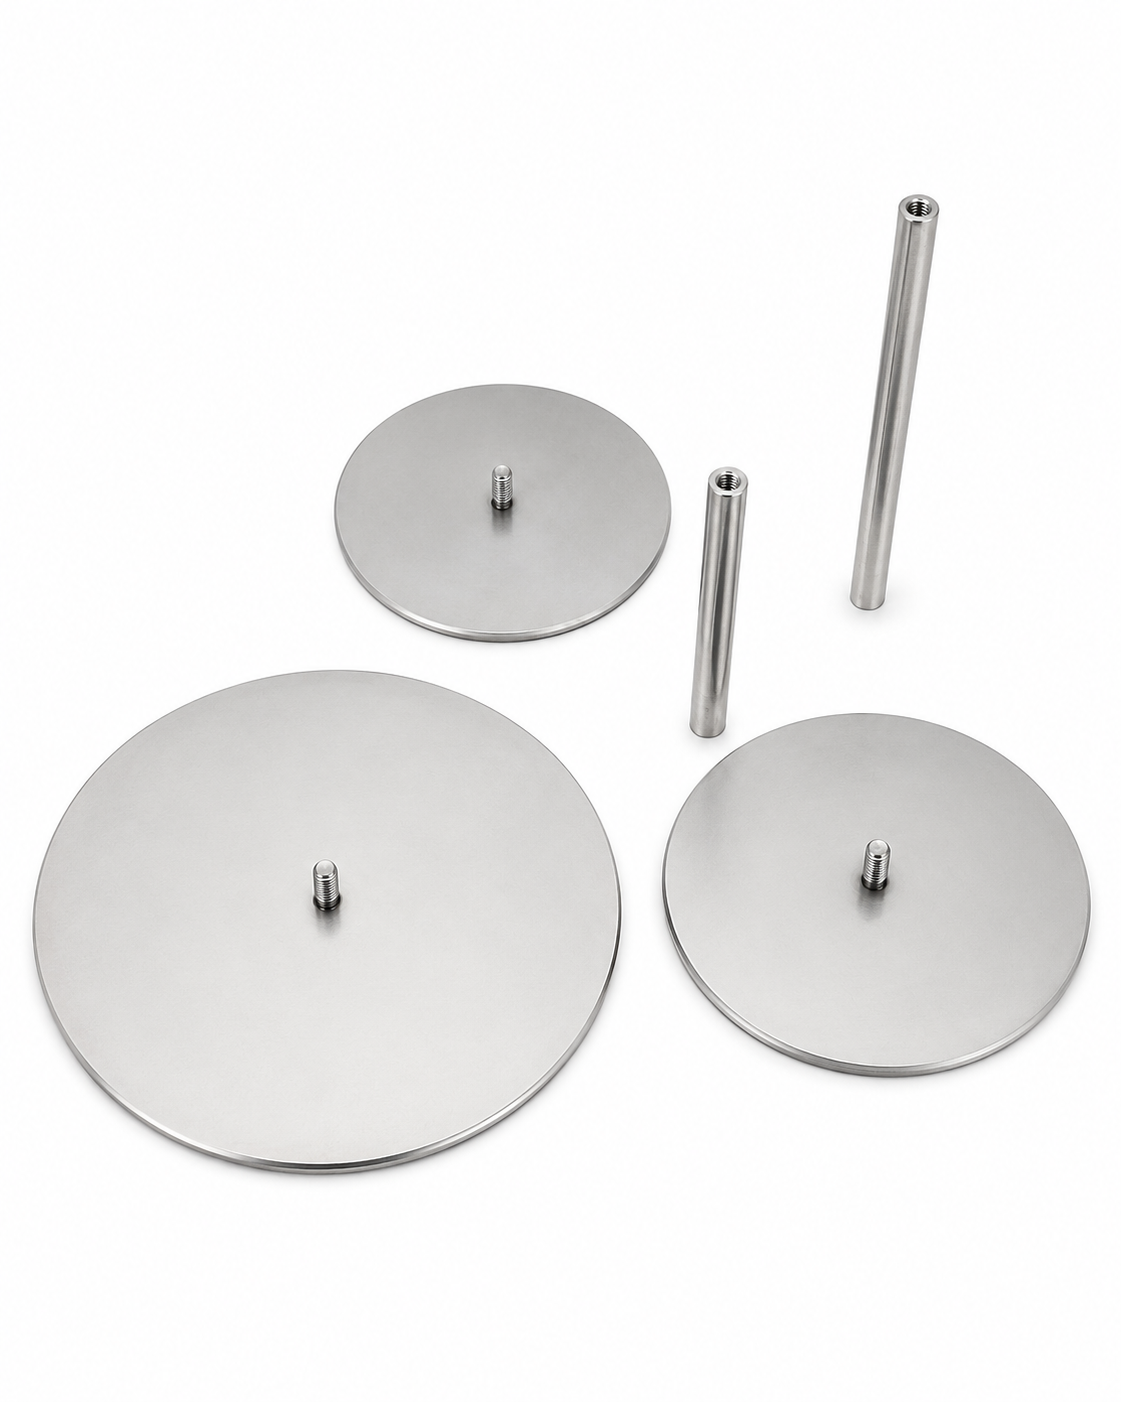
The original Side Bar is the natural starting point, but the floating tier range now gives you a separator for almost any build. The right choice comes down to the weight of your tier, the shape of your cake, and how much control you want over the gap. Here is how they compare.
| Separator | Best for | Notes |
|---|---|---|
| Side Bar (Round and Square) | Most single floating tiers, real or dummy | Holds up to 3.5kg. The everyday choice, available round and square. |
| Enhanced Side Bar | Heavier and taller tiers, denser fruit cakes | Holds up to 6kg for extra reassurance under weight. |
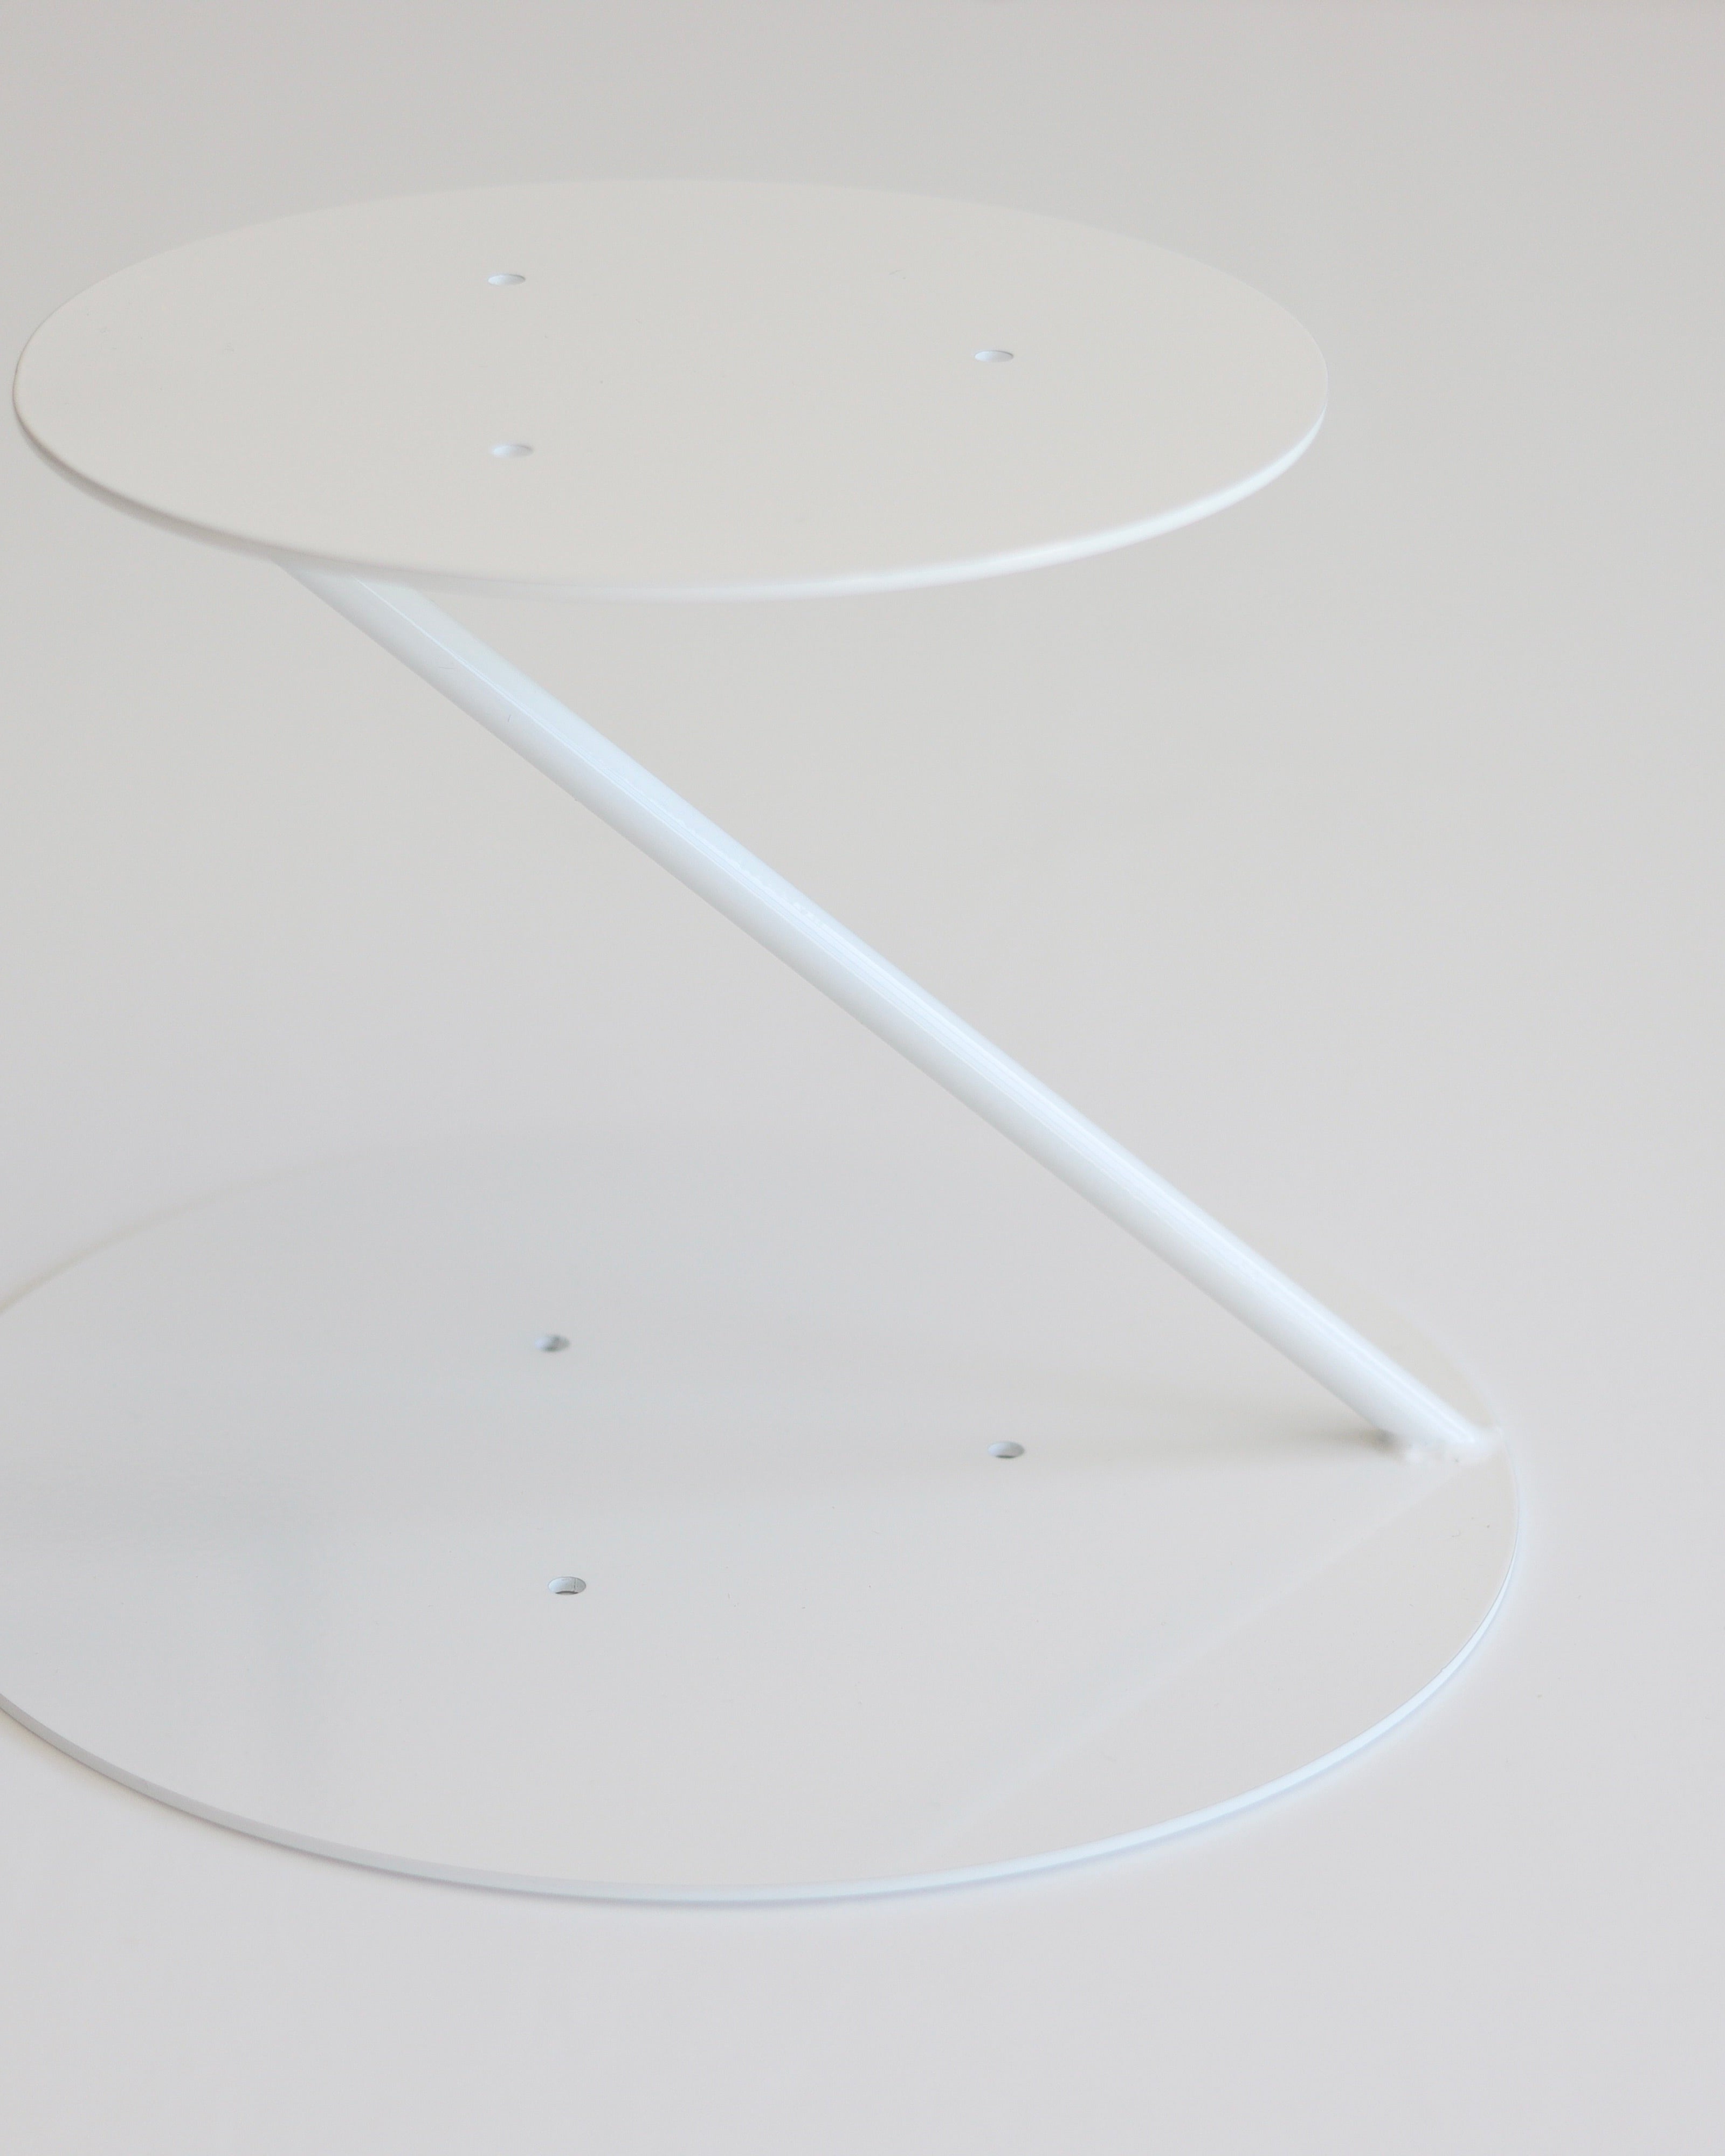
| Z Bar | An alternative floating profile | A different support shape for a slightly different suspended look. |
| Central Bar (Adjustable) | Fine control over the height of the gap | Adjustable central support when you want to set the spacing precisely. |
If you are buying your first floating tier separator, the Round Side Bar is the one to start with. Every separator in the range is PropSecure compatible, so as your collection grows the parts work together rather than against each other. Browse the full Floating Tier Collection to see the sizes and shapes available.
A Smart Addition to Your Toolkit
The floating tier separator earns its place quickly. Because it is reusable across commission after commission, the cost is recovered in a handful of cakes, and many decorators add a hire line, renting the separator to clients as part of the design. The Side Bar holds up to 3.5kg, which covers most real tiers as well as dummies, and the Enhanced version takes that to 6kg for heavier builds. It is one piece of equipment that adds height, drama and a clear talking point to your portfolio.
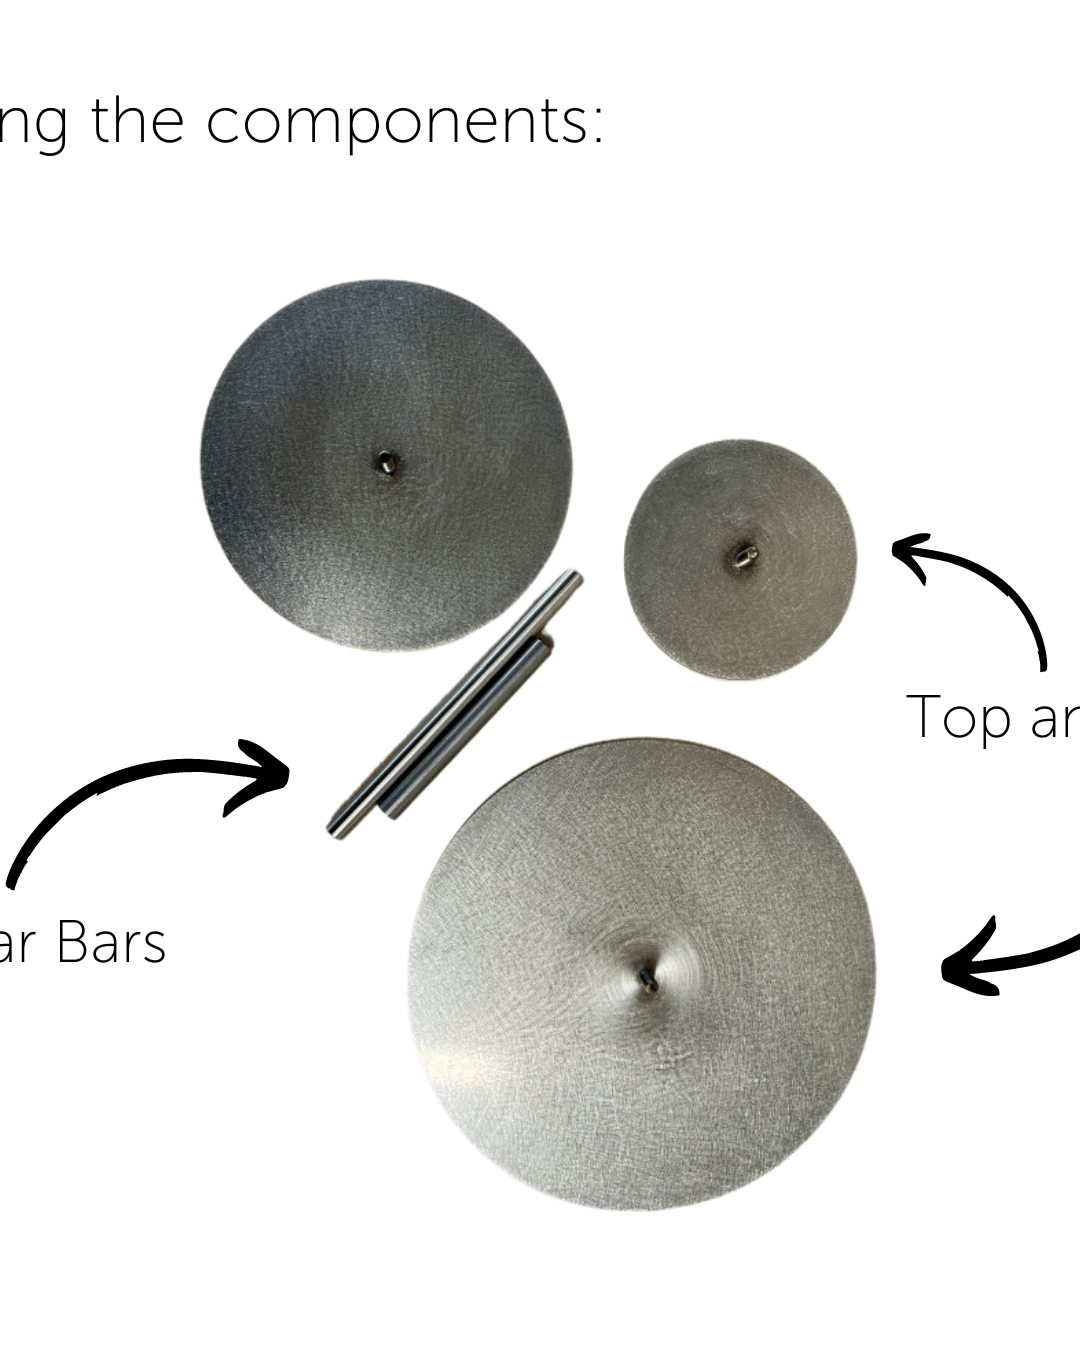
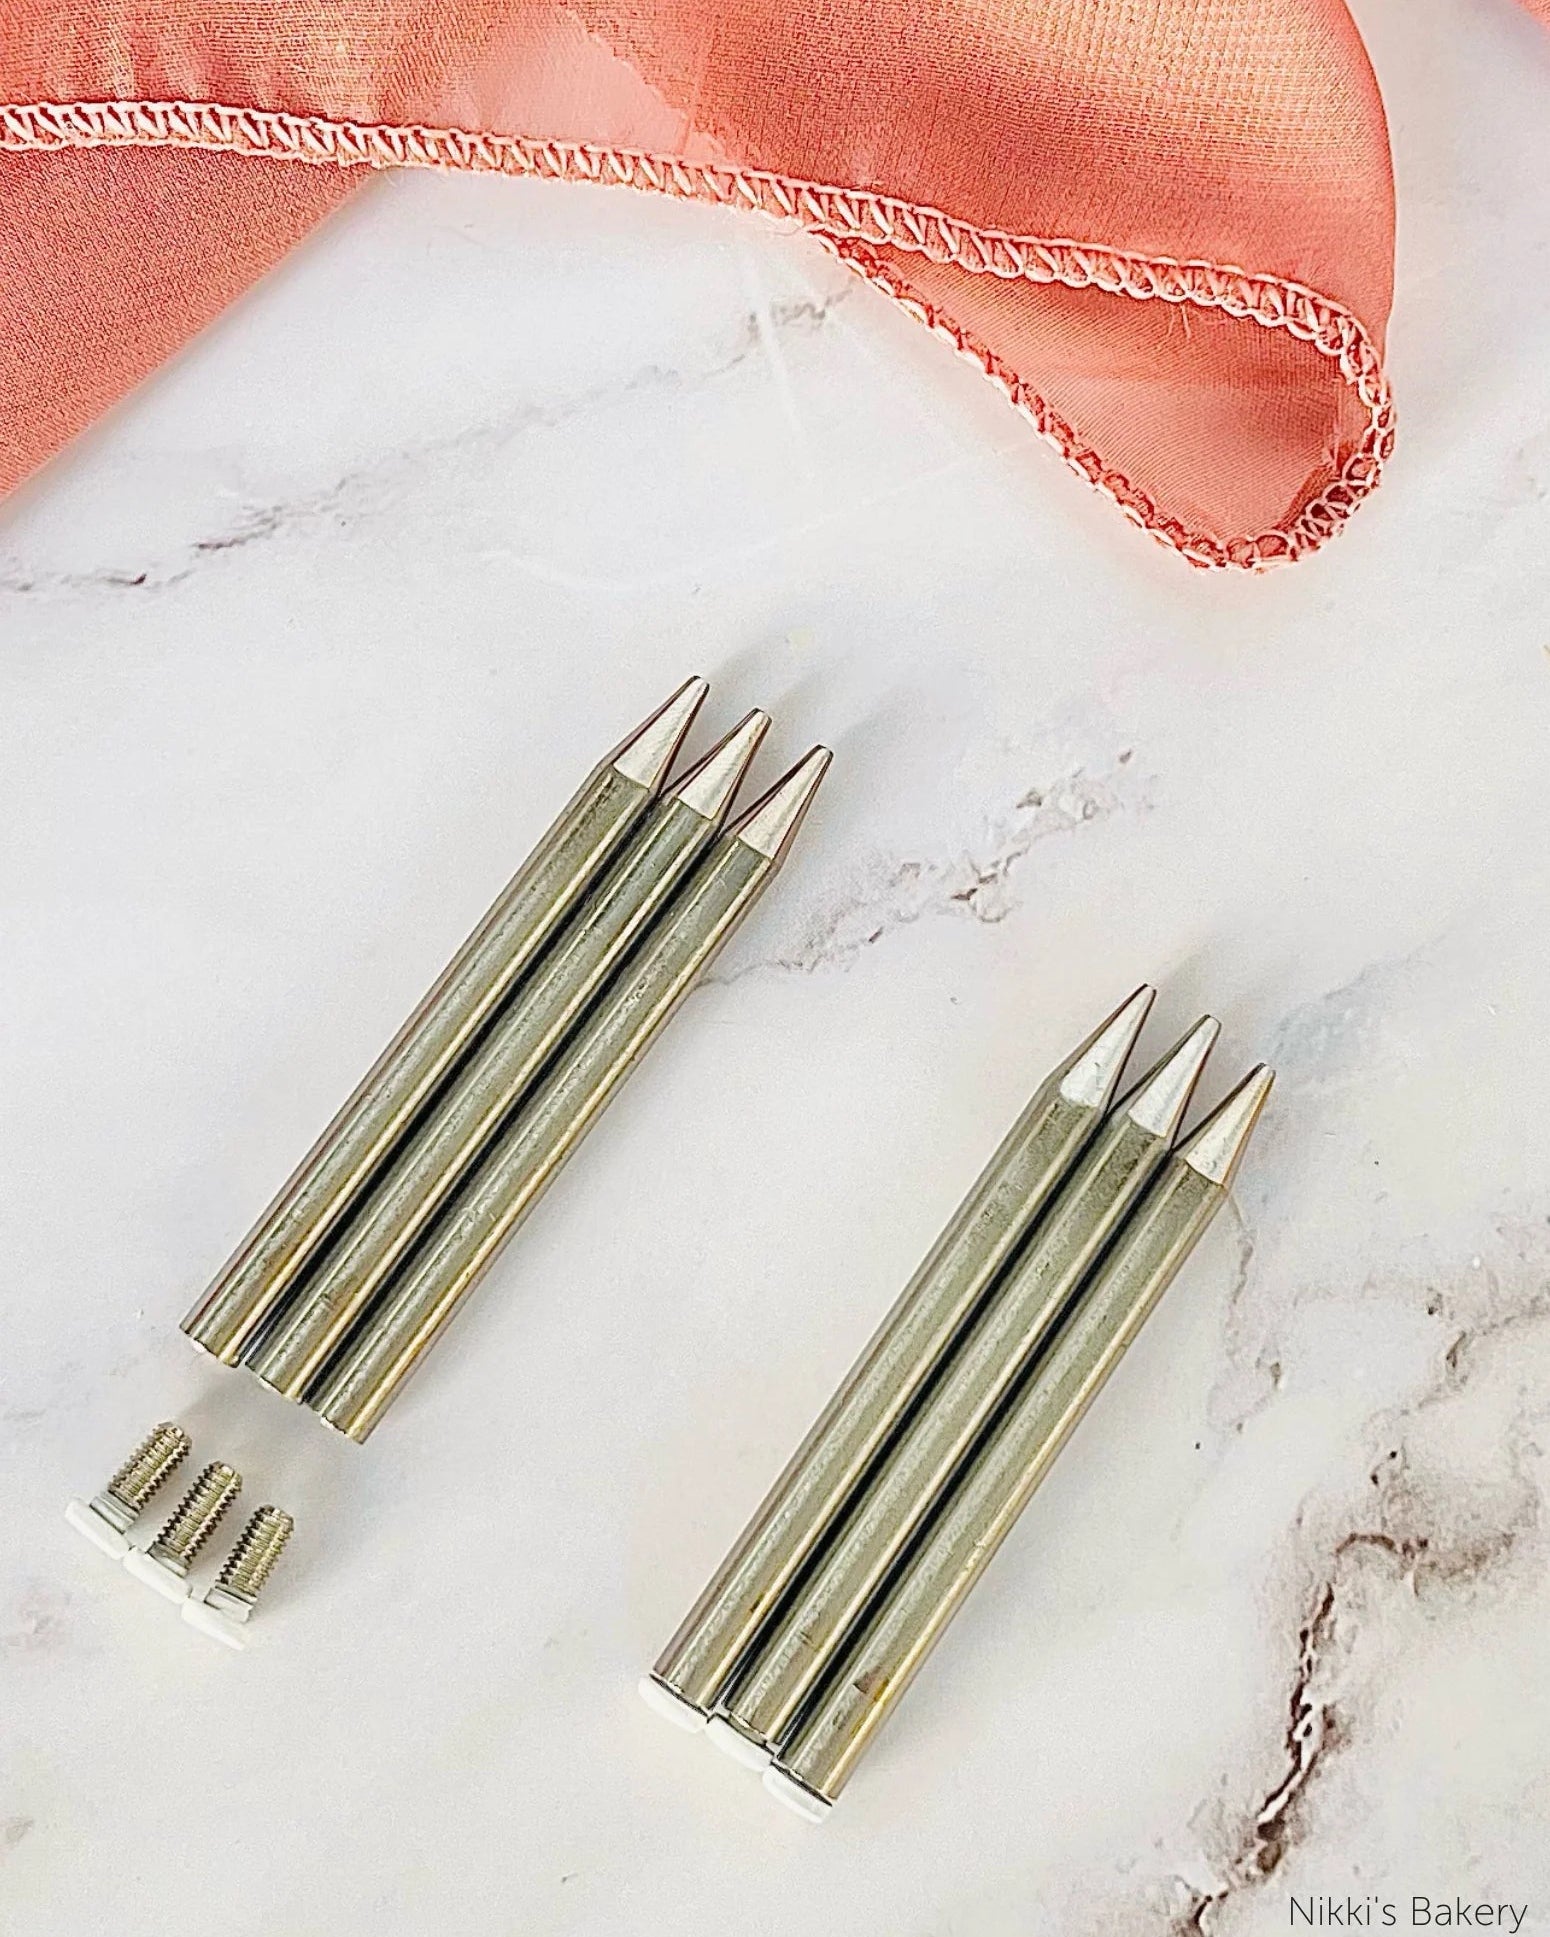
What you will need
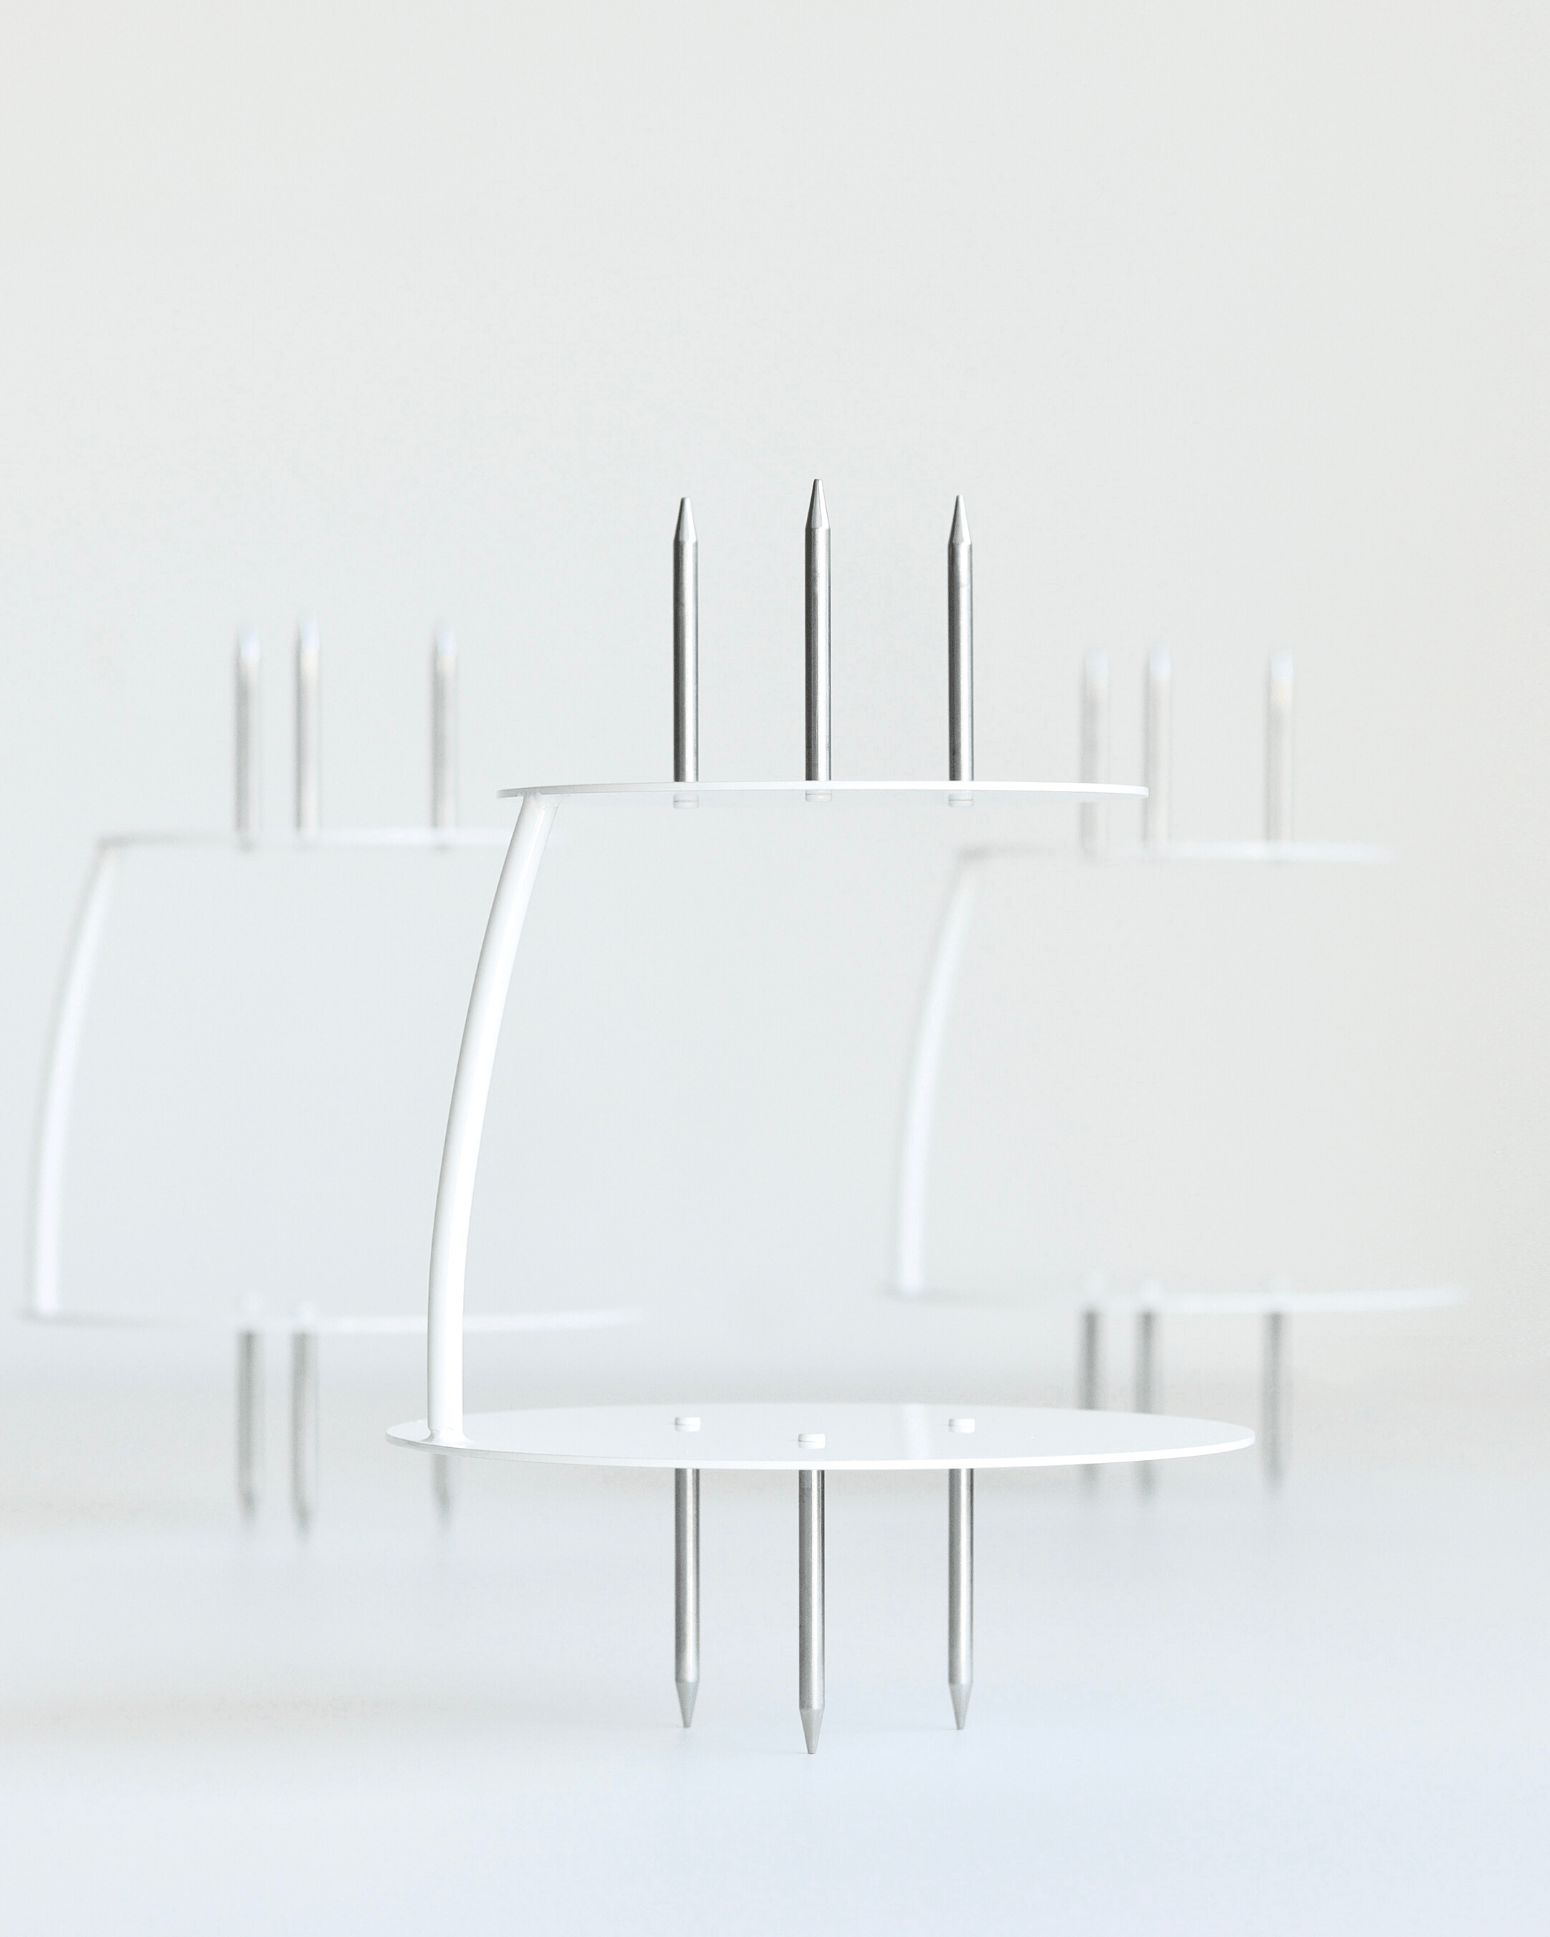
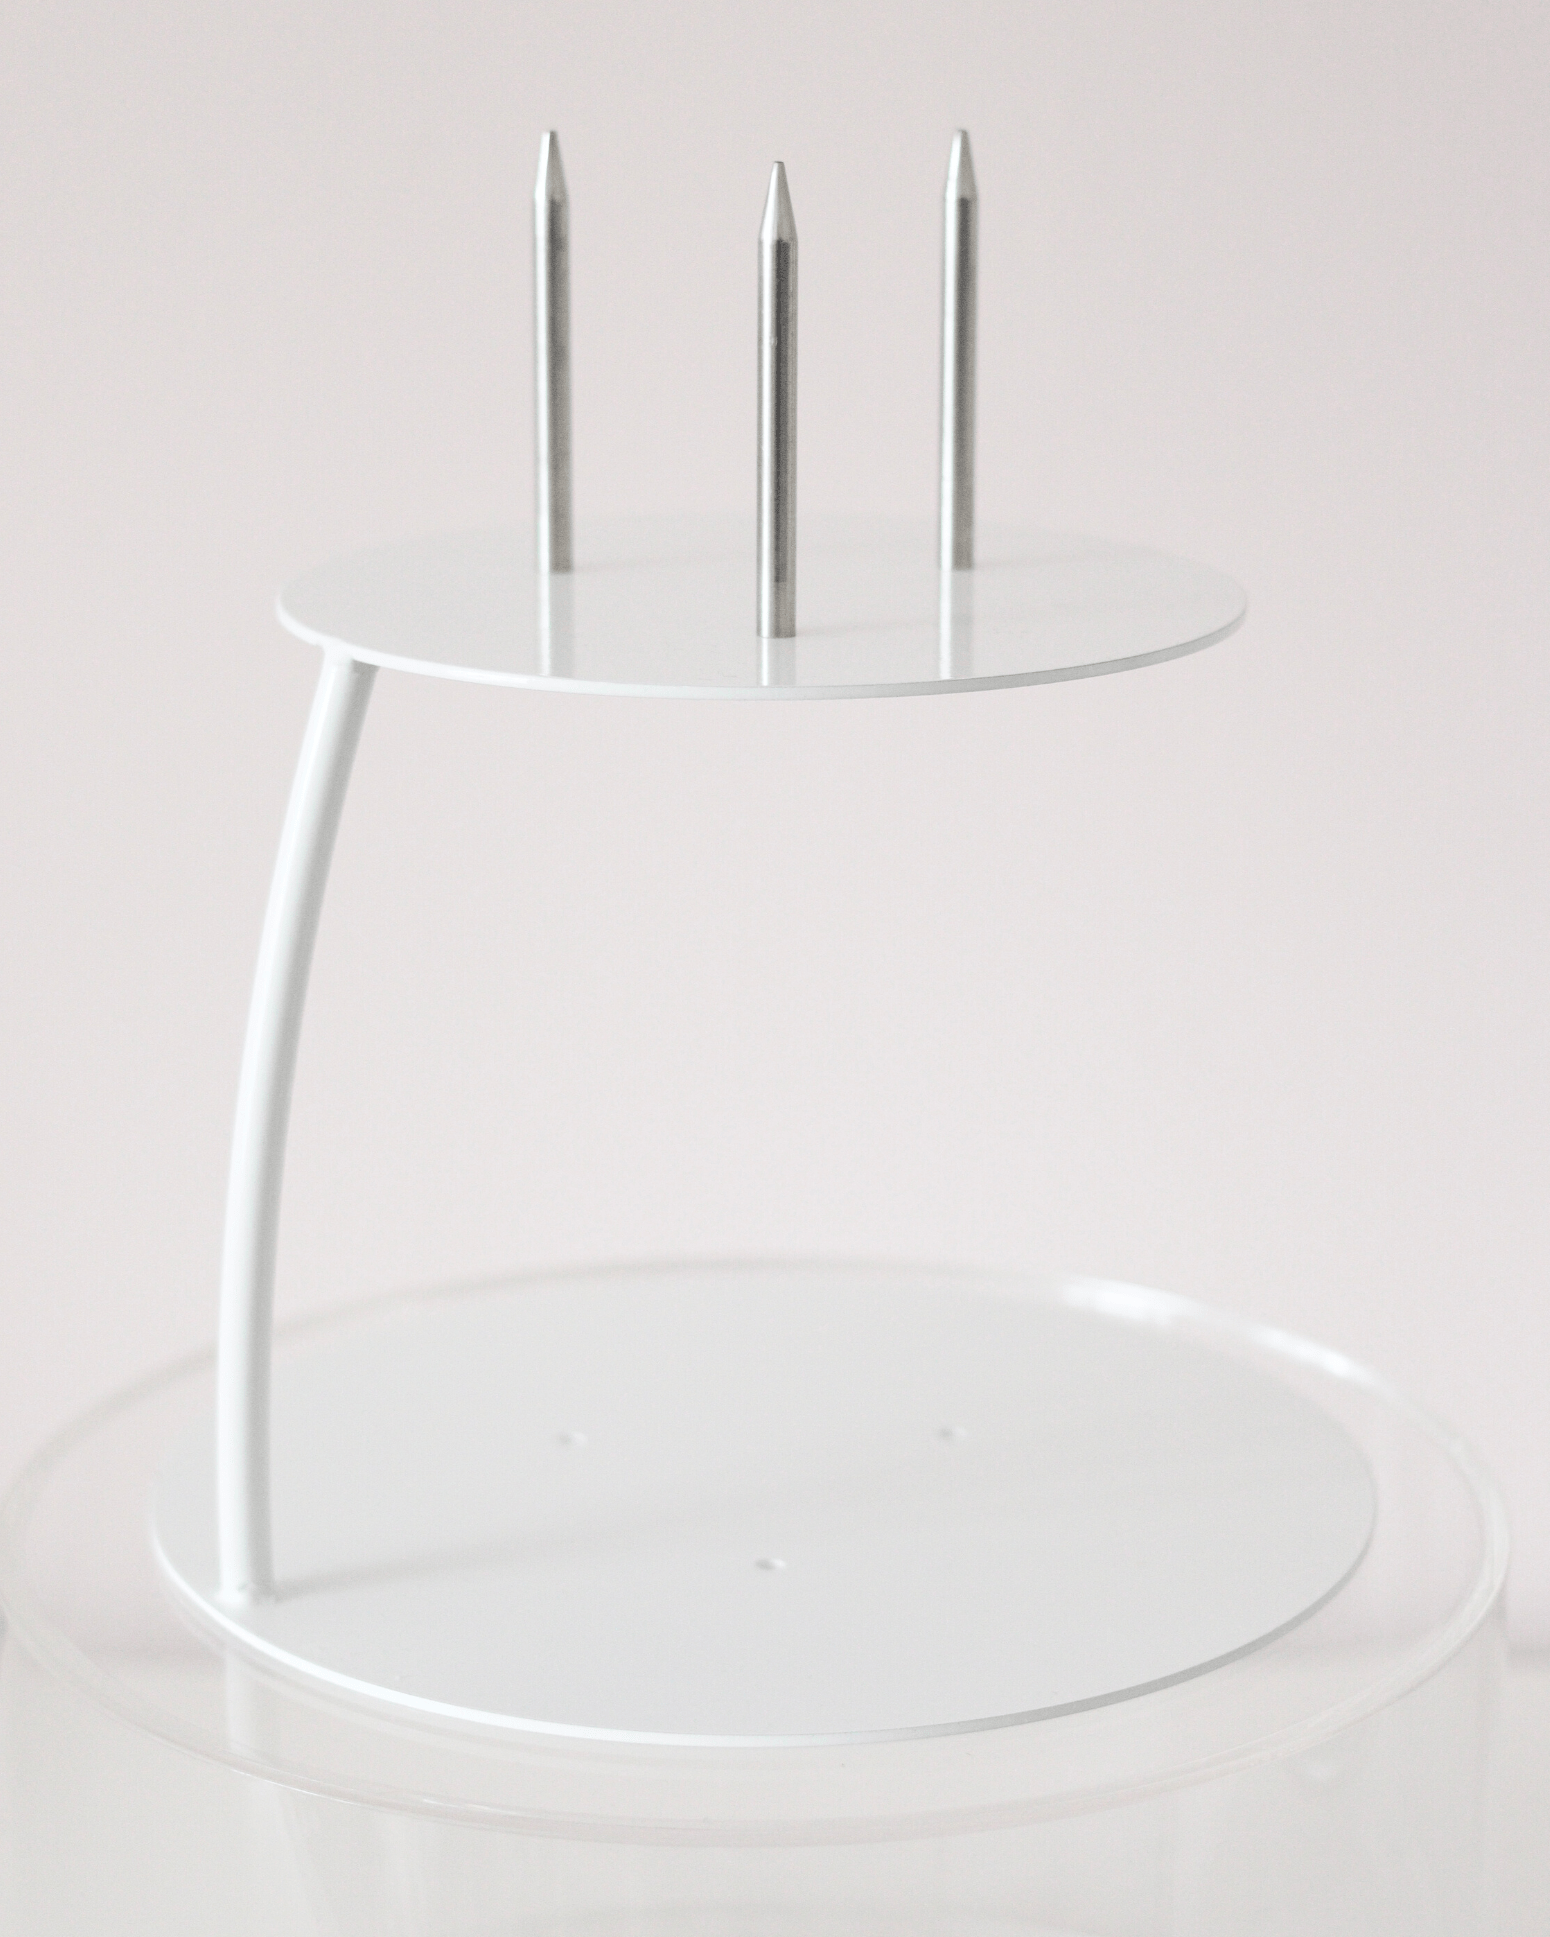
- Your chosen floating tier separator, with PropSecure pins if you are locking the build
- A properly dowelled base tier if you are using a real cake
- Royal icing, ganache, buttercream or melted chocolate to secure the plates
- Sugar paste, plus corn flour or icing sugar for rolling
- Vegetable shortening or cooled boiled water to make surfaces tacky
- A cake smoother, a sharp knife, and a piece of acetate for handling panels
- Ribbon, sugar or dried flowers, or moulds to finish and conceal the support

How to Create a Floating Tier Cake, Step by Step
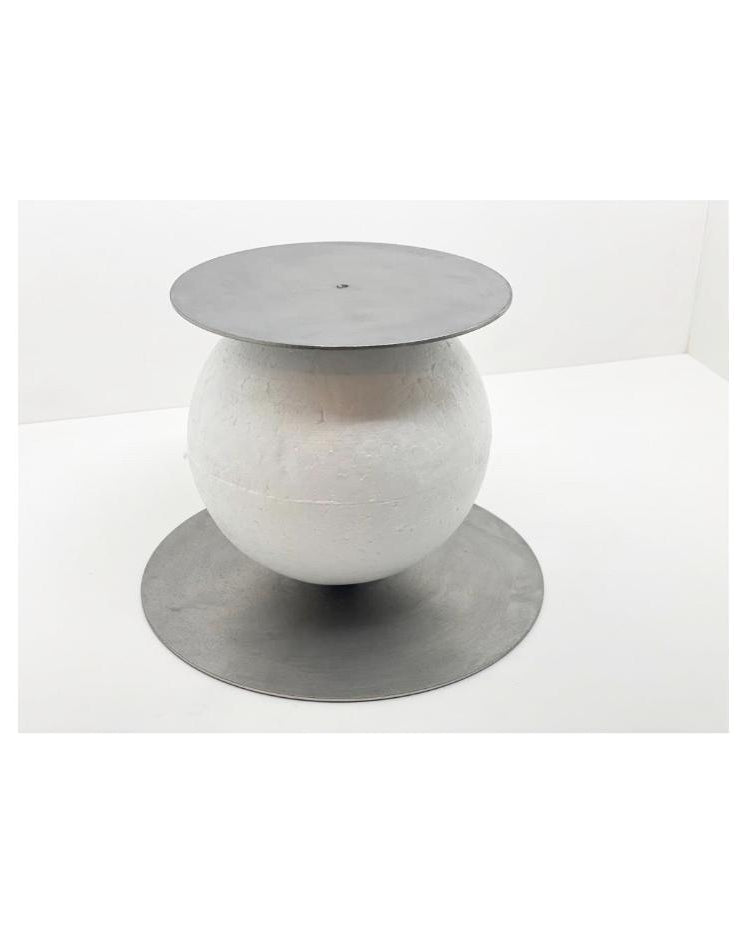
Step one: attach the separator
- If you are using a real cake, make sure the base tier is properly dowelled before you begin.
- Spread melted chocolate, royal icing, ganache or buttercream smoothly onto the cake as your adhesive.
- Line up the separator, press it gently into place, and leave it to set so it is securely attached.
Step two: cover the bottom plate
- Roll out a circle of sugar paste larger than the bottom plate, using corn flour or icing sugar to stop it sticking.
- Cut the paste into a rough circle and notch one edge so it sits around the Side Bar arm.
- Make the plate tacky with vegetable shortening or cooled boiled water, then lay the paste over it, aligning the notch with the arm.
- Smooth the paste down with a cake smoother and trim the excess with a knife.
Step three: cover the sides and blend the seams
- Measure the circumference and height of your cake, then roll a sugar paste panel slightly longer and deeper than that.
- Make the cake sides tacky with vegetable shortening or cooled boiled water.
- Attach the panel using a piece of acetate for easy handling, smoothing it on so the seam joins at the back.
- Trim the excess at the top, then blend the seam. Use cooled boiled water on a clean finger, or mix paste with a little water to a spreadable consistency and fill the join with a palette knife before smoothing.
Watch the full four-part PropTV series
Jen walks through every stage on PropTV: introducing the Side Bar, attaching and covering it, adding the floating tier, and decorating to complete the illusion. The full series plays in order below.

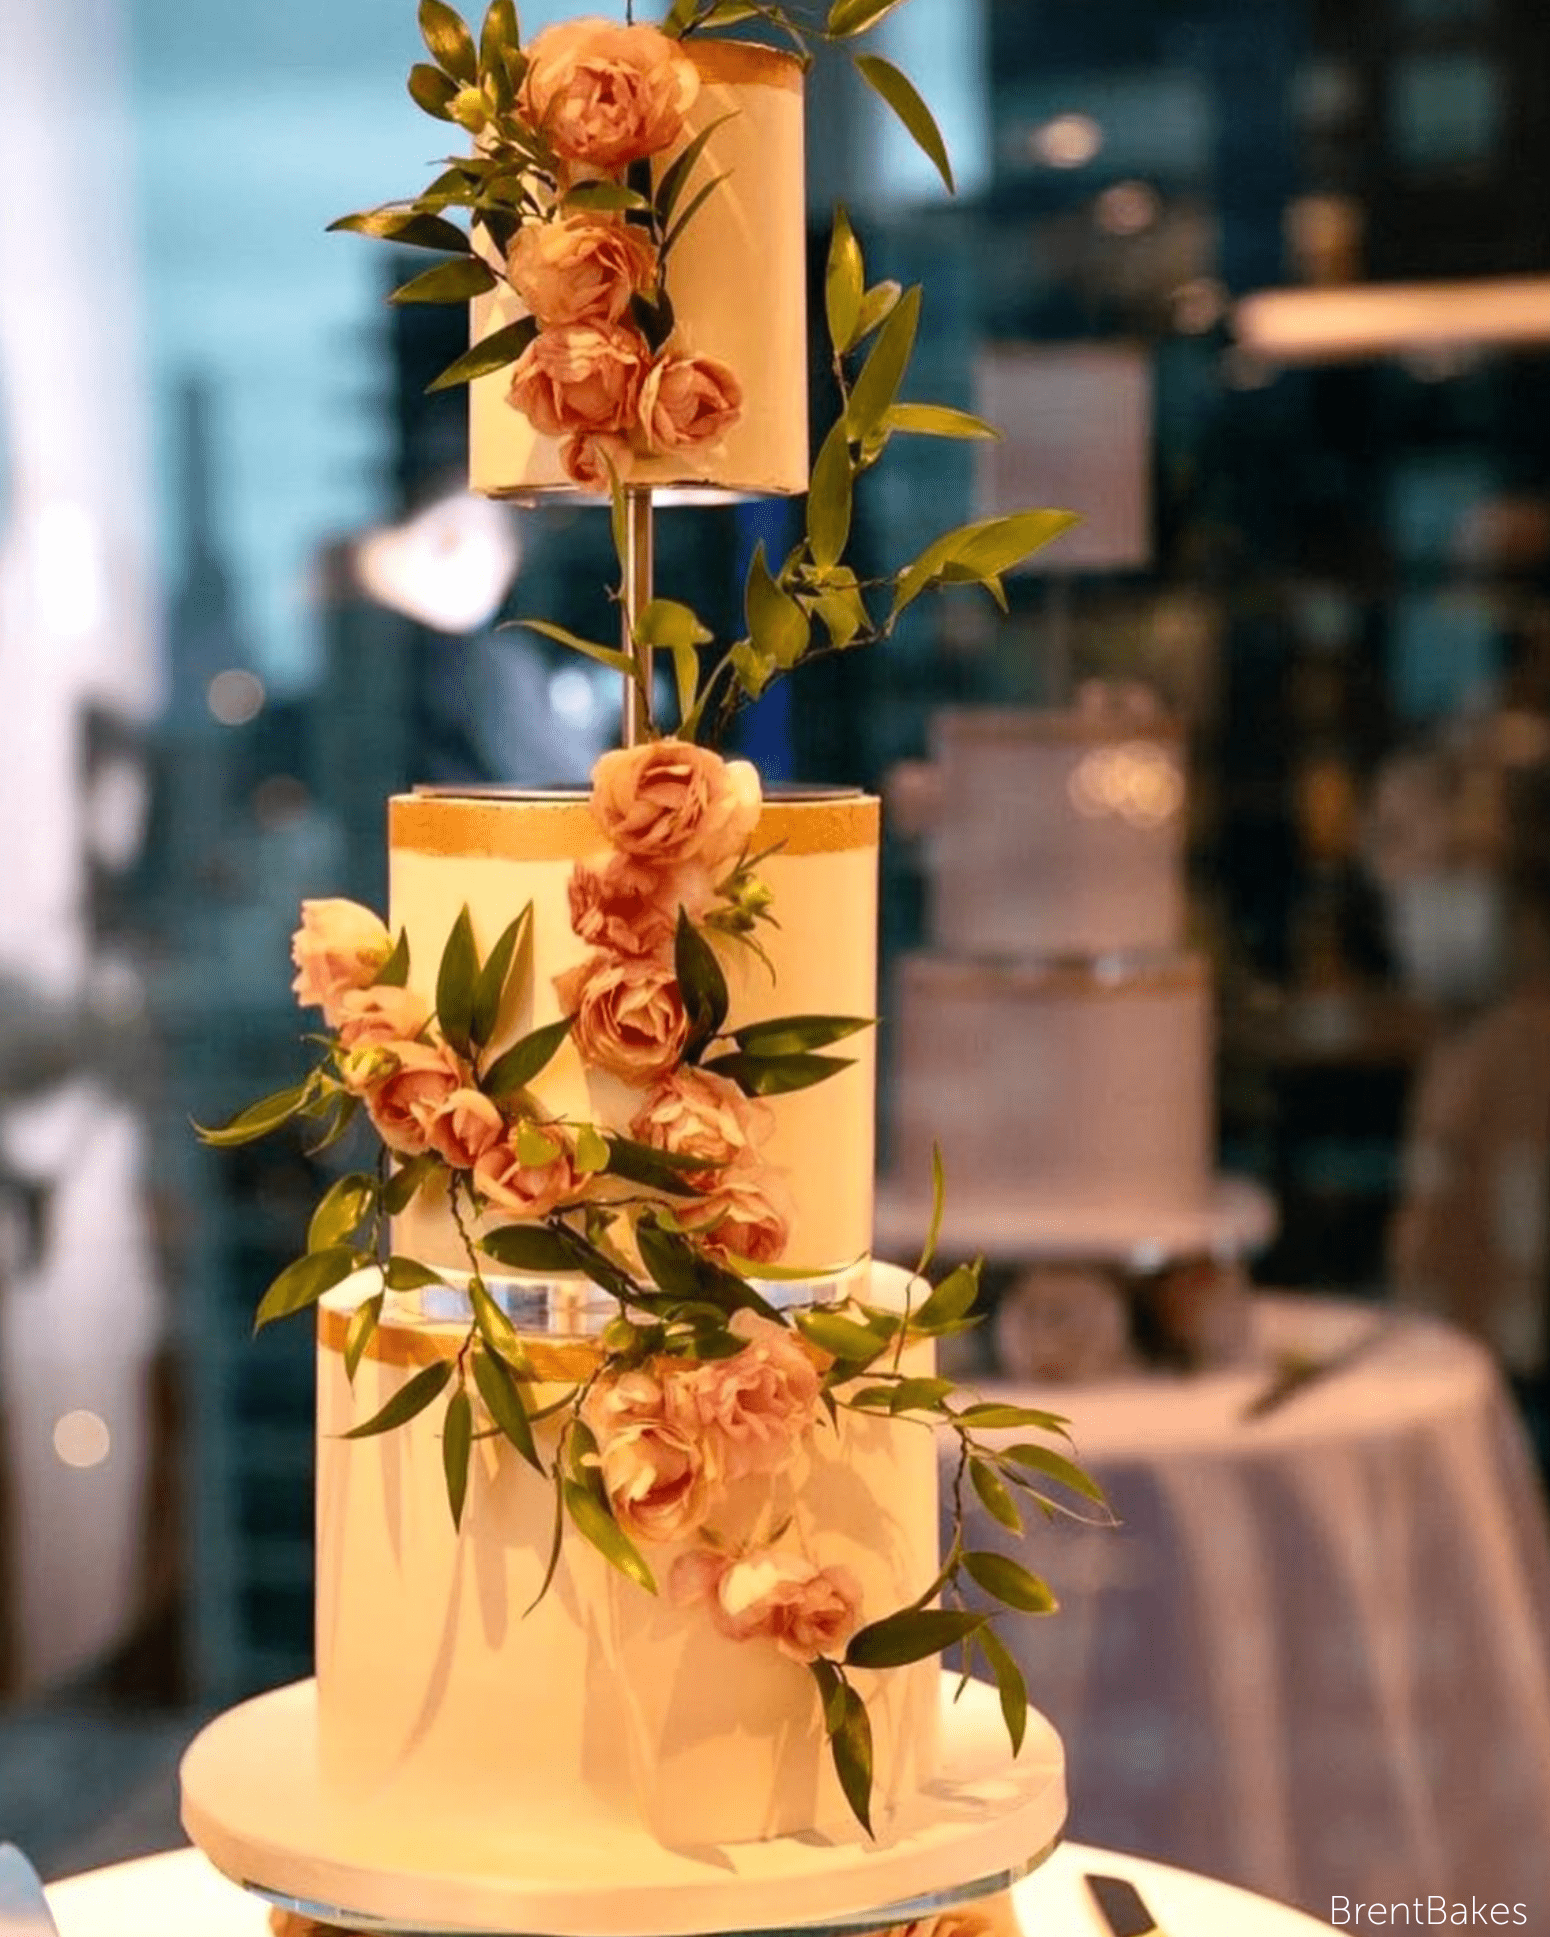
Step four: add the floating tier
- Check the separator is level before you place the top tier. With a real cake you may need to set the level first, which we cover in the pro tips below.
- Spread a thin layer of royal icing, buttercream, ganache or melted chocolate on the top plate.
- Lift the top tier carefully into place and press gently to secure it.
Step five: disguise the separator
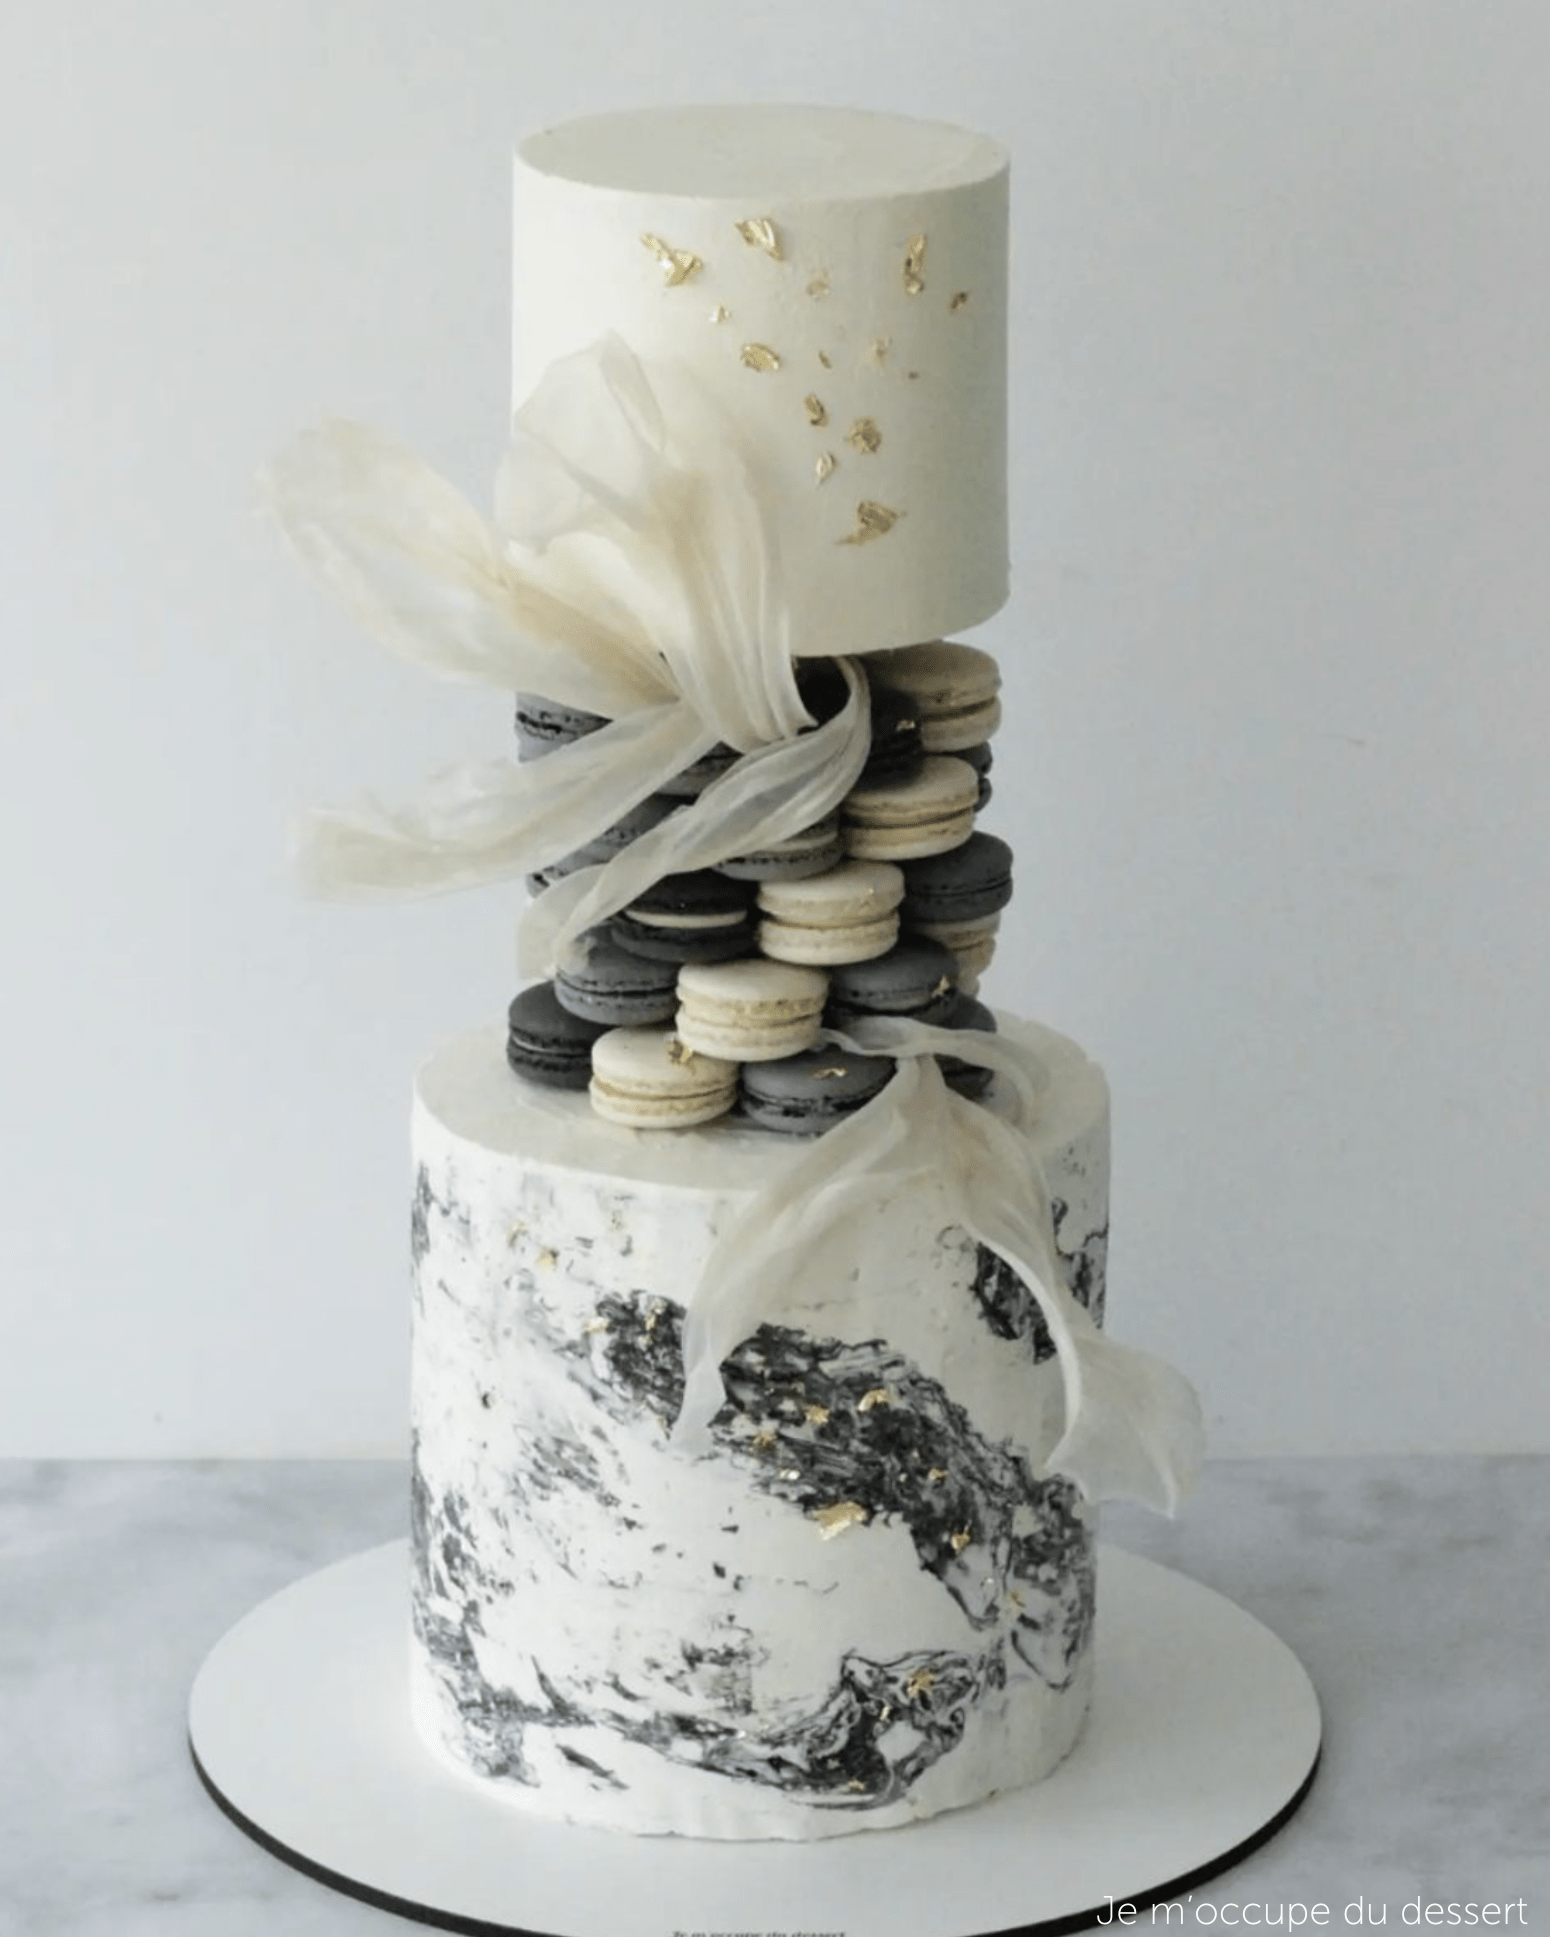
This is where the illusion comes together, and there is more than one way to do it. Choose the method that suits your design:
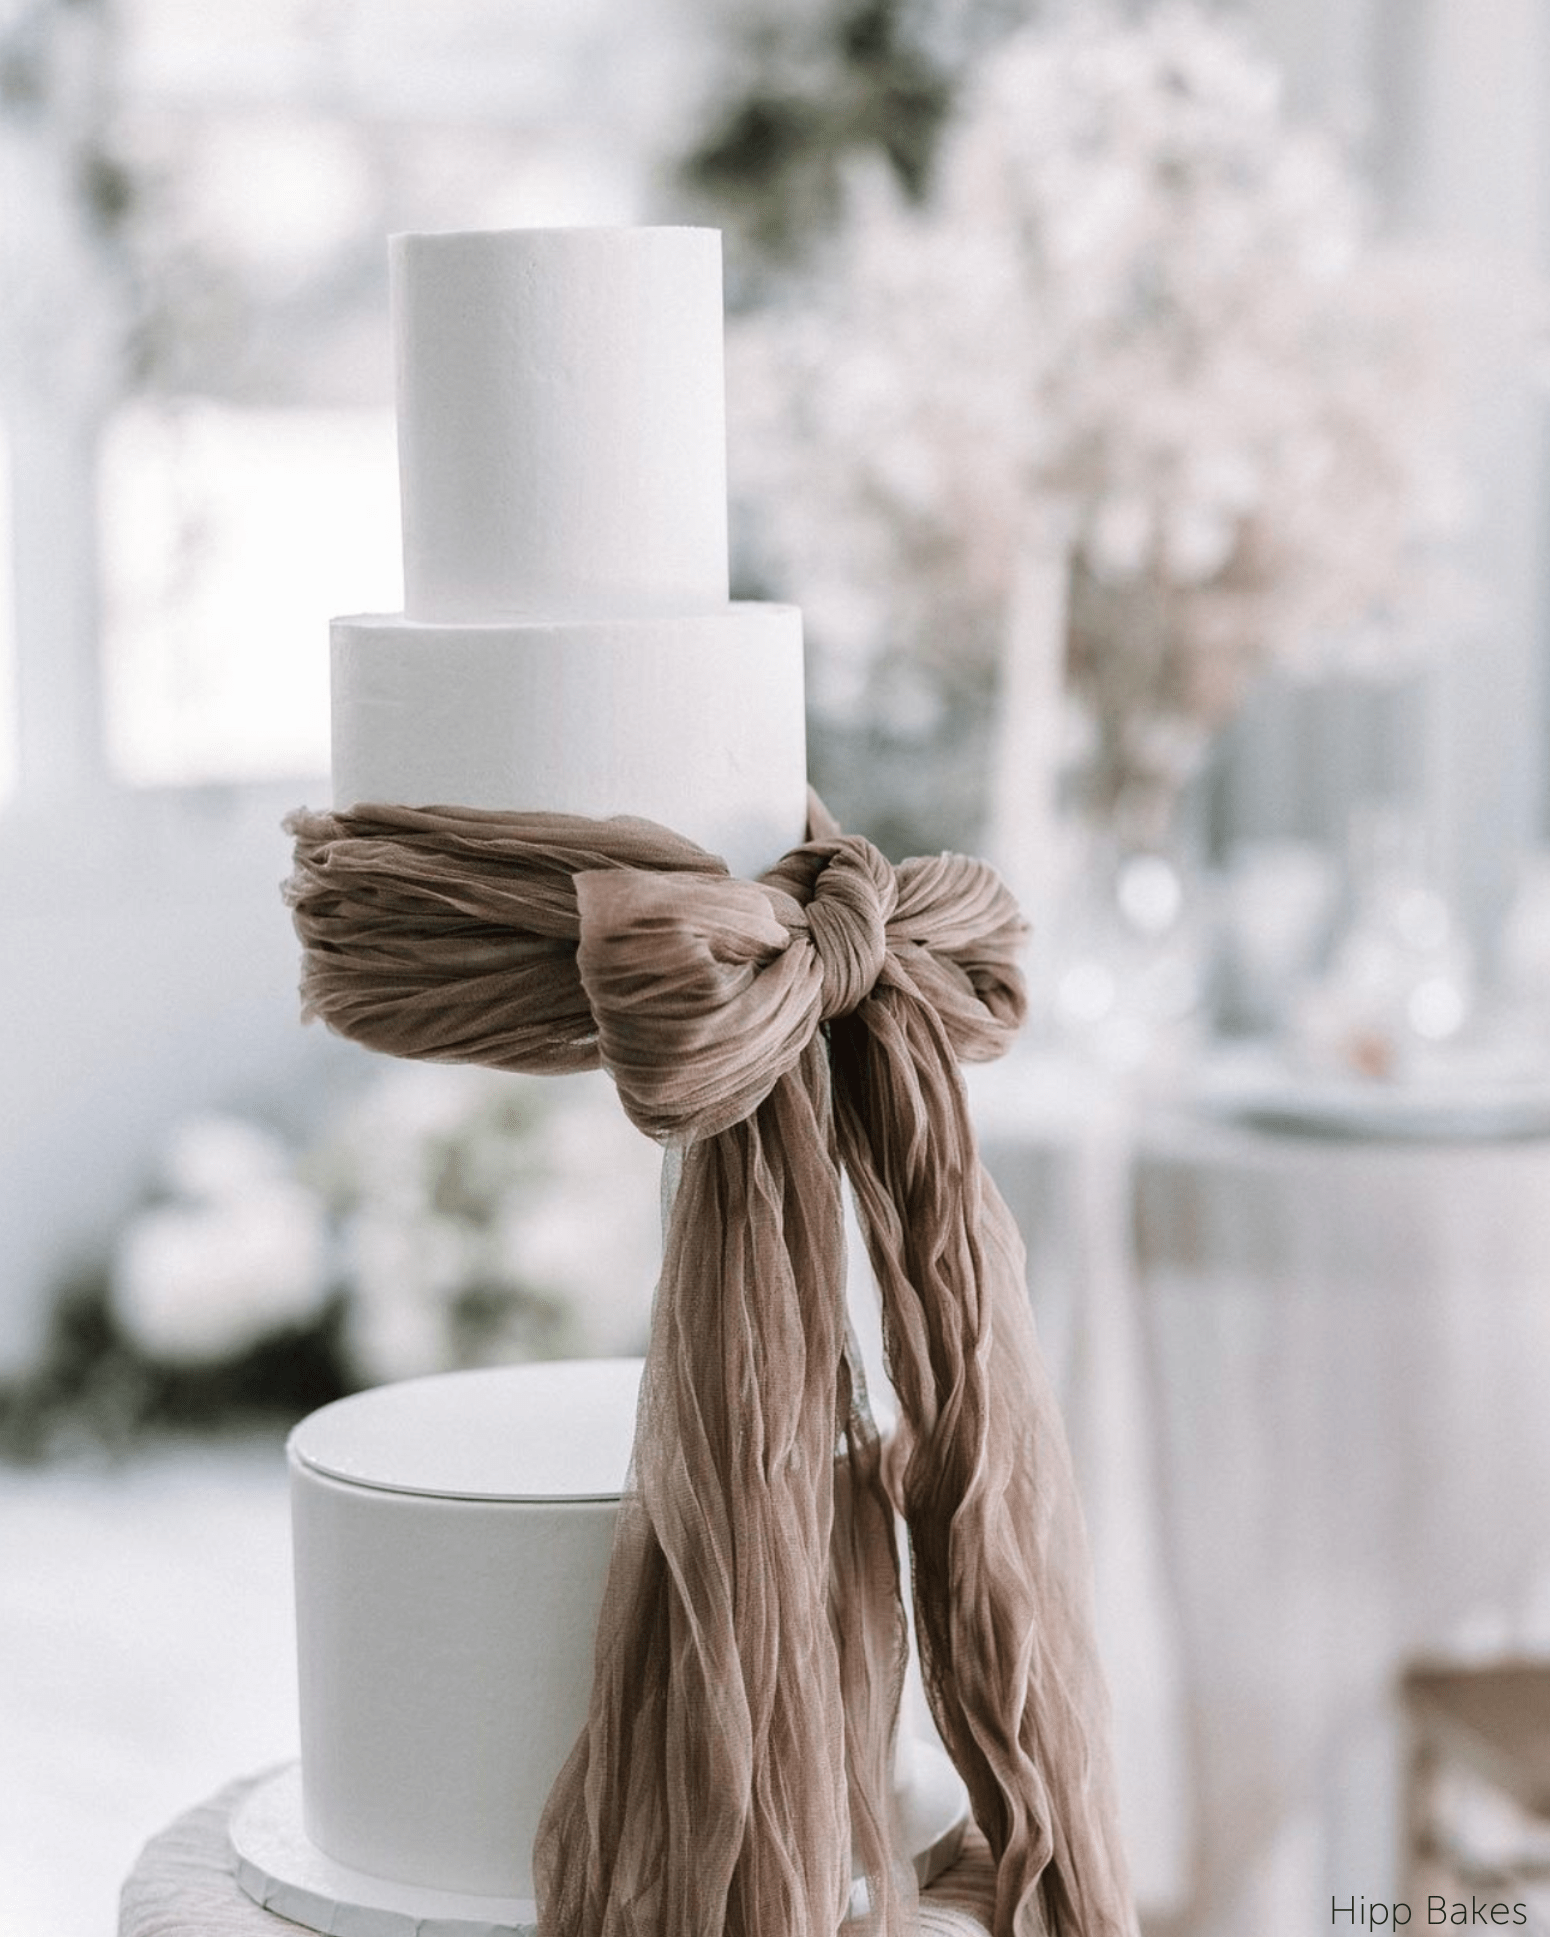
- Ribbon: tie a silk ribbon around the base of the top tier and secure it with a glue dot at the bottom of the separator.
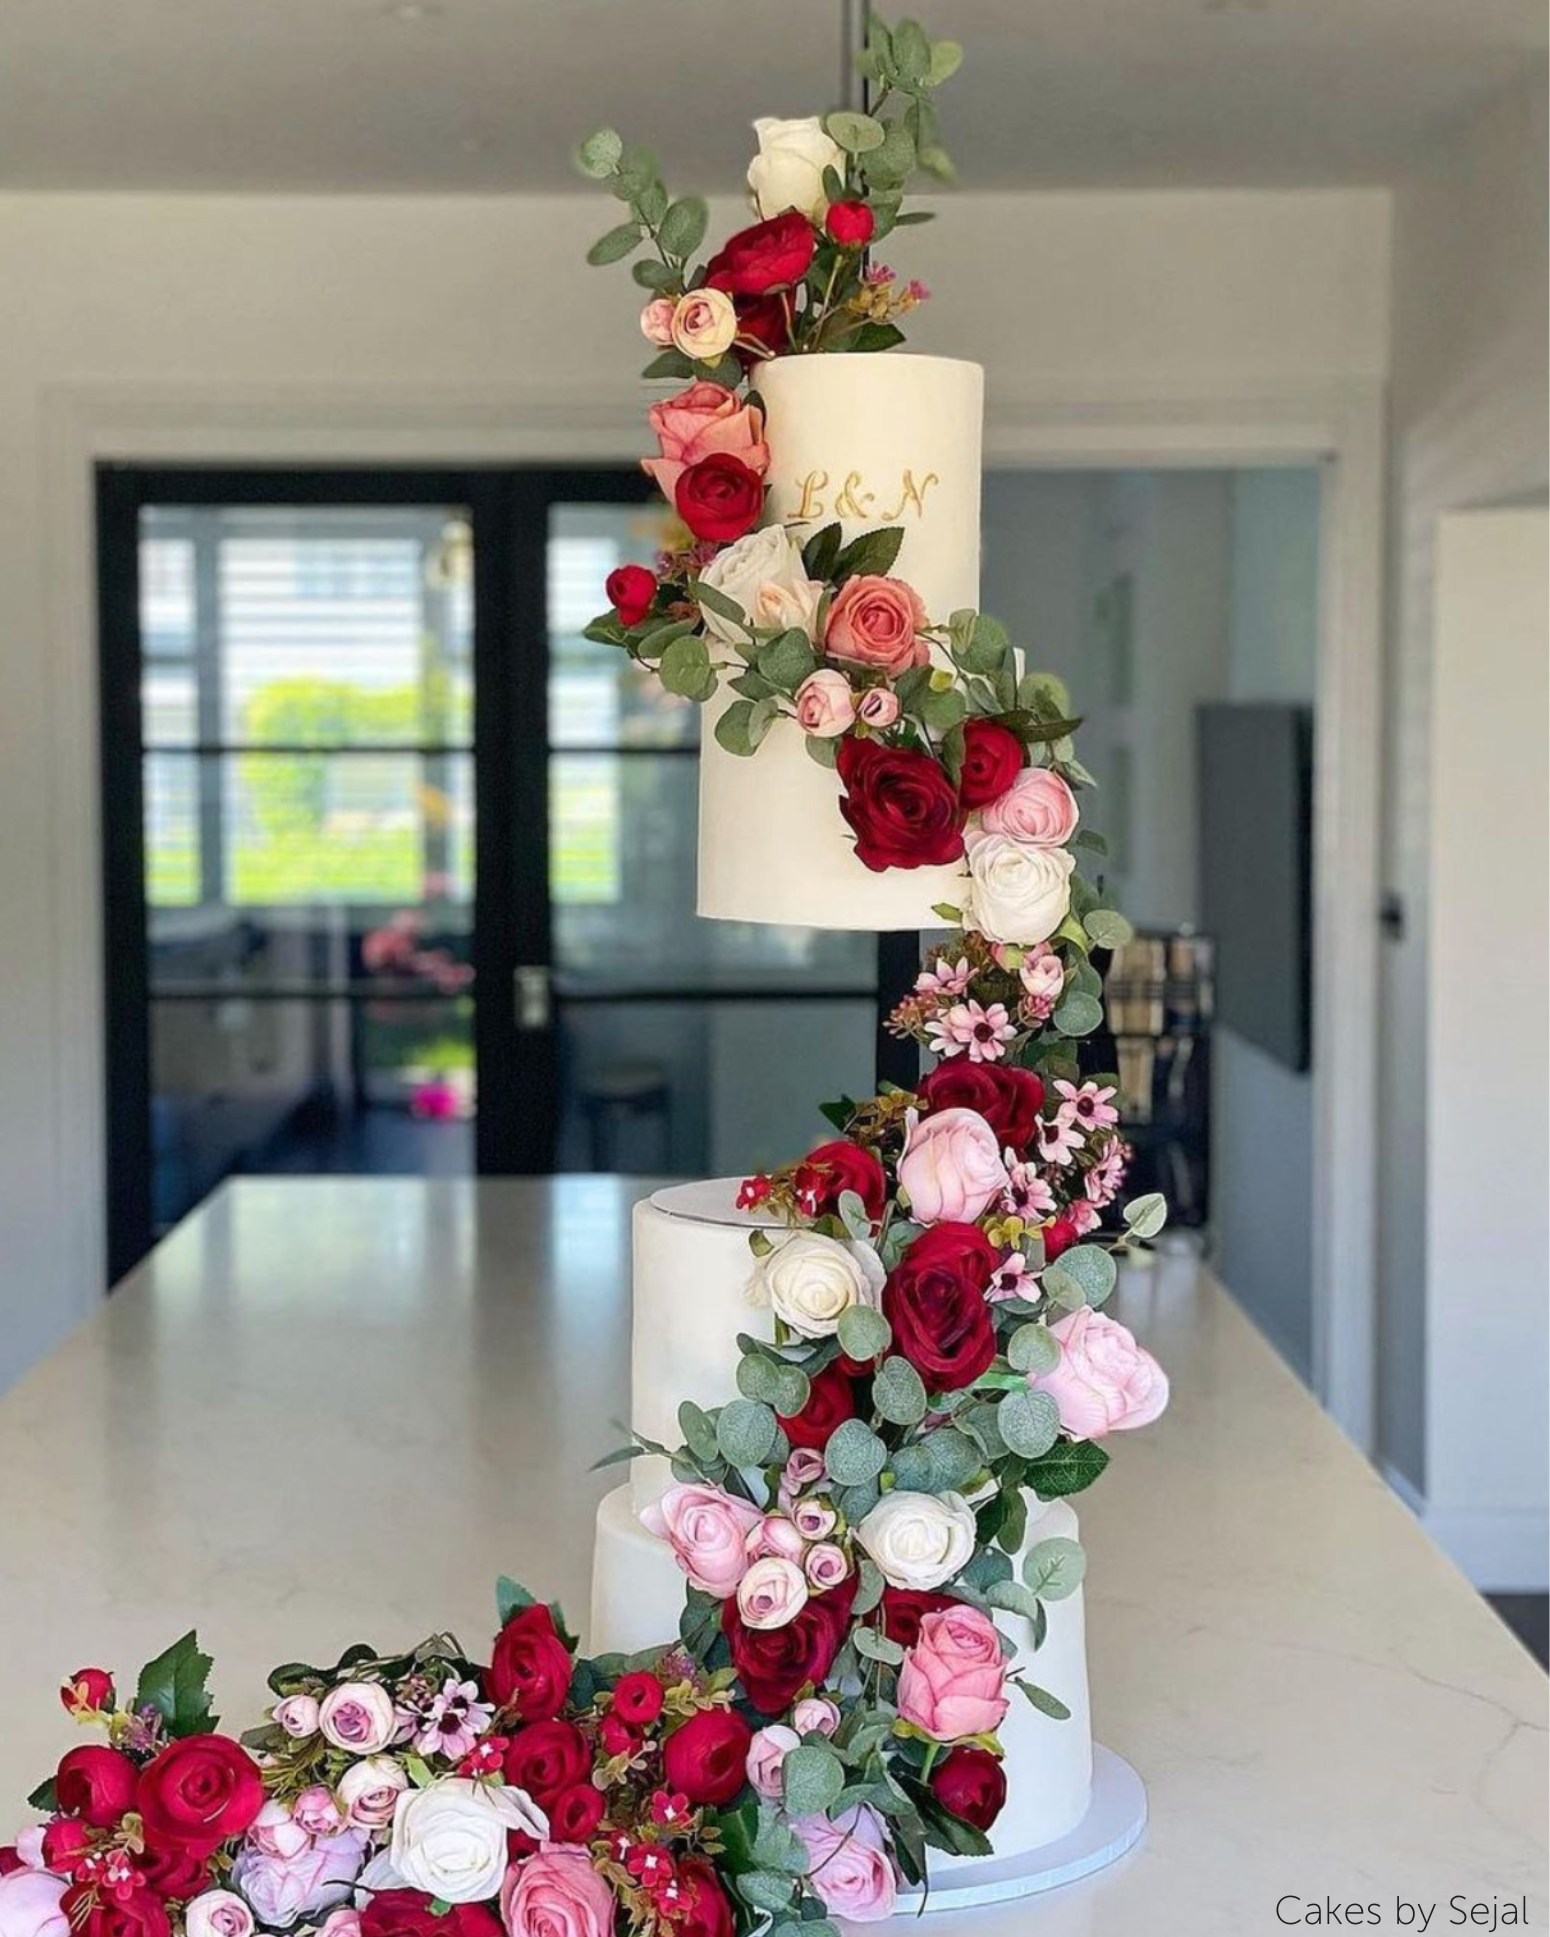
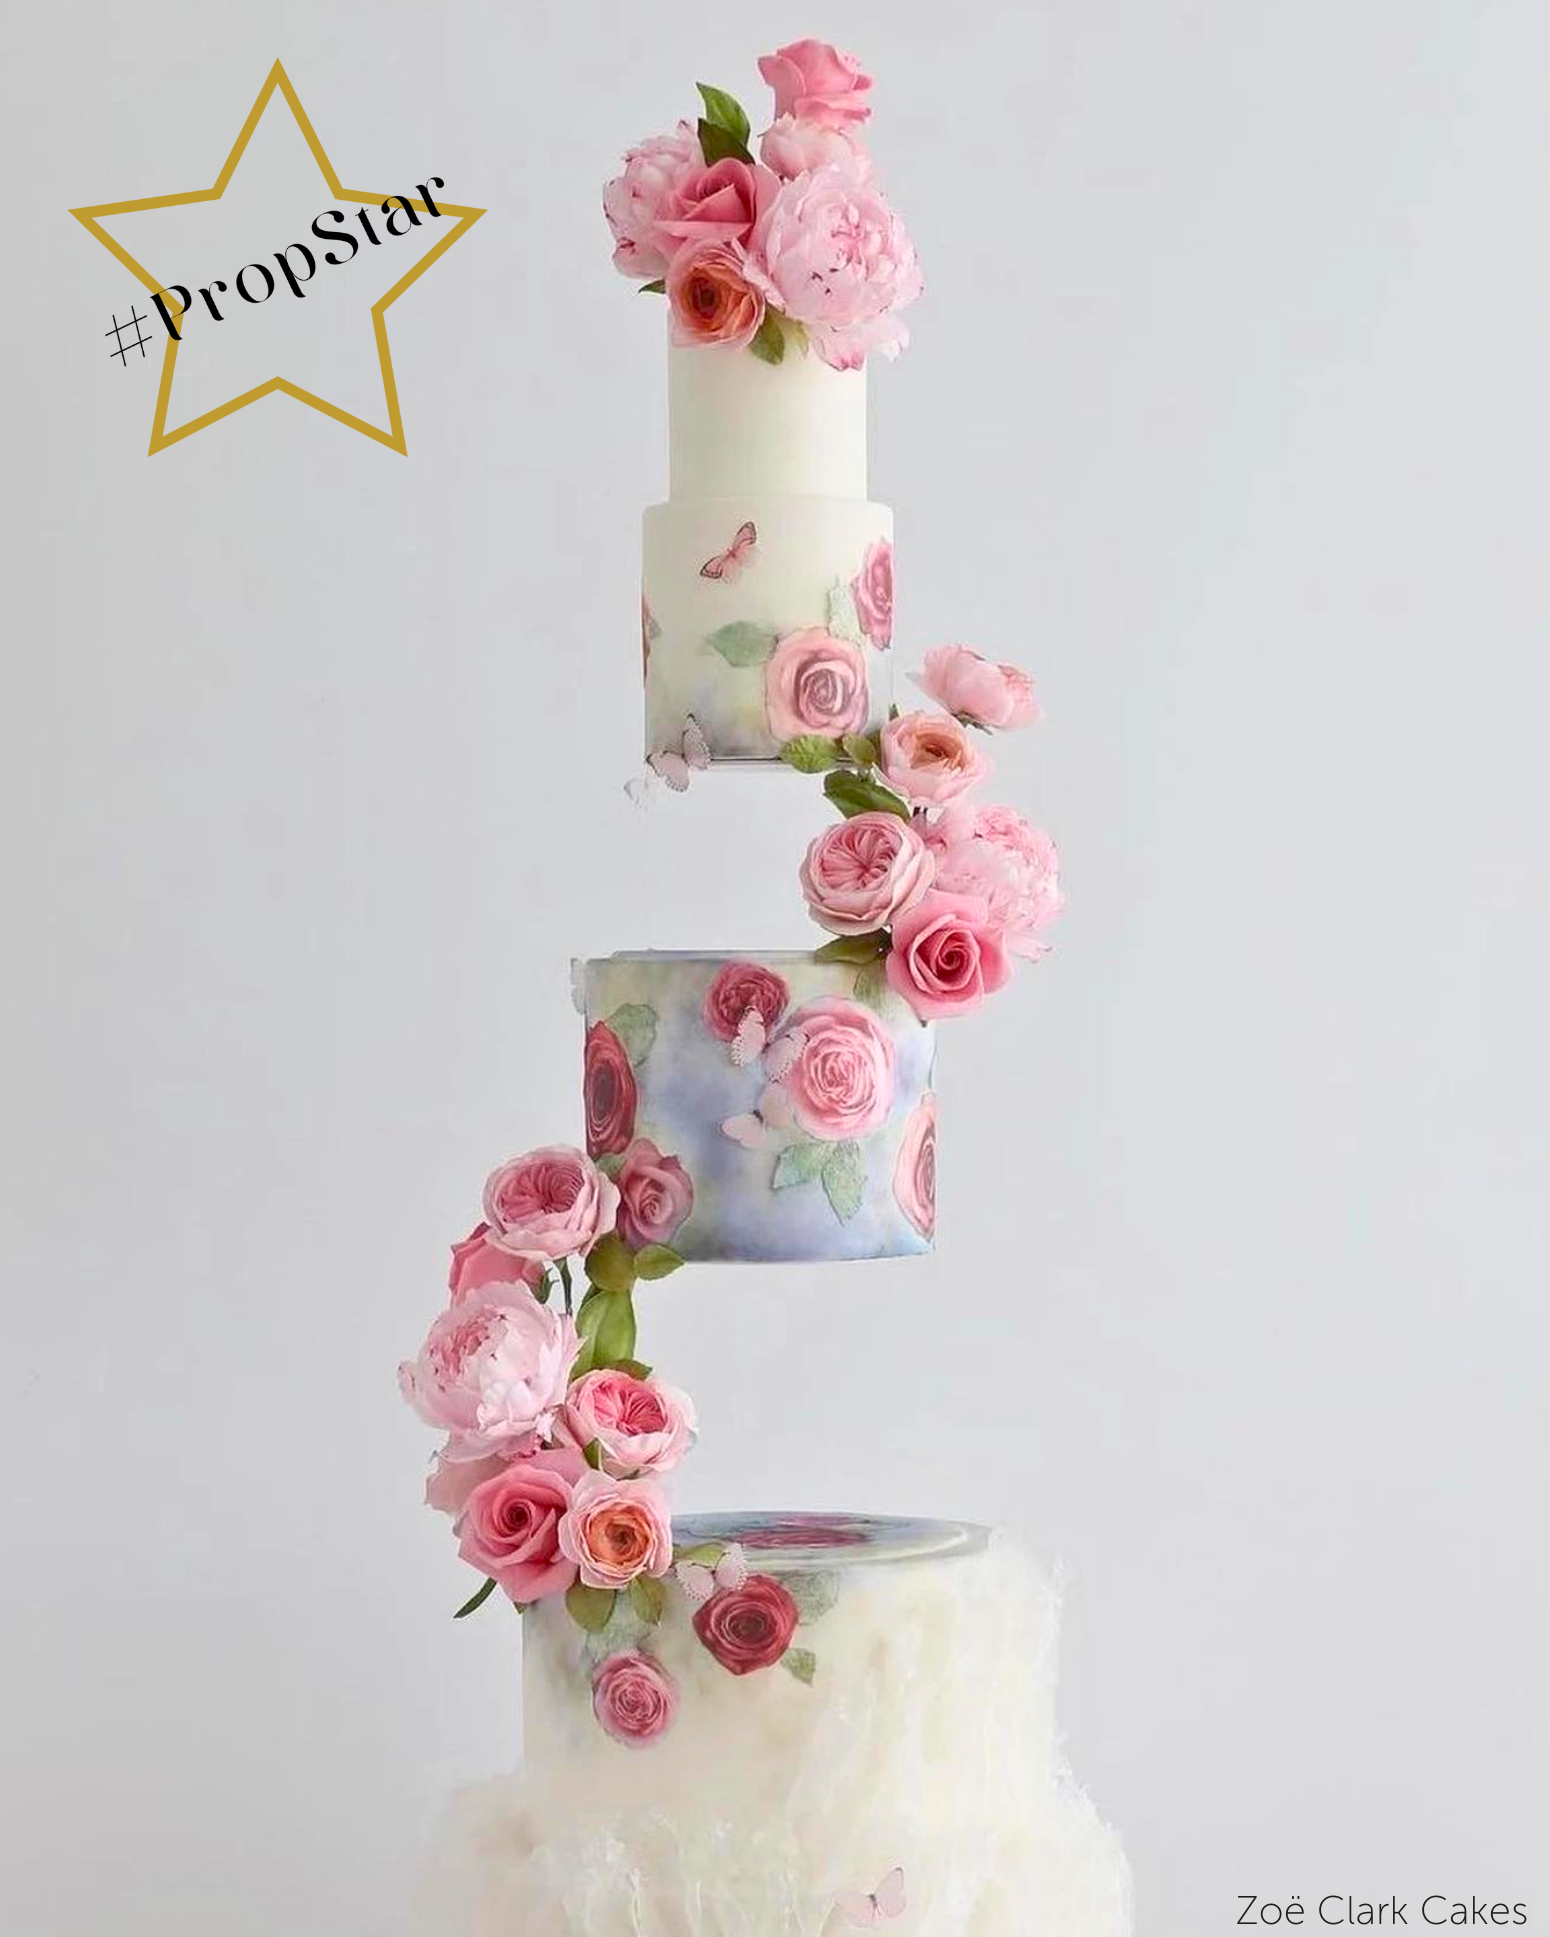
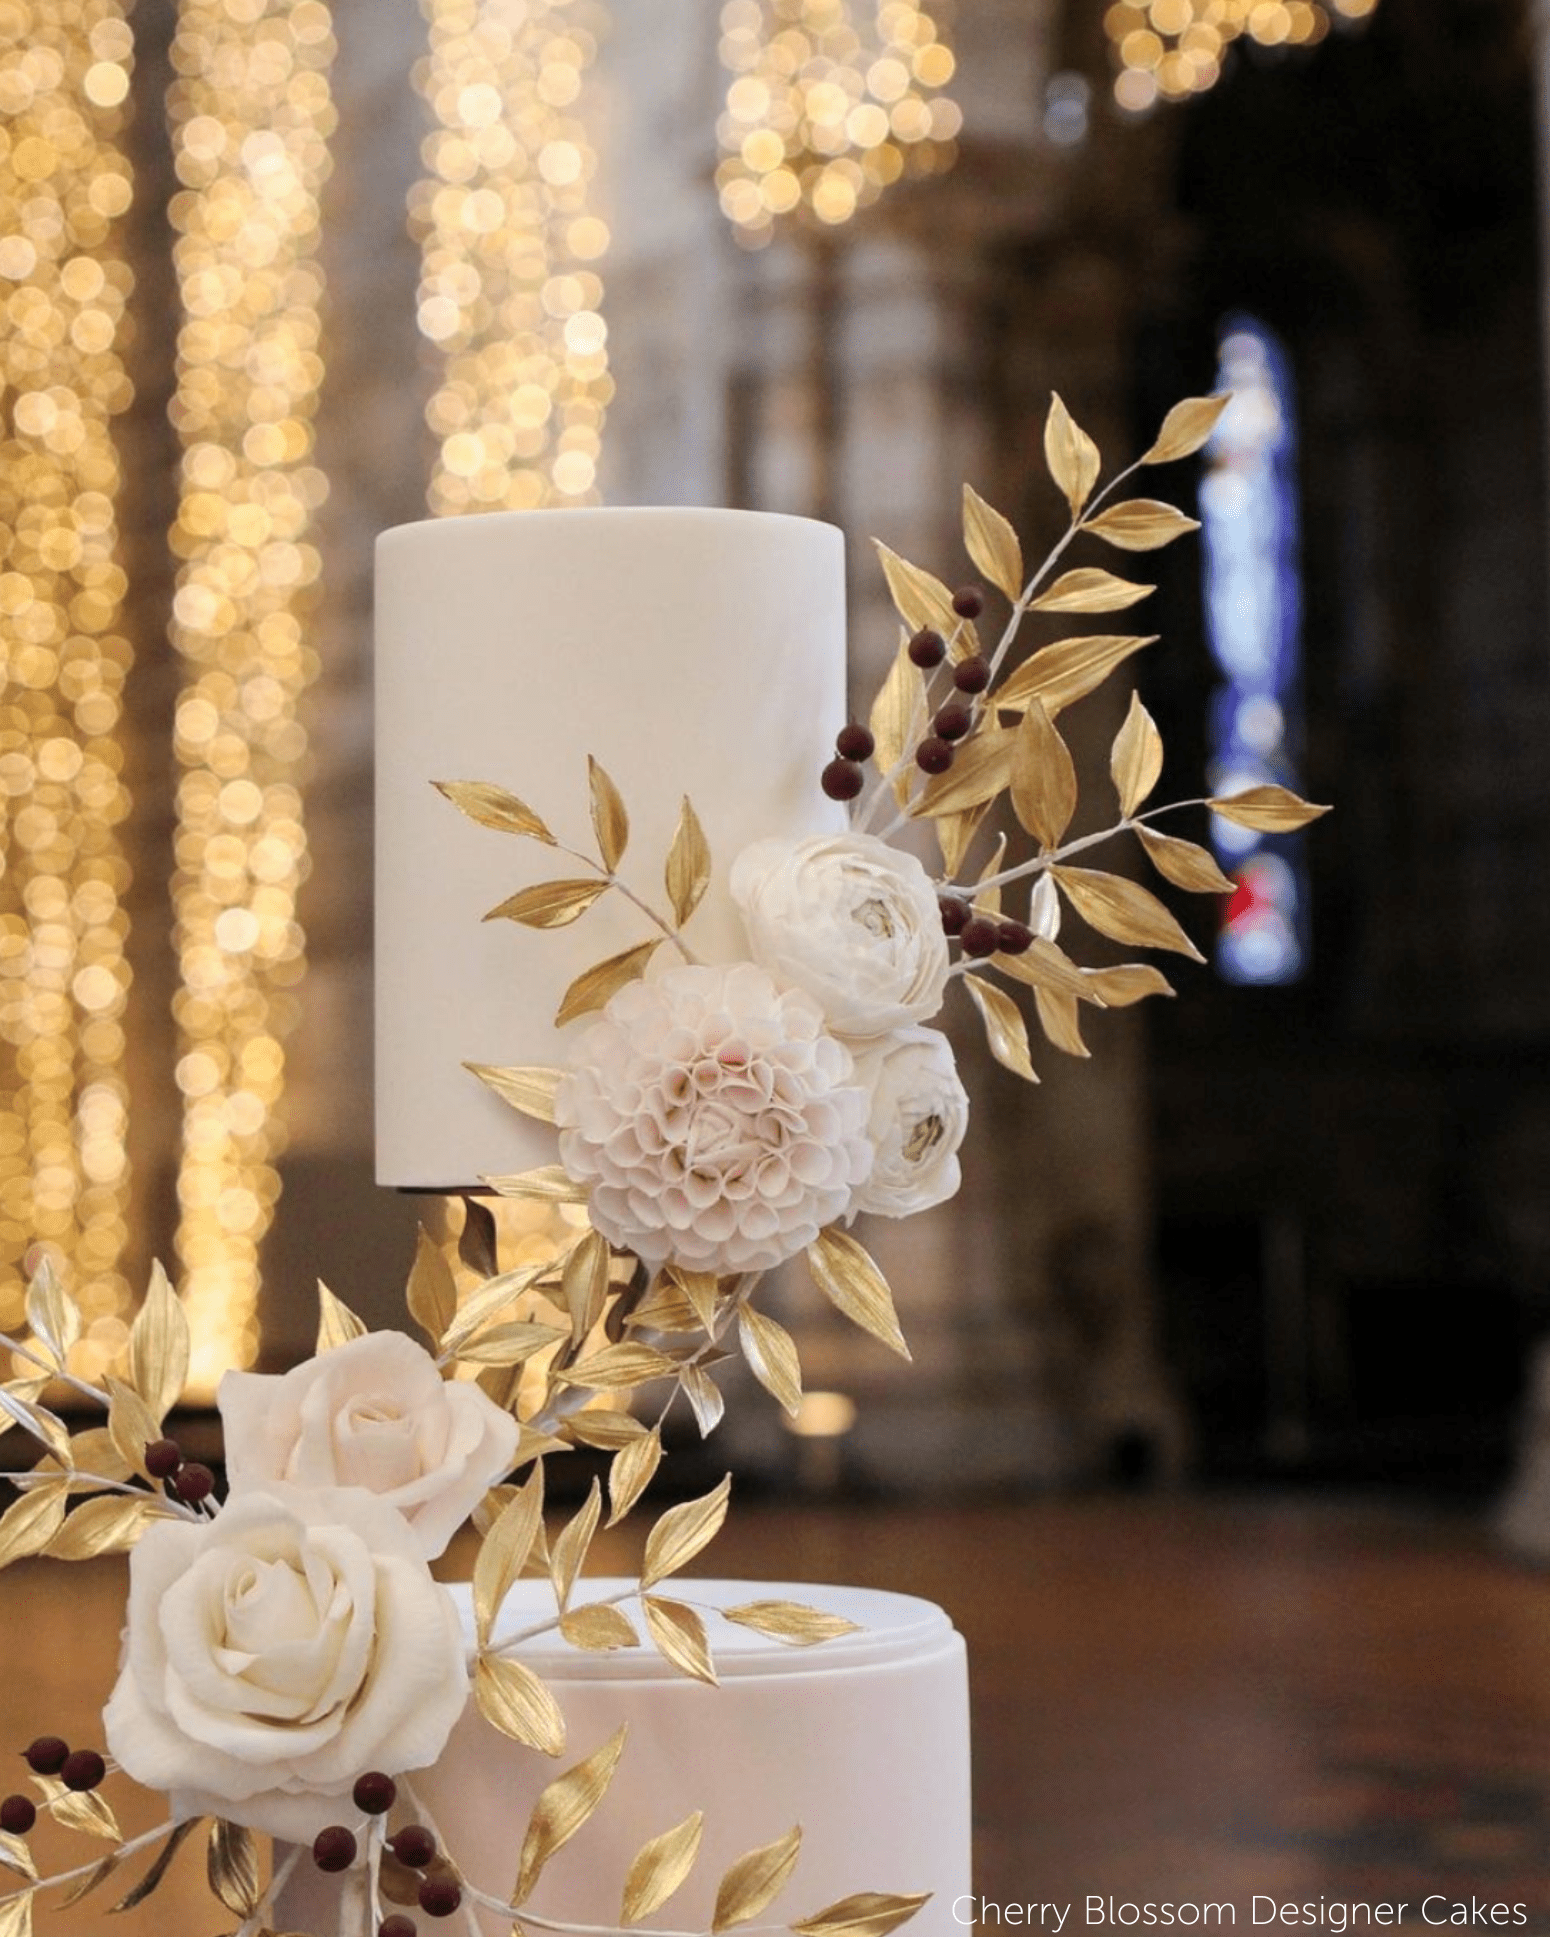
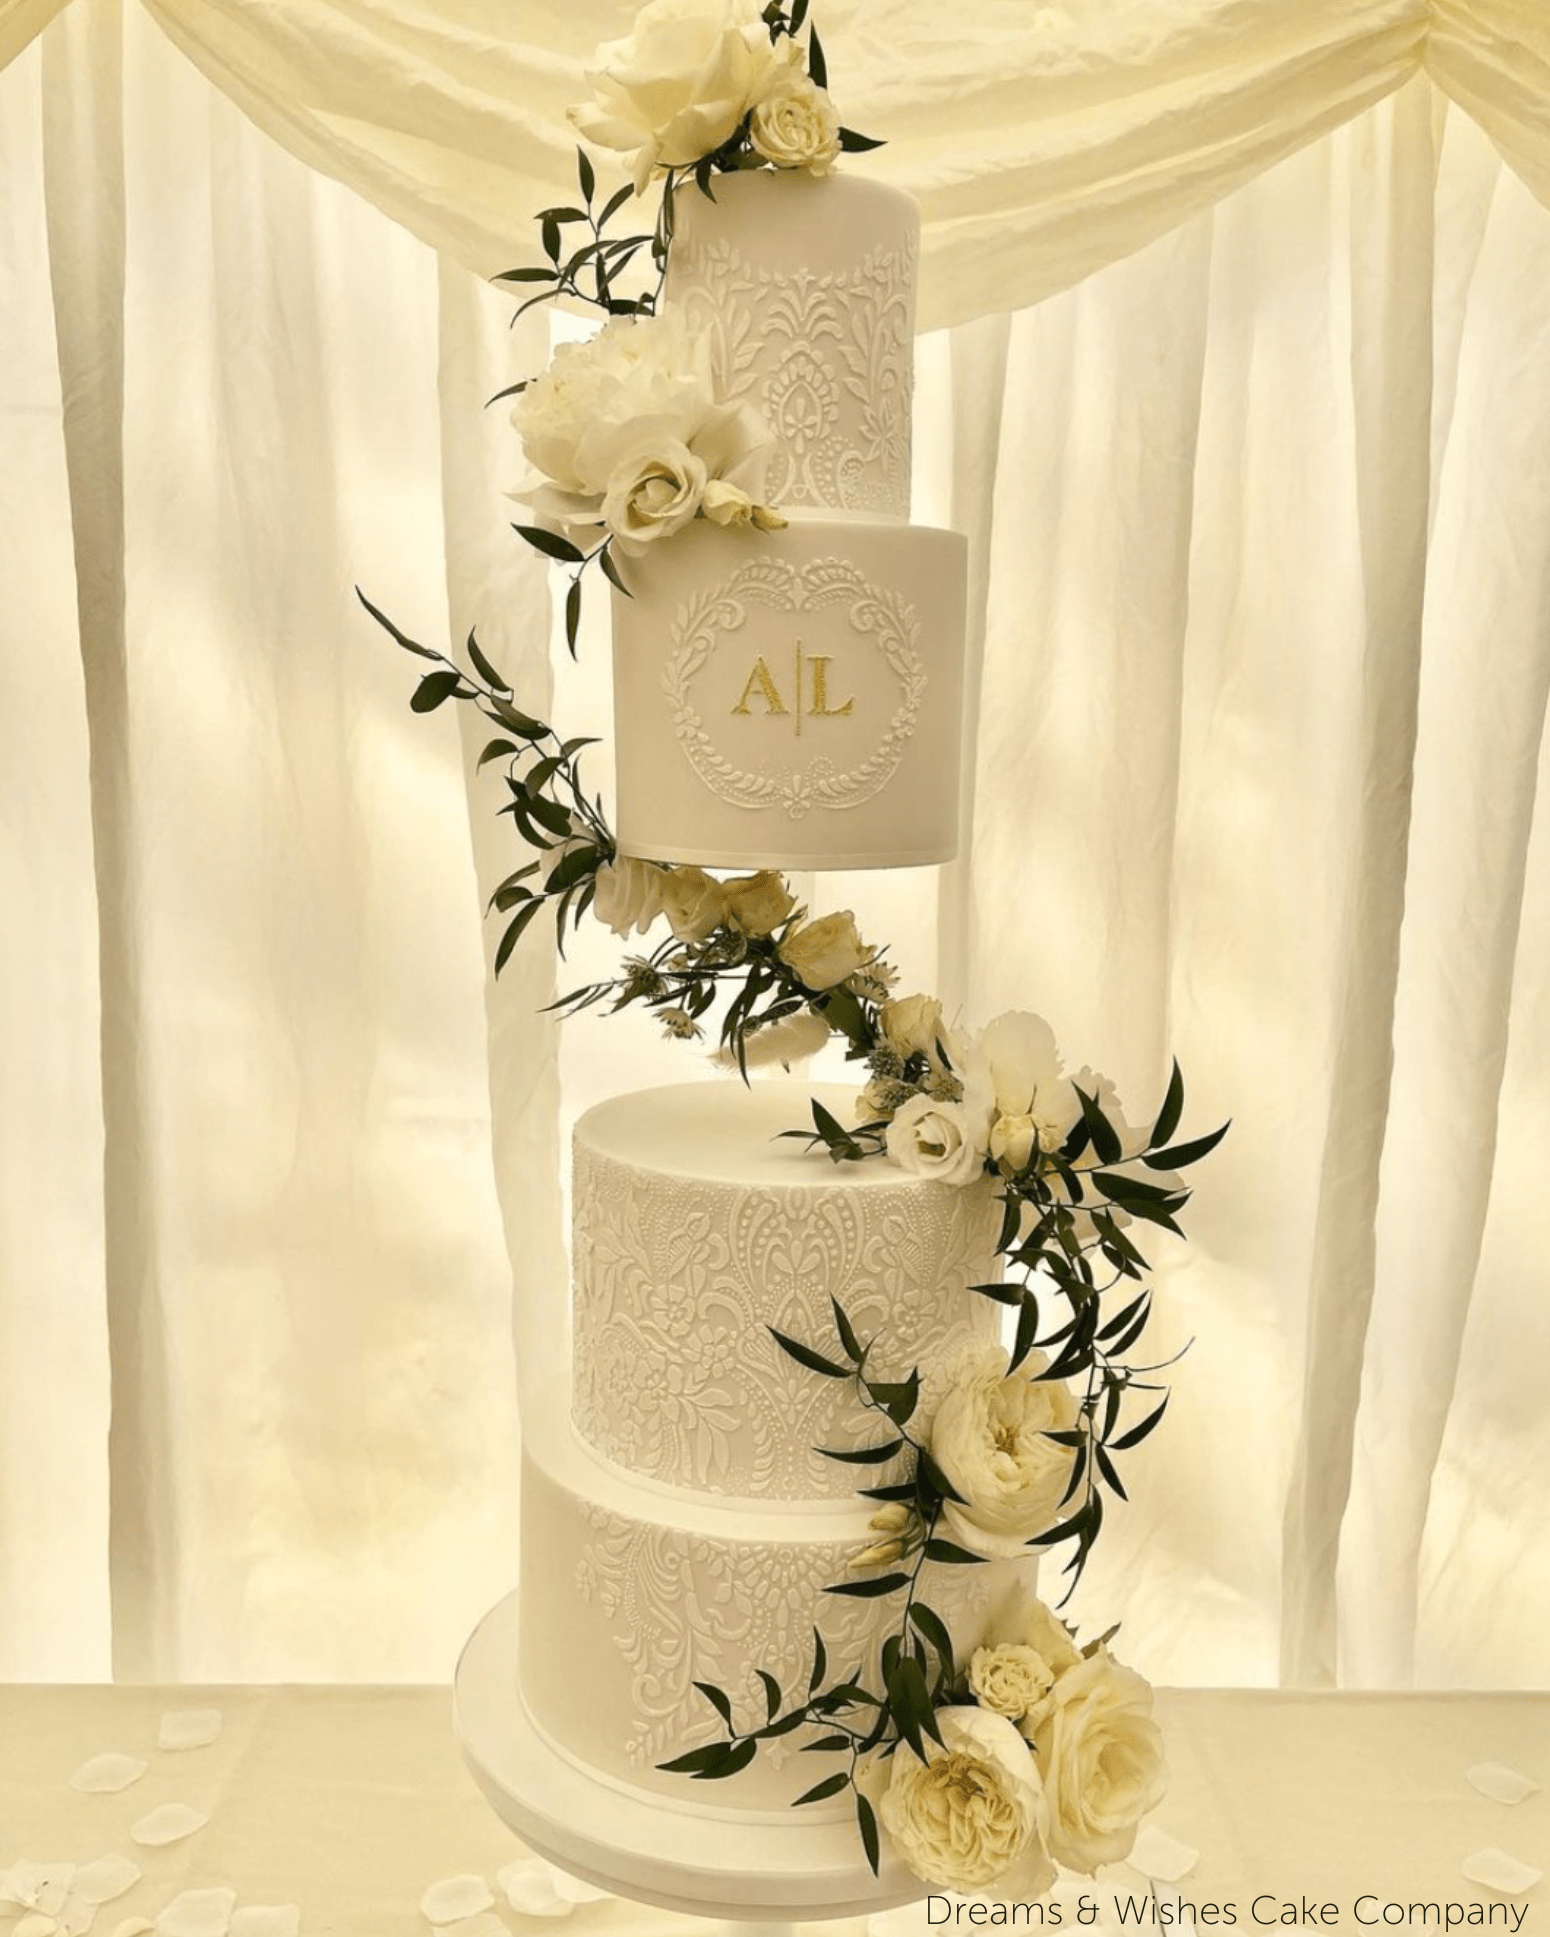
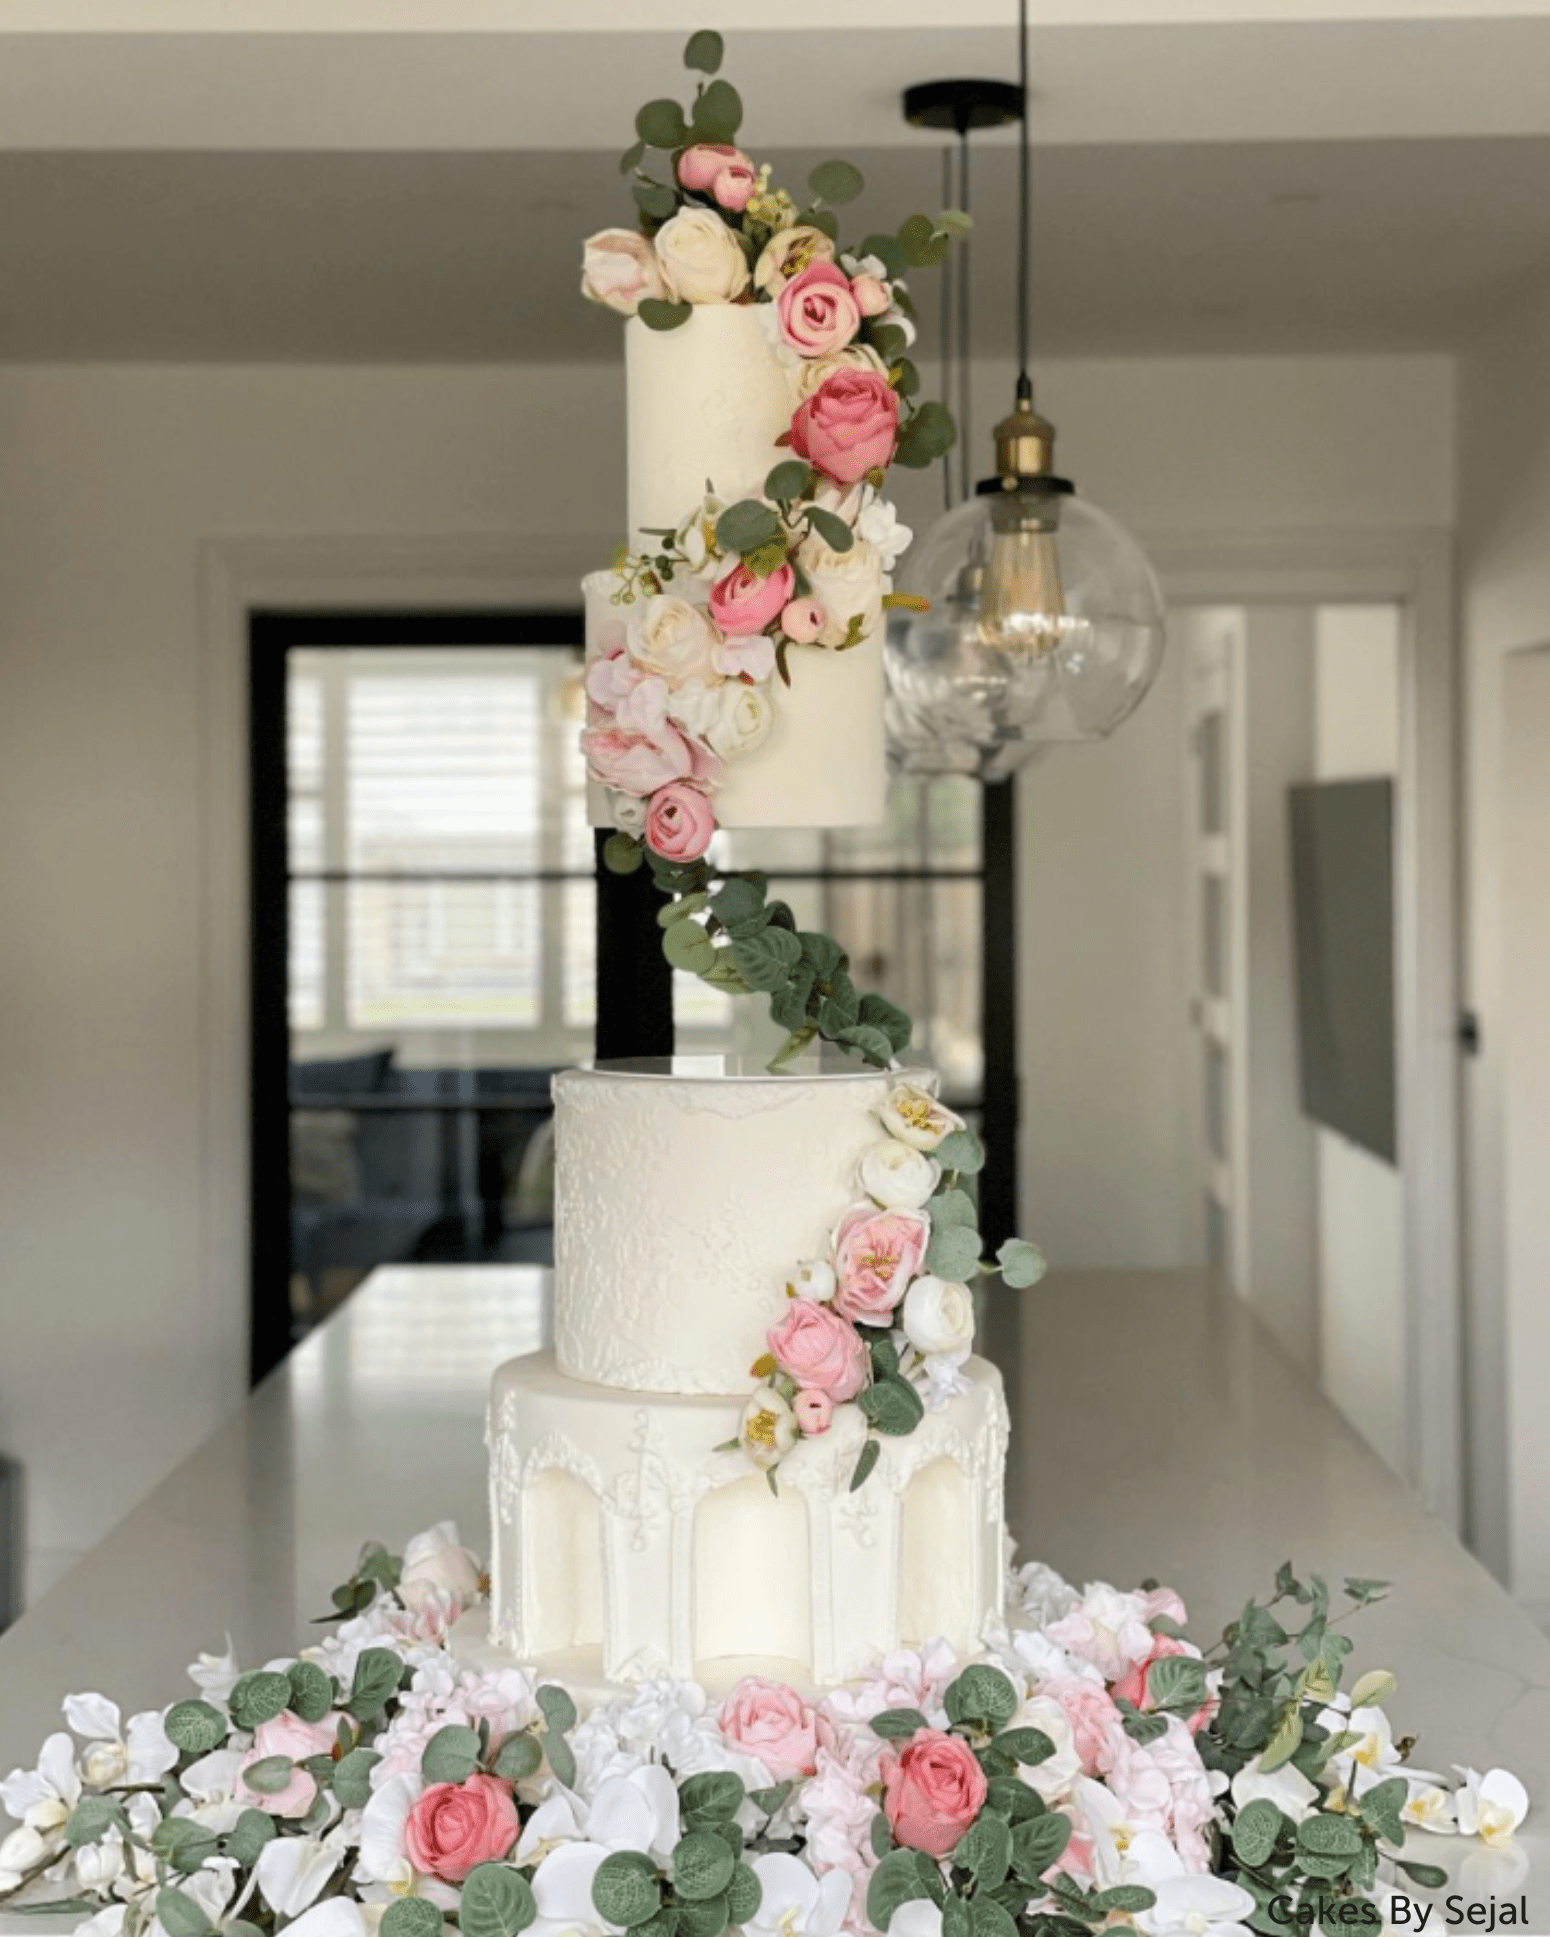
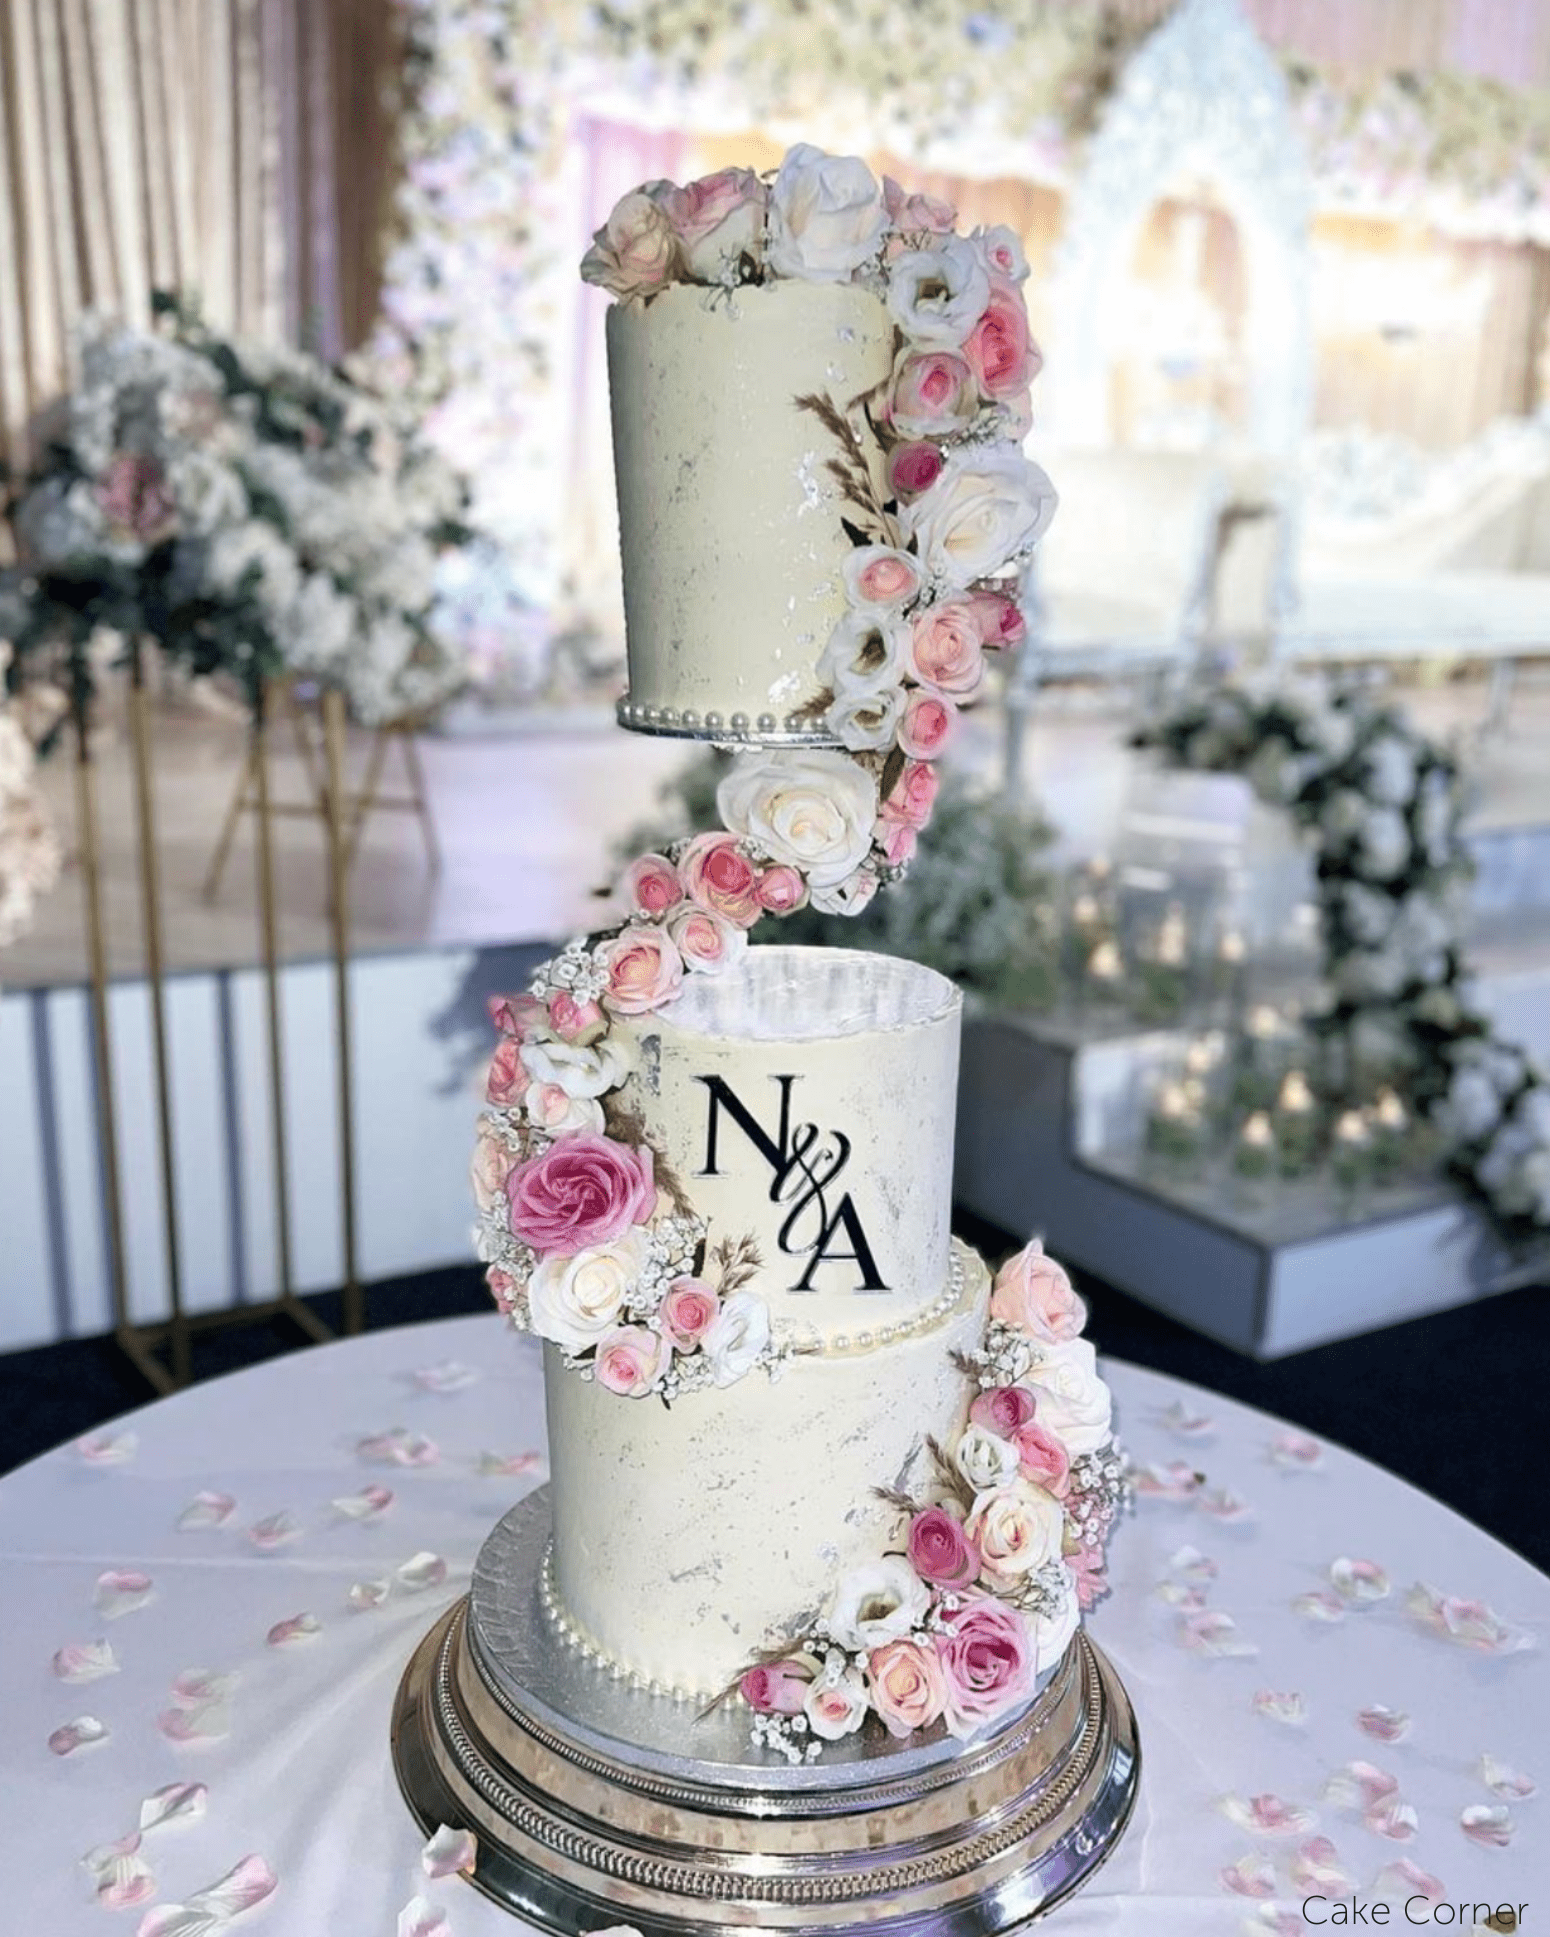
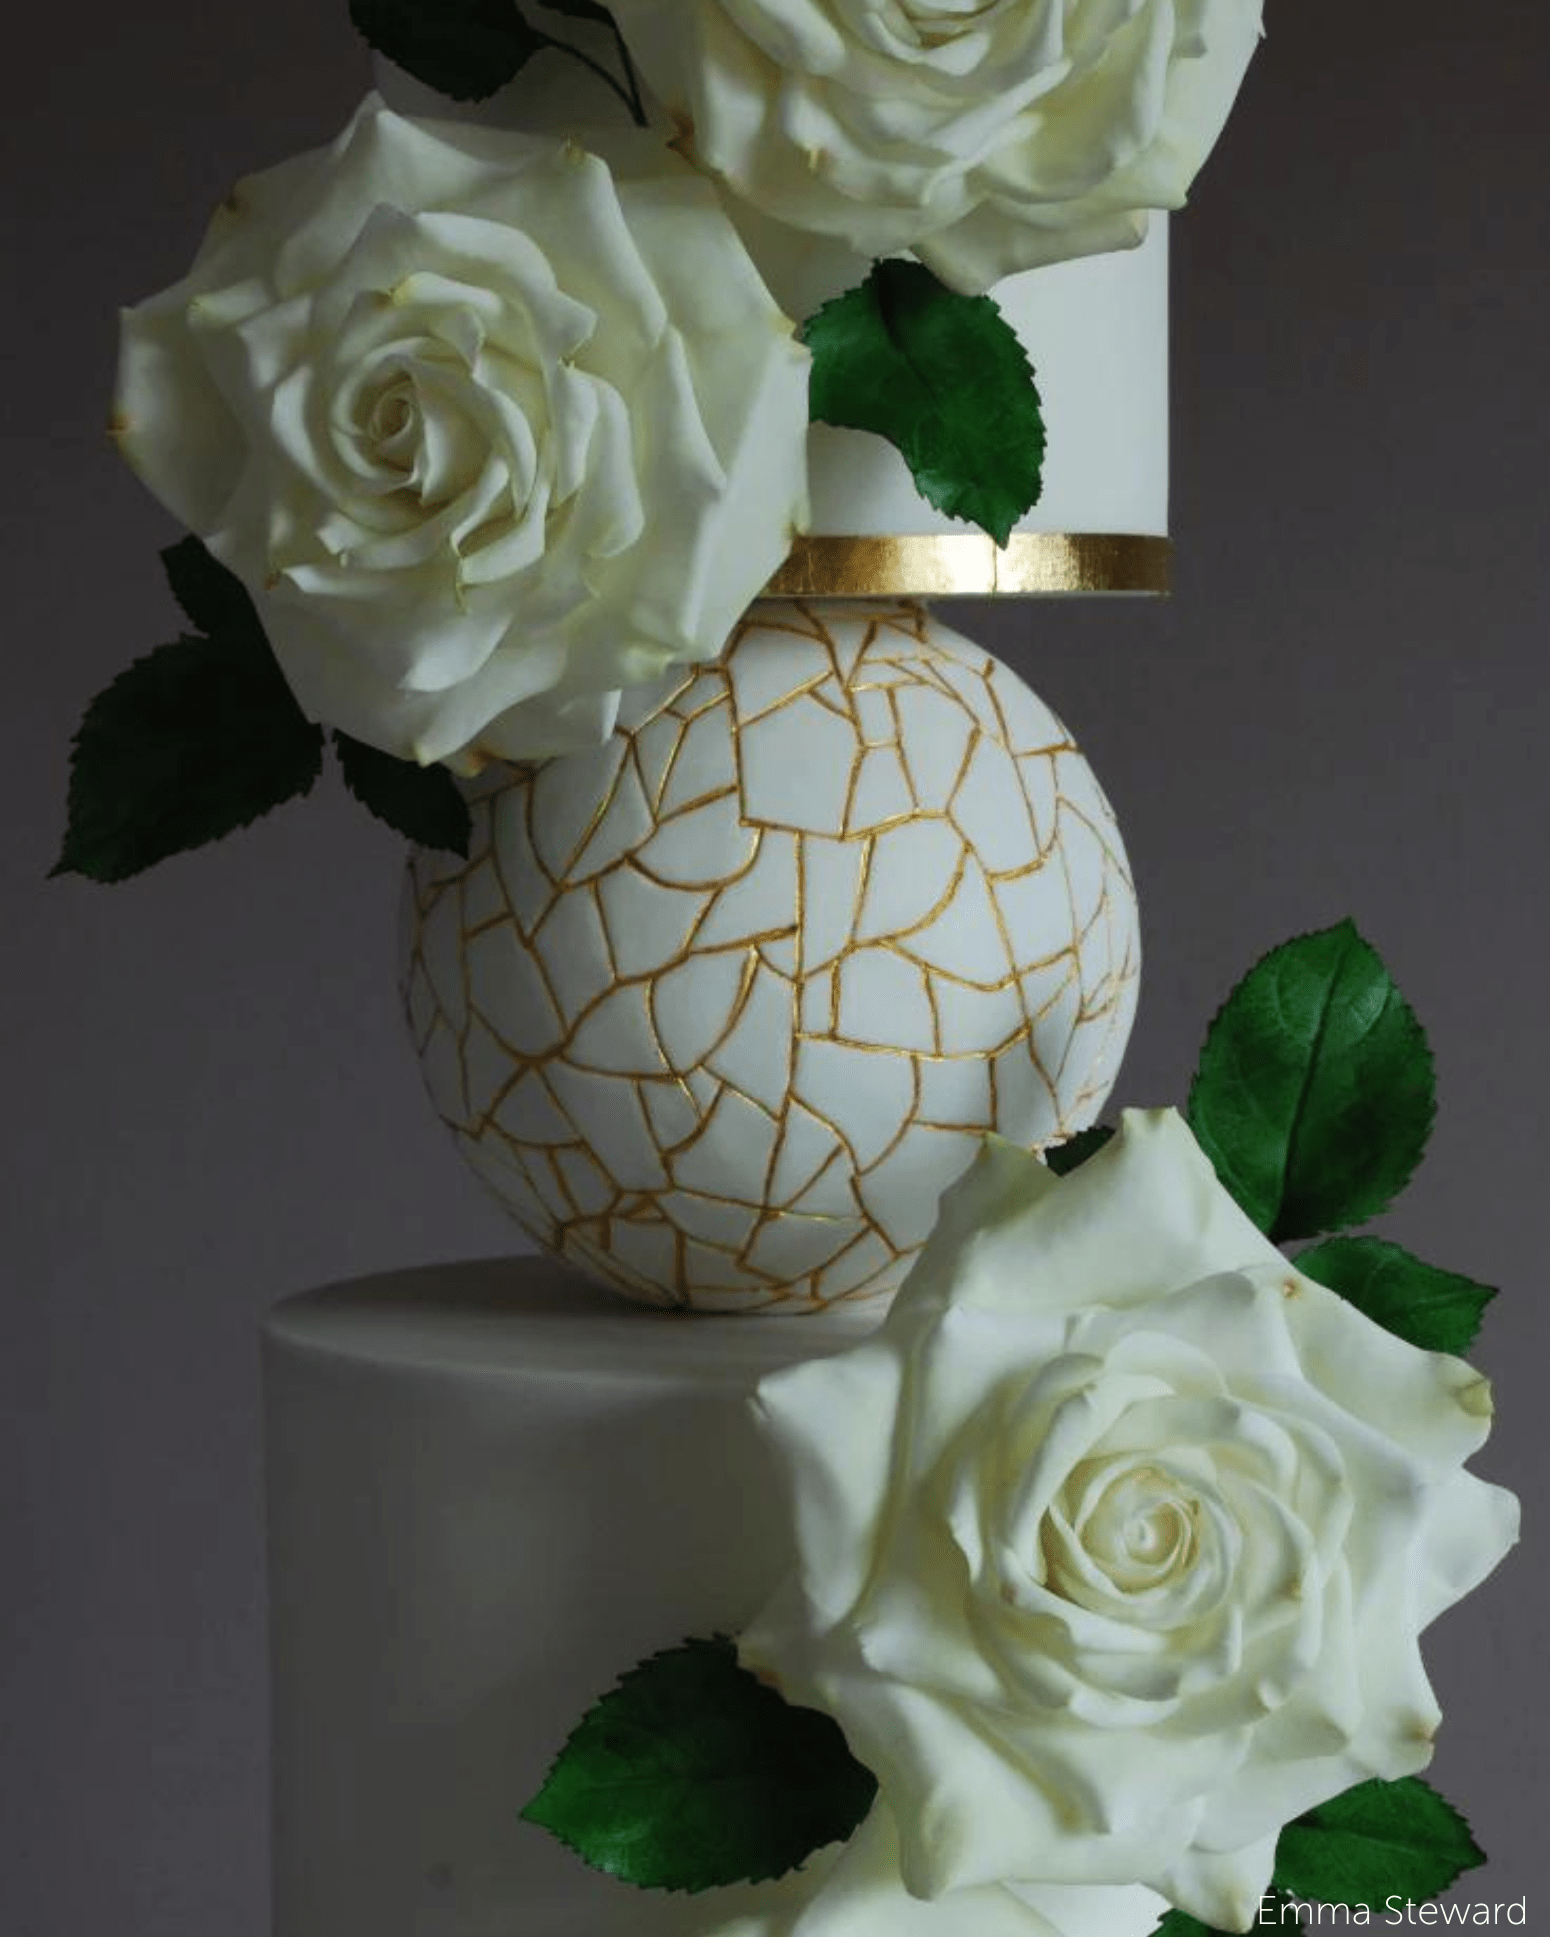
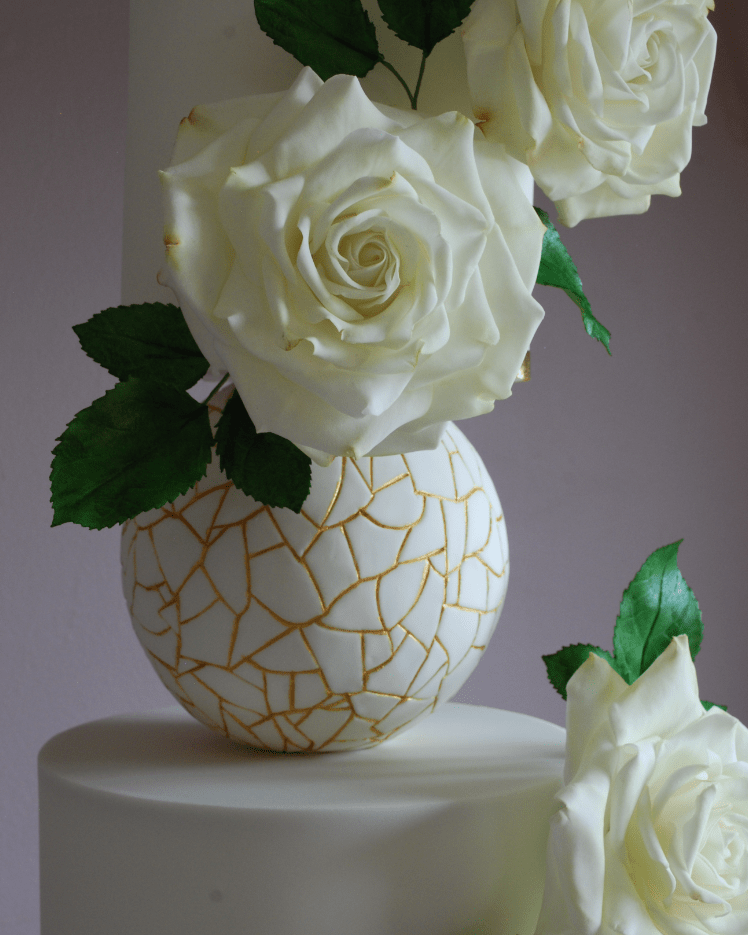
- Floral: arrange sugar or dried flowers around the arm, fixed with clear cable ties or food-safe wires.
- Moulded or piped: add a moulded border or piped detail to fold the support into the decoration.
- Seamless: cover the plate and arm in matching sugar paste for the cleanest, fully concealed look.

Pro Tips for a Clean, Secure Floating Tier
A few habits make the difference between a floating tier that looks effortless and one that gives you a nervous afternoon.
- Level real cakes by pre-setting the plate. Dummies stay level on their own thanks to the light polystyrene. With a heavier real cake, pull the top plate slightly higher than you need before placing the tier. The cantilever settles into level as the weight goes on, and you can make final tweaks once the cake is resting.
- Match the separator to the weight. Stay within 3.5kg on the standard Side Bar, and move to the Enhanced version for anything heavier or taller.
- Secure both plates. Always use icing to fix the cake to the plate, and cover the base plate in fondant or icing for added security as well as a tidy finish.
- Plan for transport. Build with PropSecure pins so the structure stays locked through the drive, and where possible set the final tier at the venue. Keep the cake cool so soft fillings do not shift under the floating tier.
The floating tier looks like gravity-defying skill. In practice it is the right separator, set level, and finished with care.
Finish, Photograph and Share
Once your floating tier is built and the separator is concealed, it is ready to become a centrepiece on the day and a standout image in your portfolio. With so many ways to finish the support, from ribbon to florals to a fully seamless cover, every floating tier can carry its own design language.
Ready to try it? Explore the Floating Tier Collection, lock your build with PropSecure, and subscribe to PropTV on YouTube for the full tutorial series and more. For inspiration between builds, find us on Instagram and across the PropBlog.