


Cake Decorating · Photography
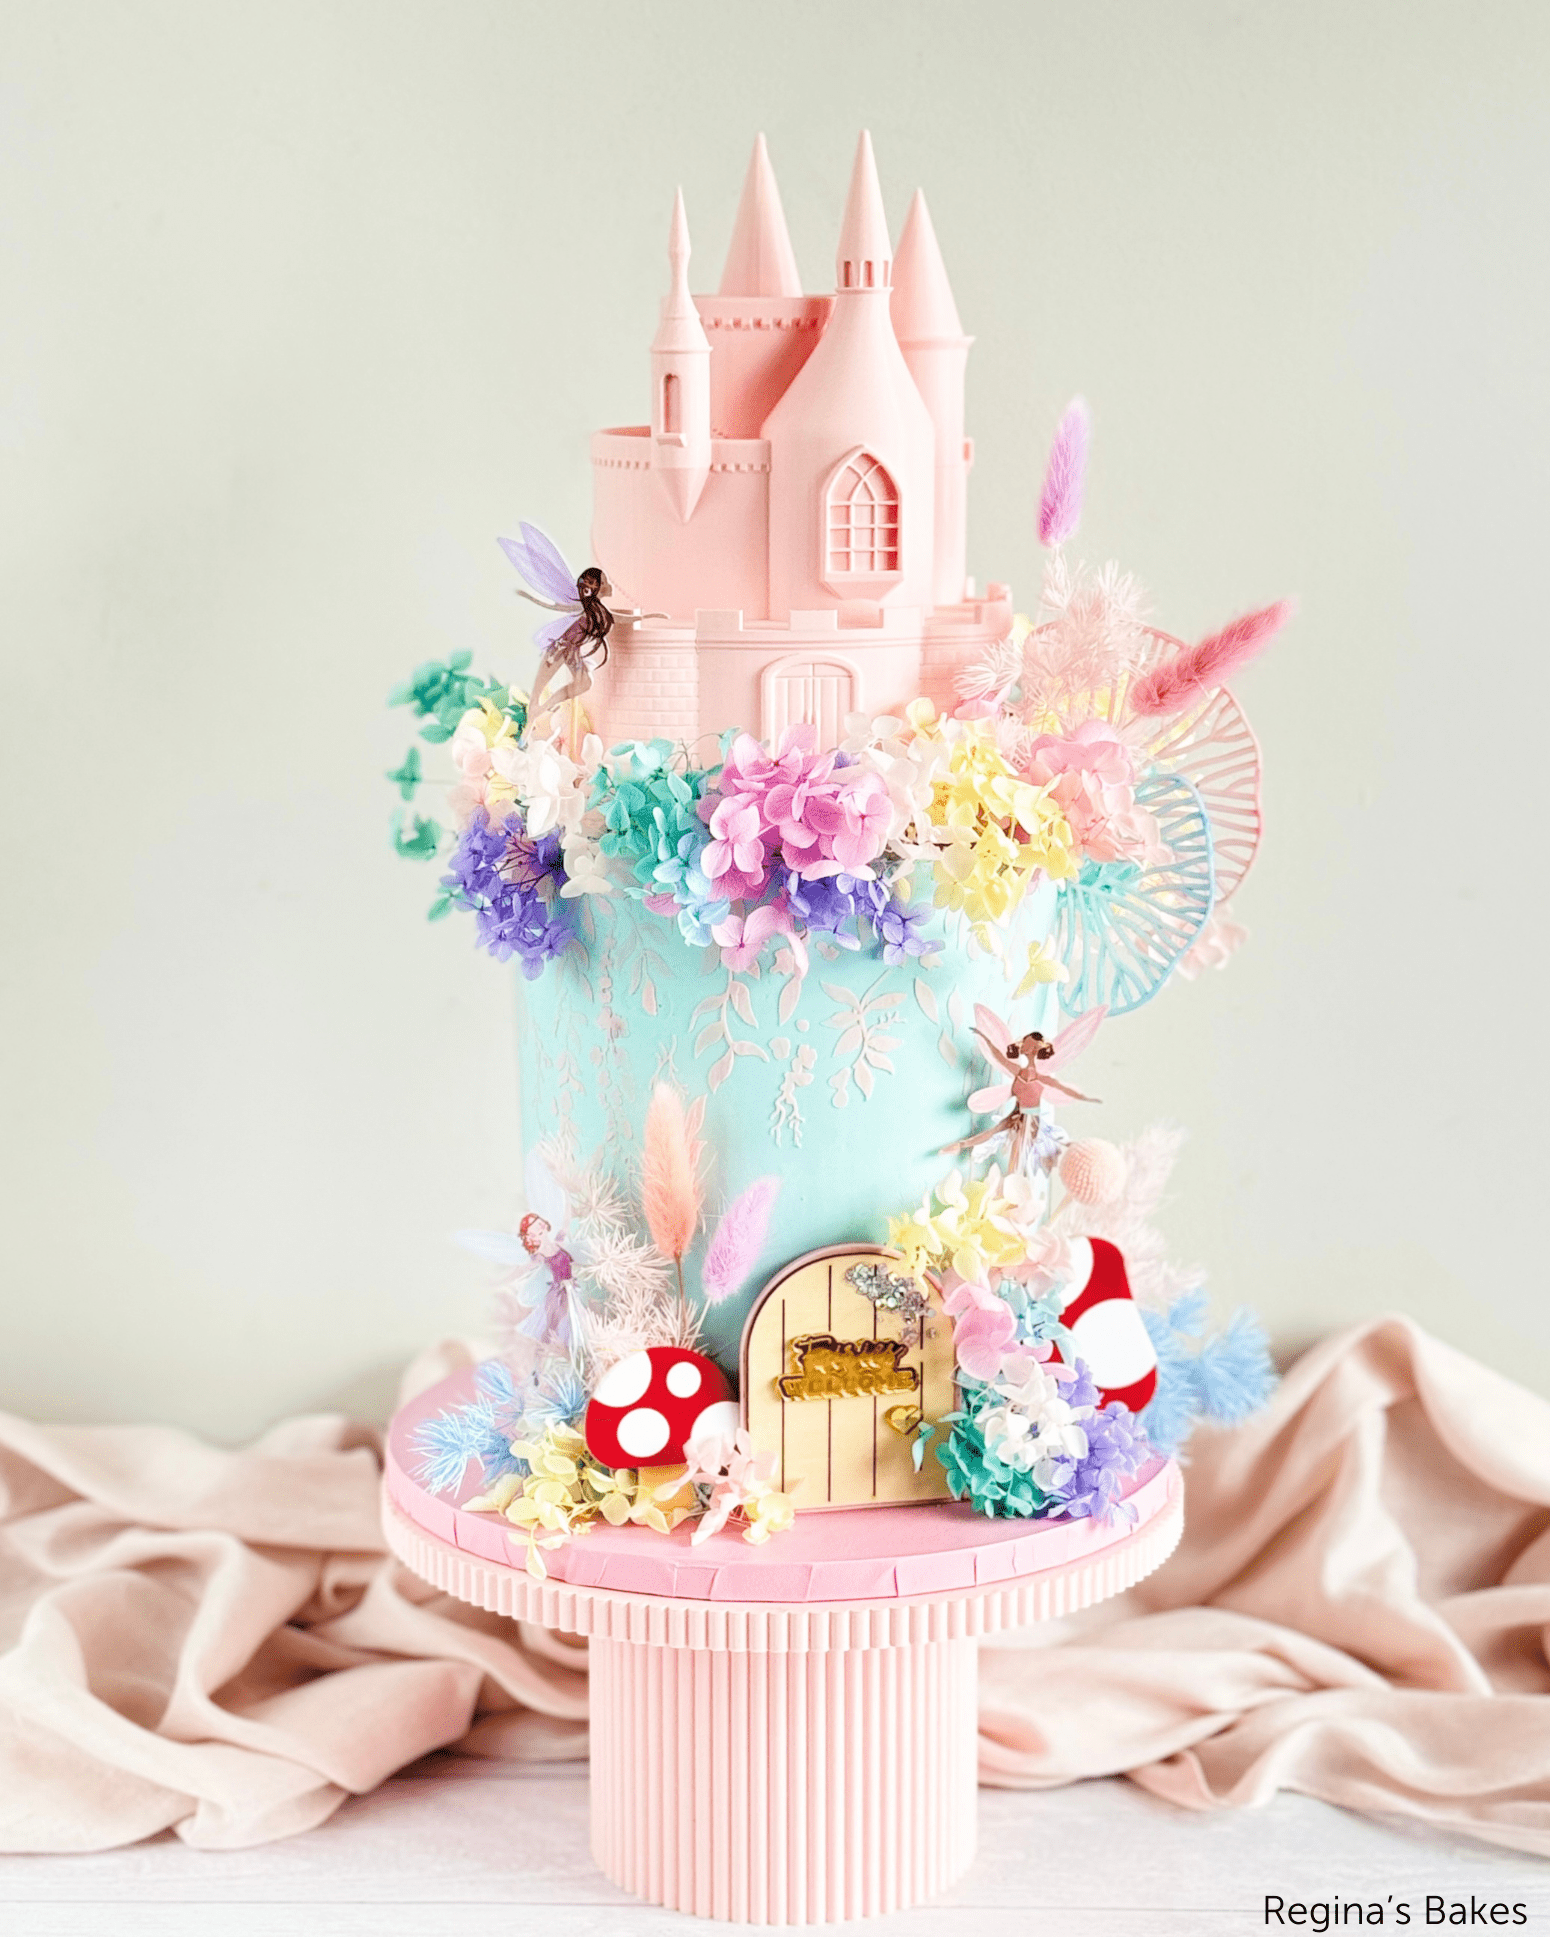
7 Steps to Improve Cake Photography for Bakers and Cake Decorators
A clear, repeatable method for photographing your cakes so the image carries the same detail and presence as the cake in the room.

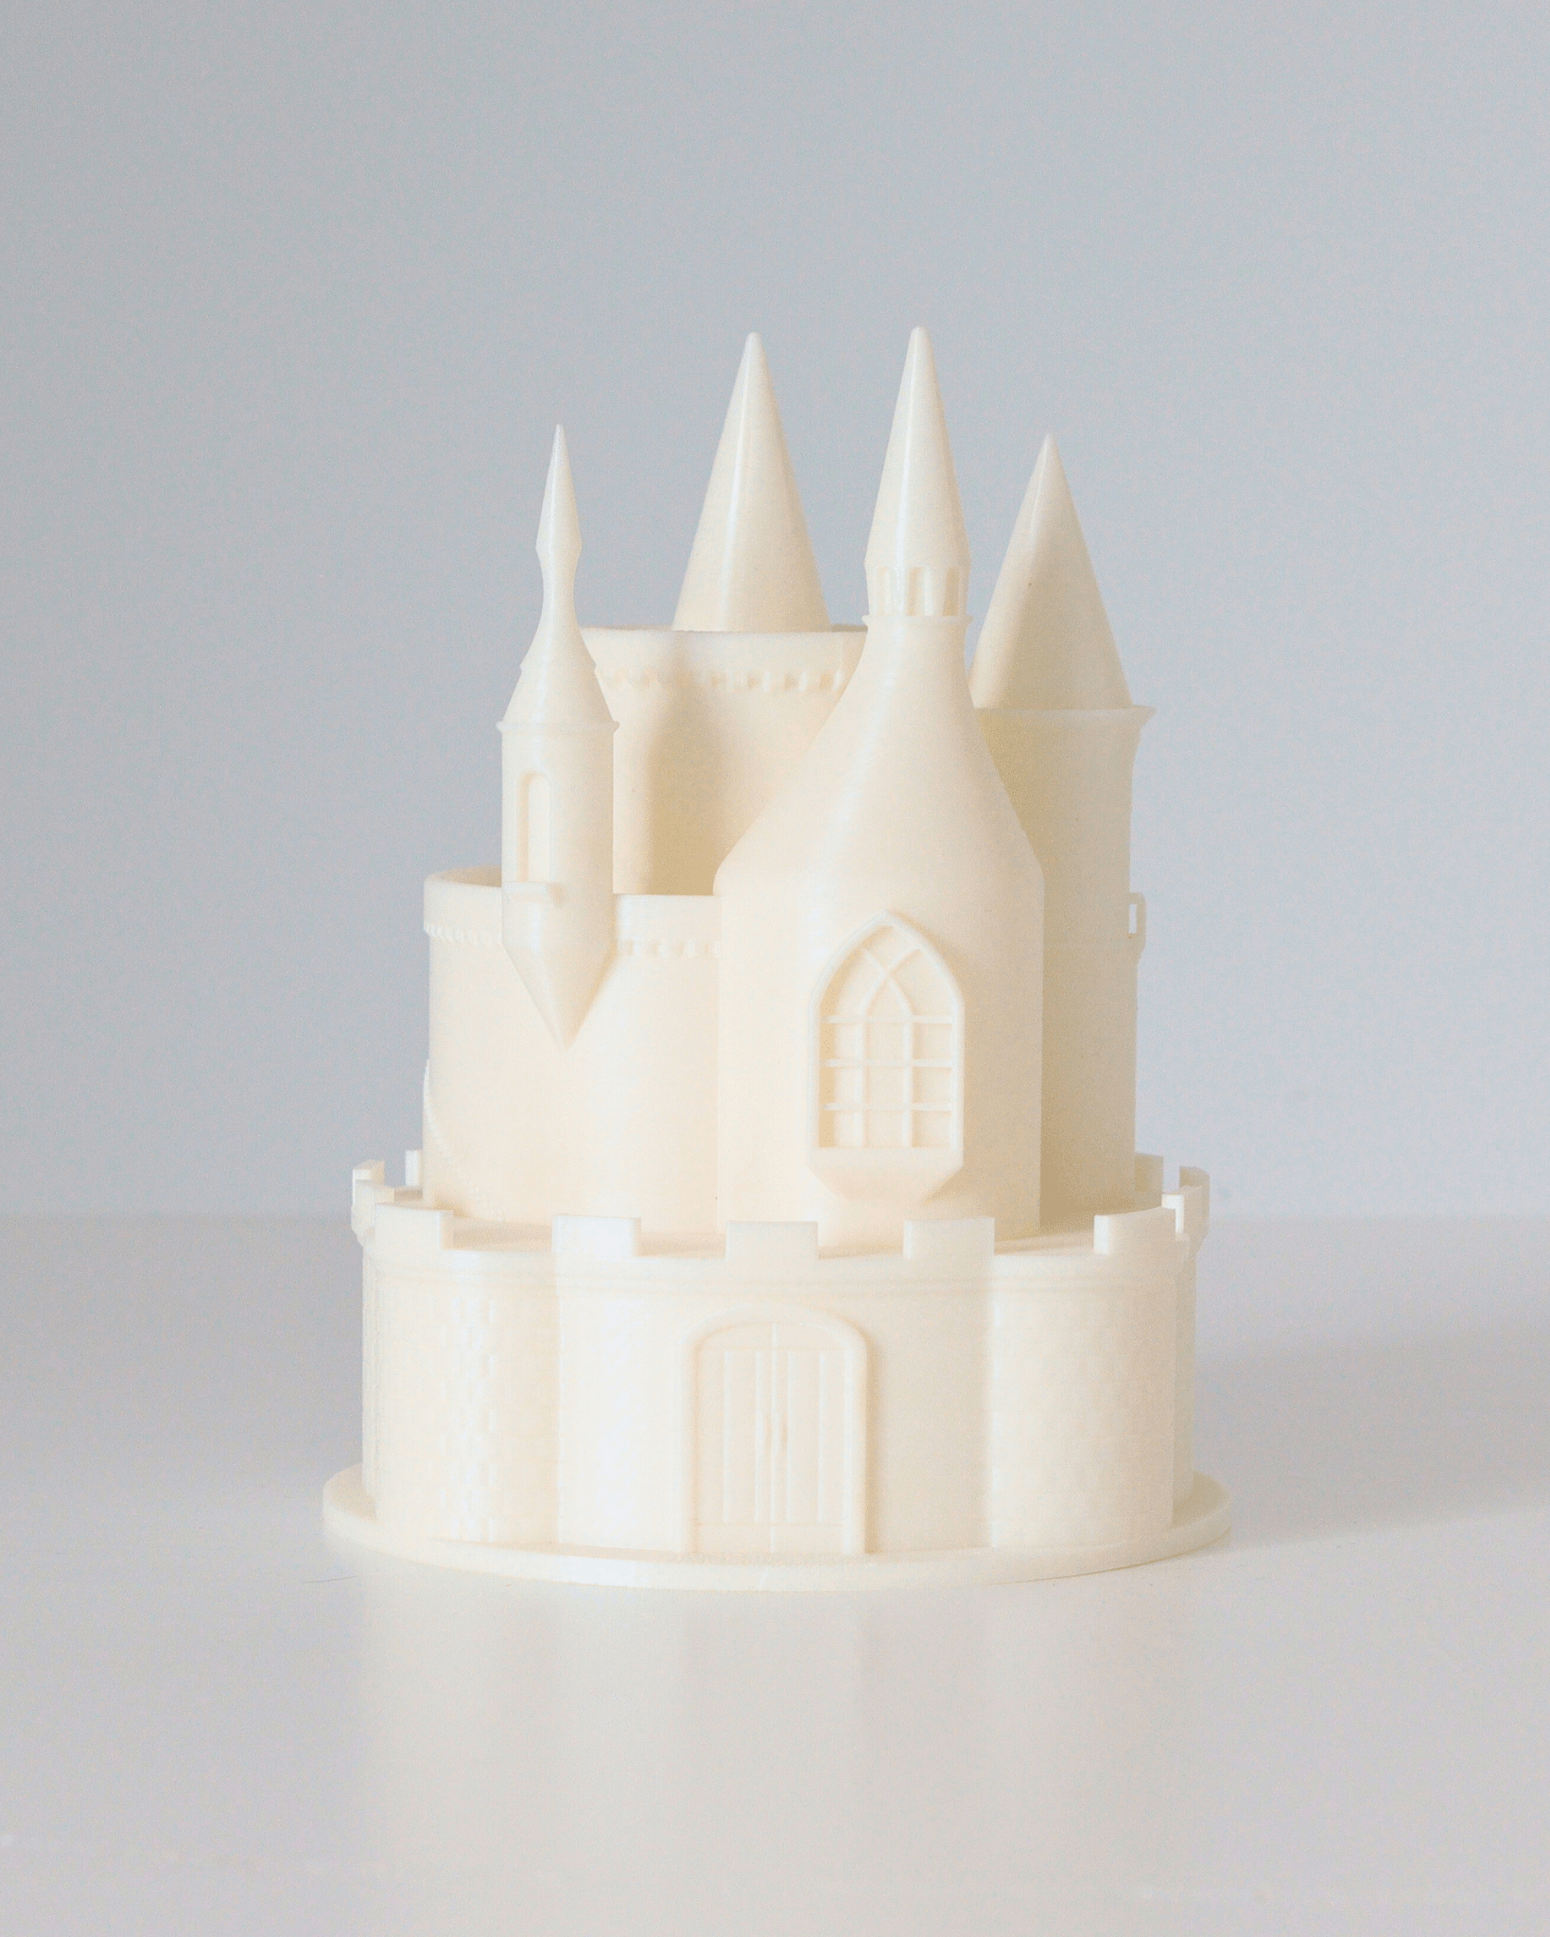
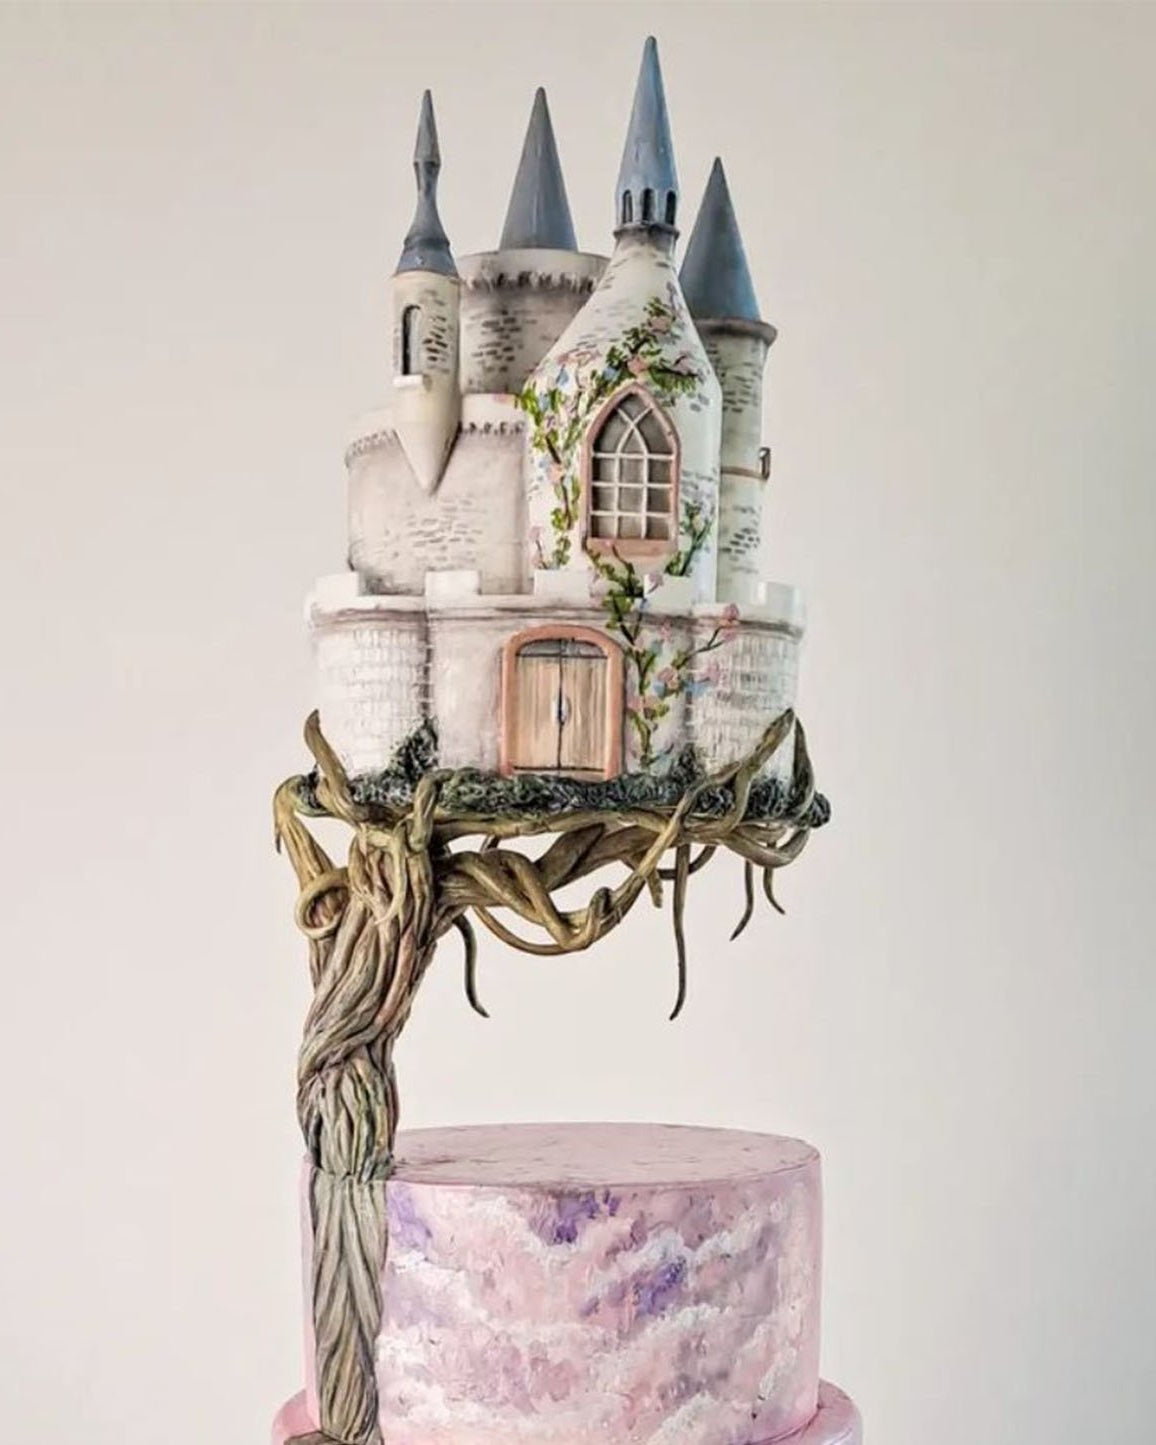
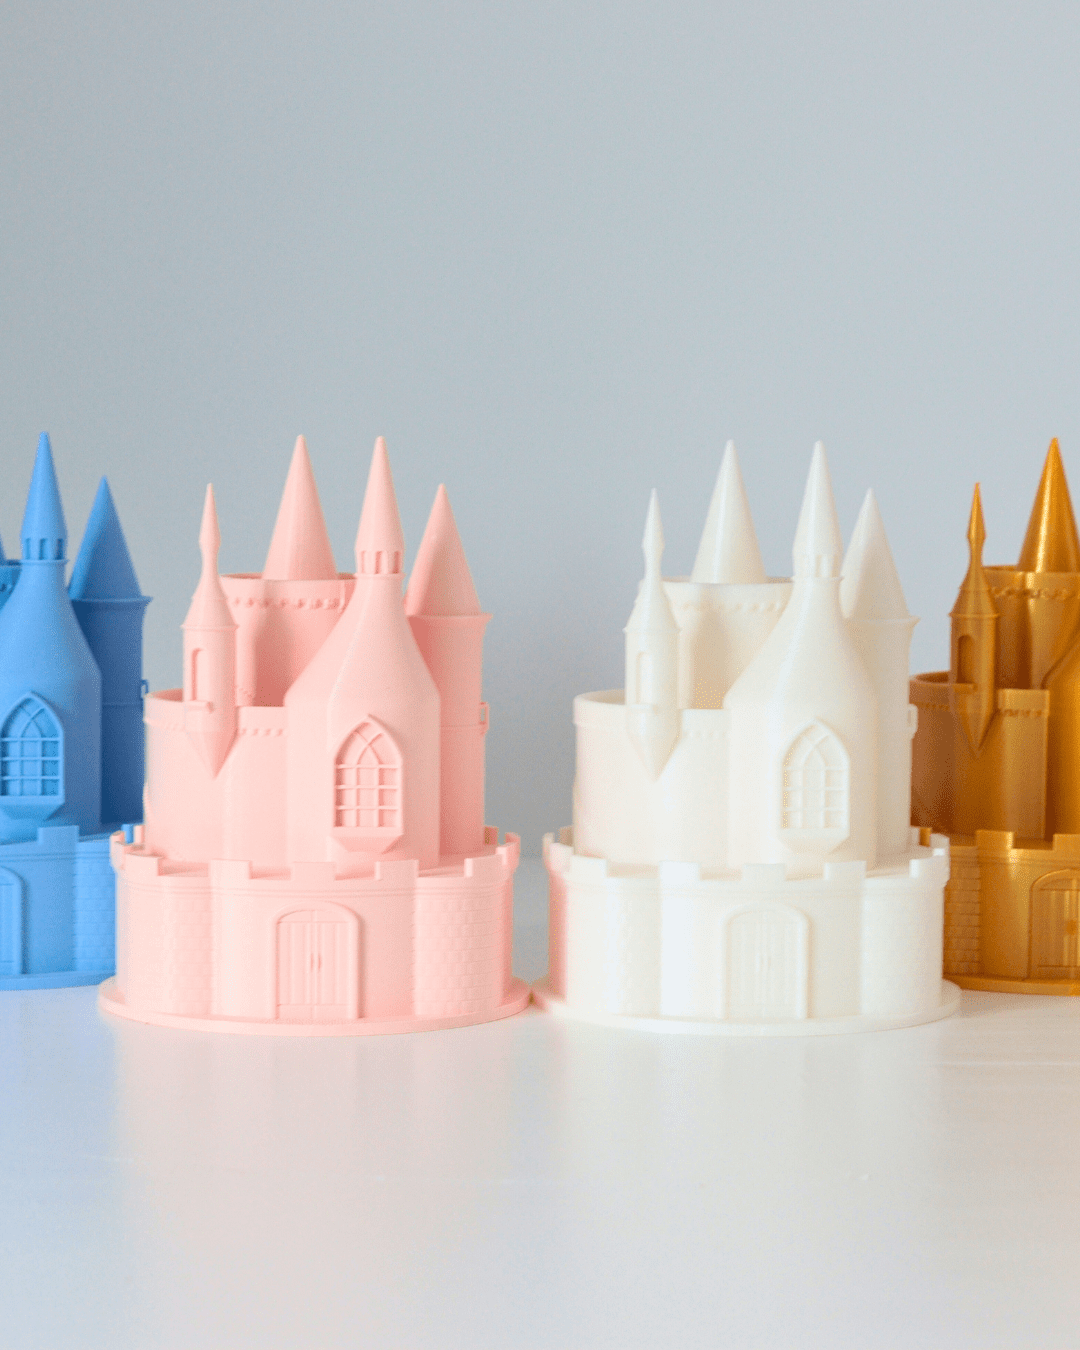
As a baker or cake decorator, you already know how much skill goes into each cake, from the buttercream finish to the fondant detailing and the colour palette. The question is whether your photos carry that work as clearly as the cake does in person. Strong cake photography is what turns a finished cake into an image that wins the next commission, and you do not need a professional camera to get there.
These seven steps cover the choices that make the biggest difference: light, background, props, angle, detail, composition and a light hand with editing. Work through them in order and your cake photos will start to look considered rather than snapped.
- Shoot in soft, natural window light, early or late in the day.
- Keep the background simple so the cake stays the subject.
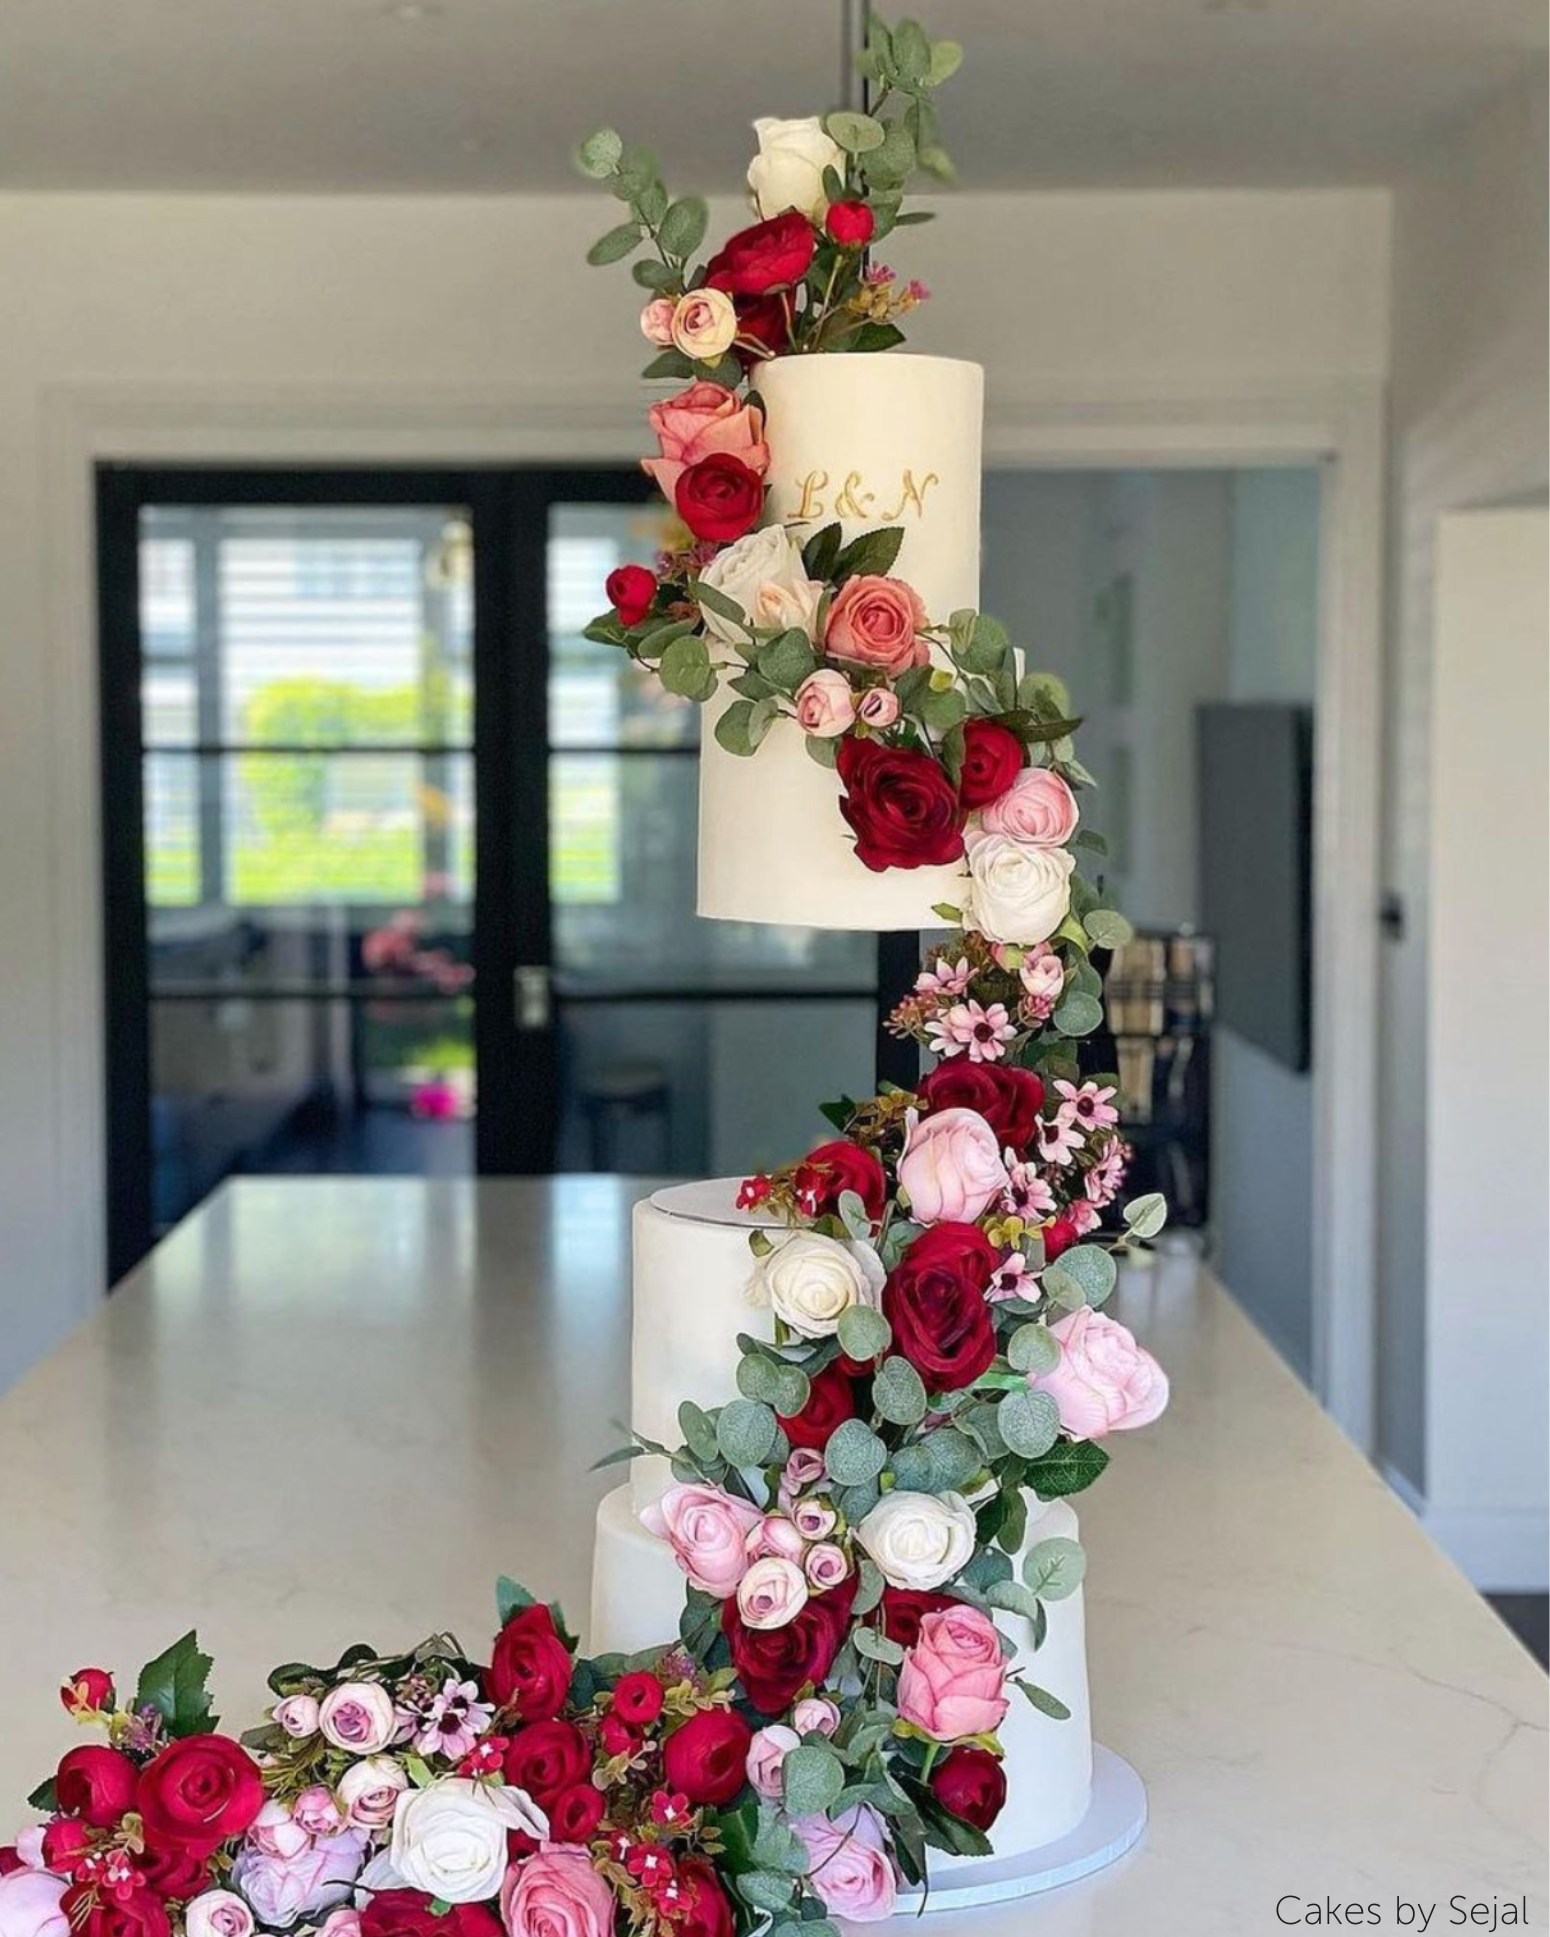
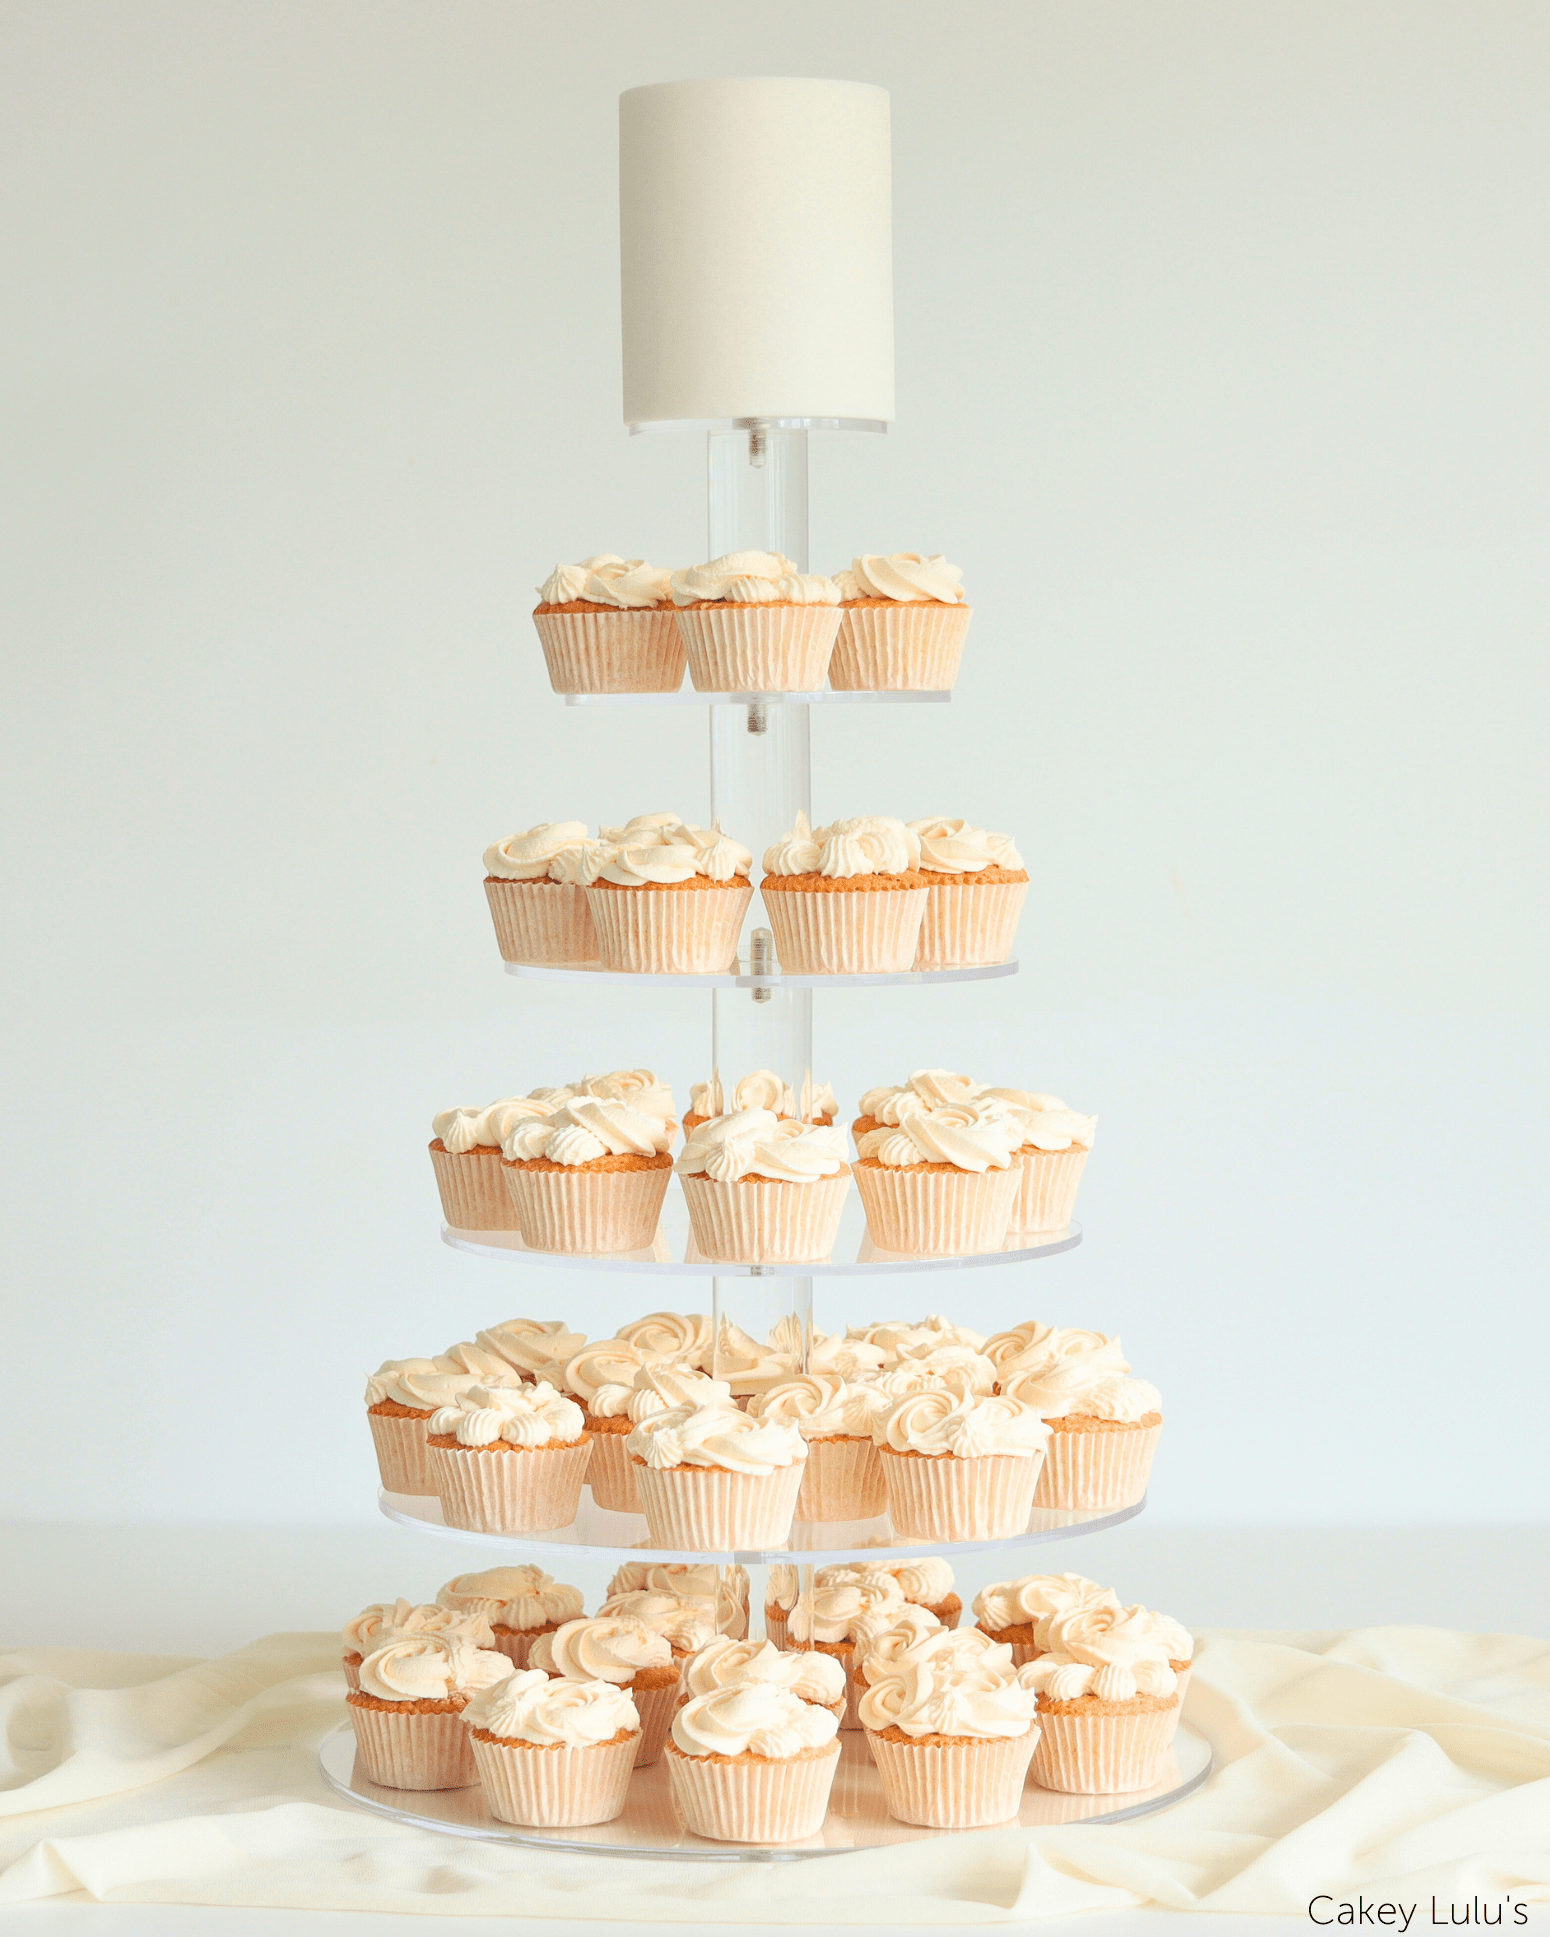
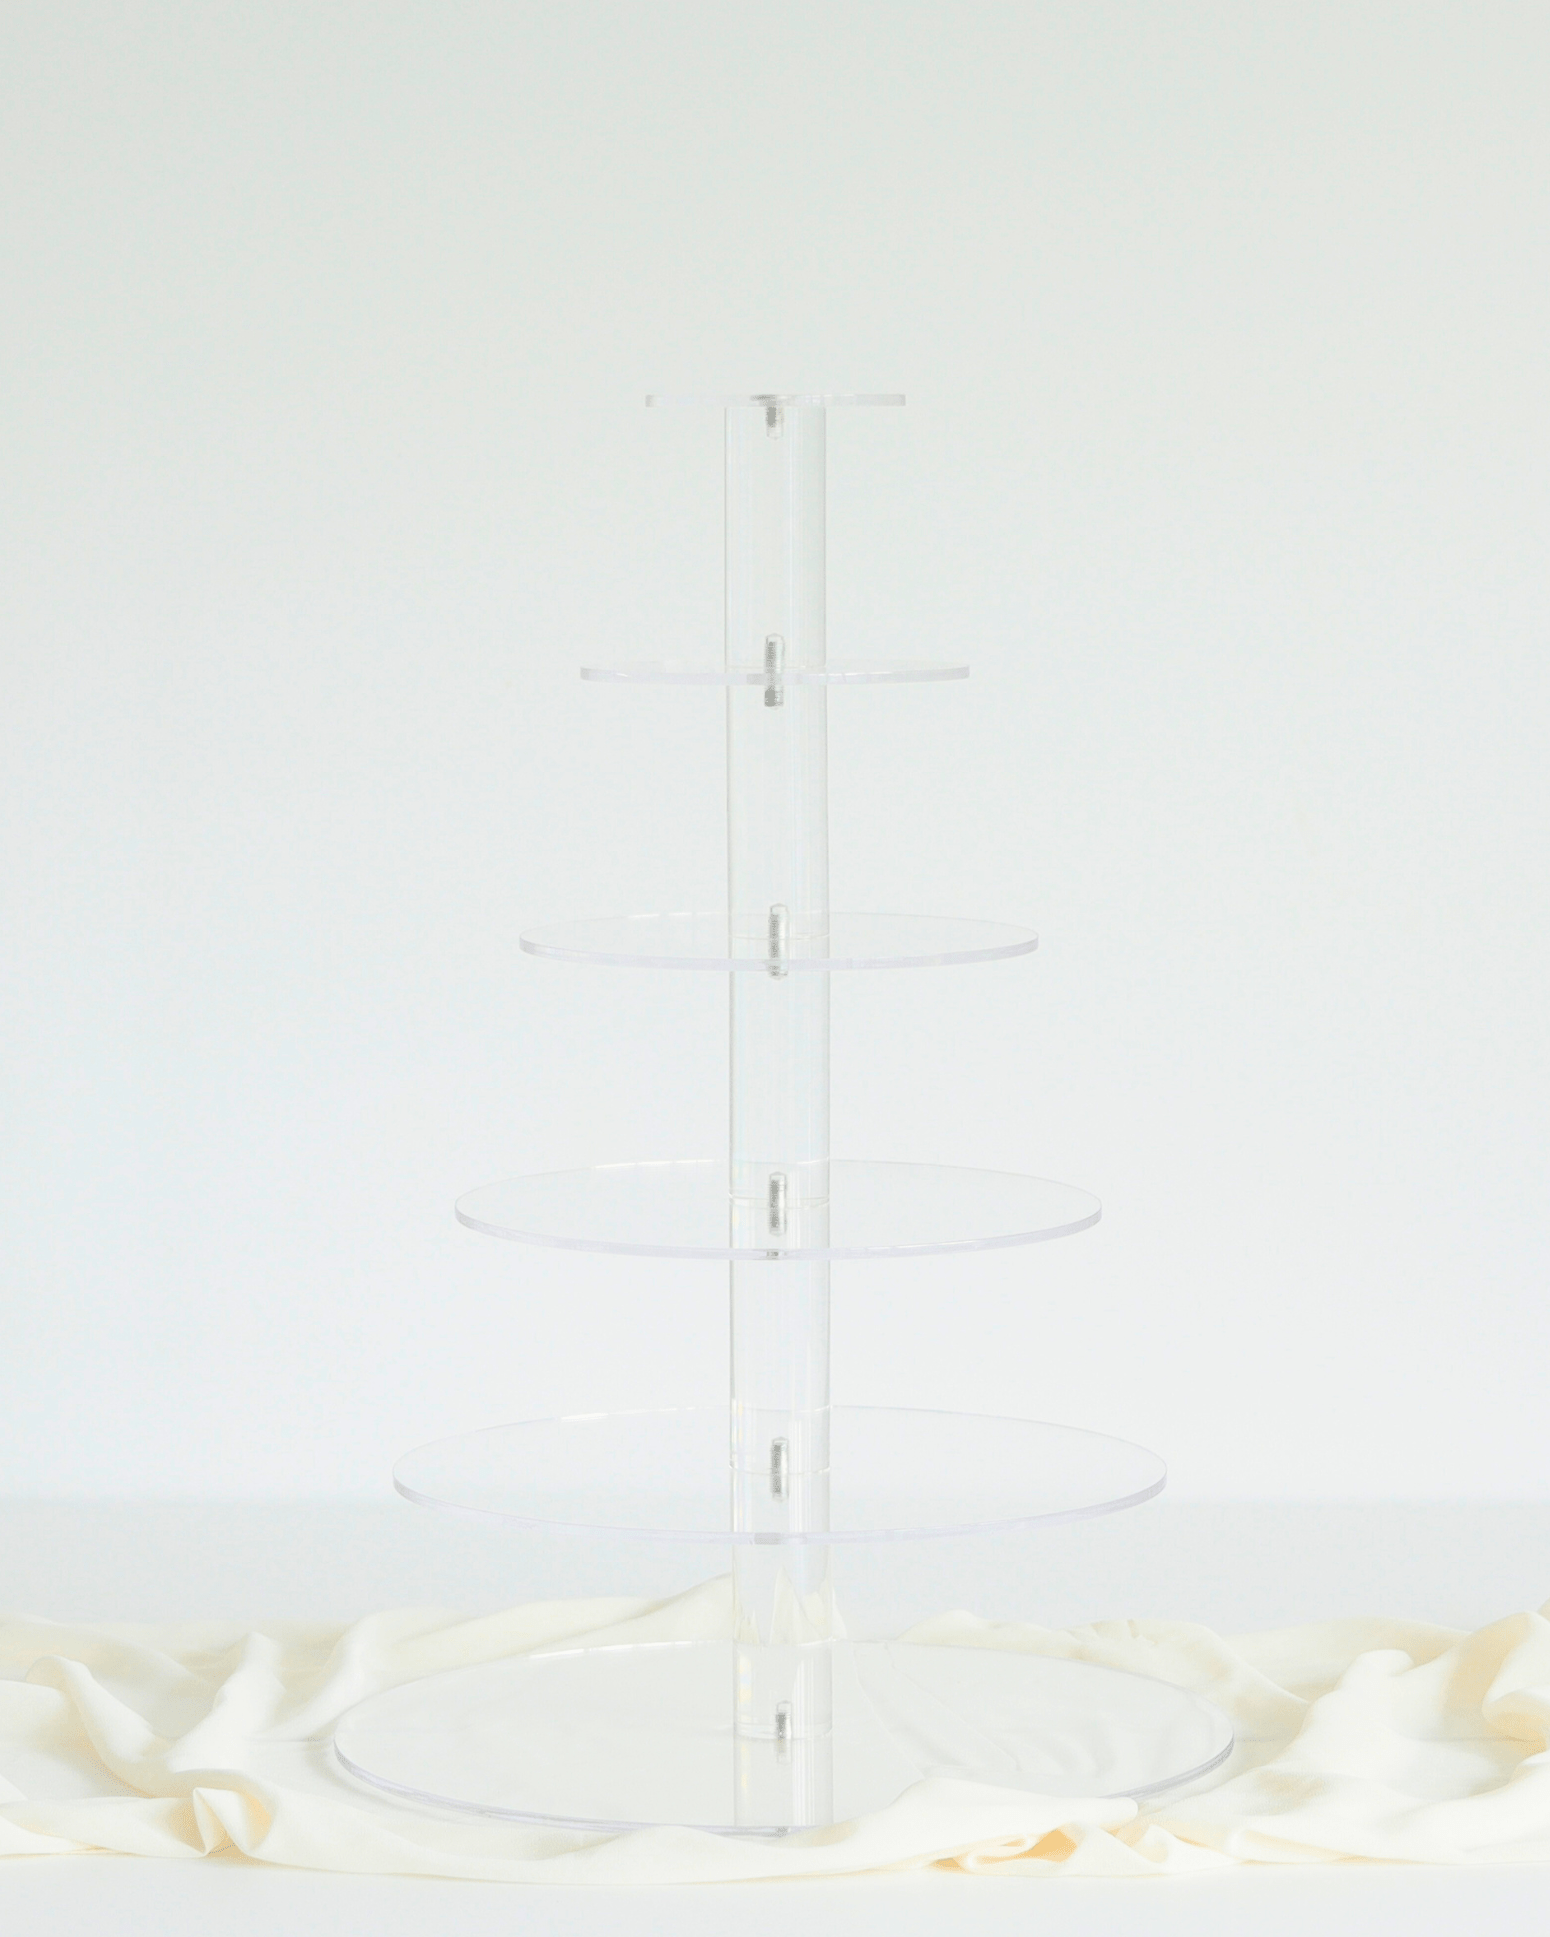
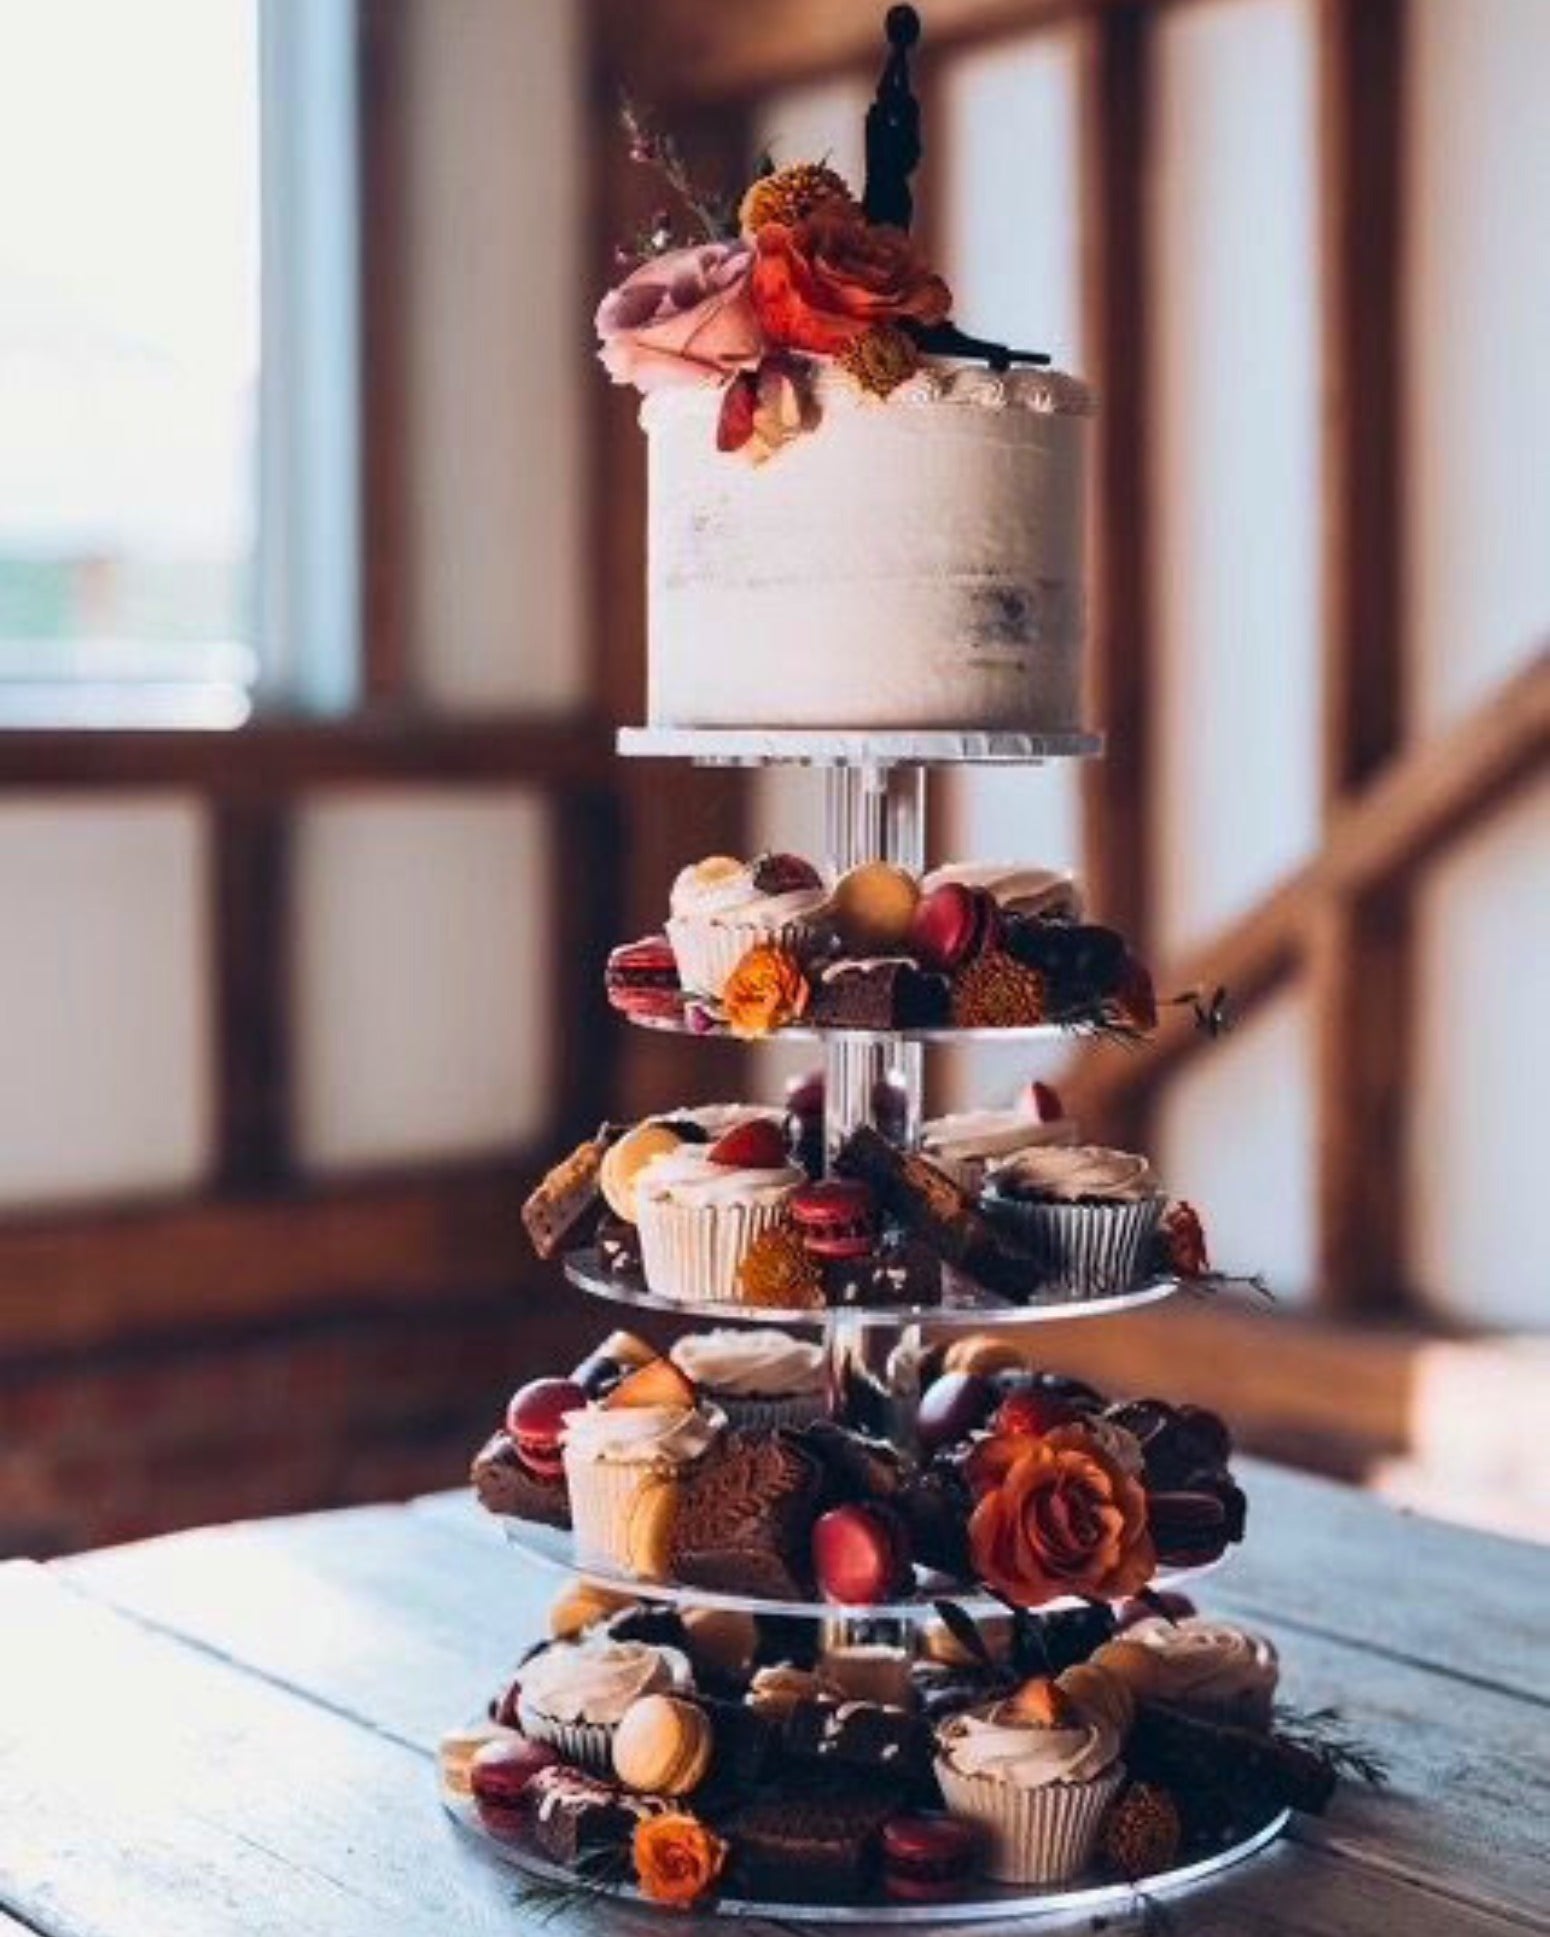
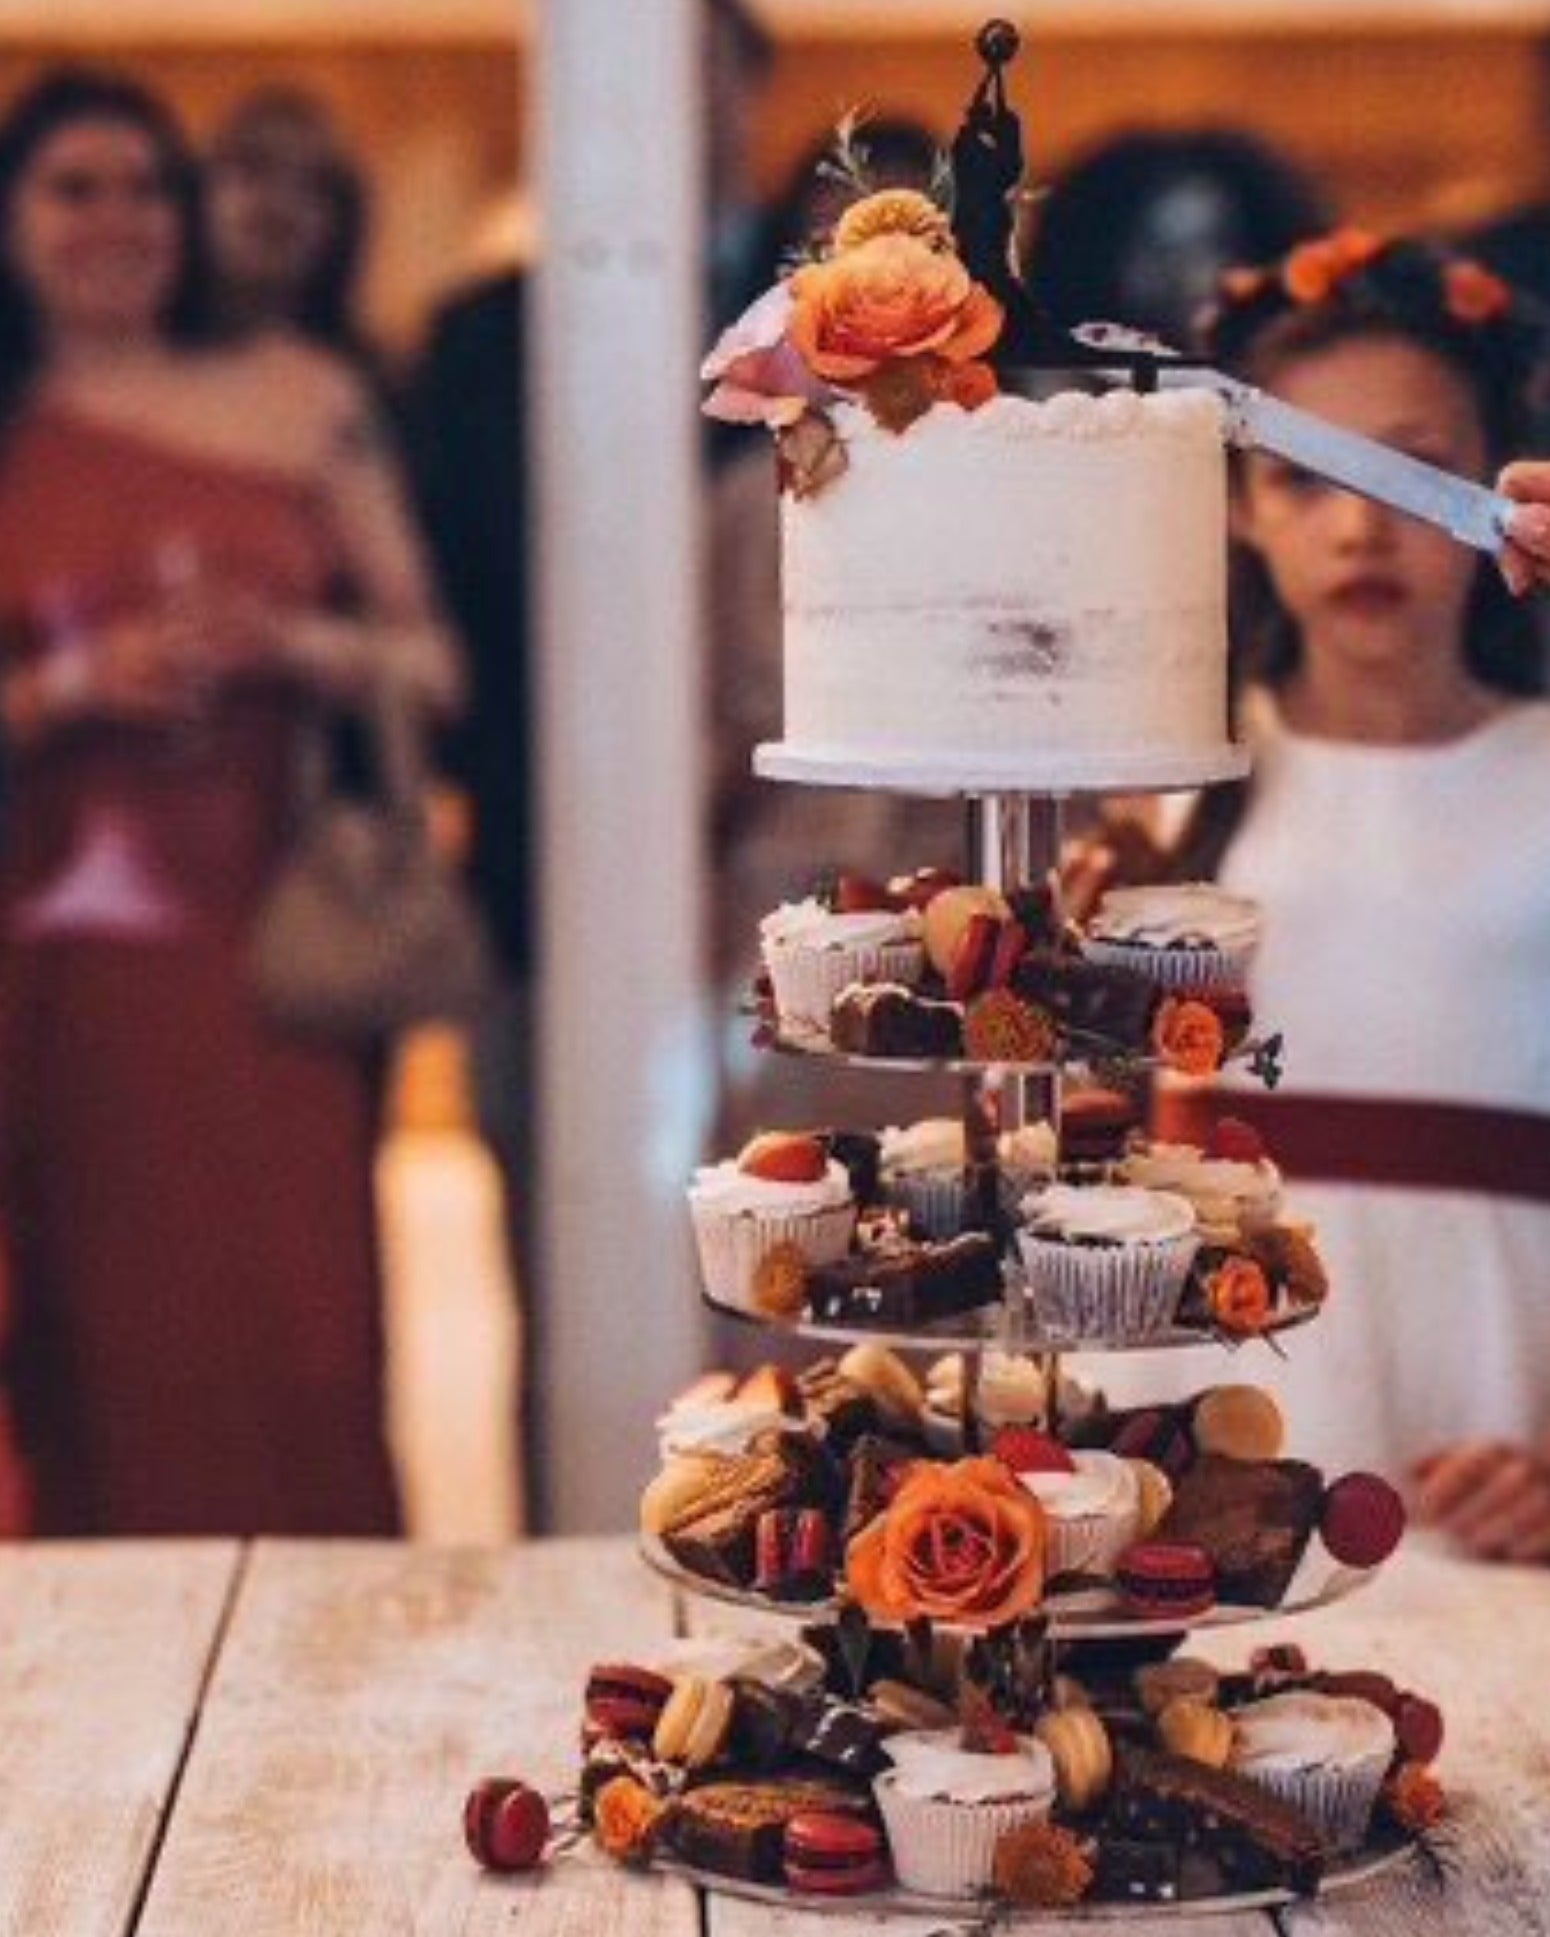
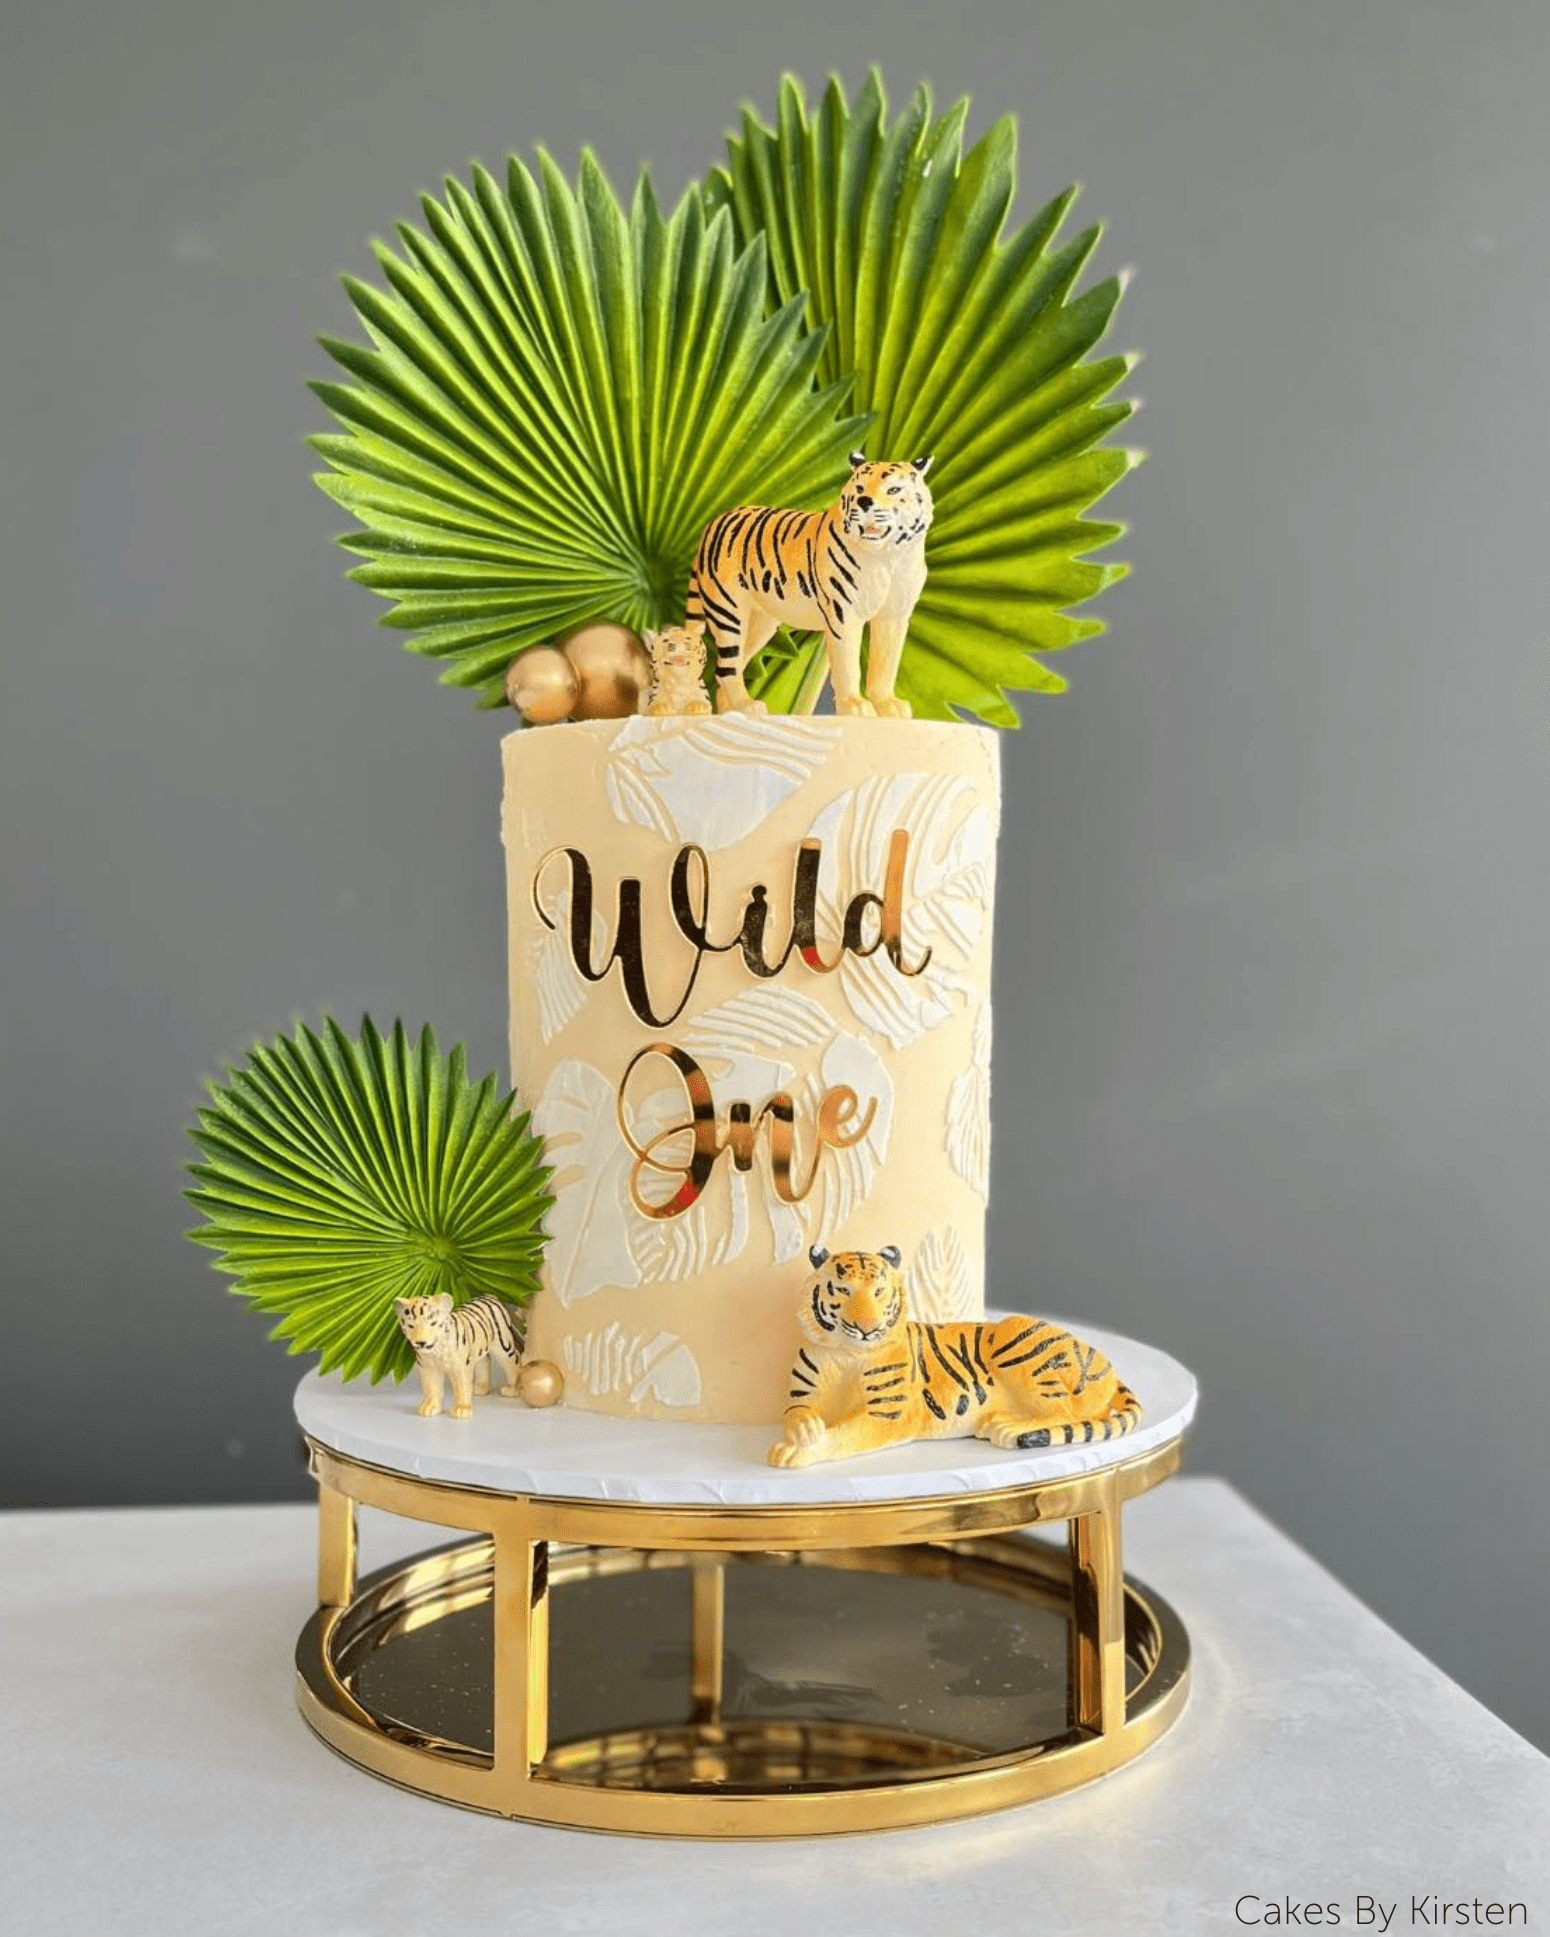
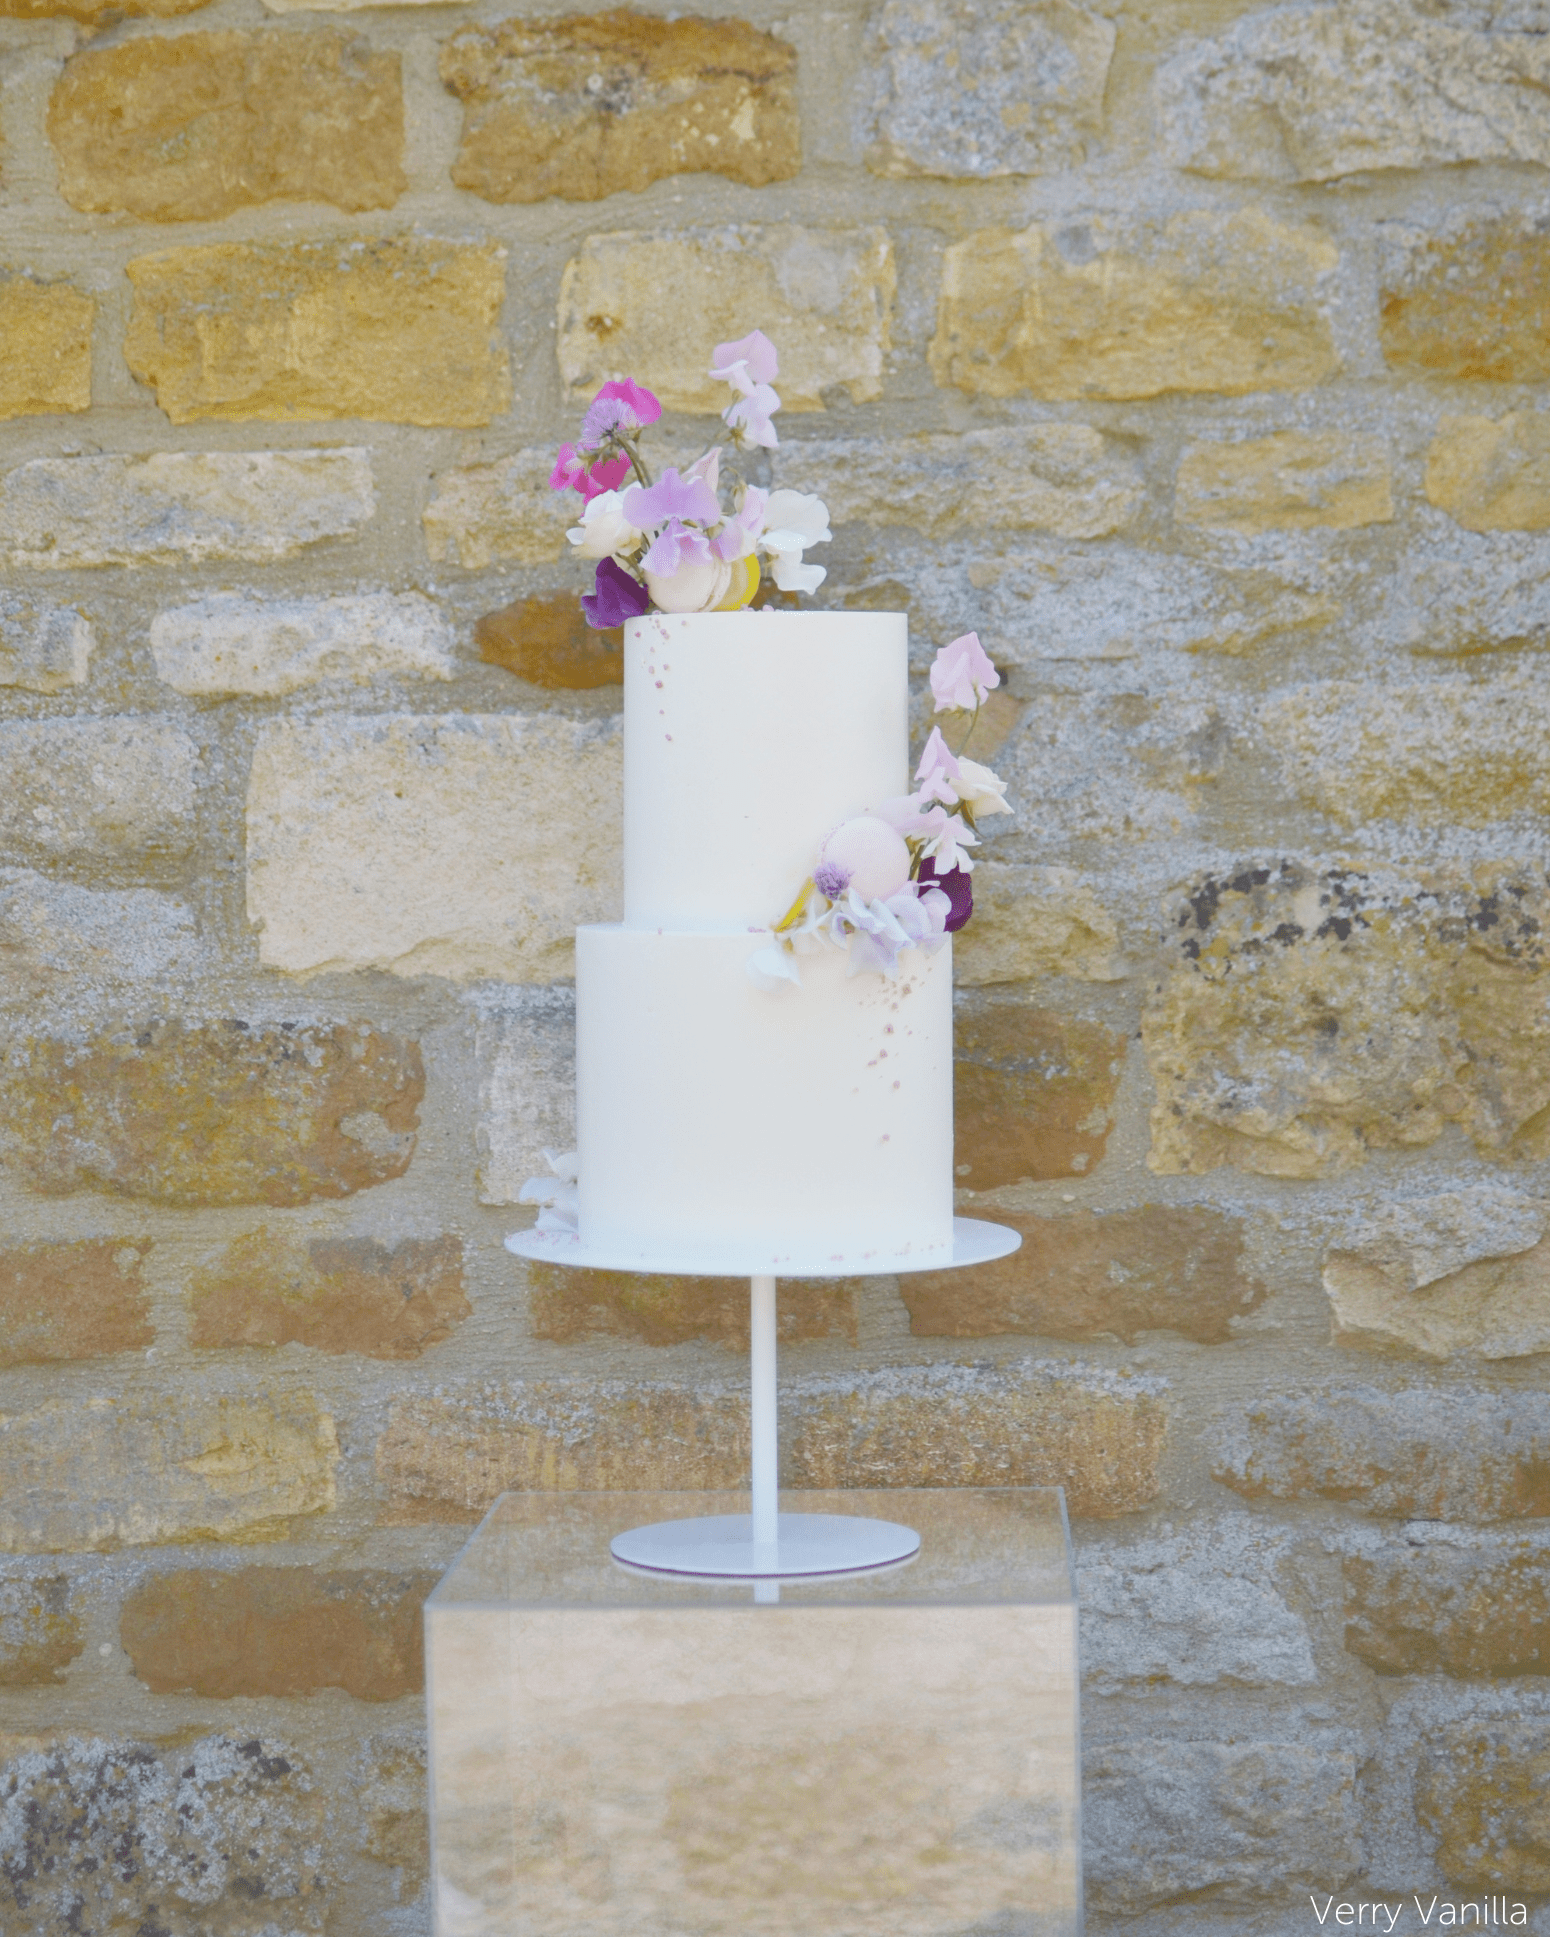
- Stage the cake on a cake stand or plinth, with one or two restrained props.
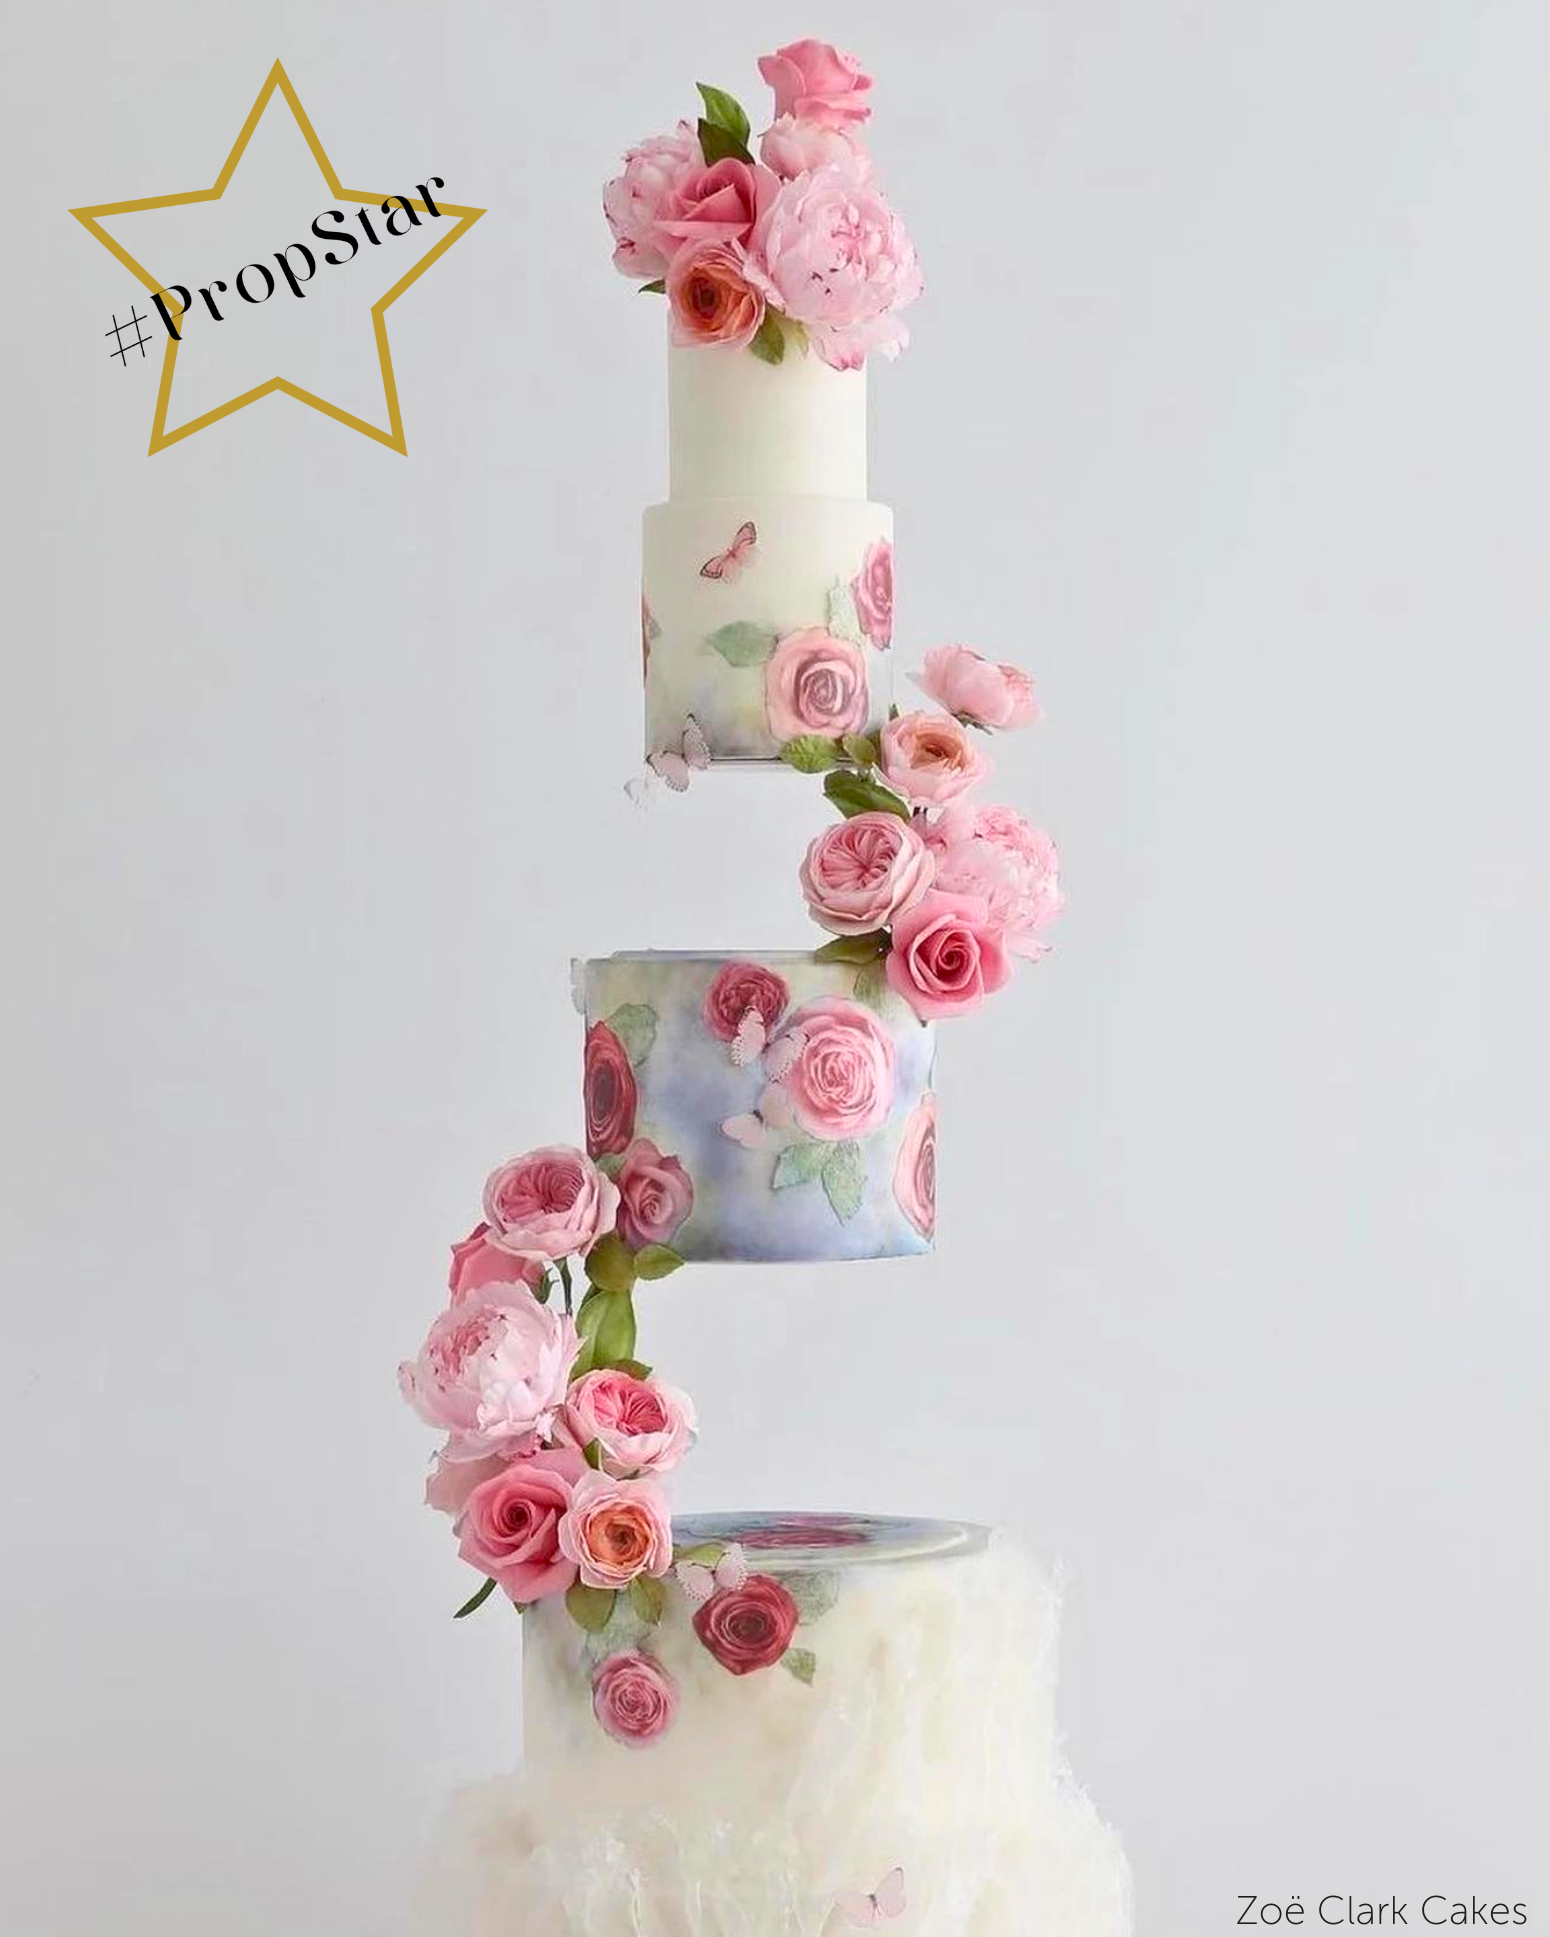
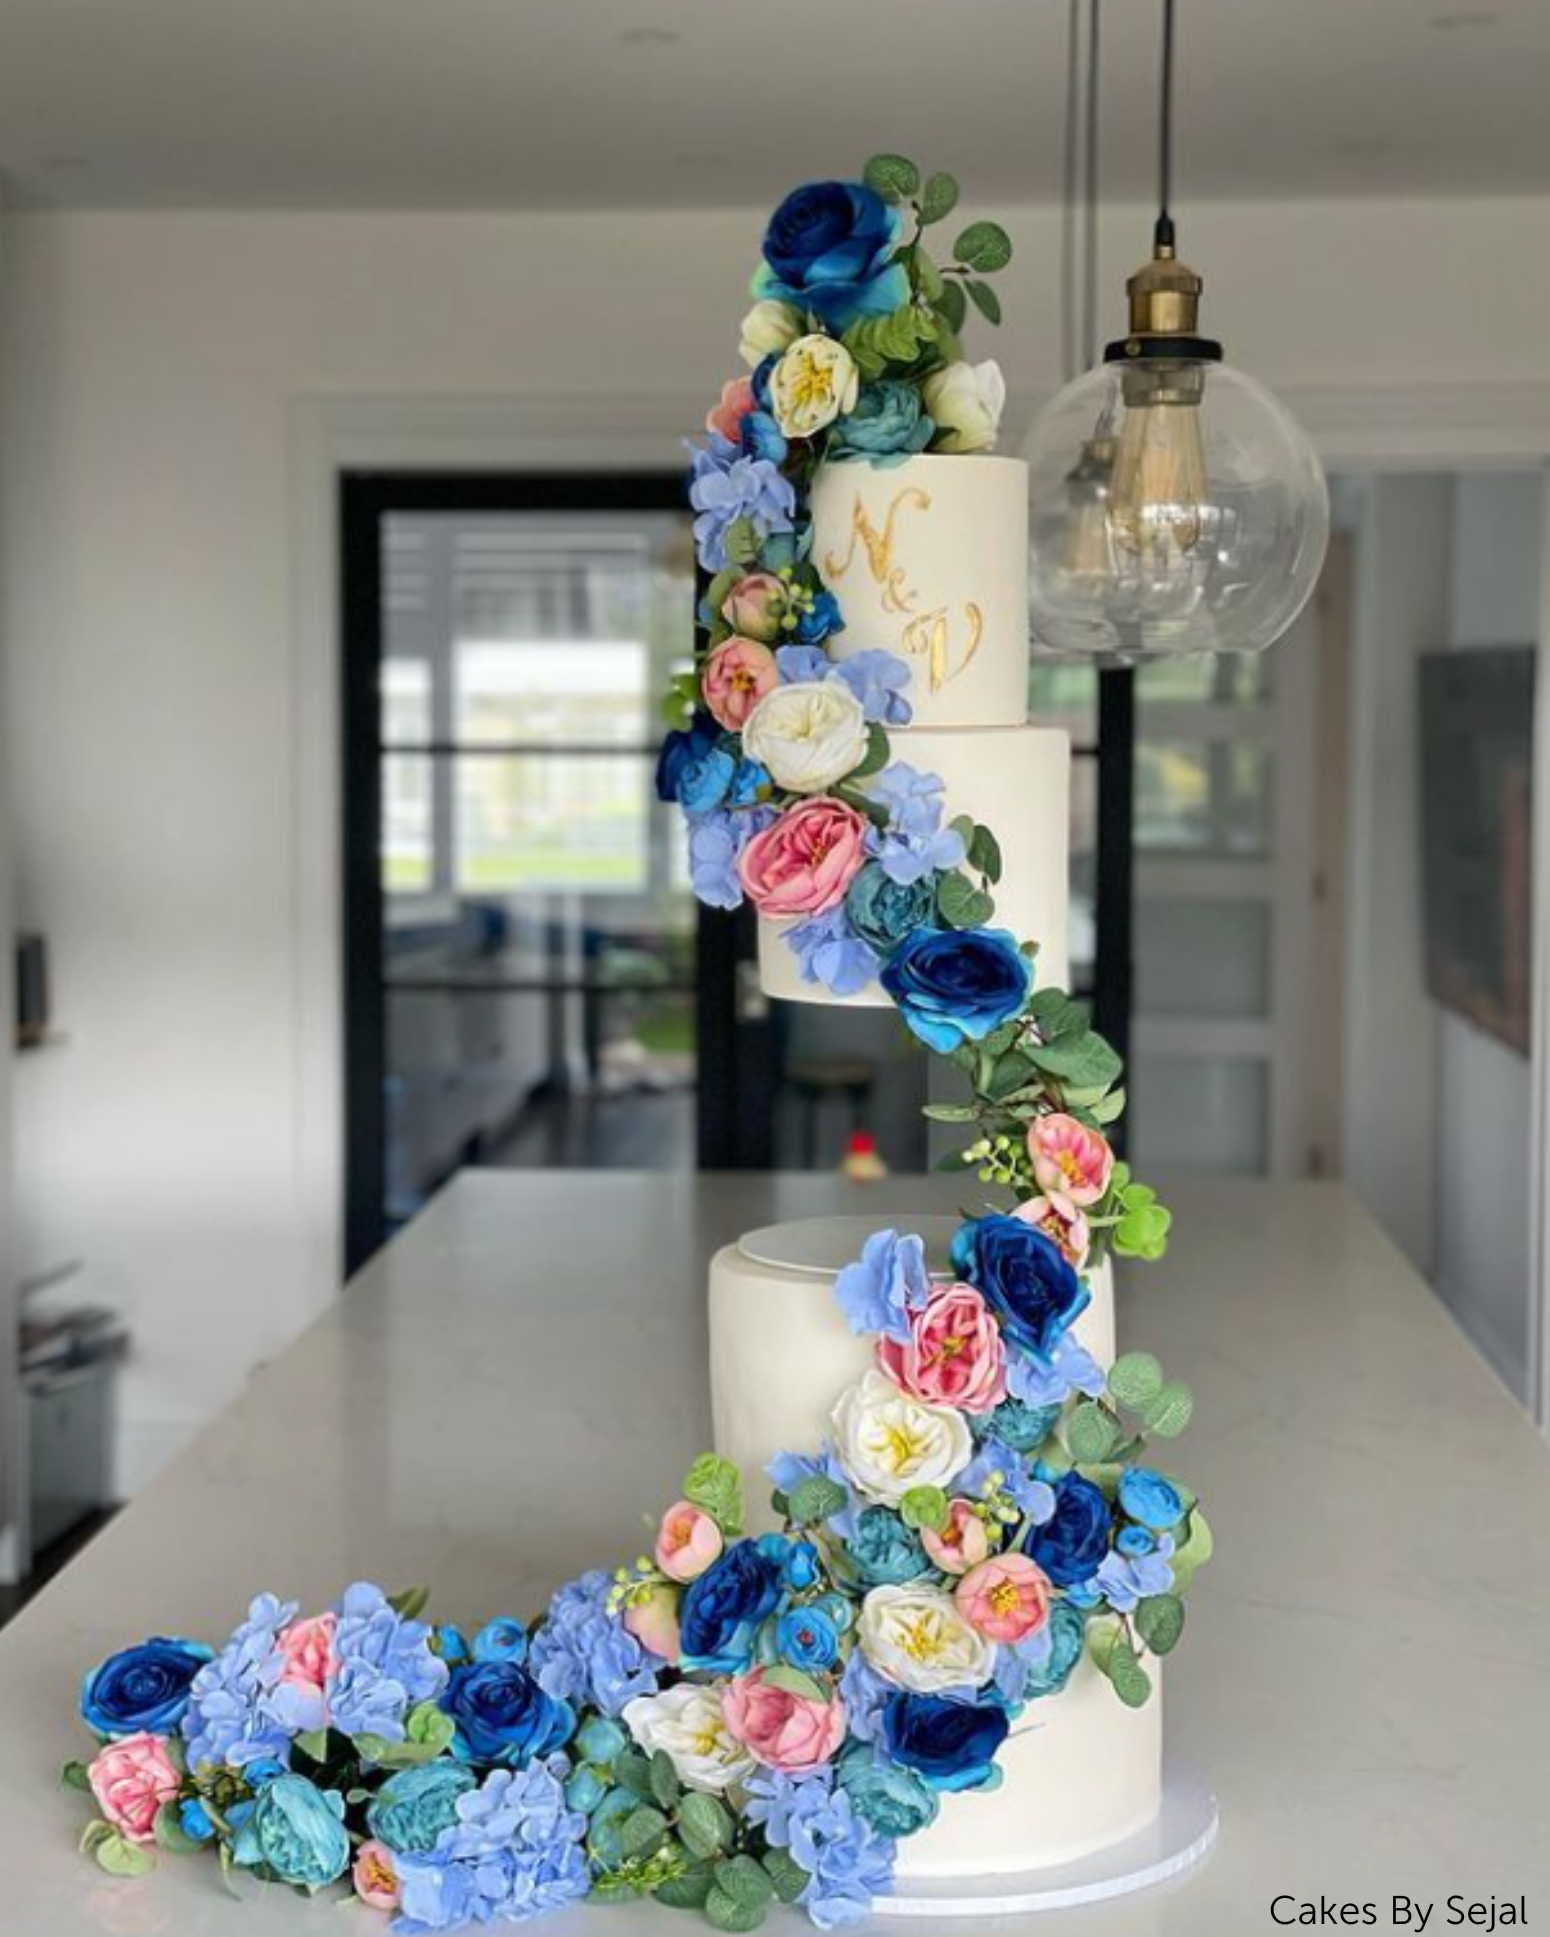
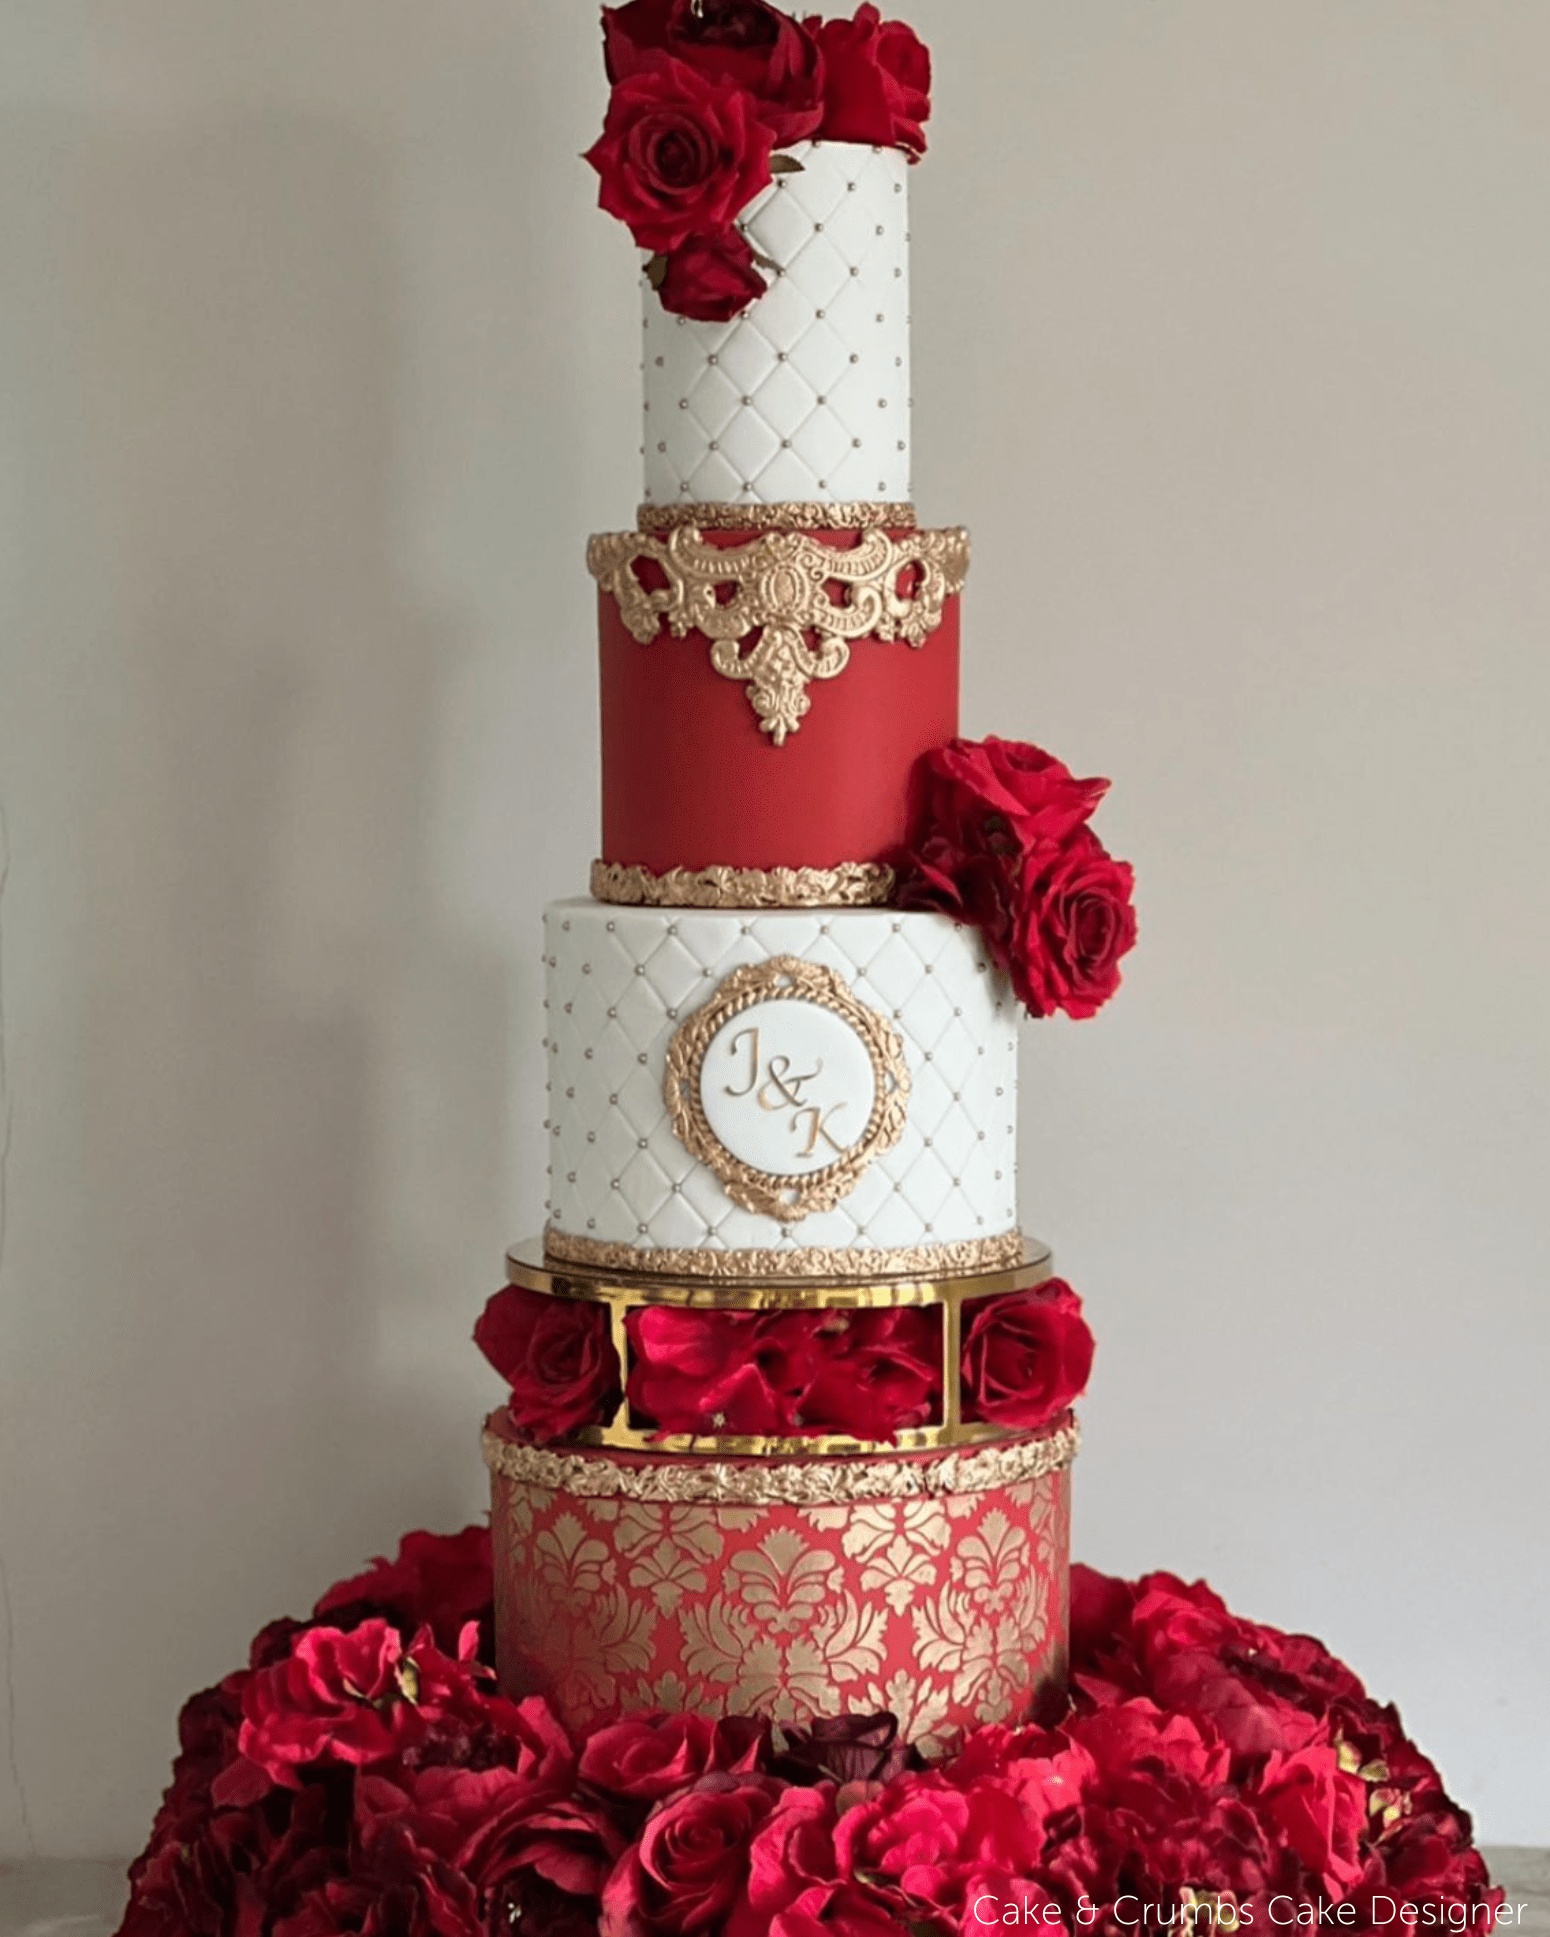
- Match the angle to the cake: flat lay for round, side-on for tiers and slices.
- Get in close for detail, use the rule of thirds, and edit with a light touch.
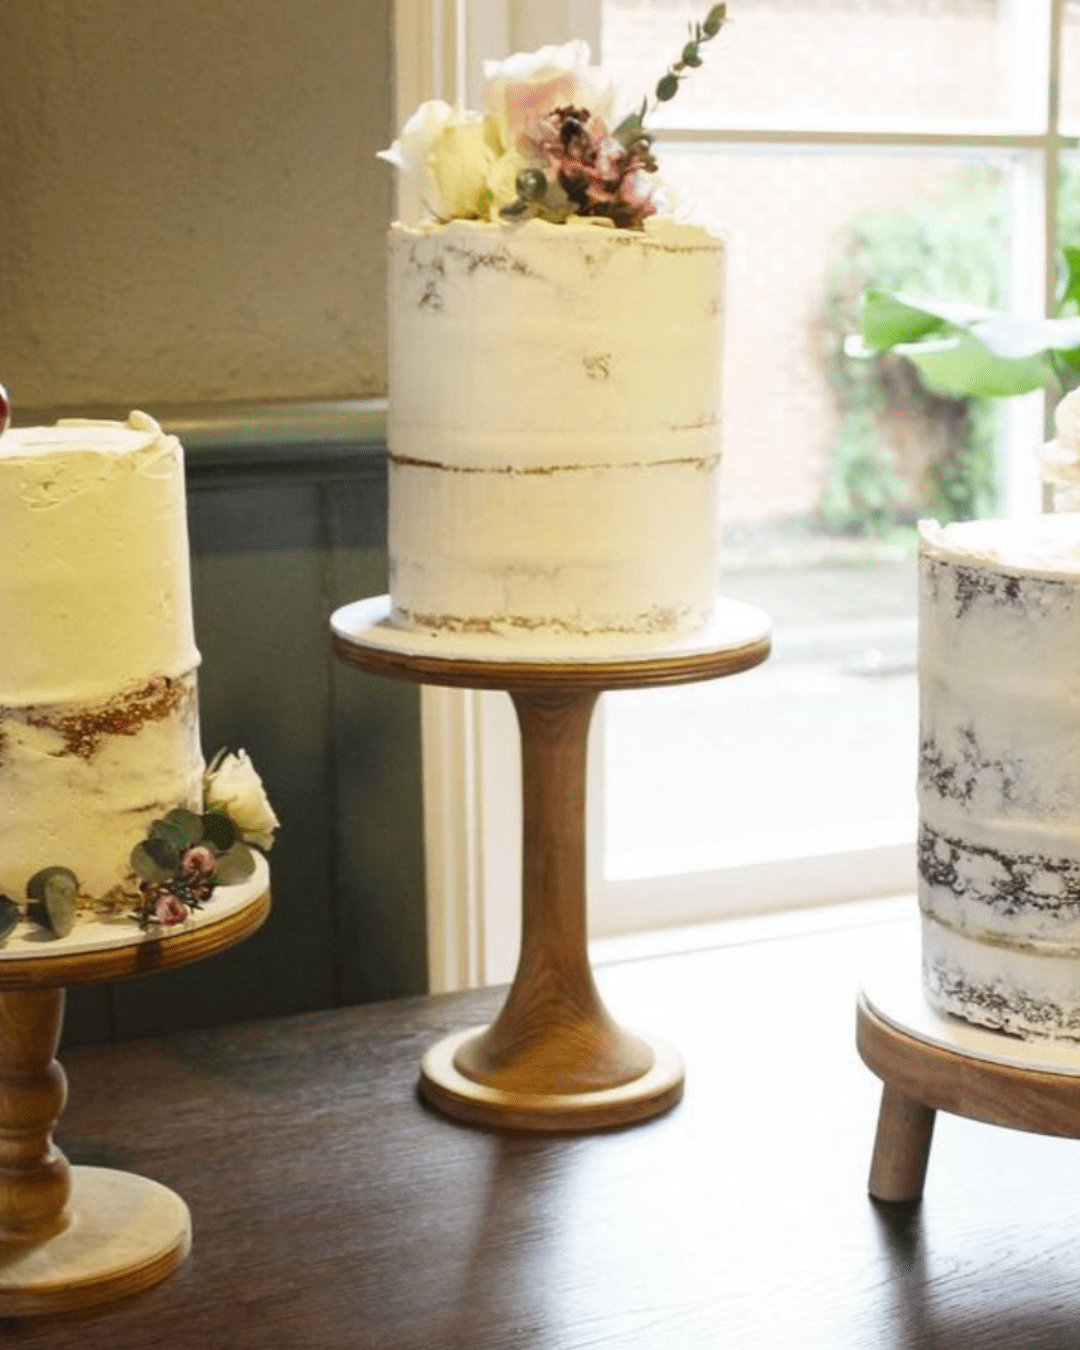
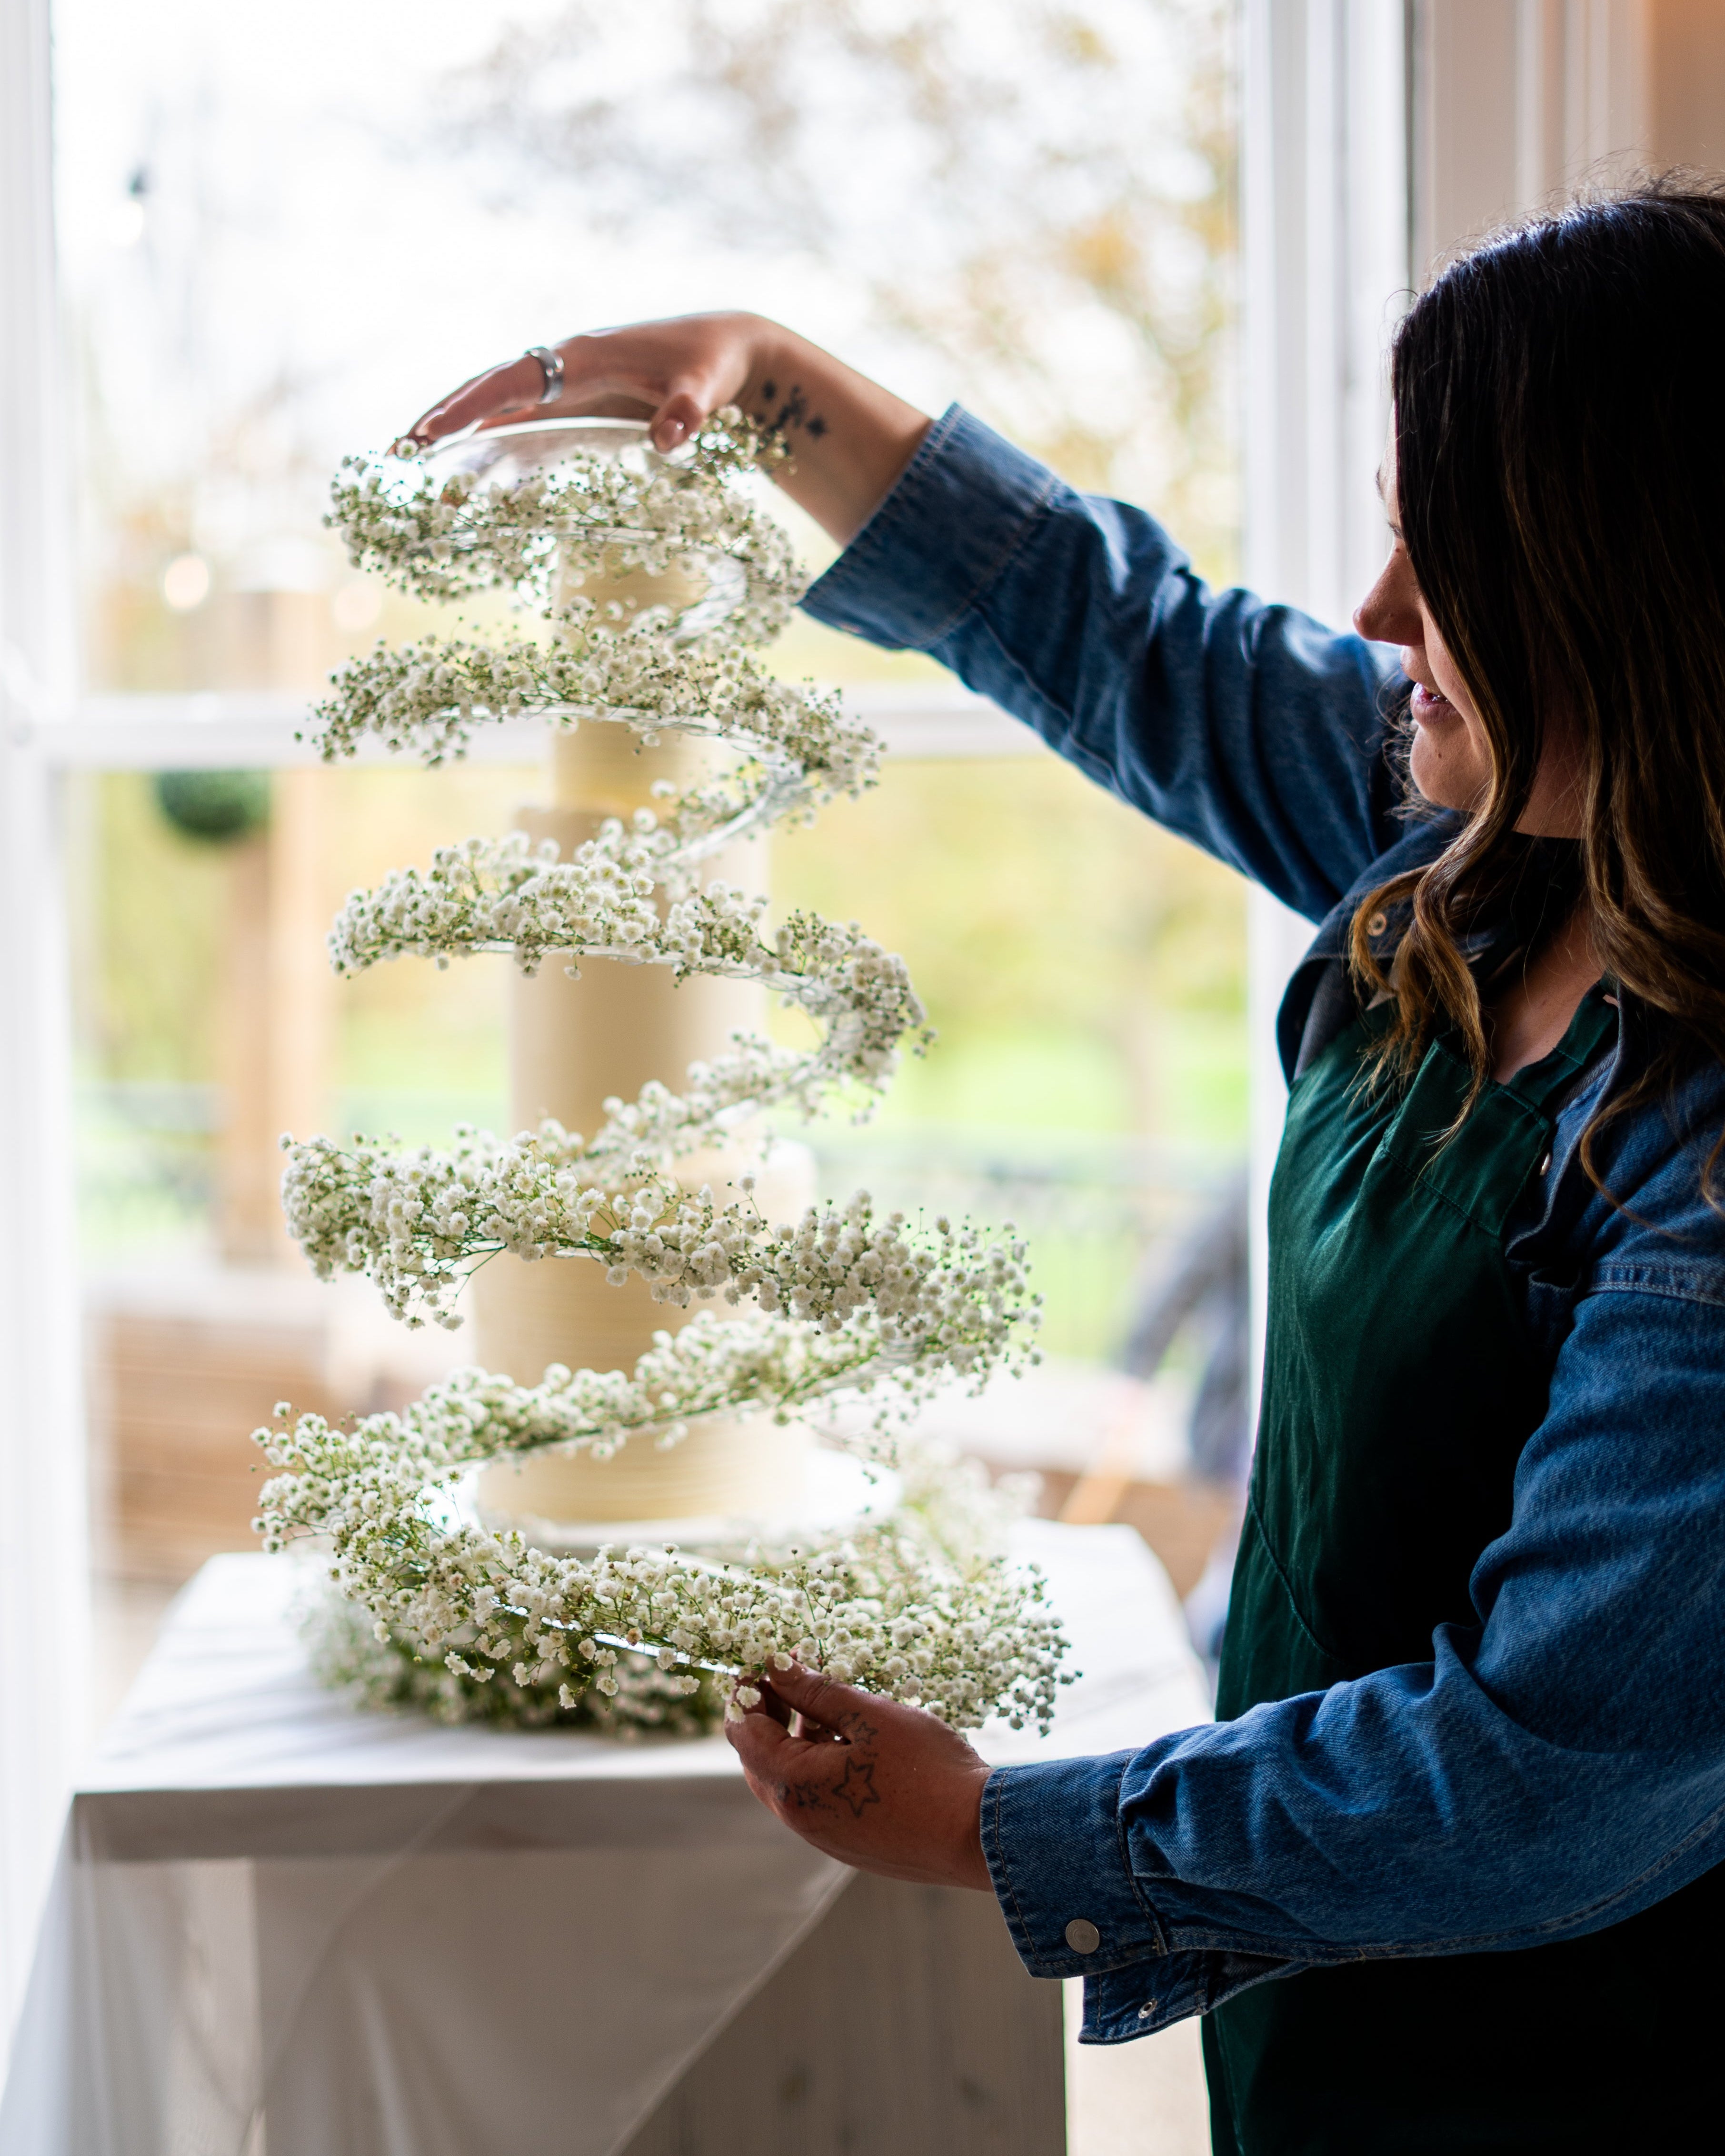
1. Light it well: natural light is your best friend
The first rule of cake photography is light, and then more light. You do not need studio kit; soft natural light does the work. Find a spot beside a window where the light falls evenly, and on a bright day hang a sheer curtain to diffuse it and soften harsh shadows. Early mornings and late afternoons give the most flattering light of the day. If you are shooting on a phone, tap the cake in the focus area so the exposure sets for the cake and the colours hold true.
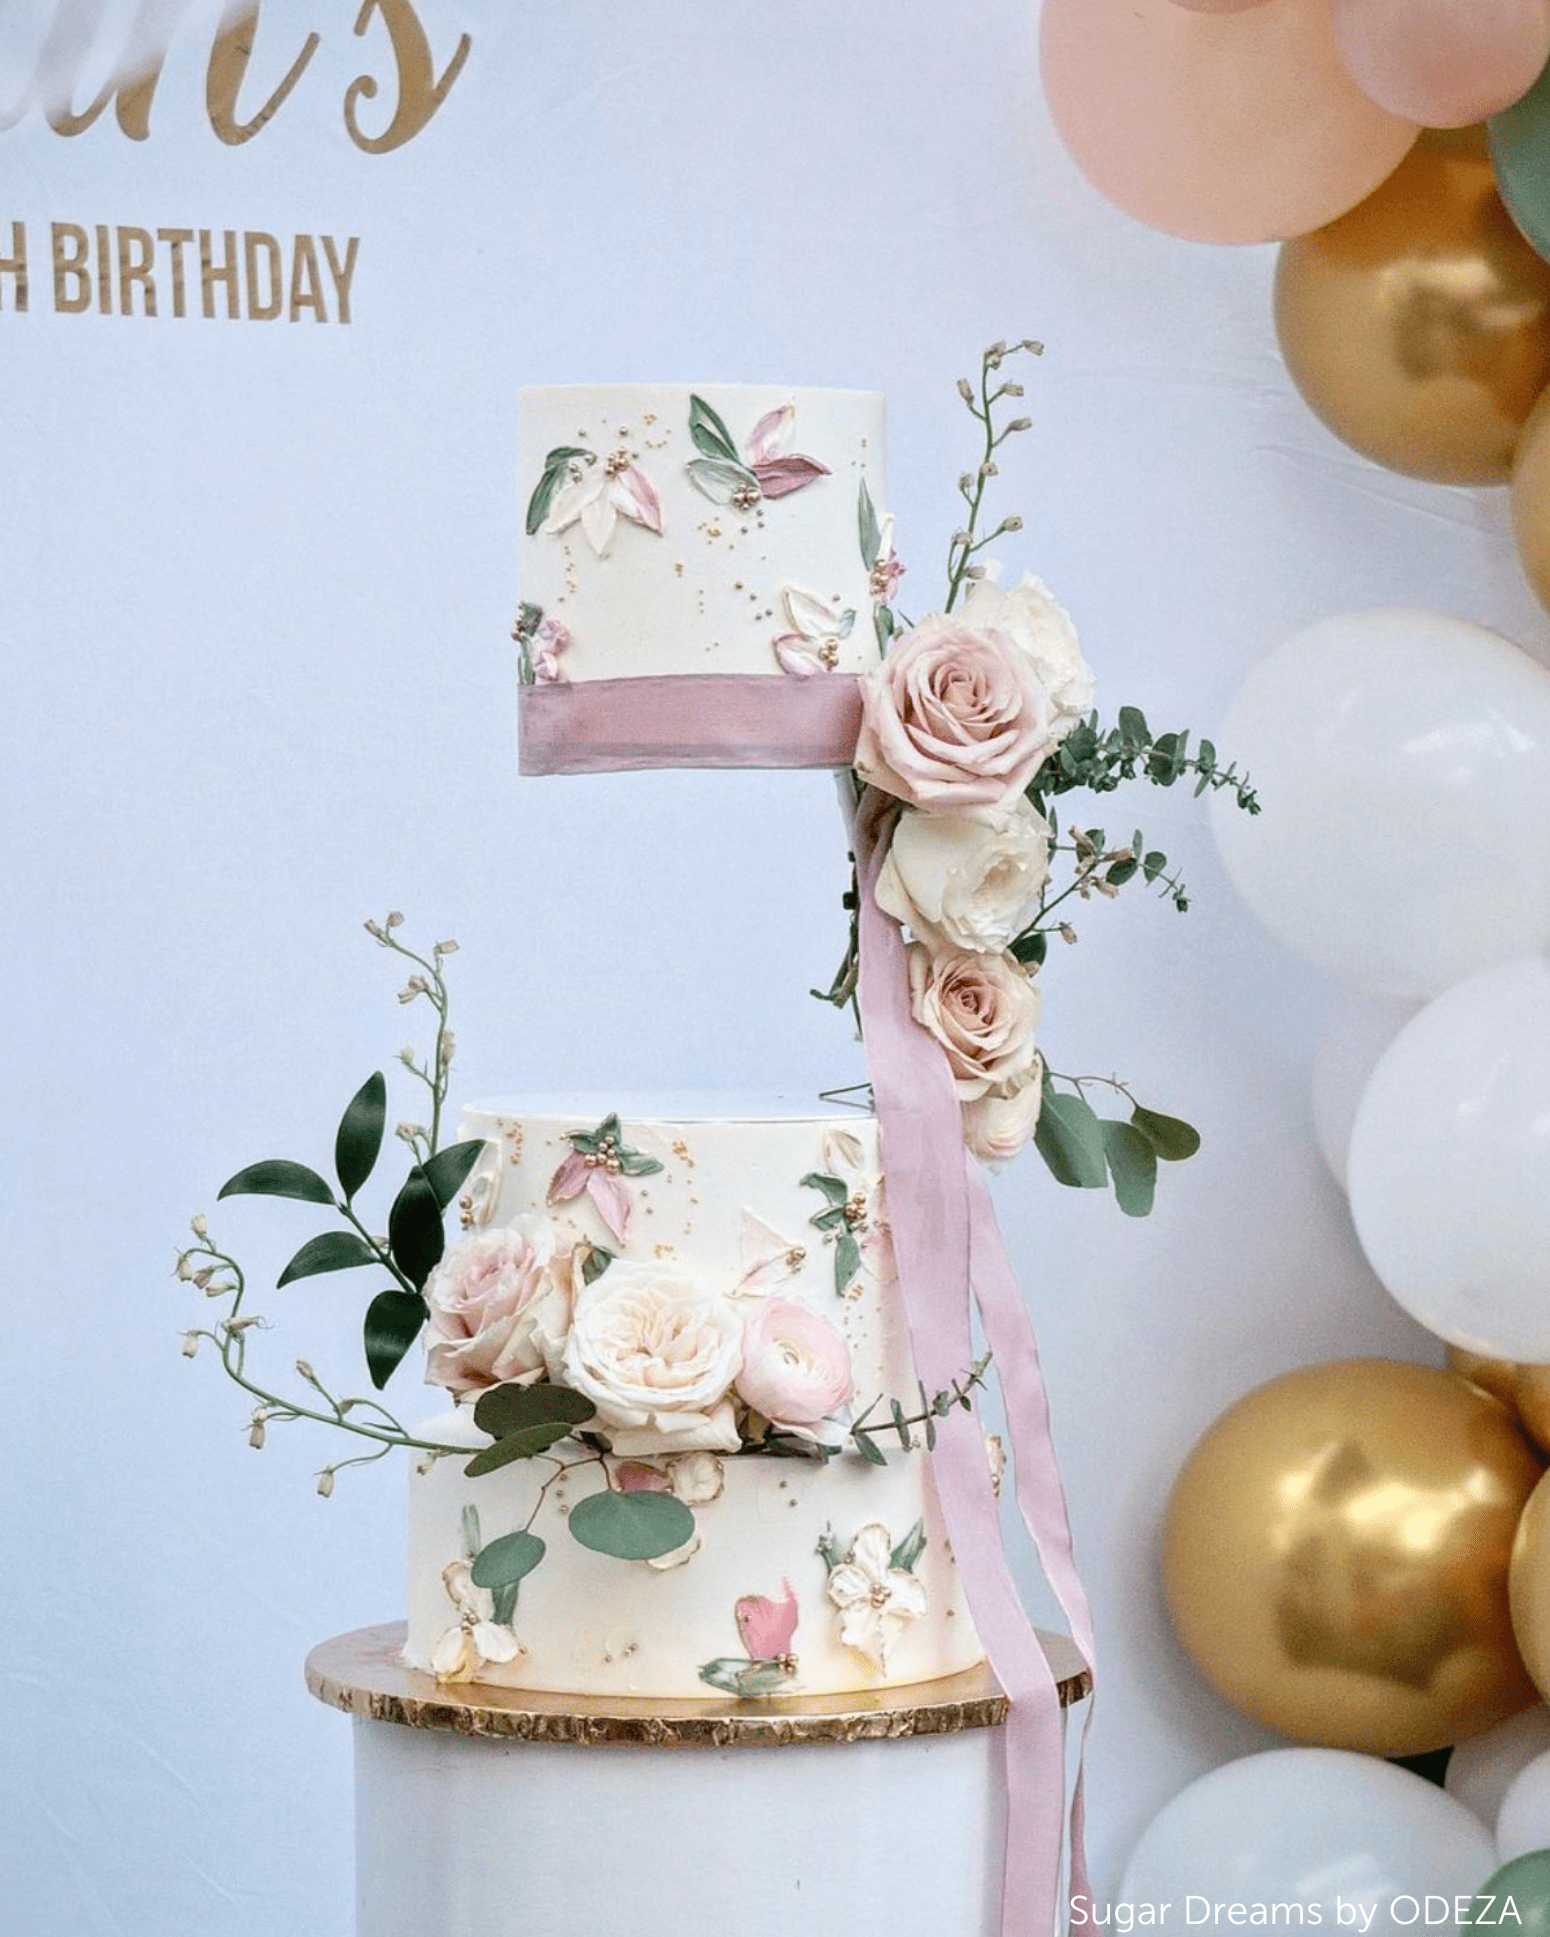
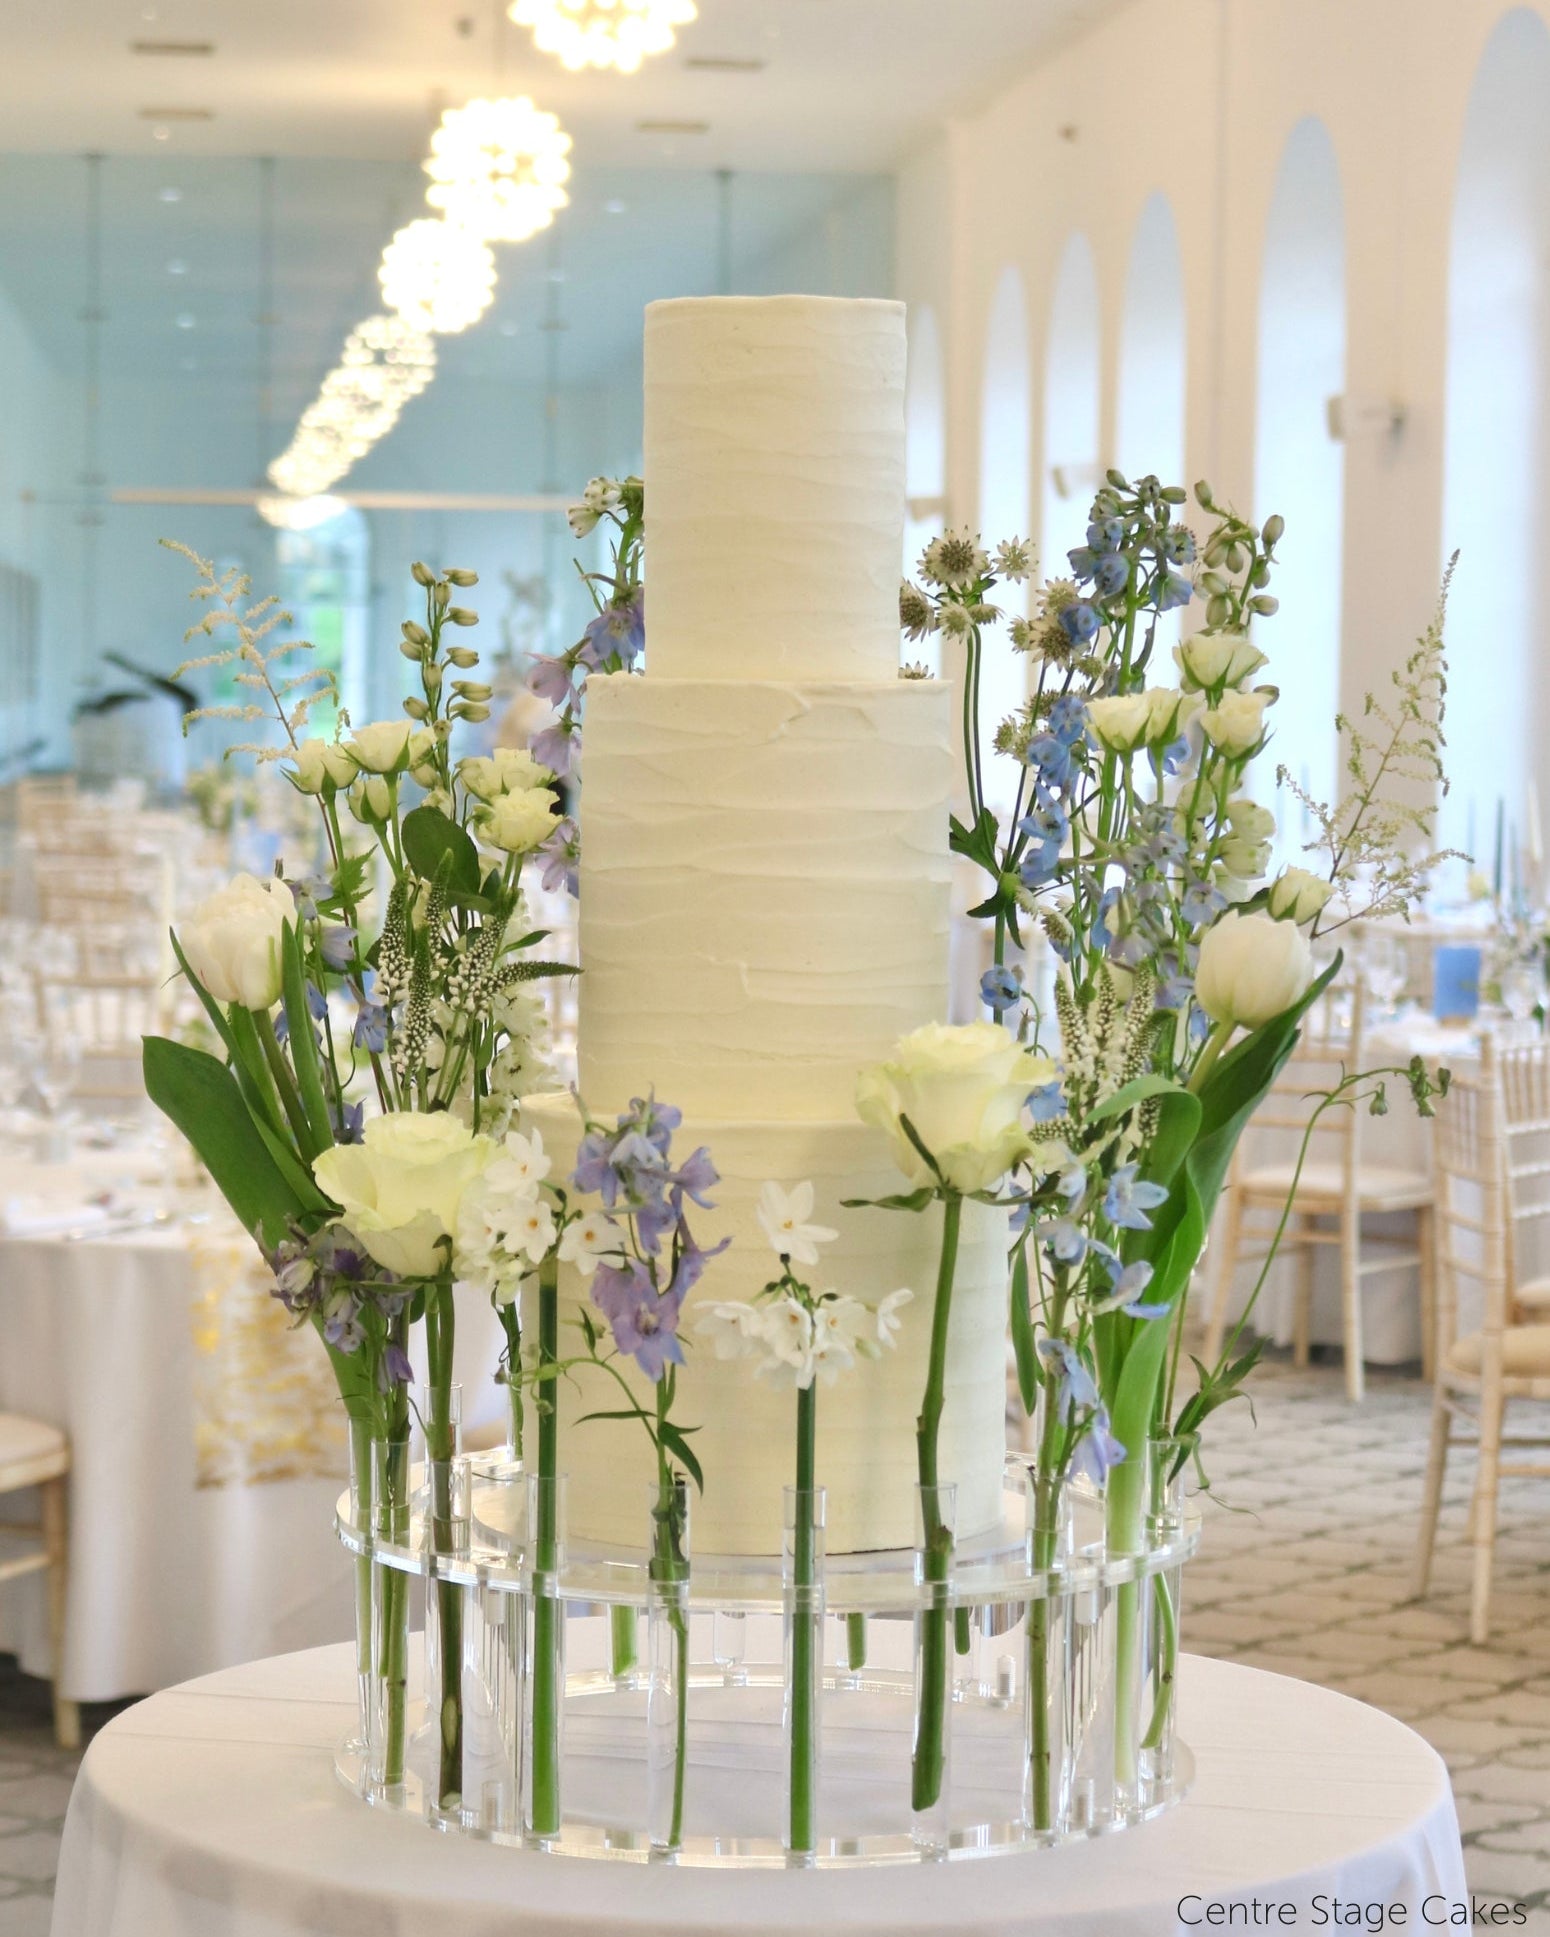
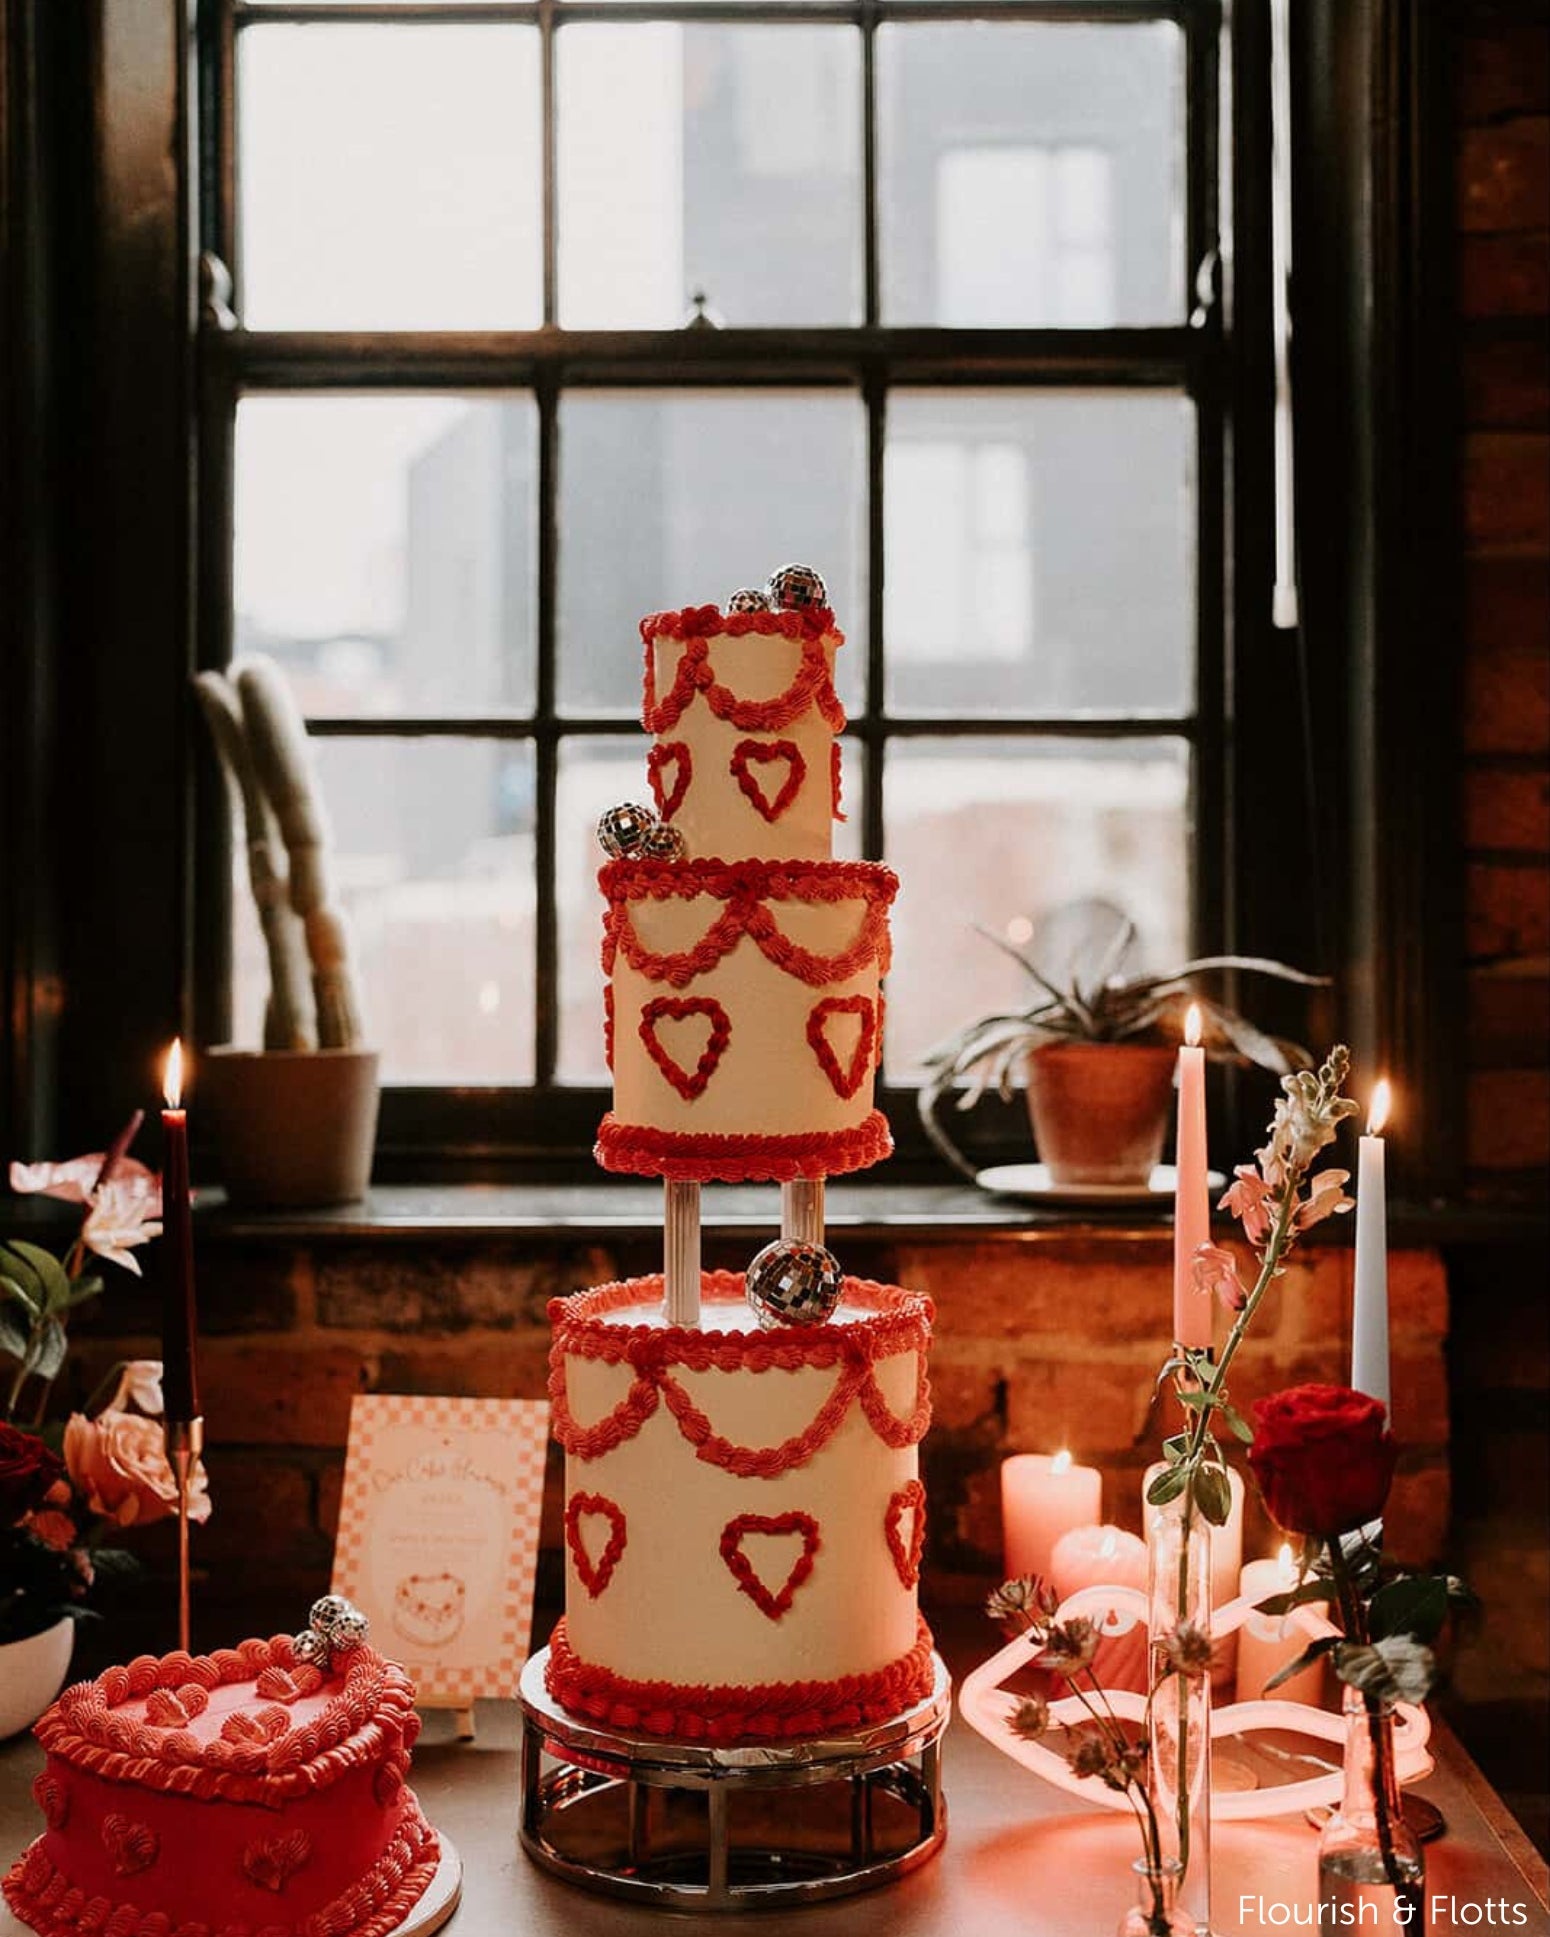
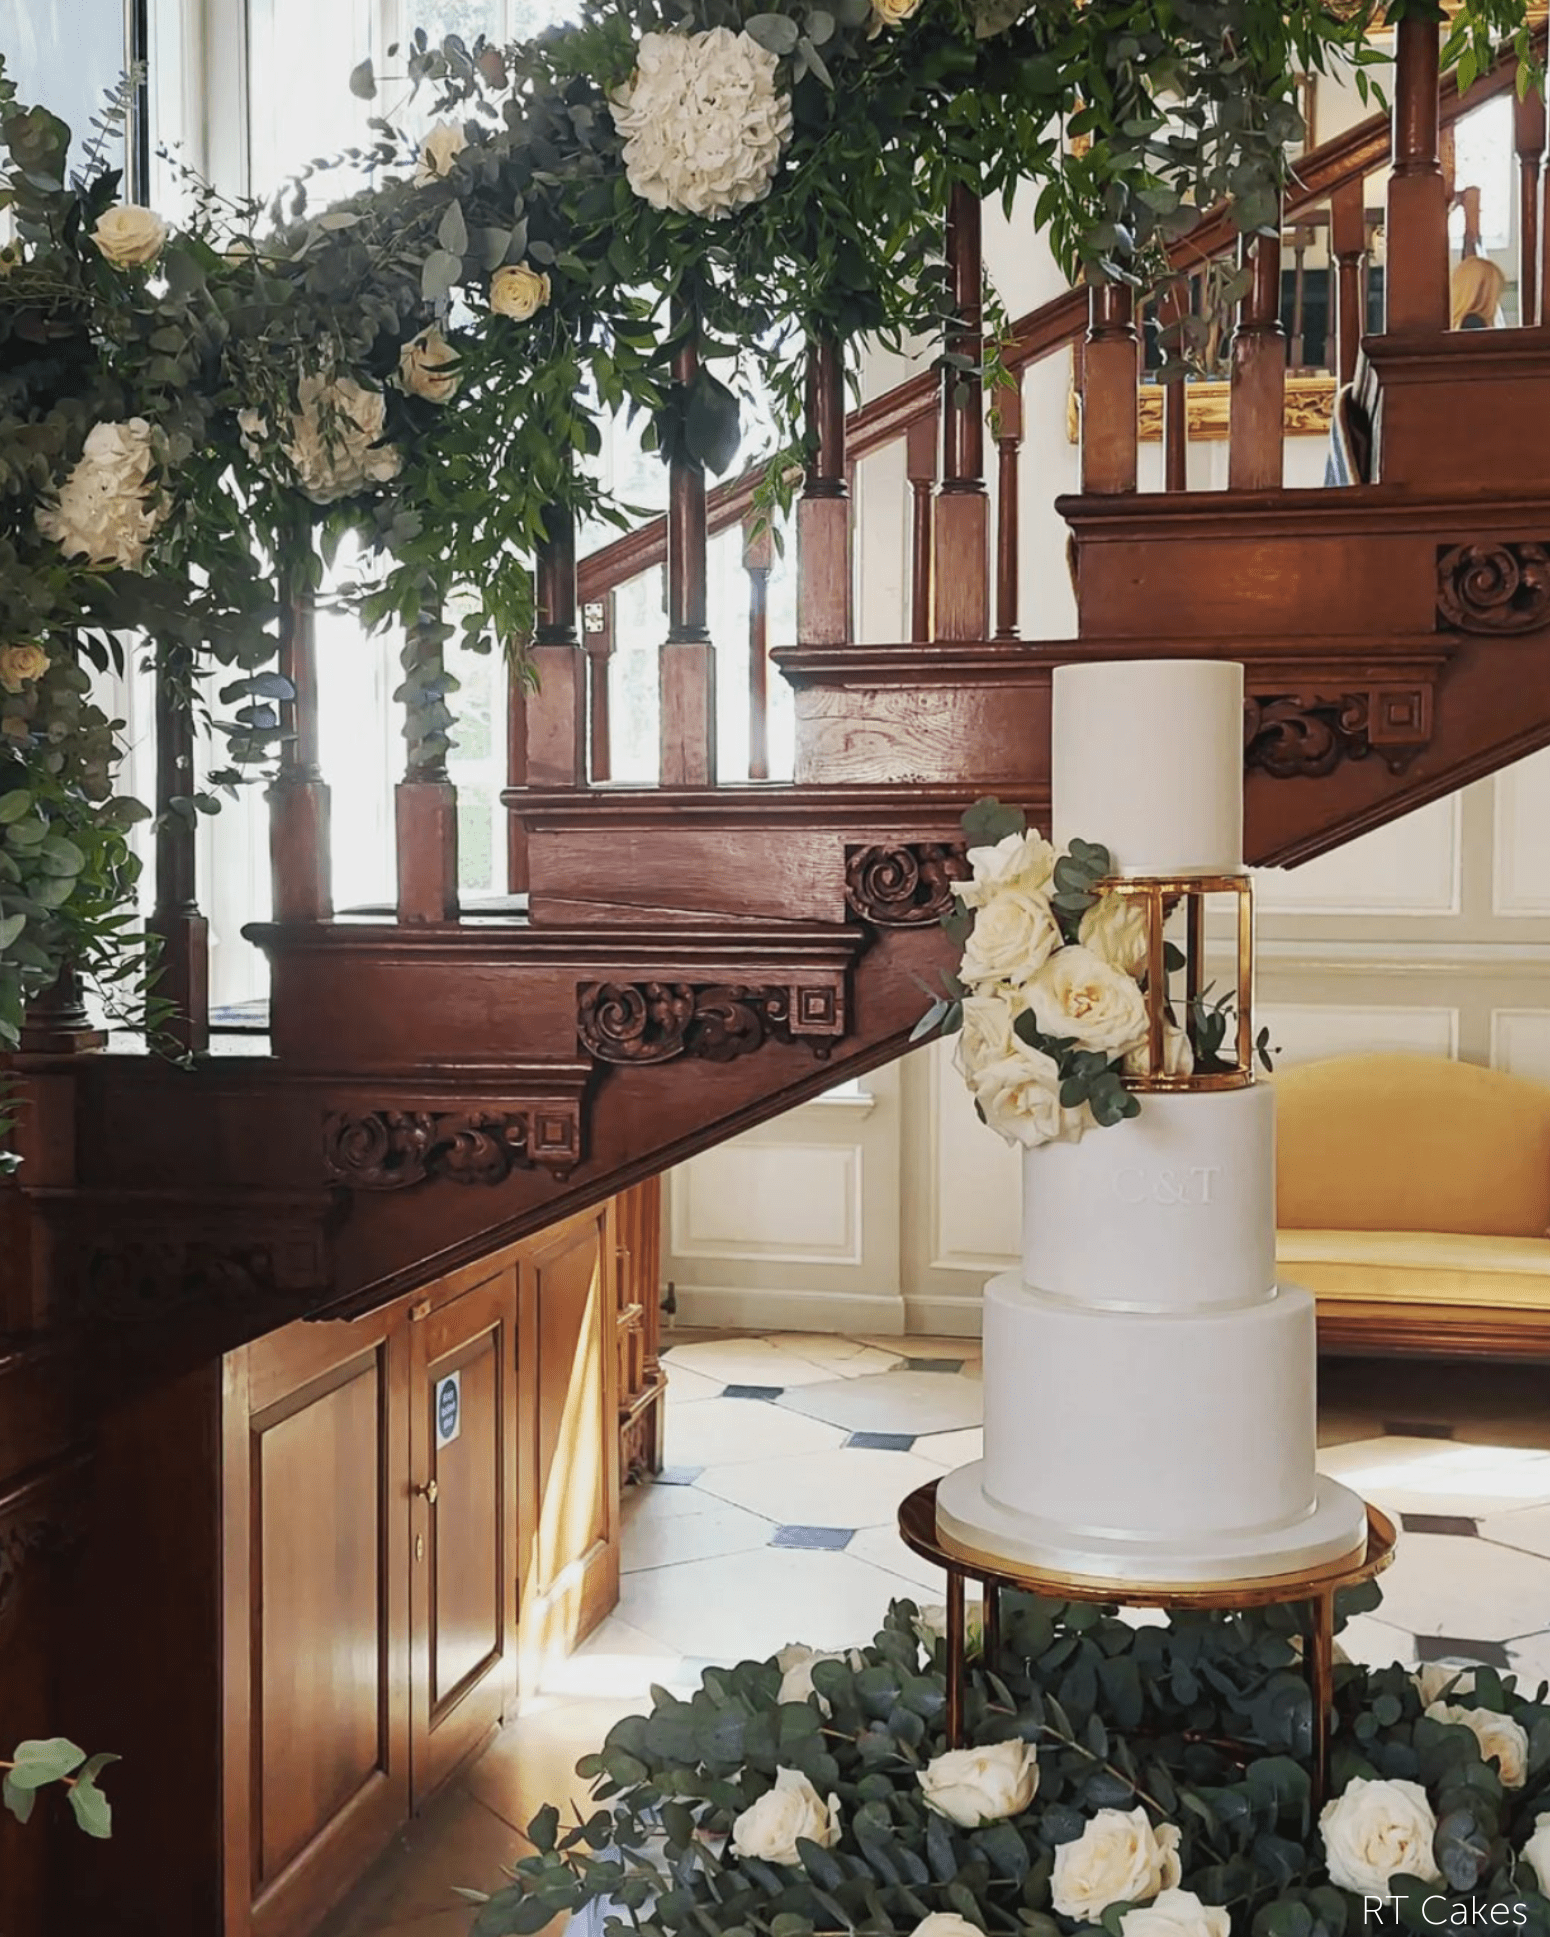
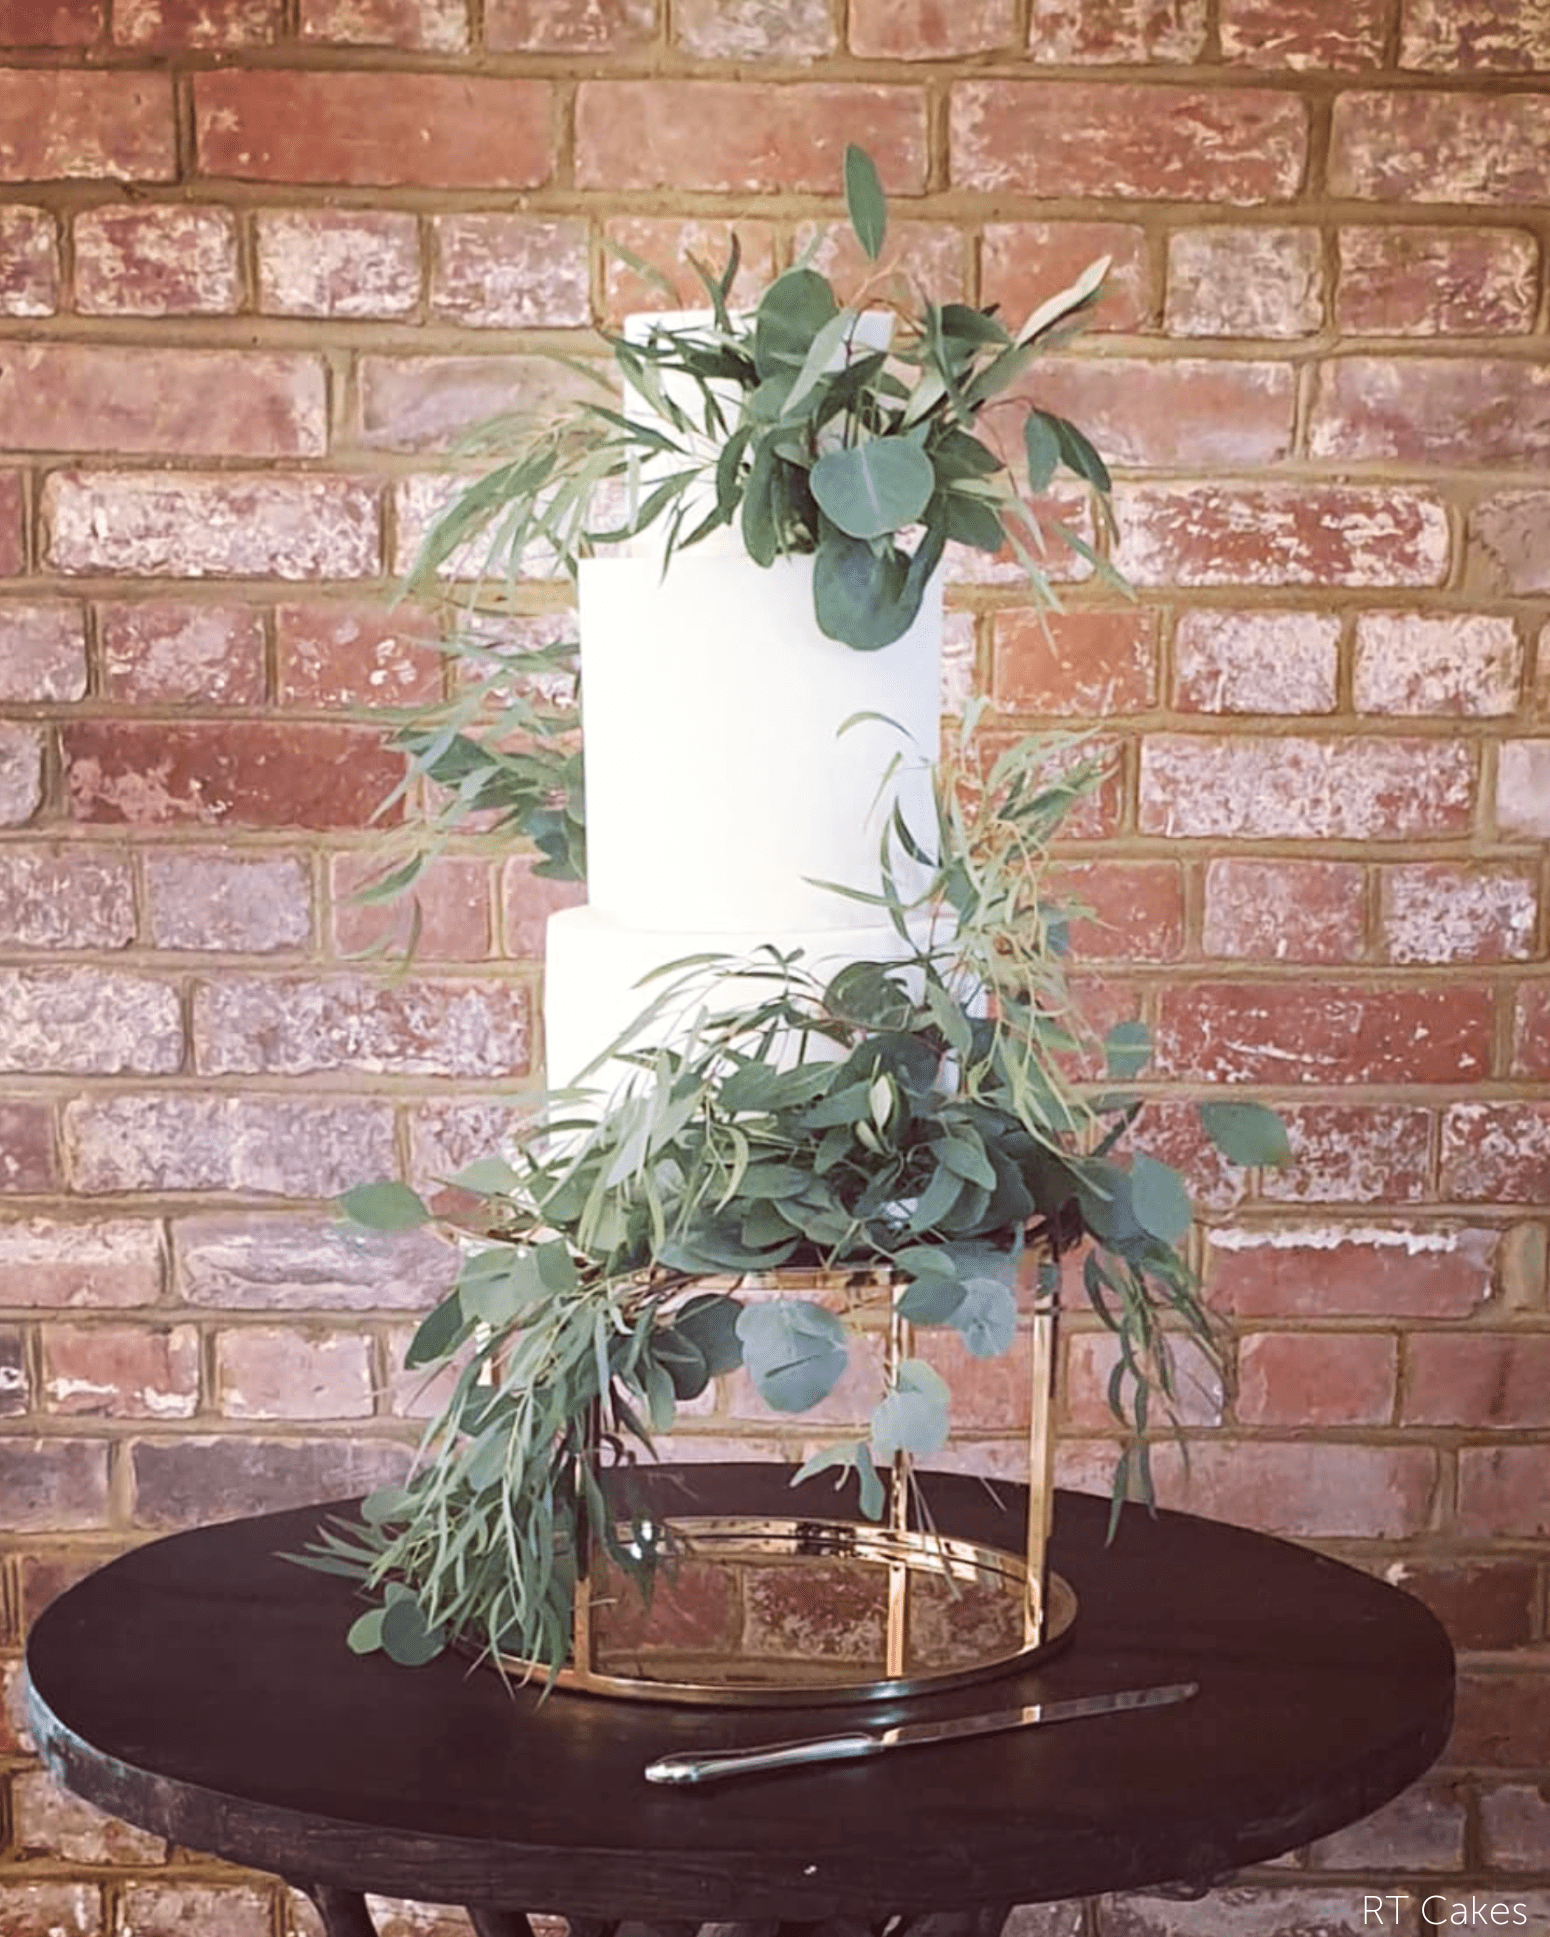
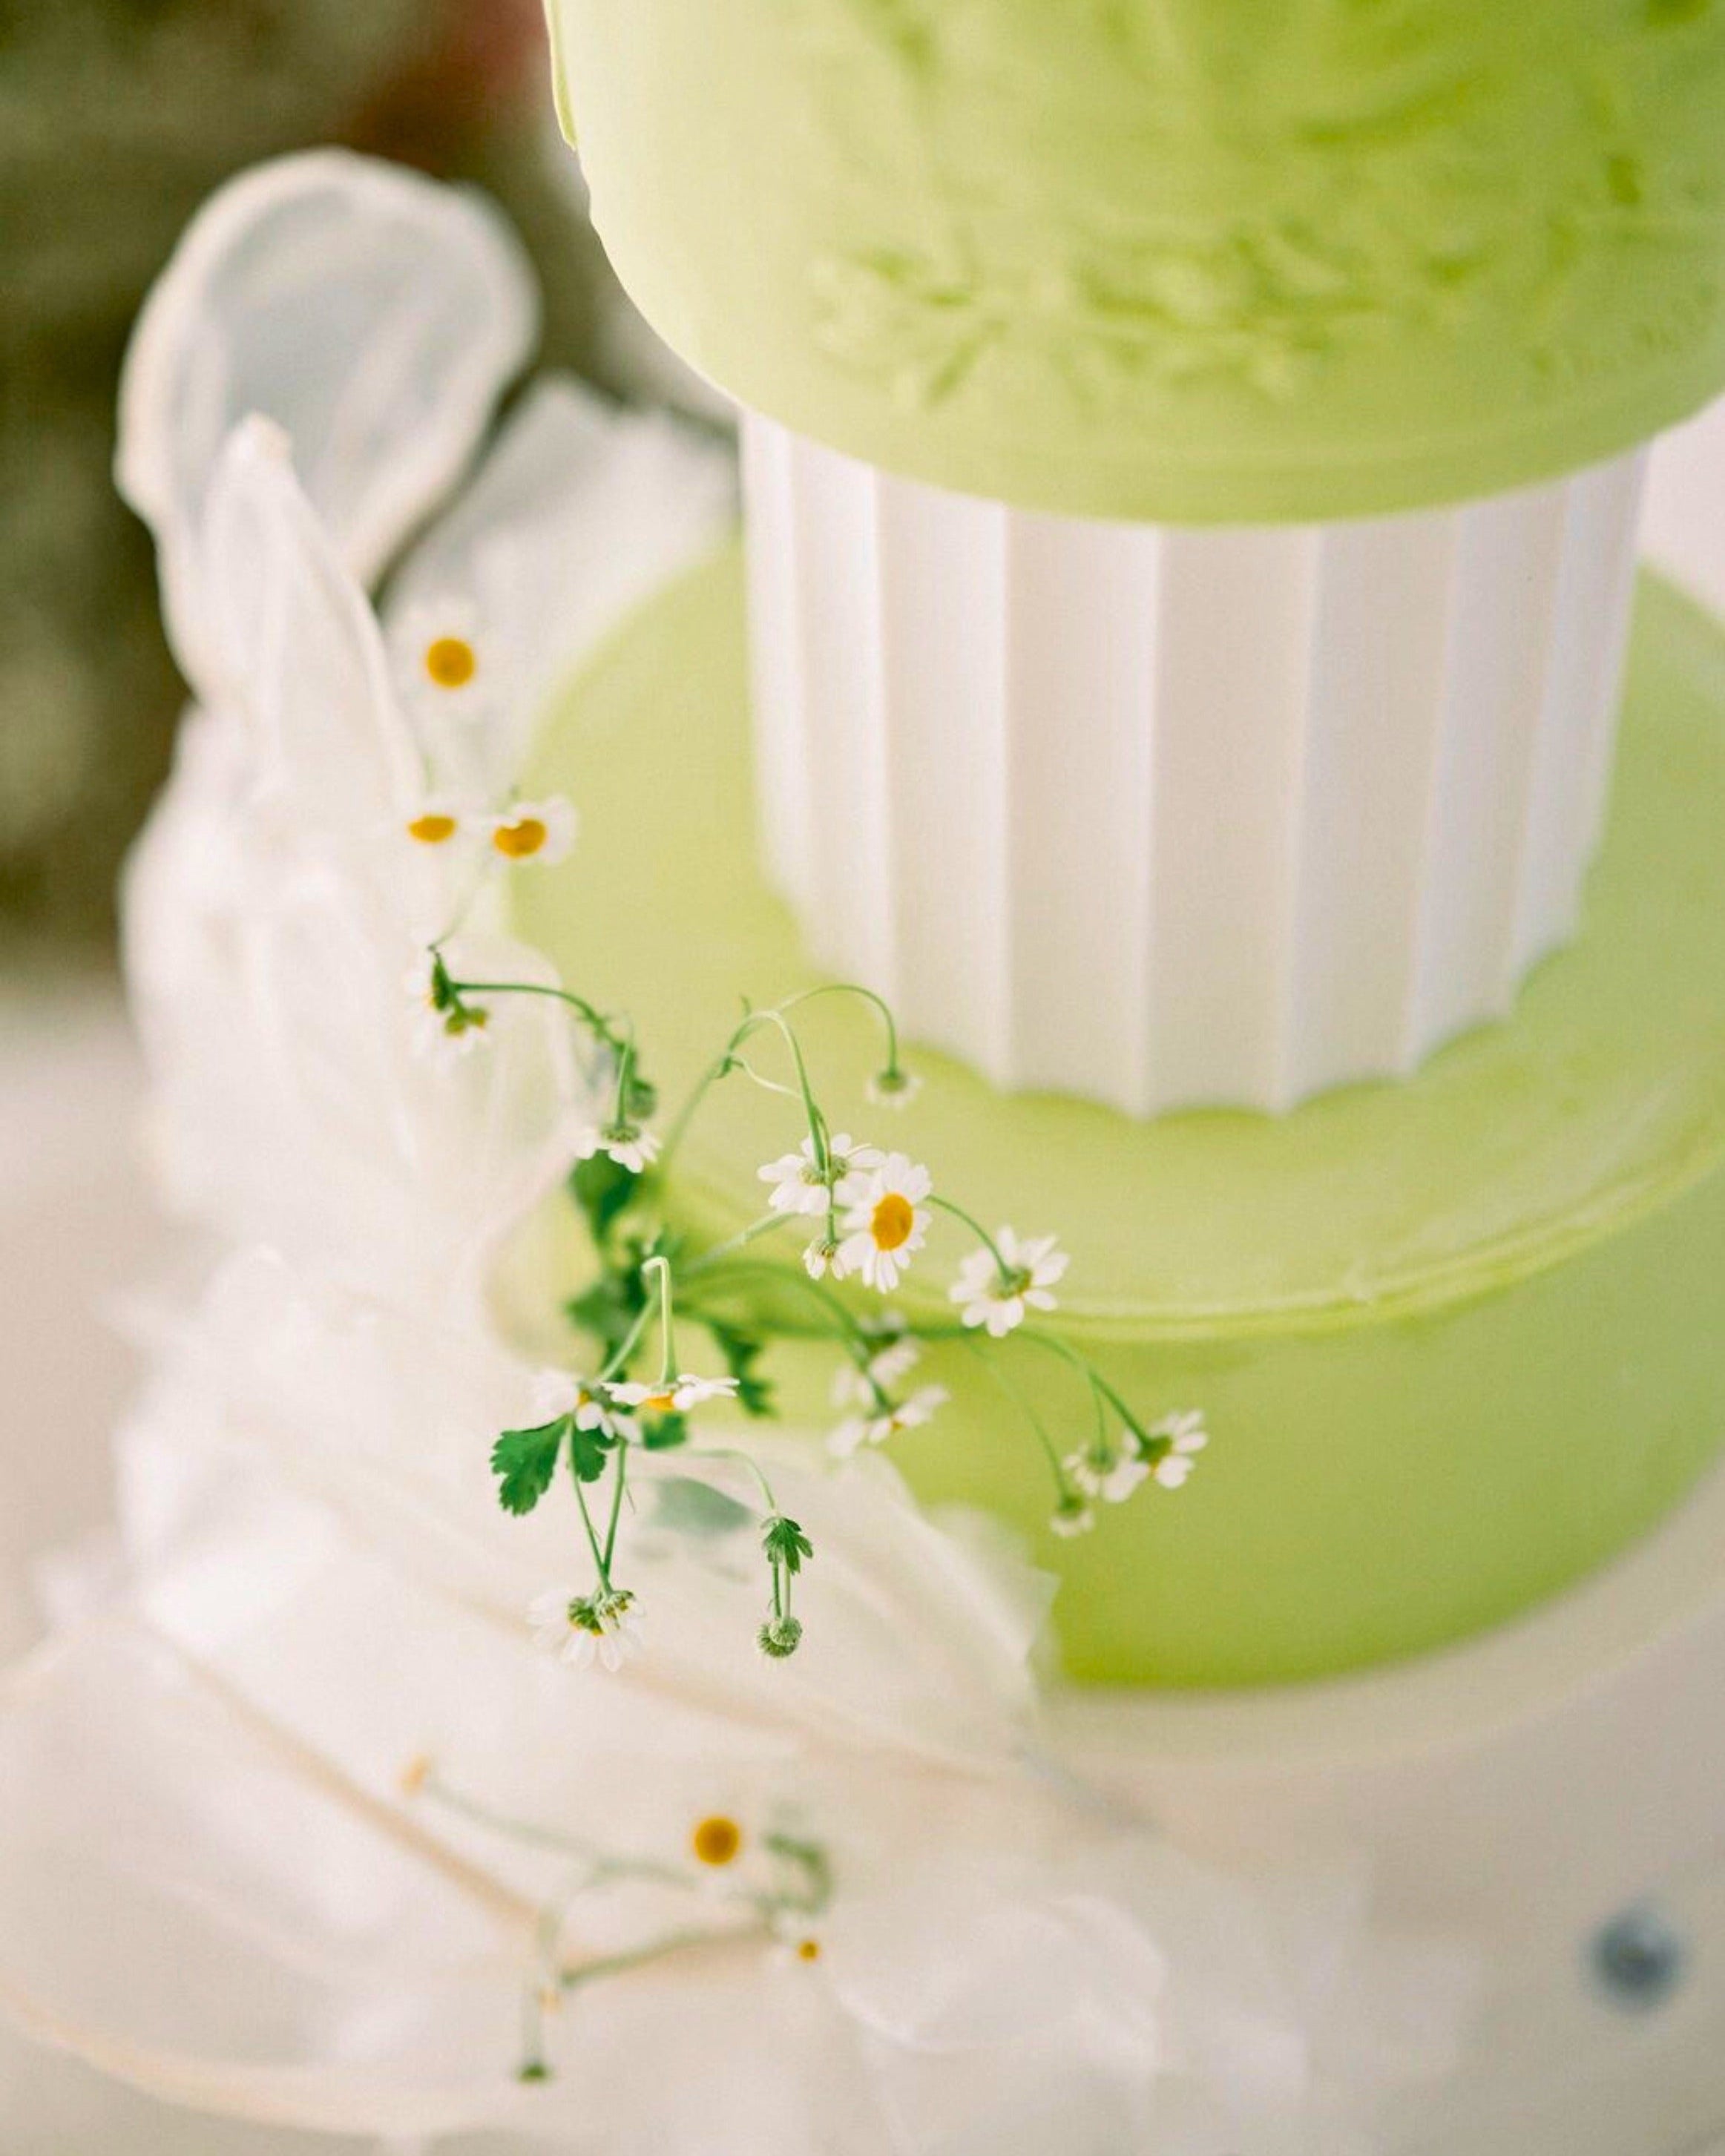
2. Choose a simple, clean background
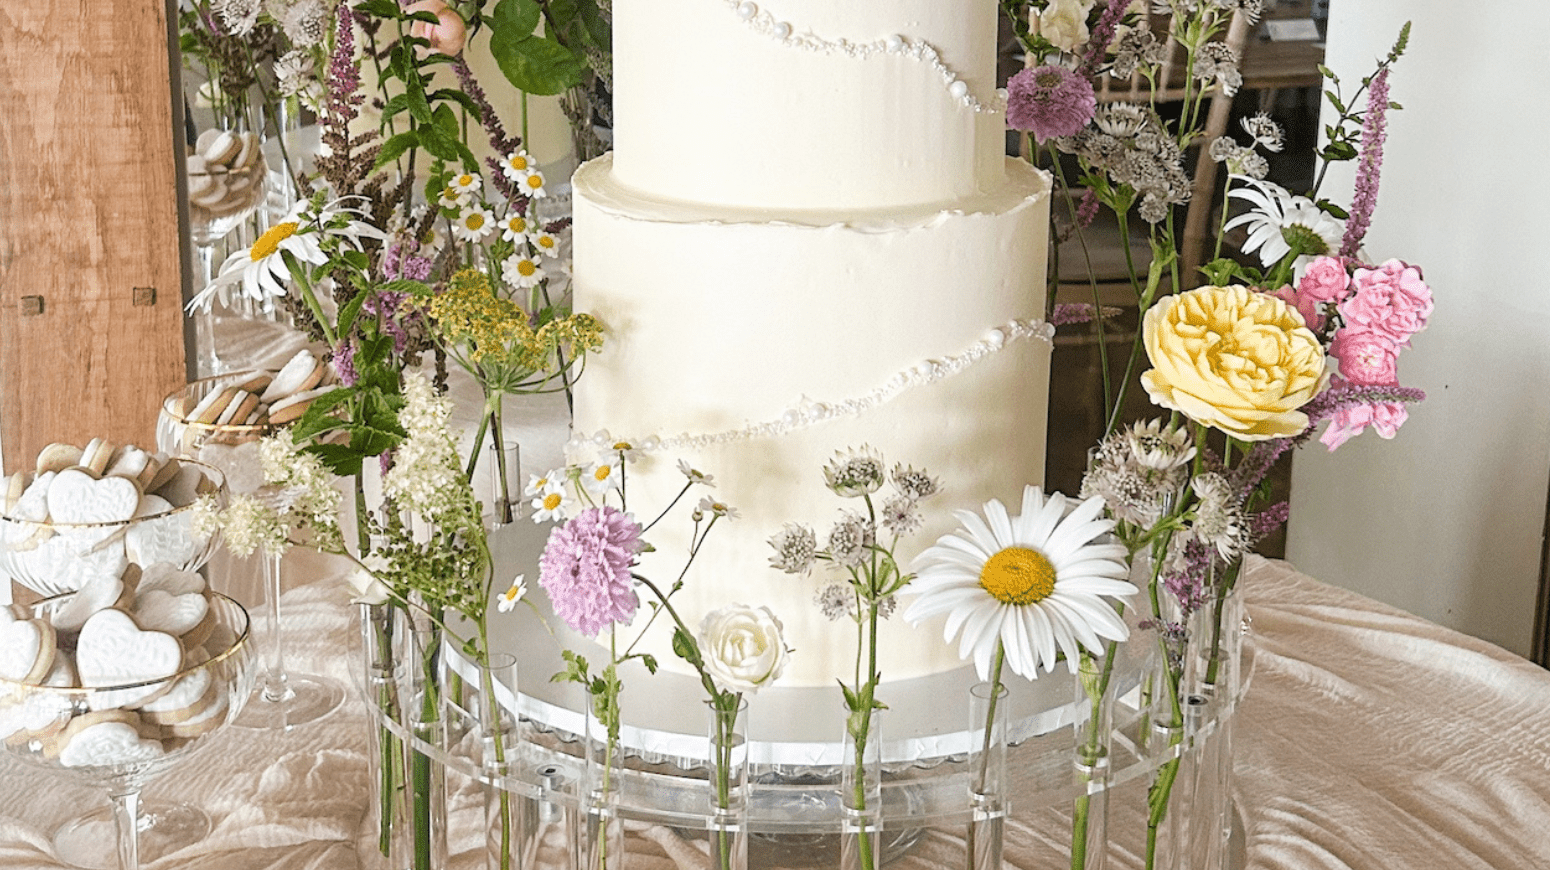
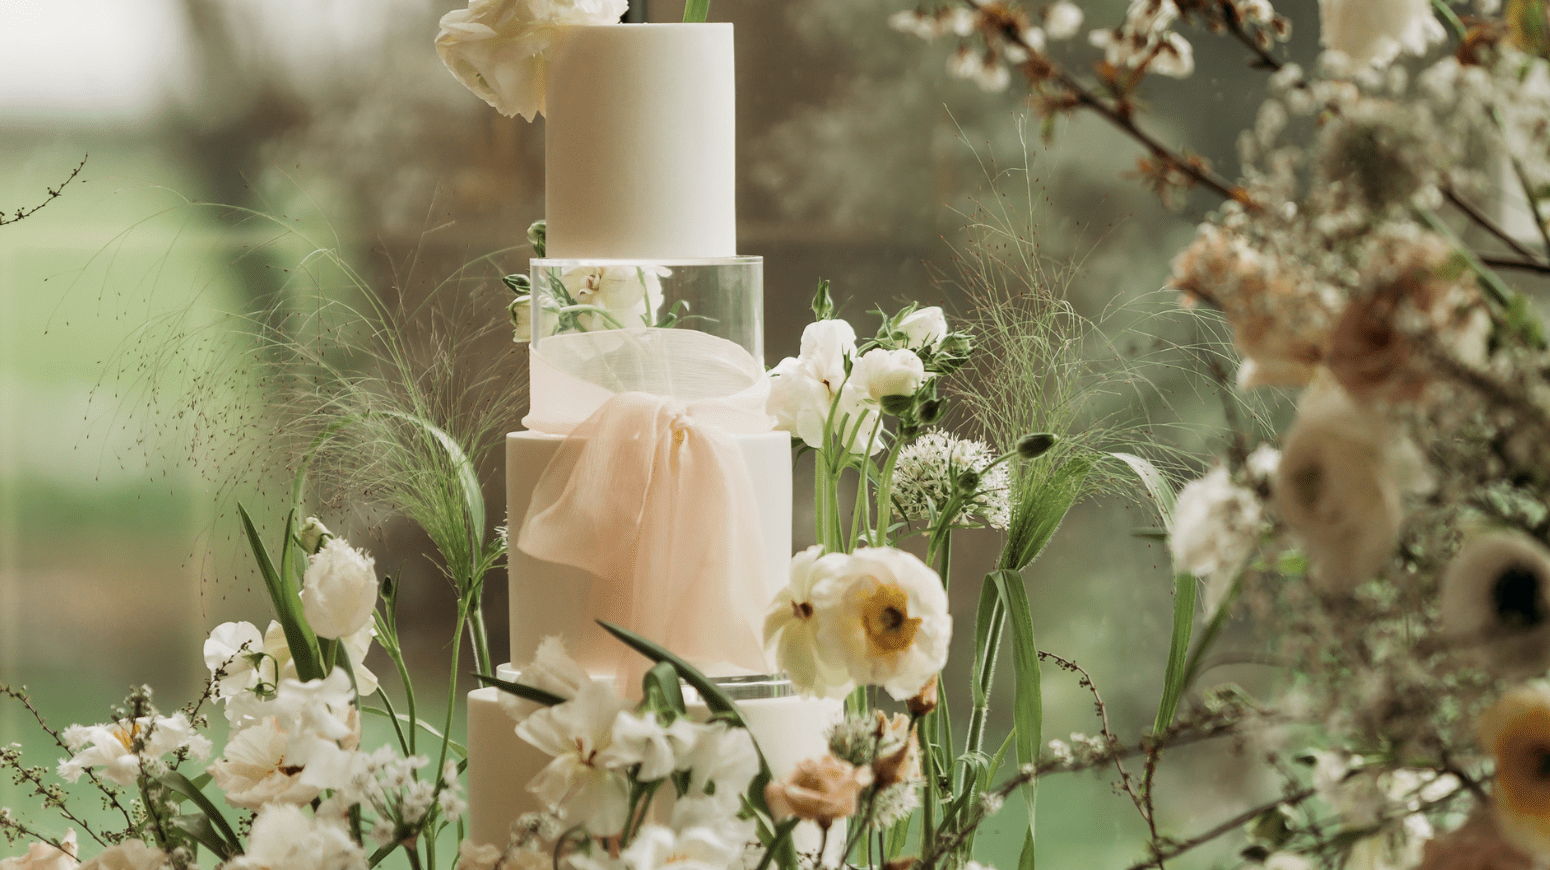
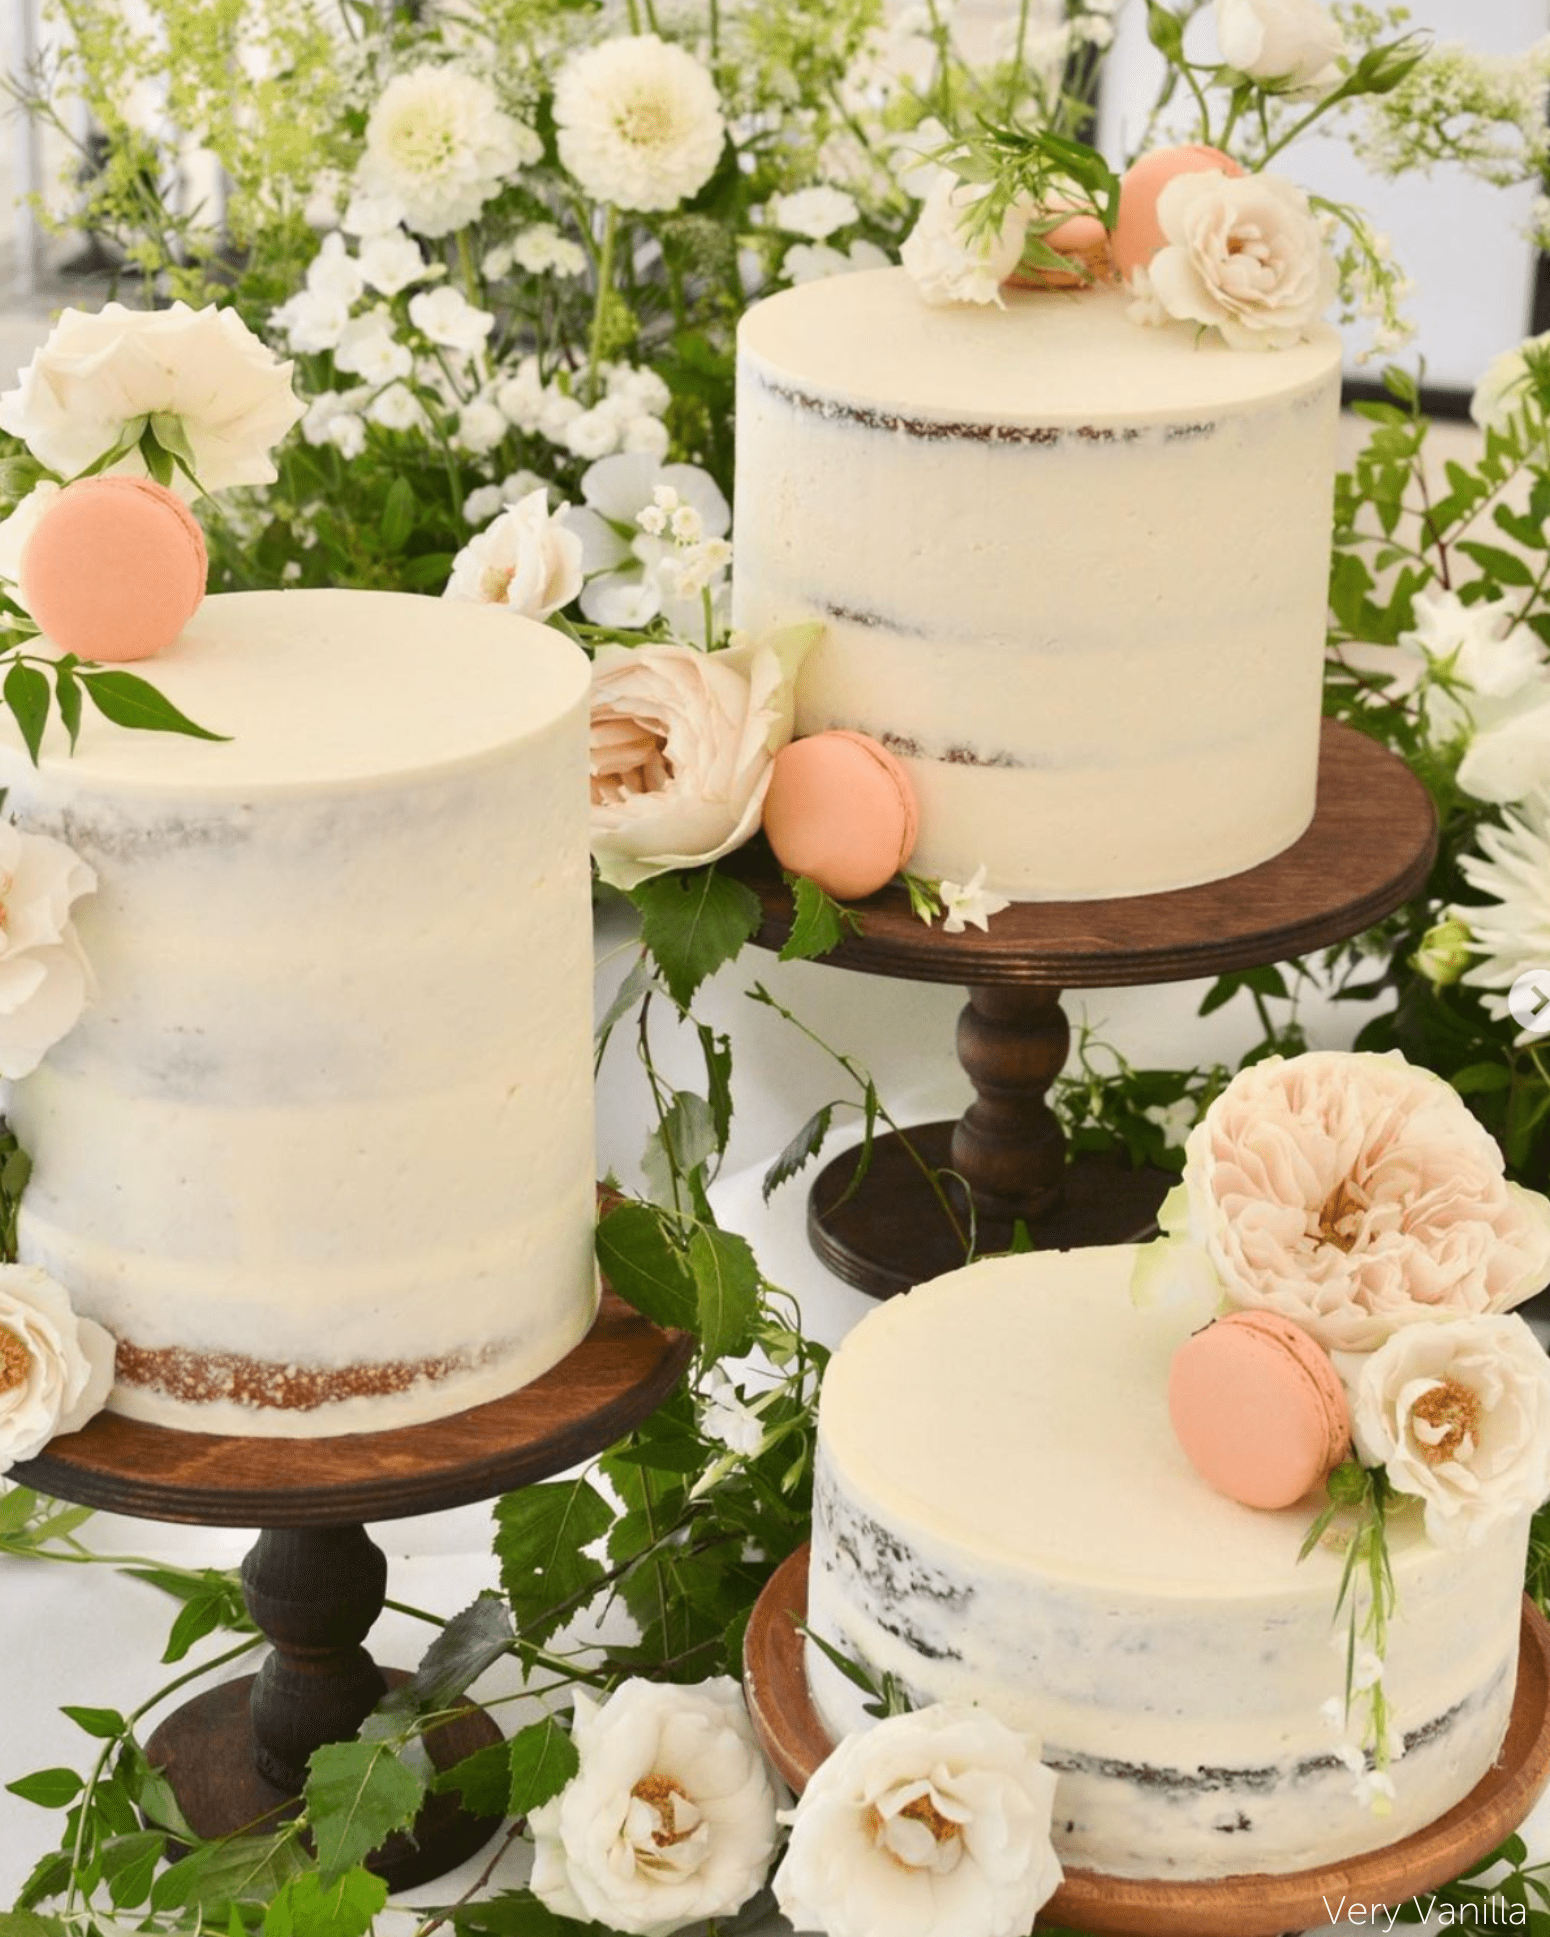
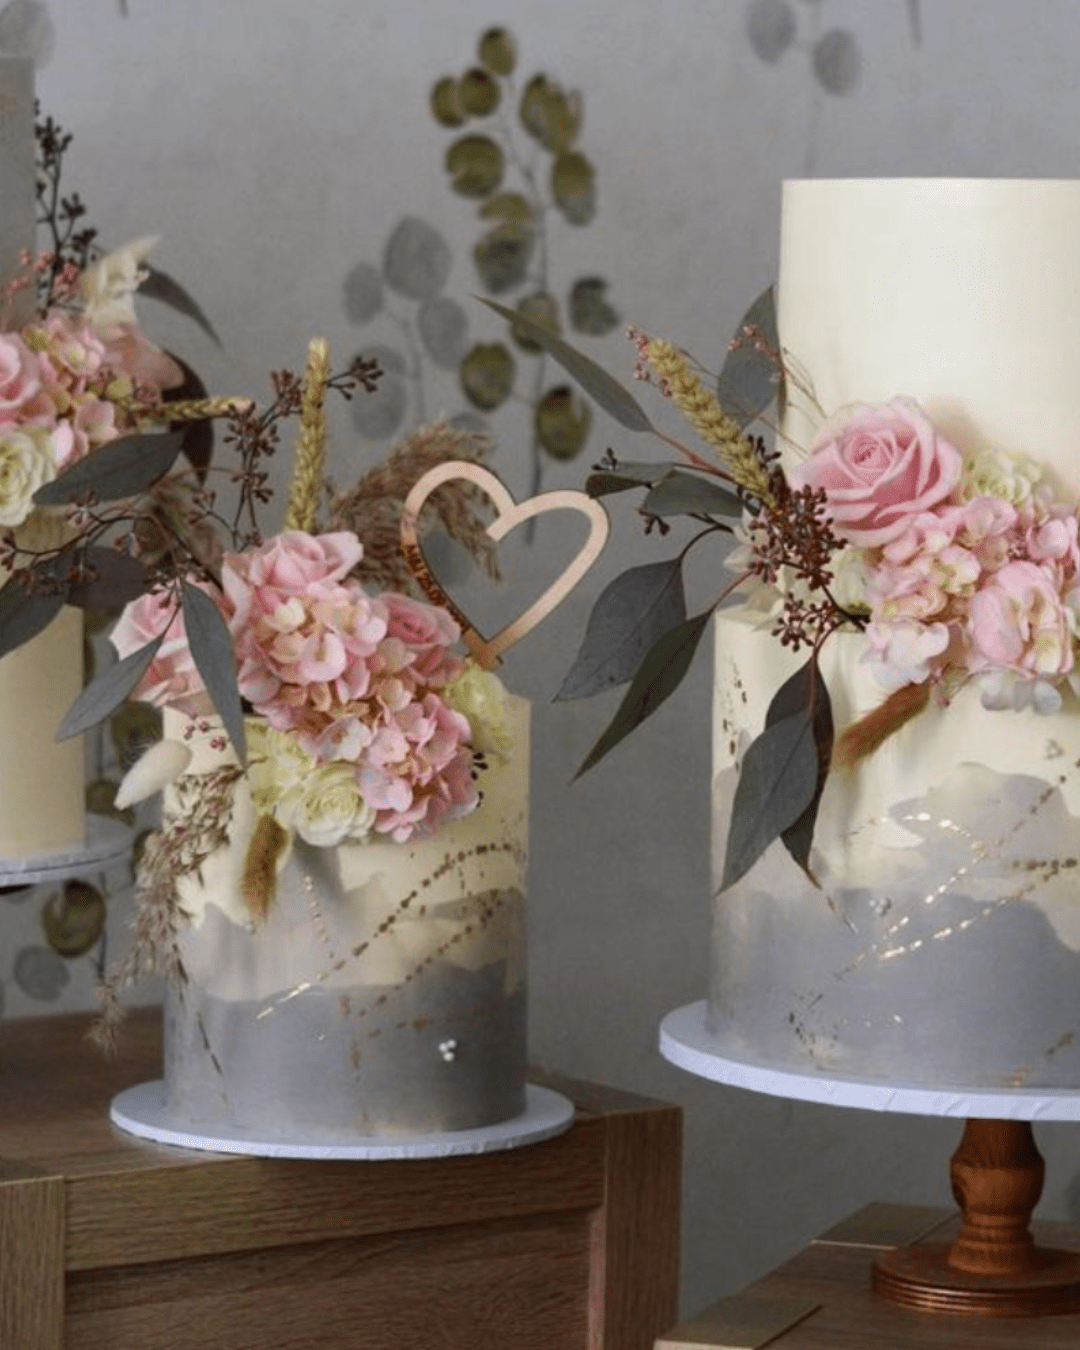
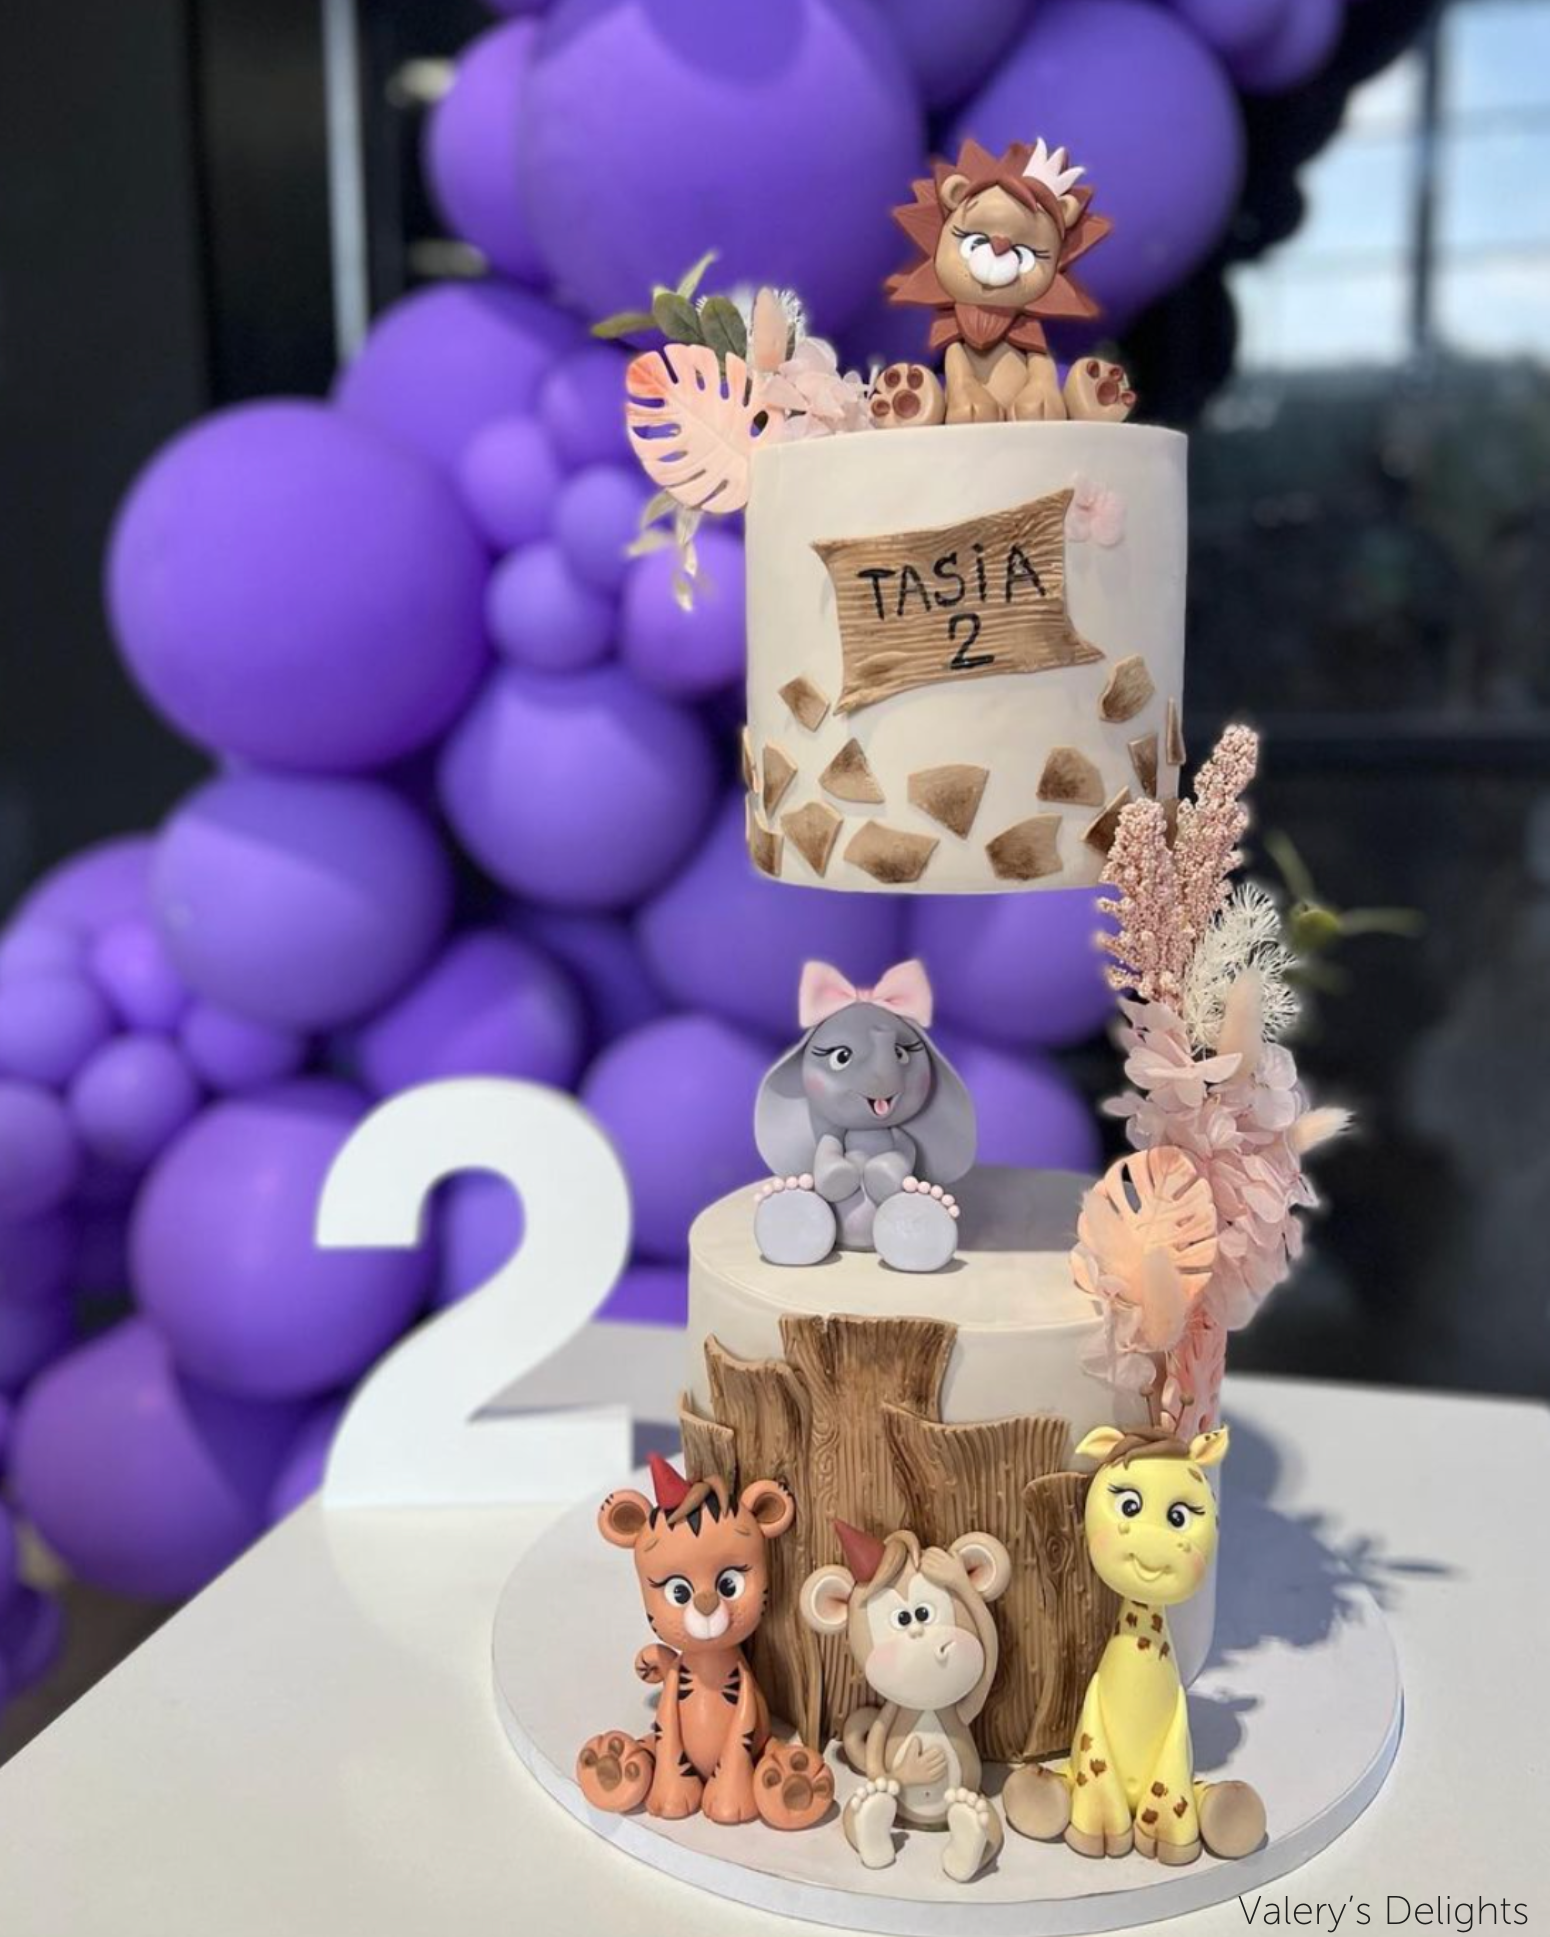
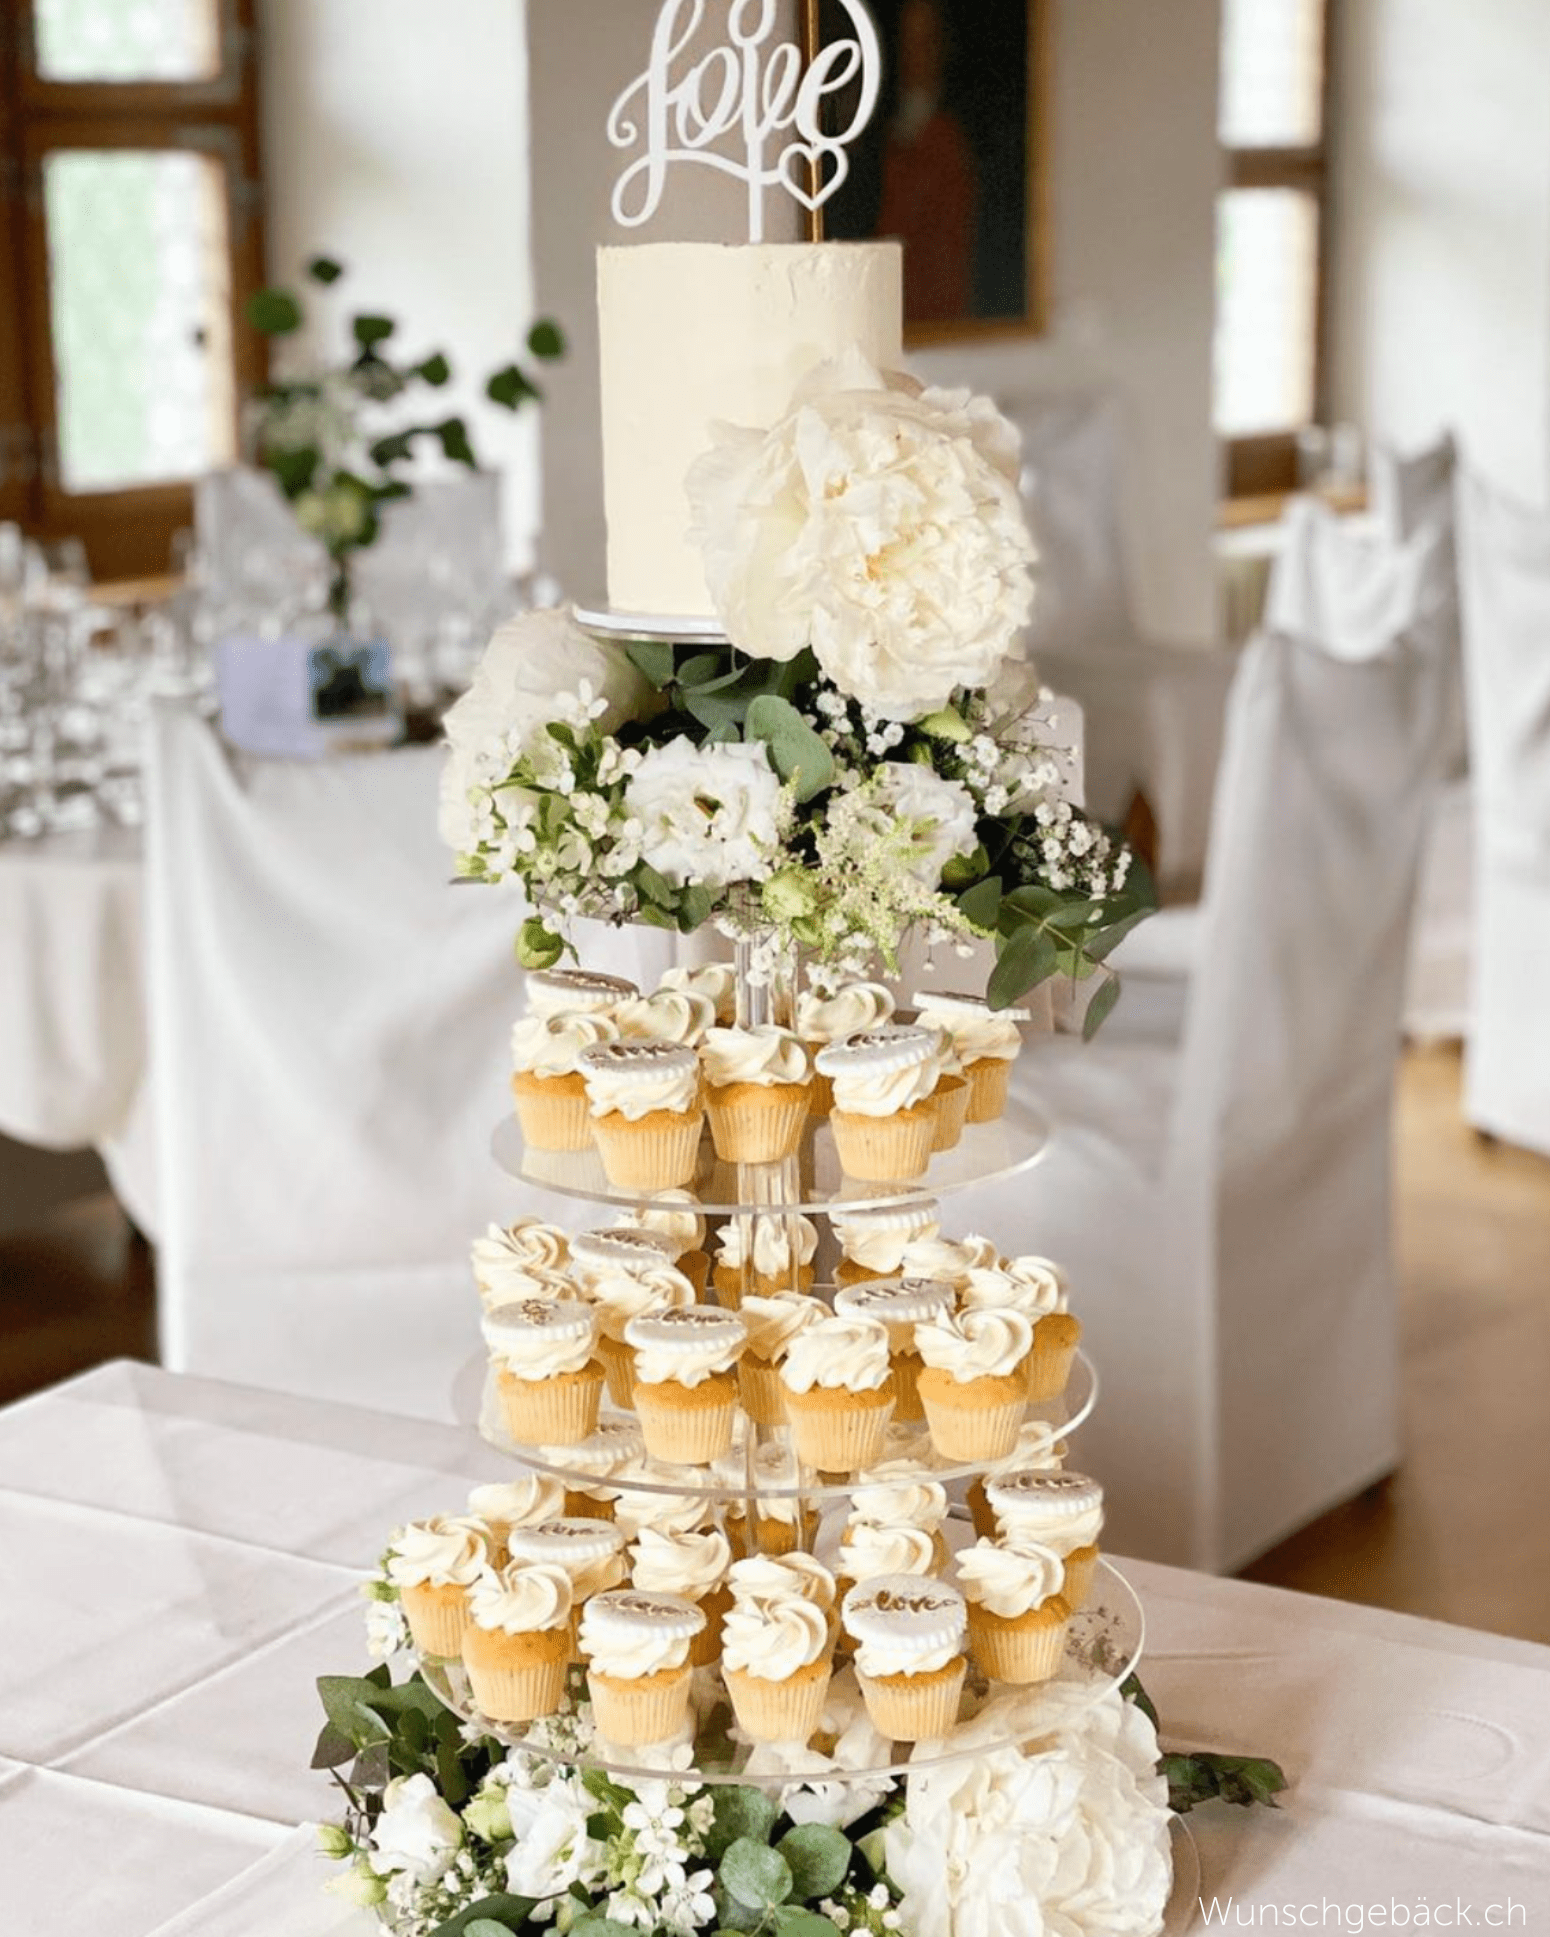
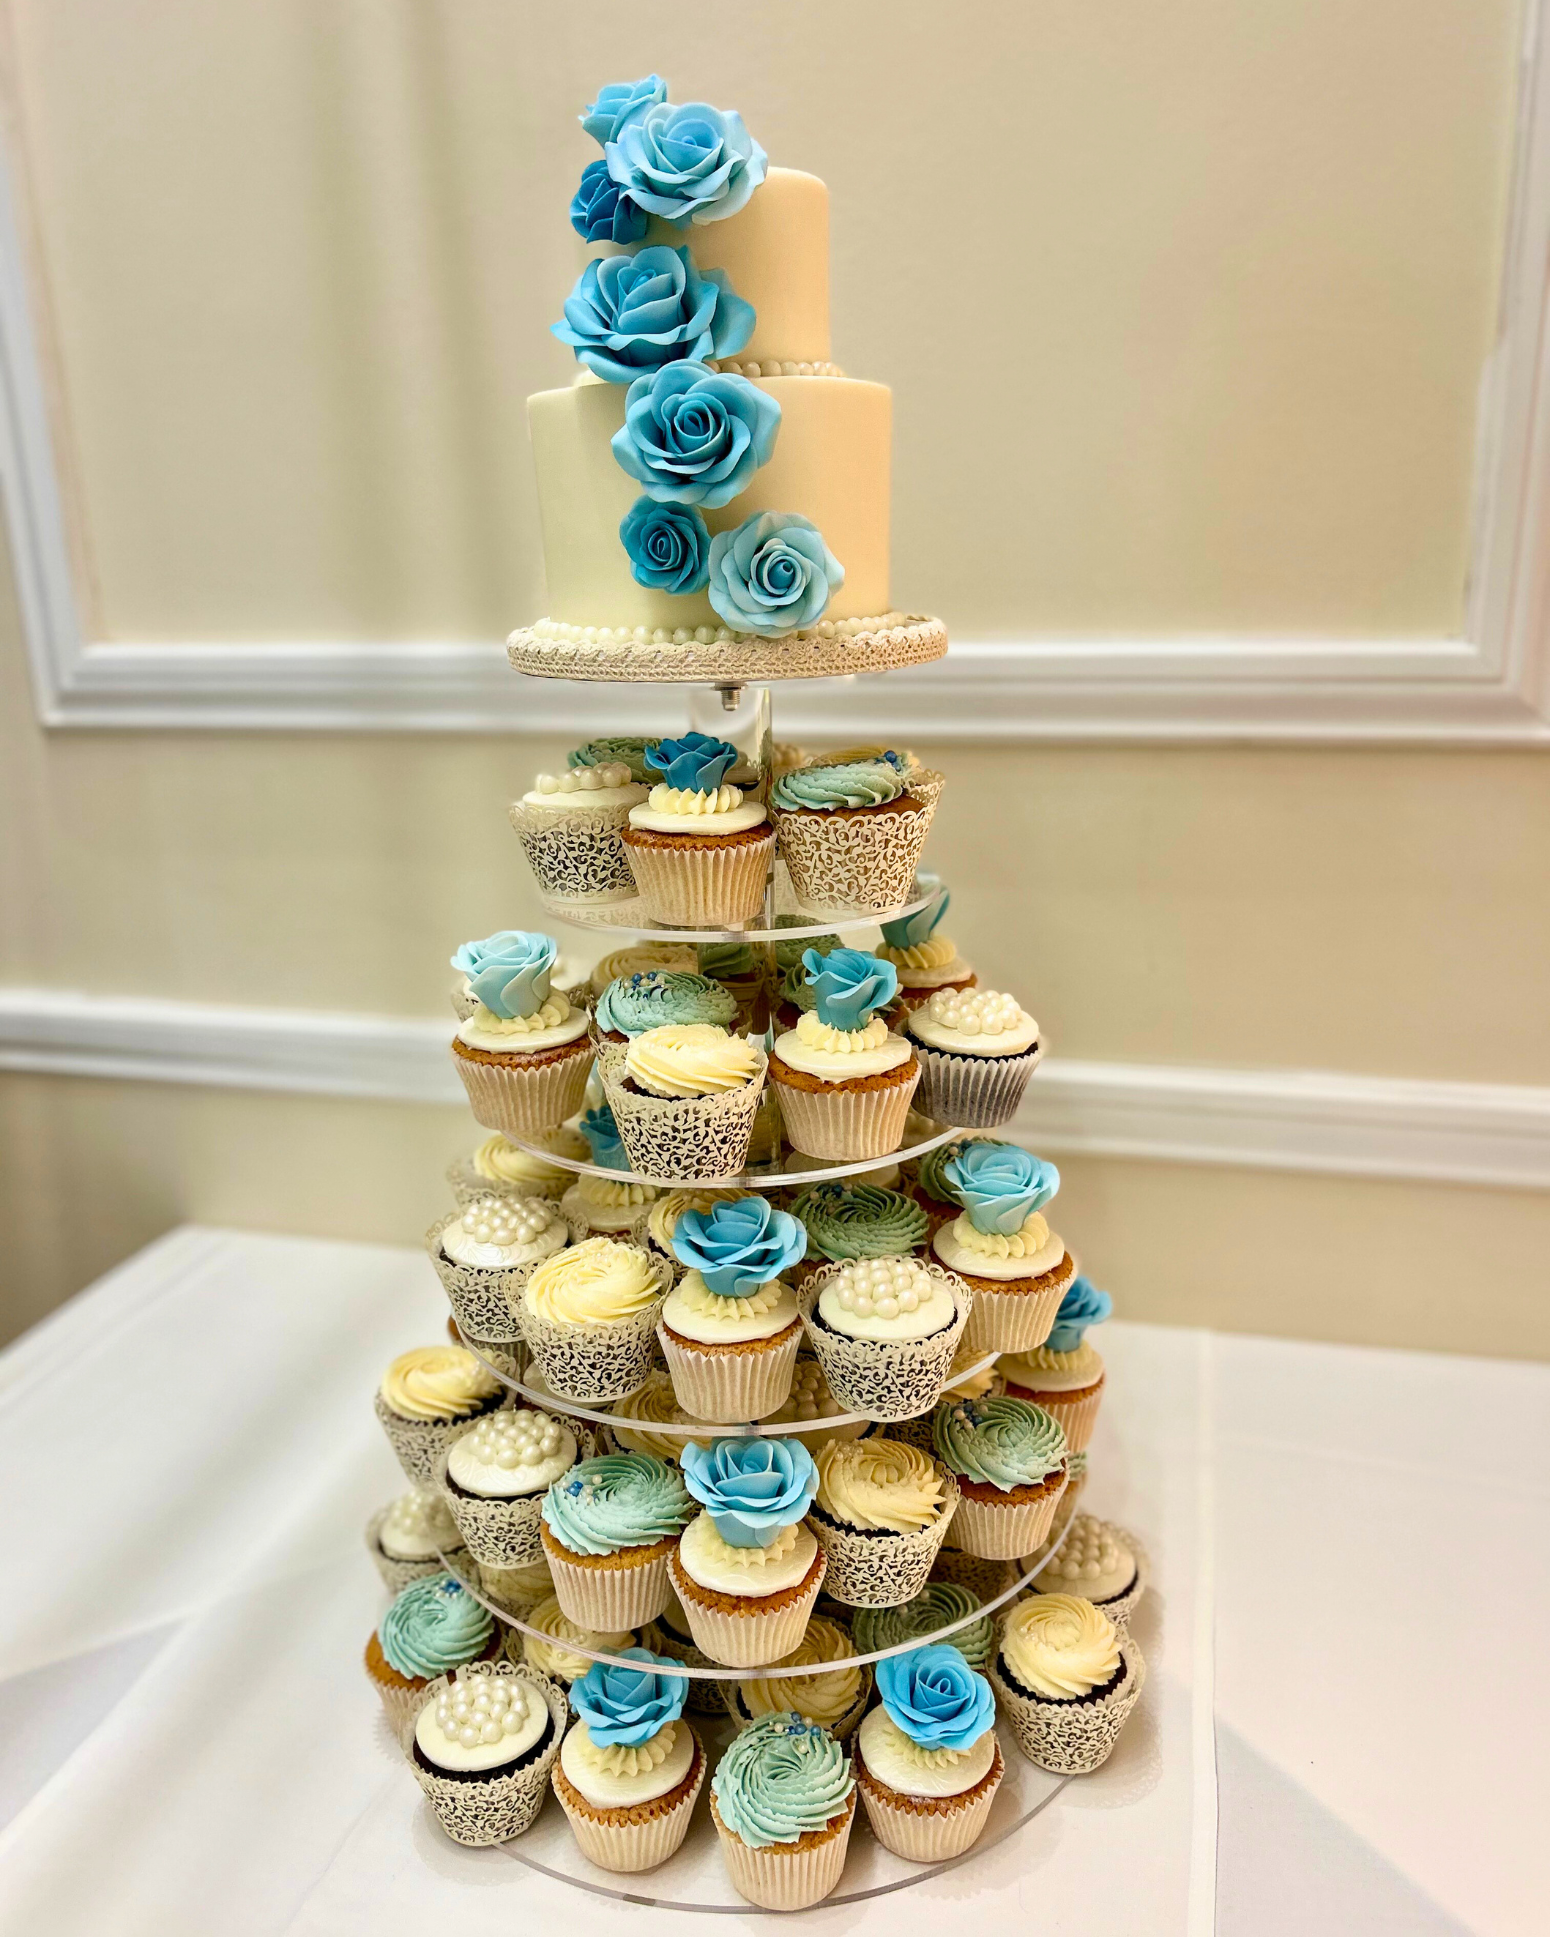
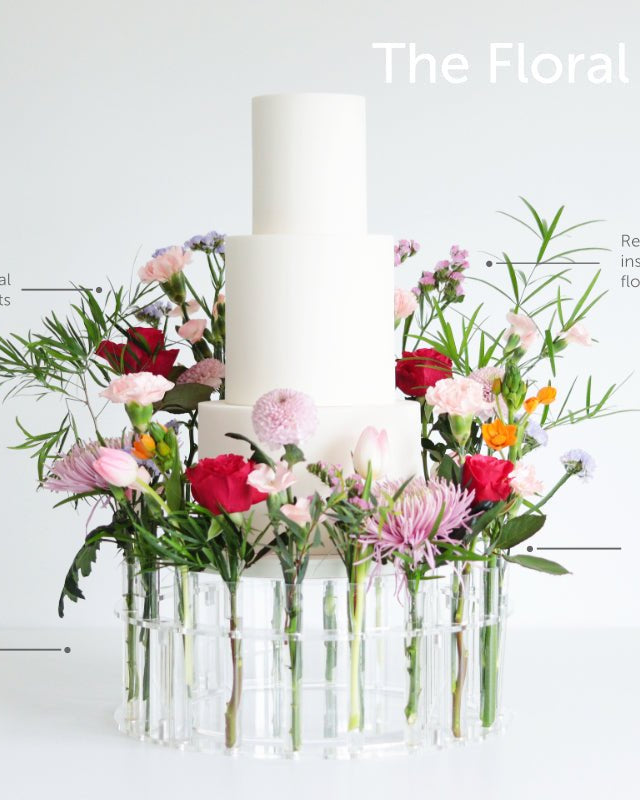
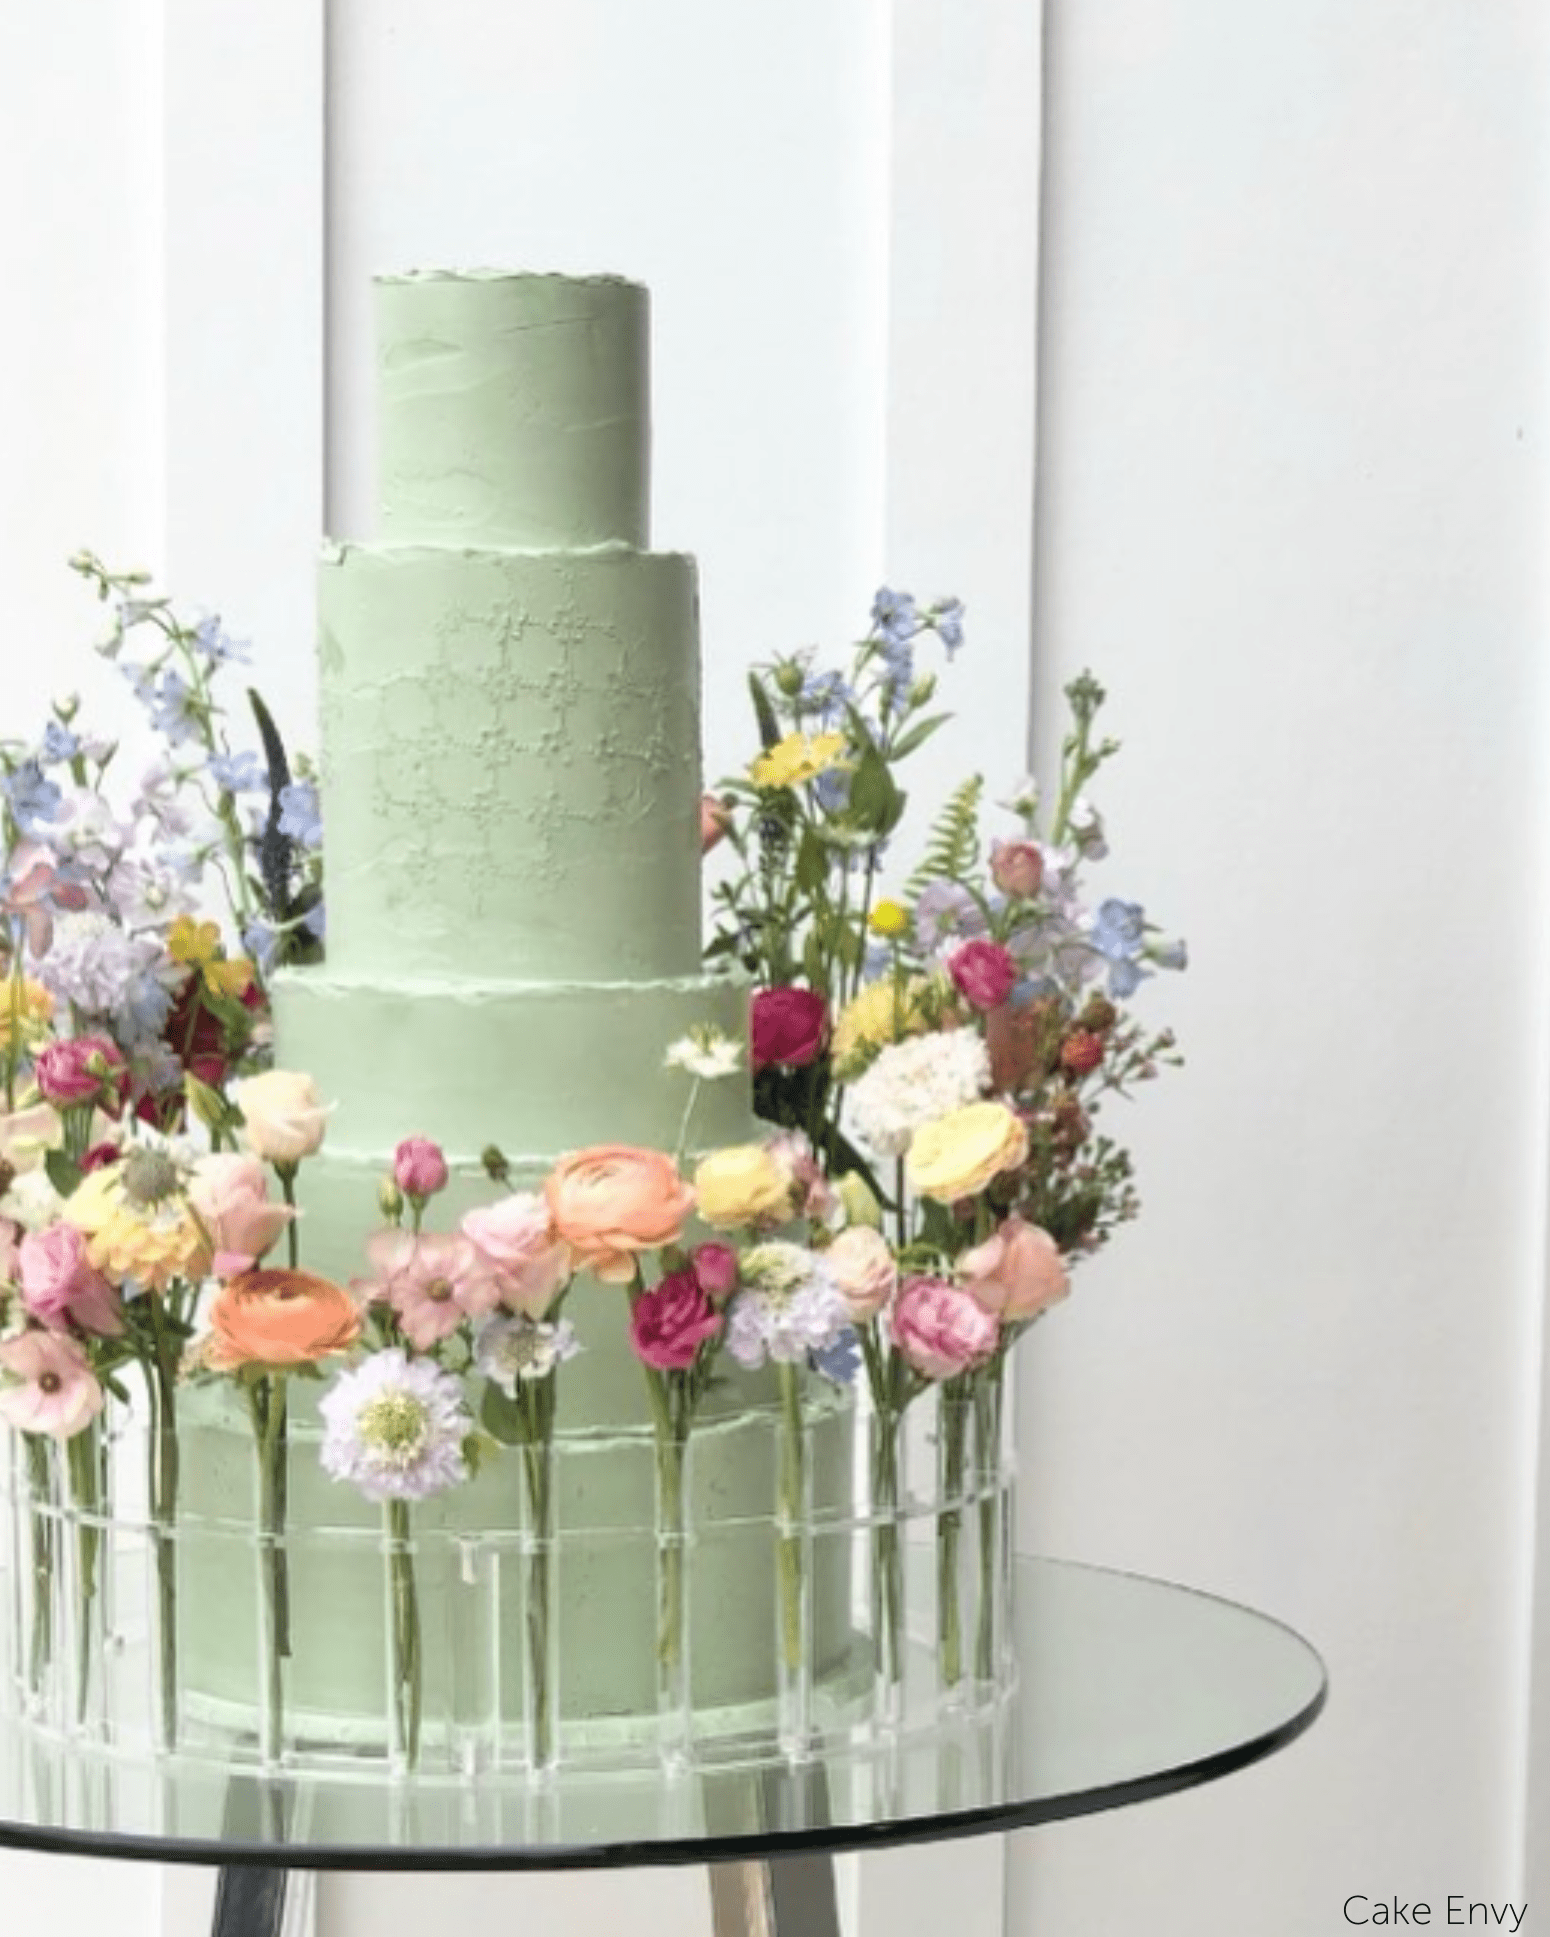
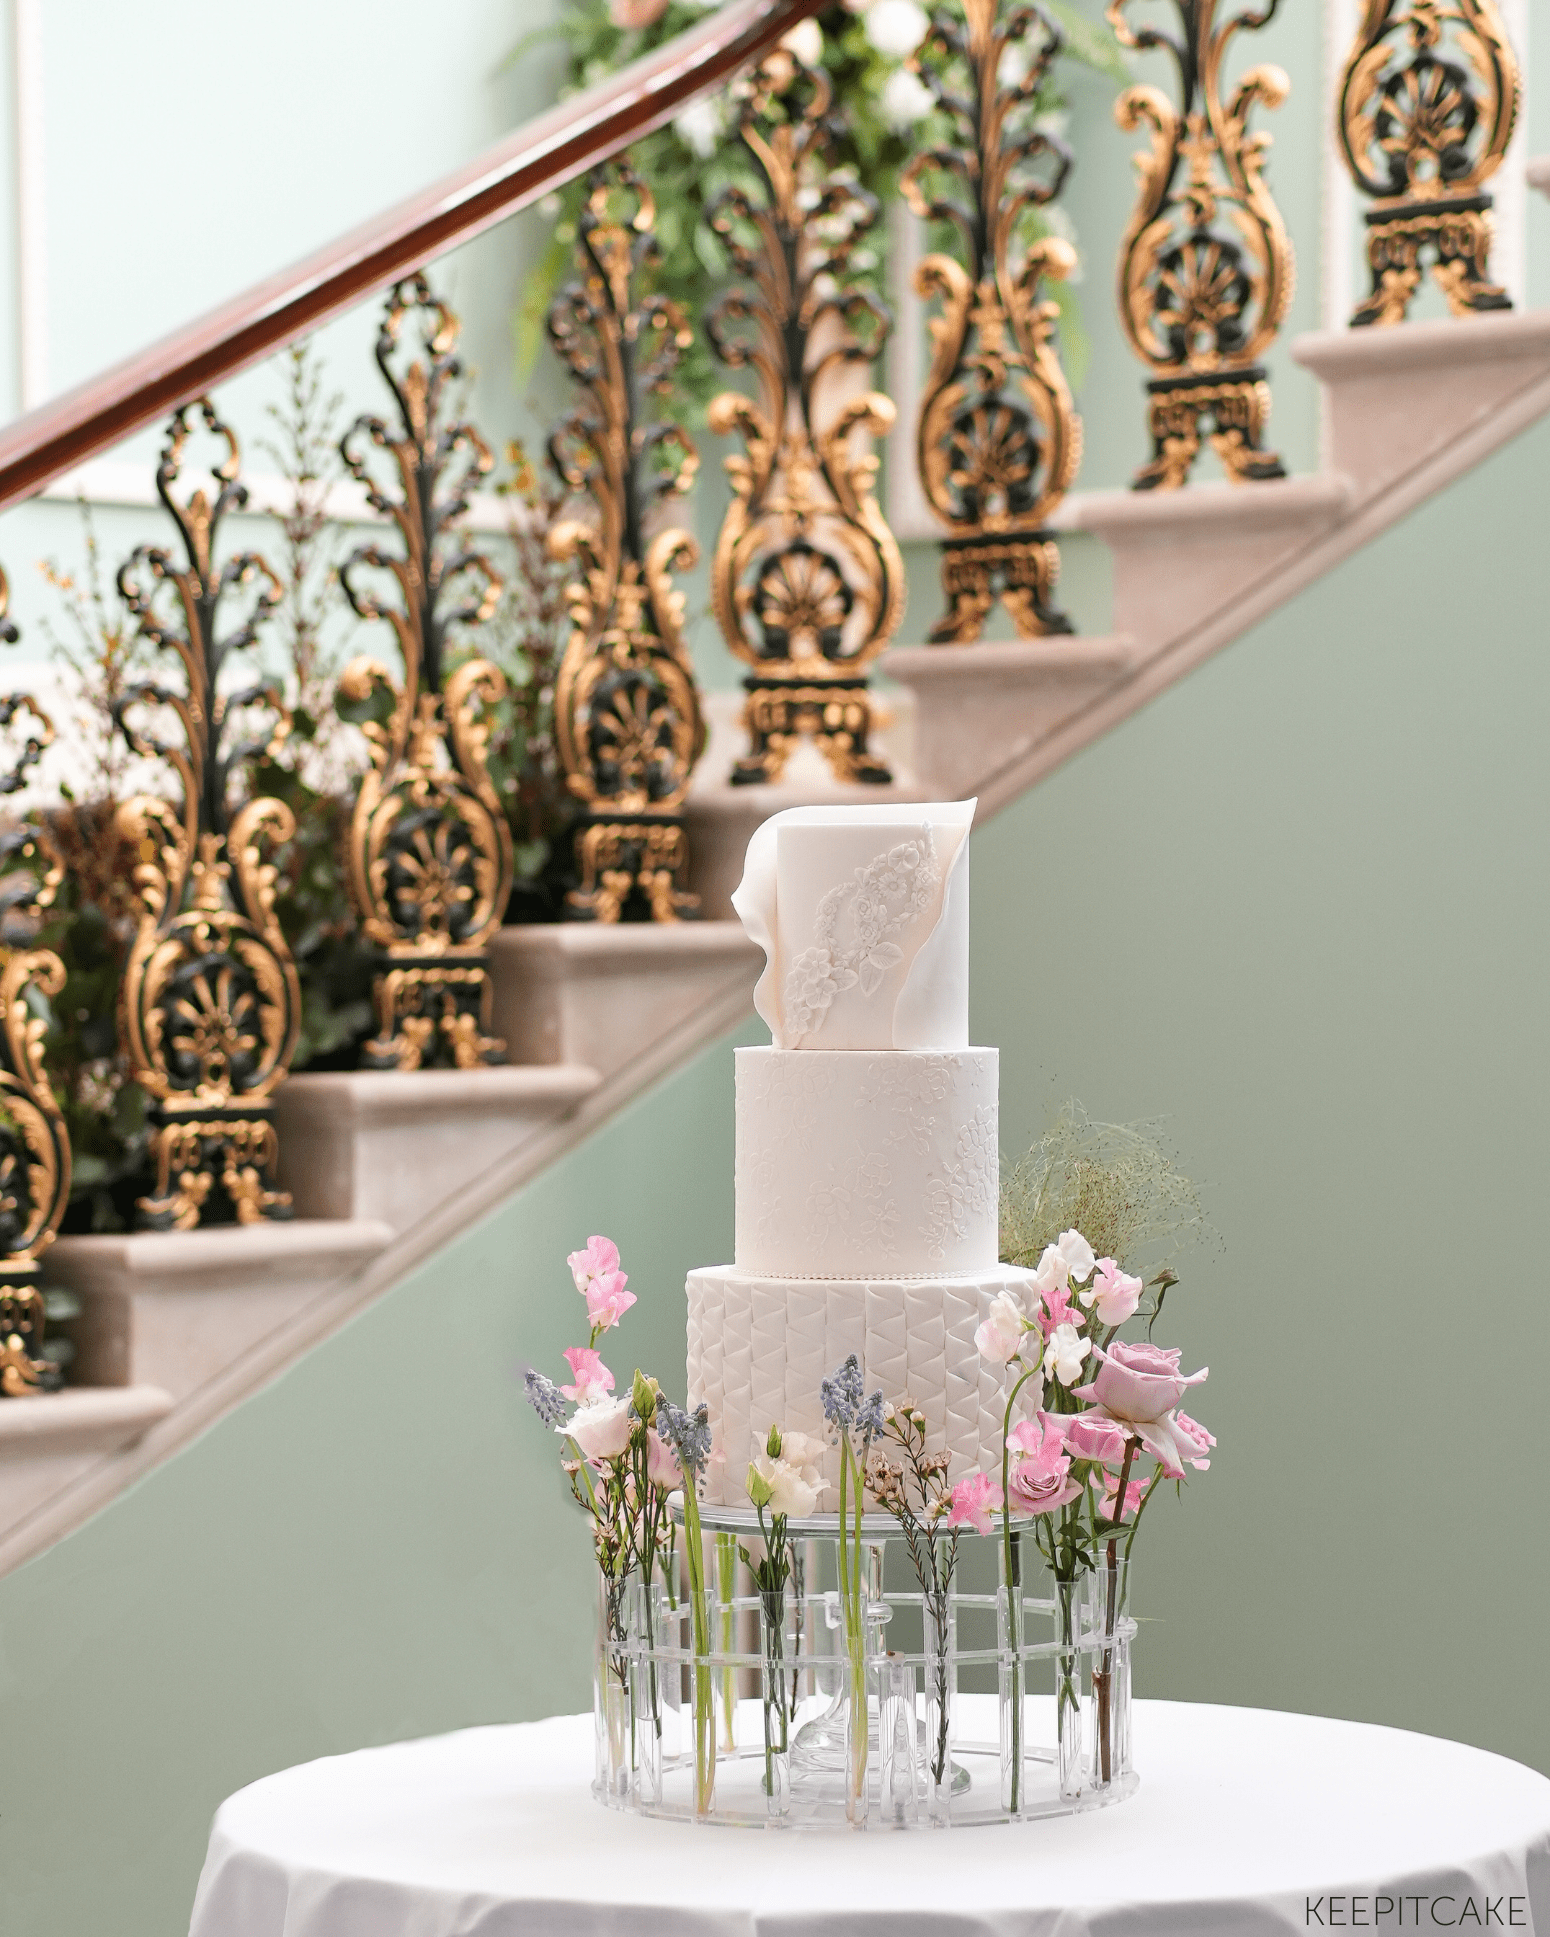
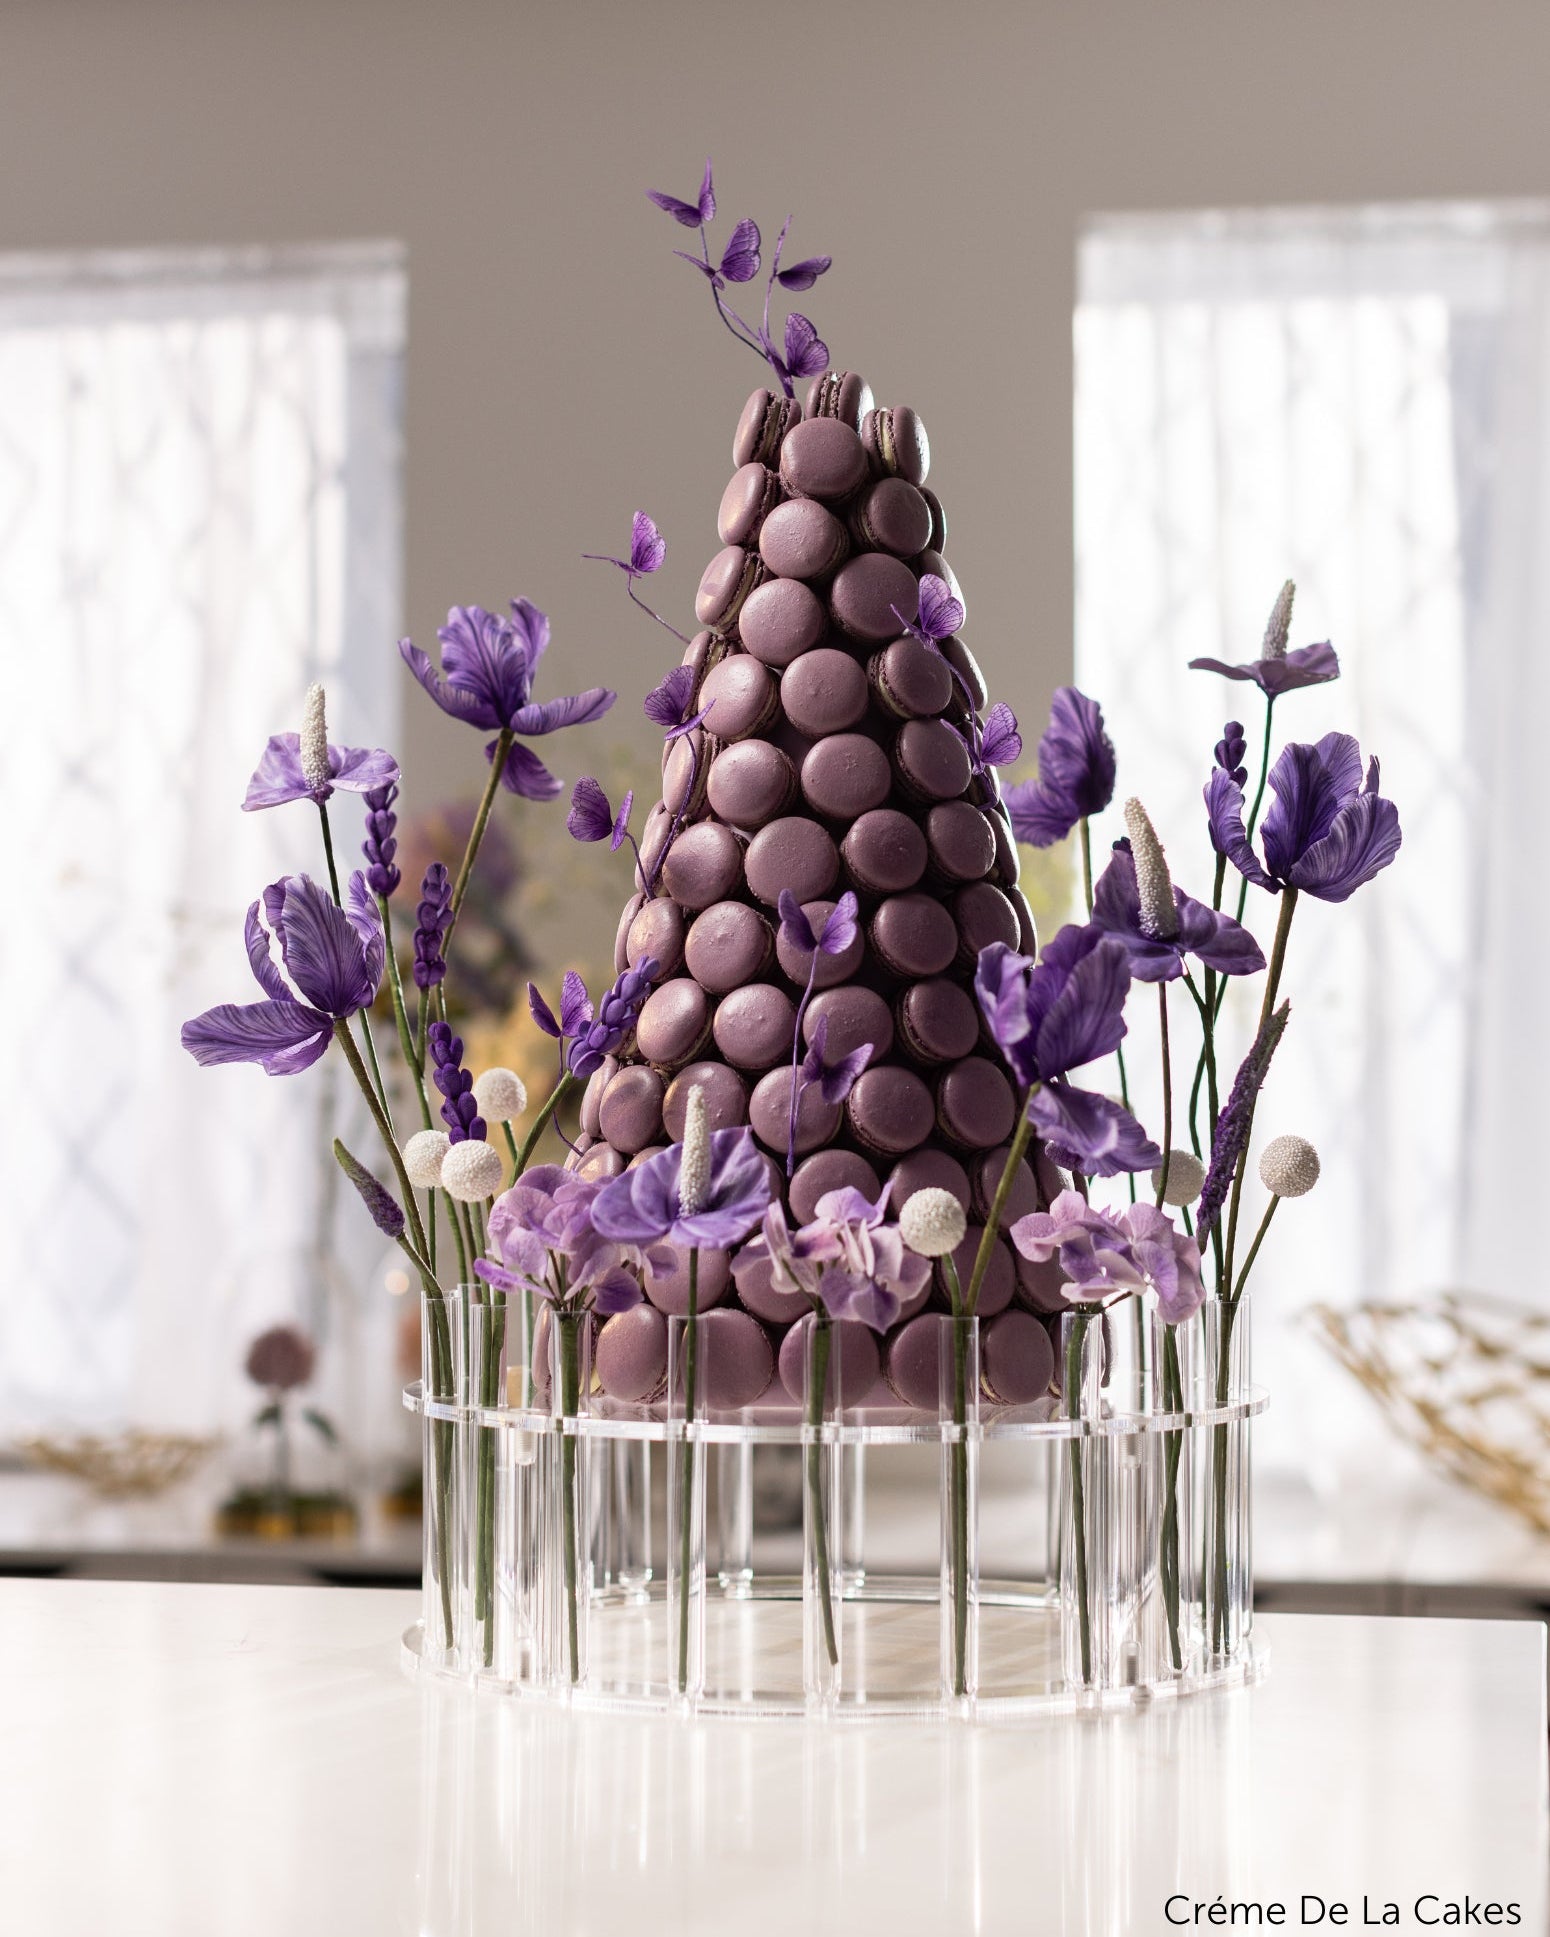
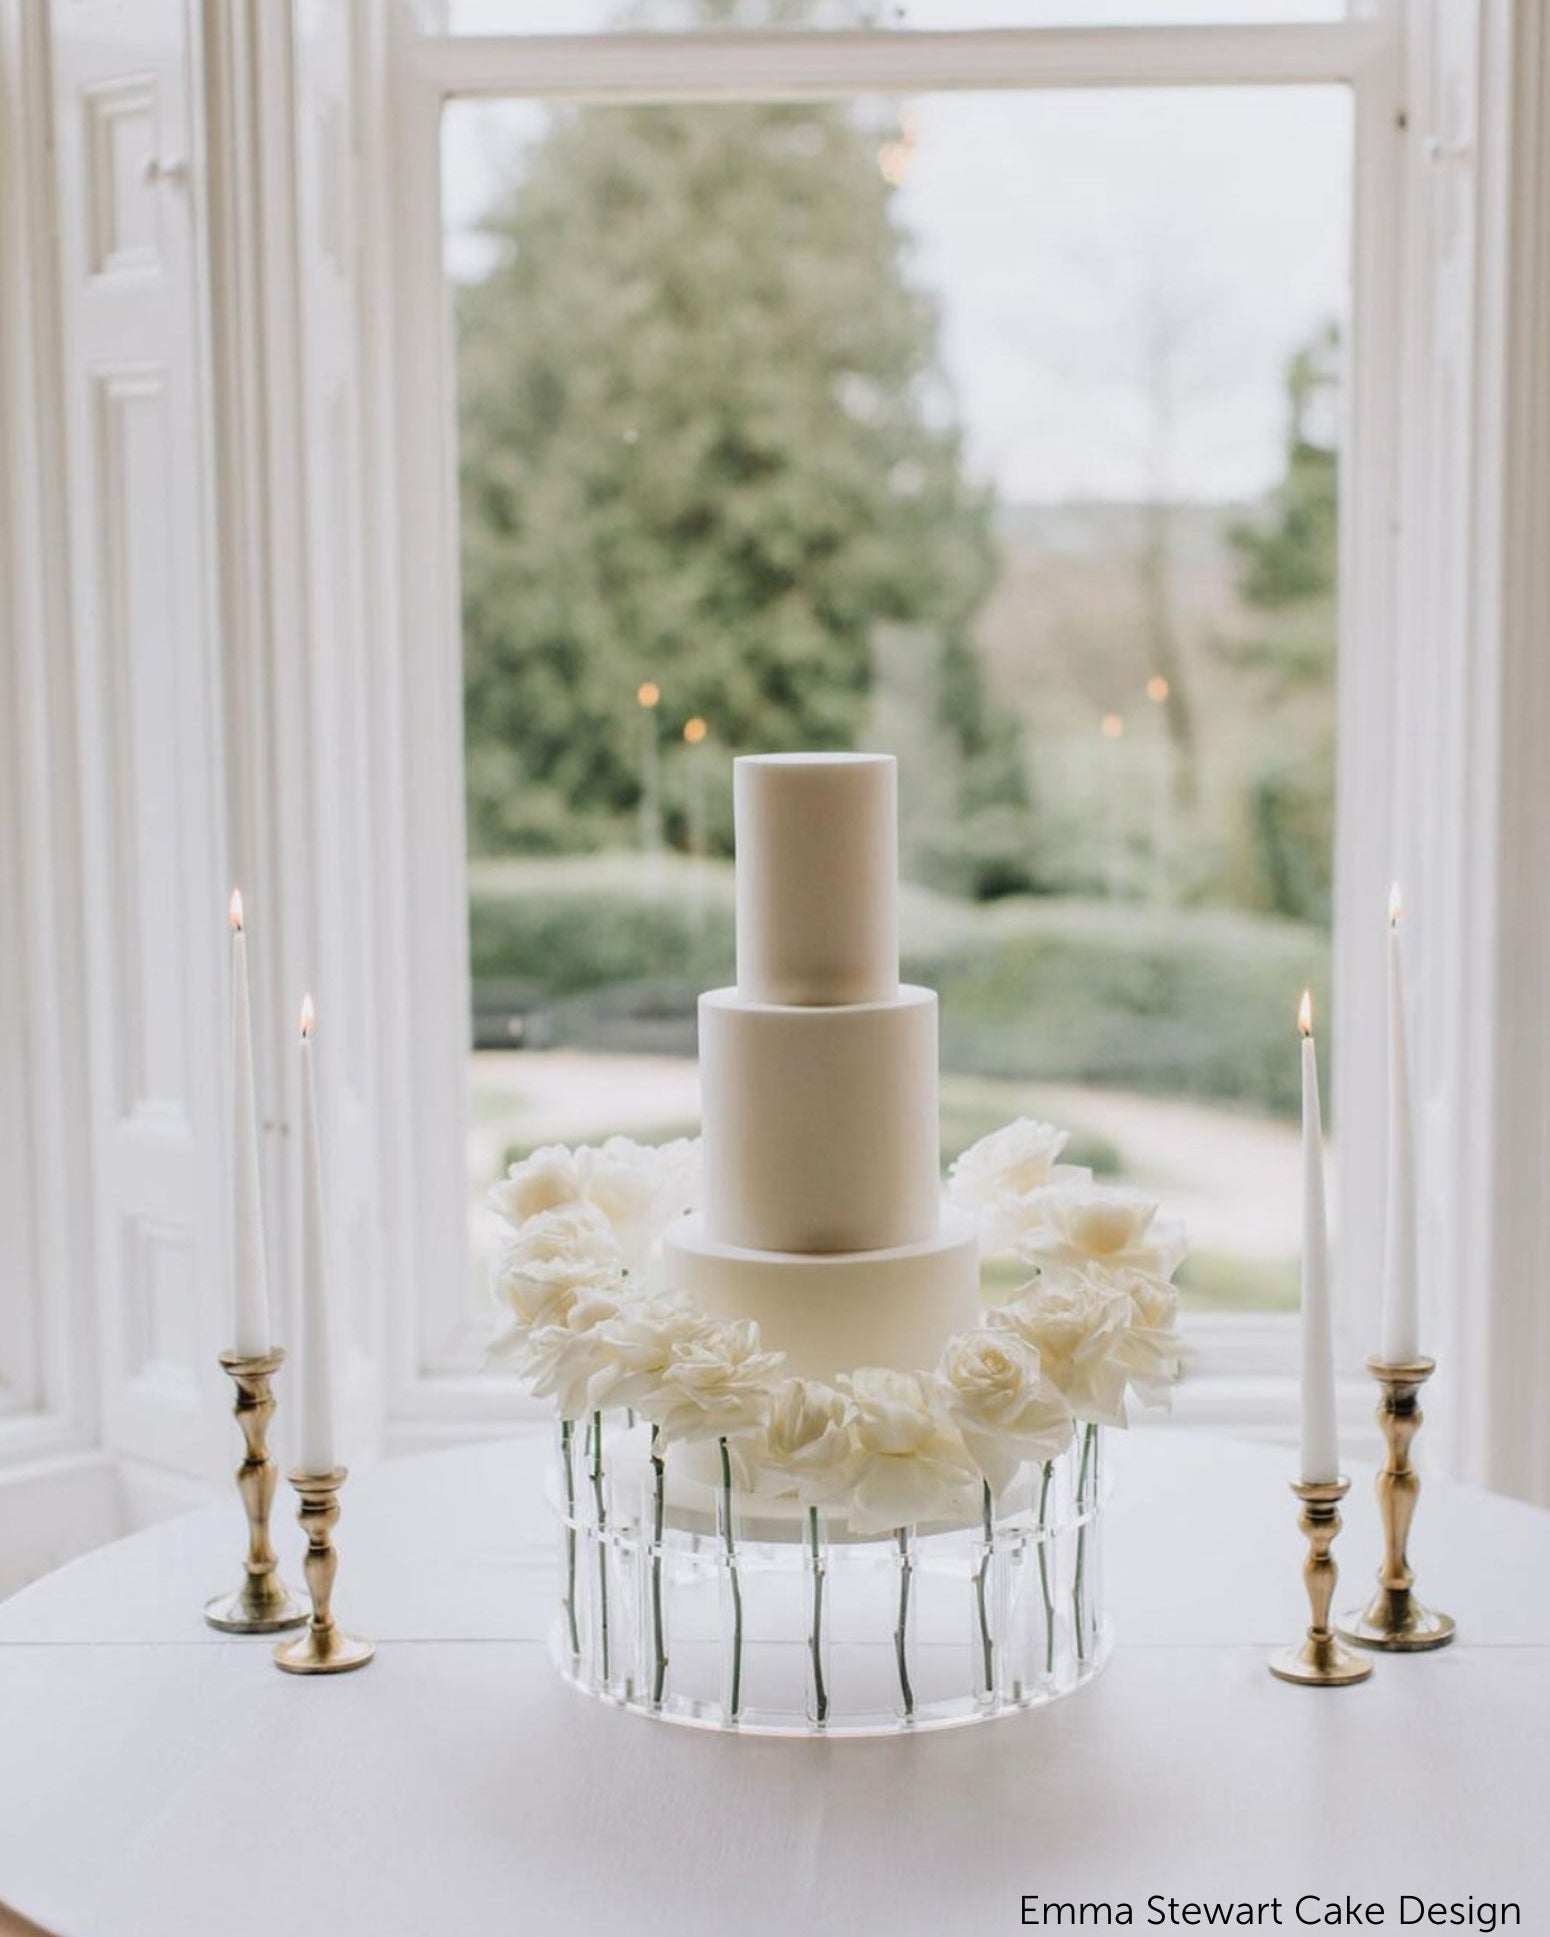
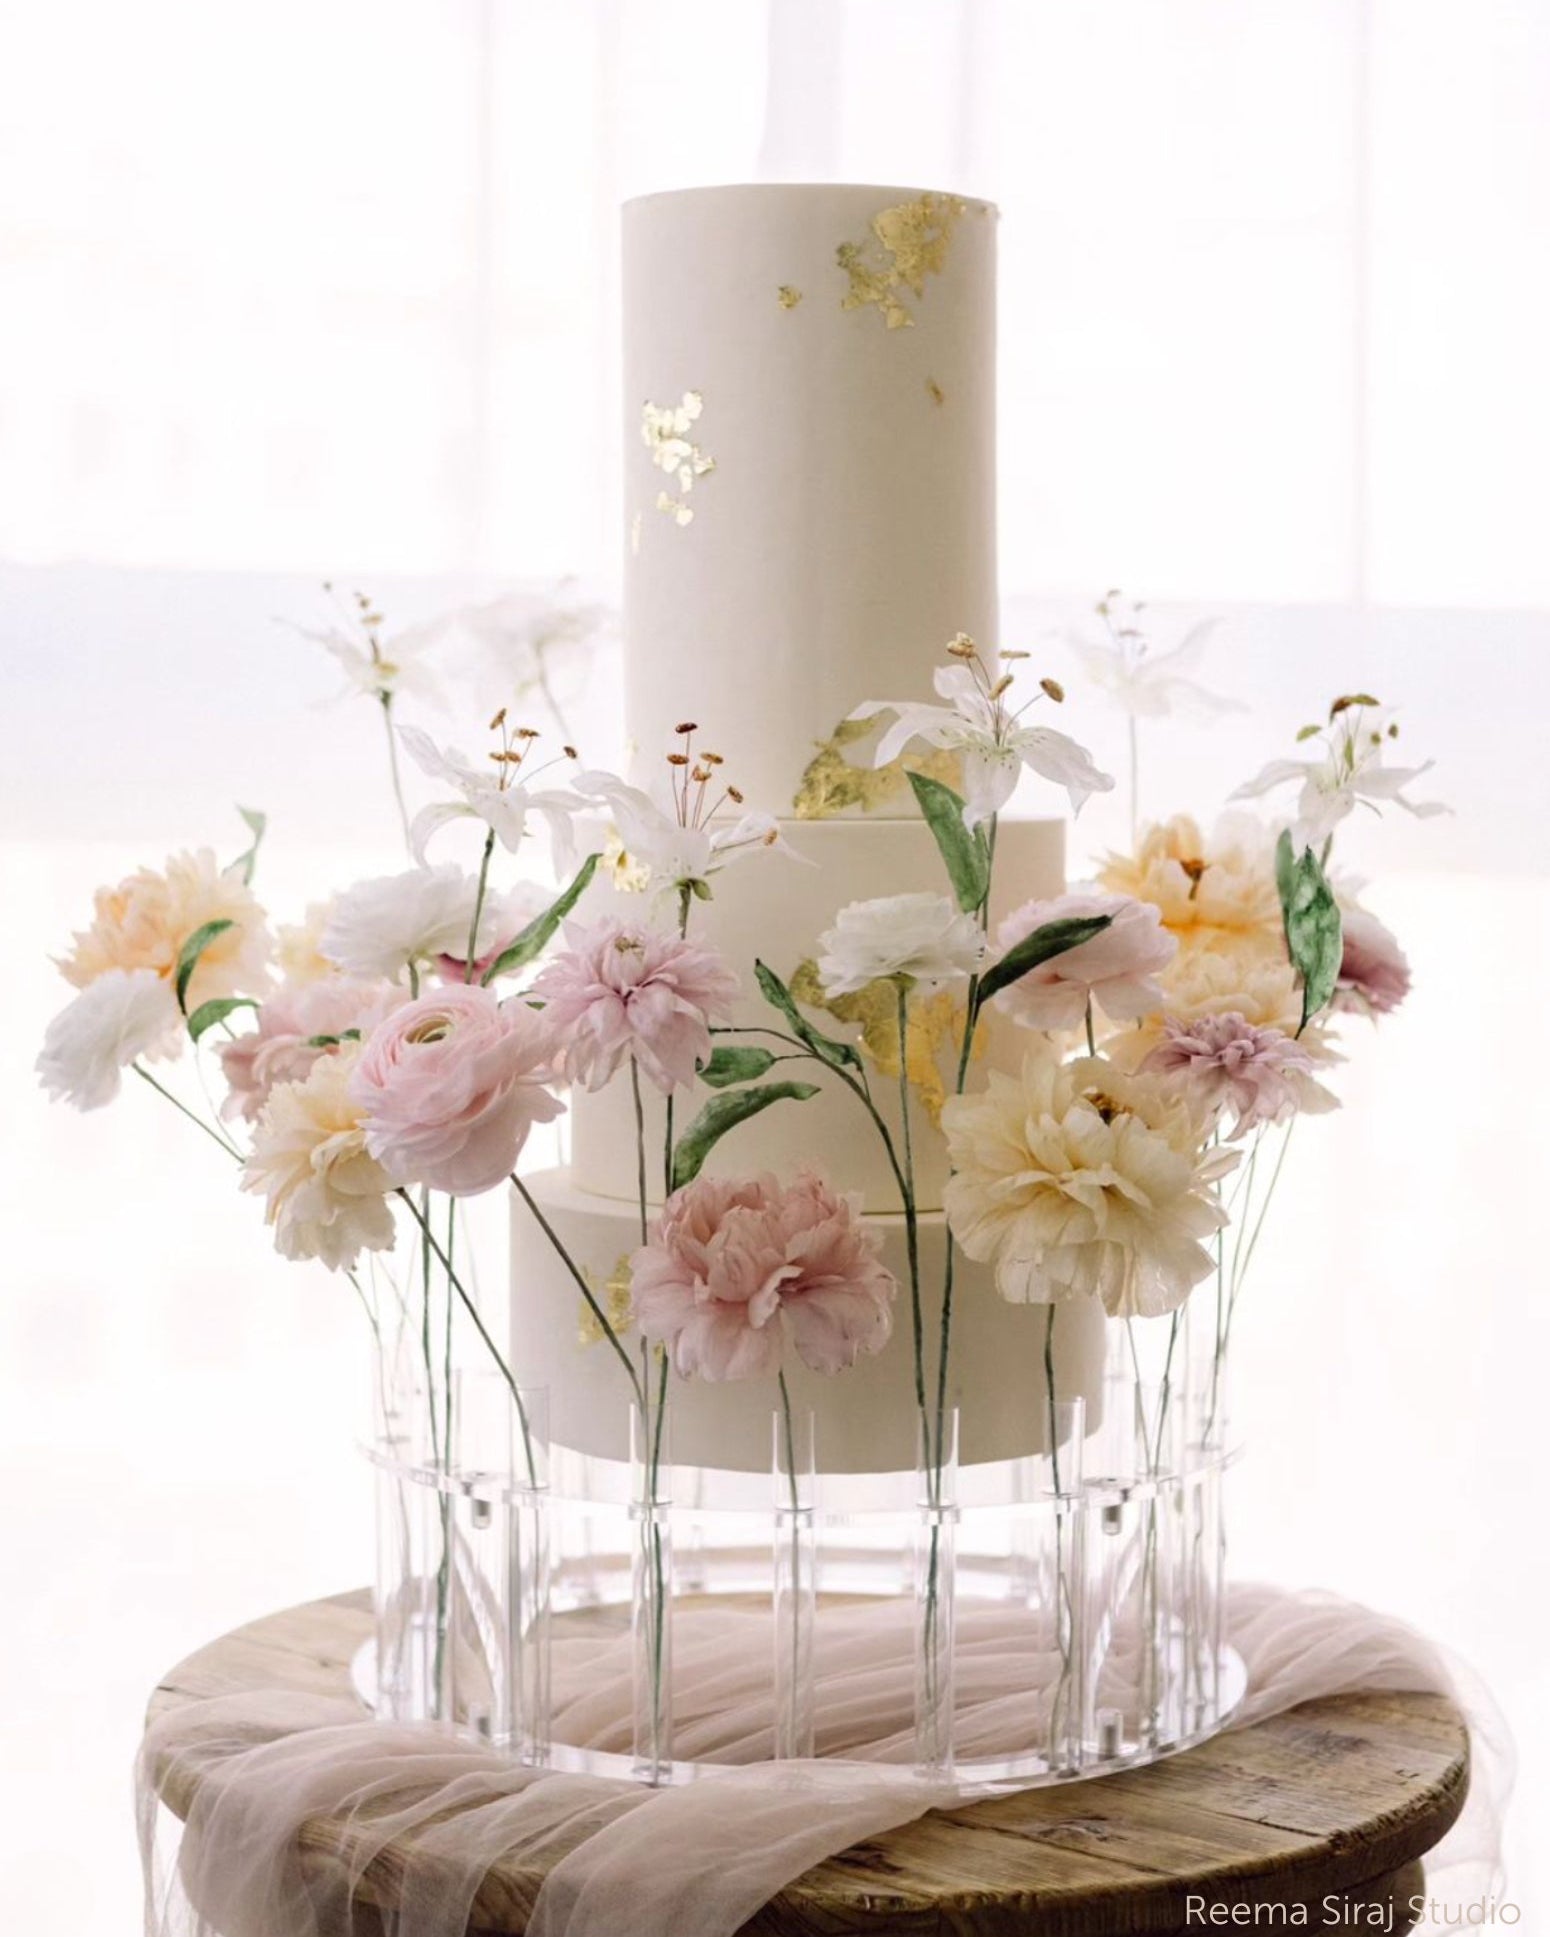
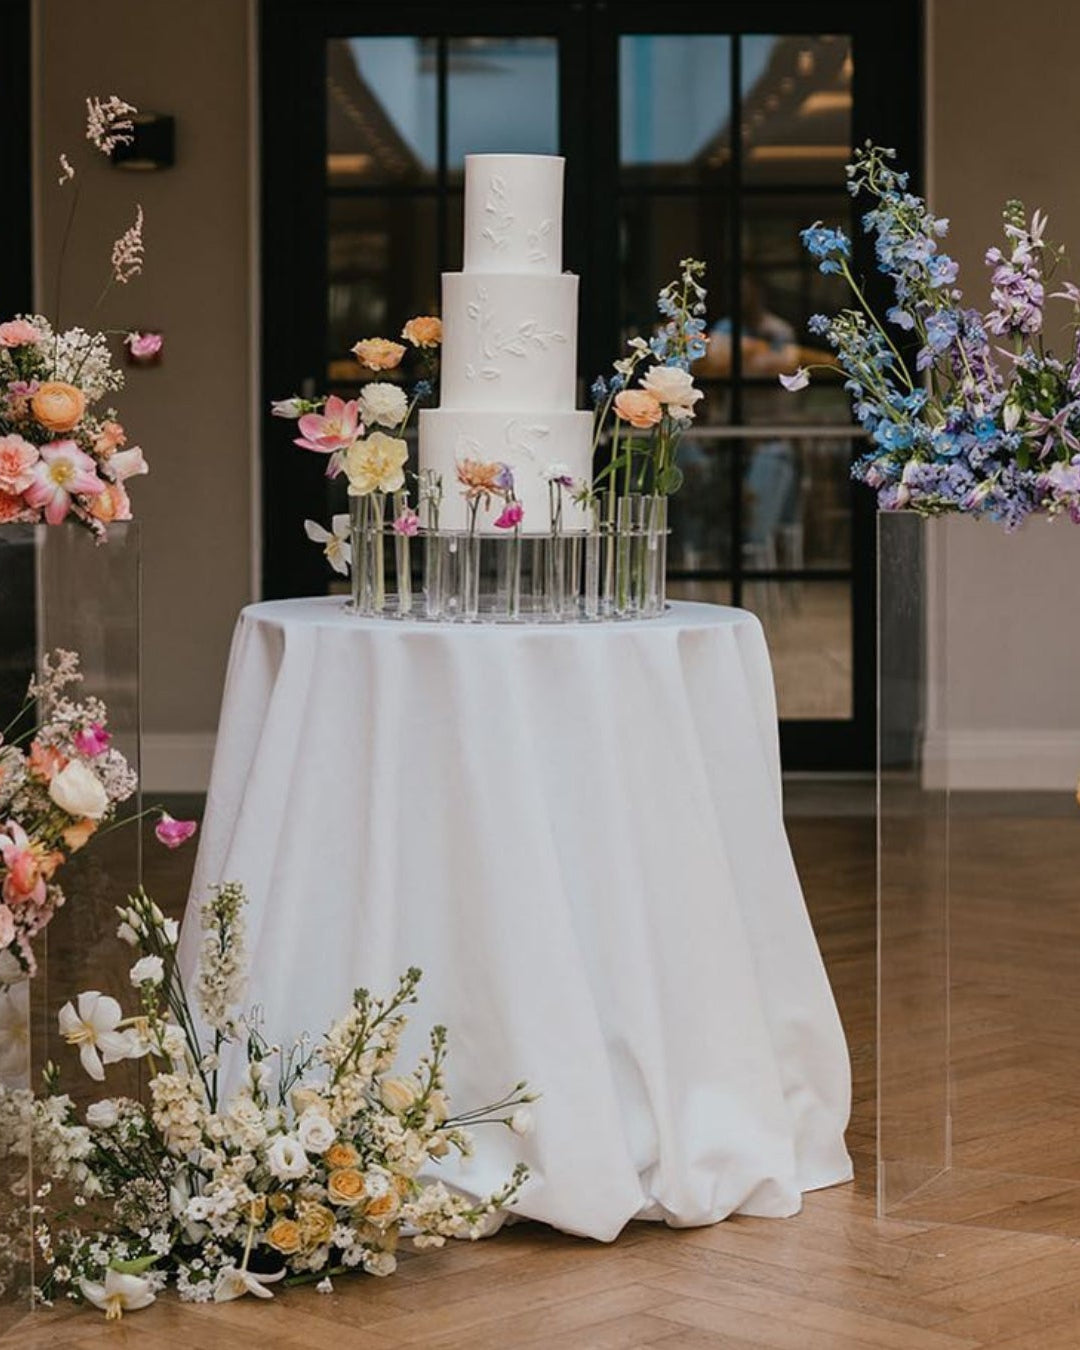
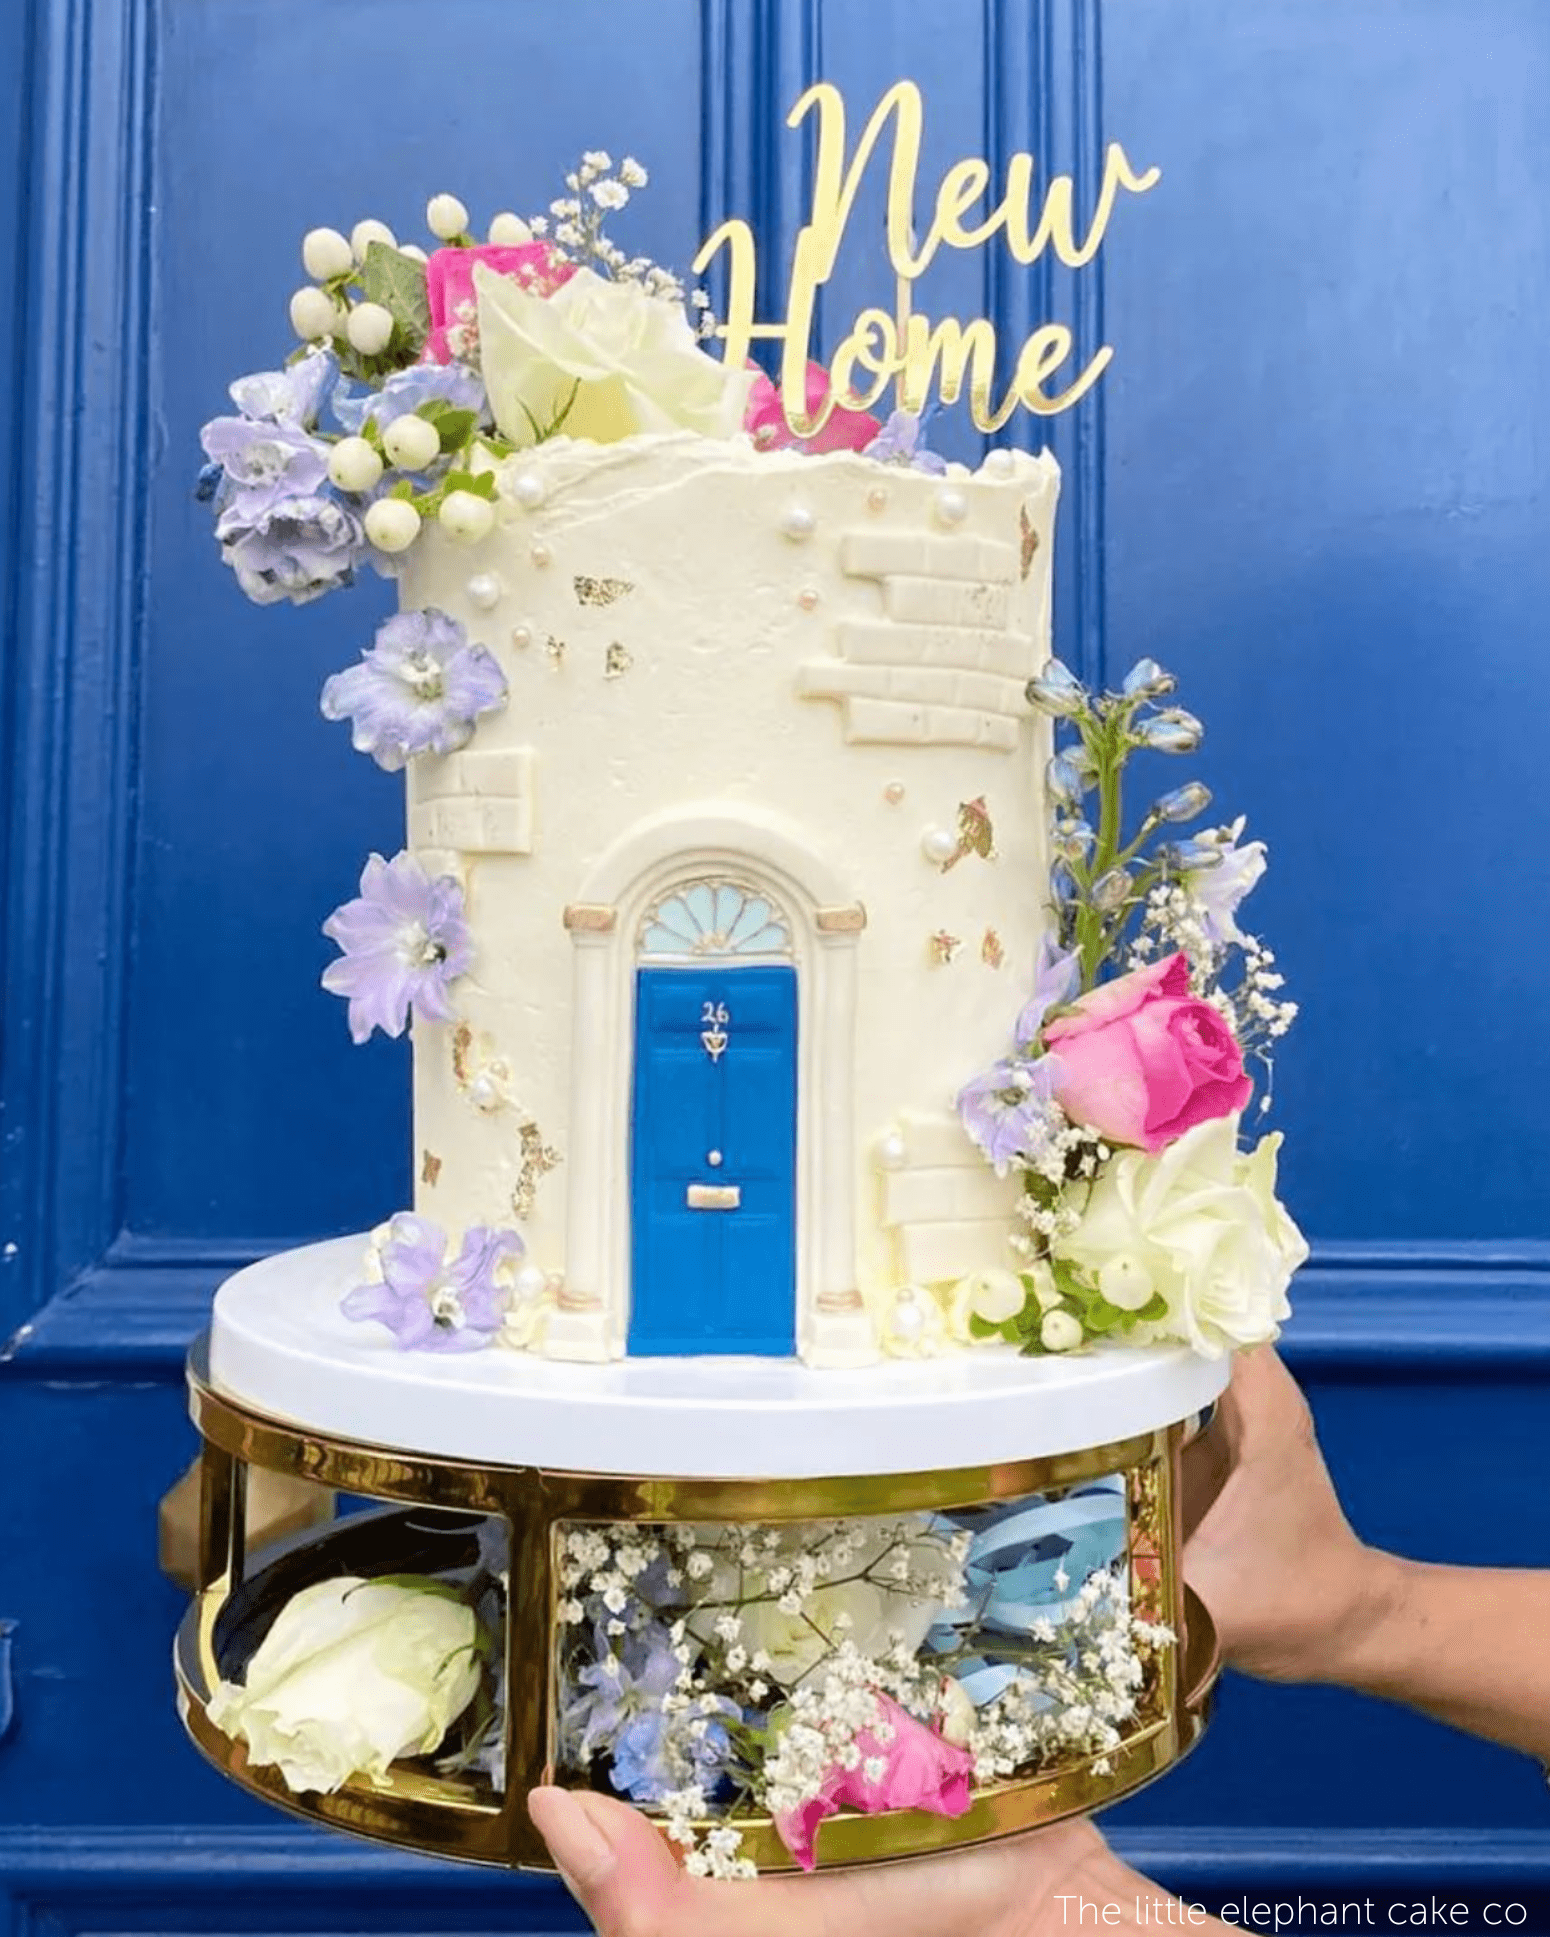
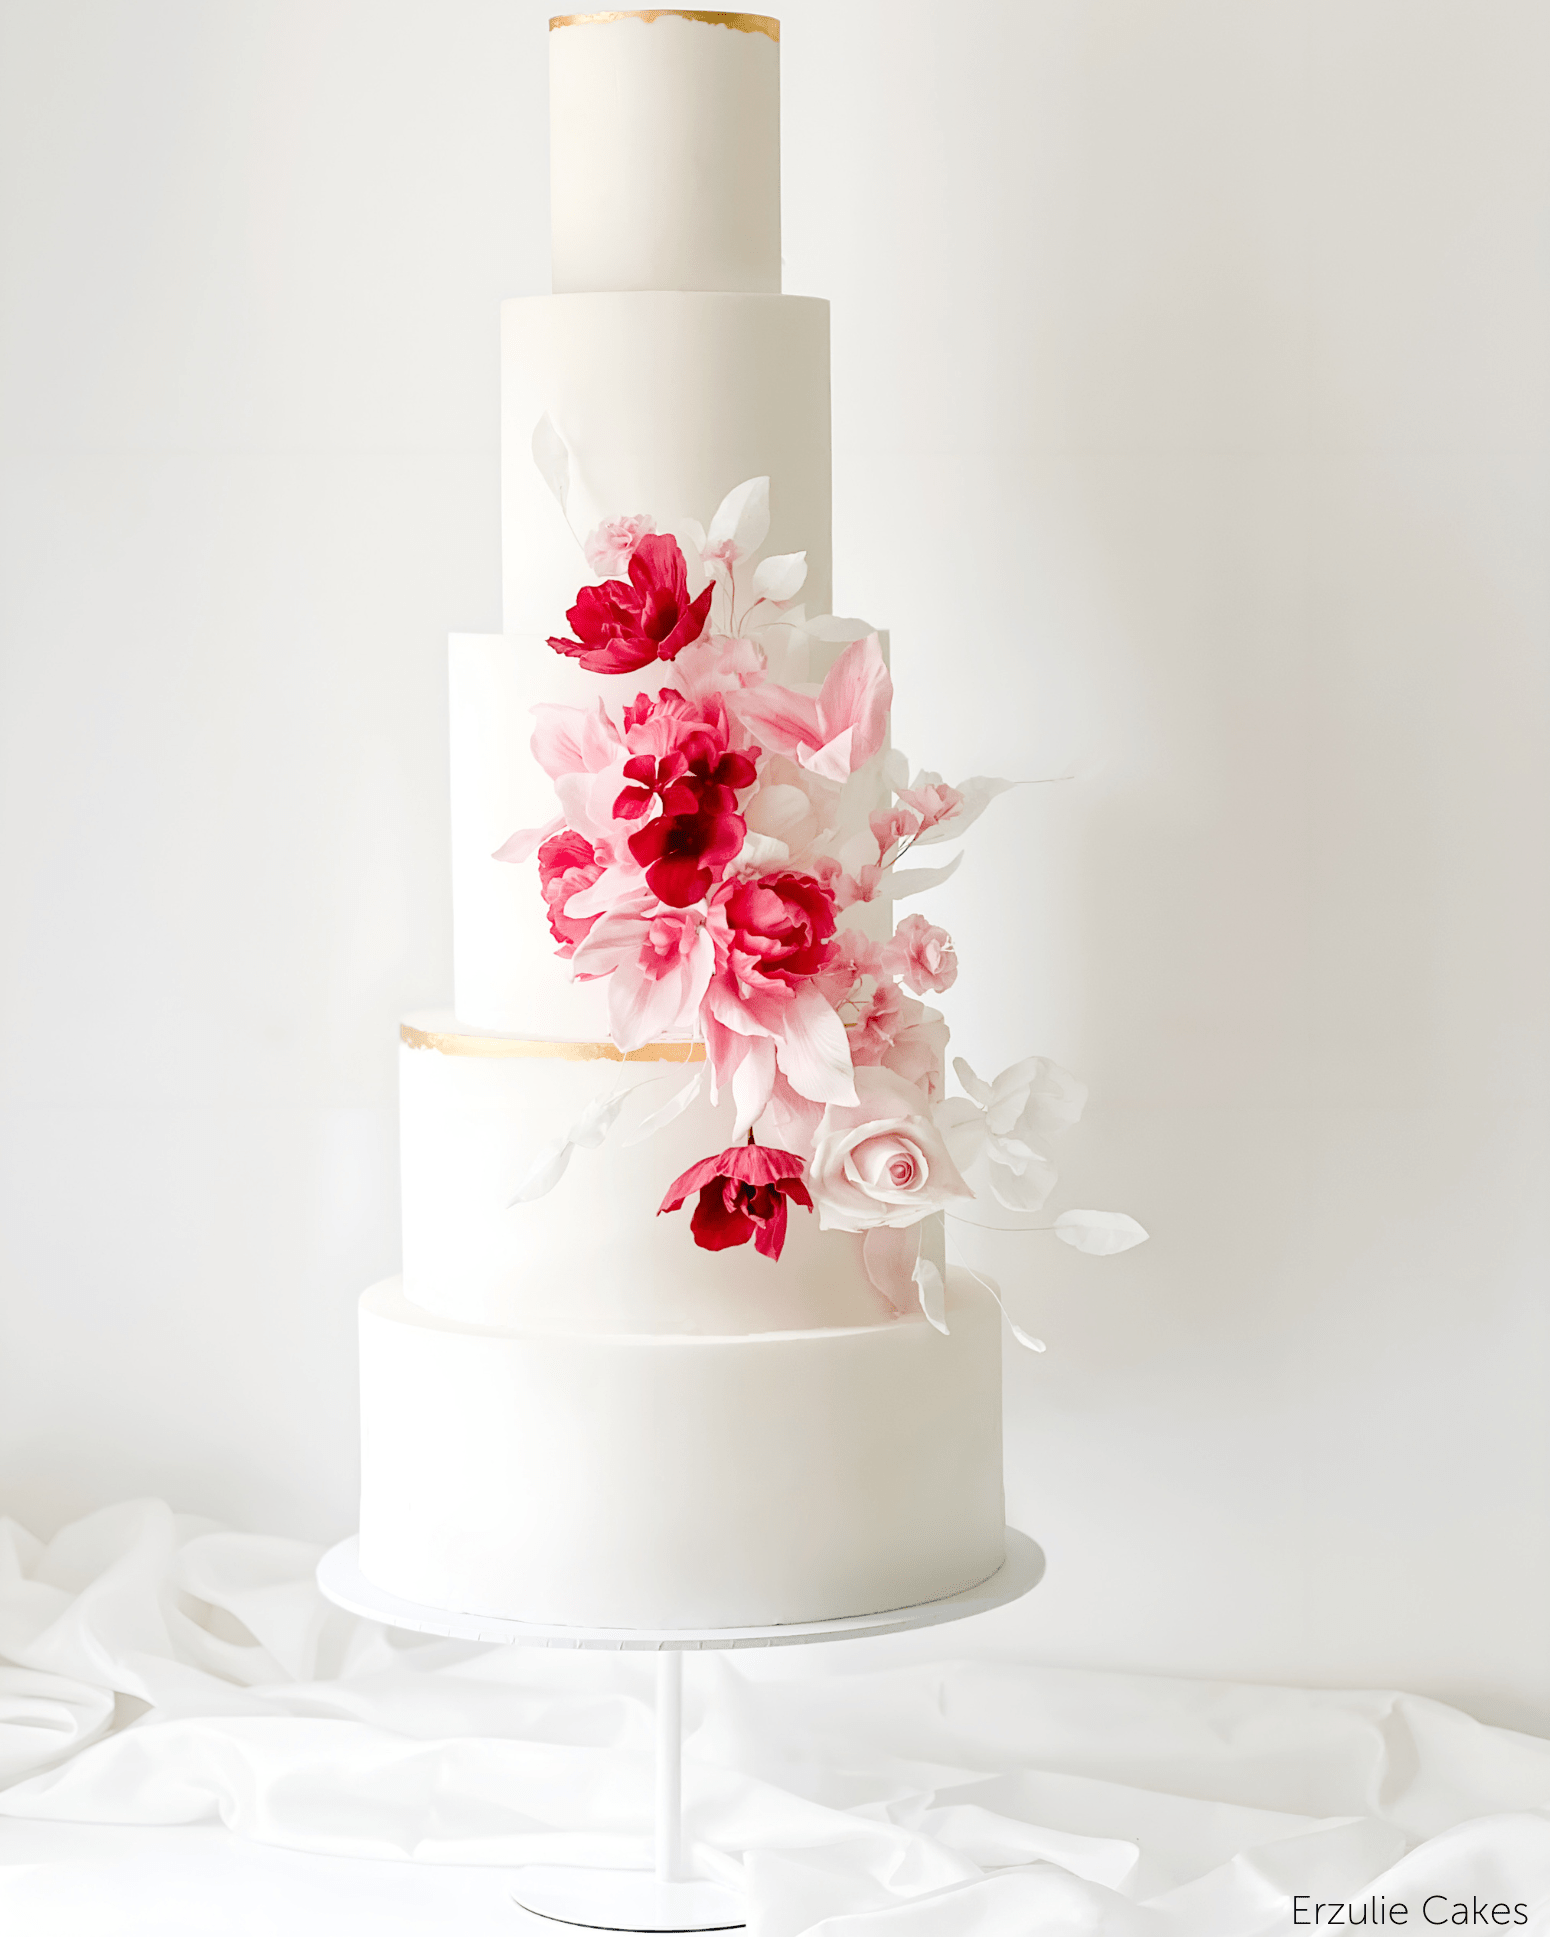
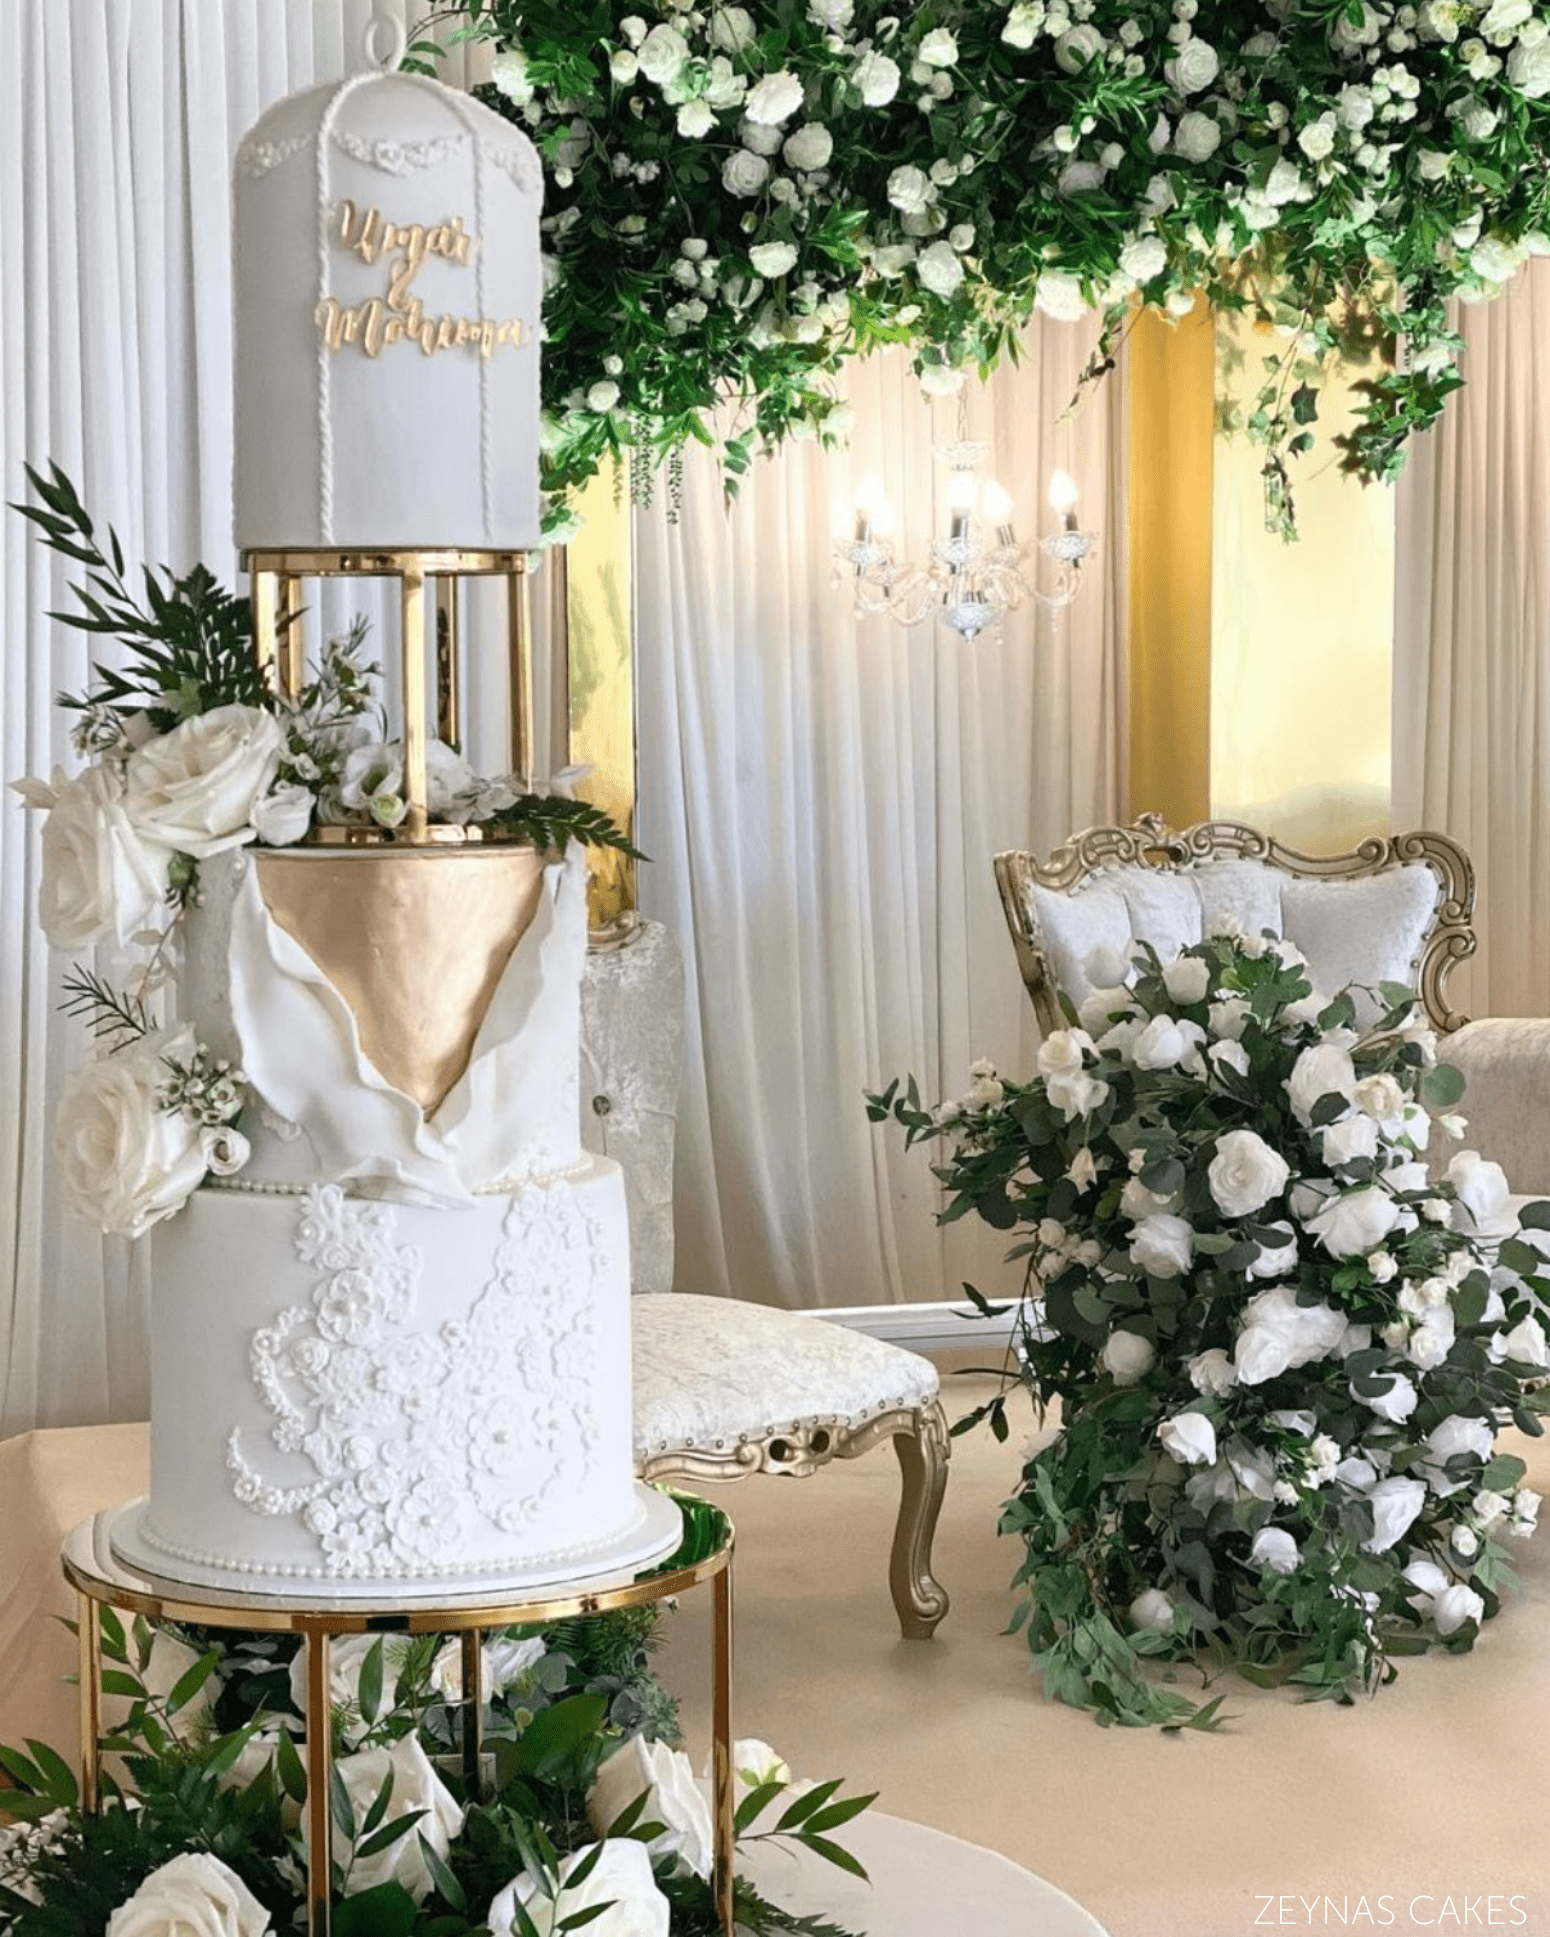
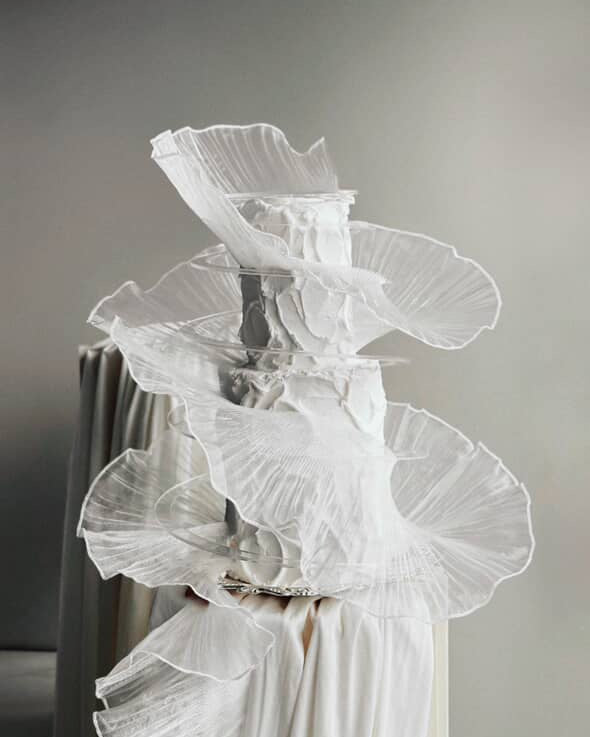
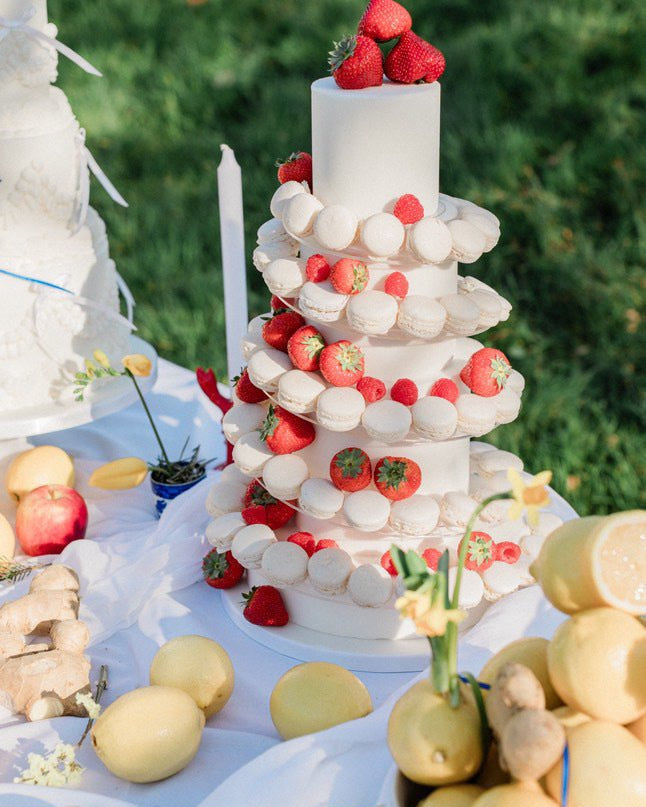
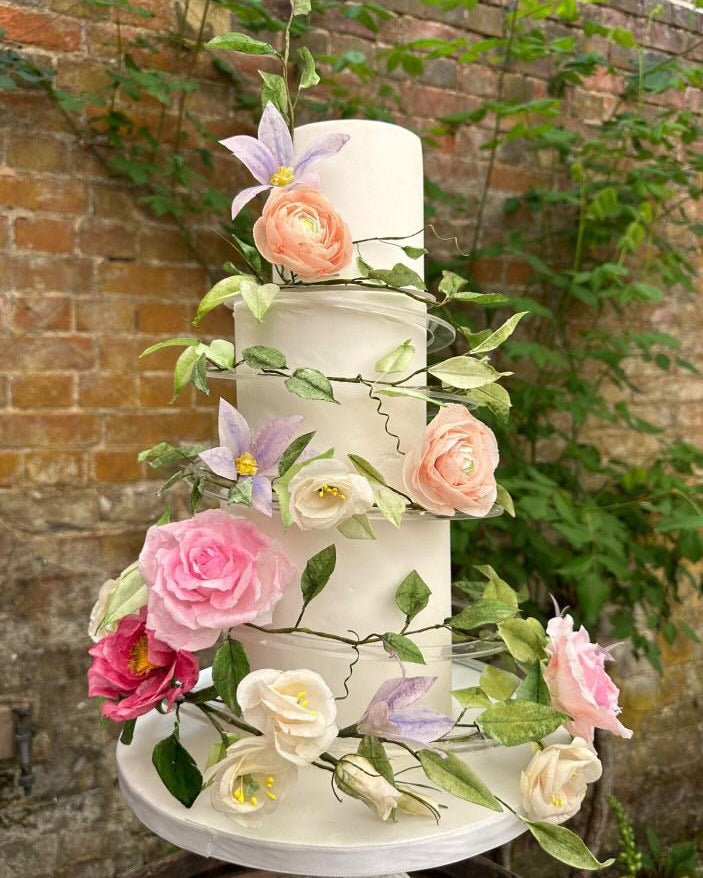
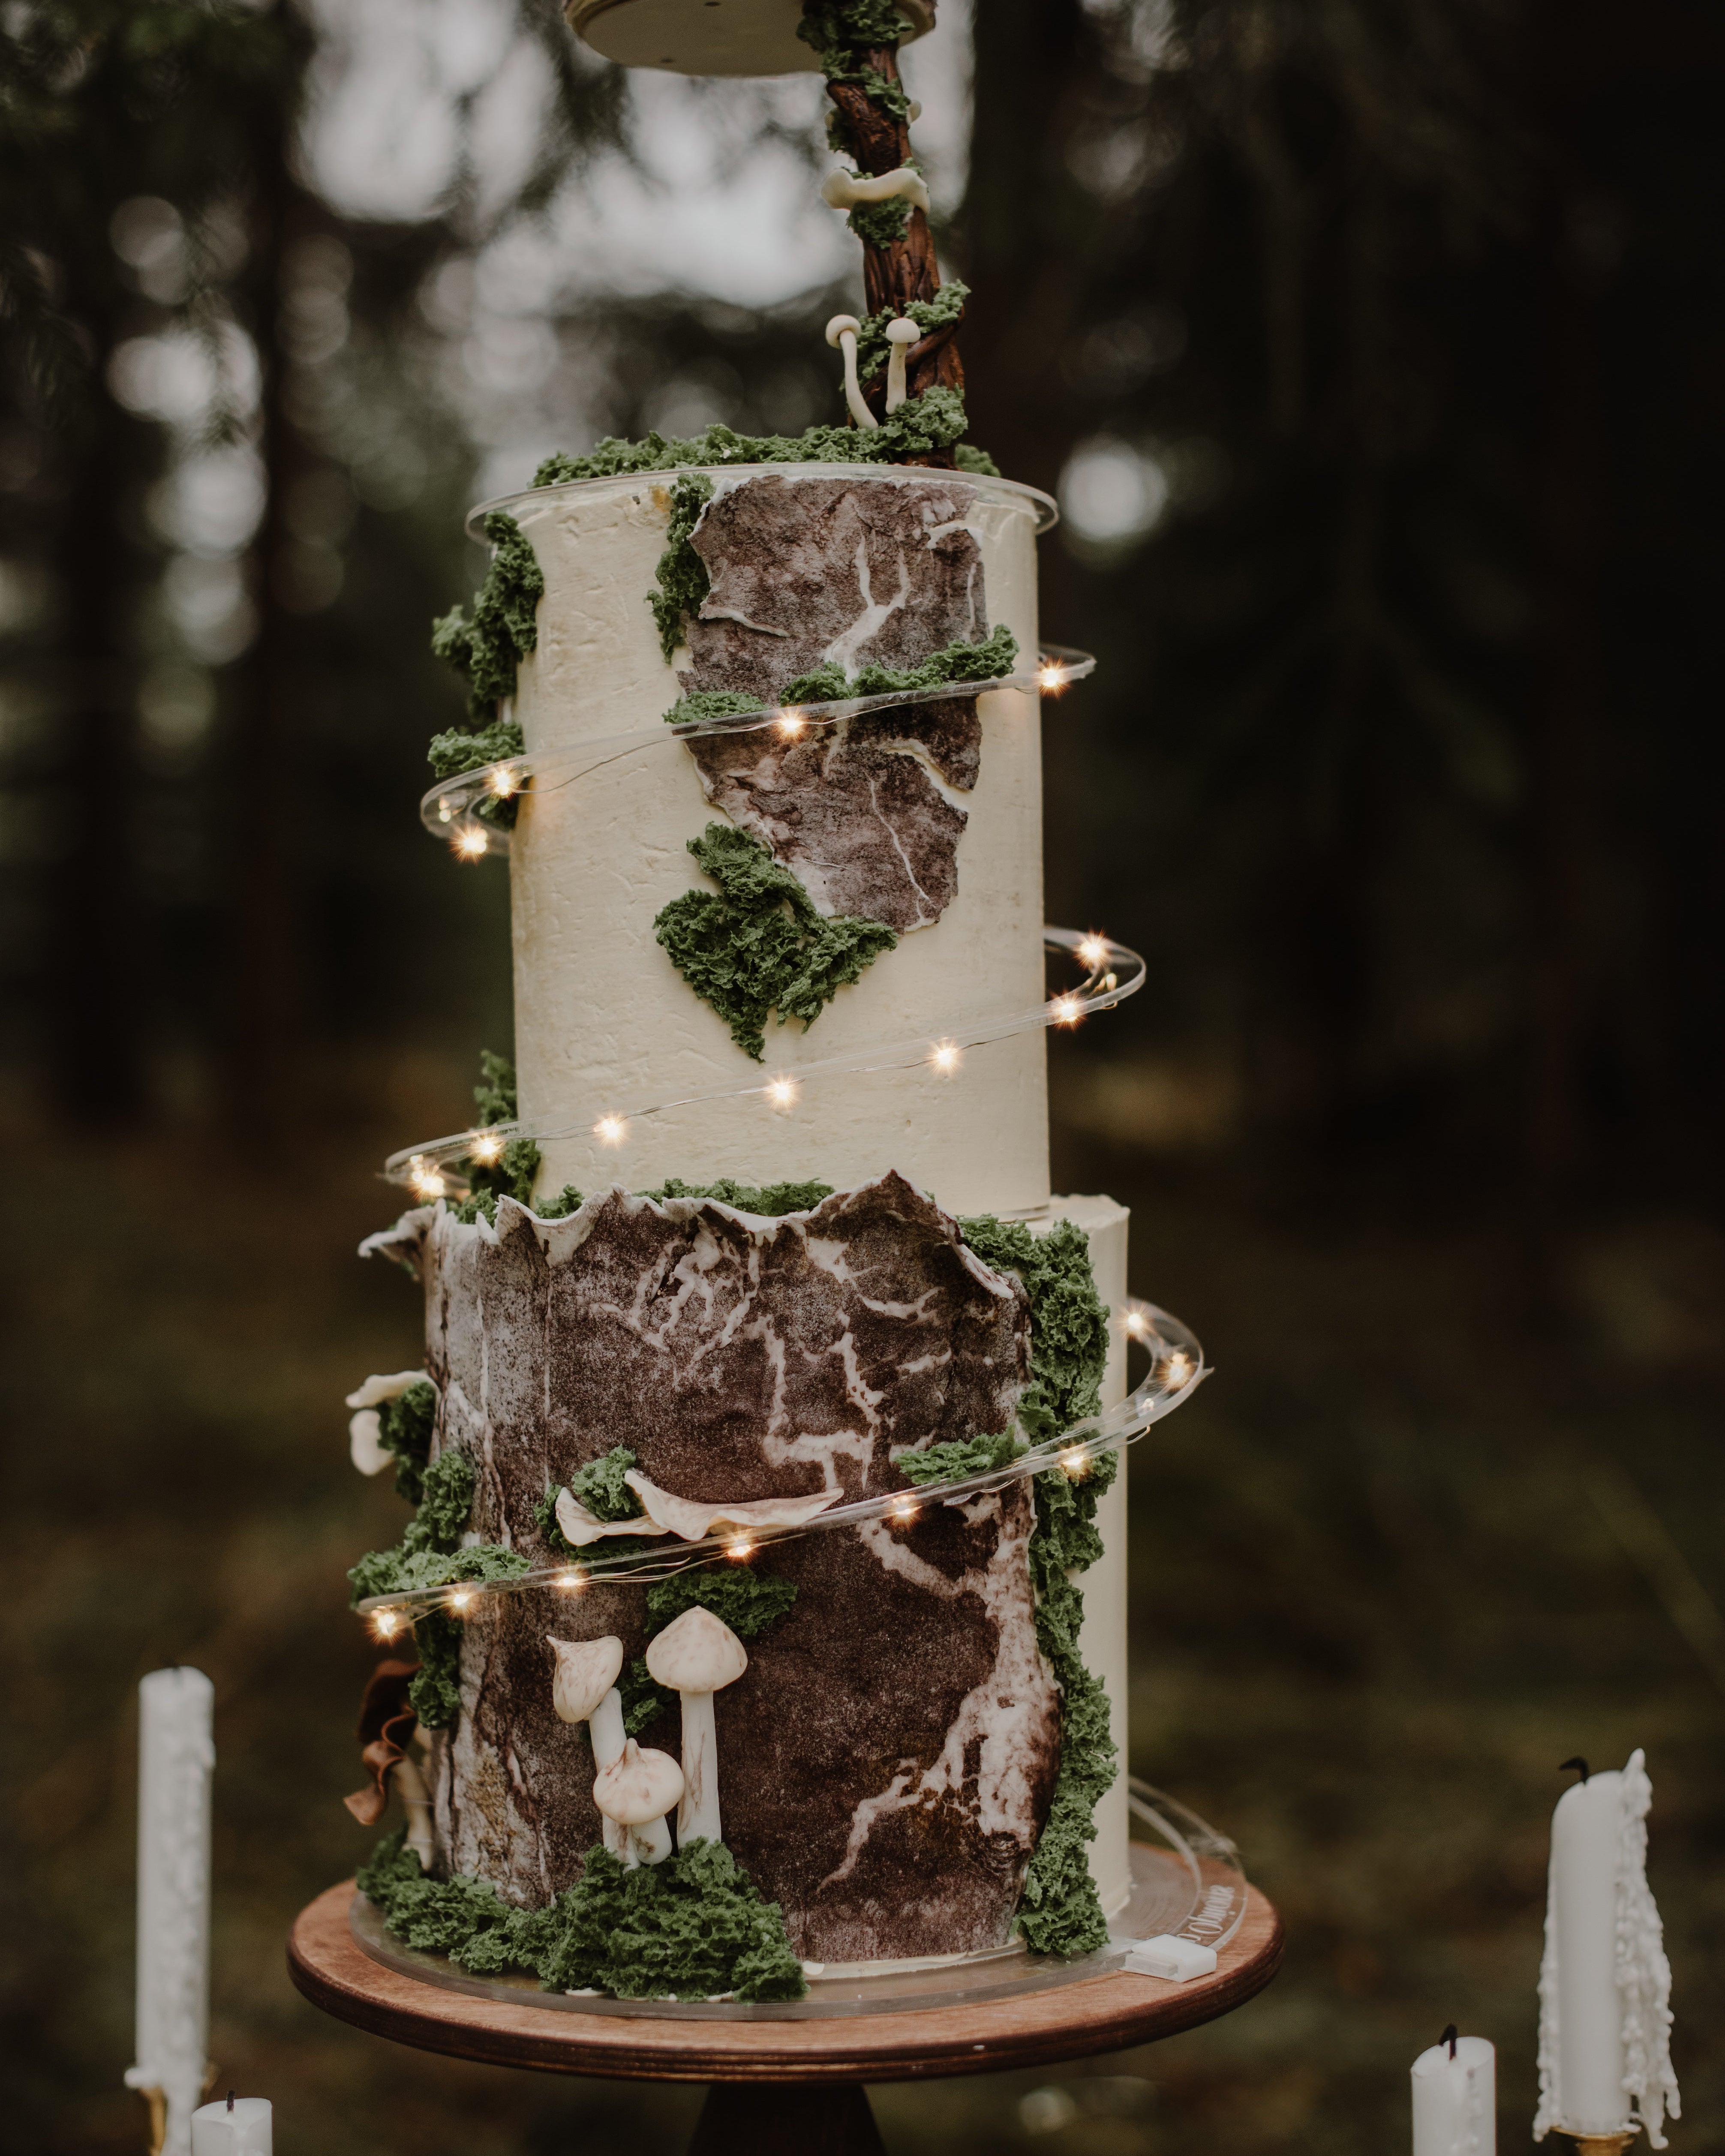
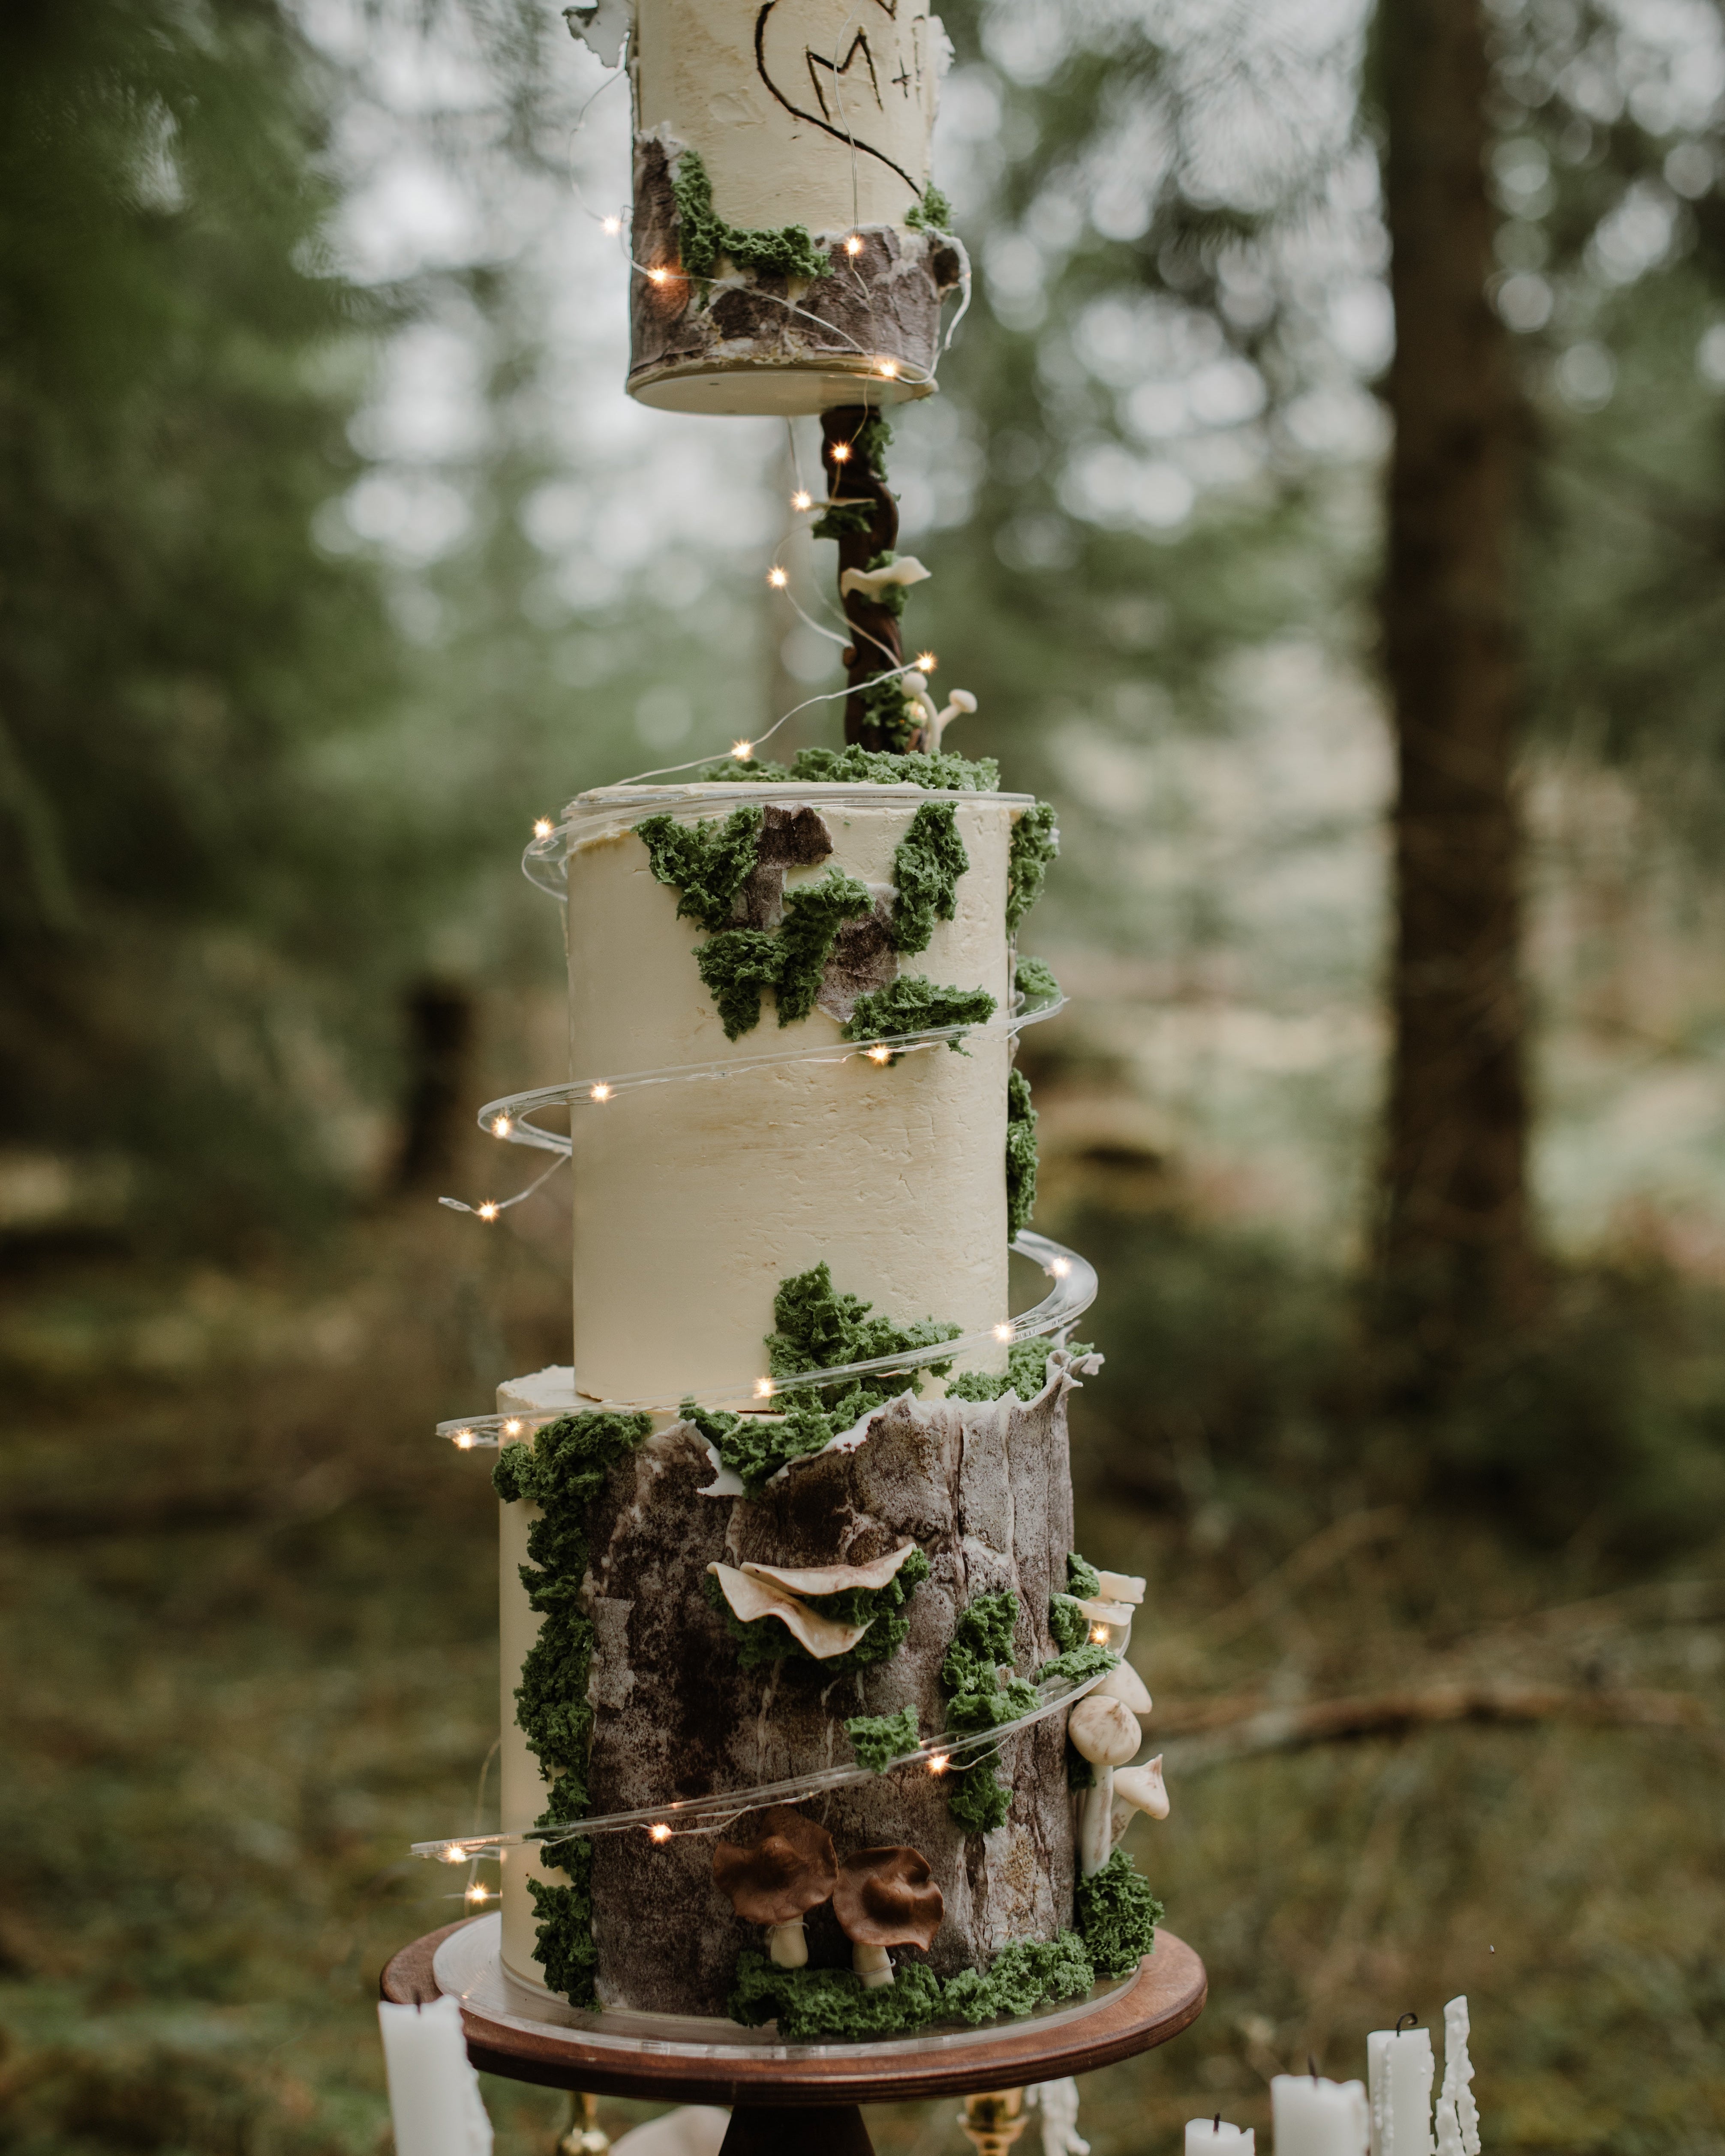
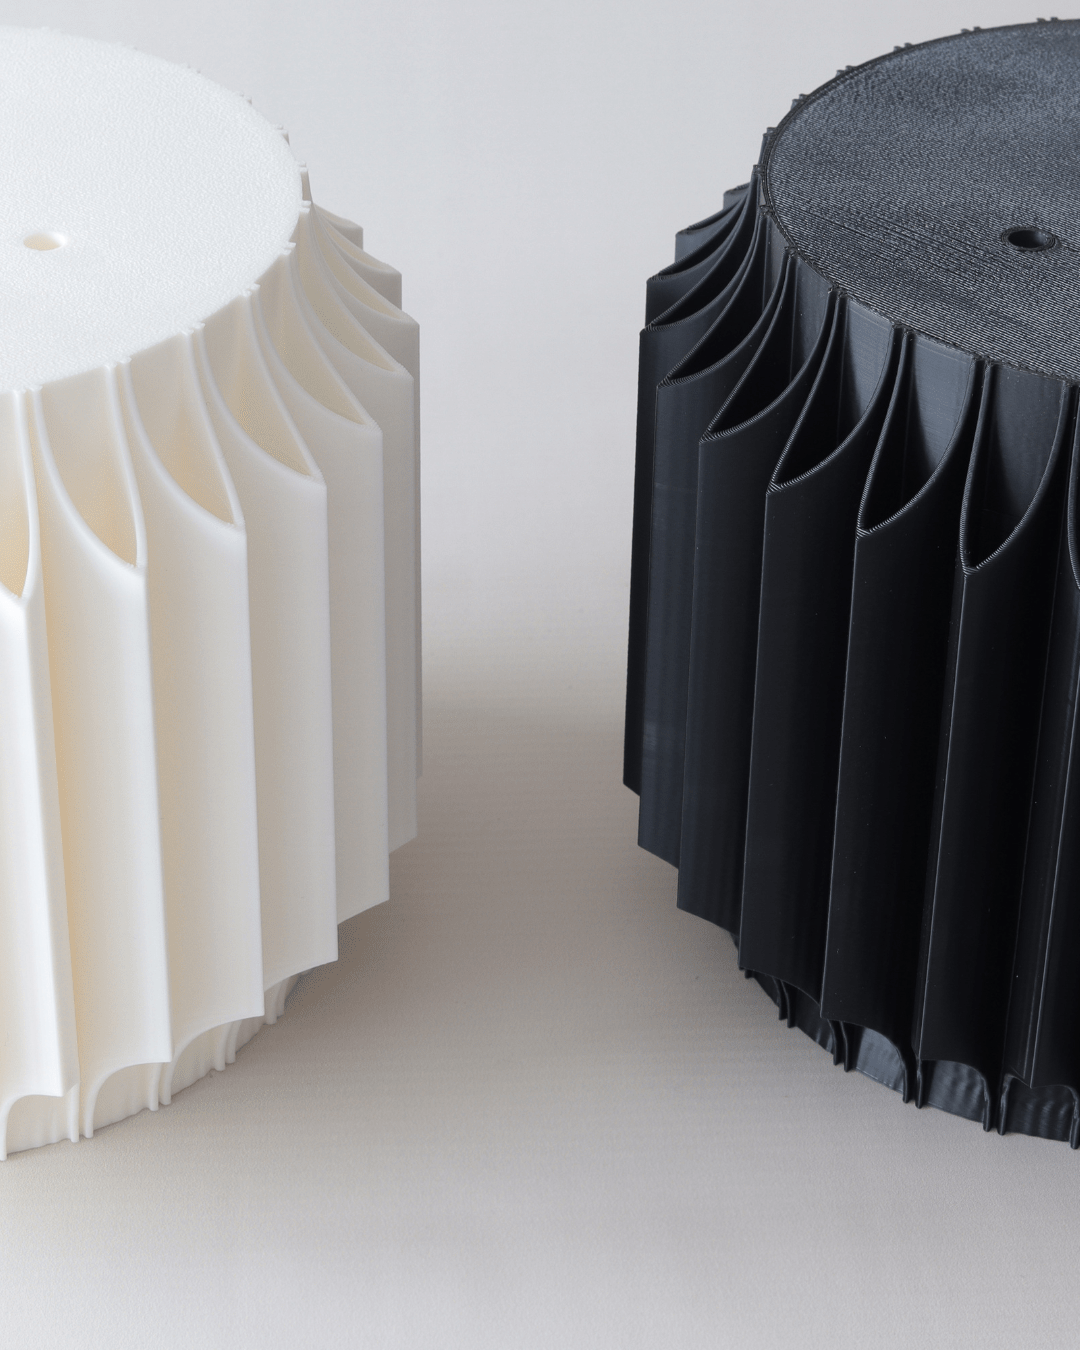
Keep the background quiet. If the cake is the subject, the background is the supporting act, not a second focal point. White walls, wooden tables and soft fabric backdrops all work, and a textured surface such as marble or stone adds interest without noise. Keep any colour subtle so nothing competes with the cake. For a wedding cake, a little greenery or a few flowers in the frame can support the design rather than distract from it.
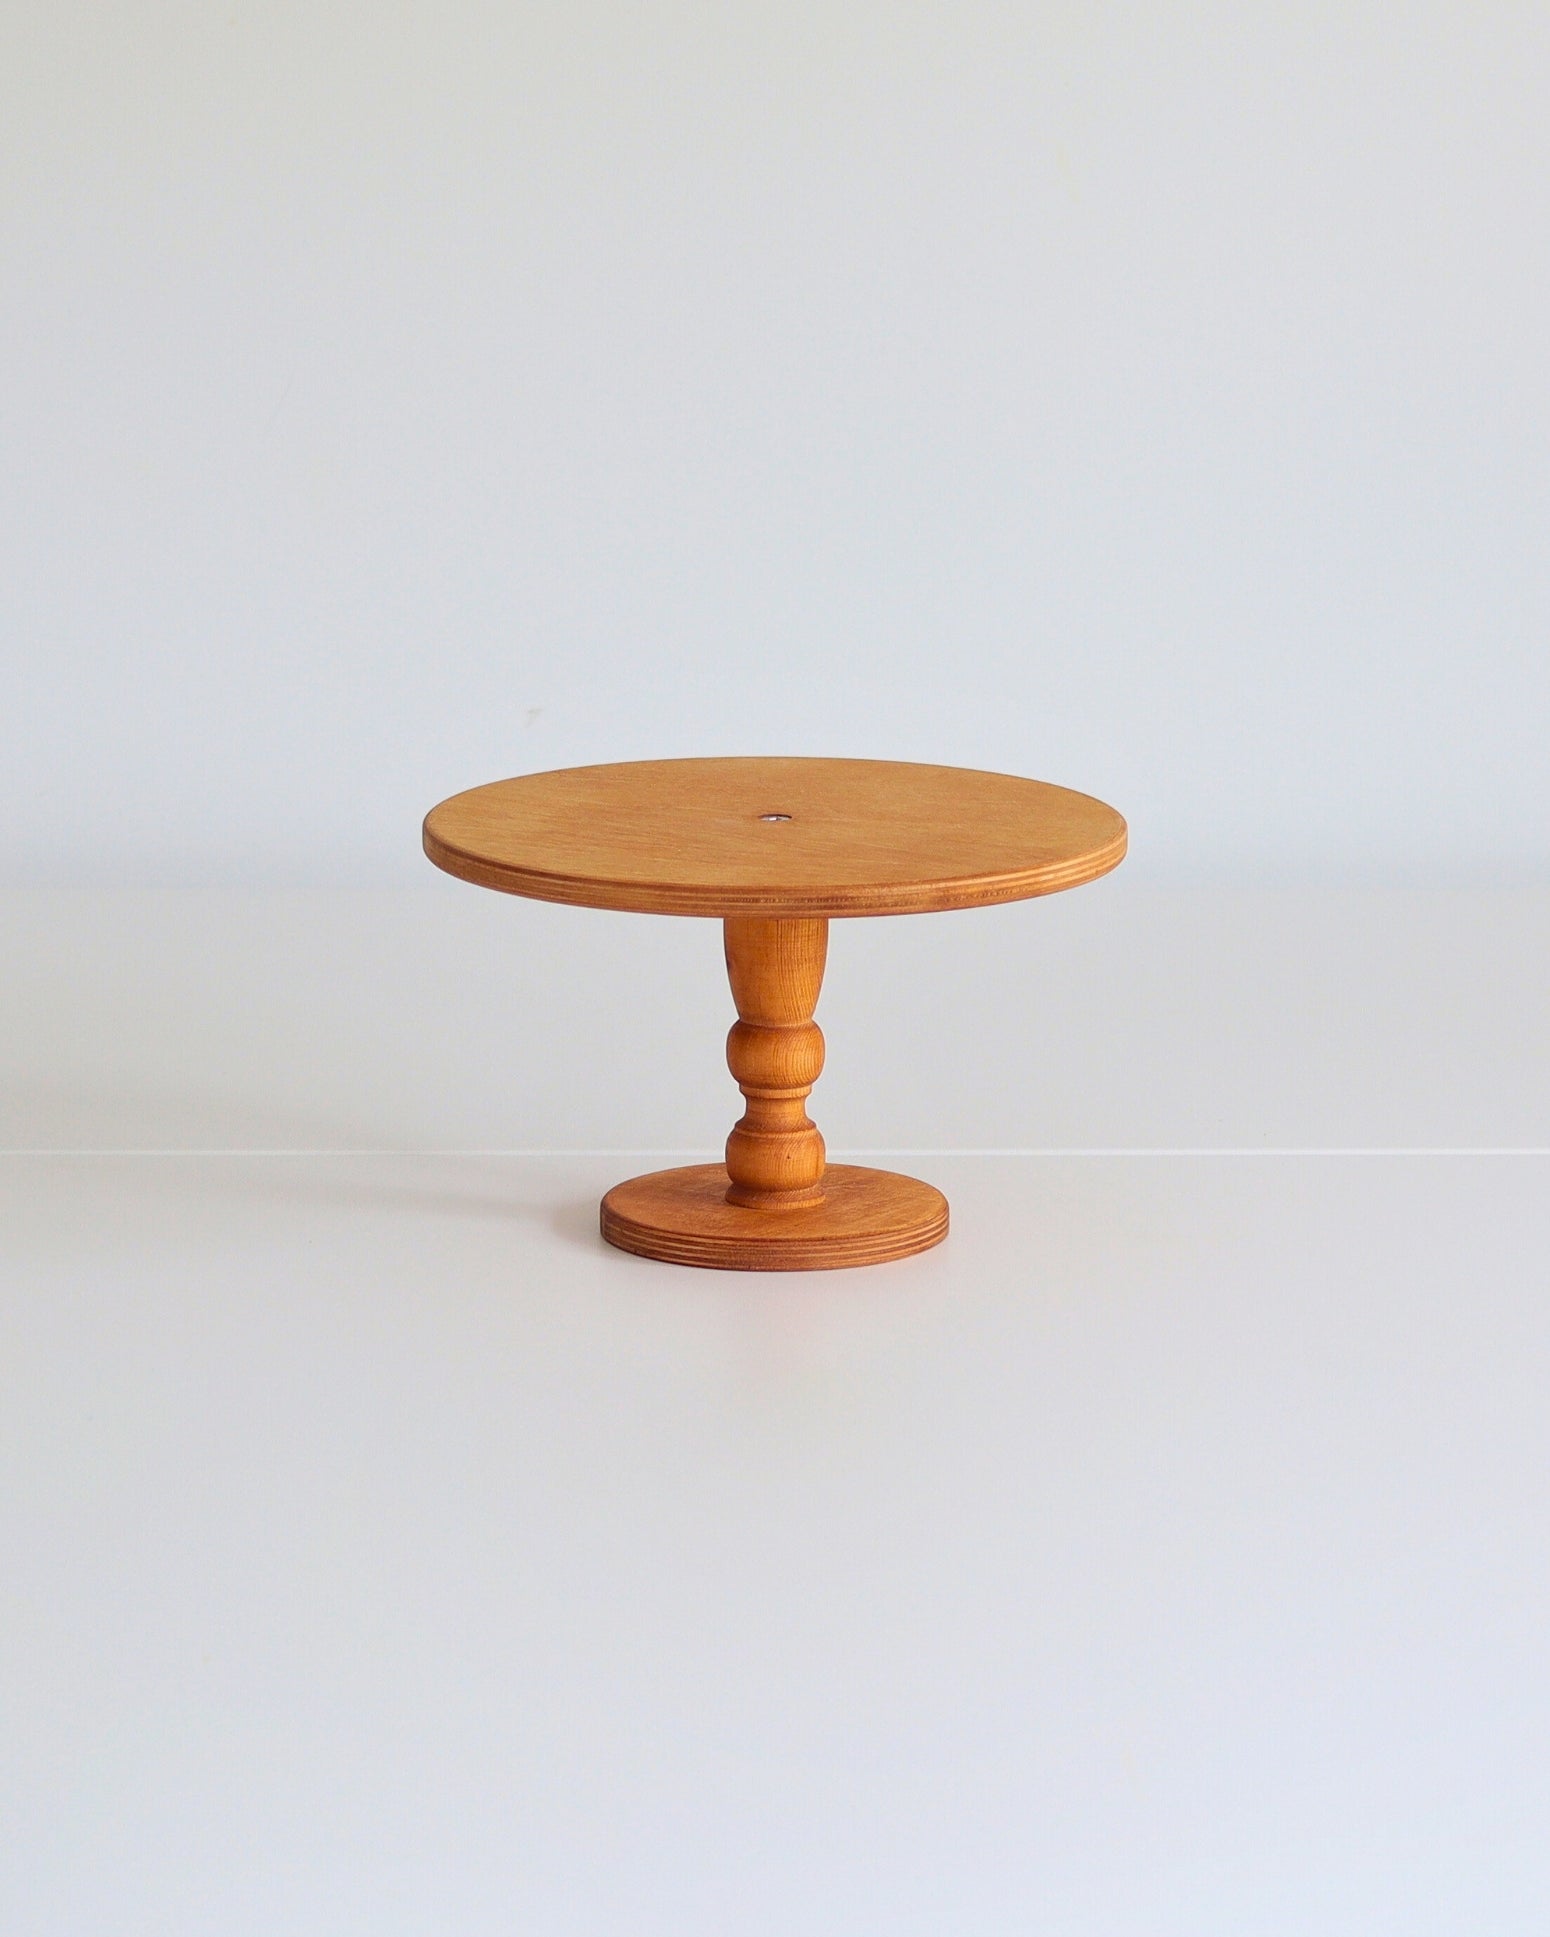
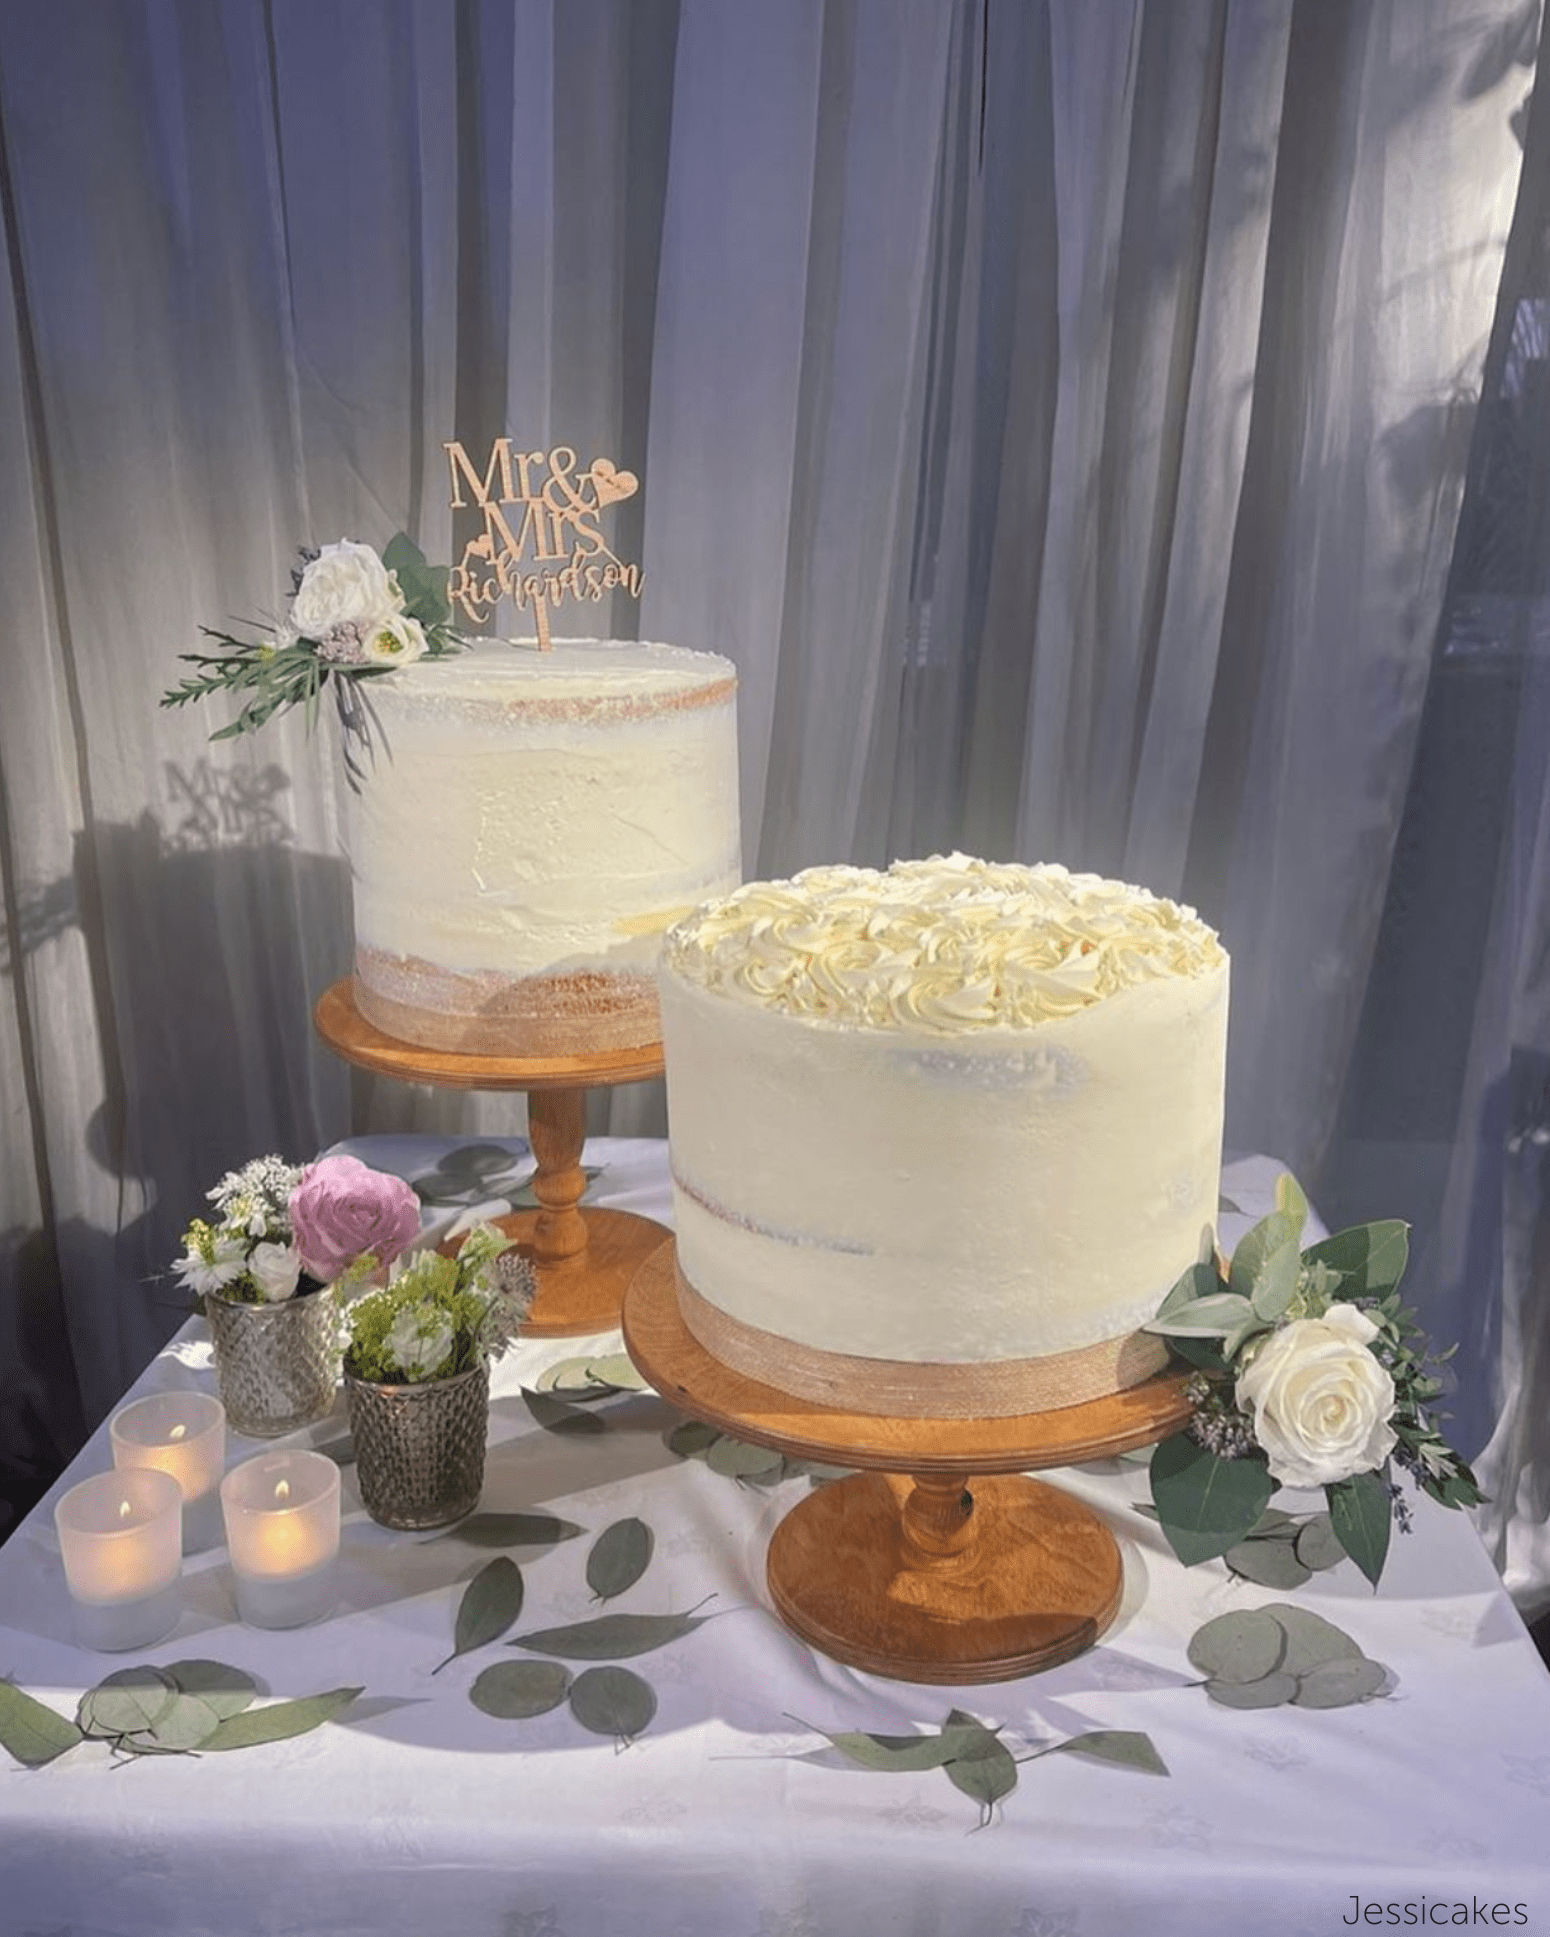
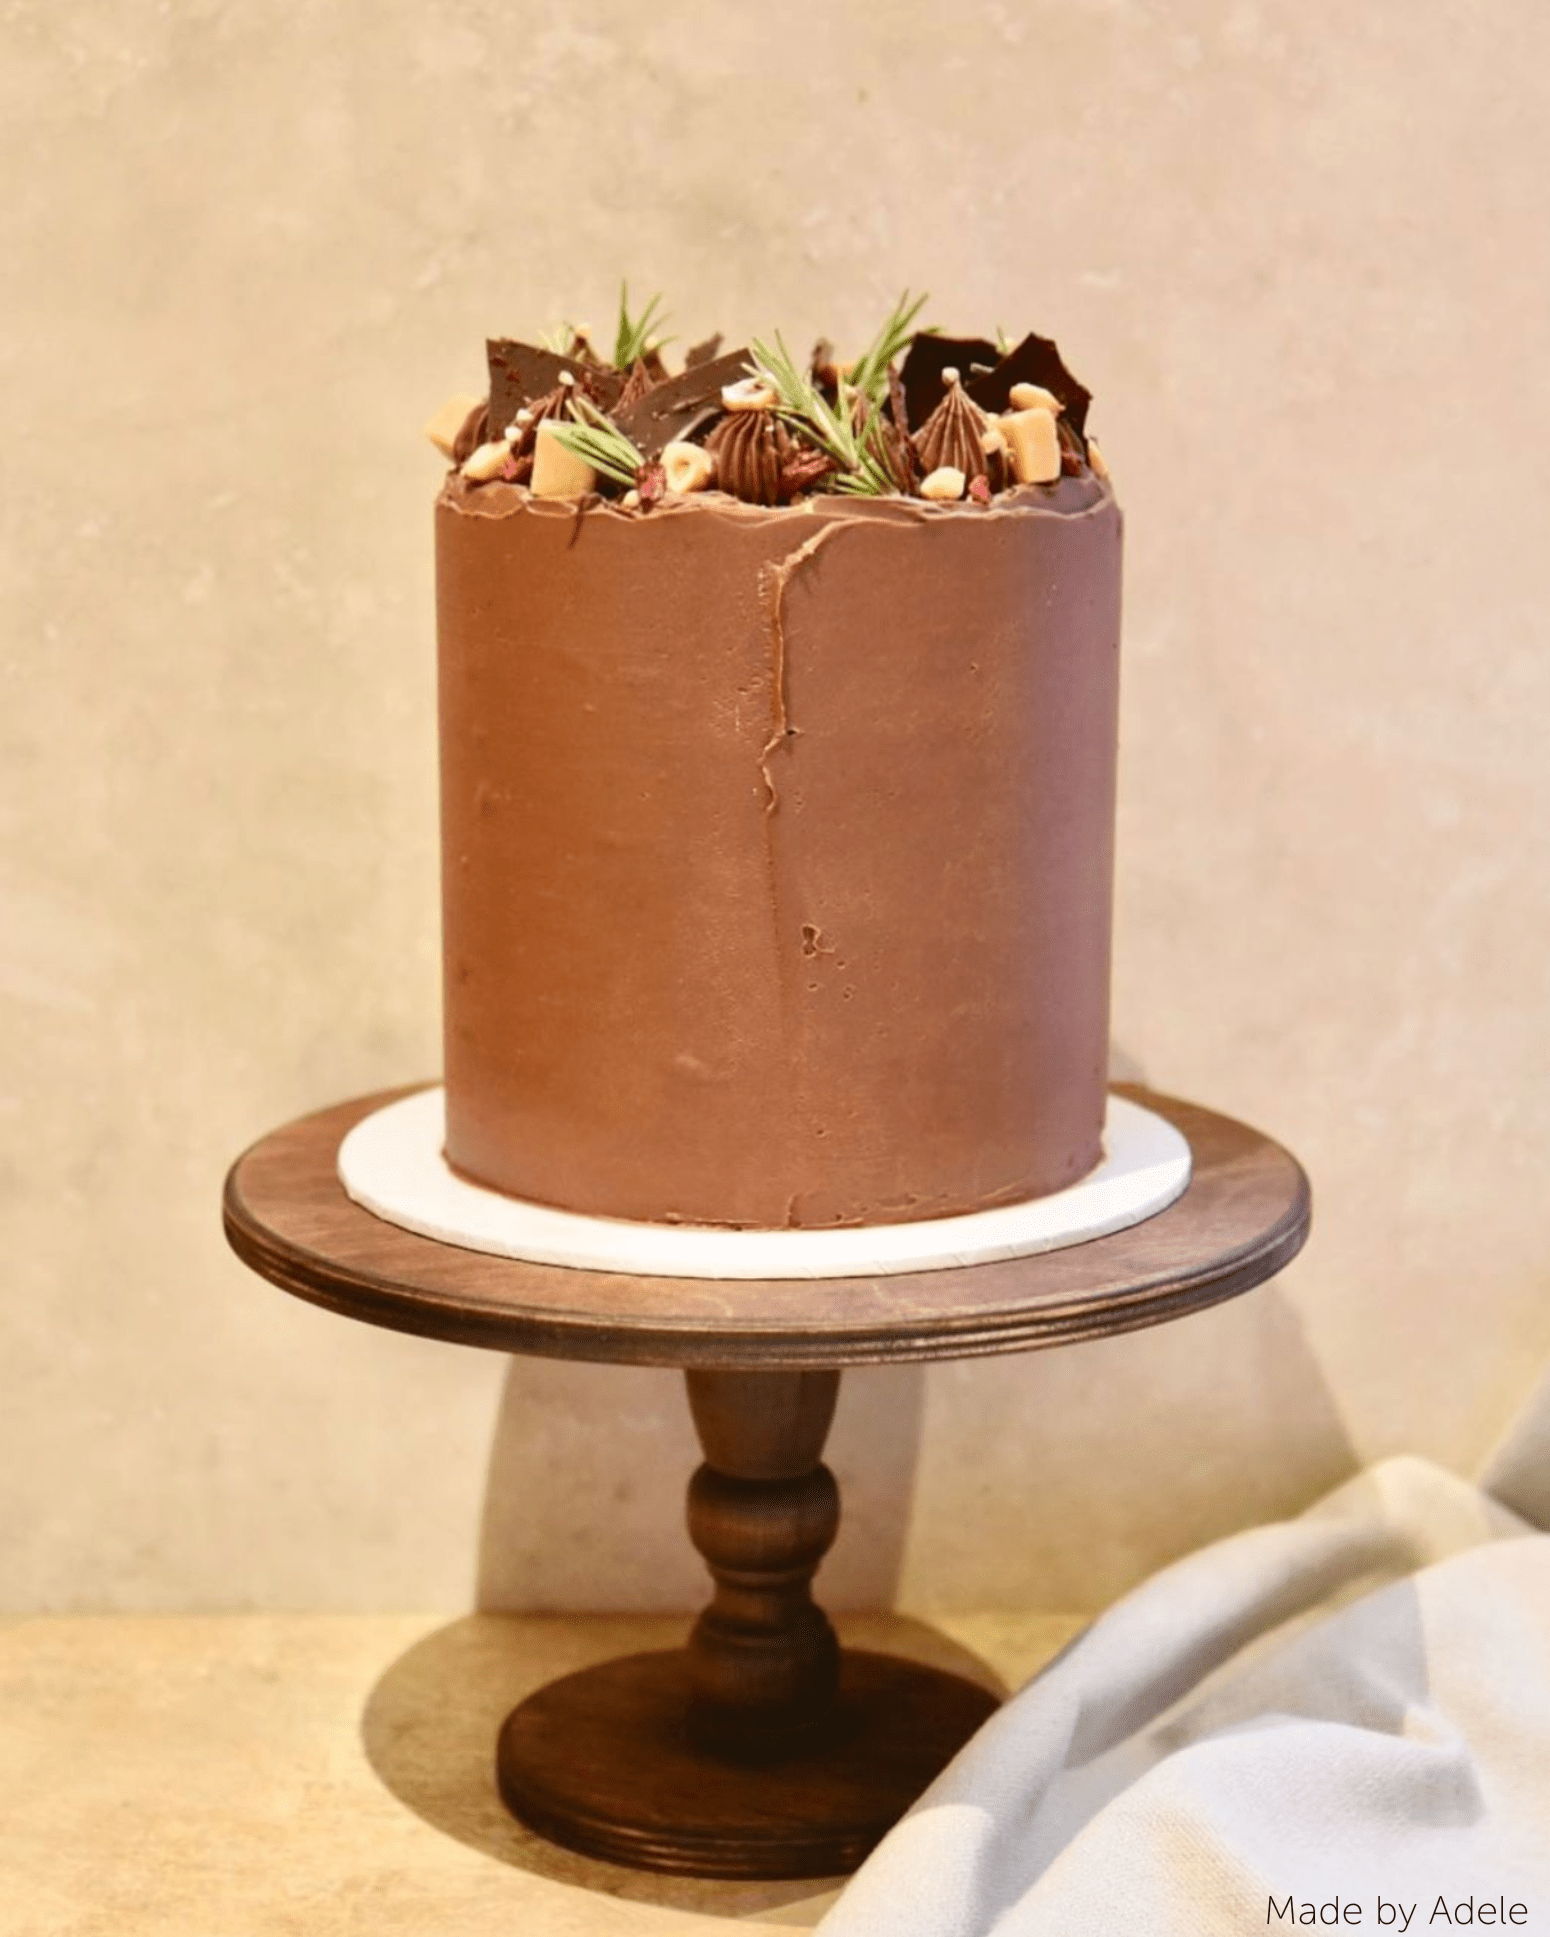
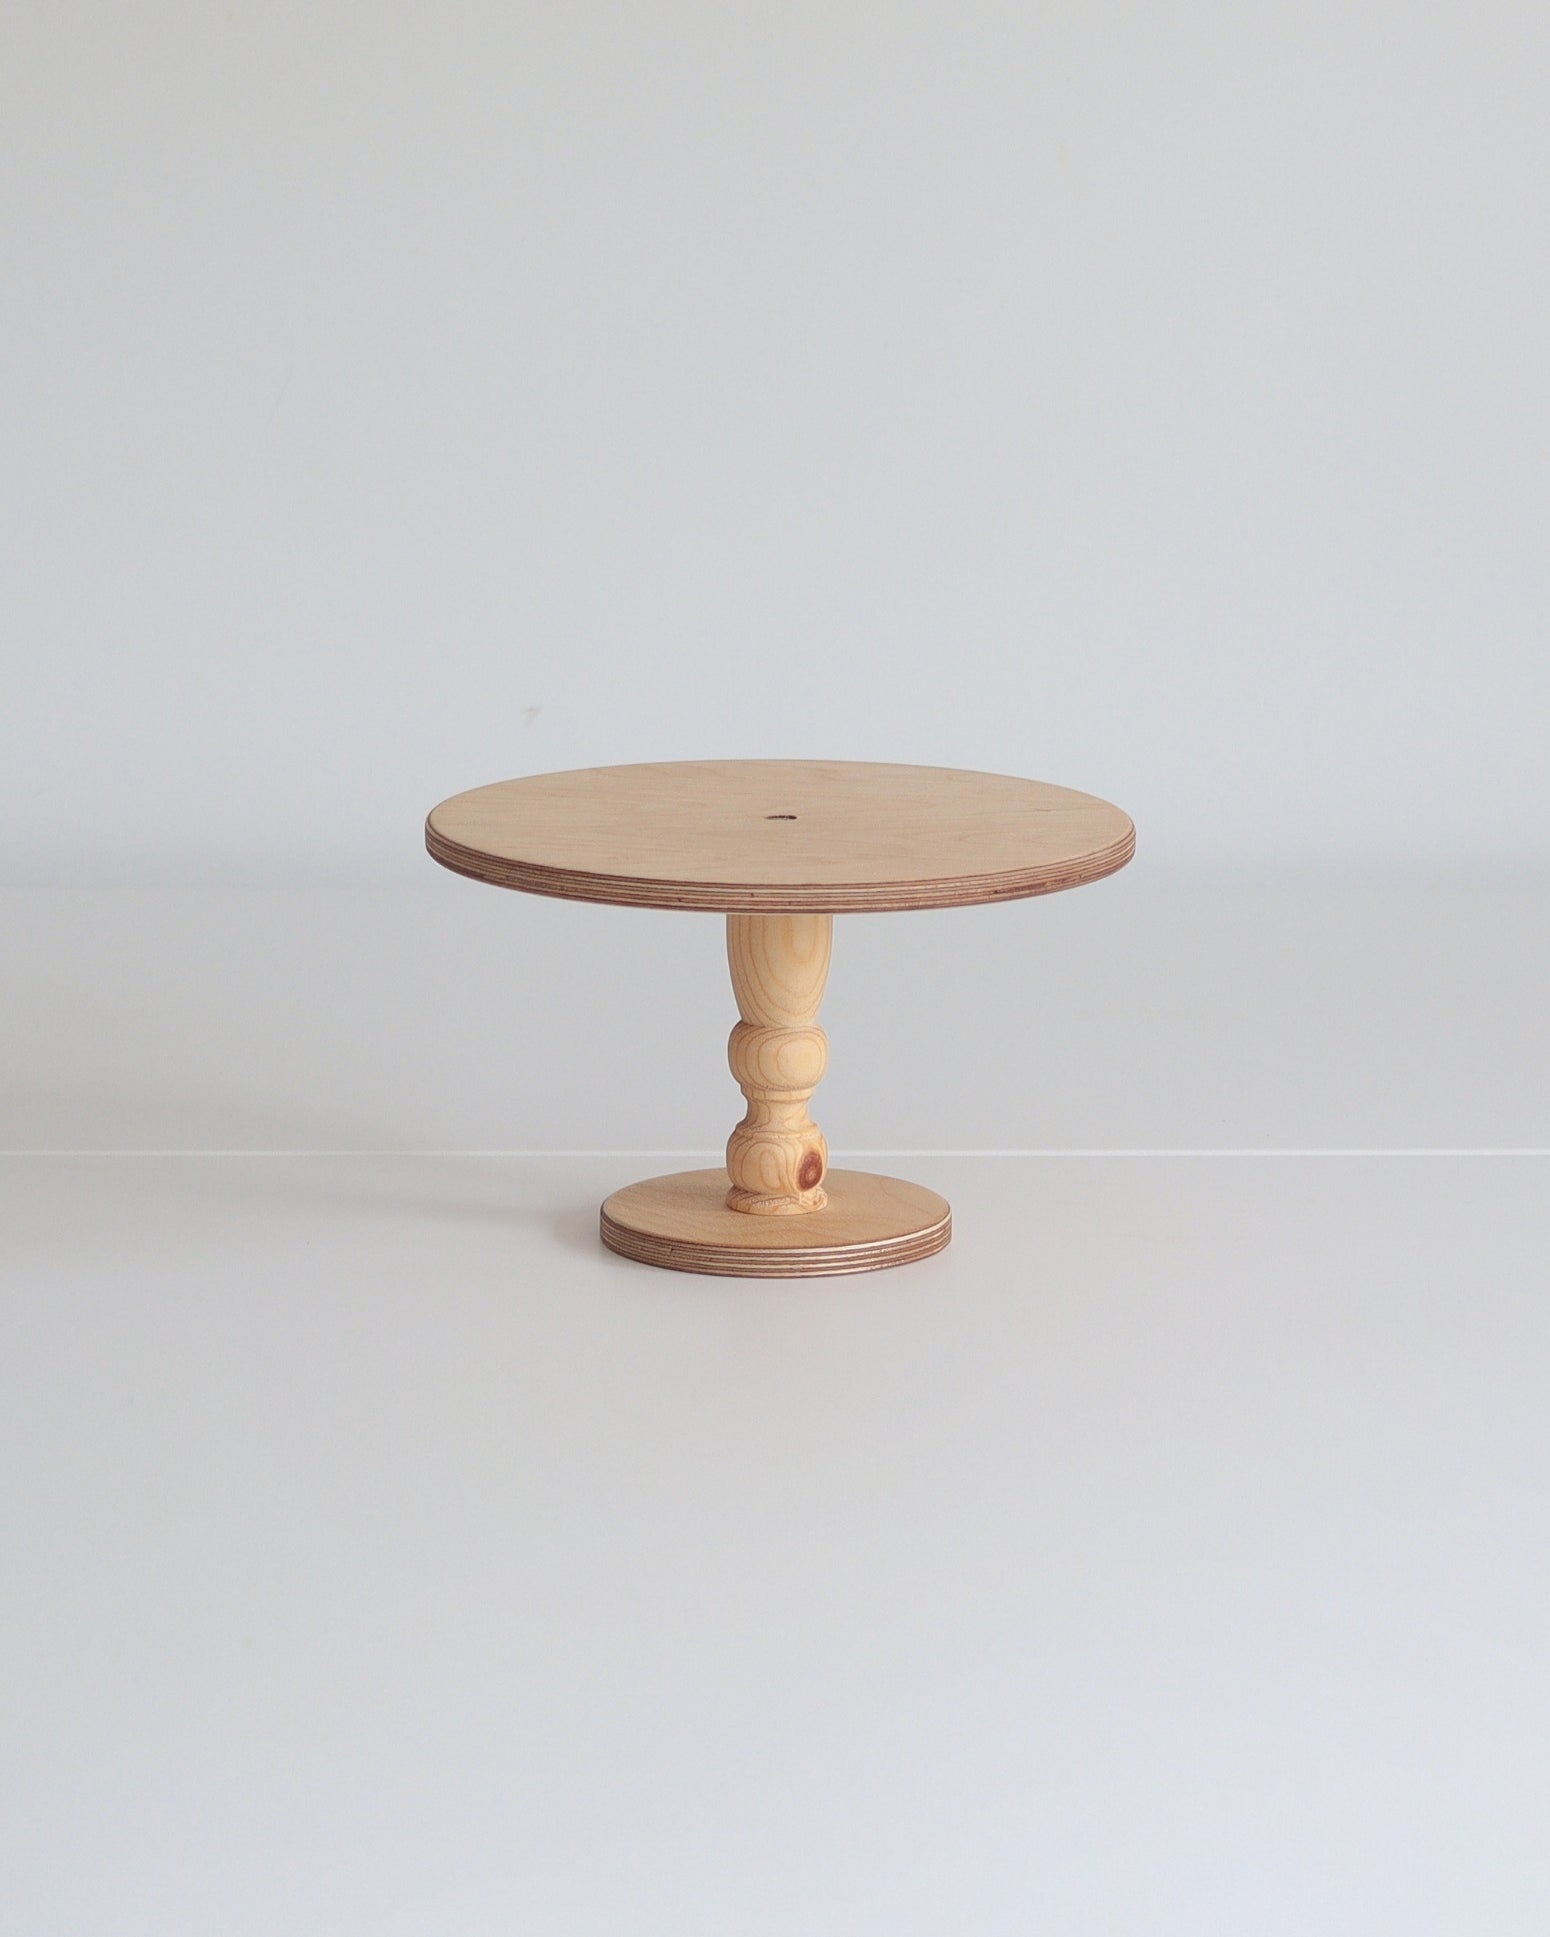
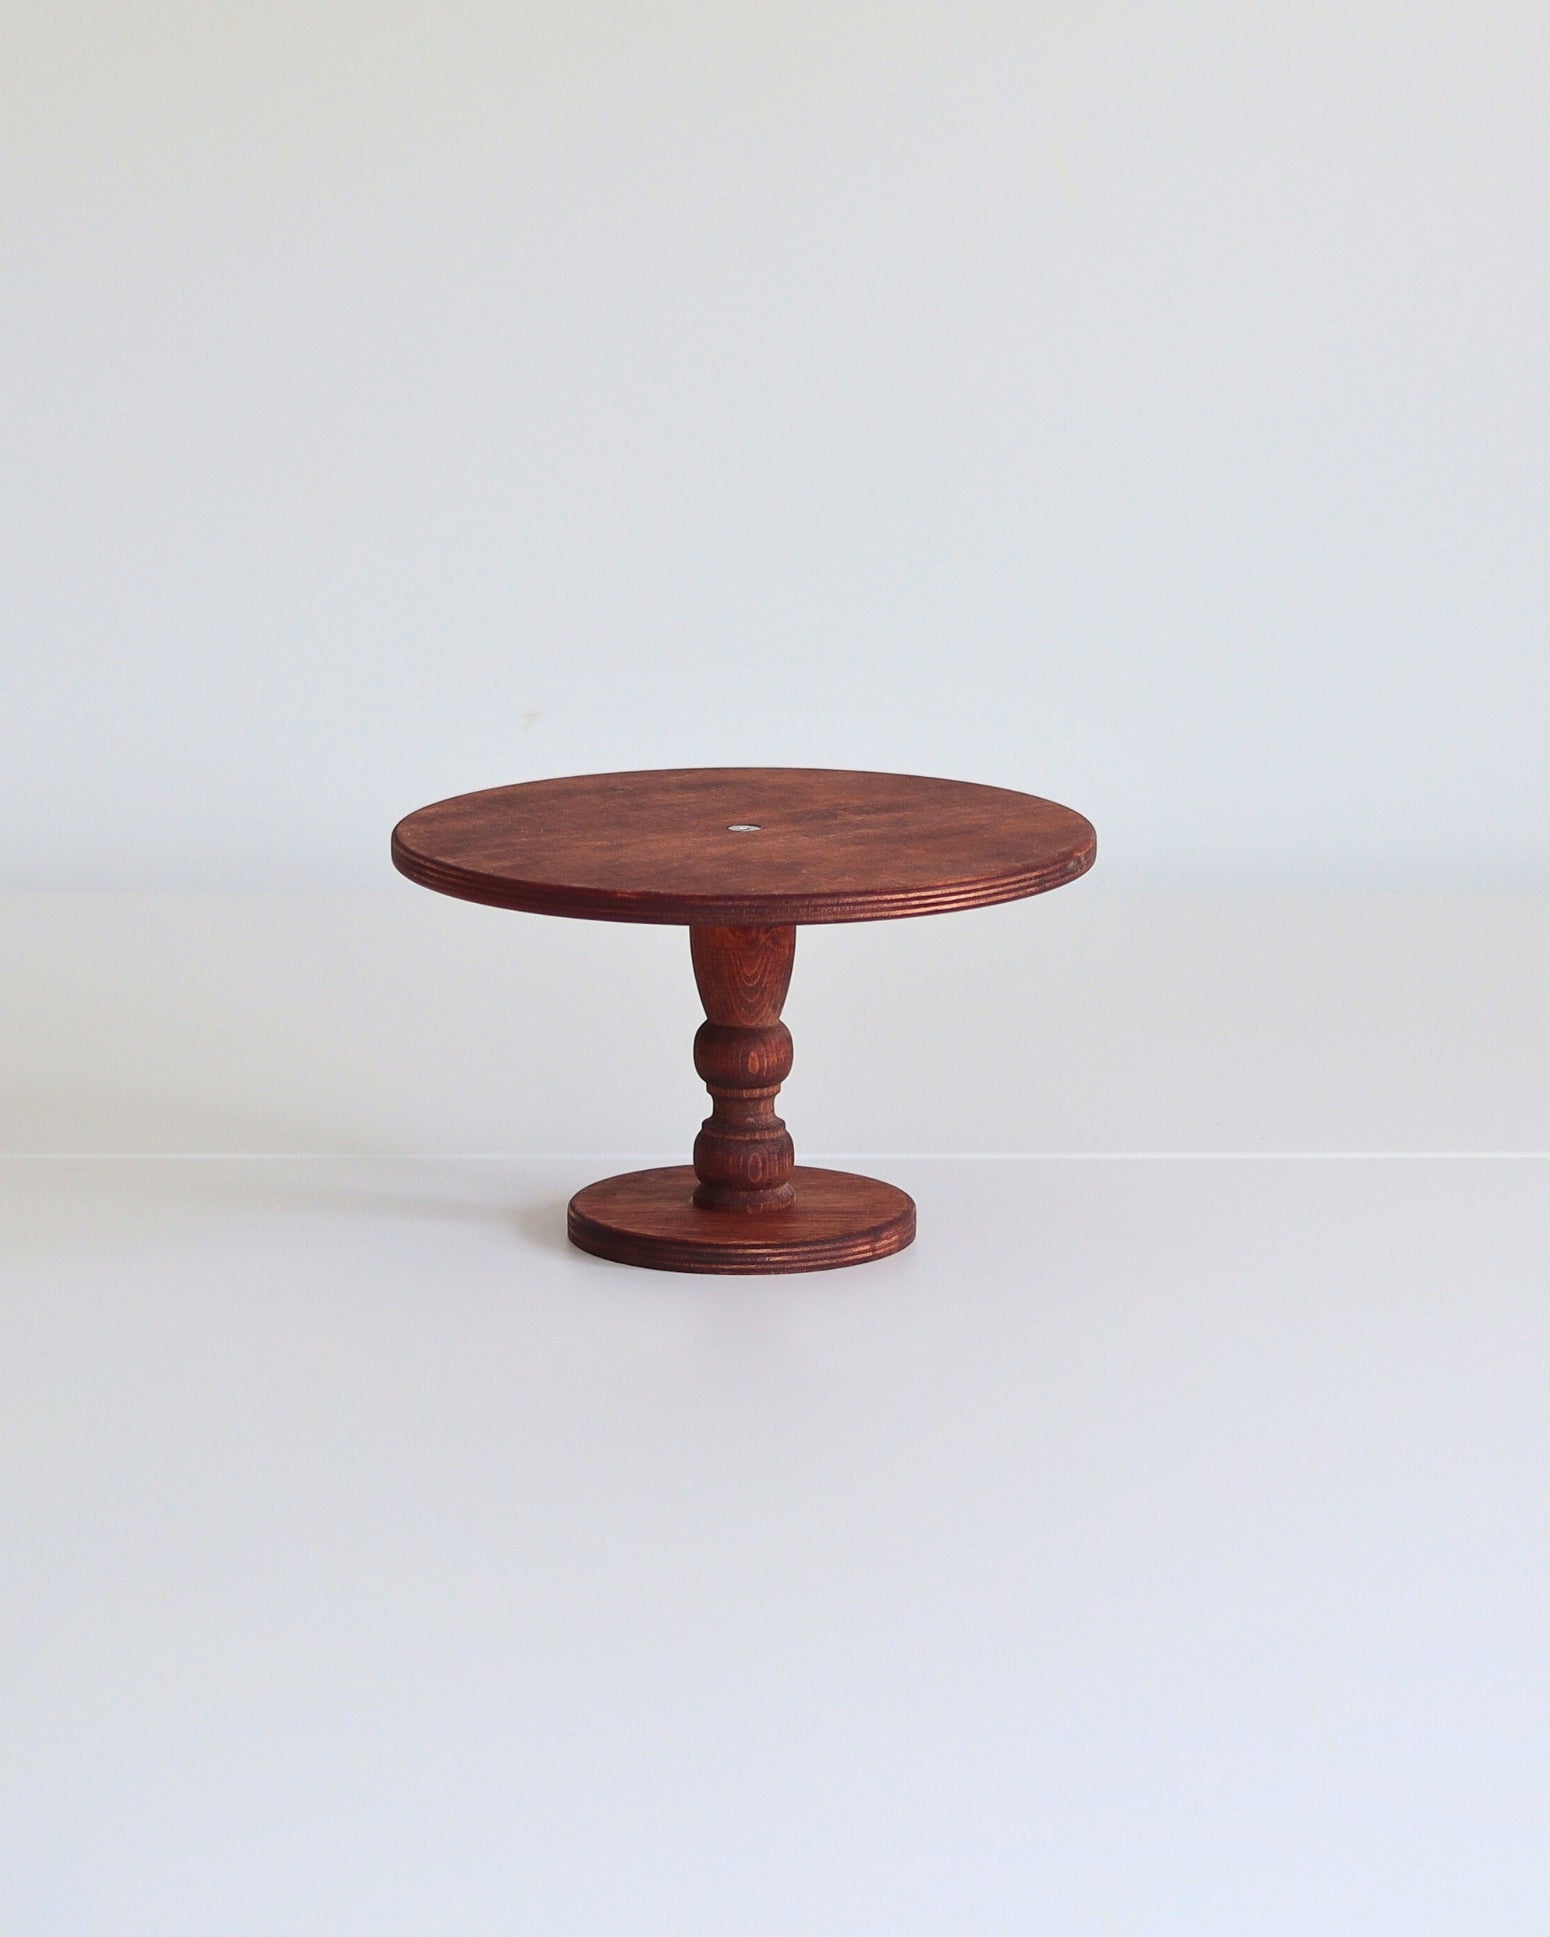
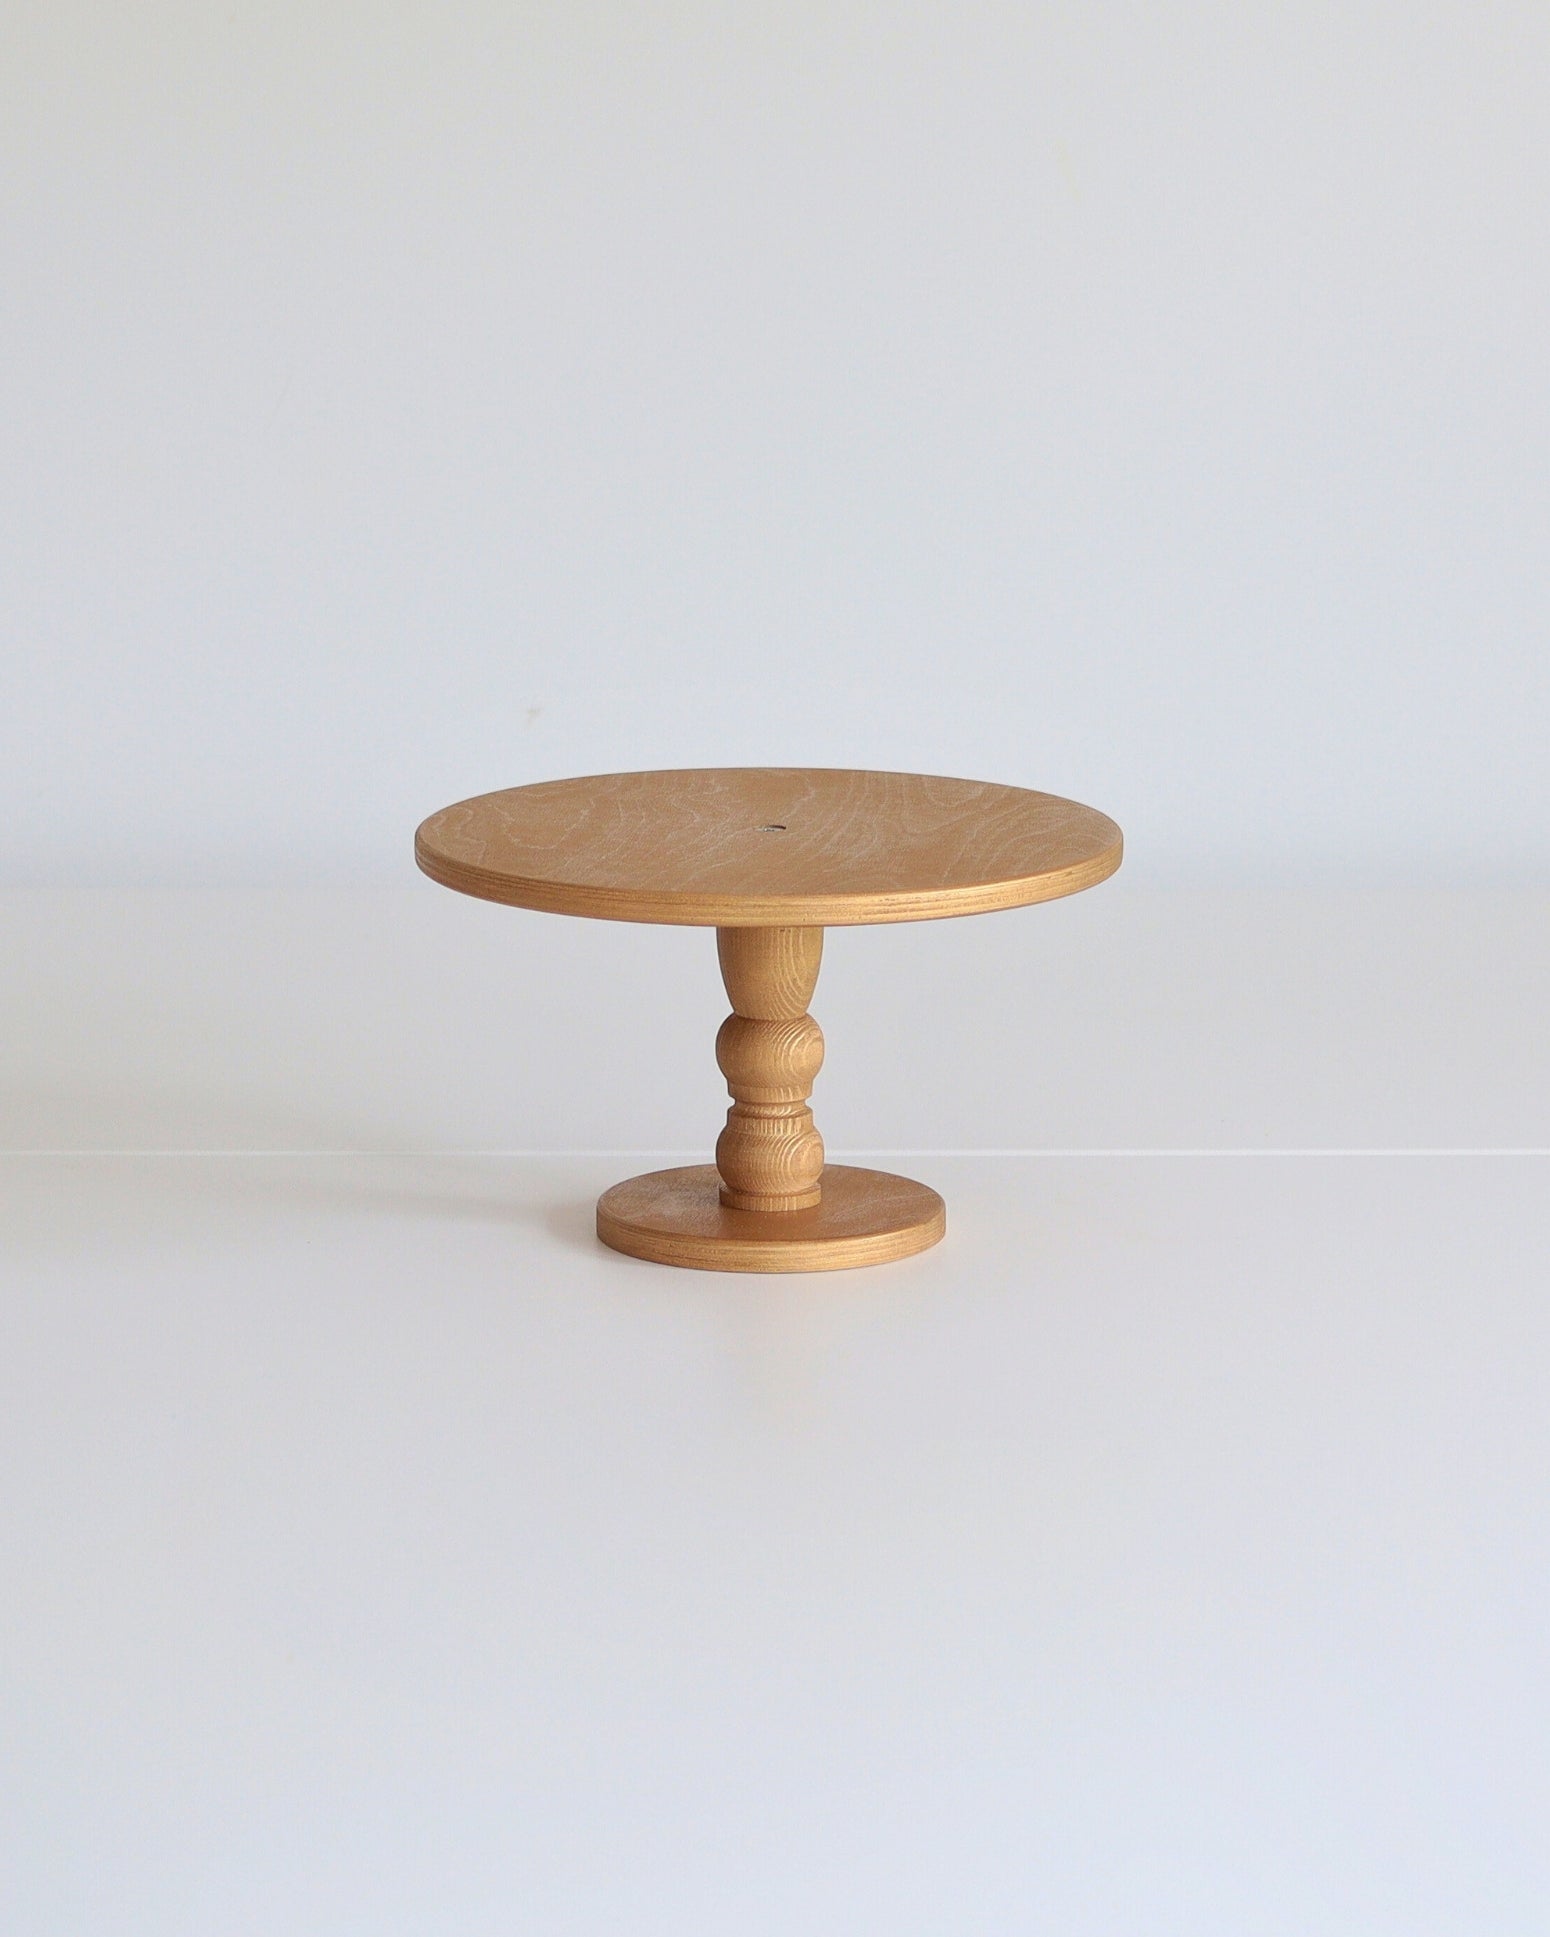
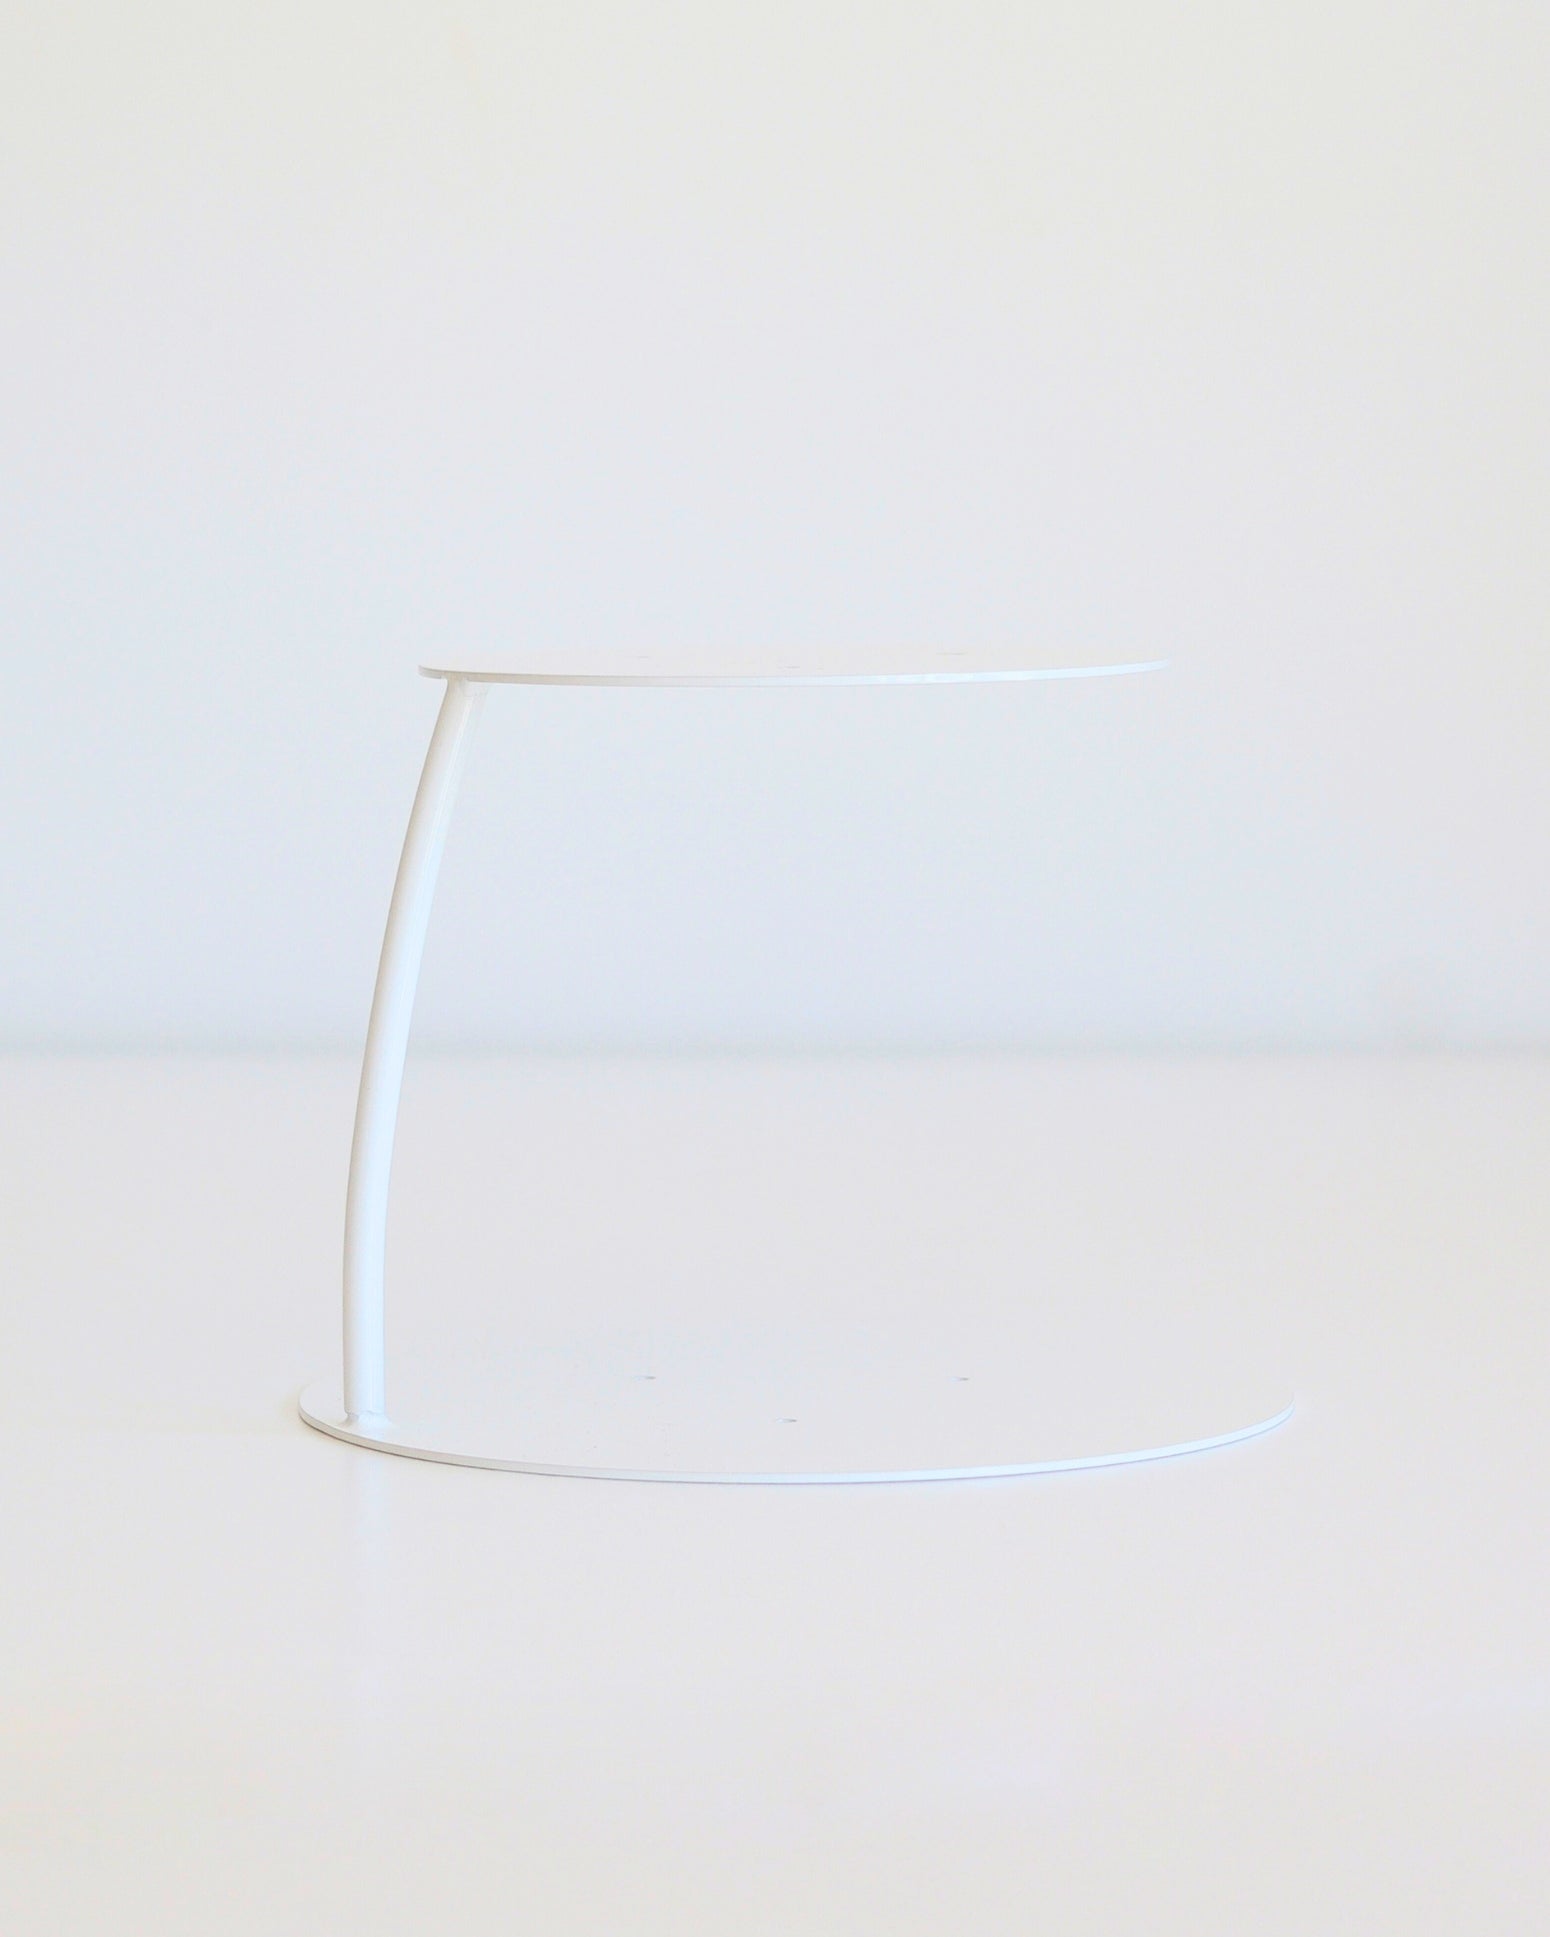
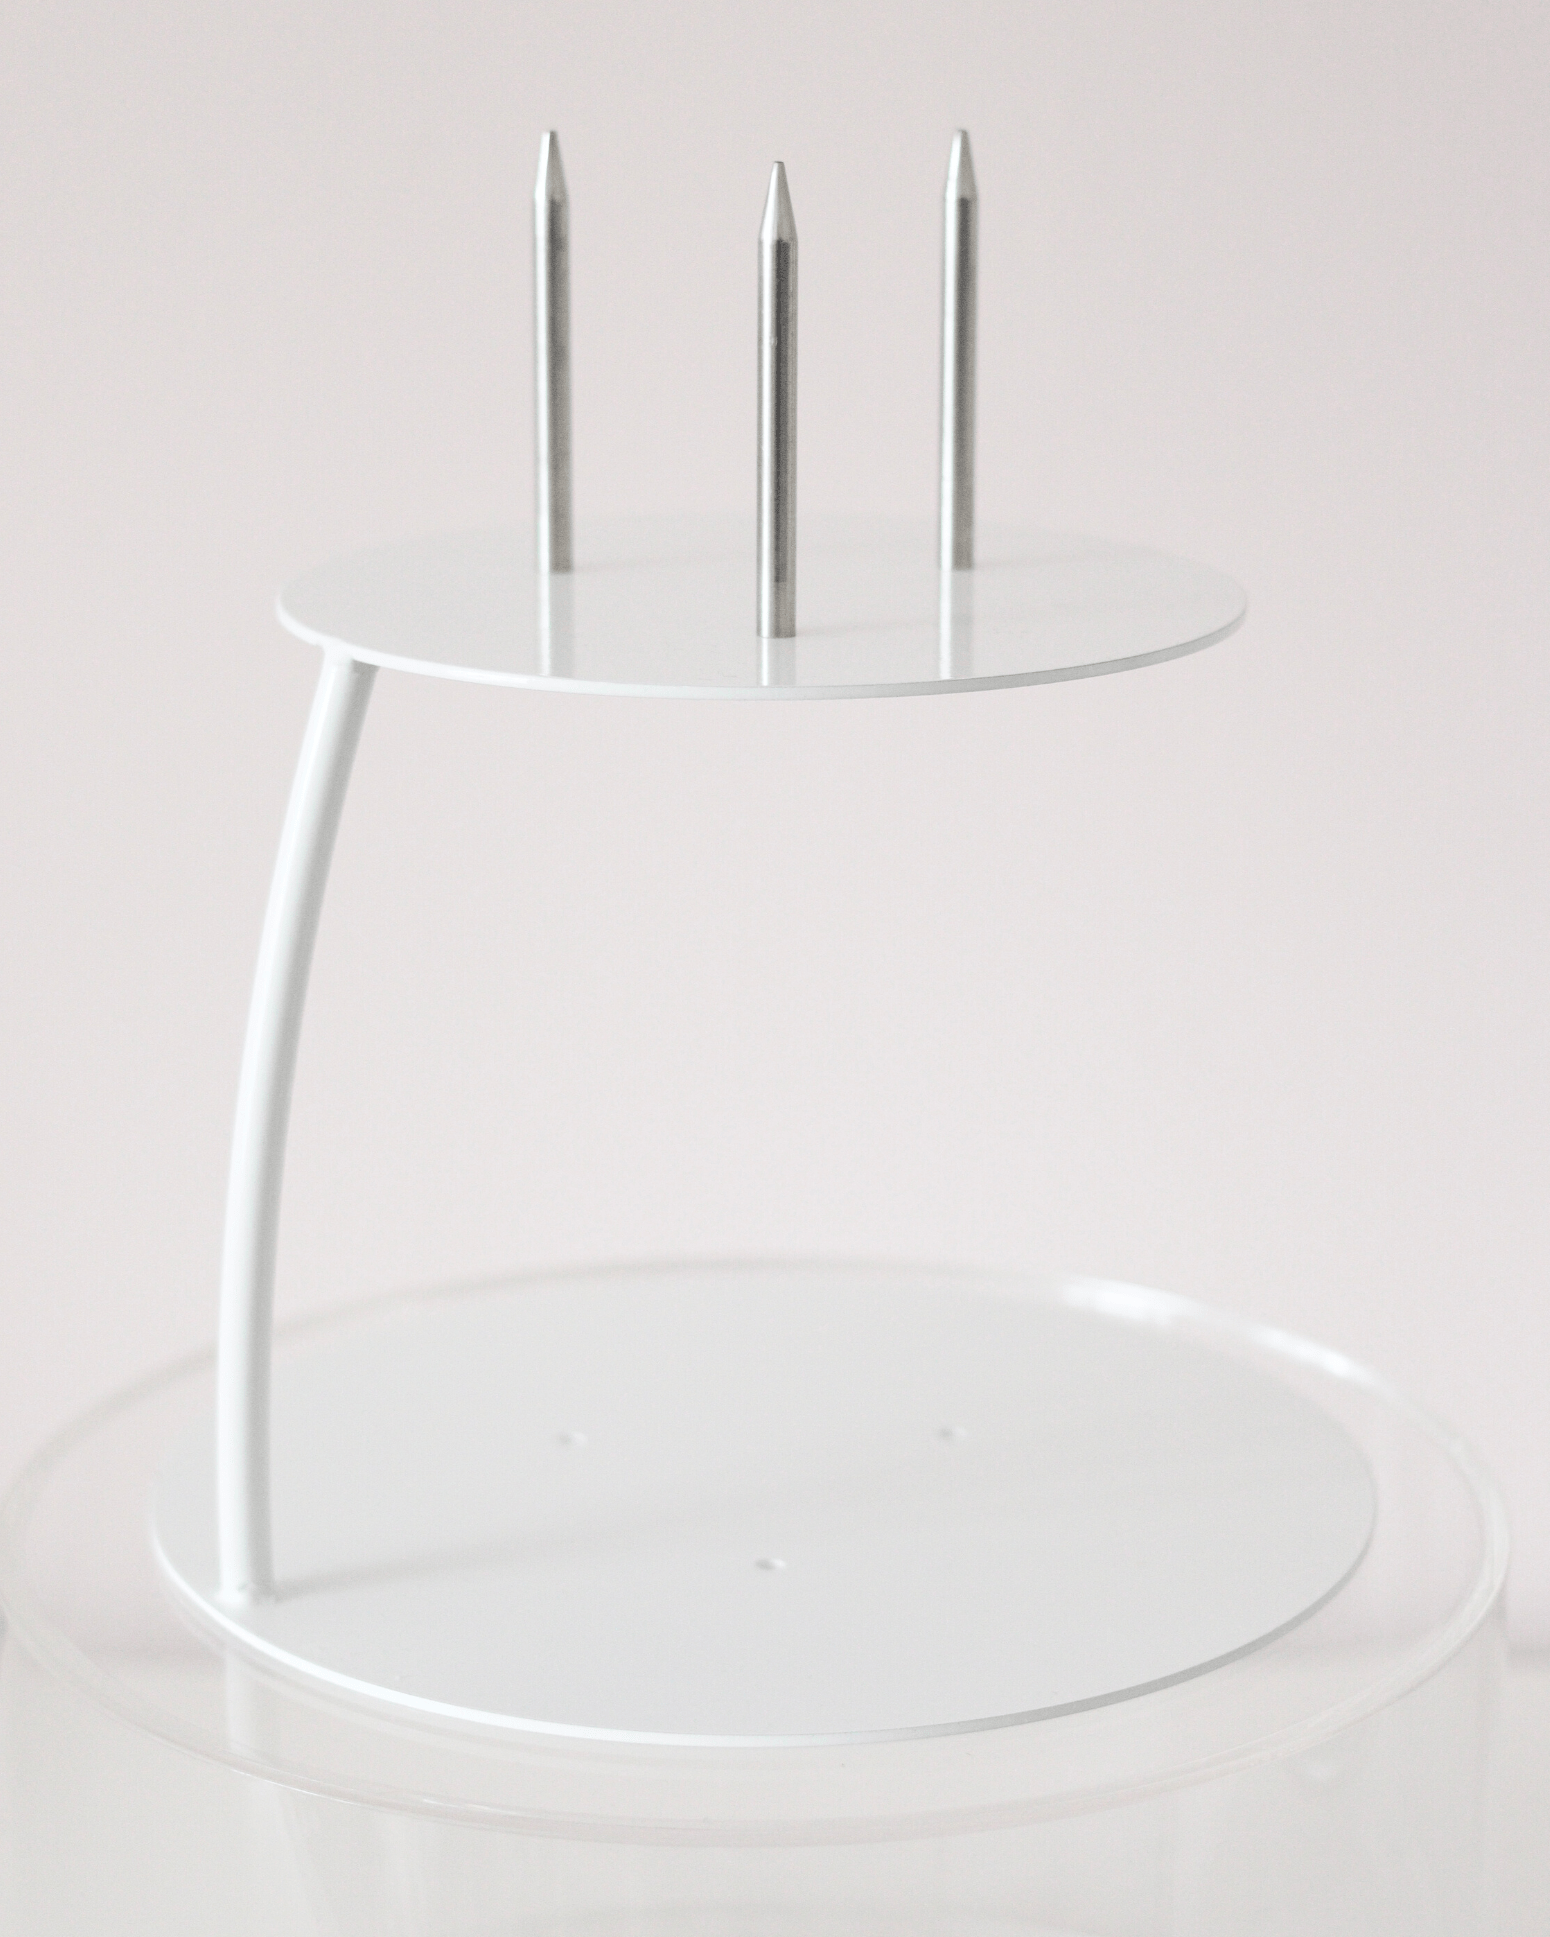
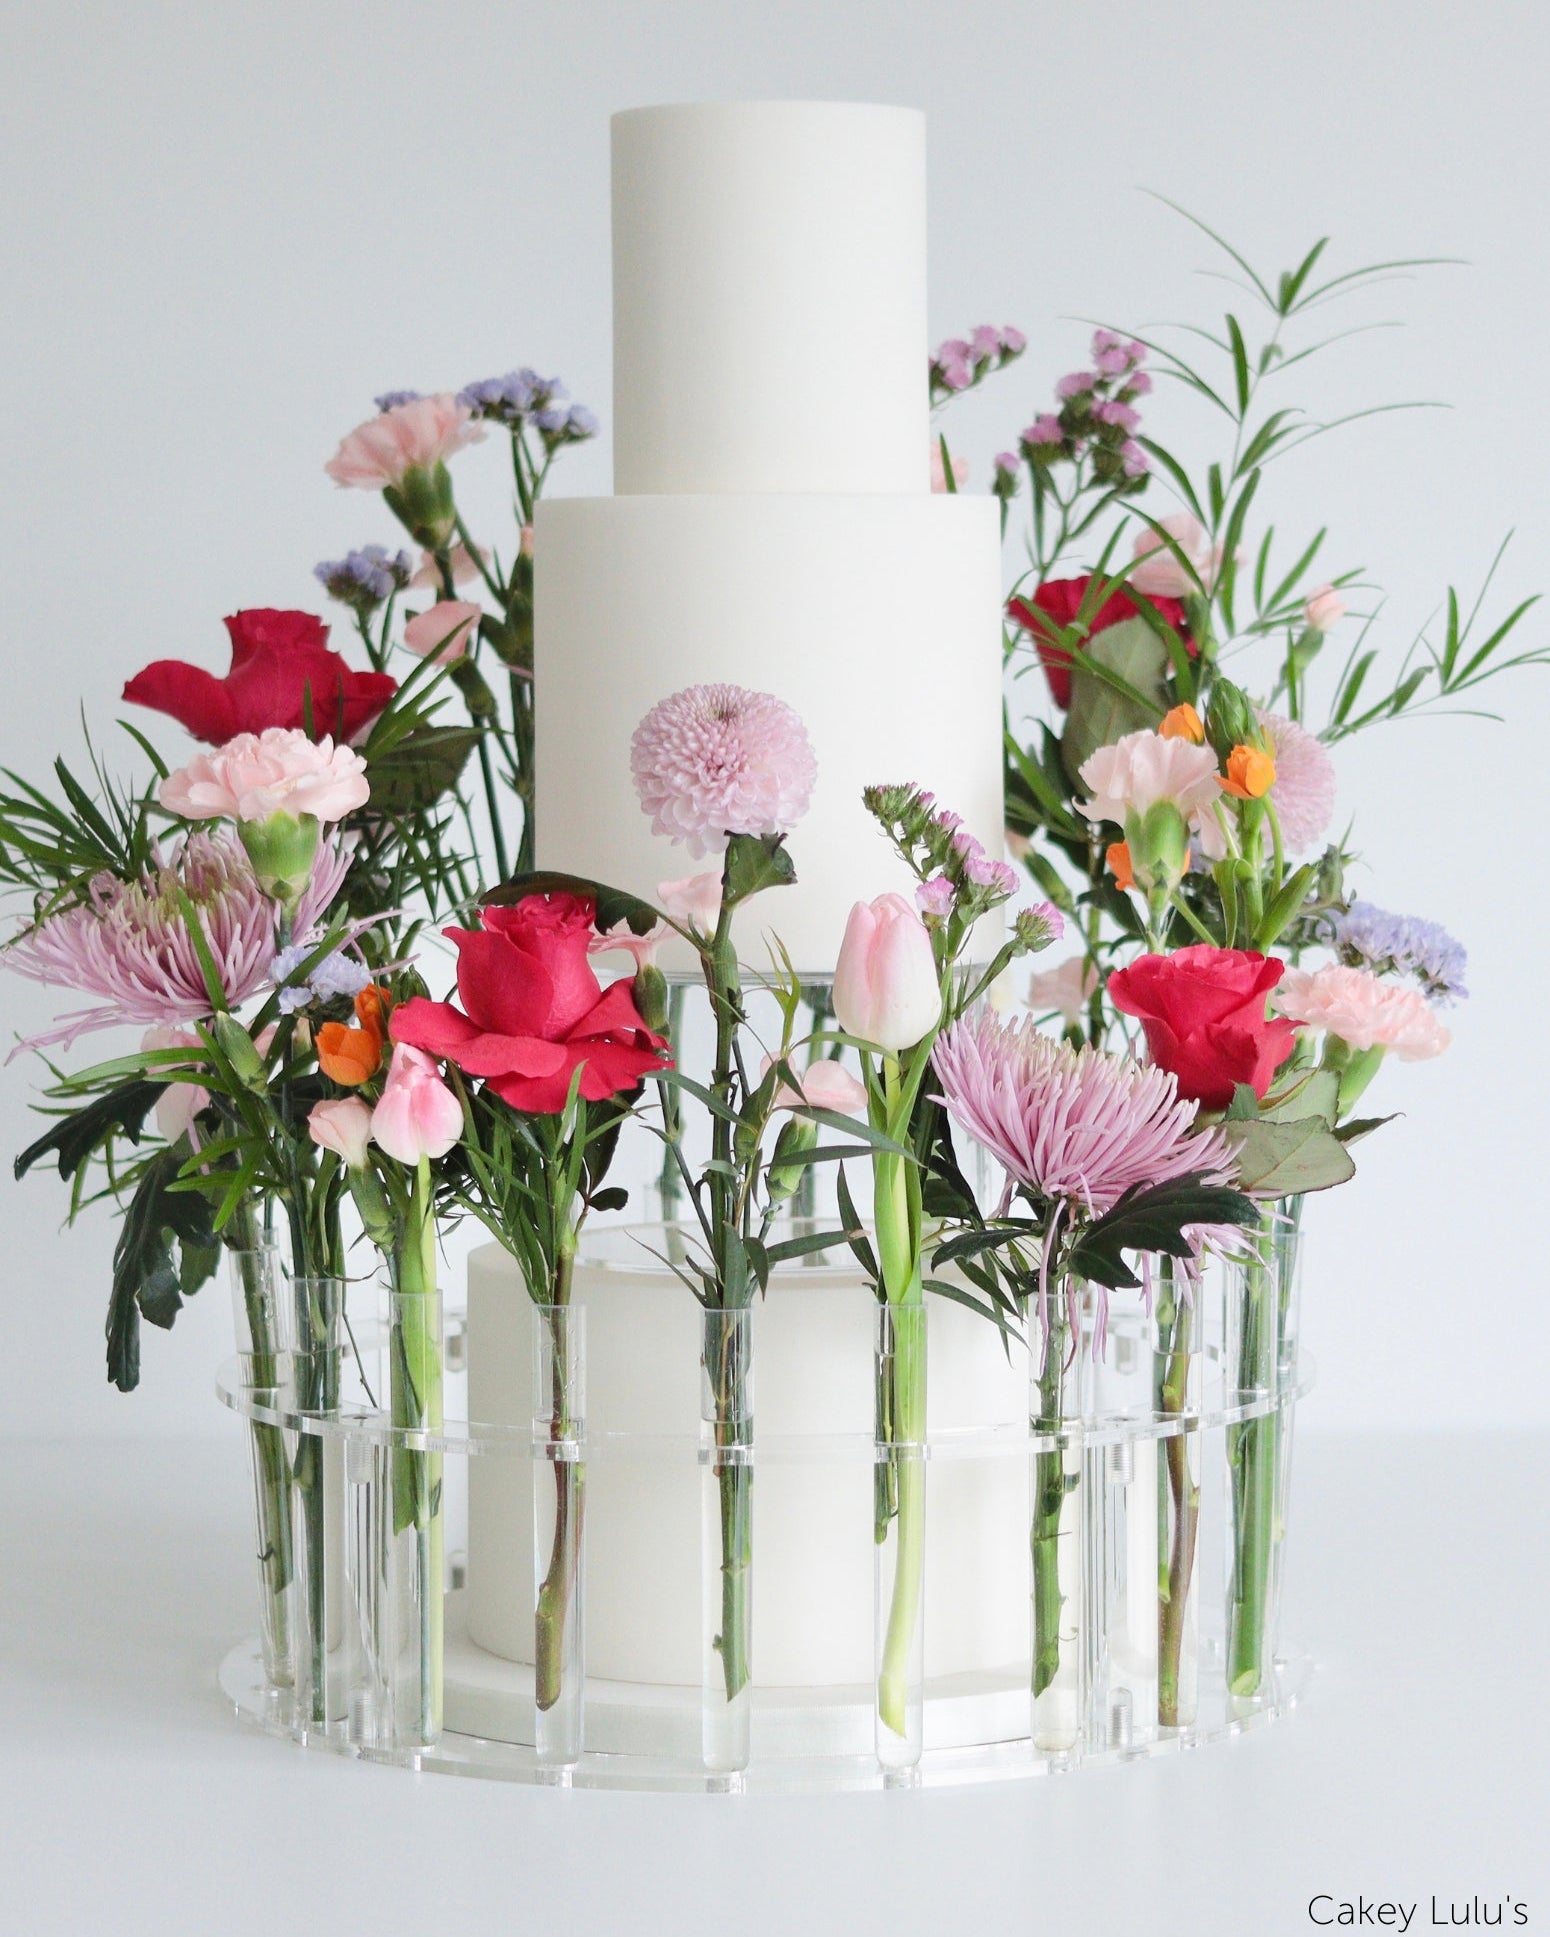
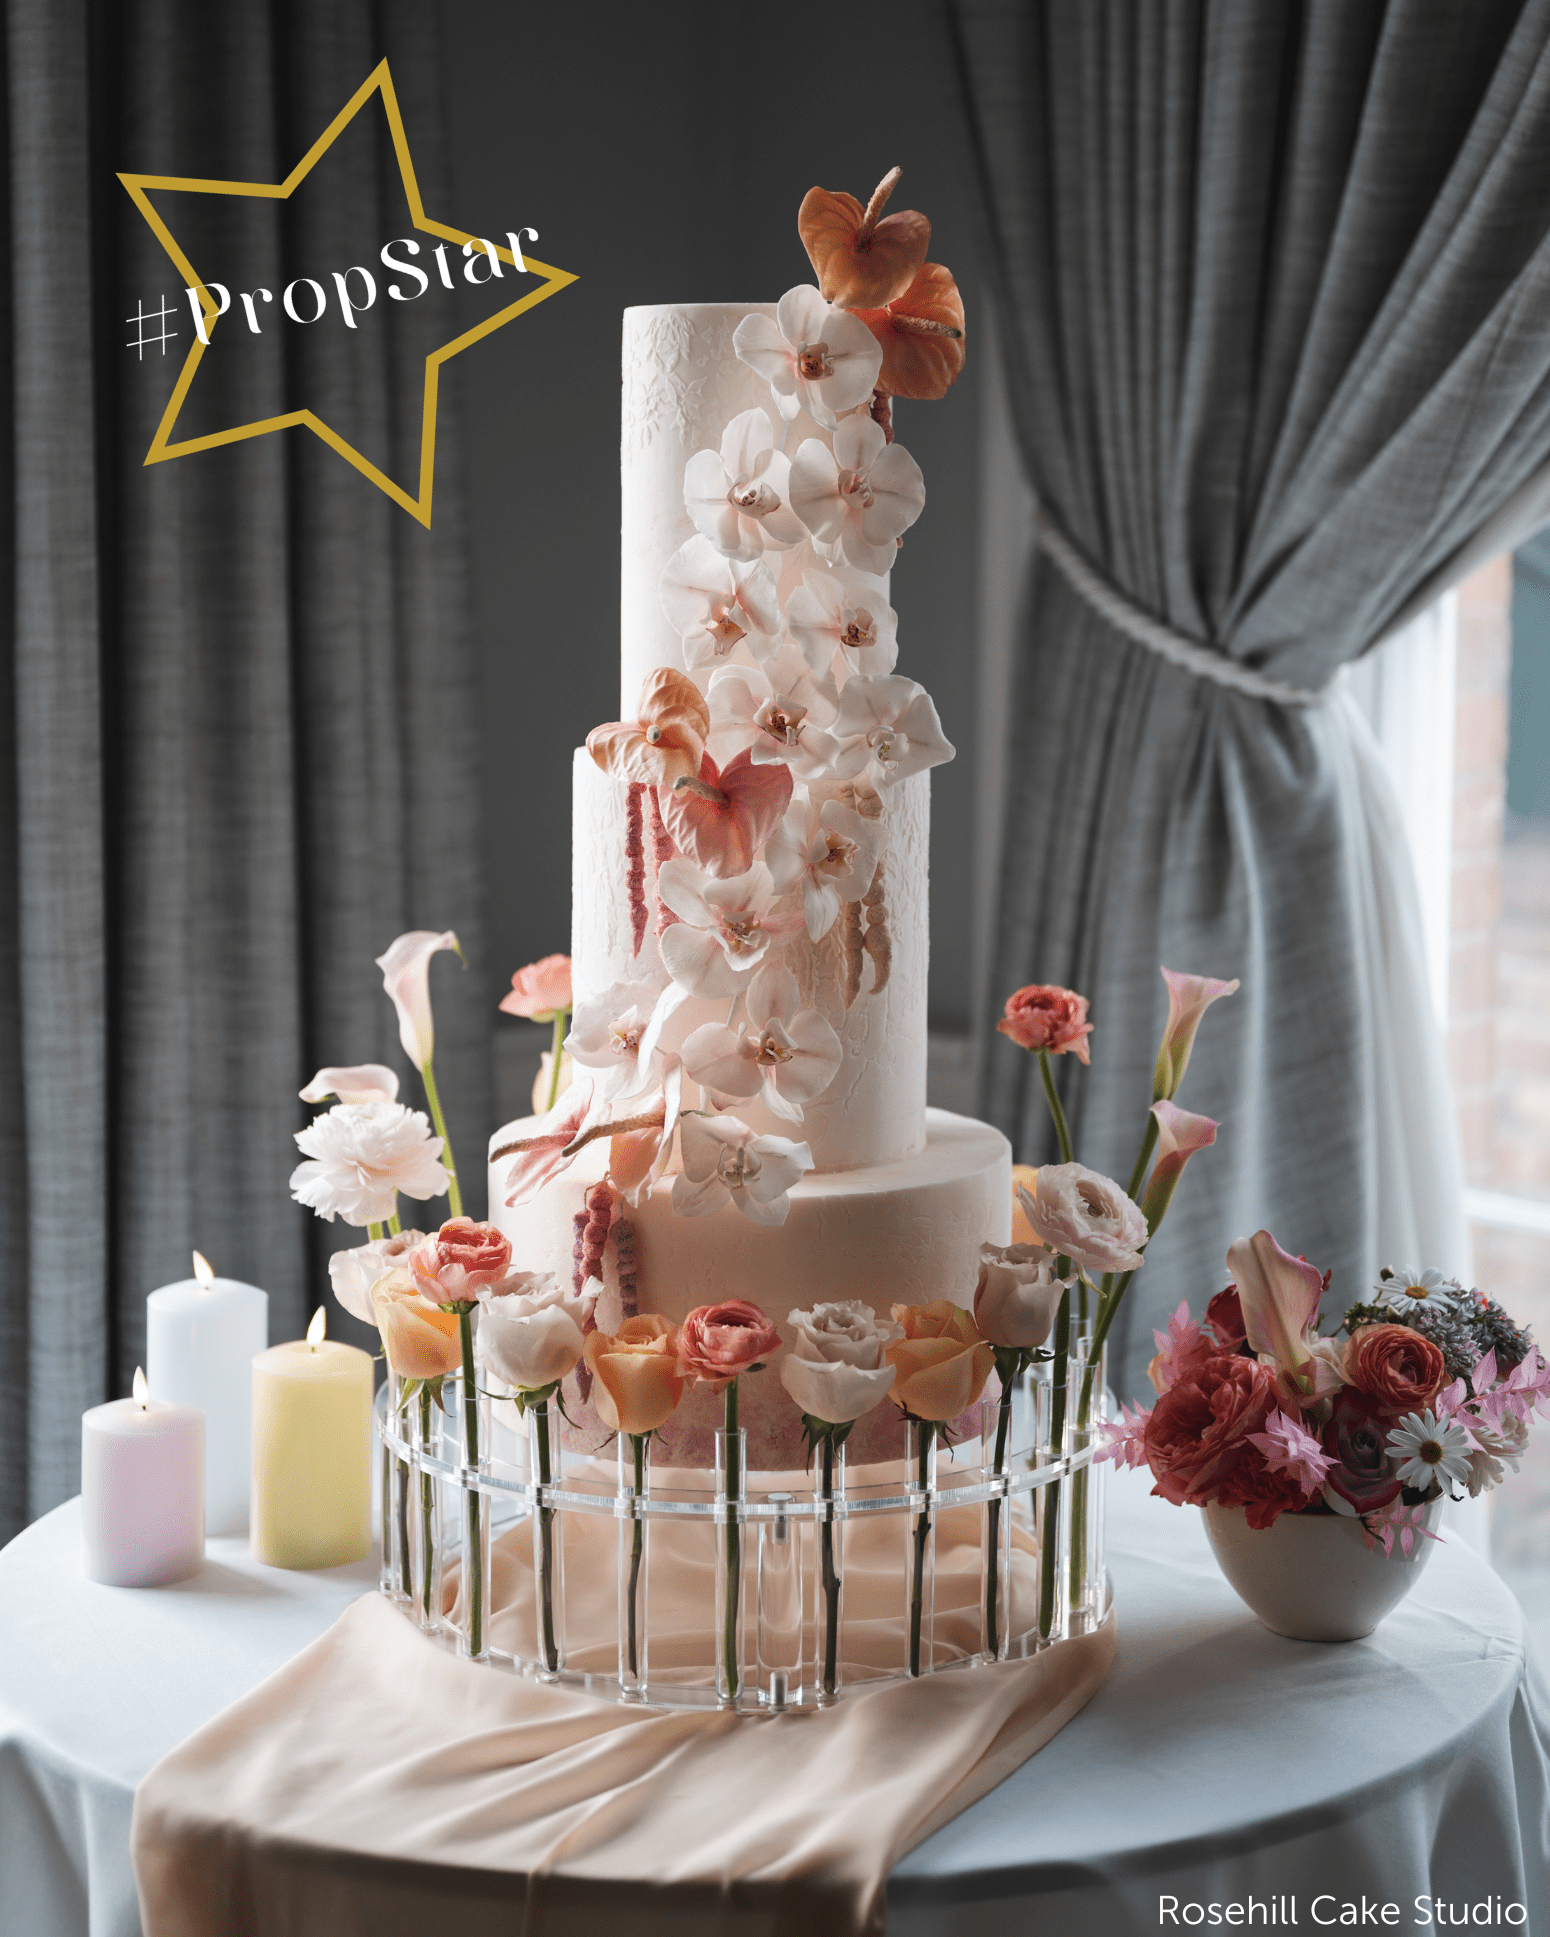
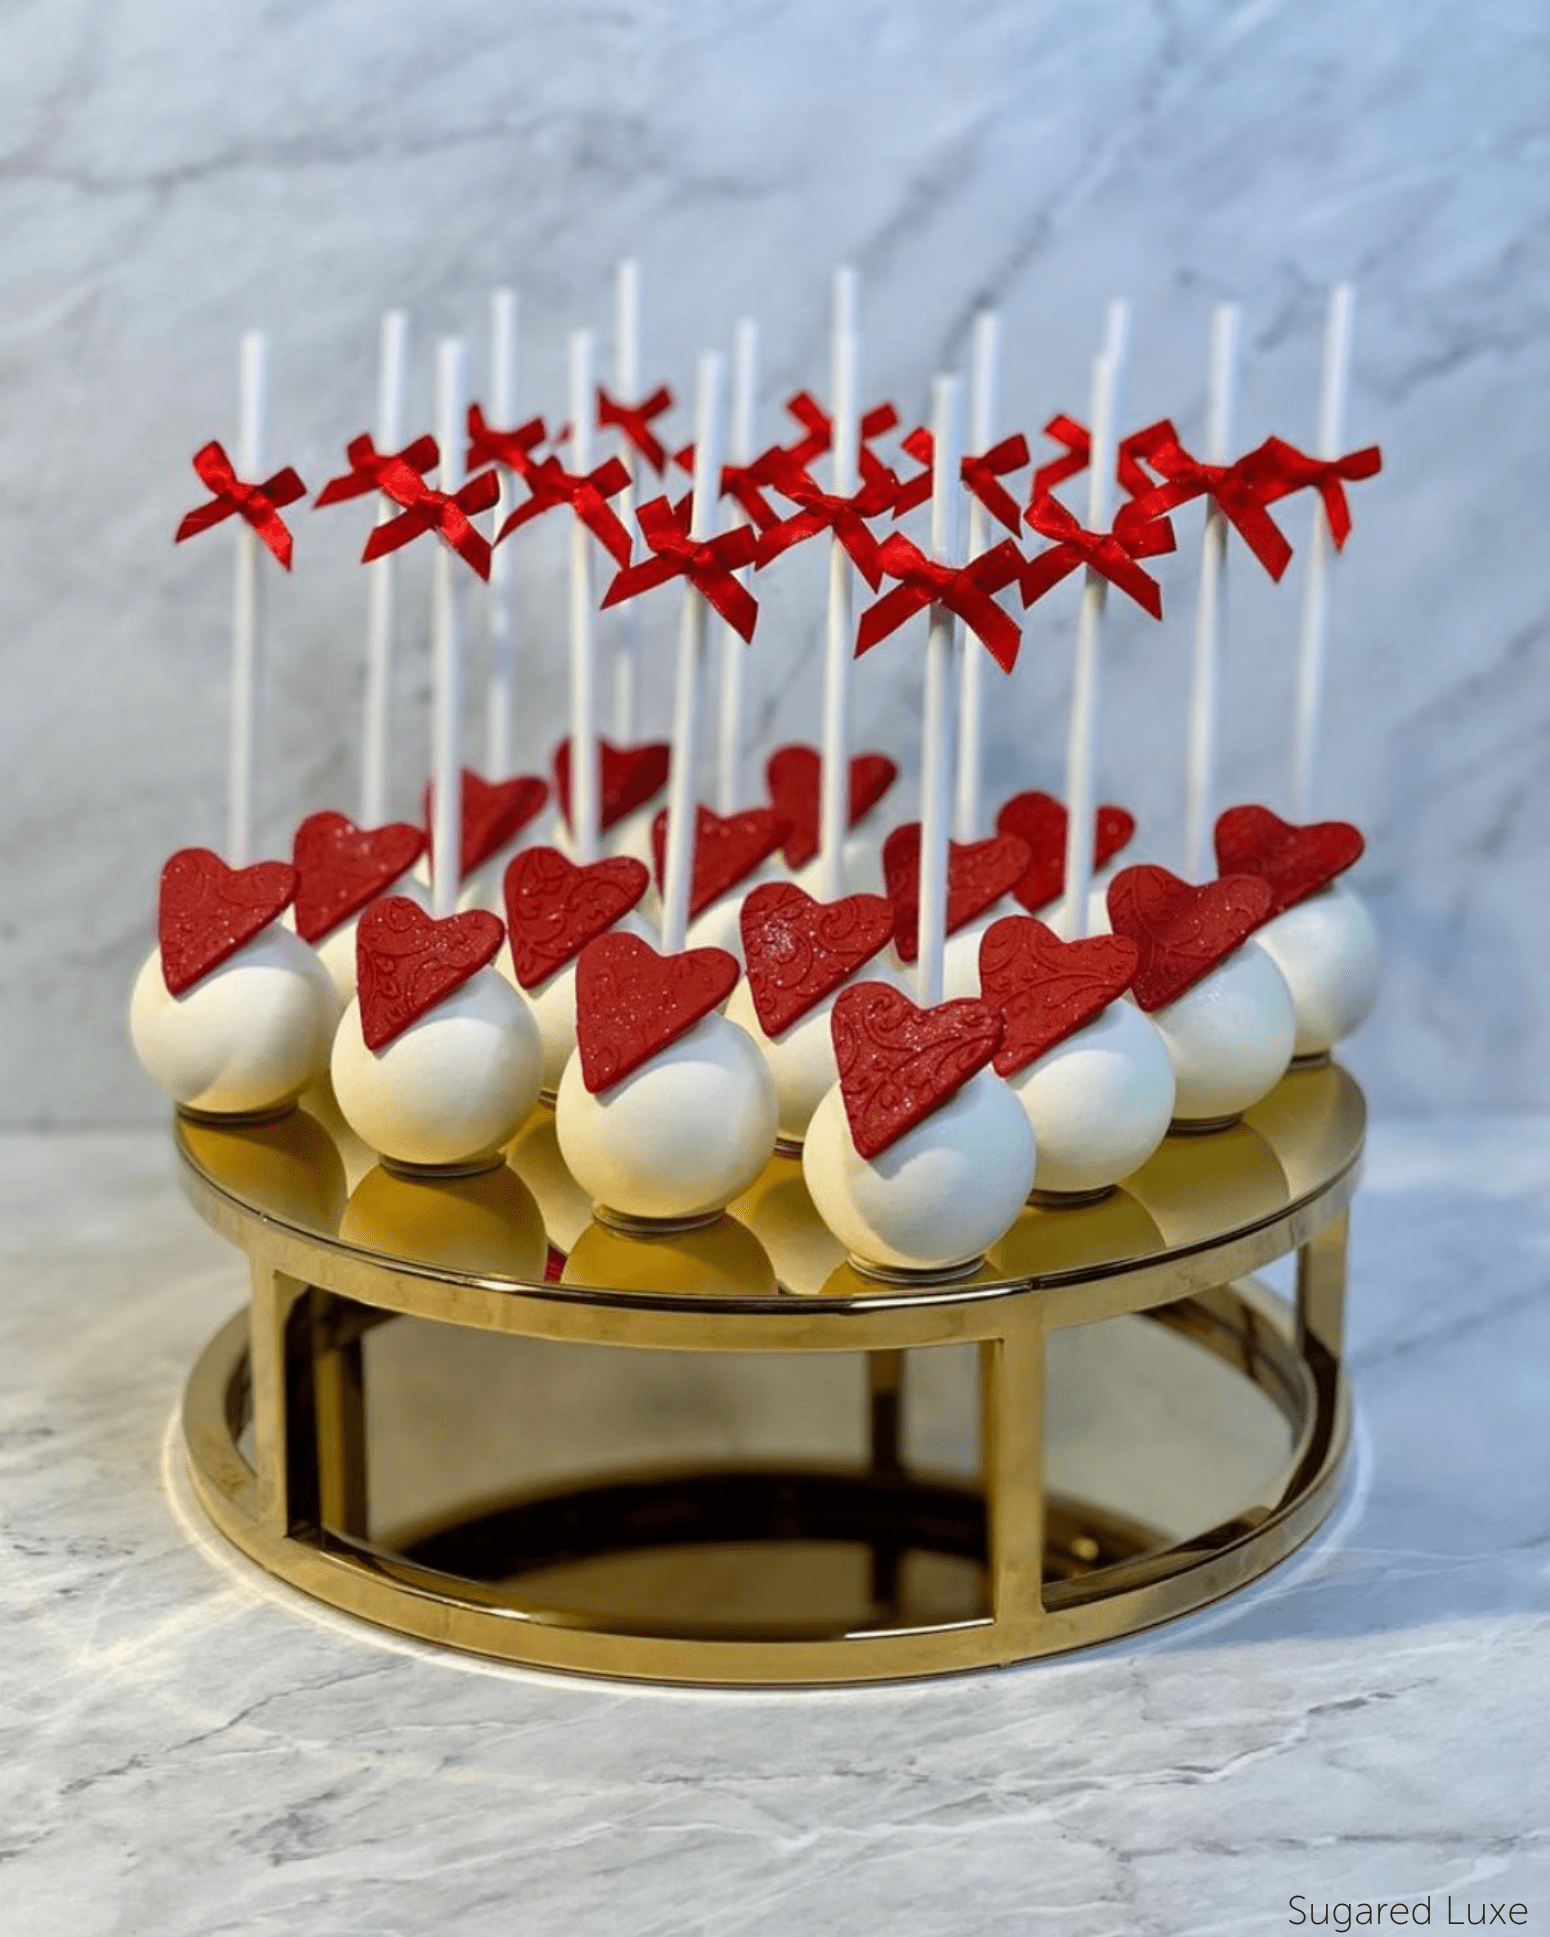
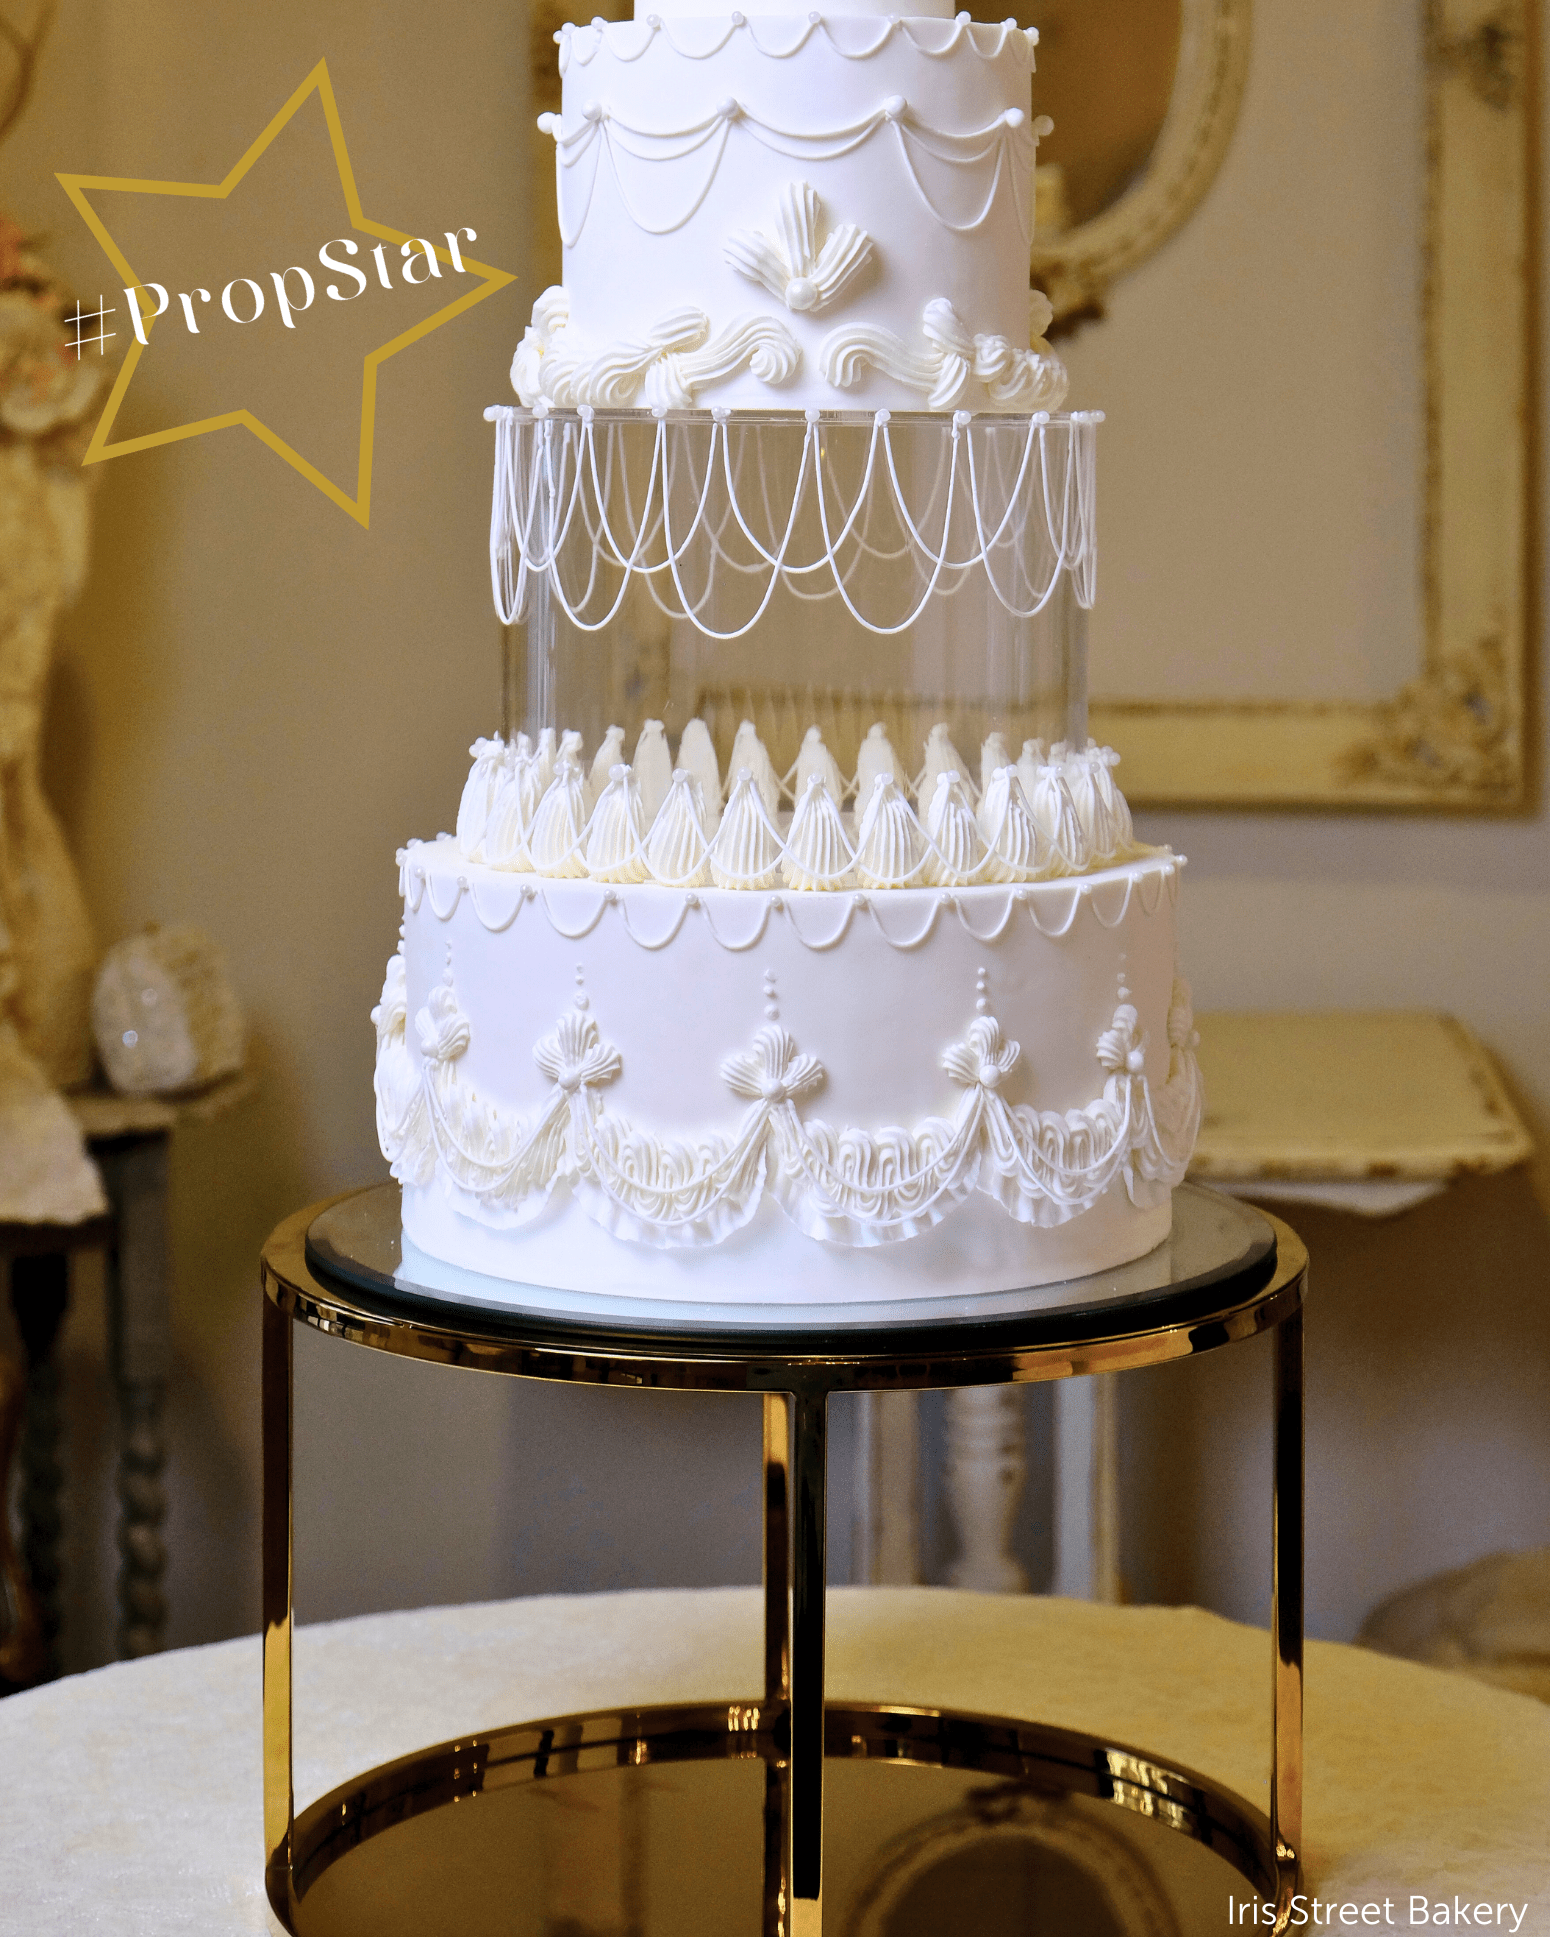
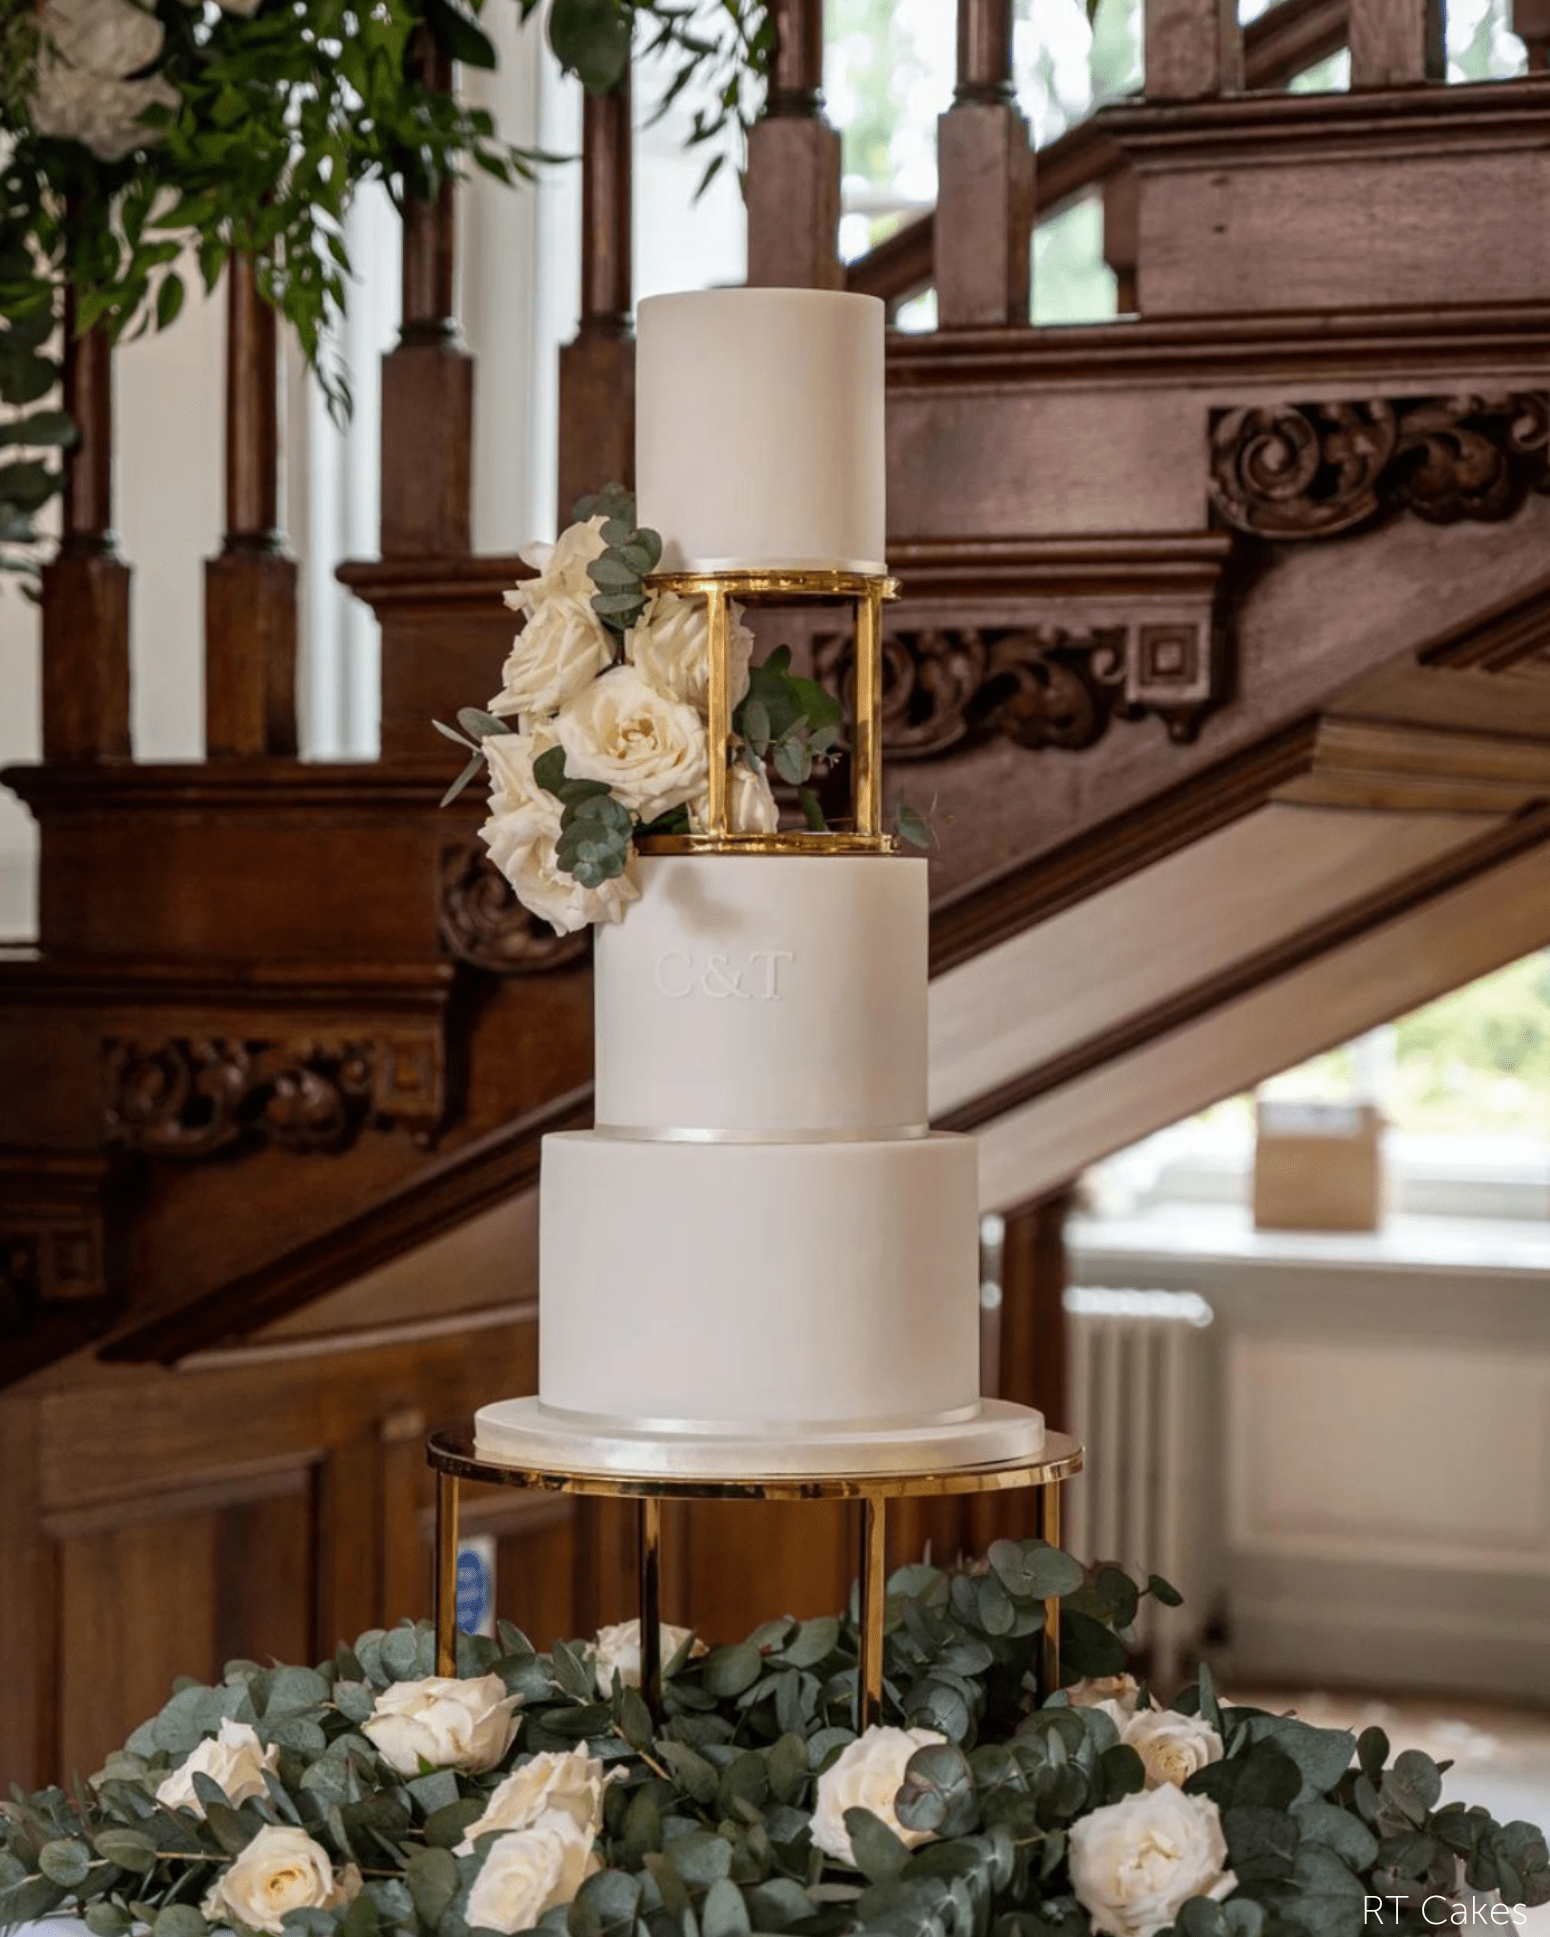
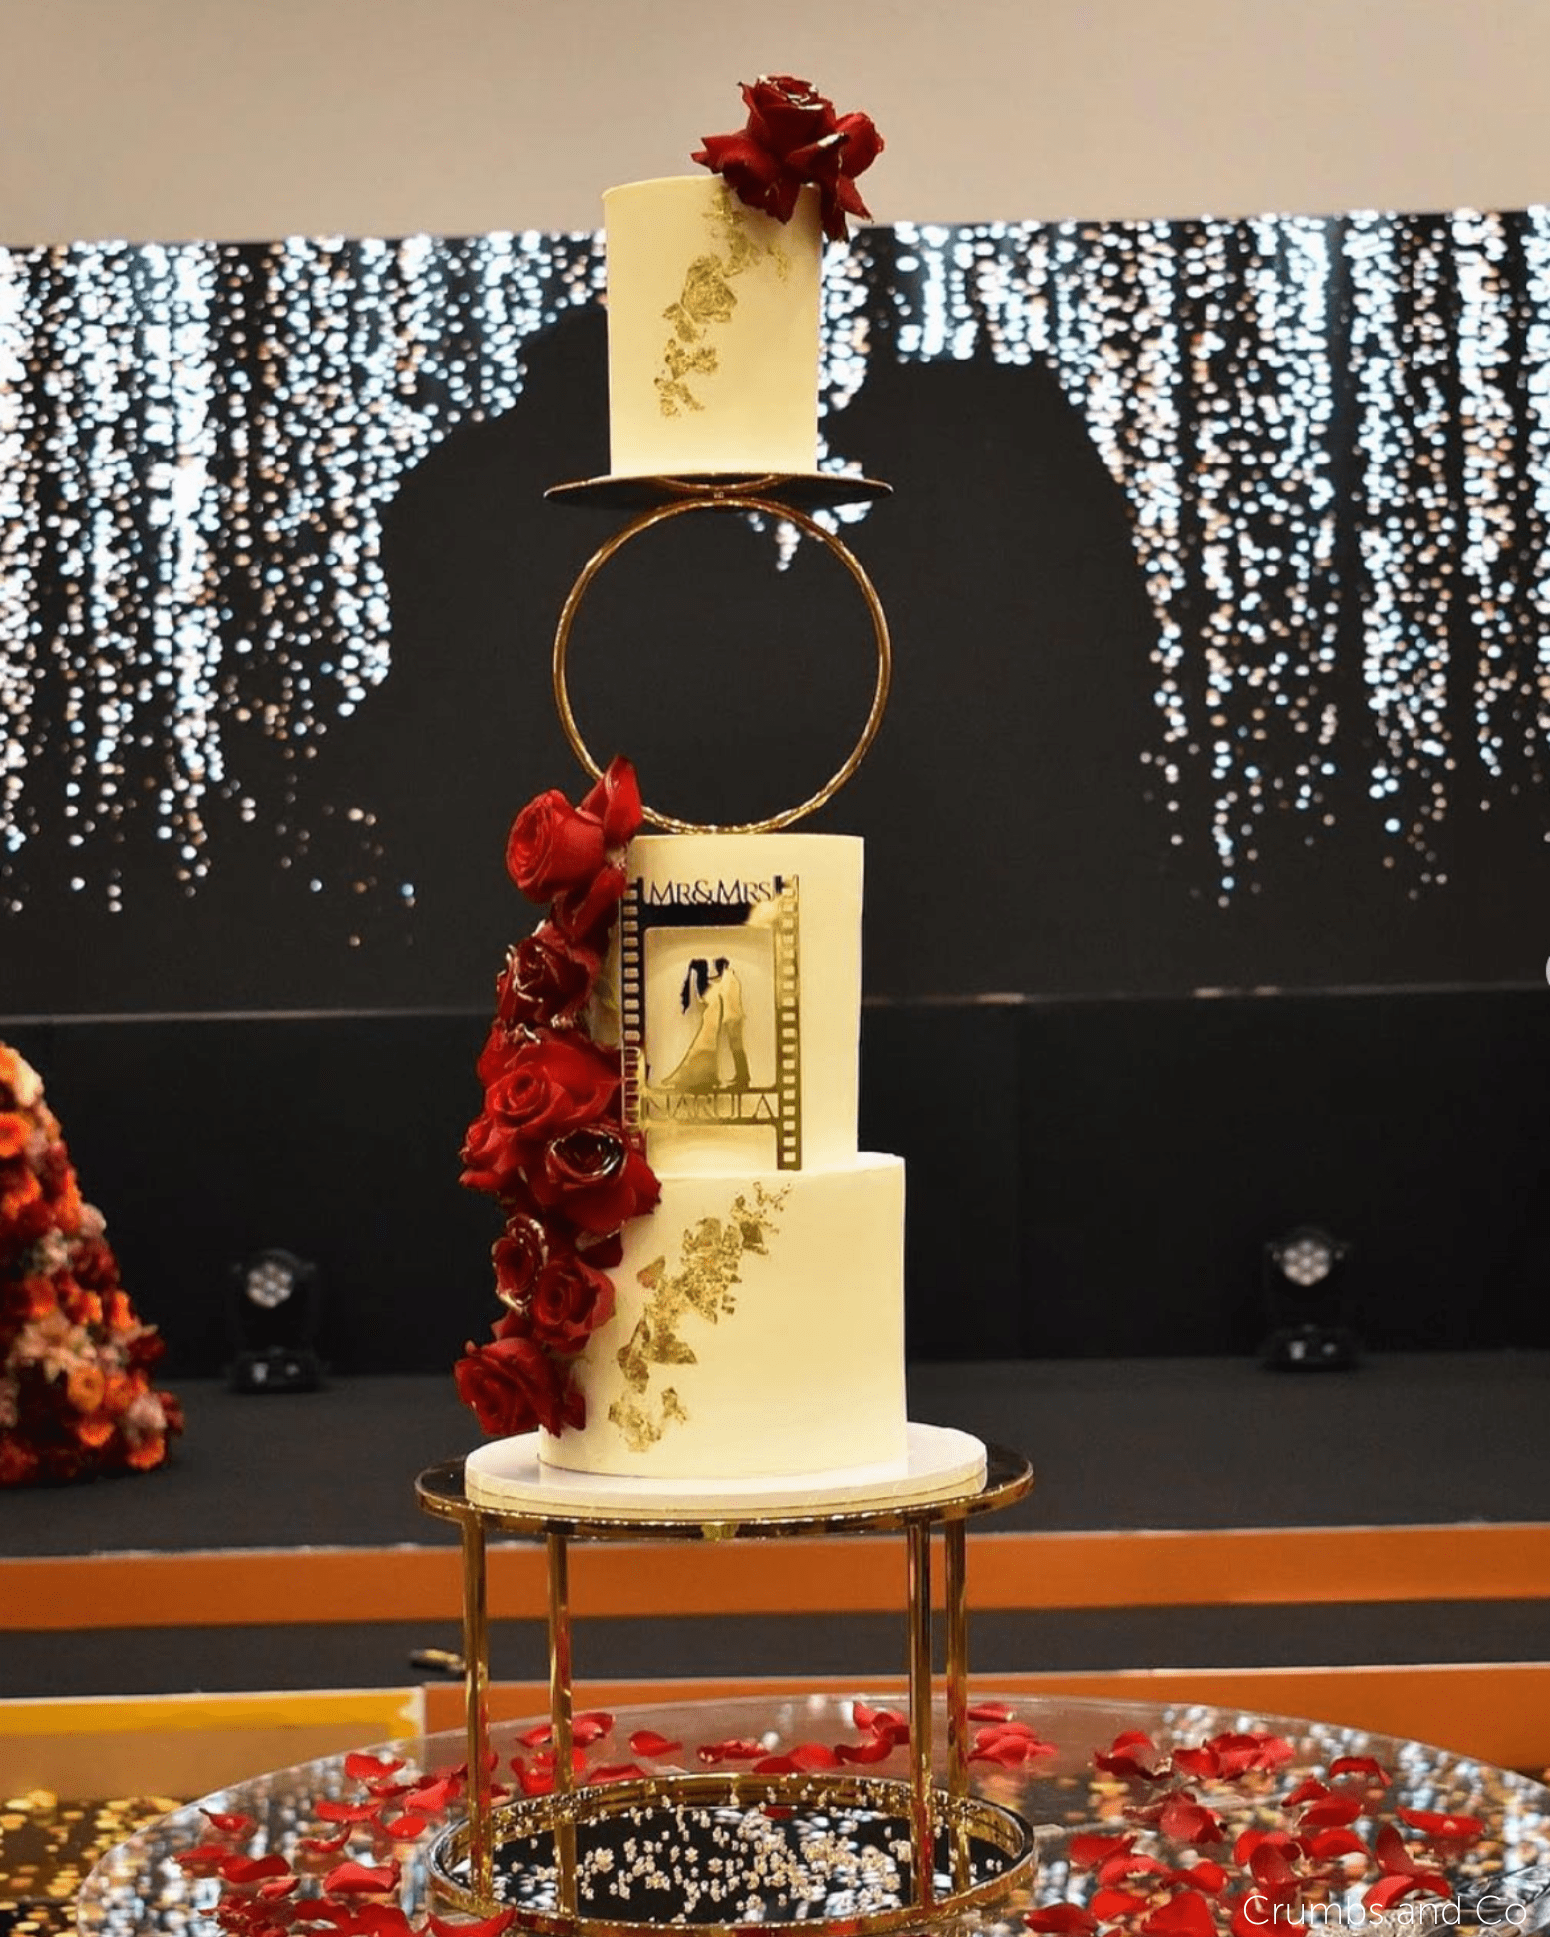
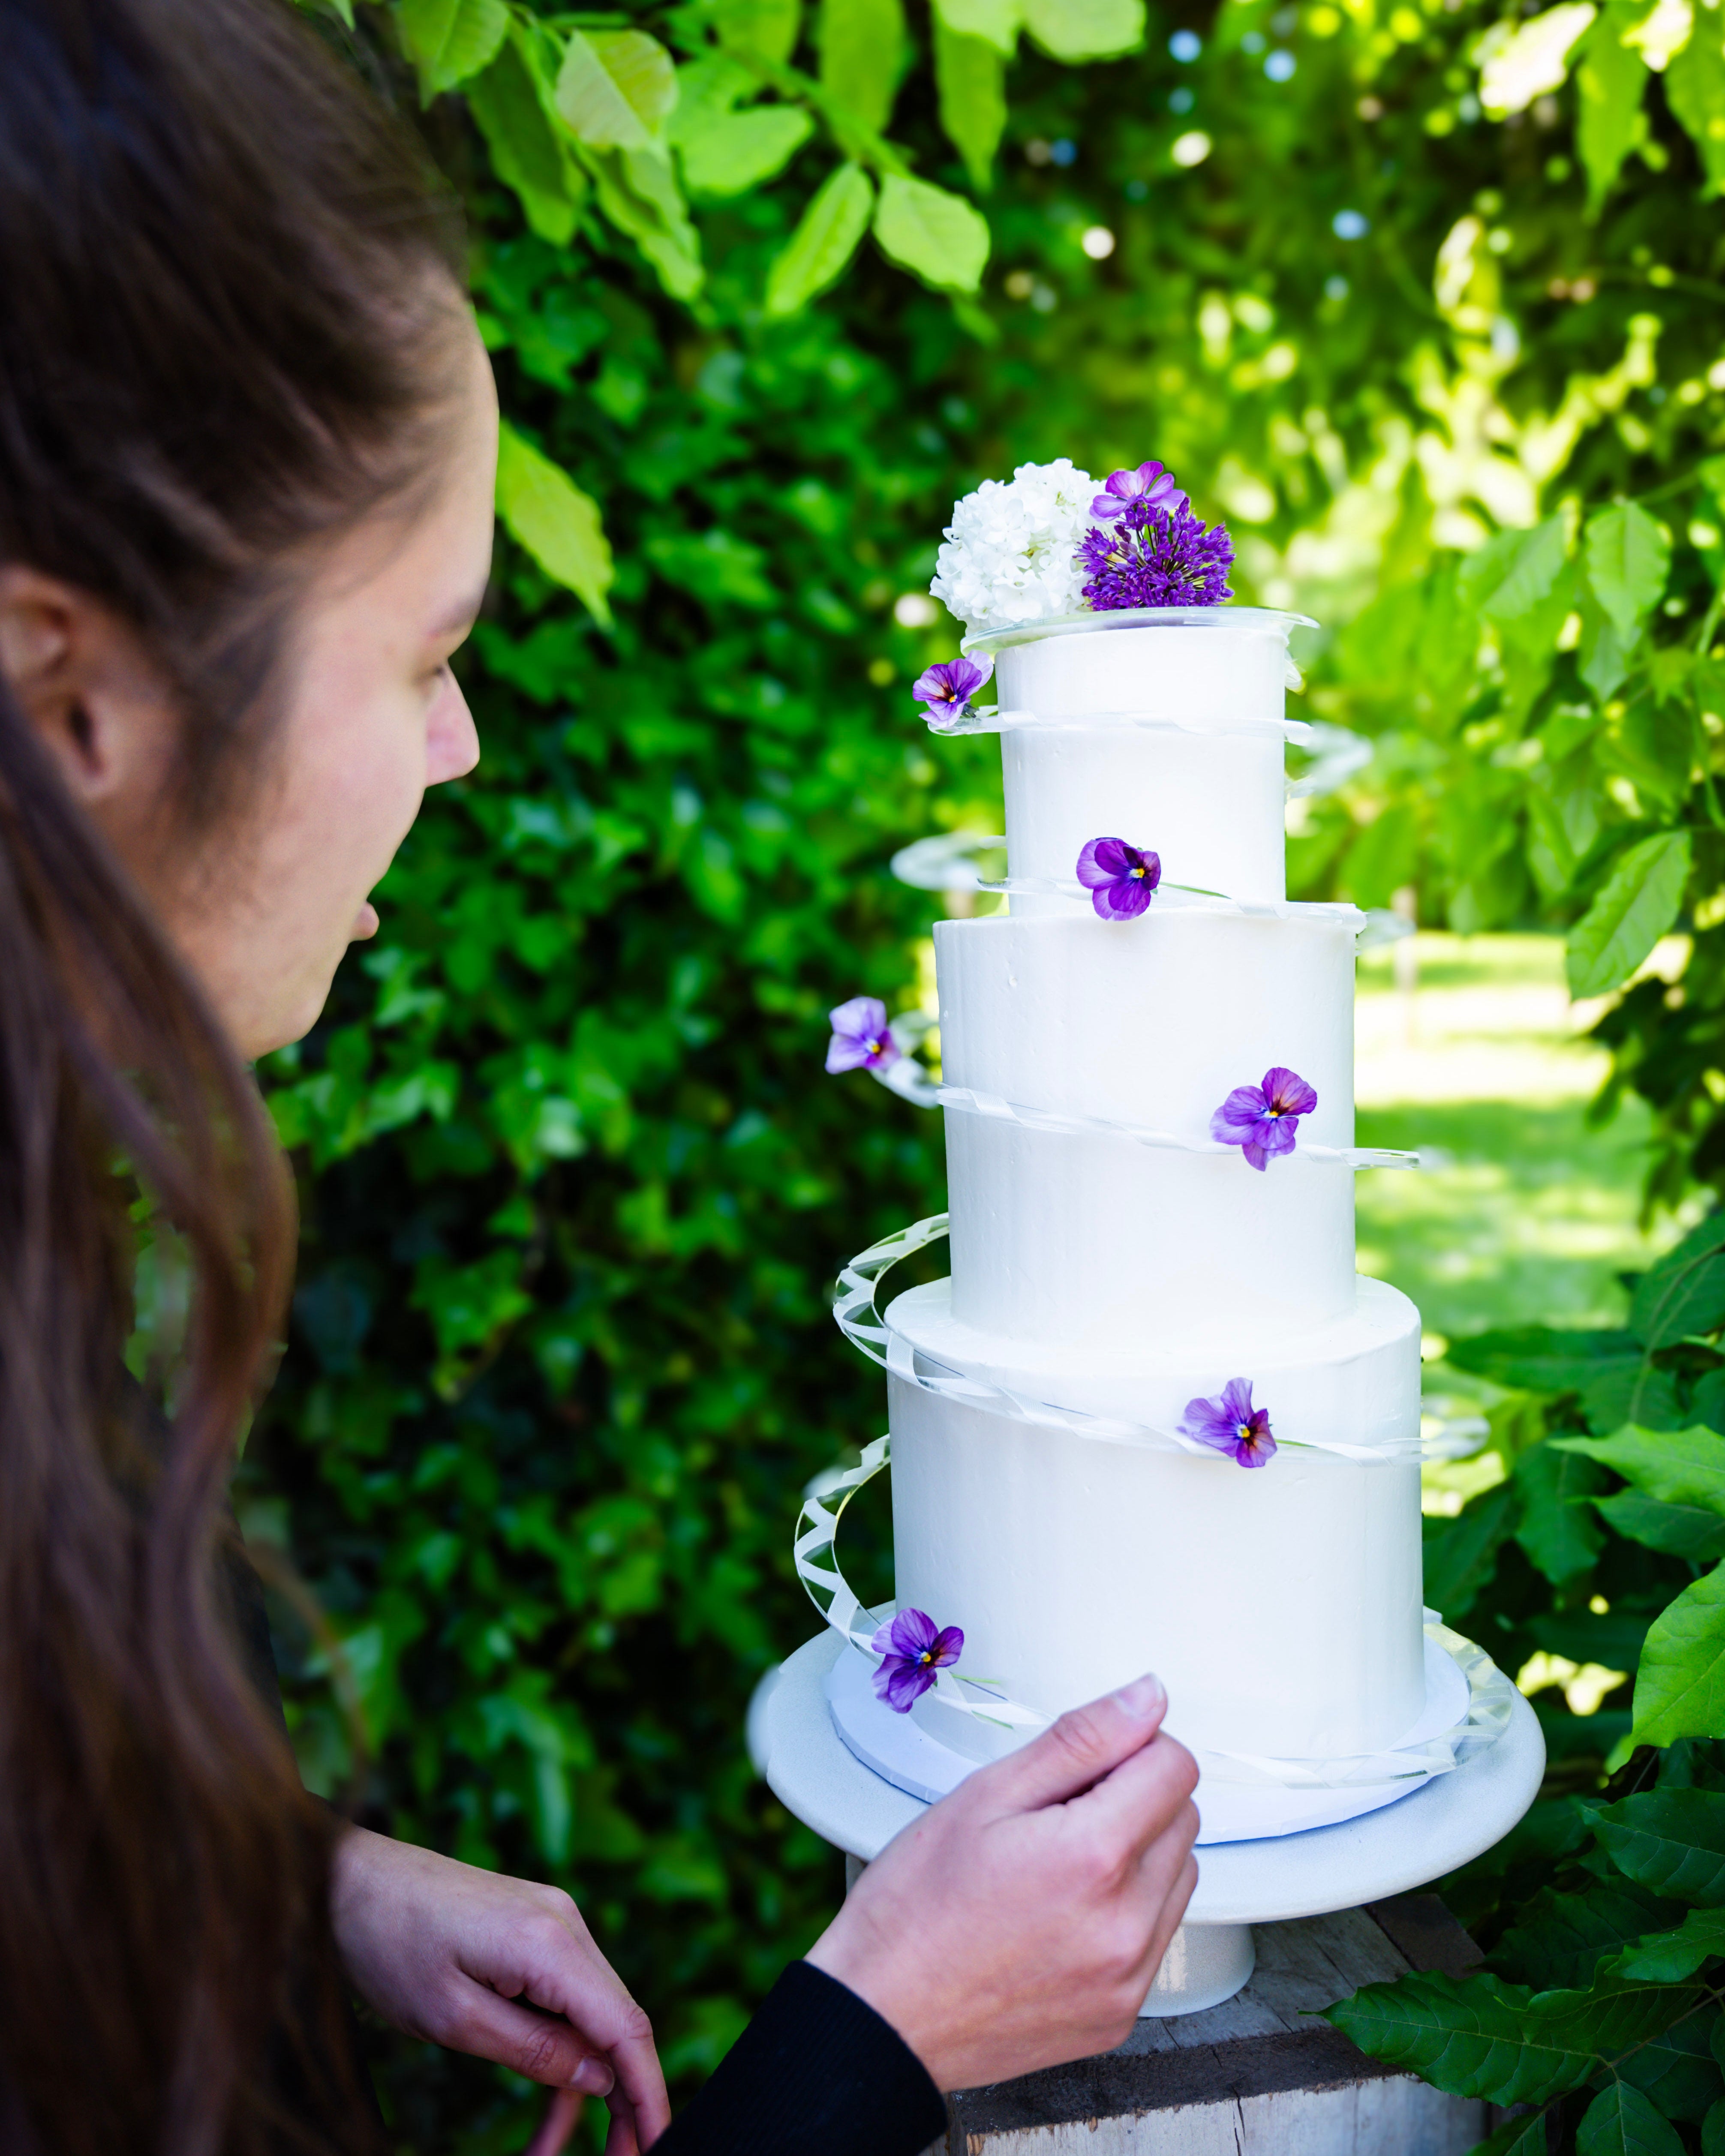
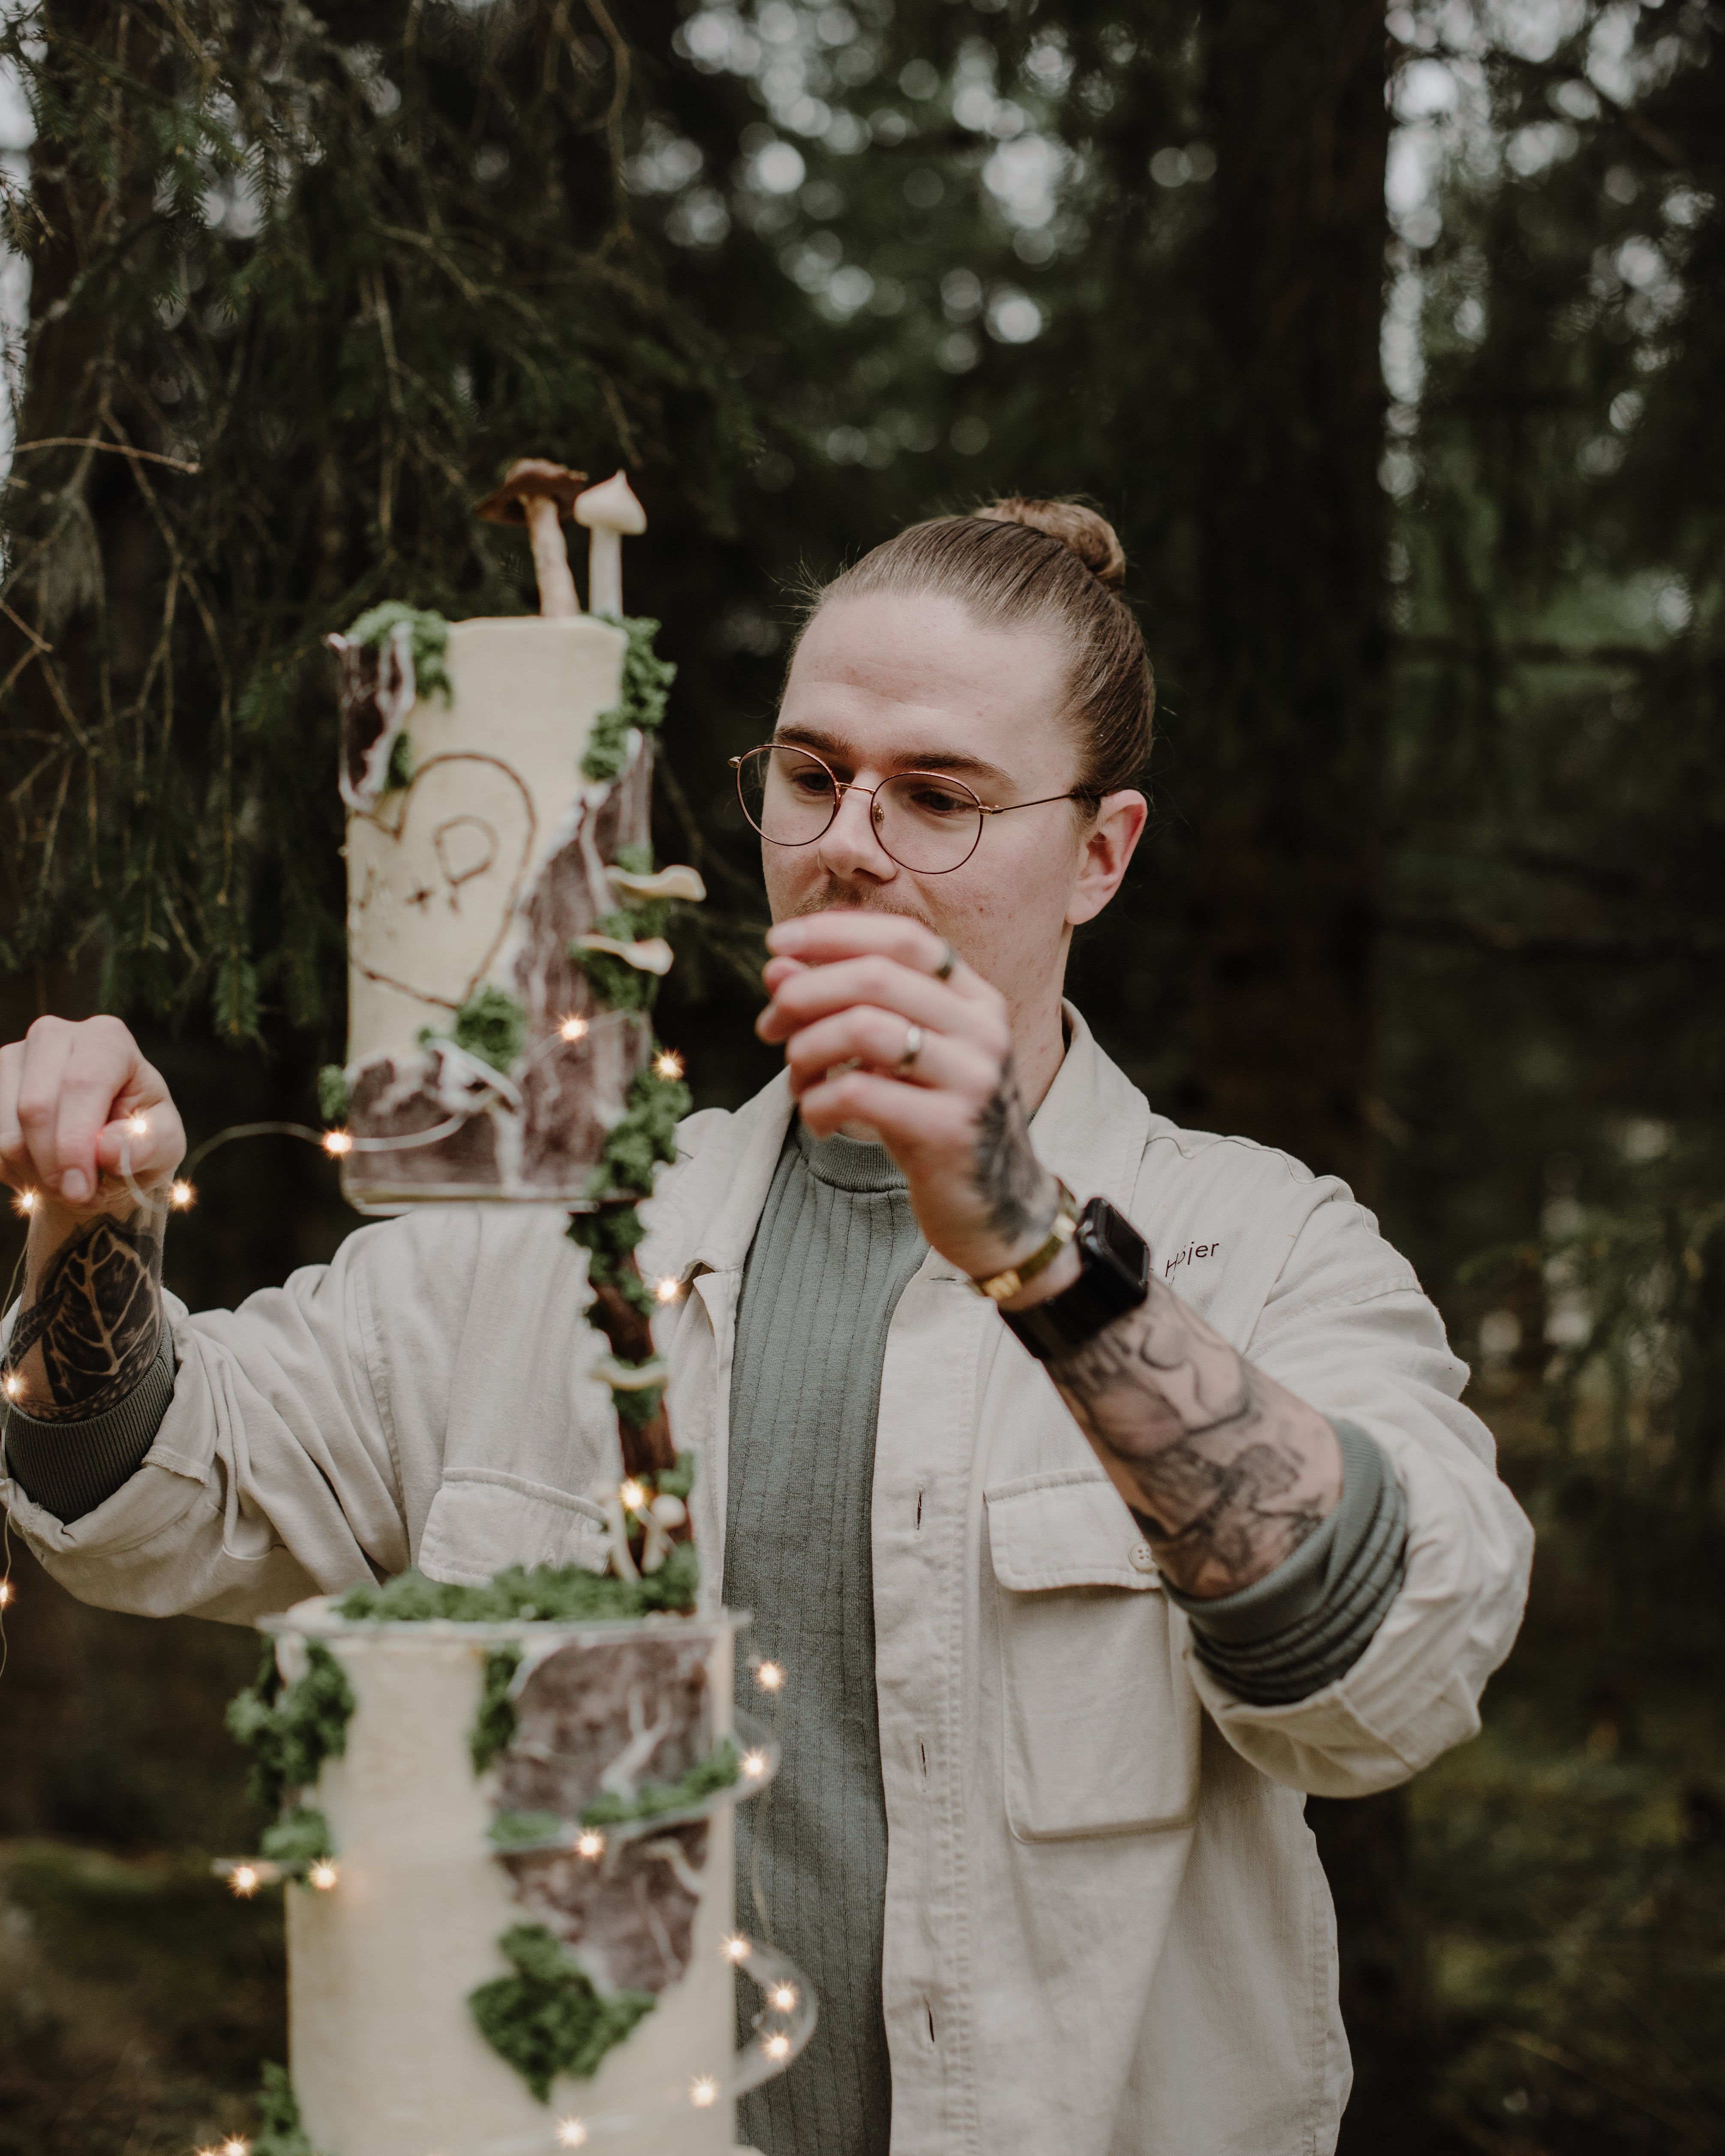
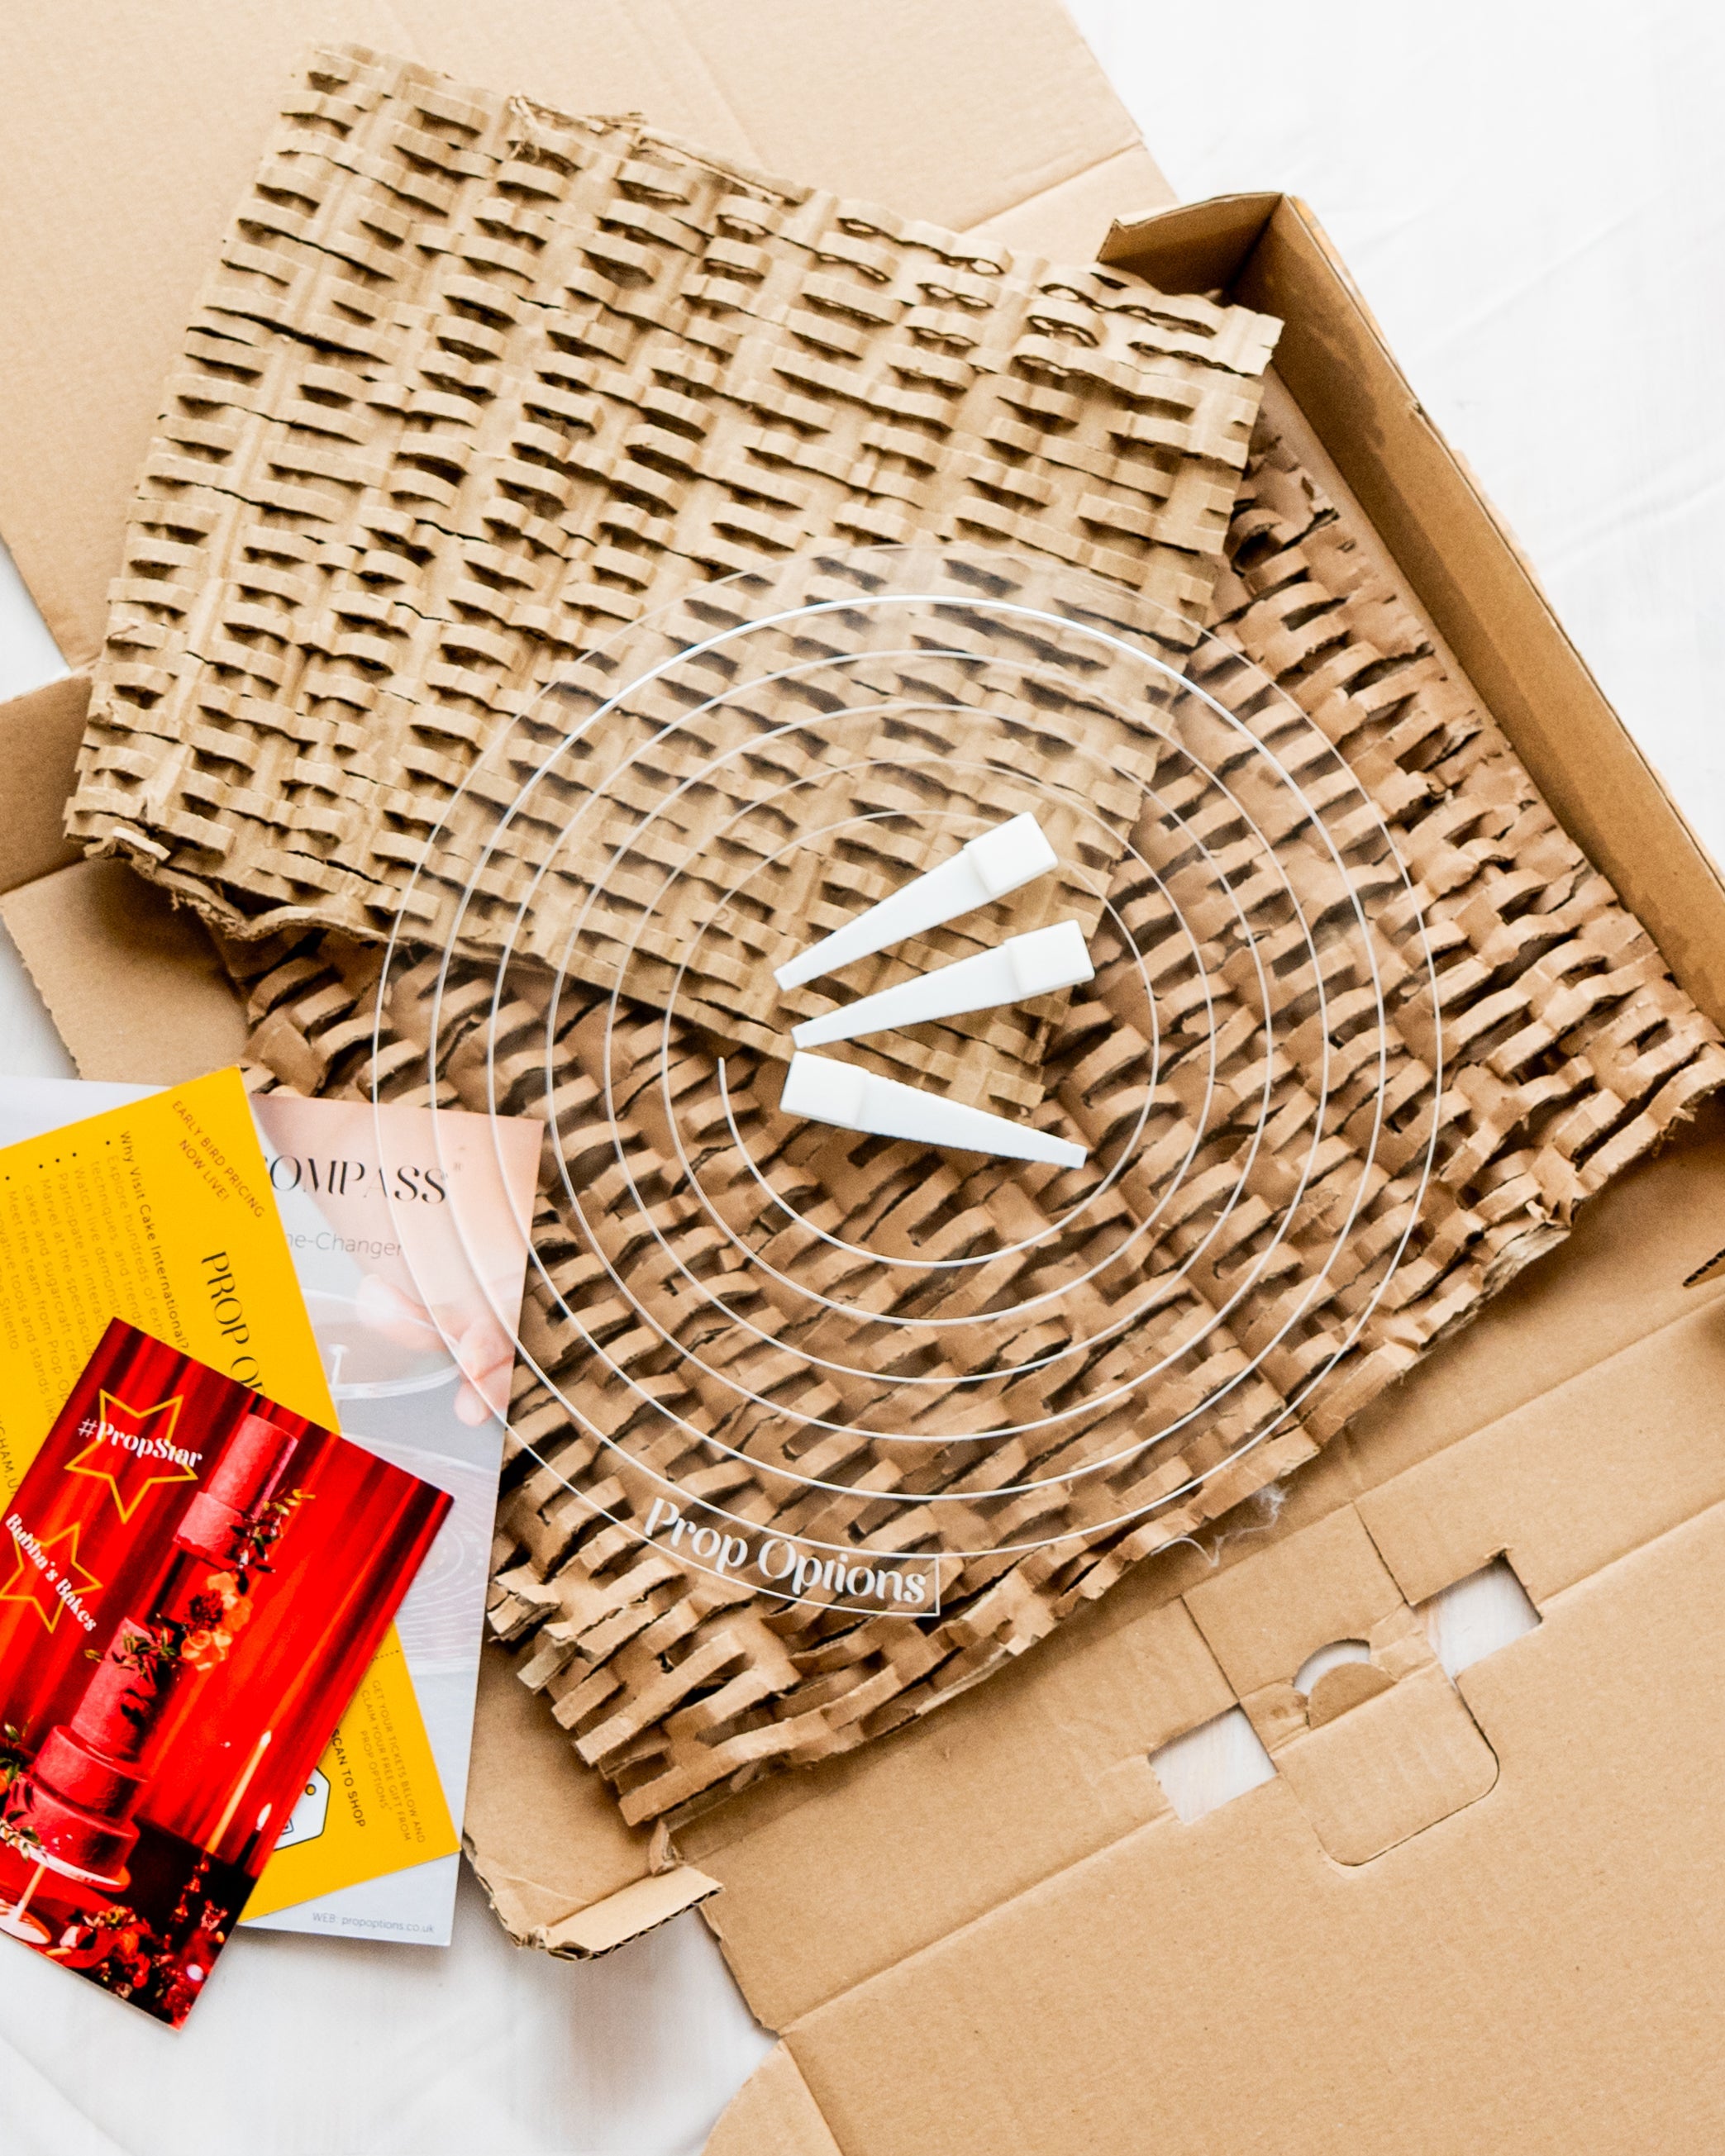
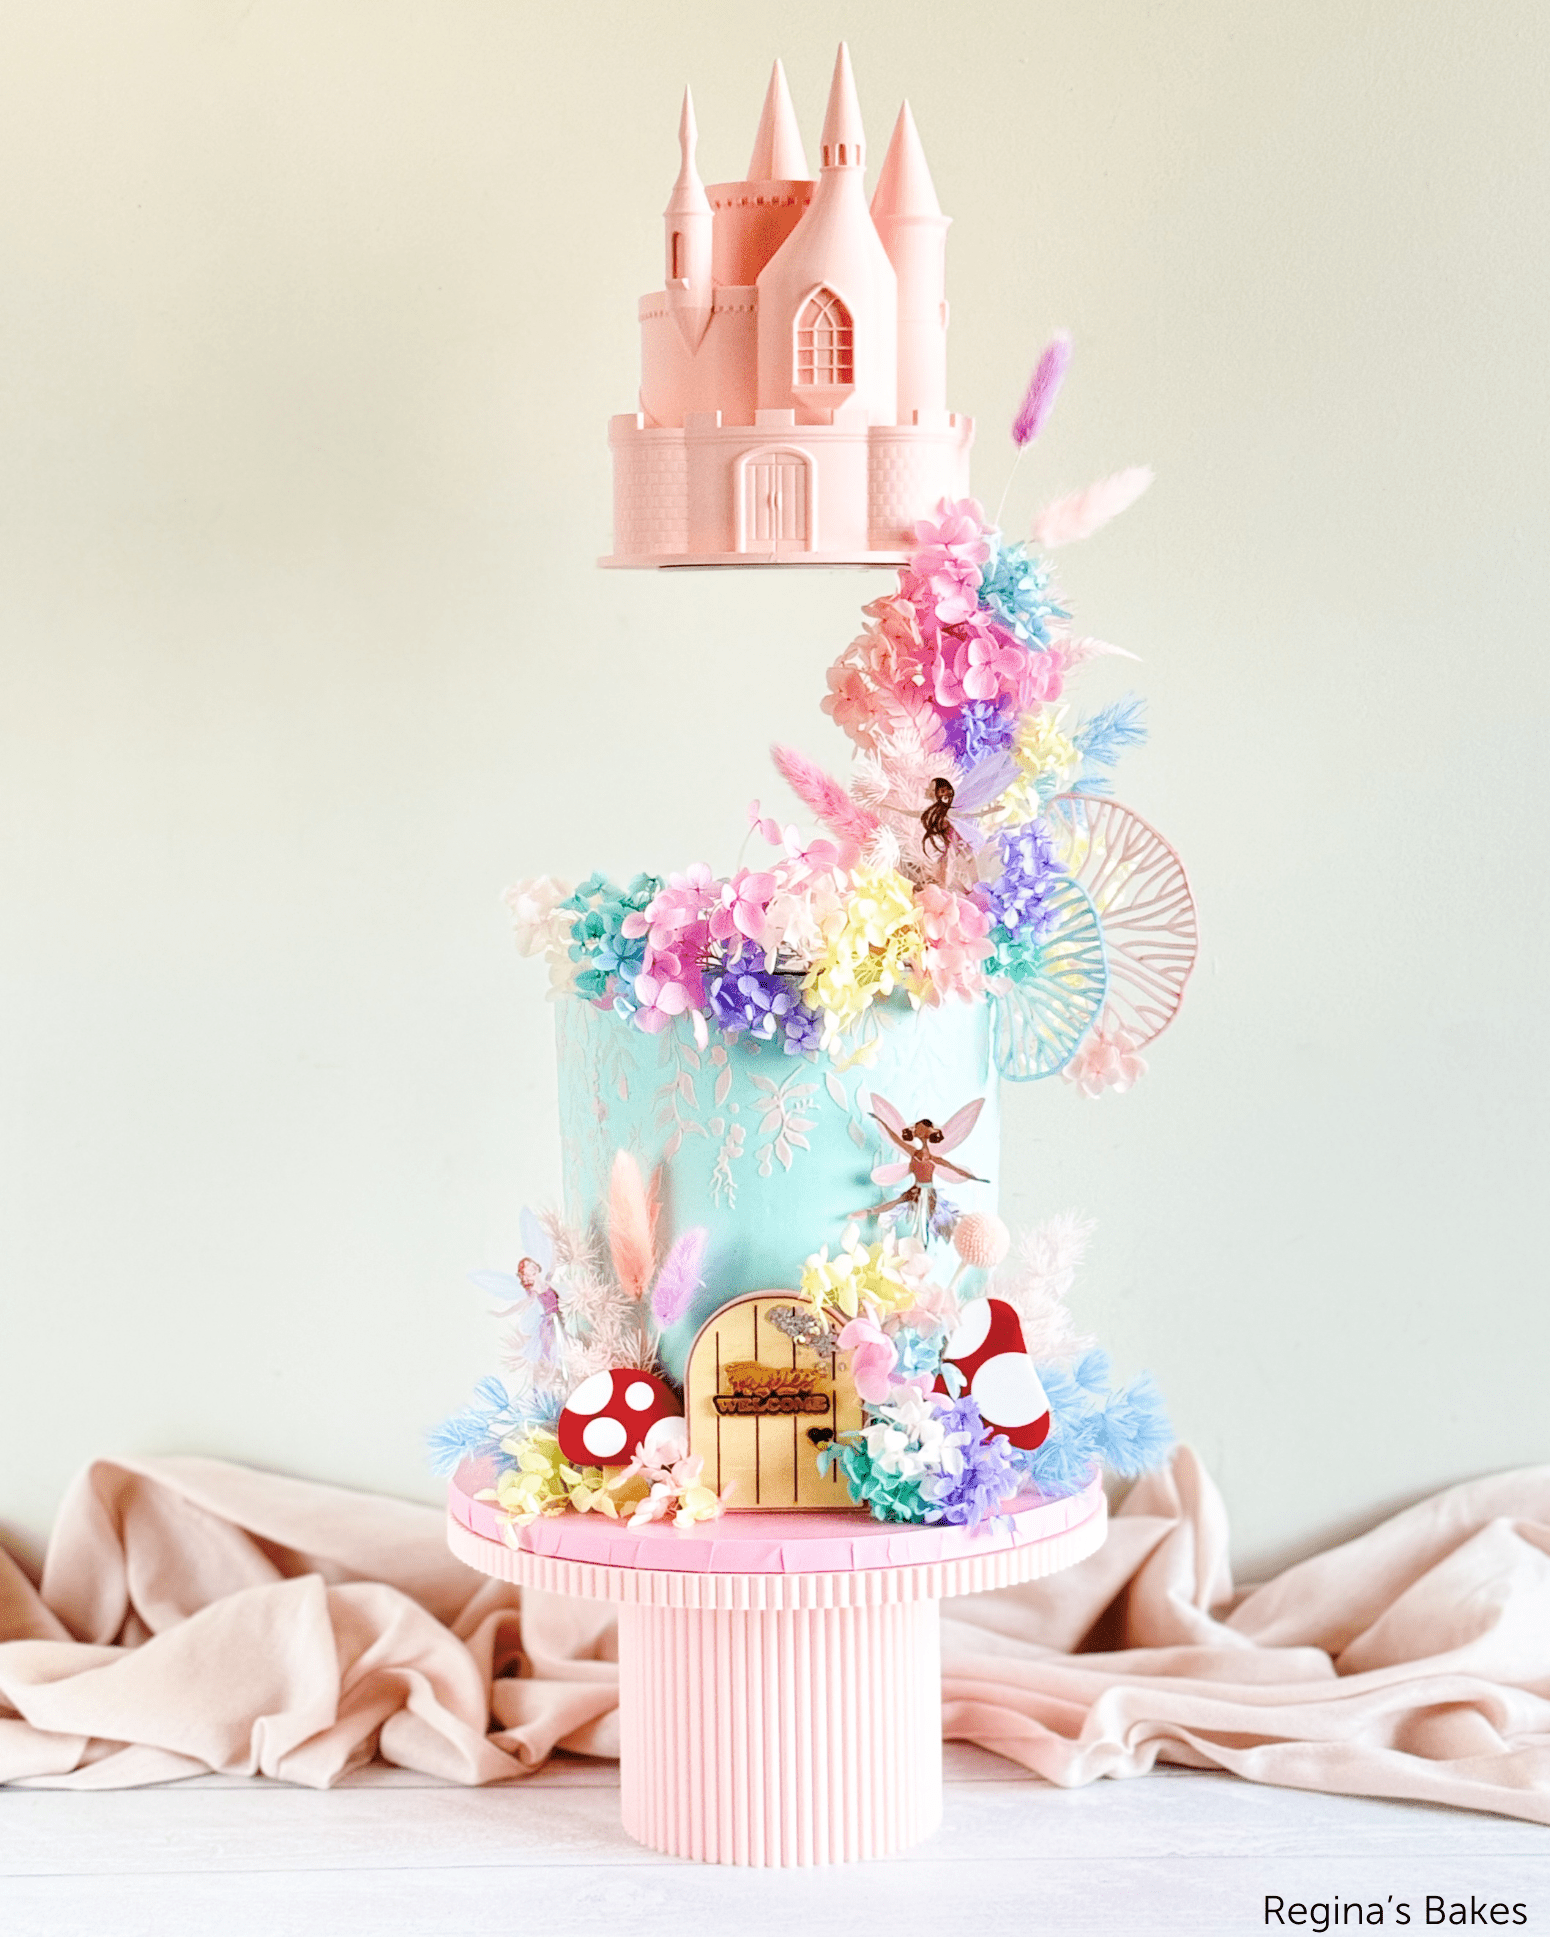
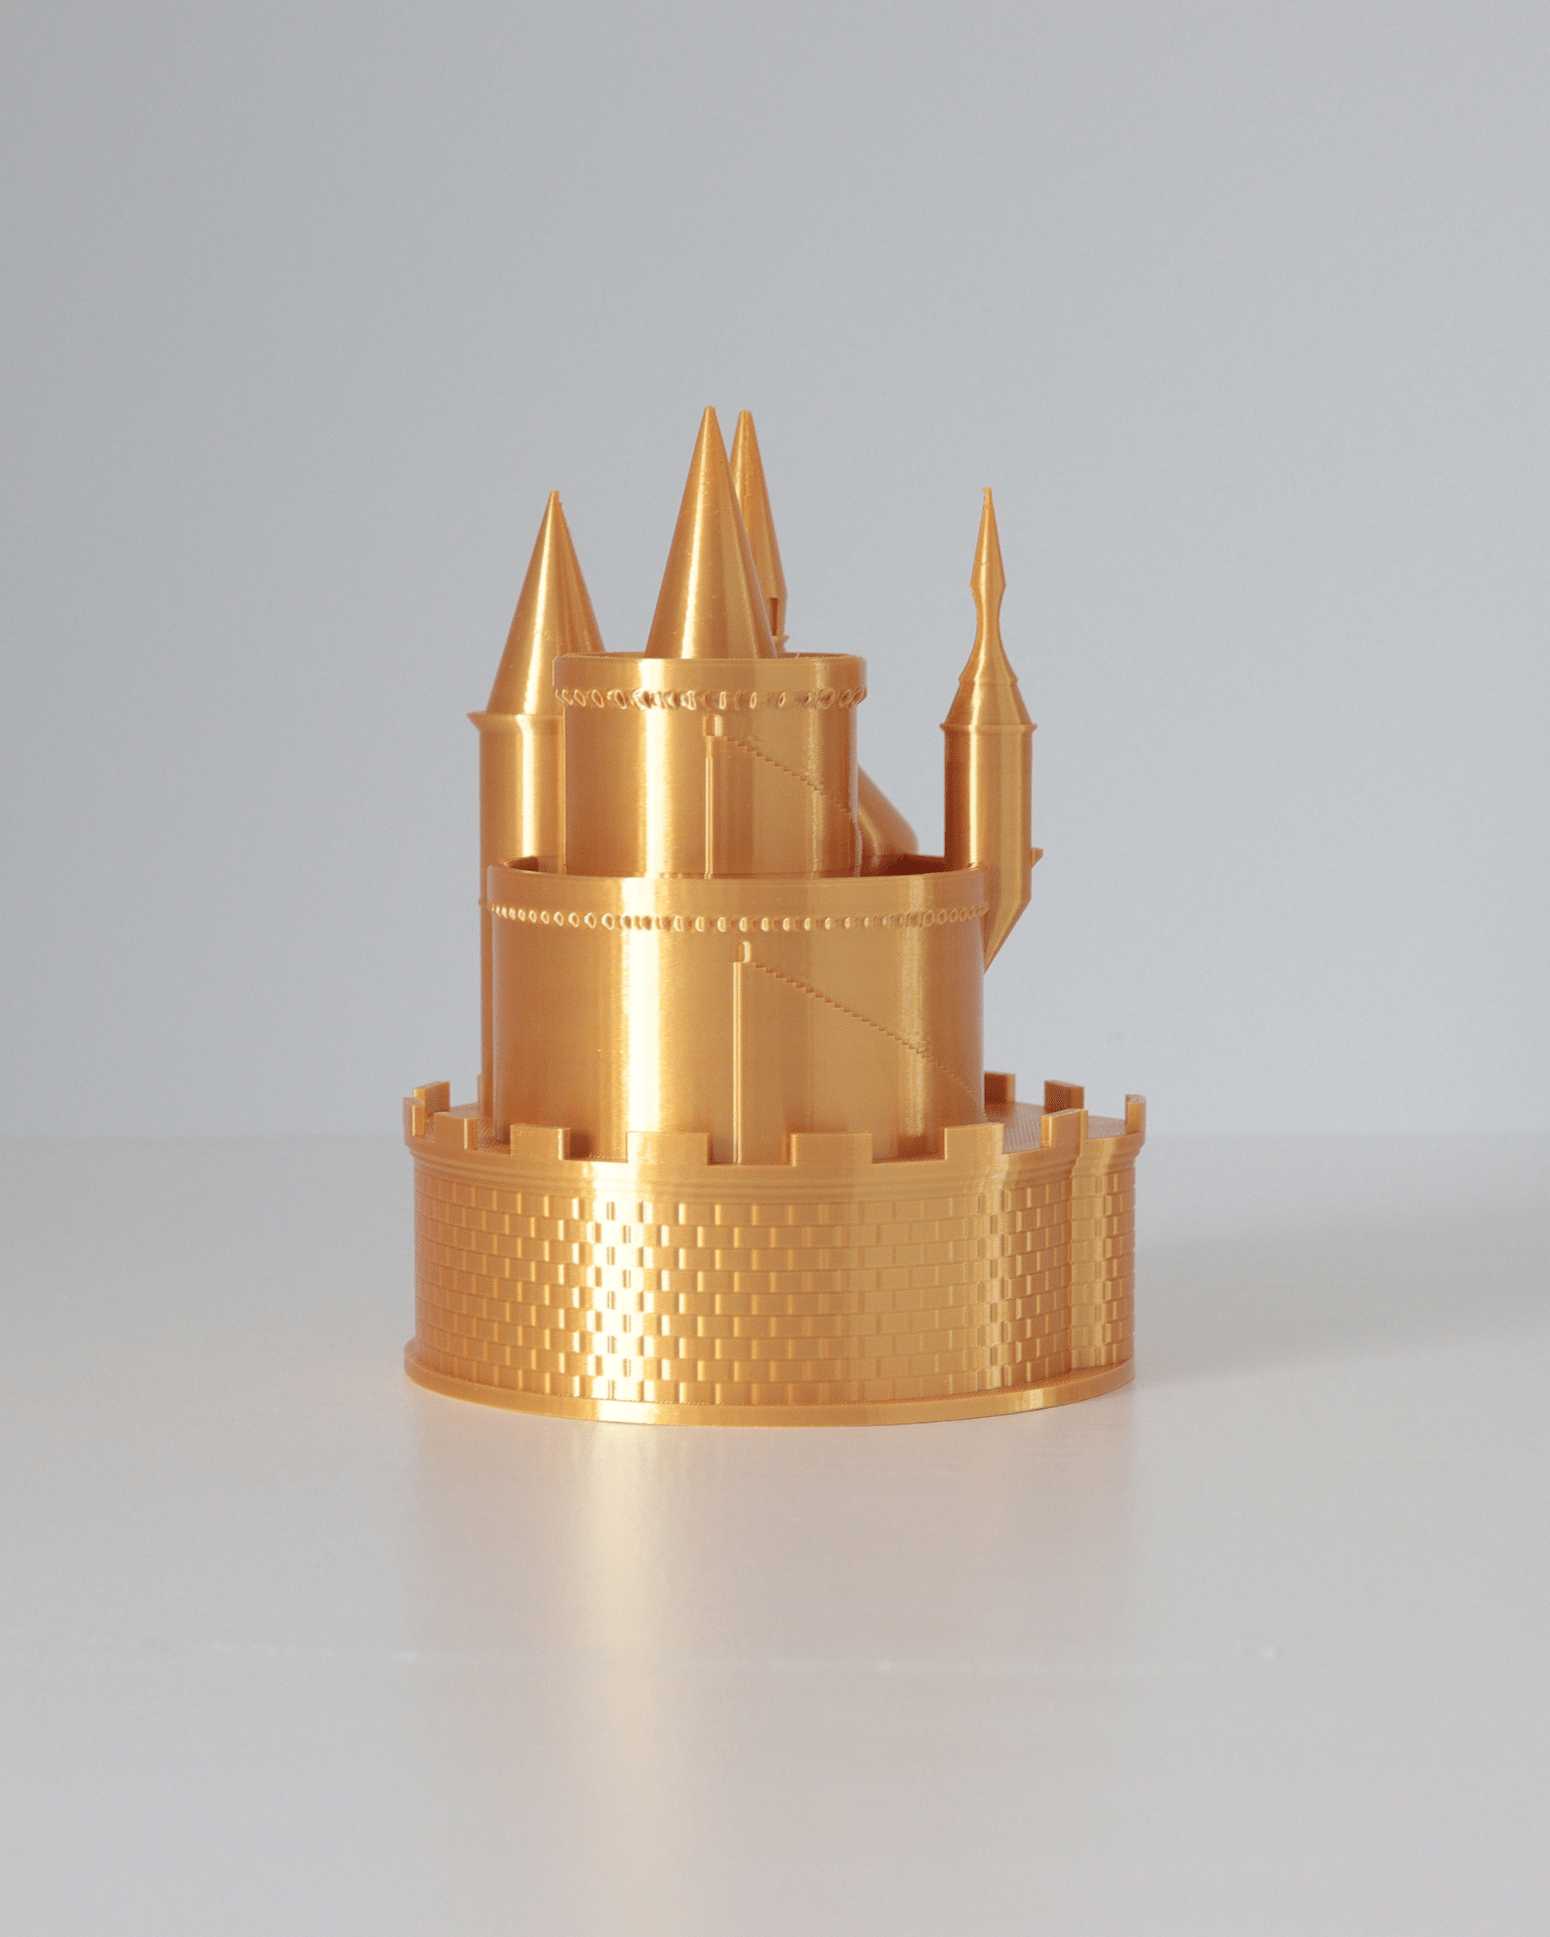
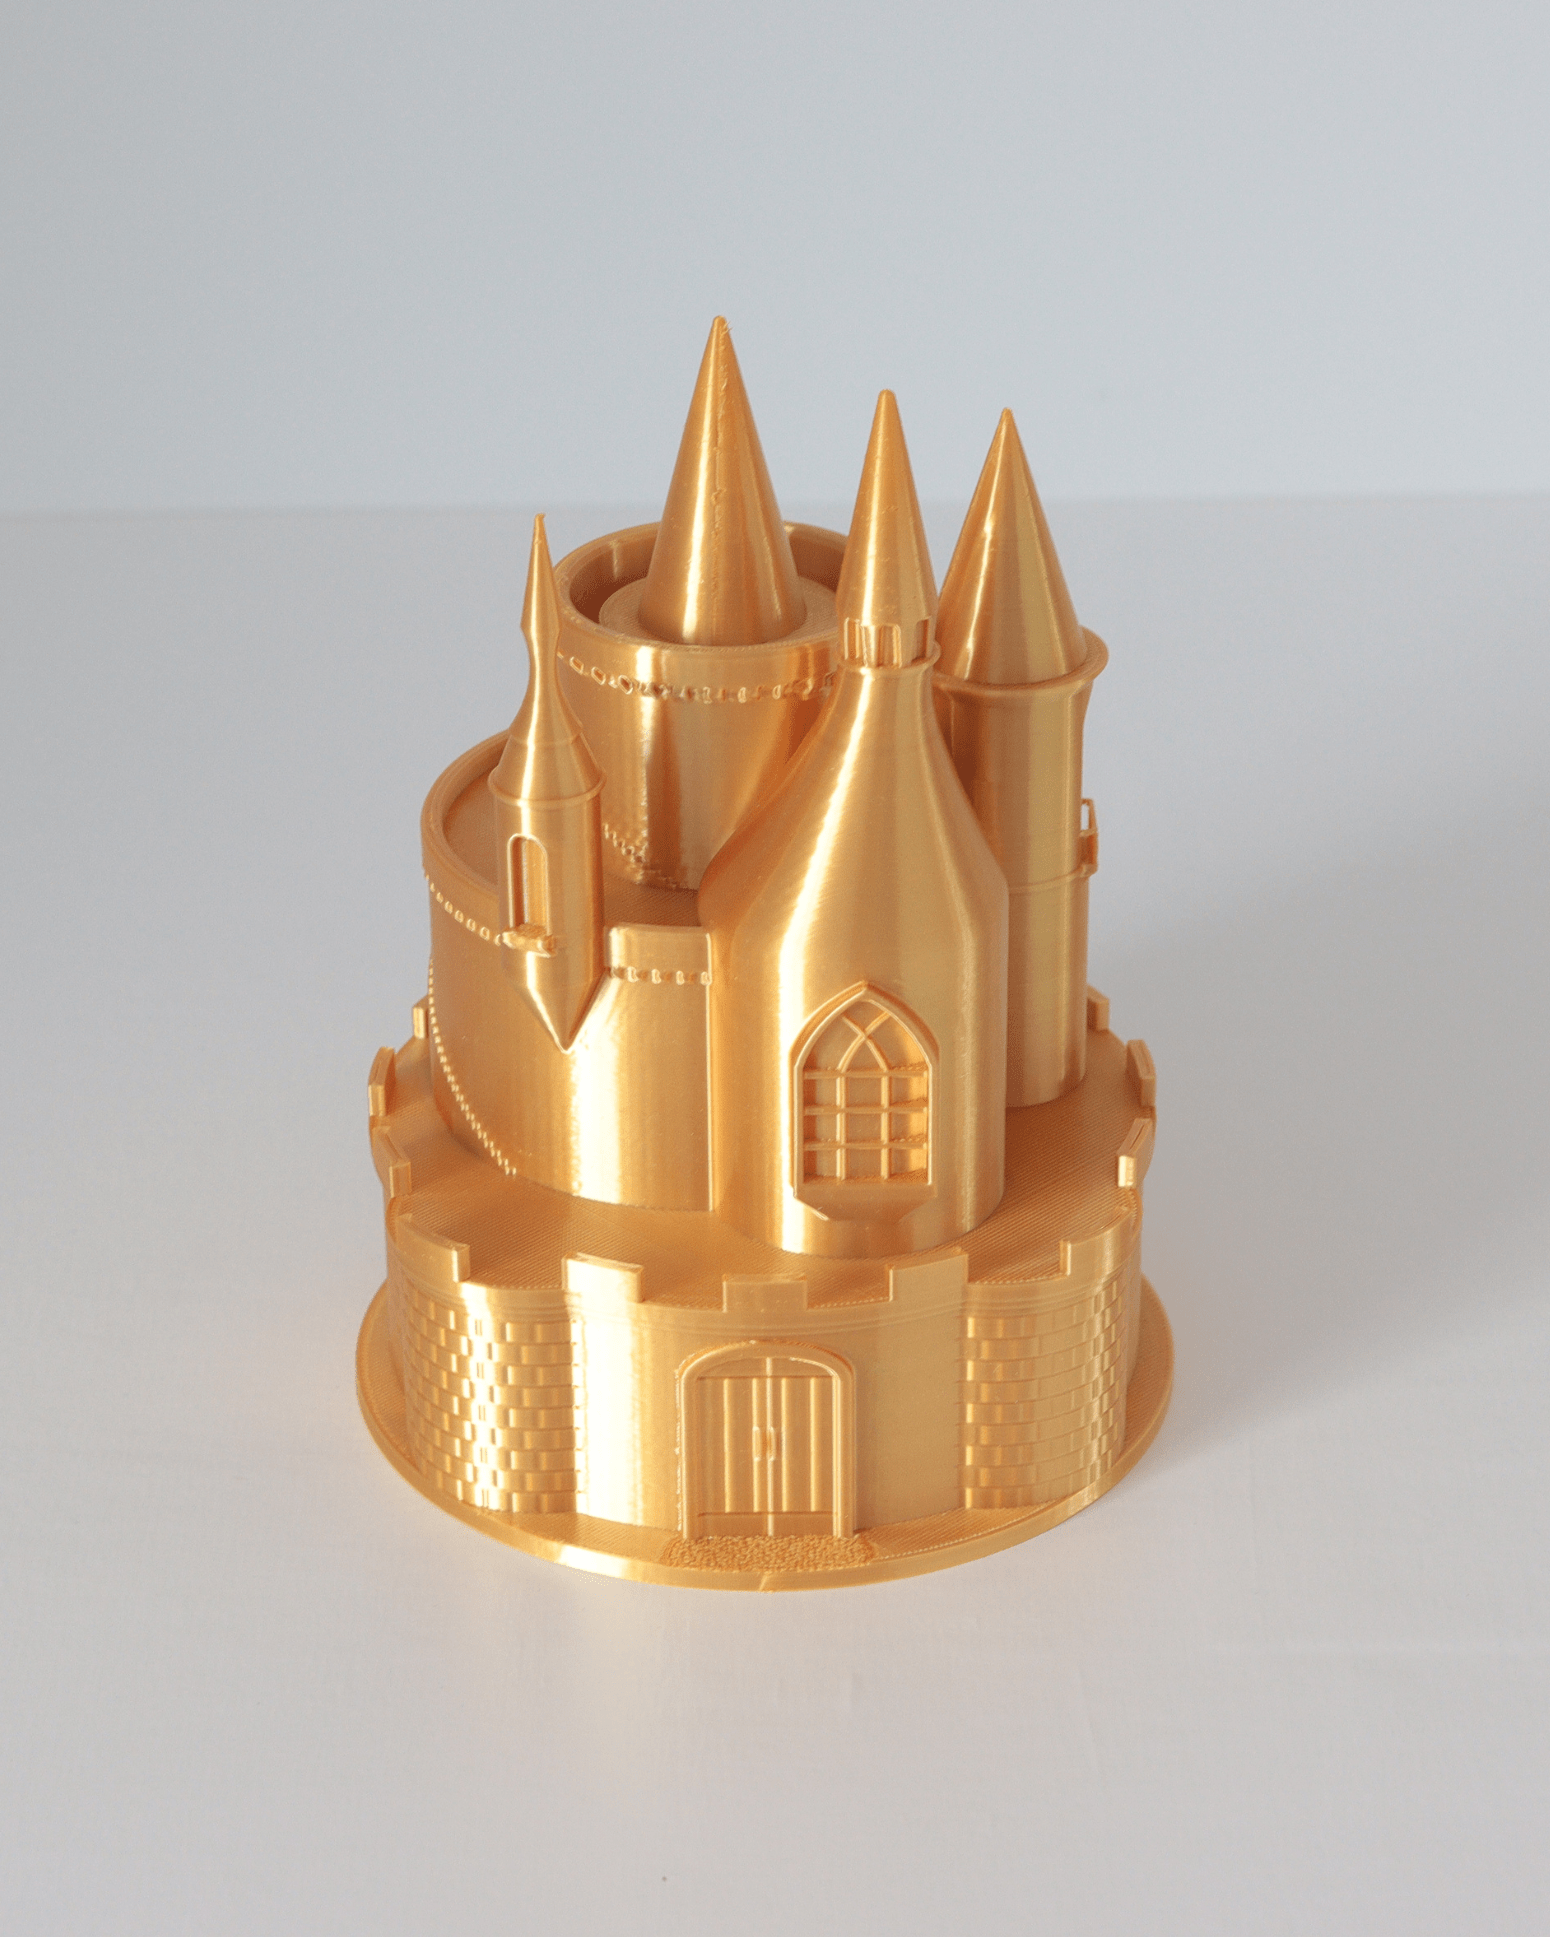
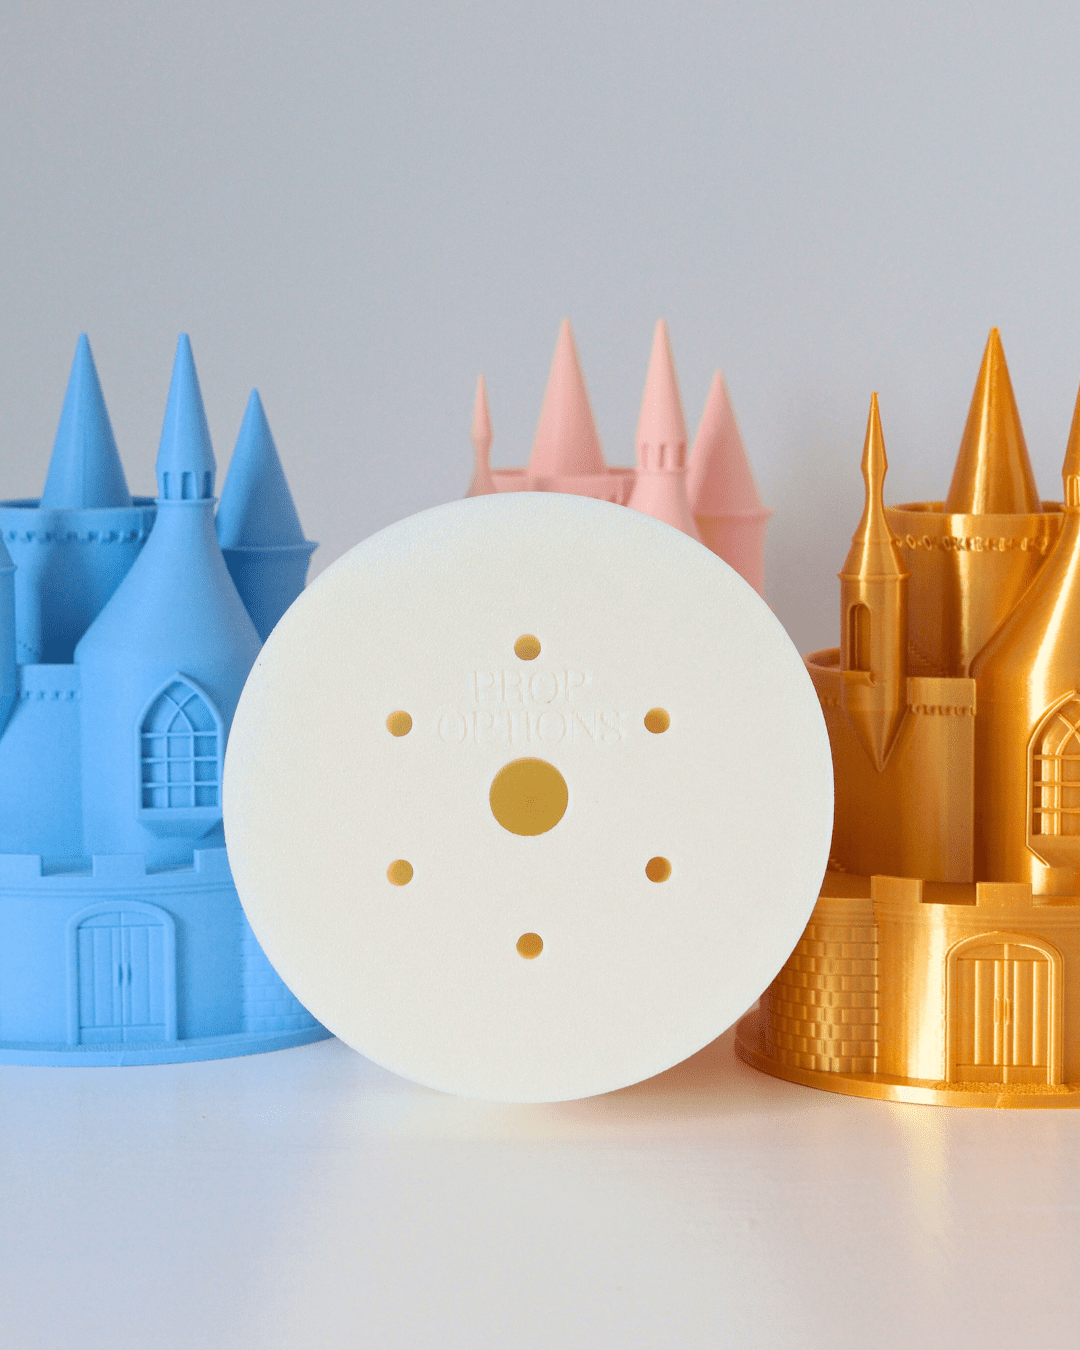
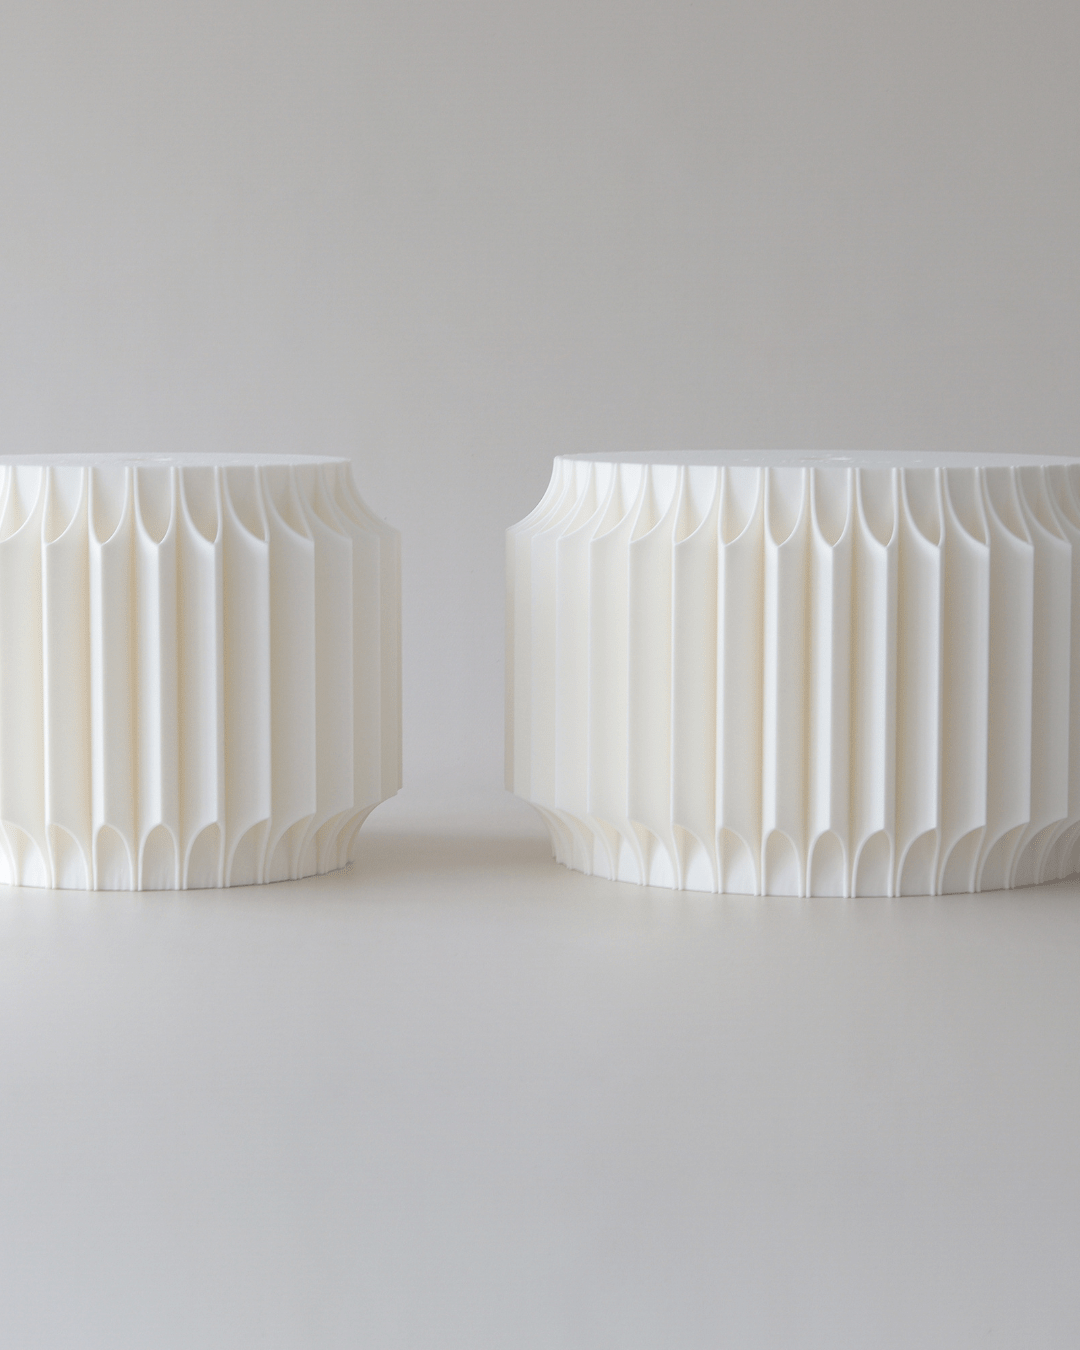
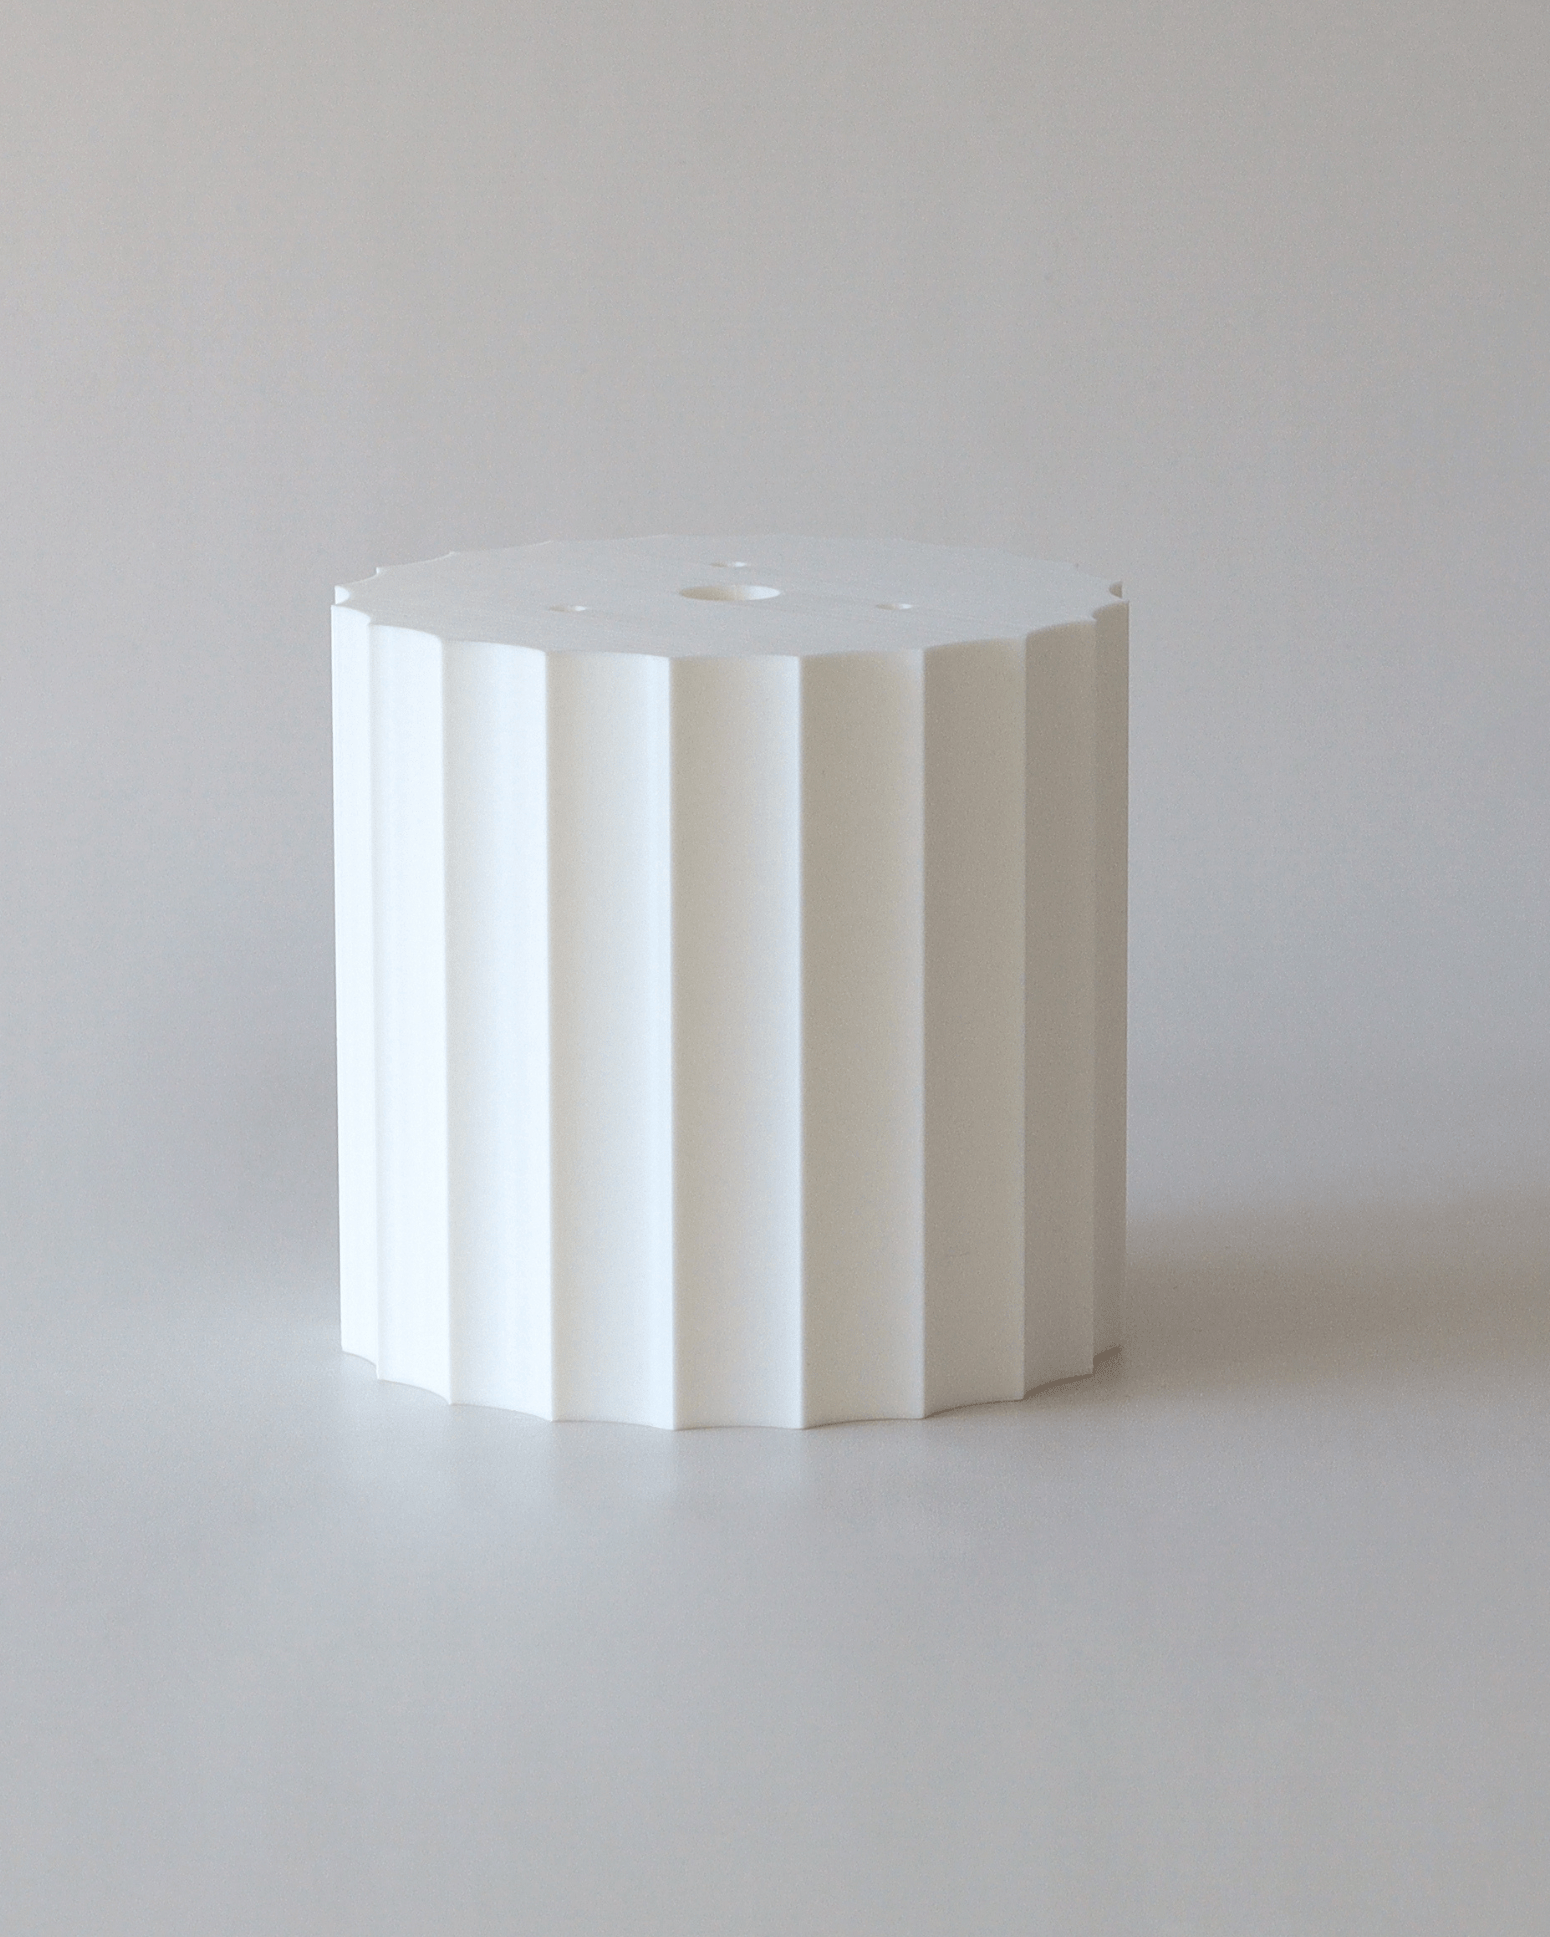
3. Use props, the right ones
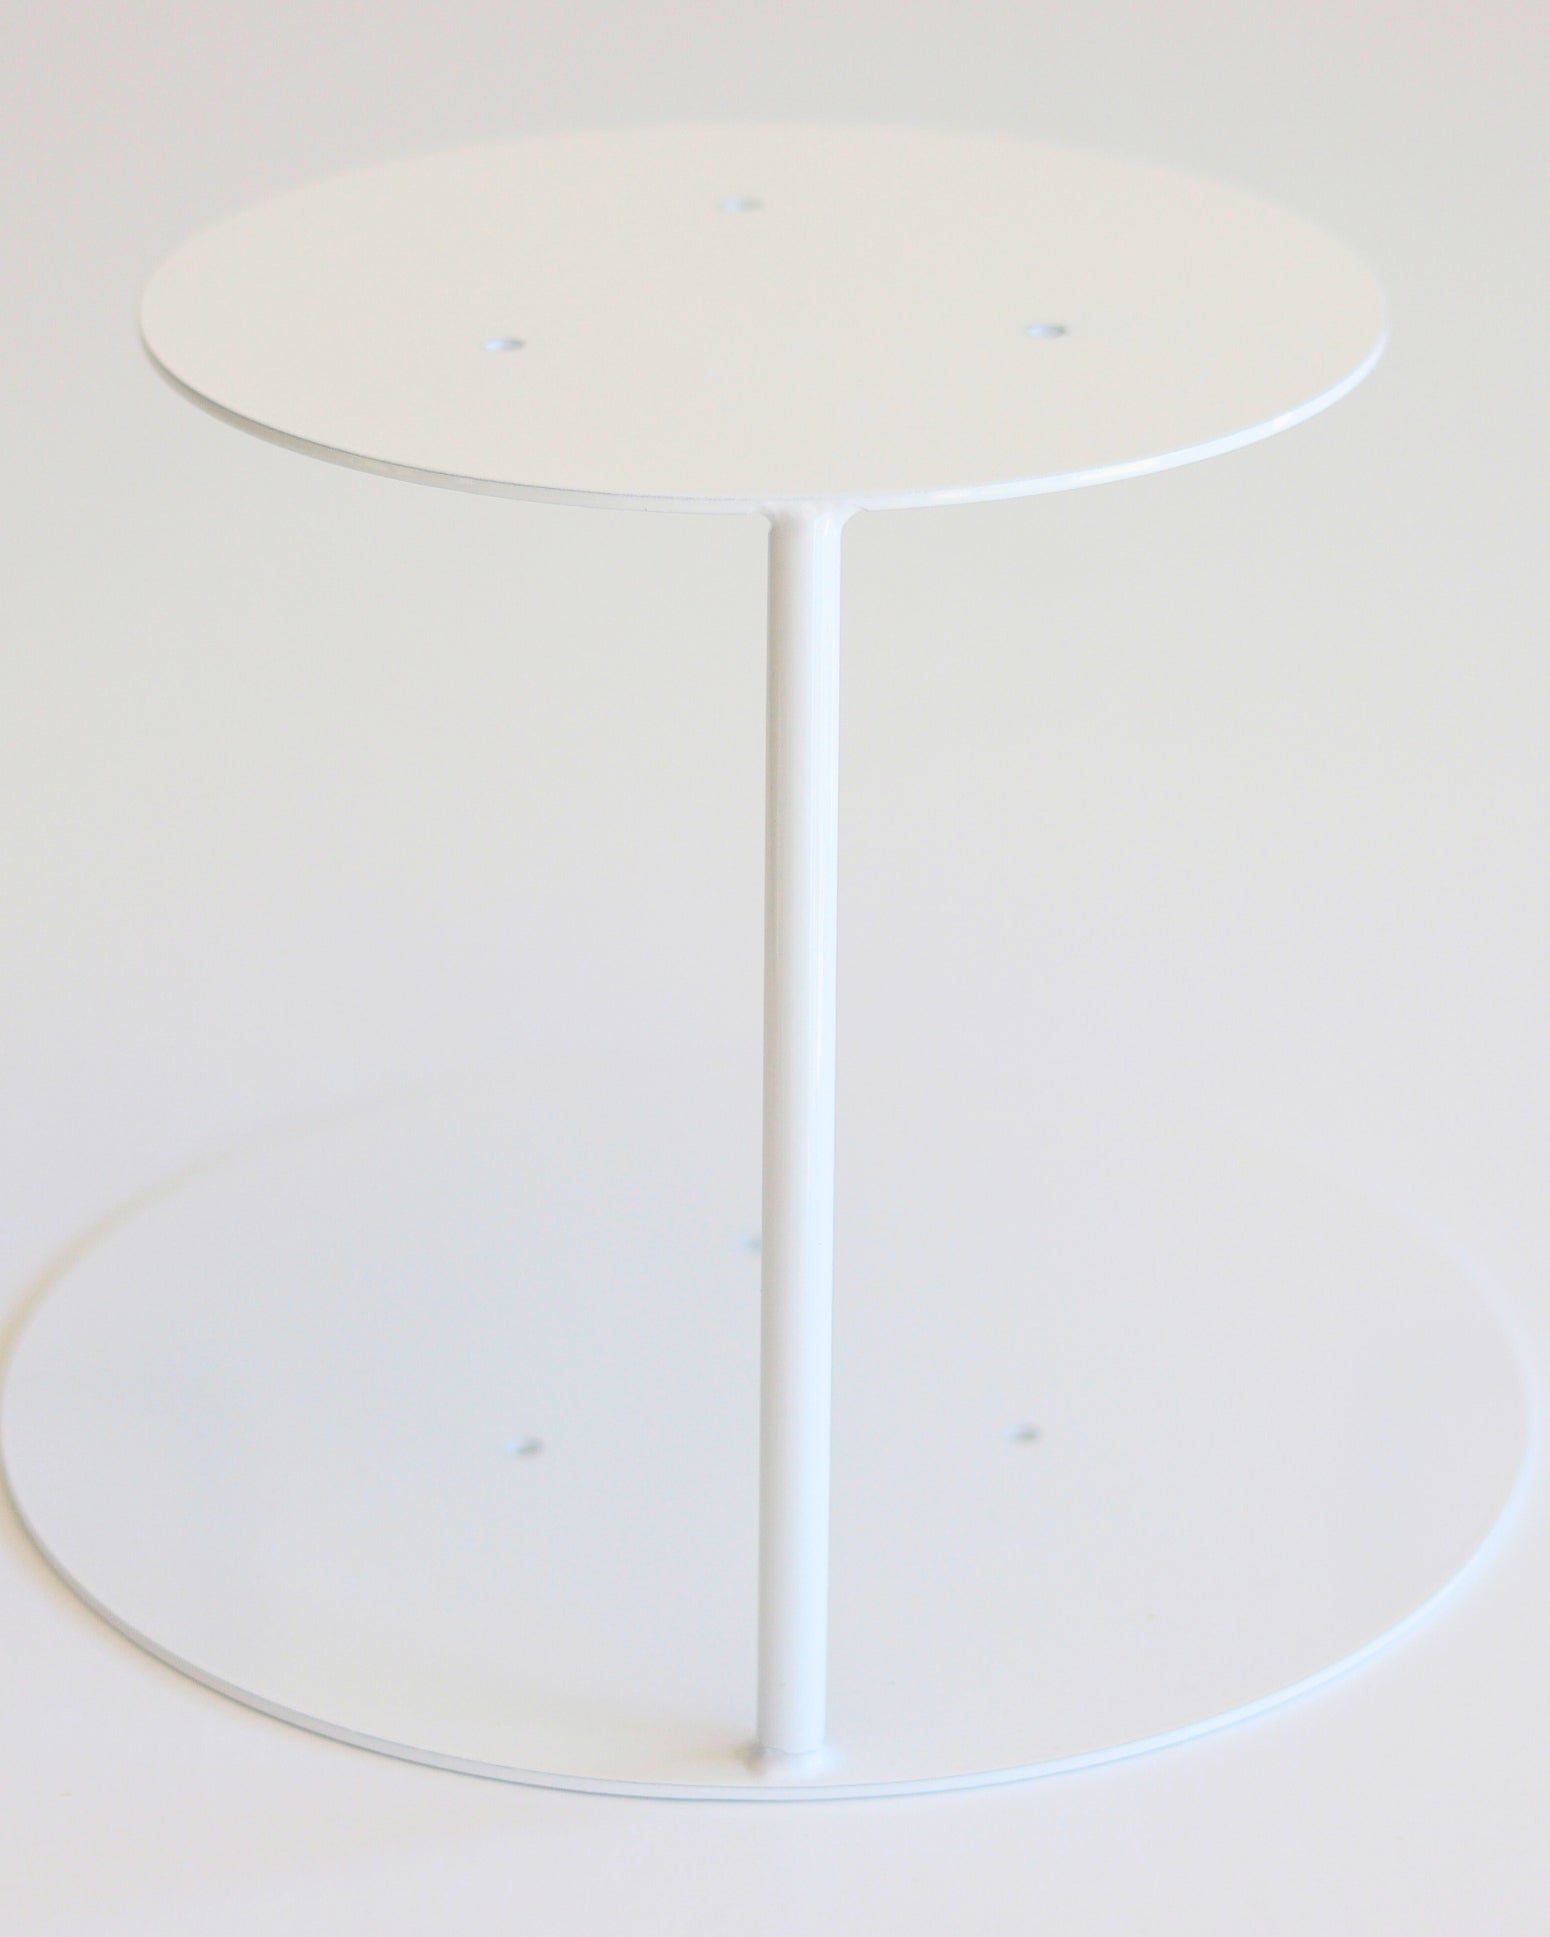
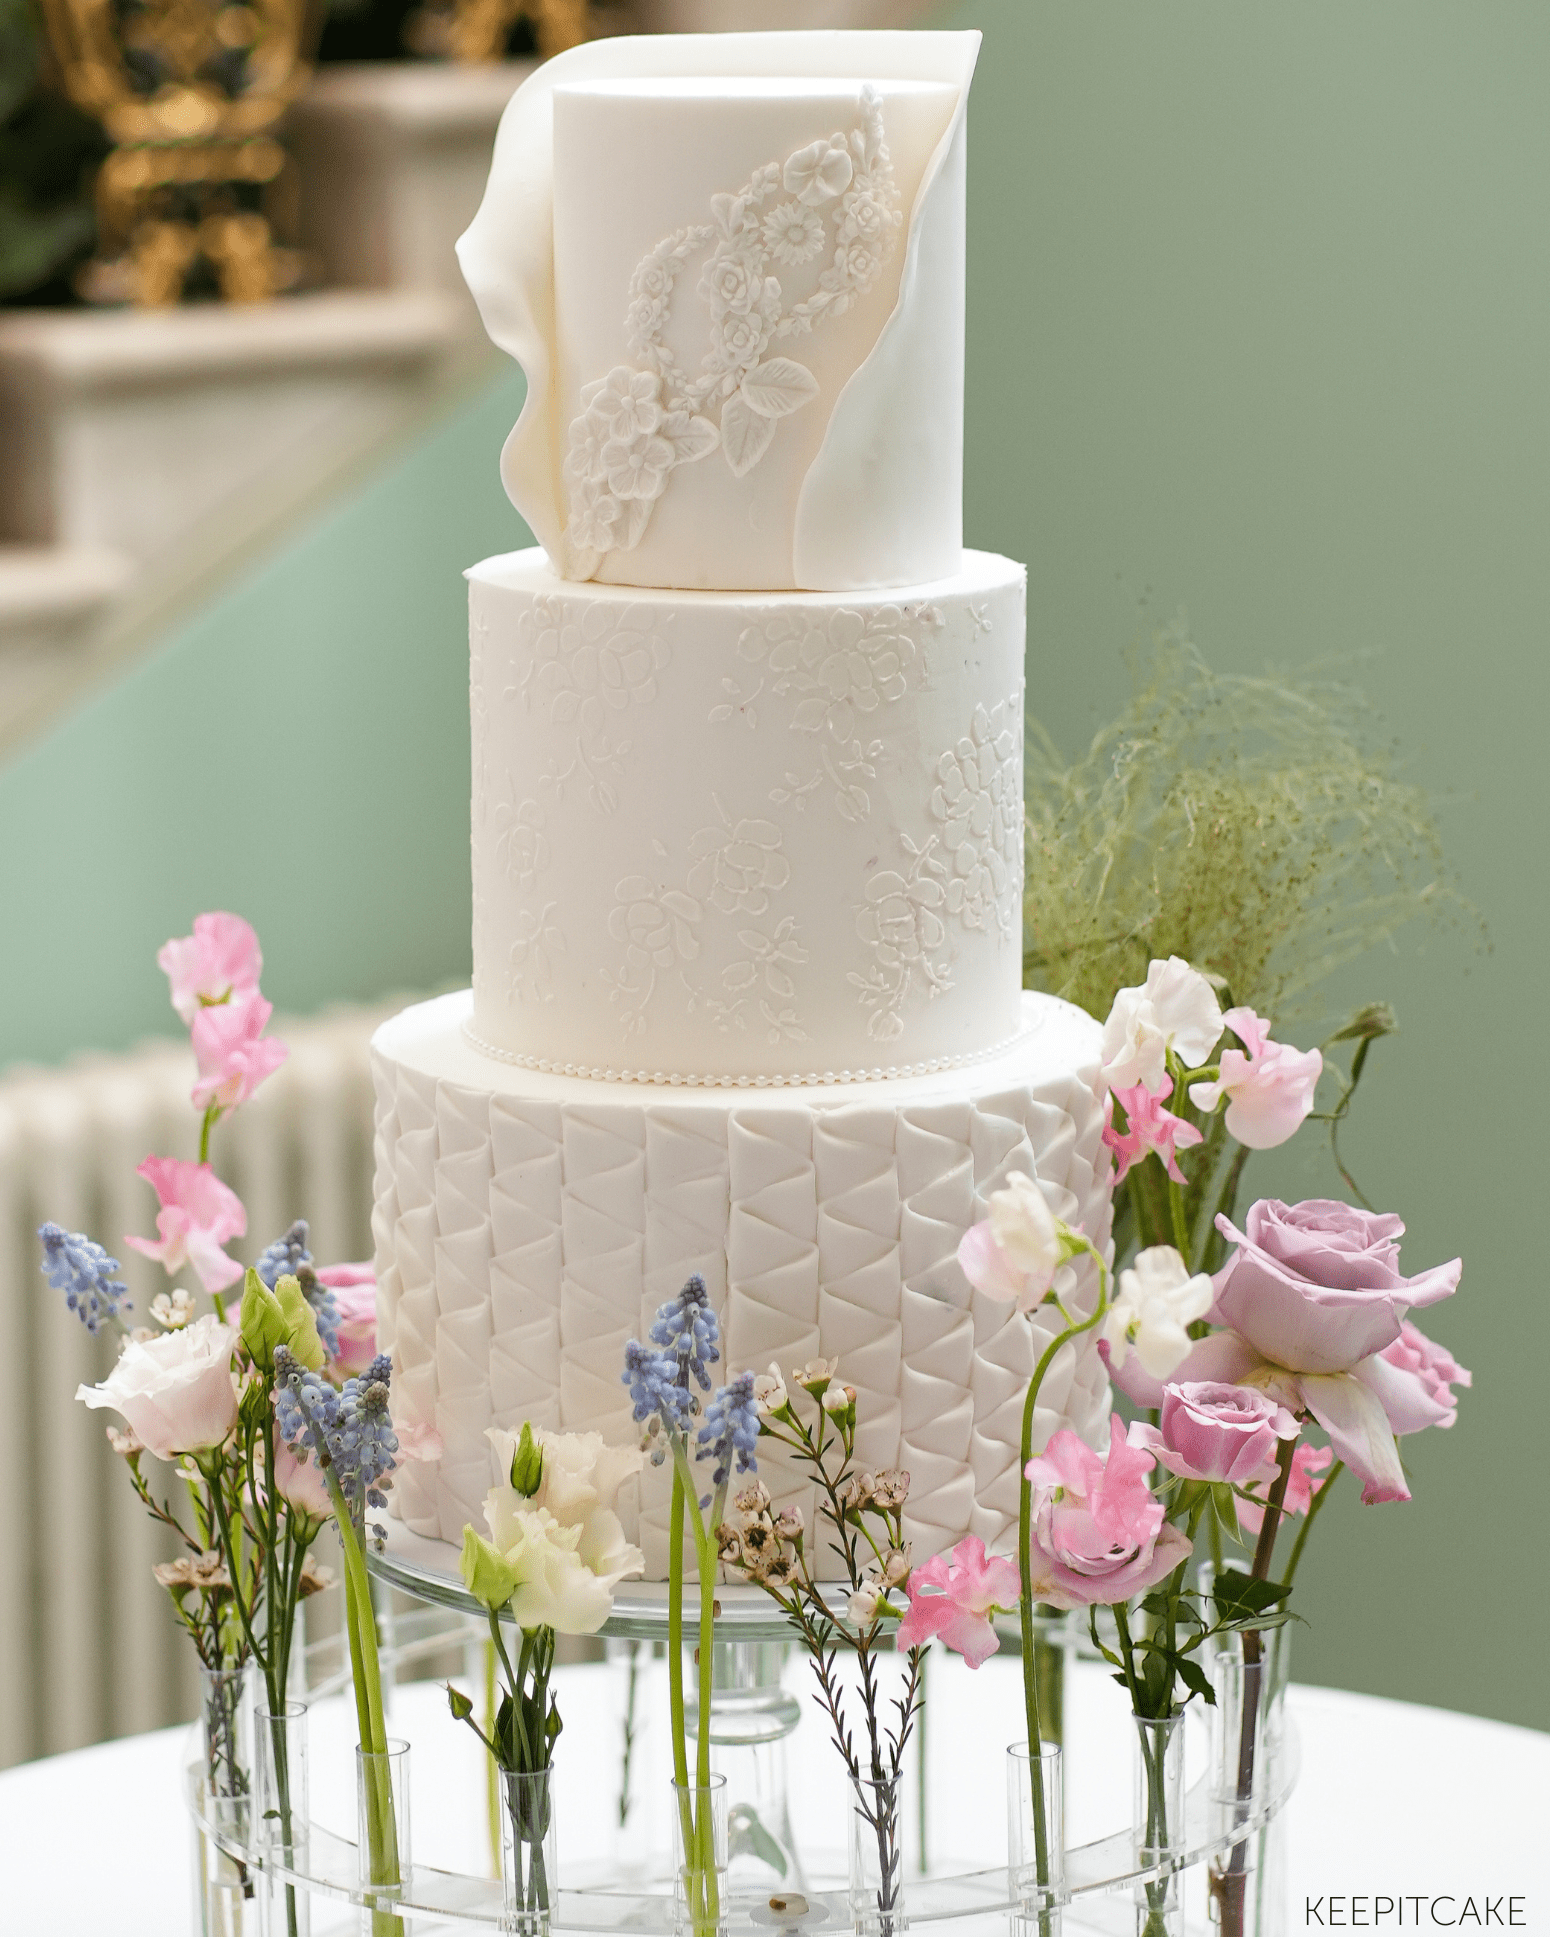
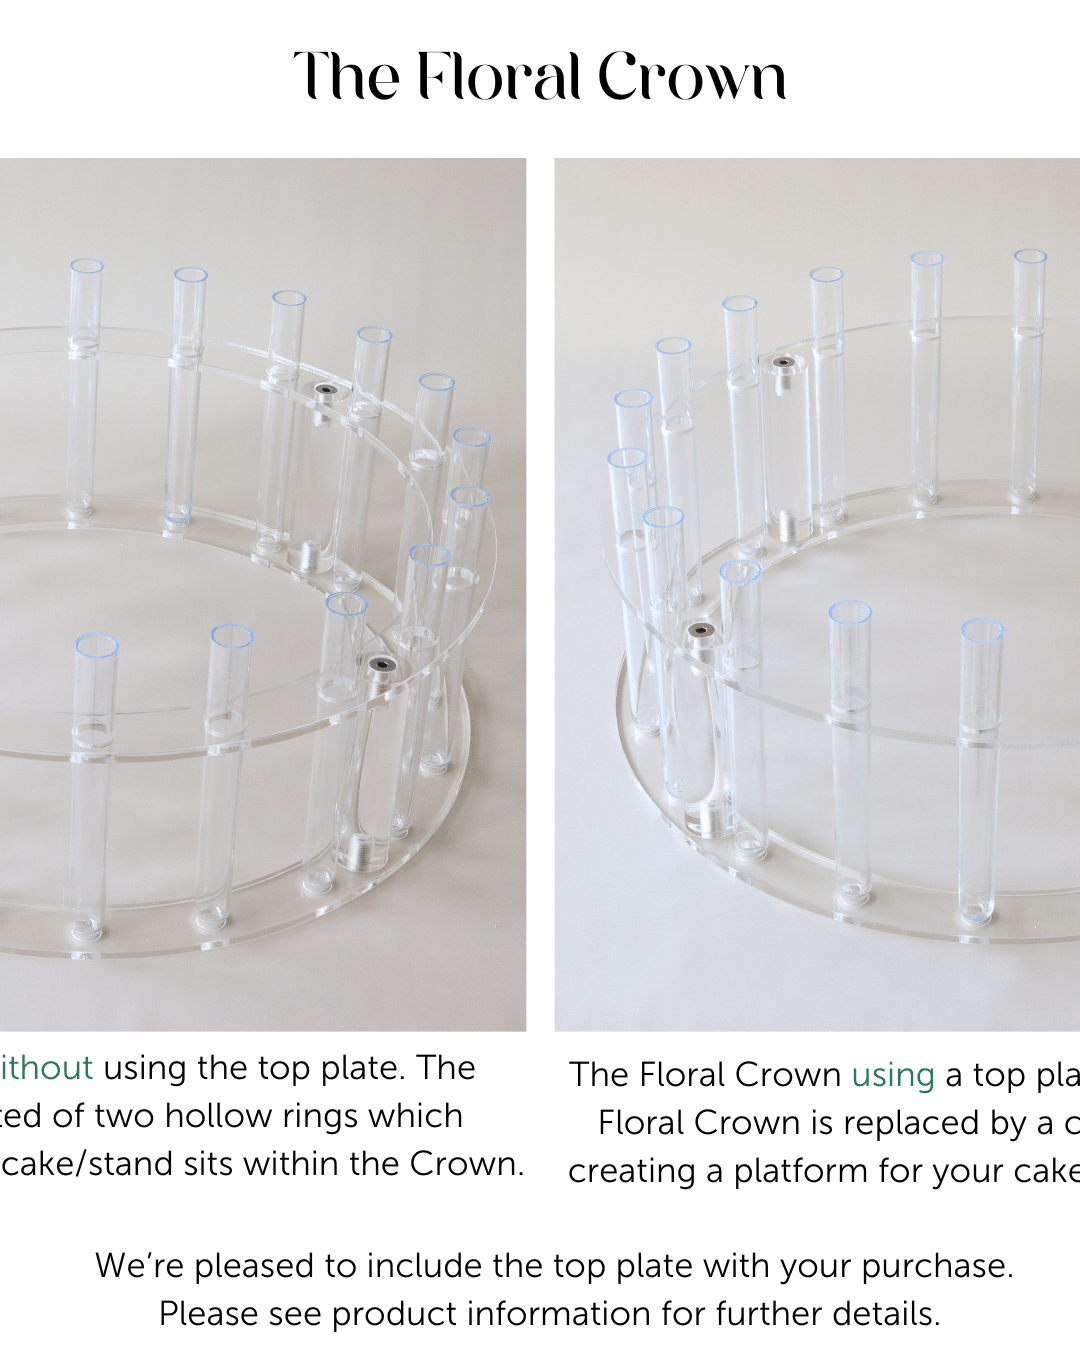
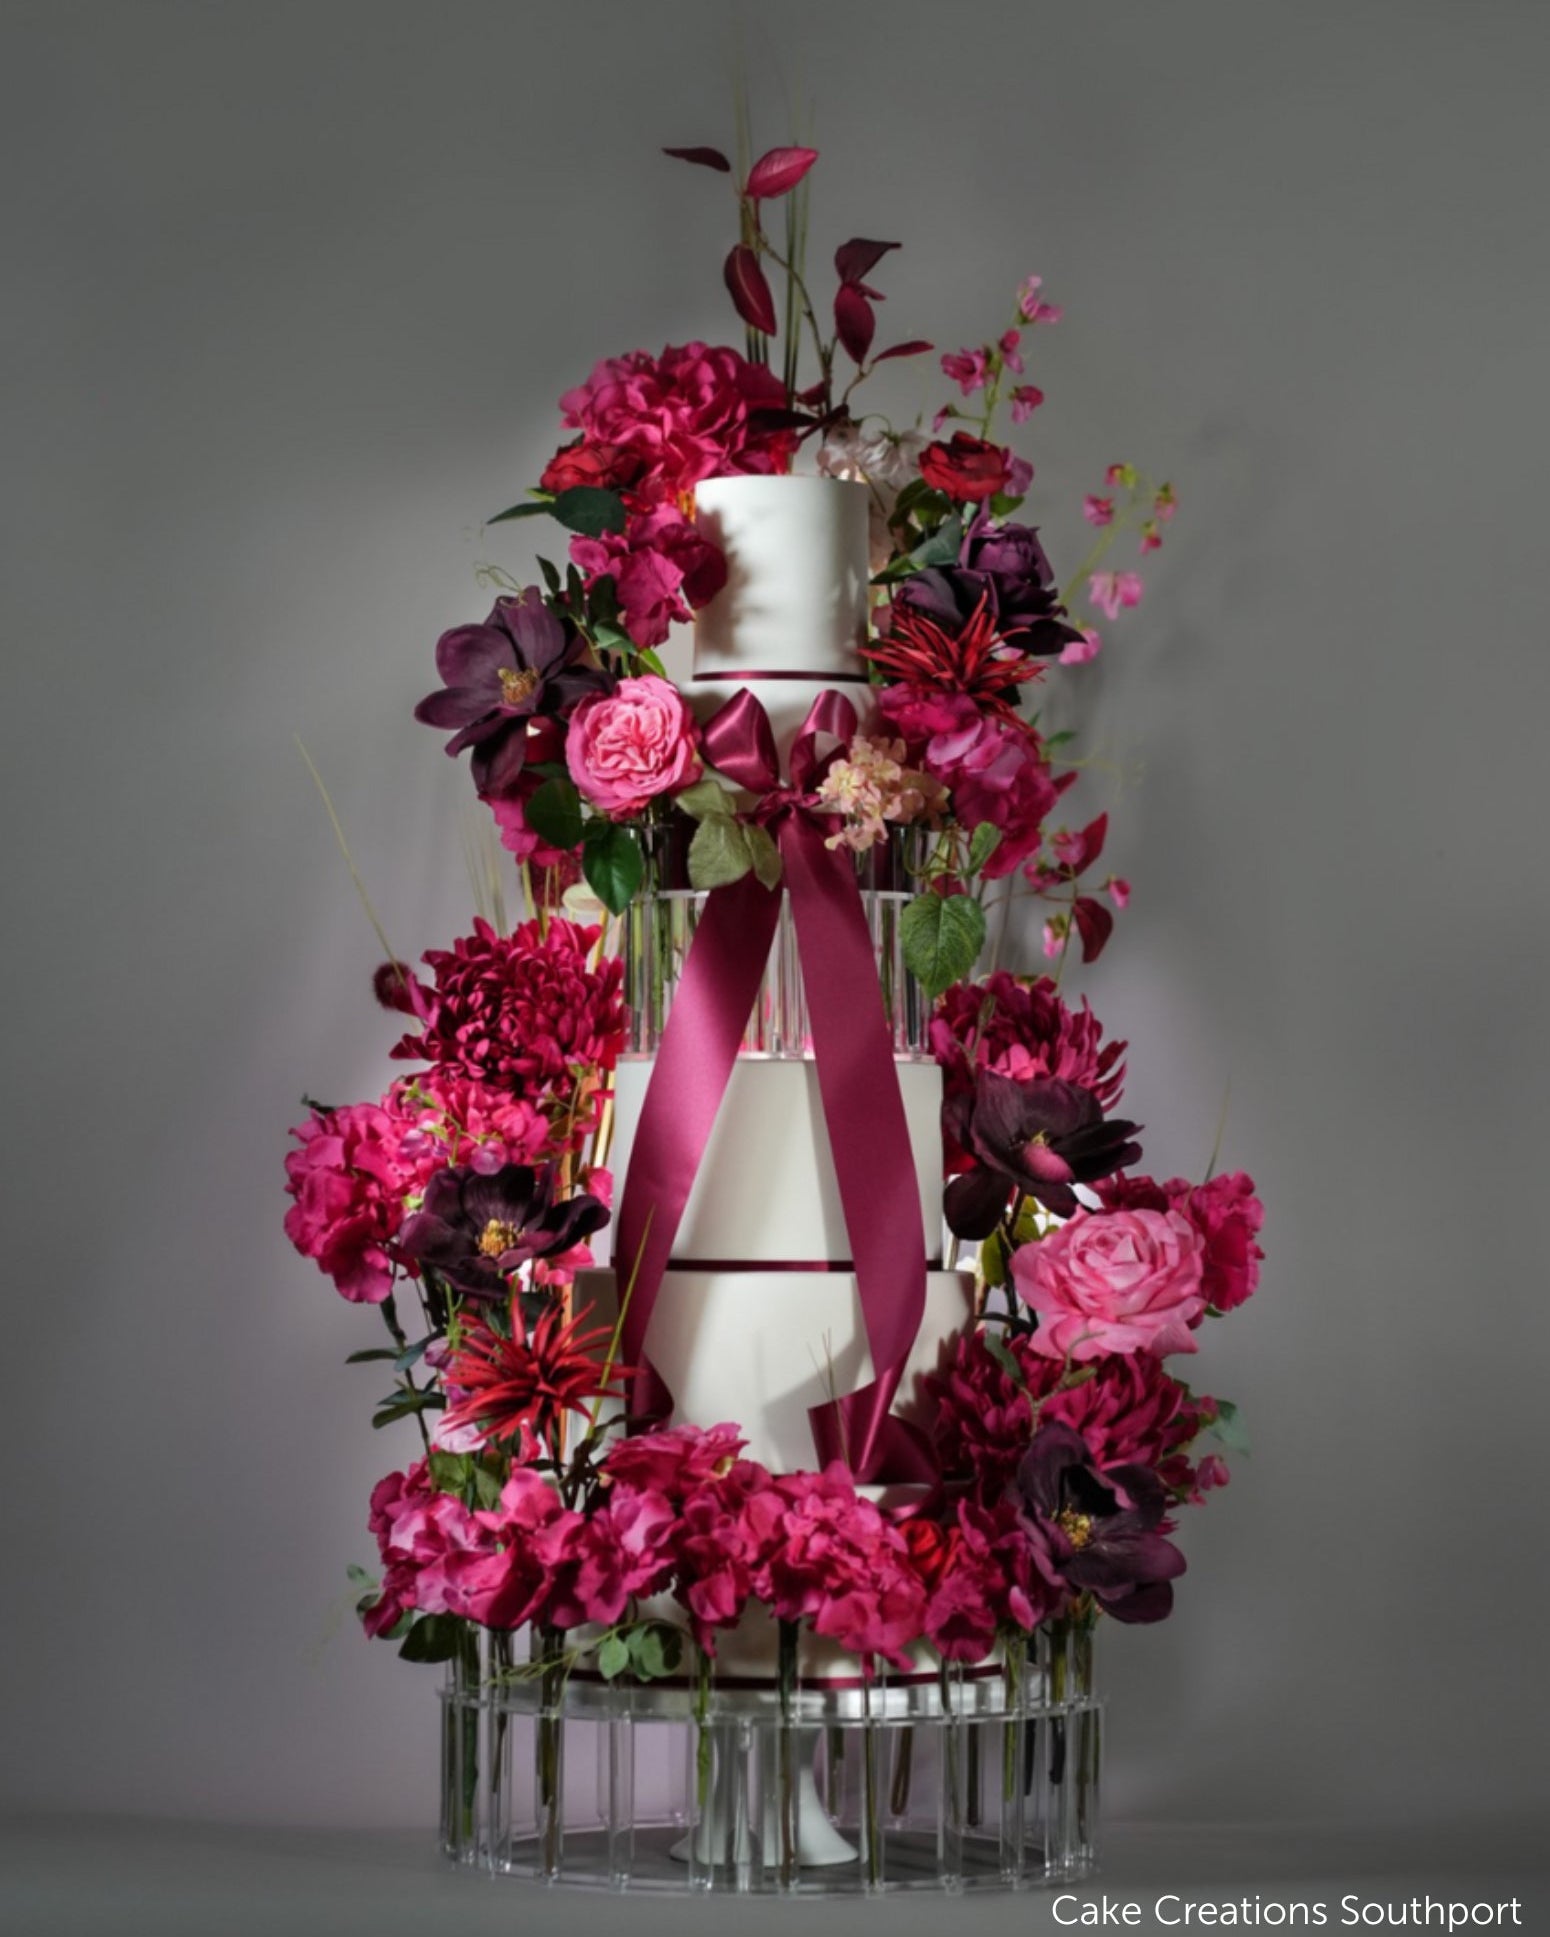
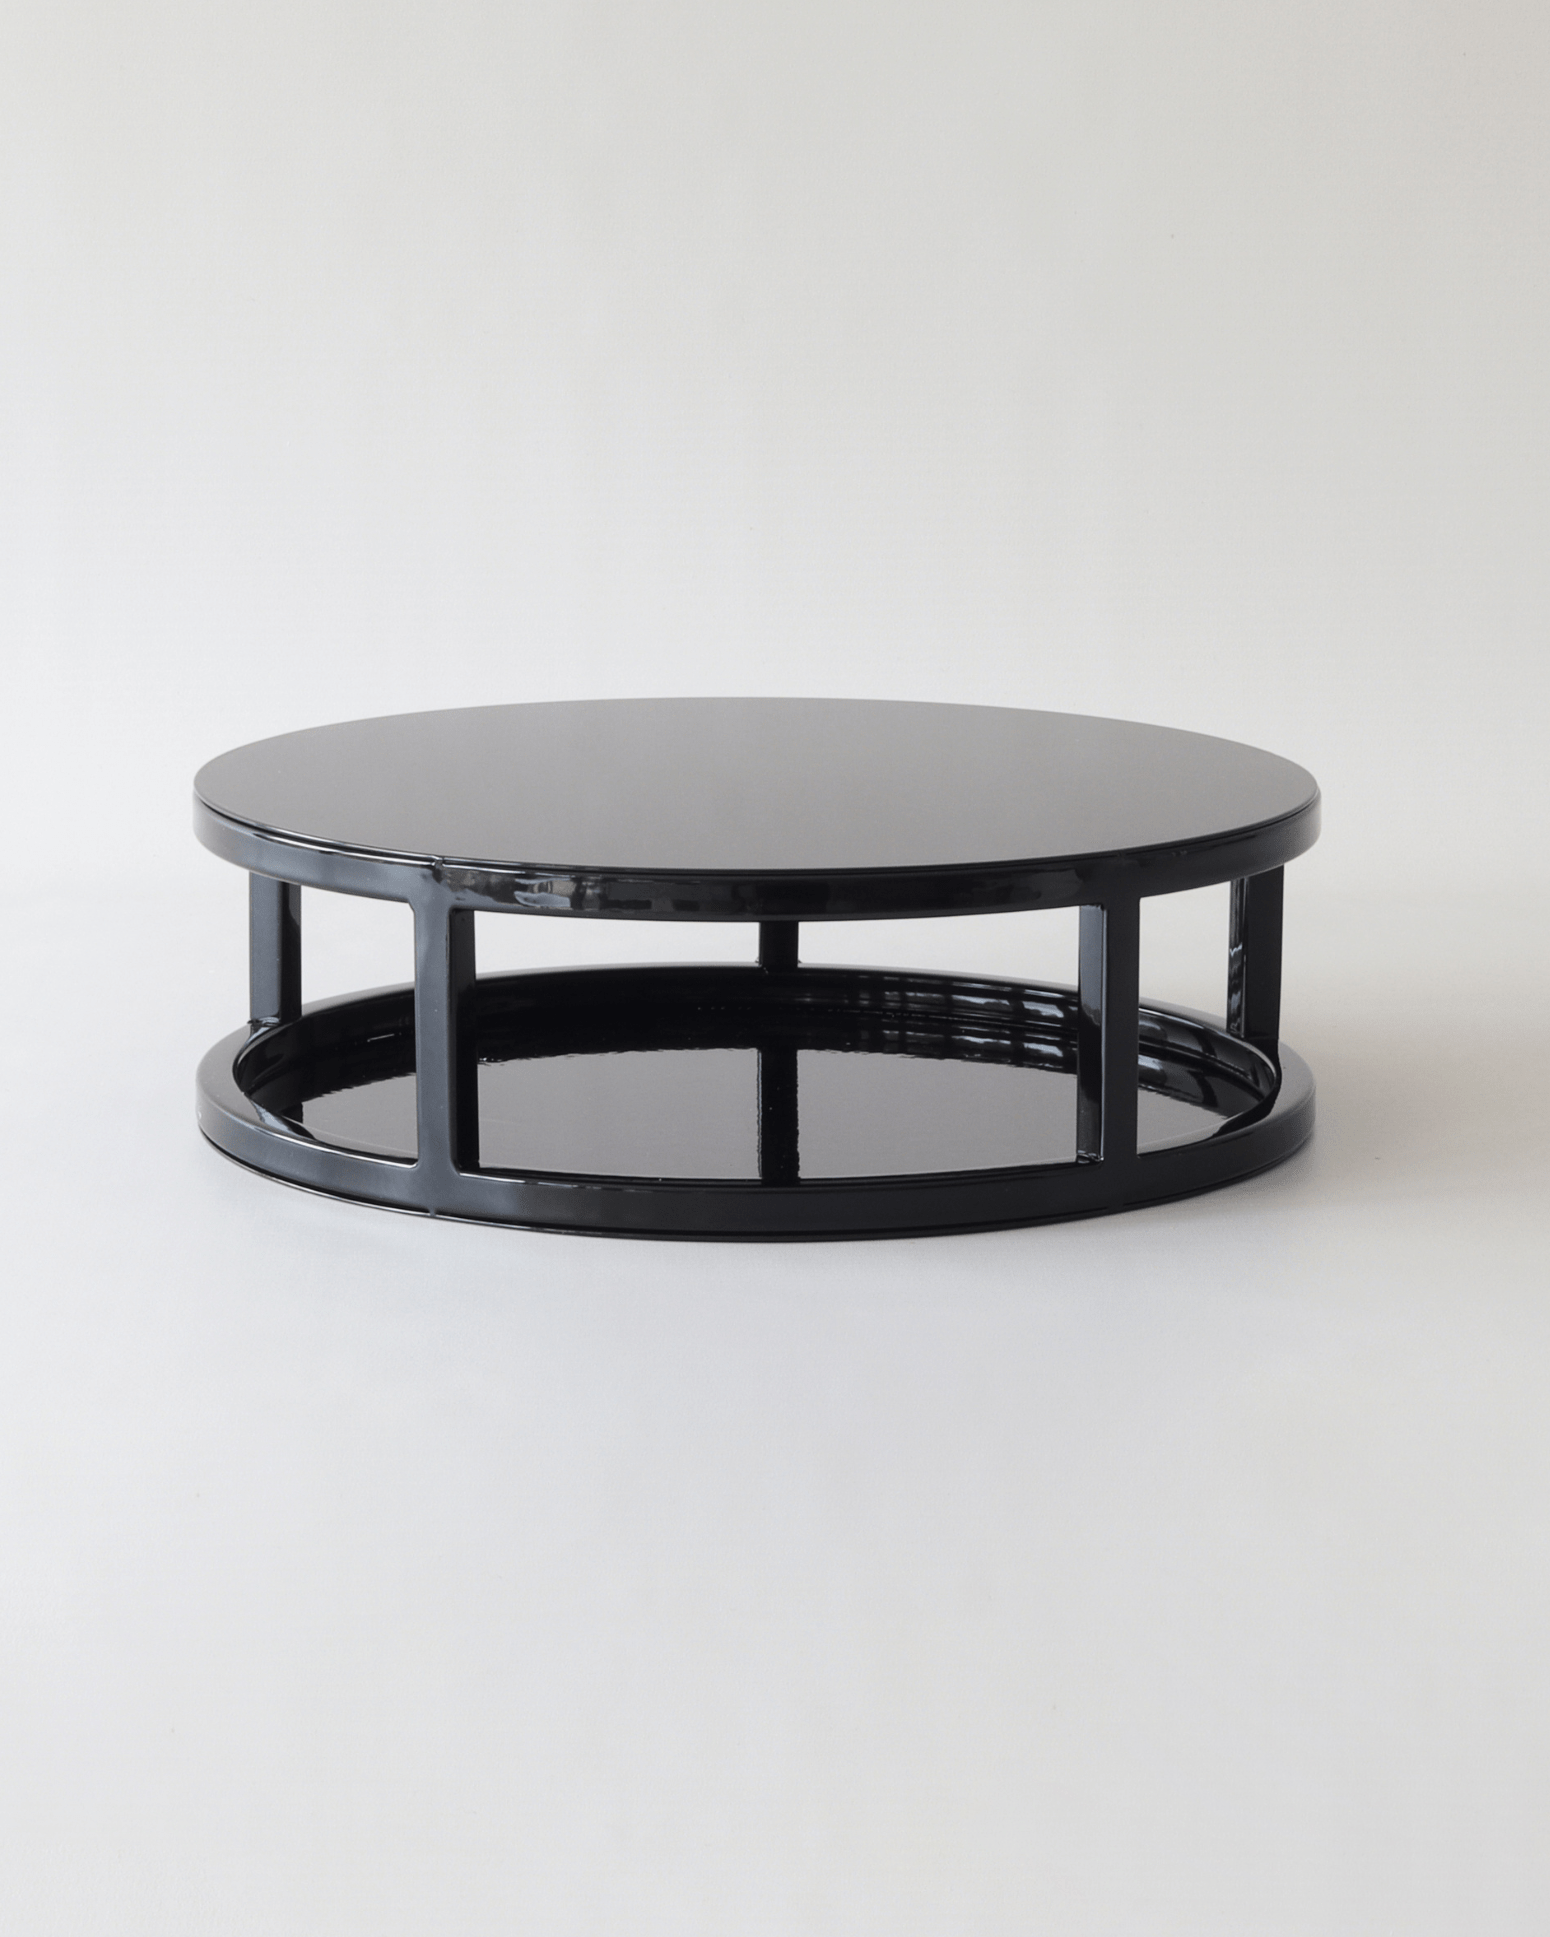
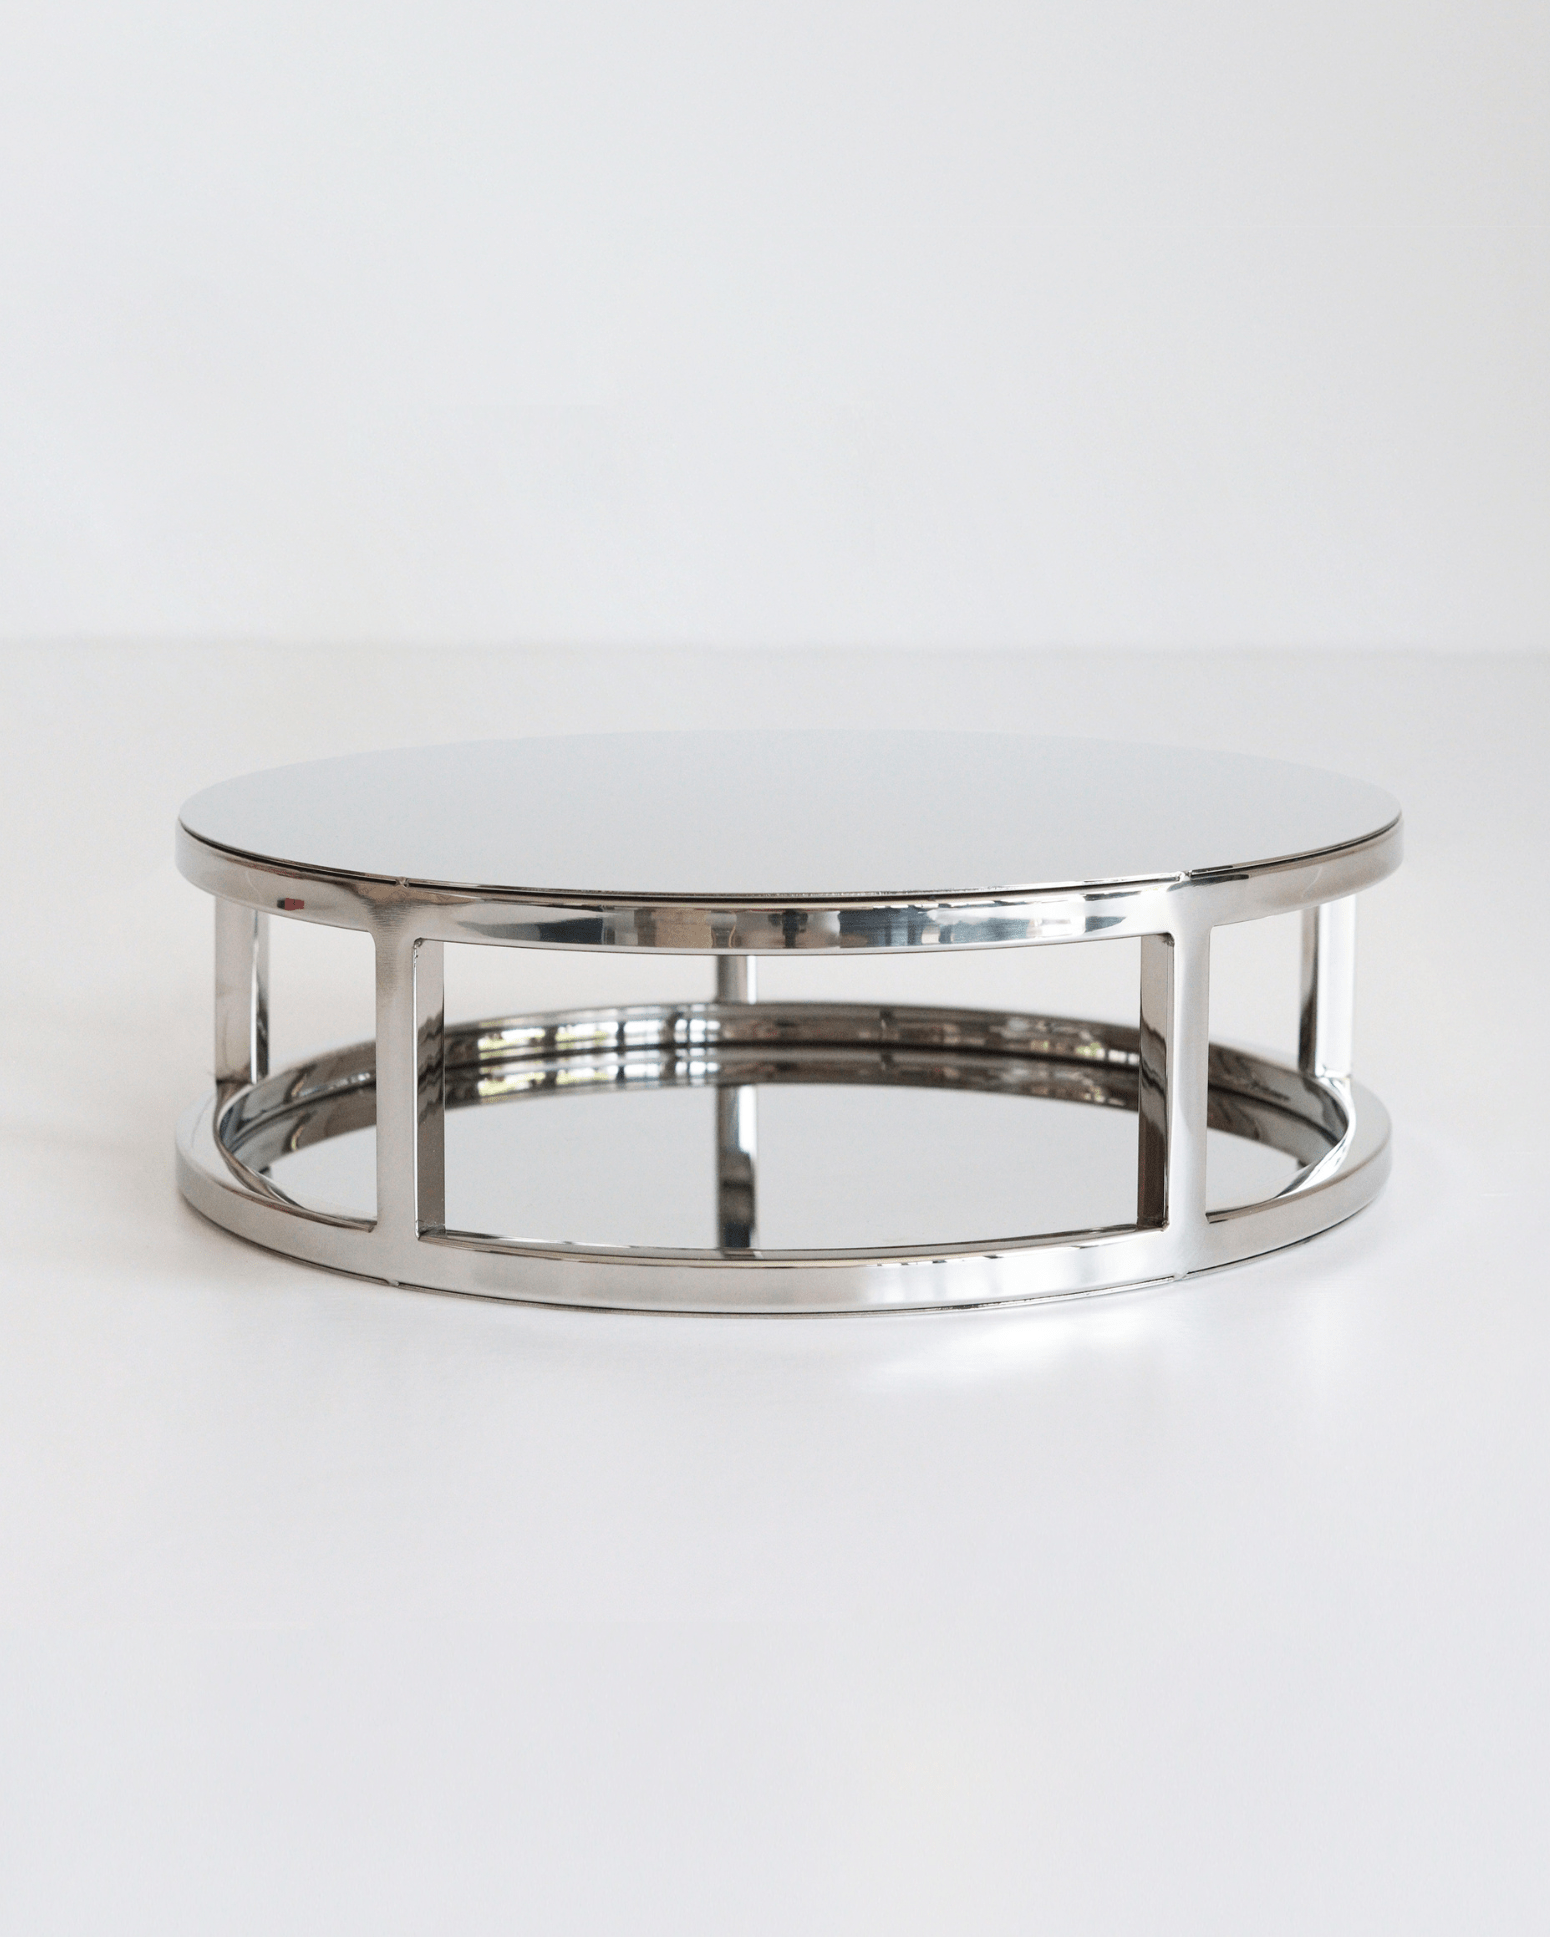
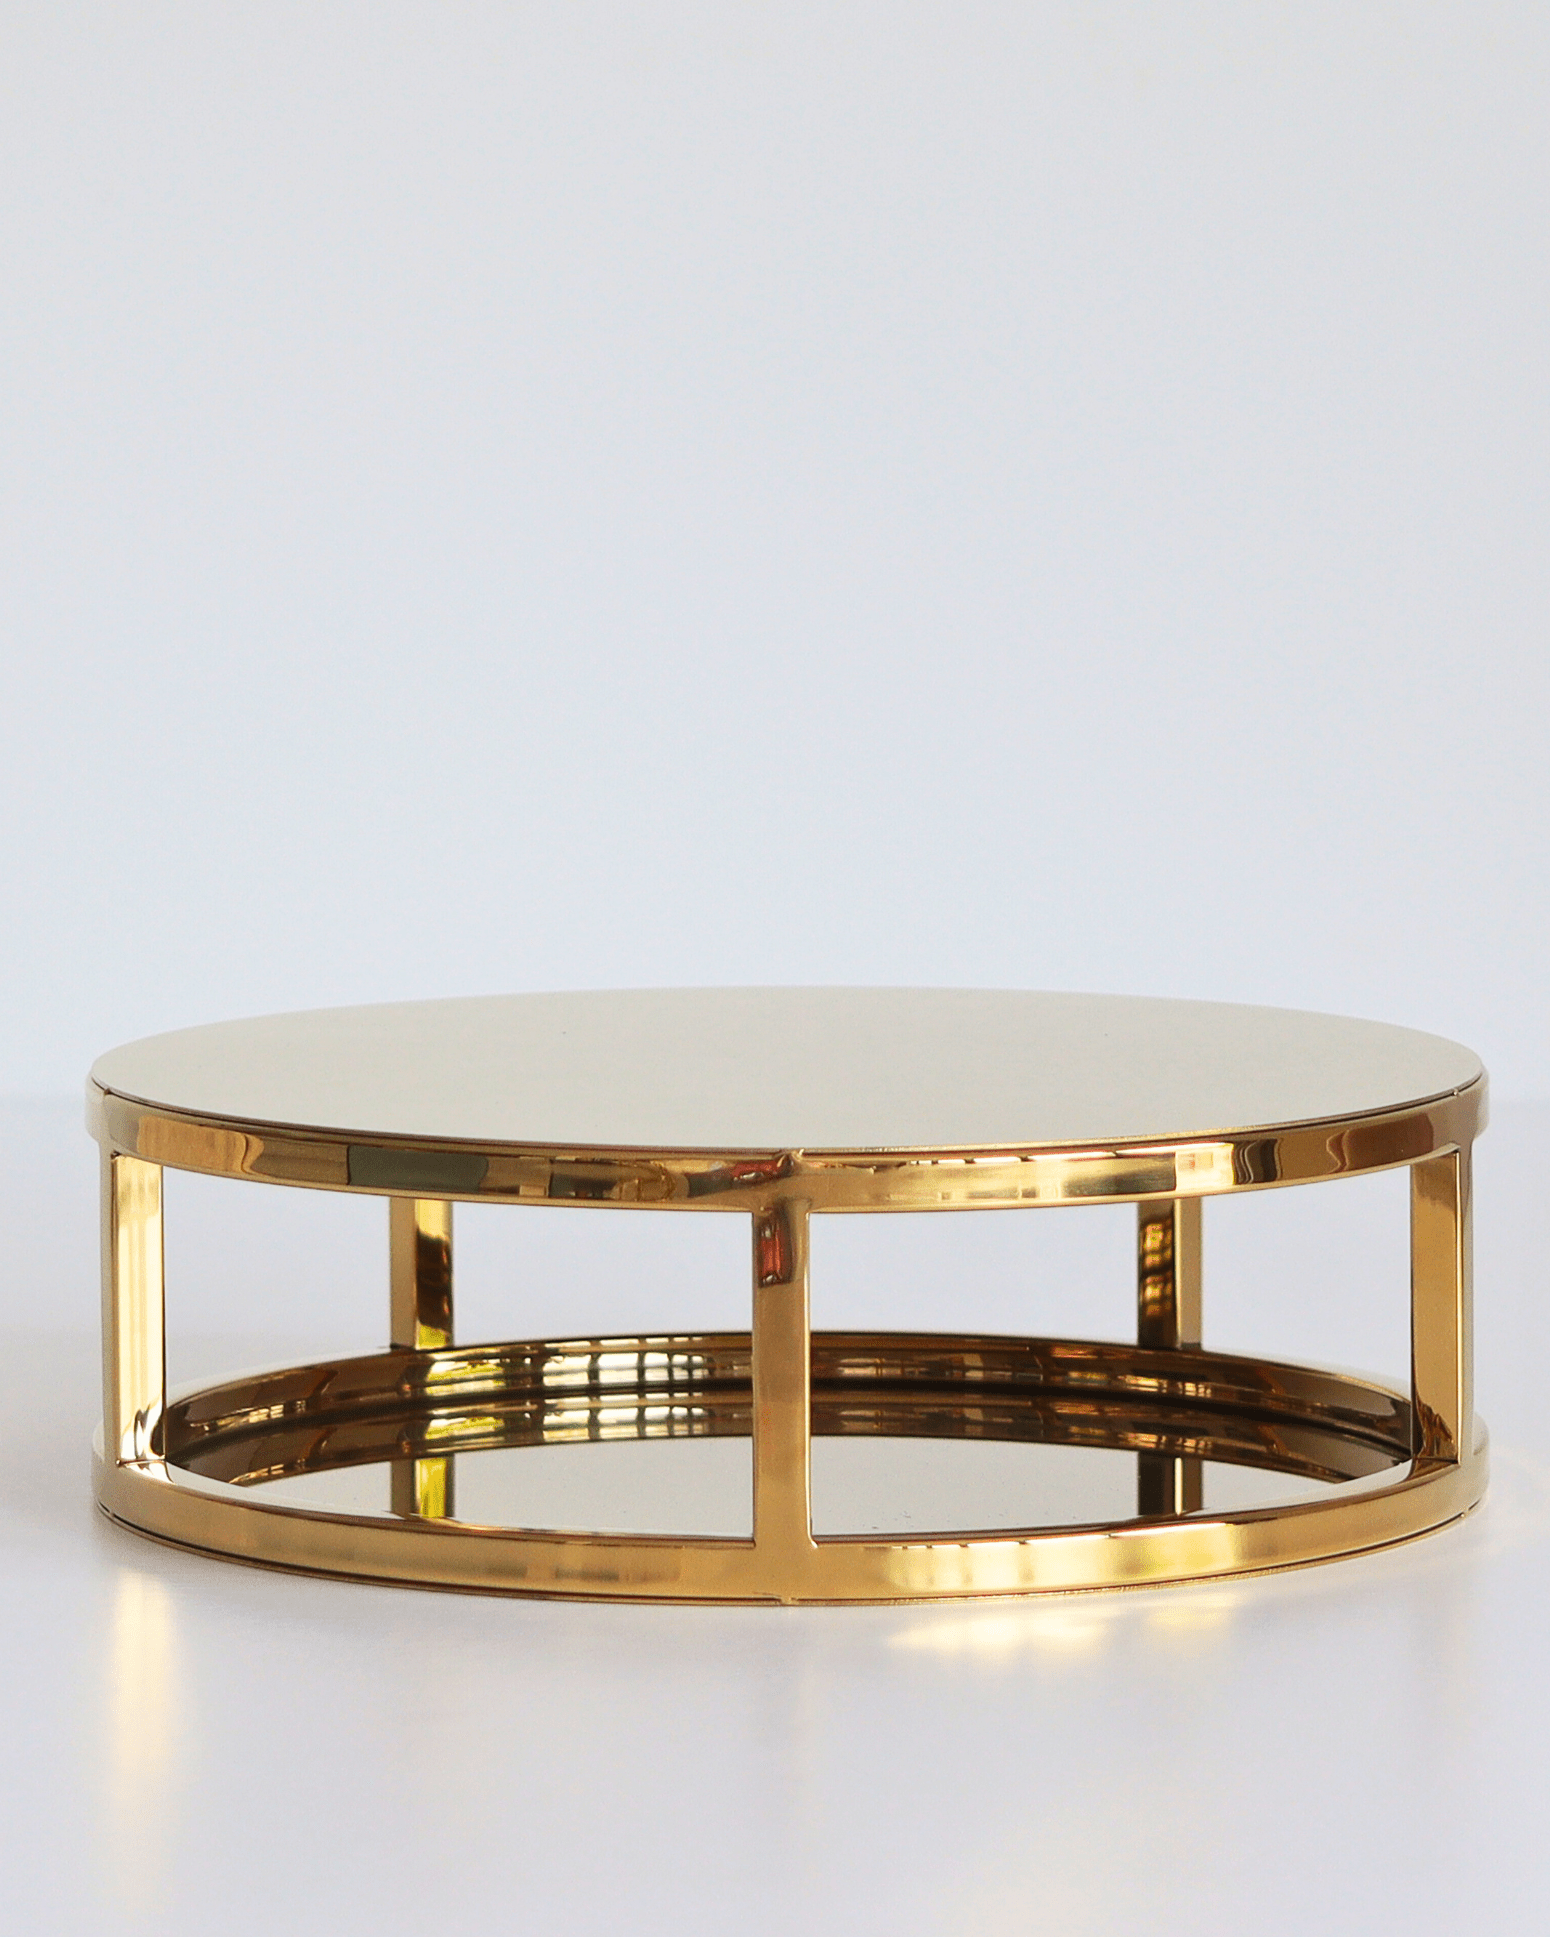
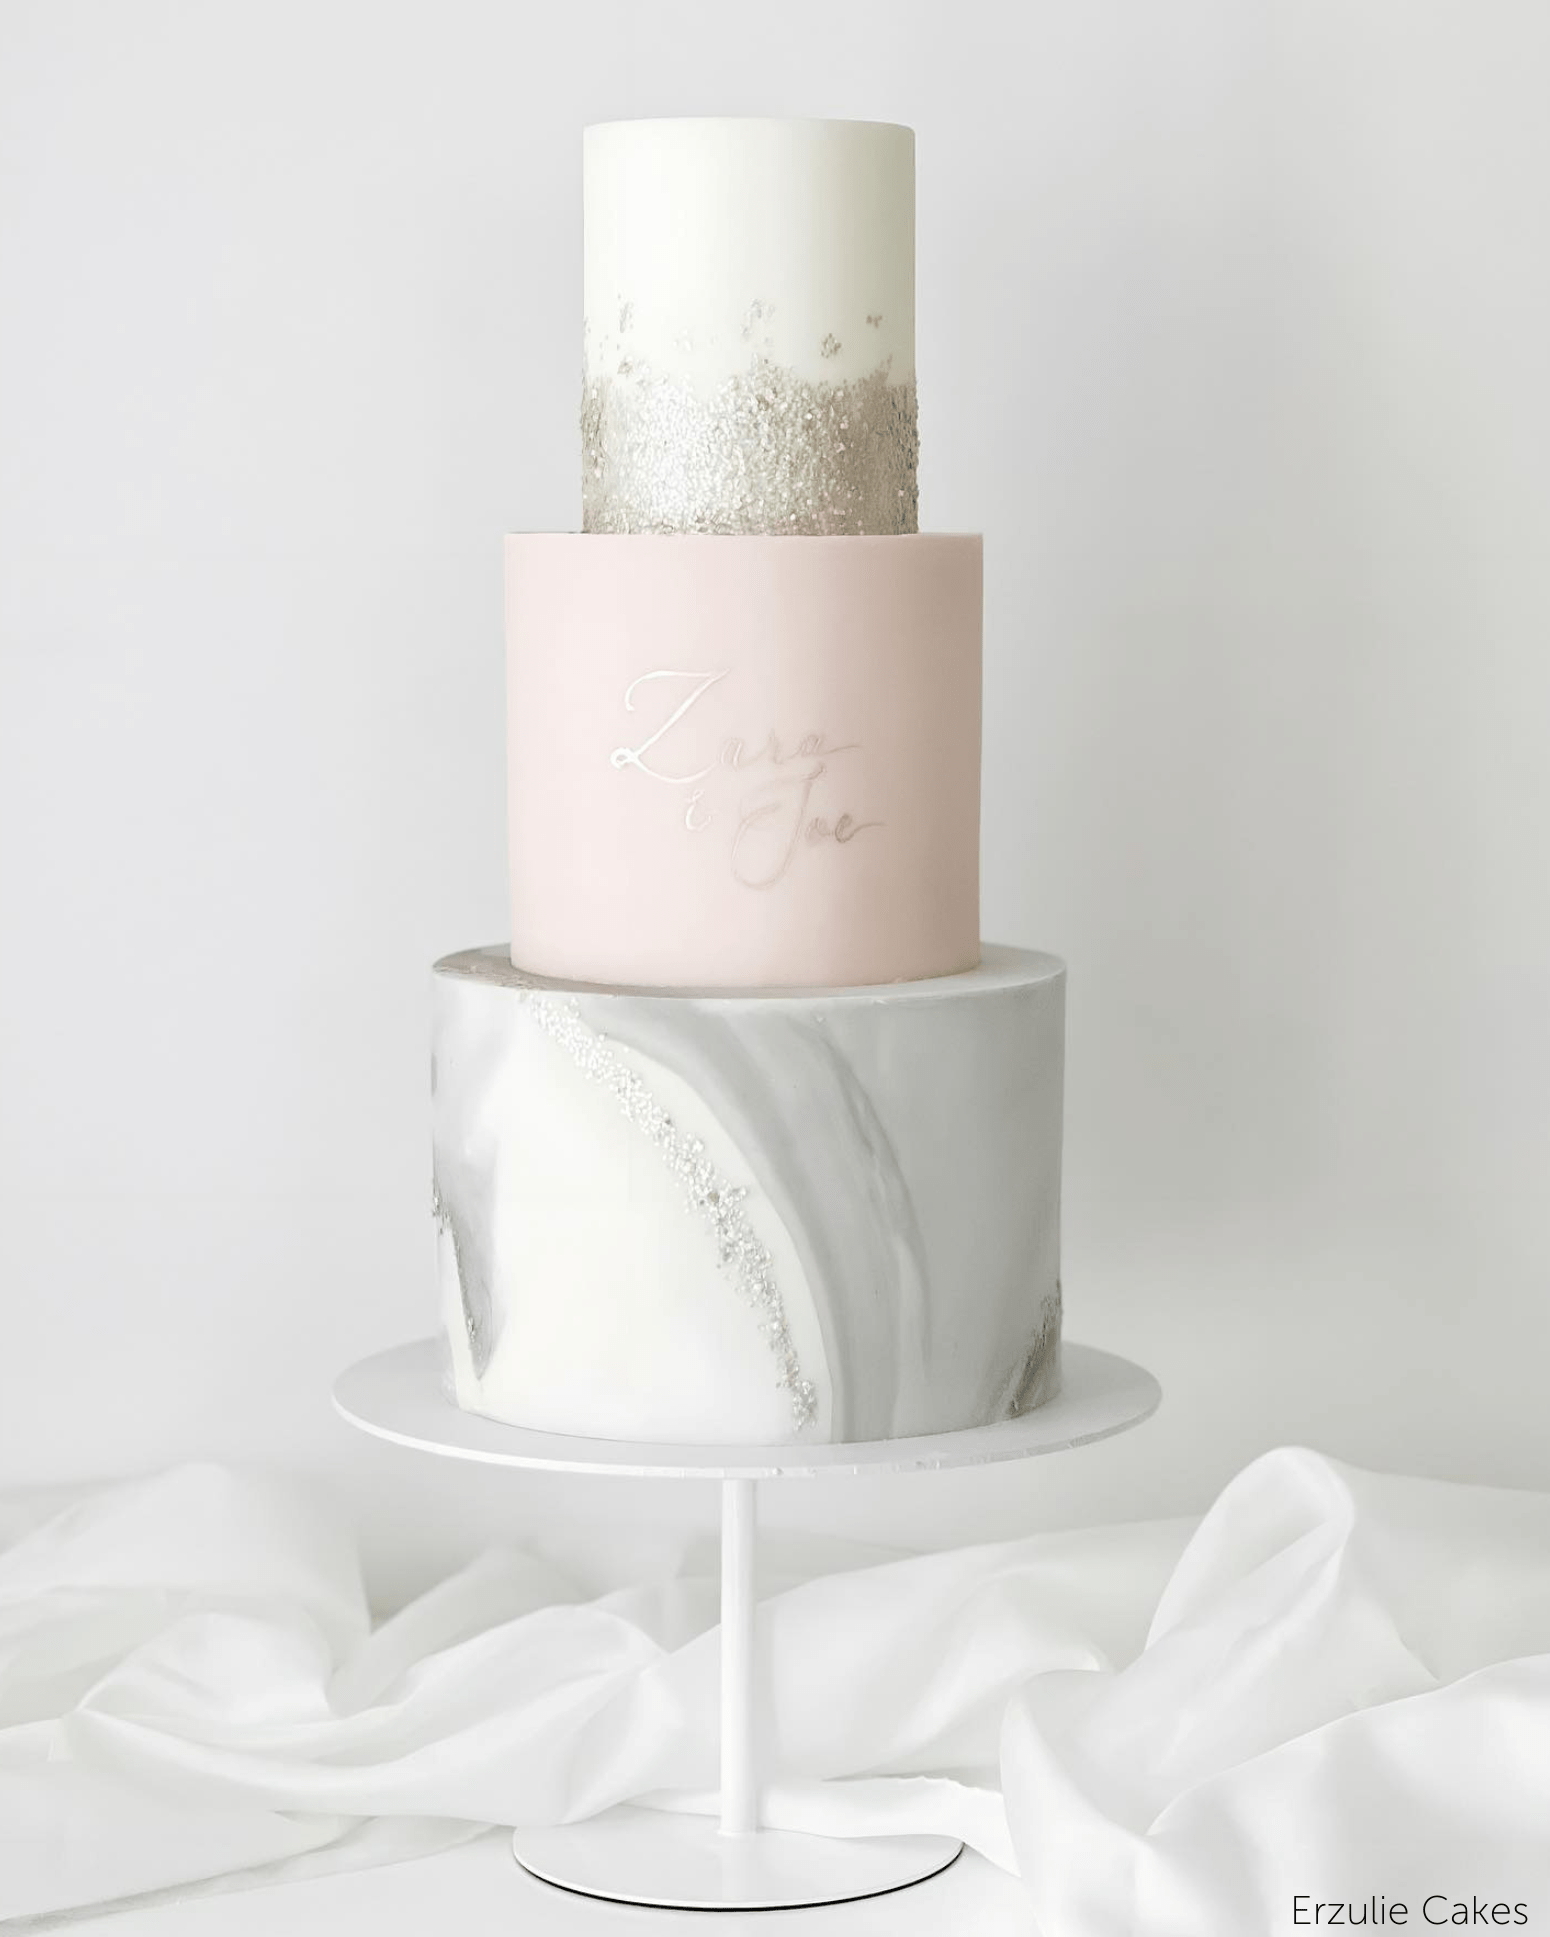
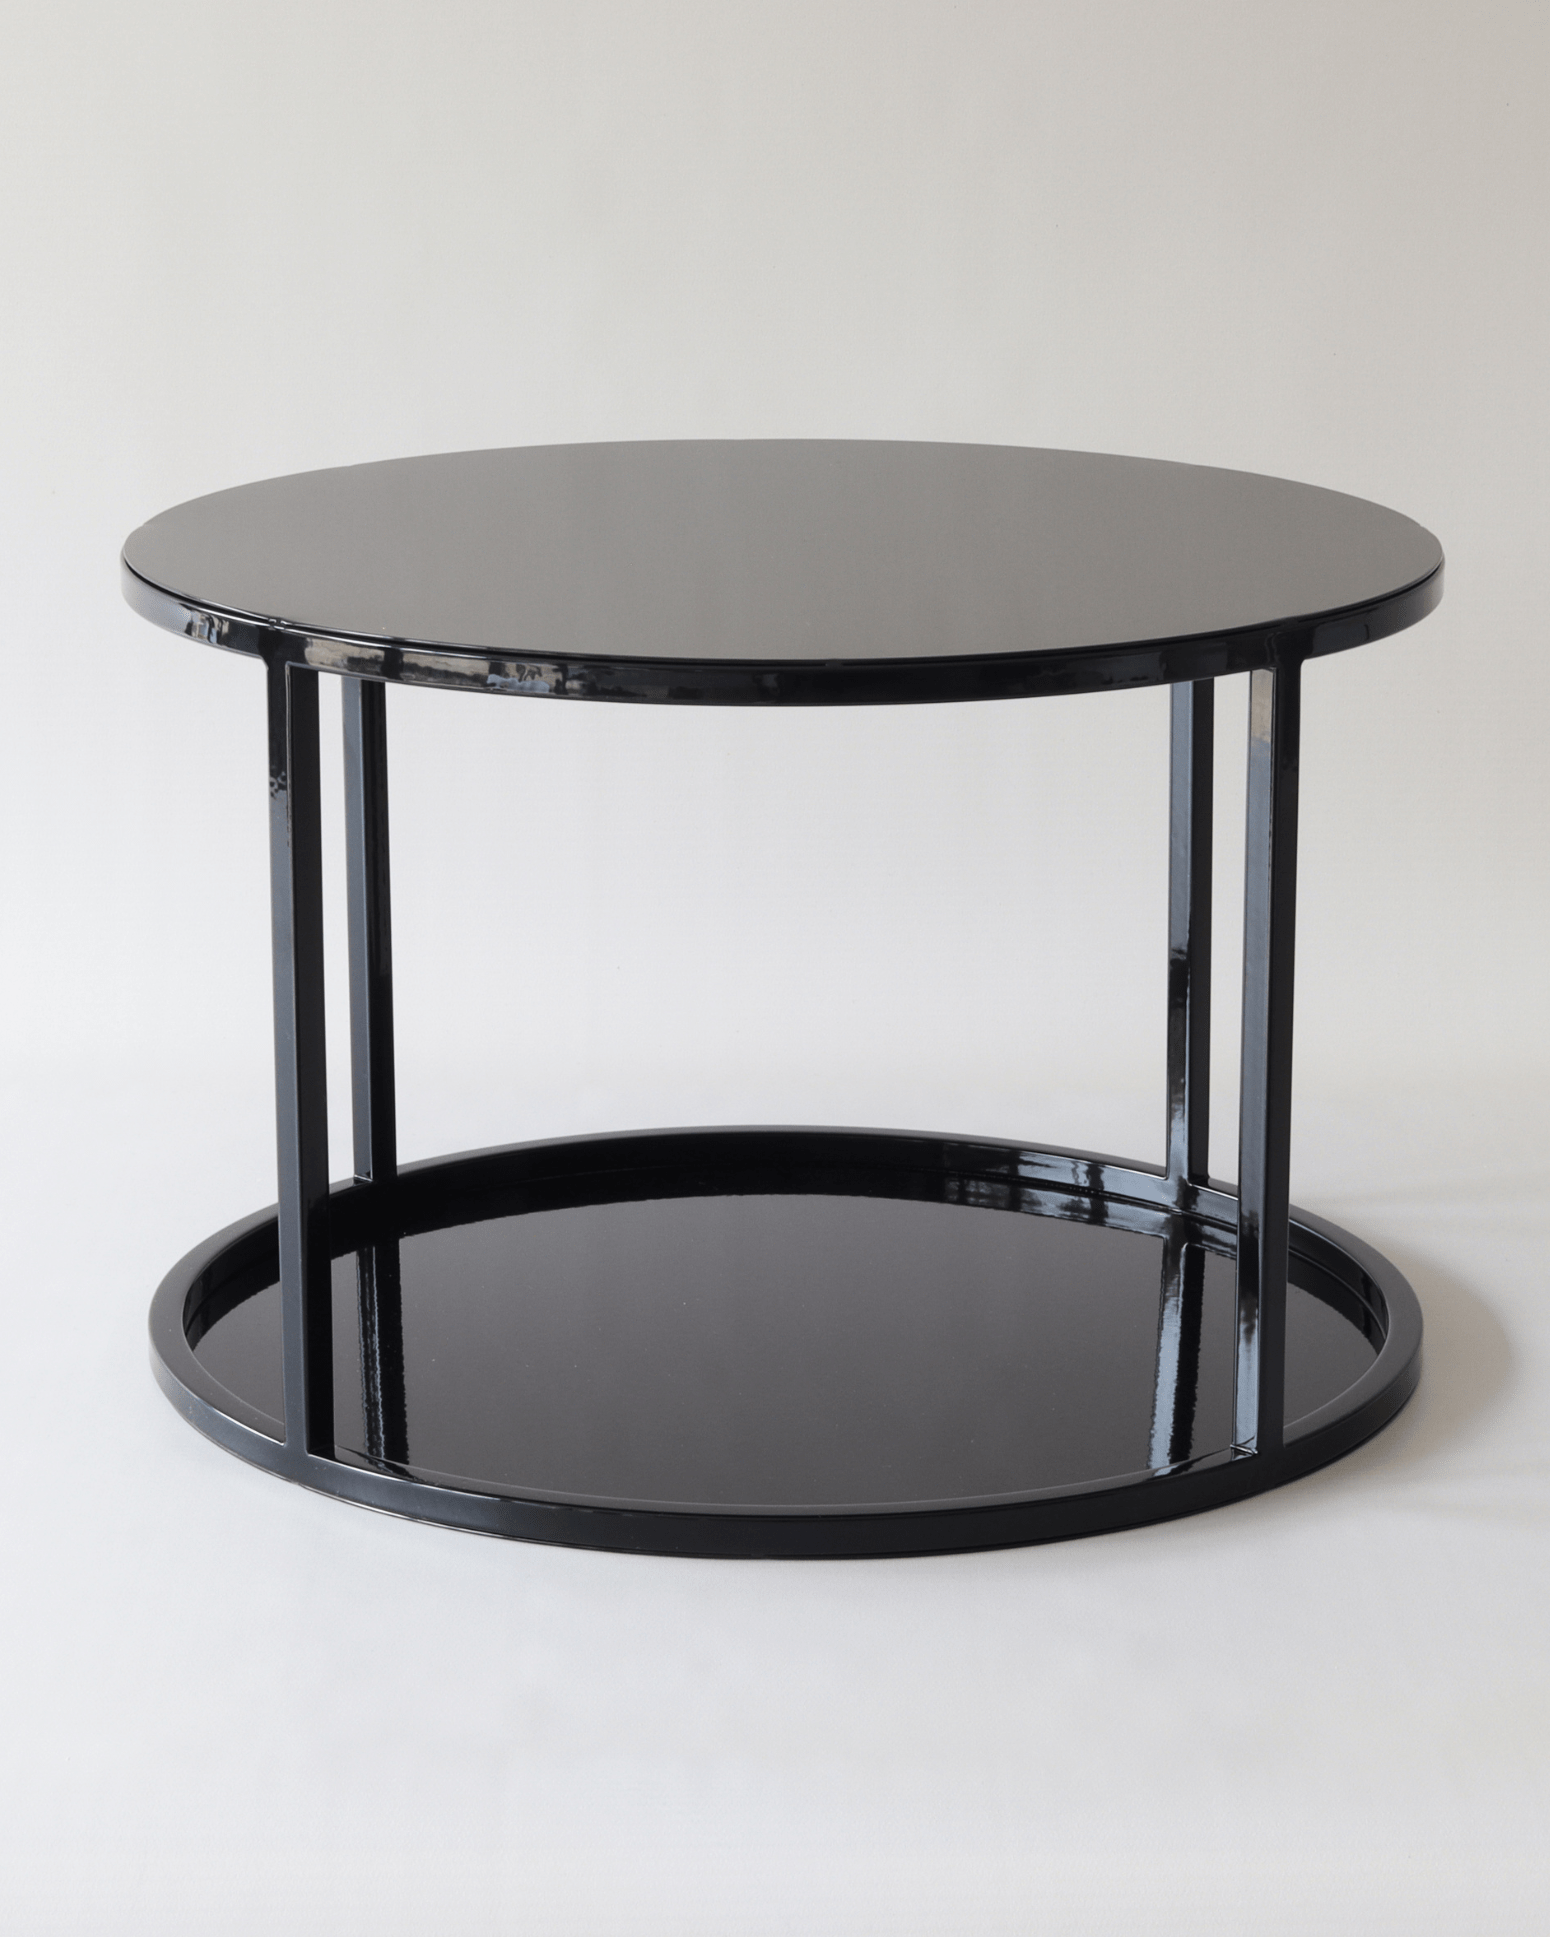
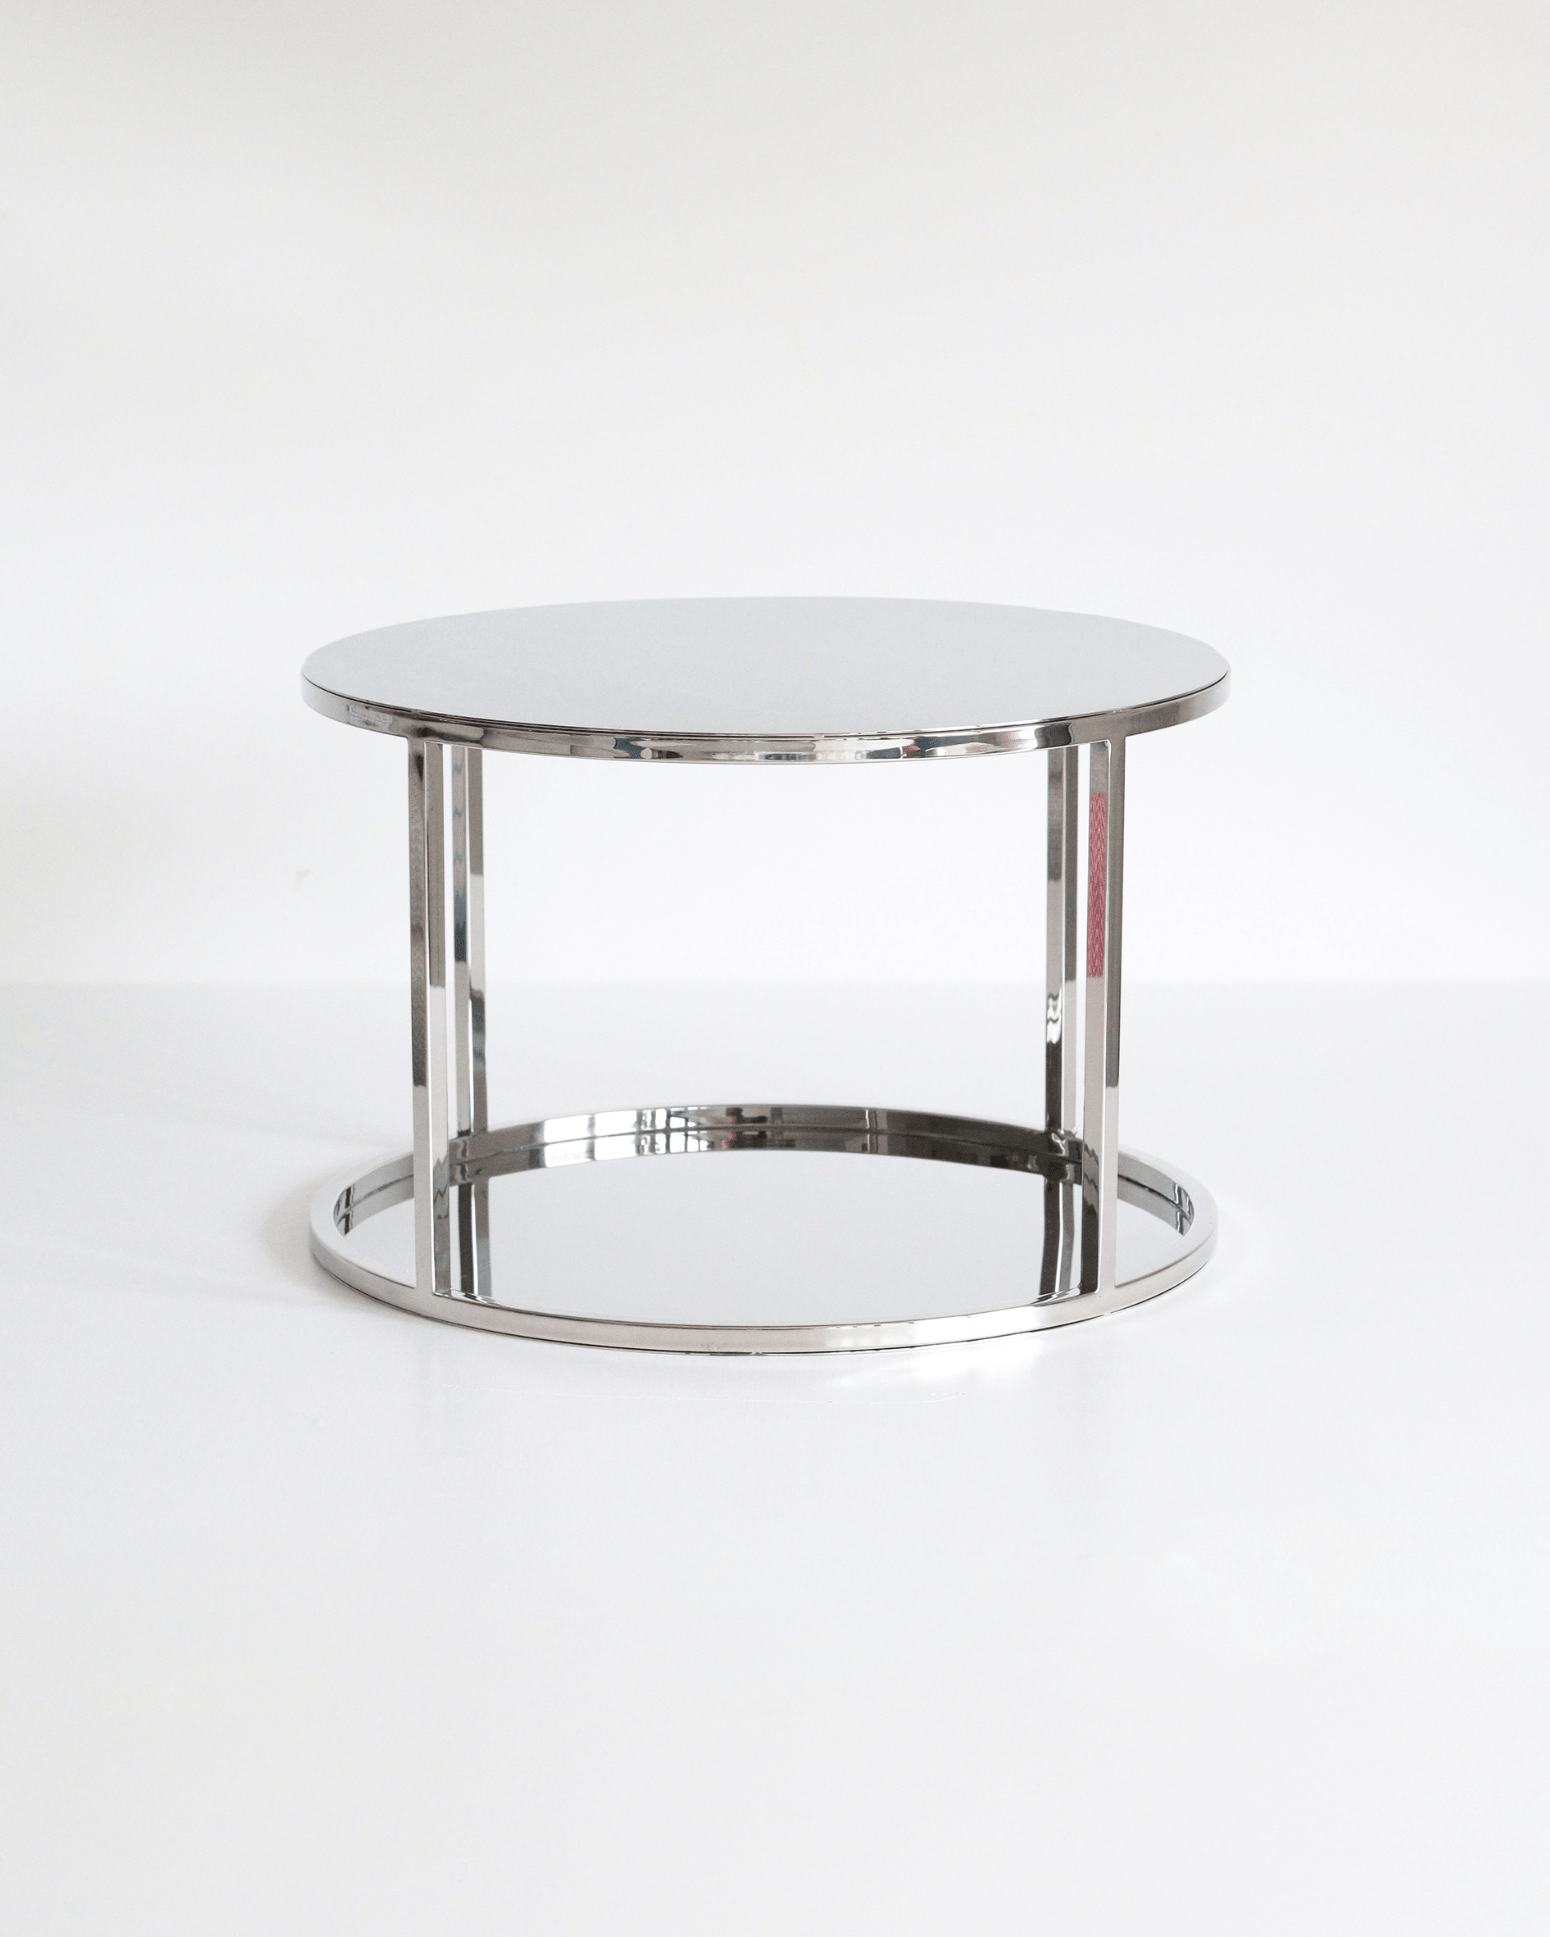
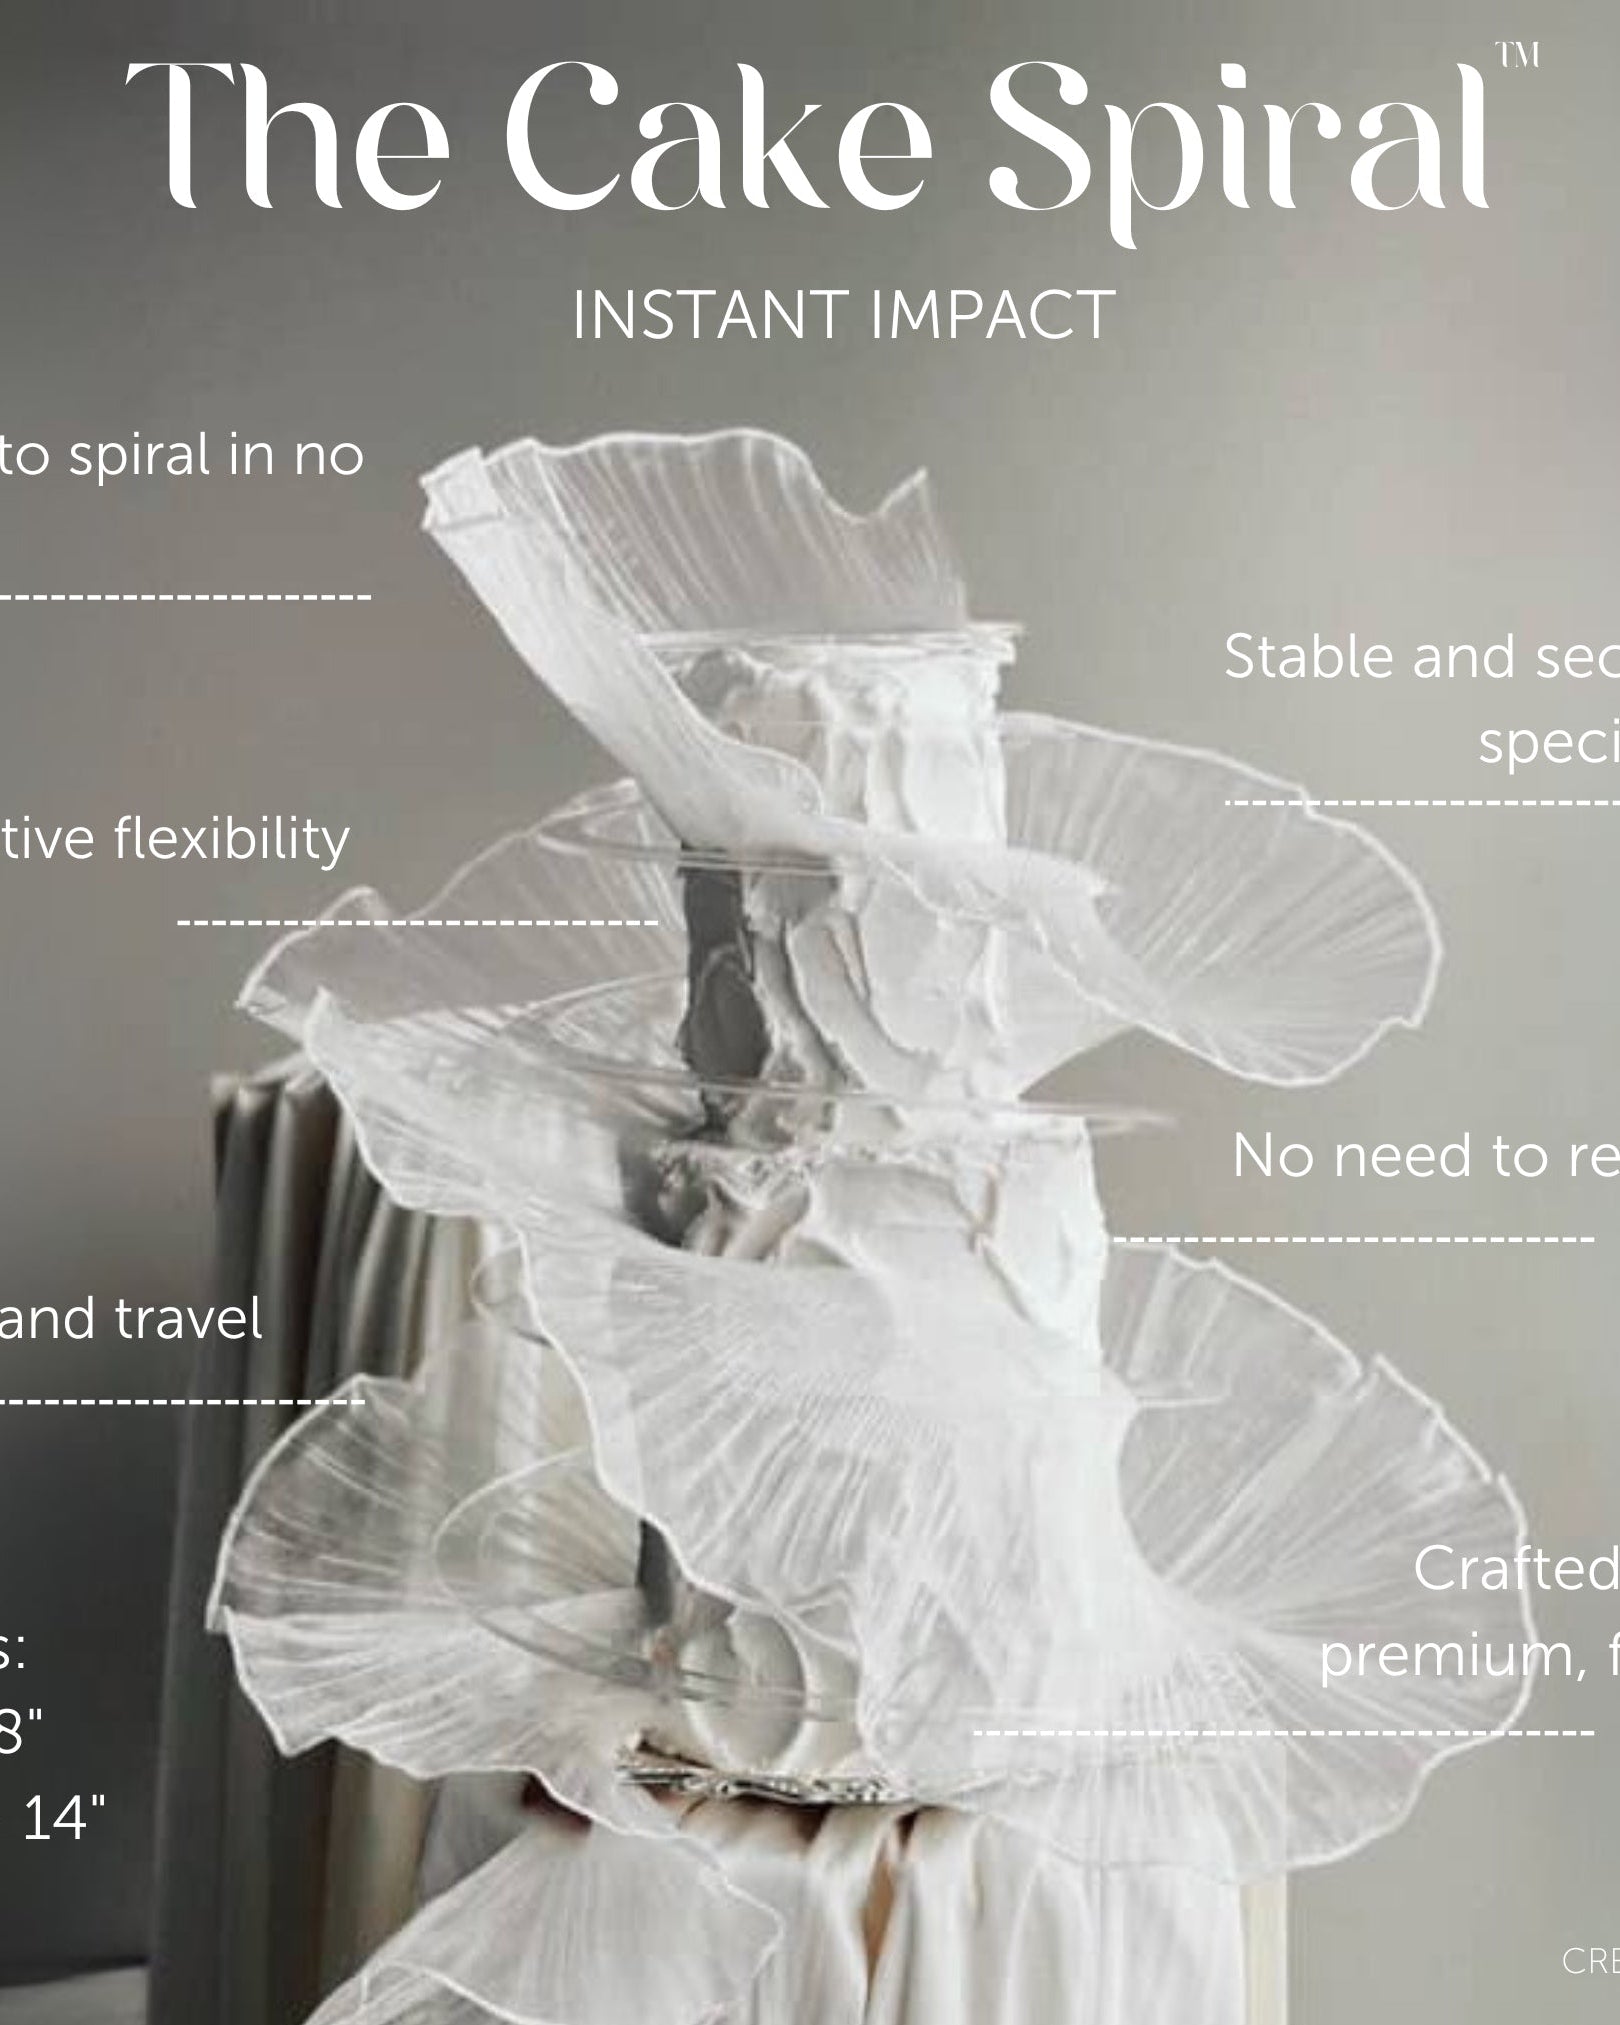
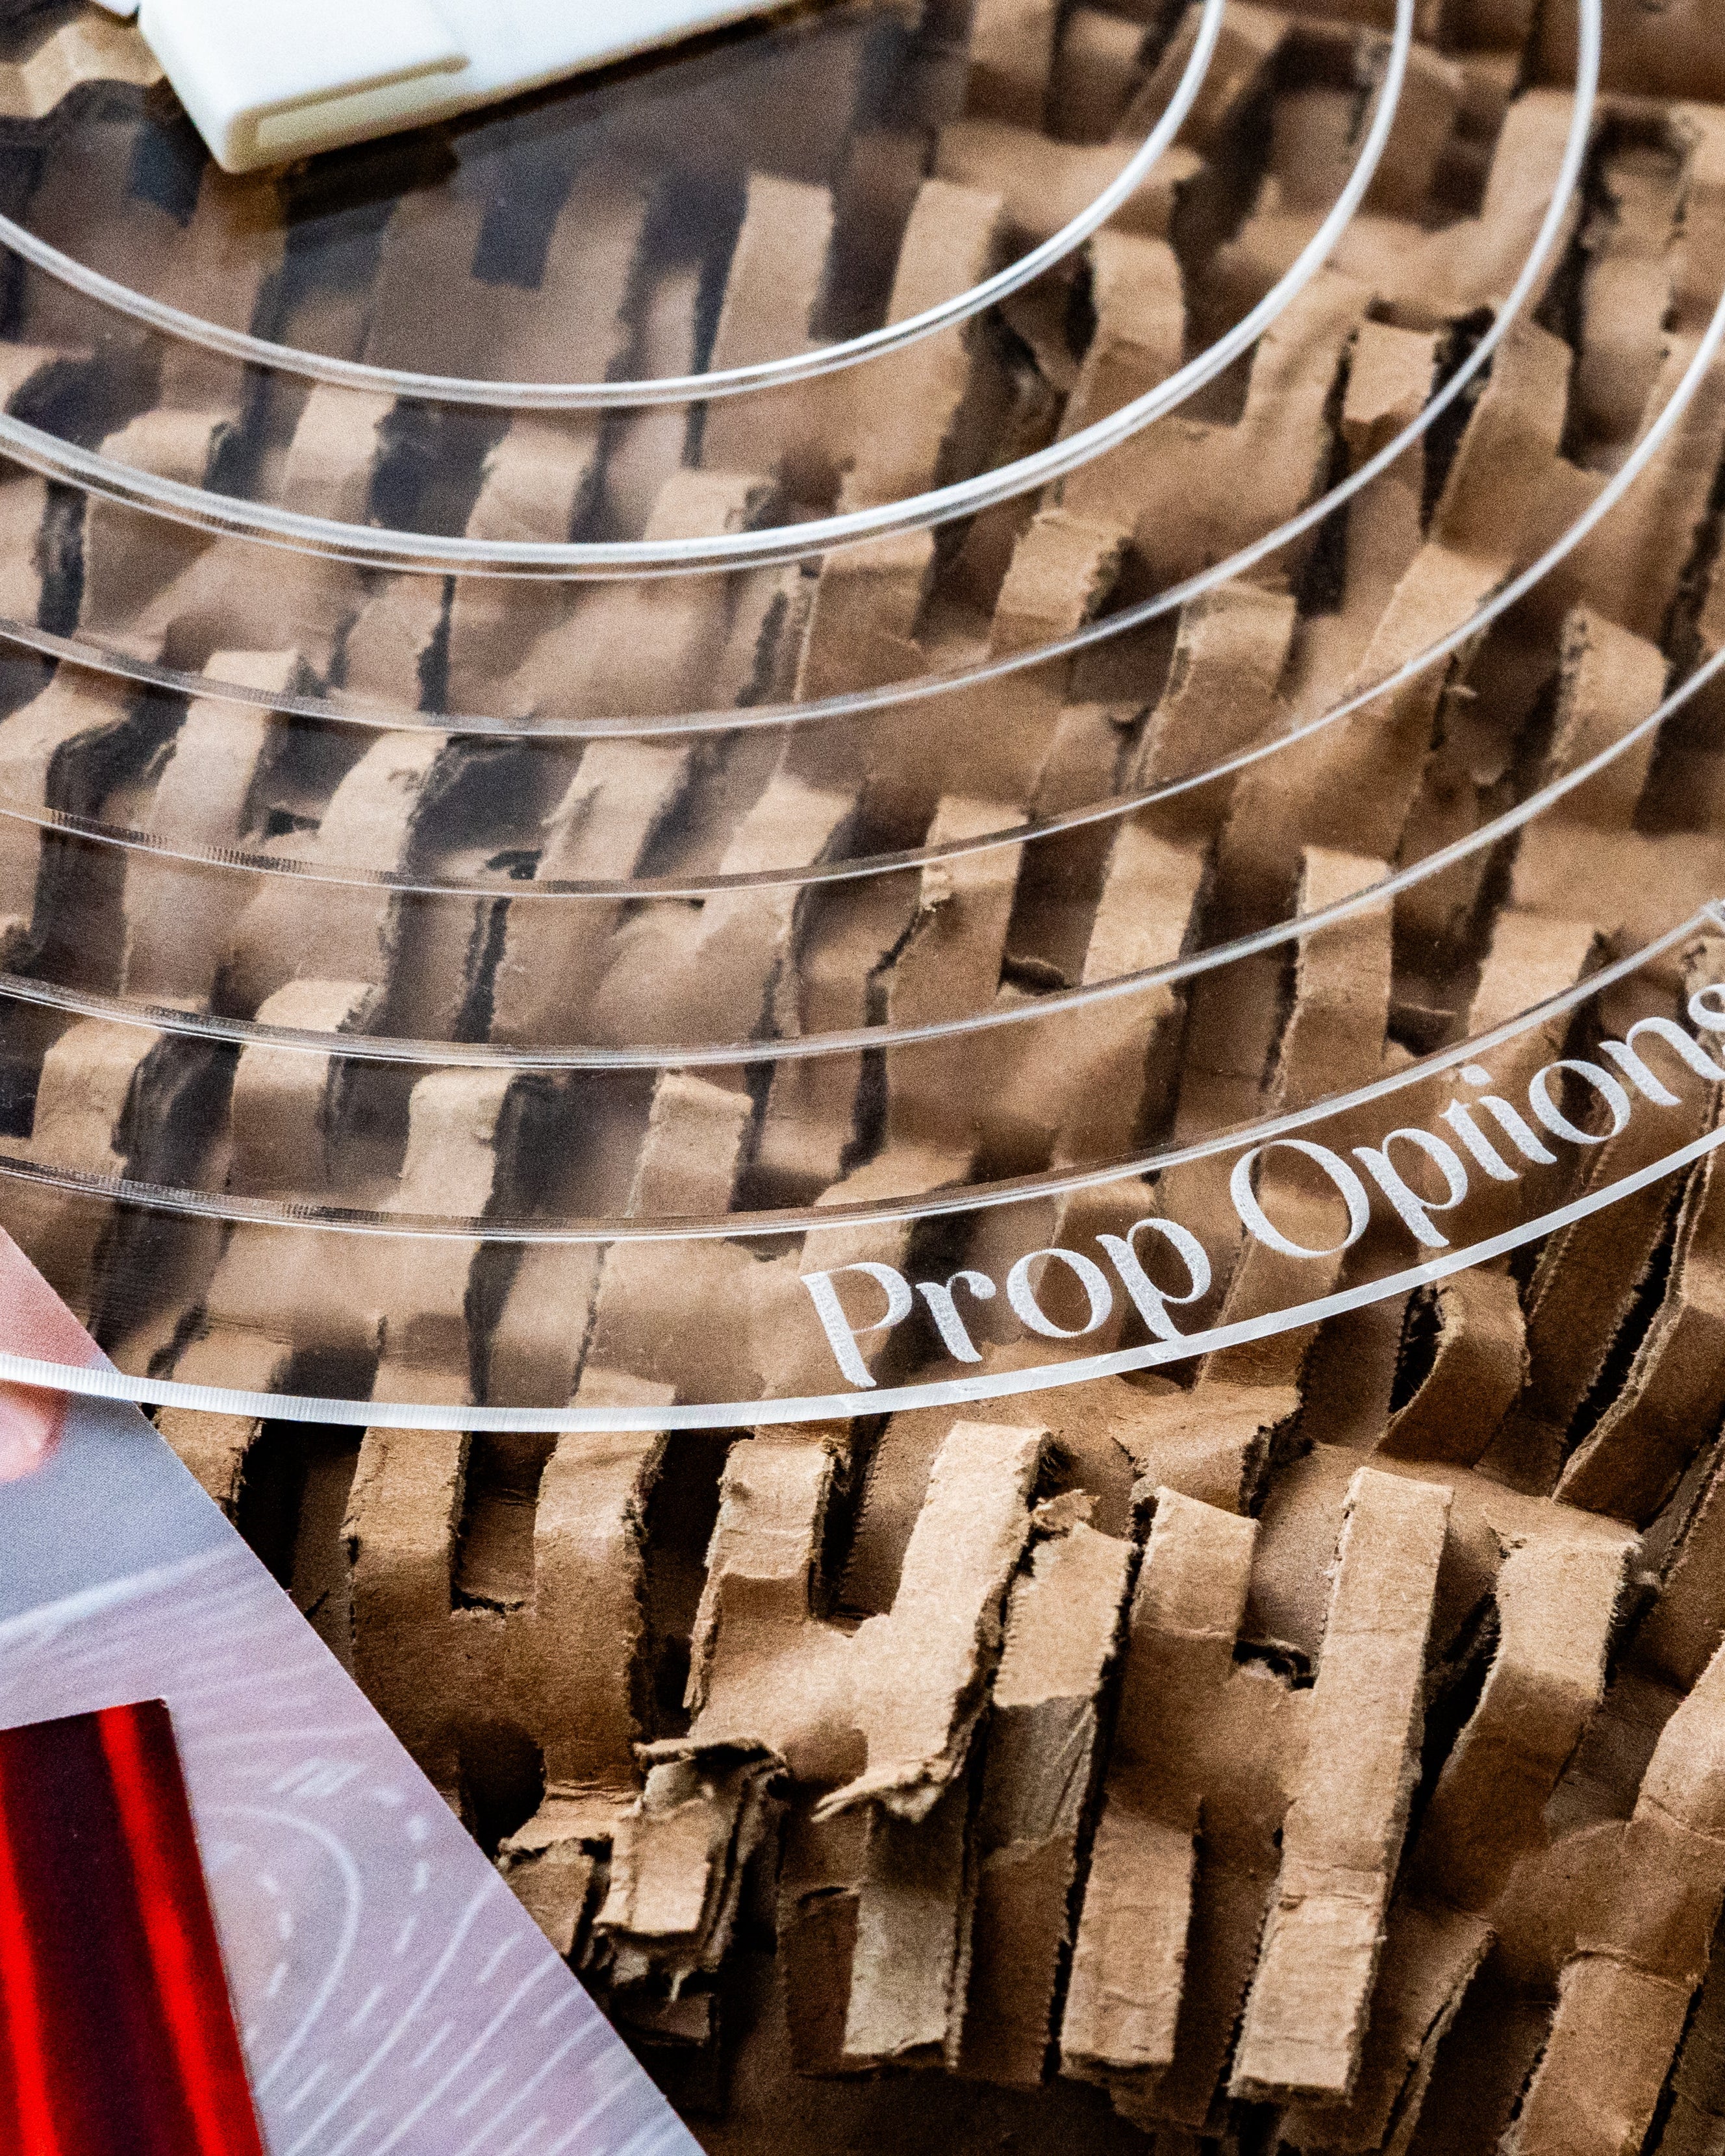
Props are the seasoning of the shot. The right one lifts the image; a dated or mismatched piece pulls the eye away from the cake. A cake stand, plinth or cake plate gives the cake a stage, and a considered addition such as fresh flowers or a clean cake knife completes the scene. Be selective. We would point you to the Prop Options cake stands and separators to find a stand that suits the cake rather than fights it.
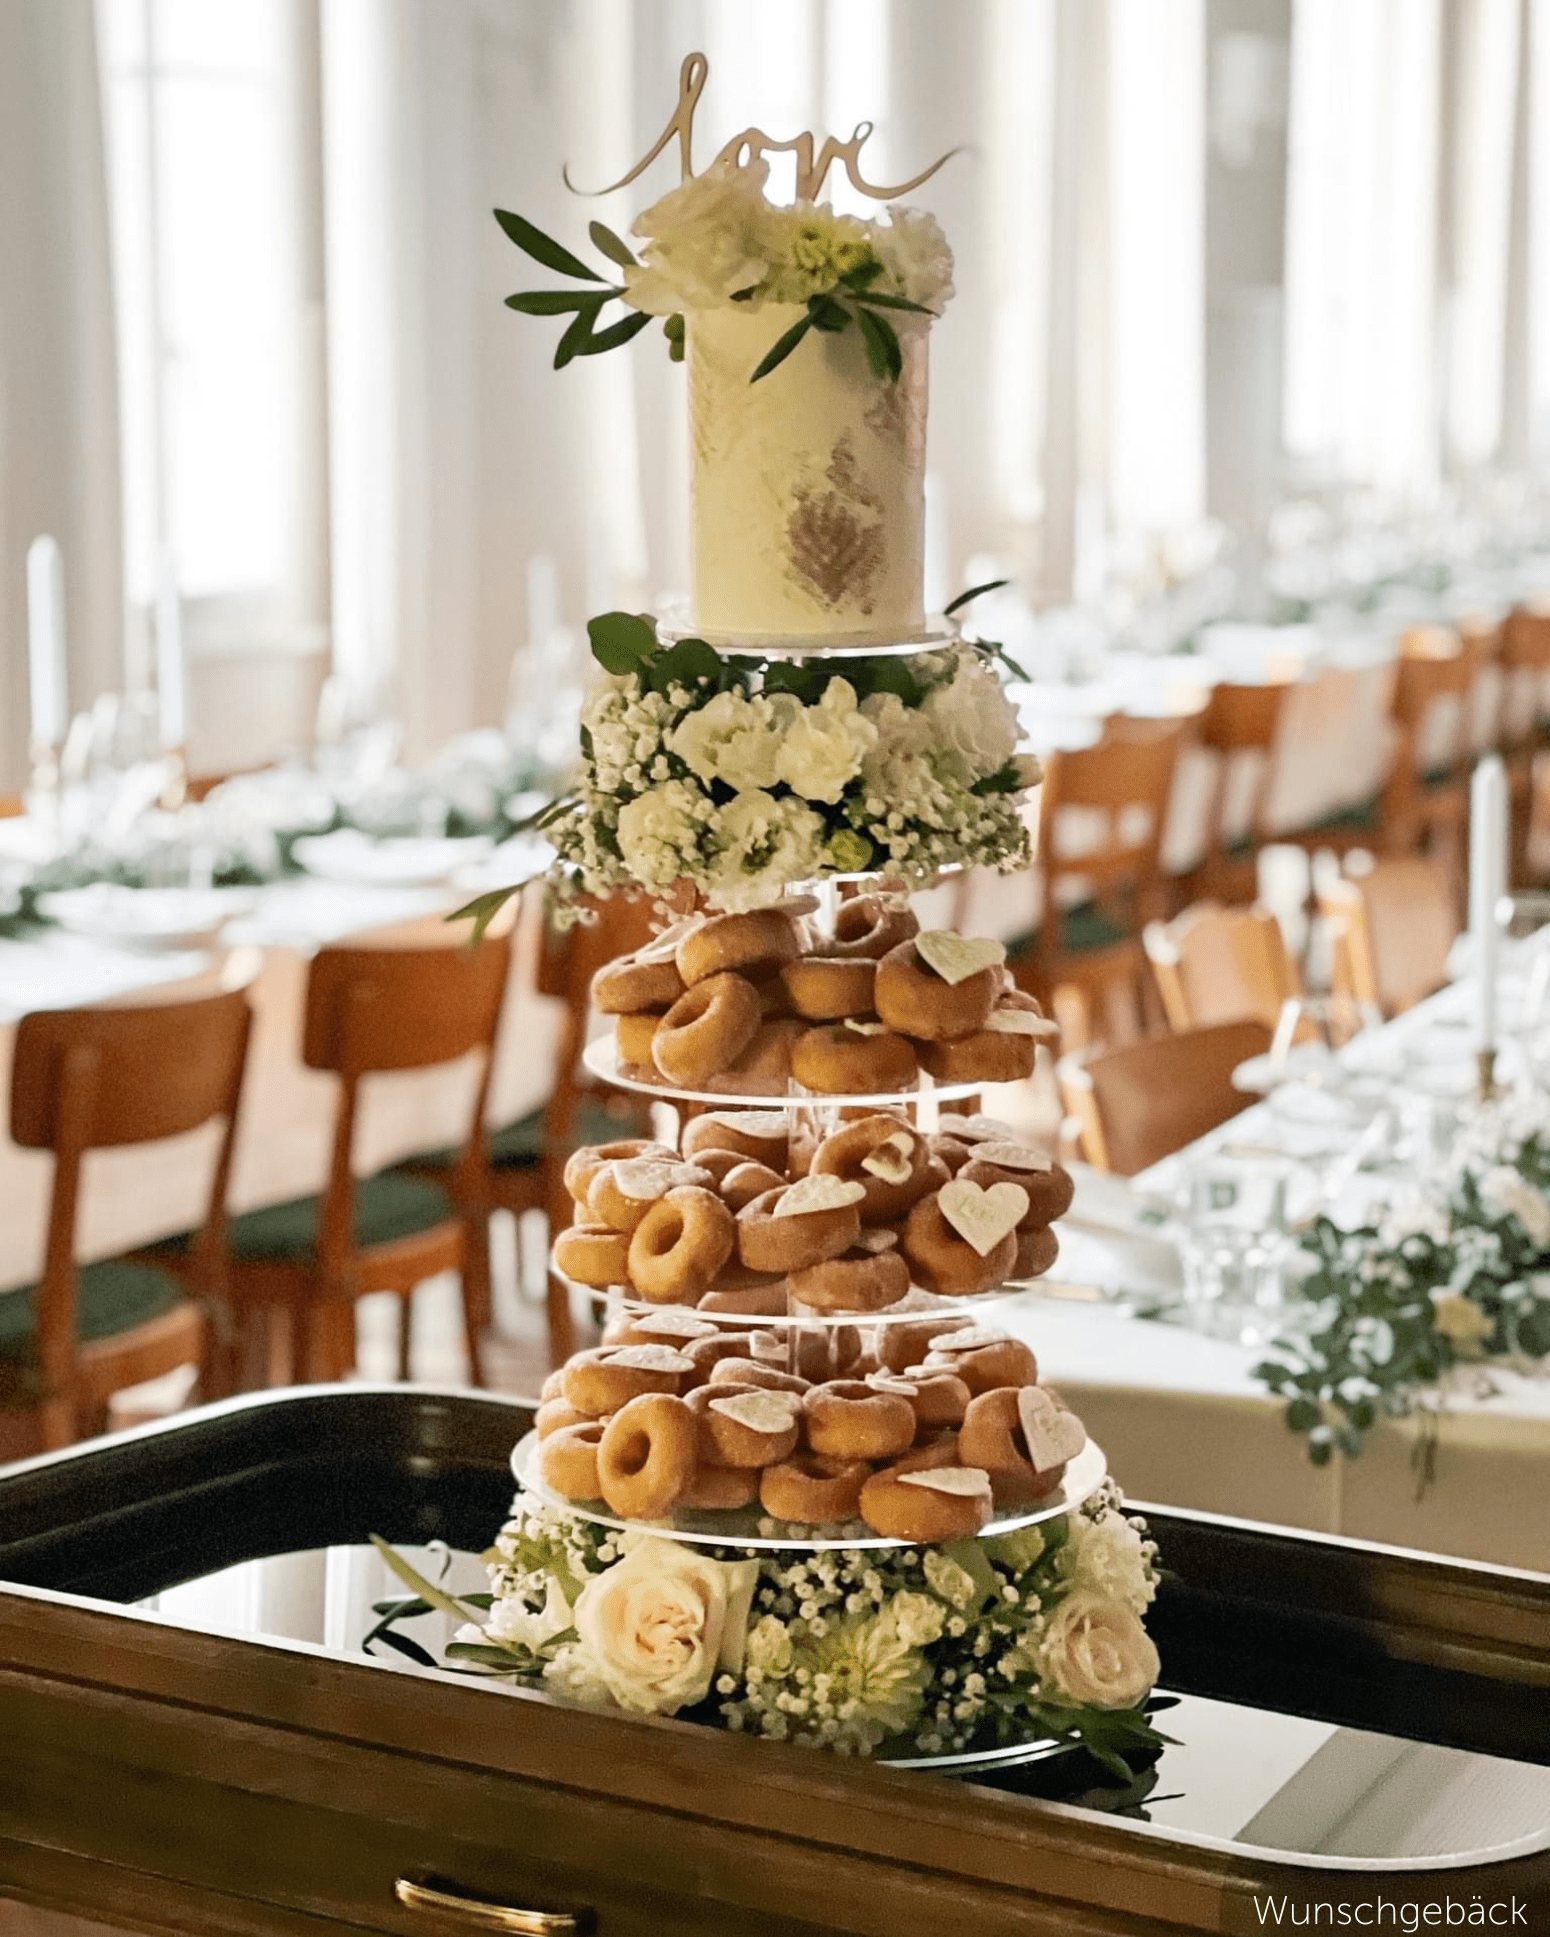
The aim is to complement, never compete. A rustic cake sits well with a few sprigs of lavender or greenery; a modern, geometric design suits a clean metal stand from the Geometric Collection and minimal styling. Keep it considered and keep it simple, so every object in the frame earns its place.
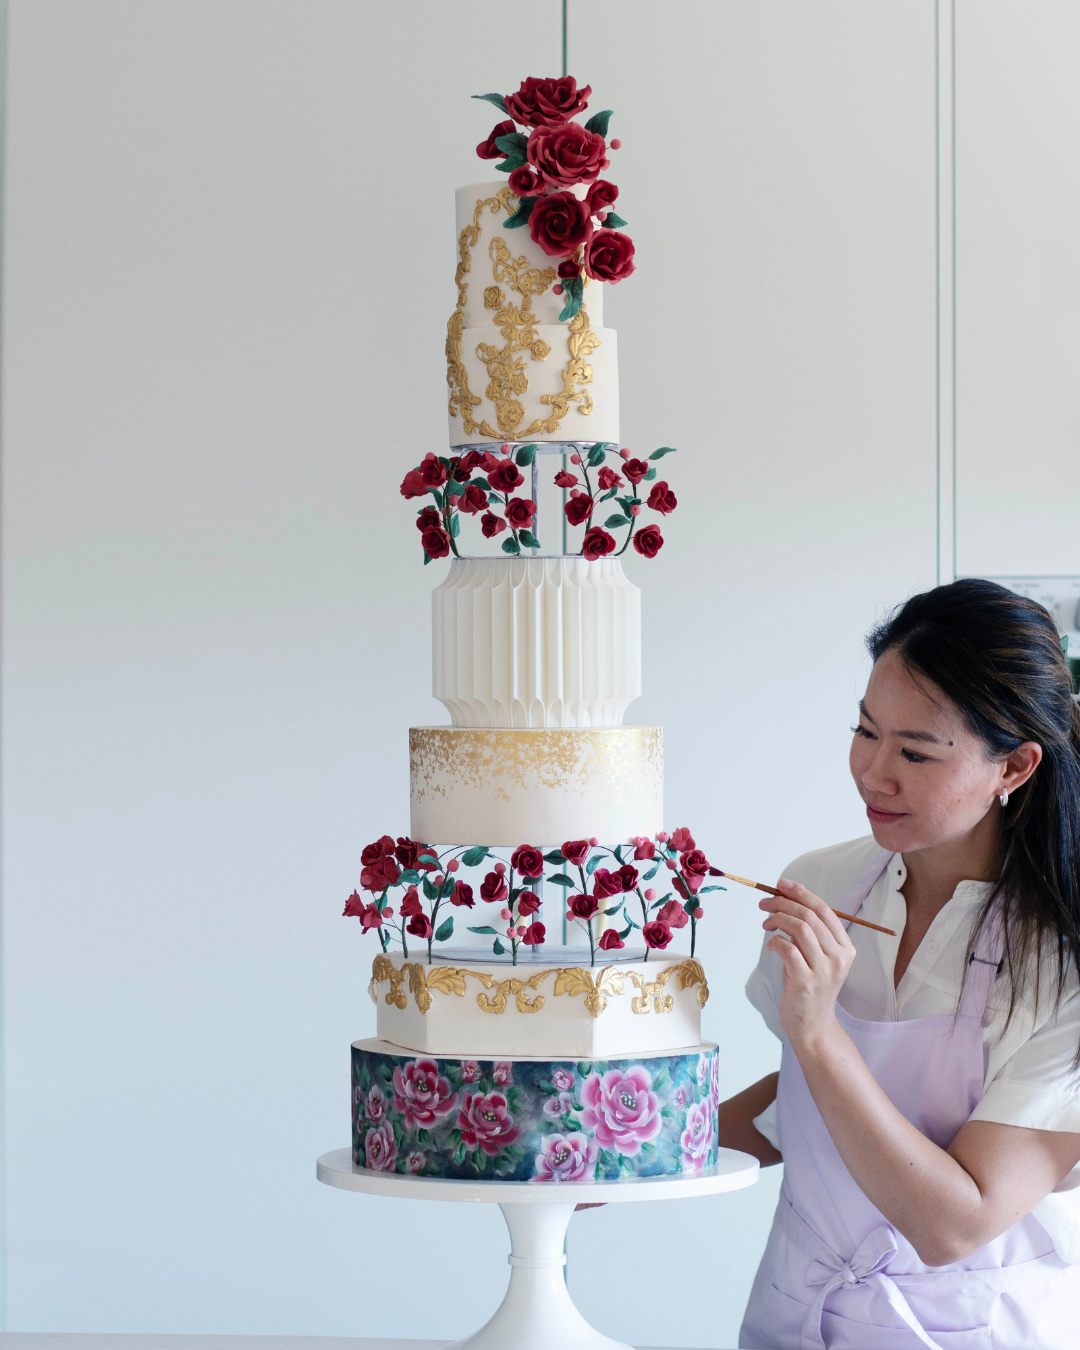
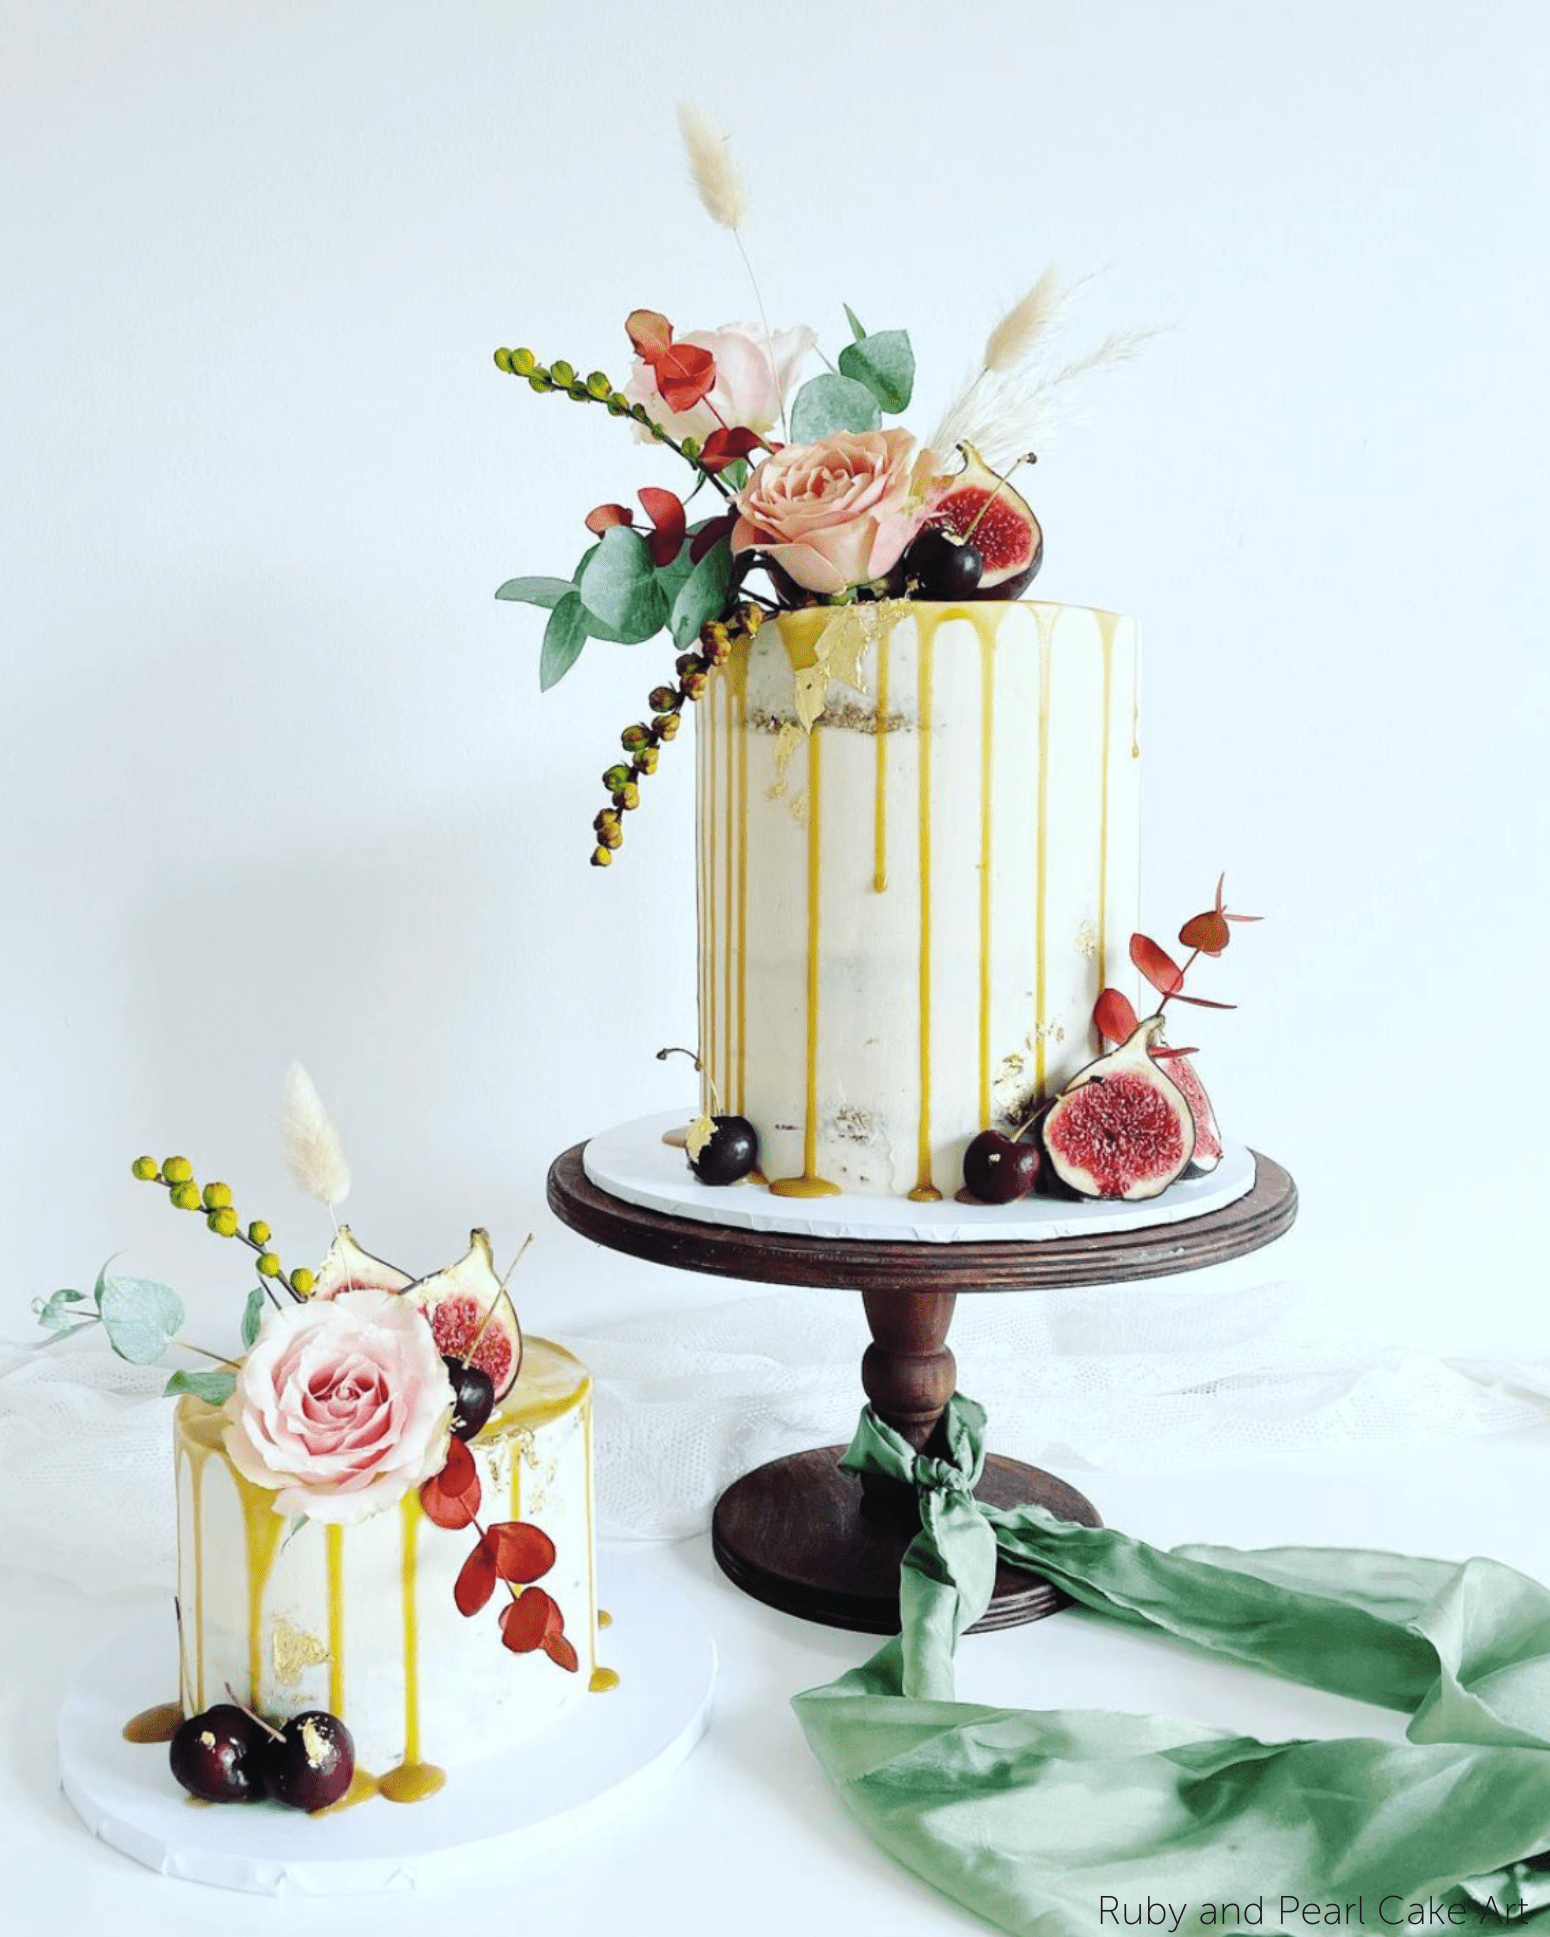
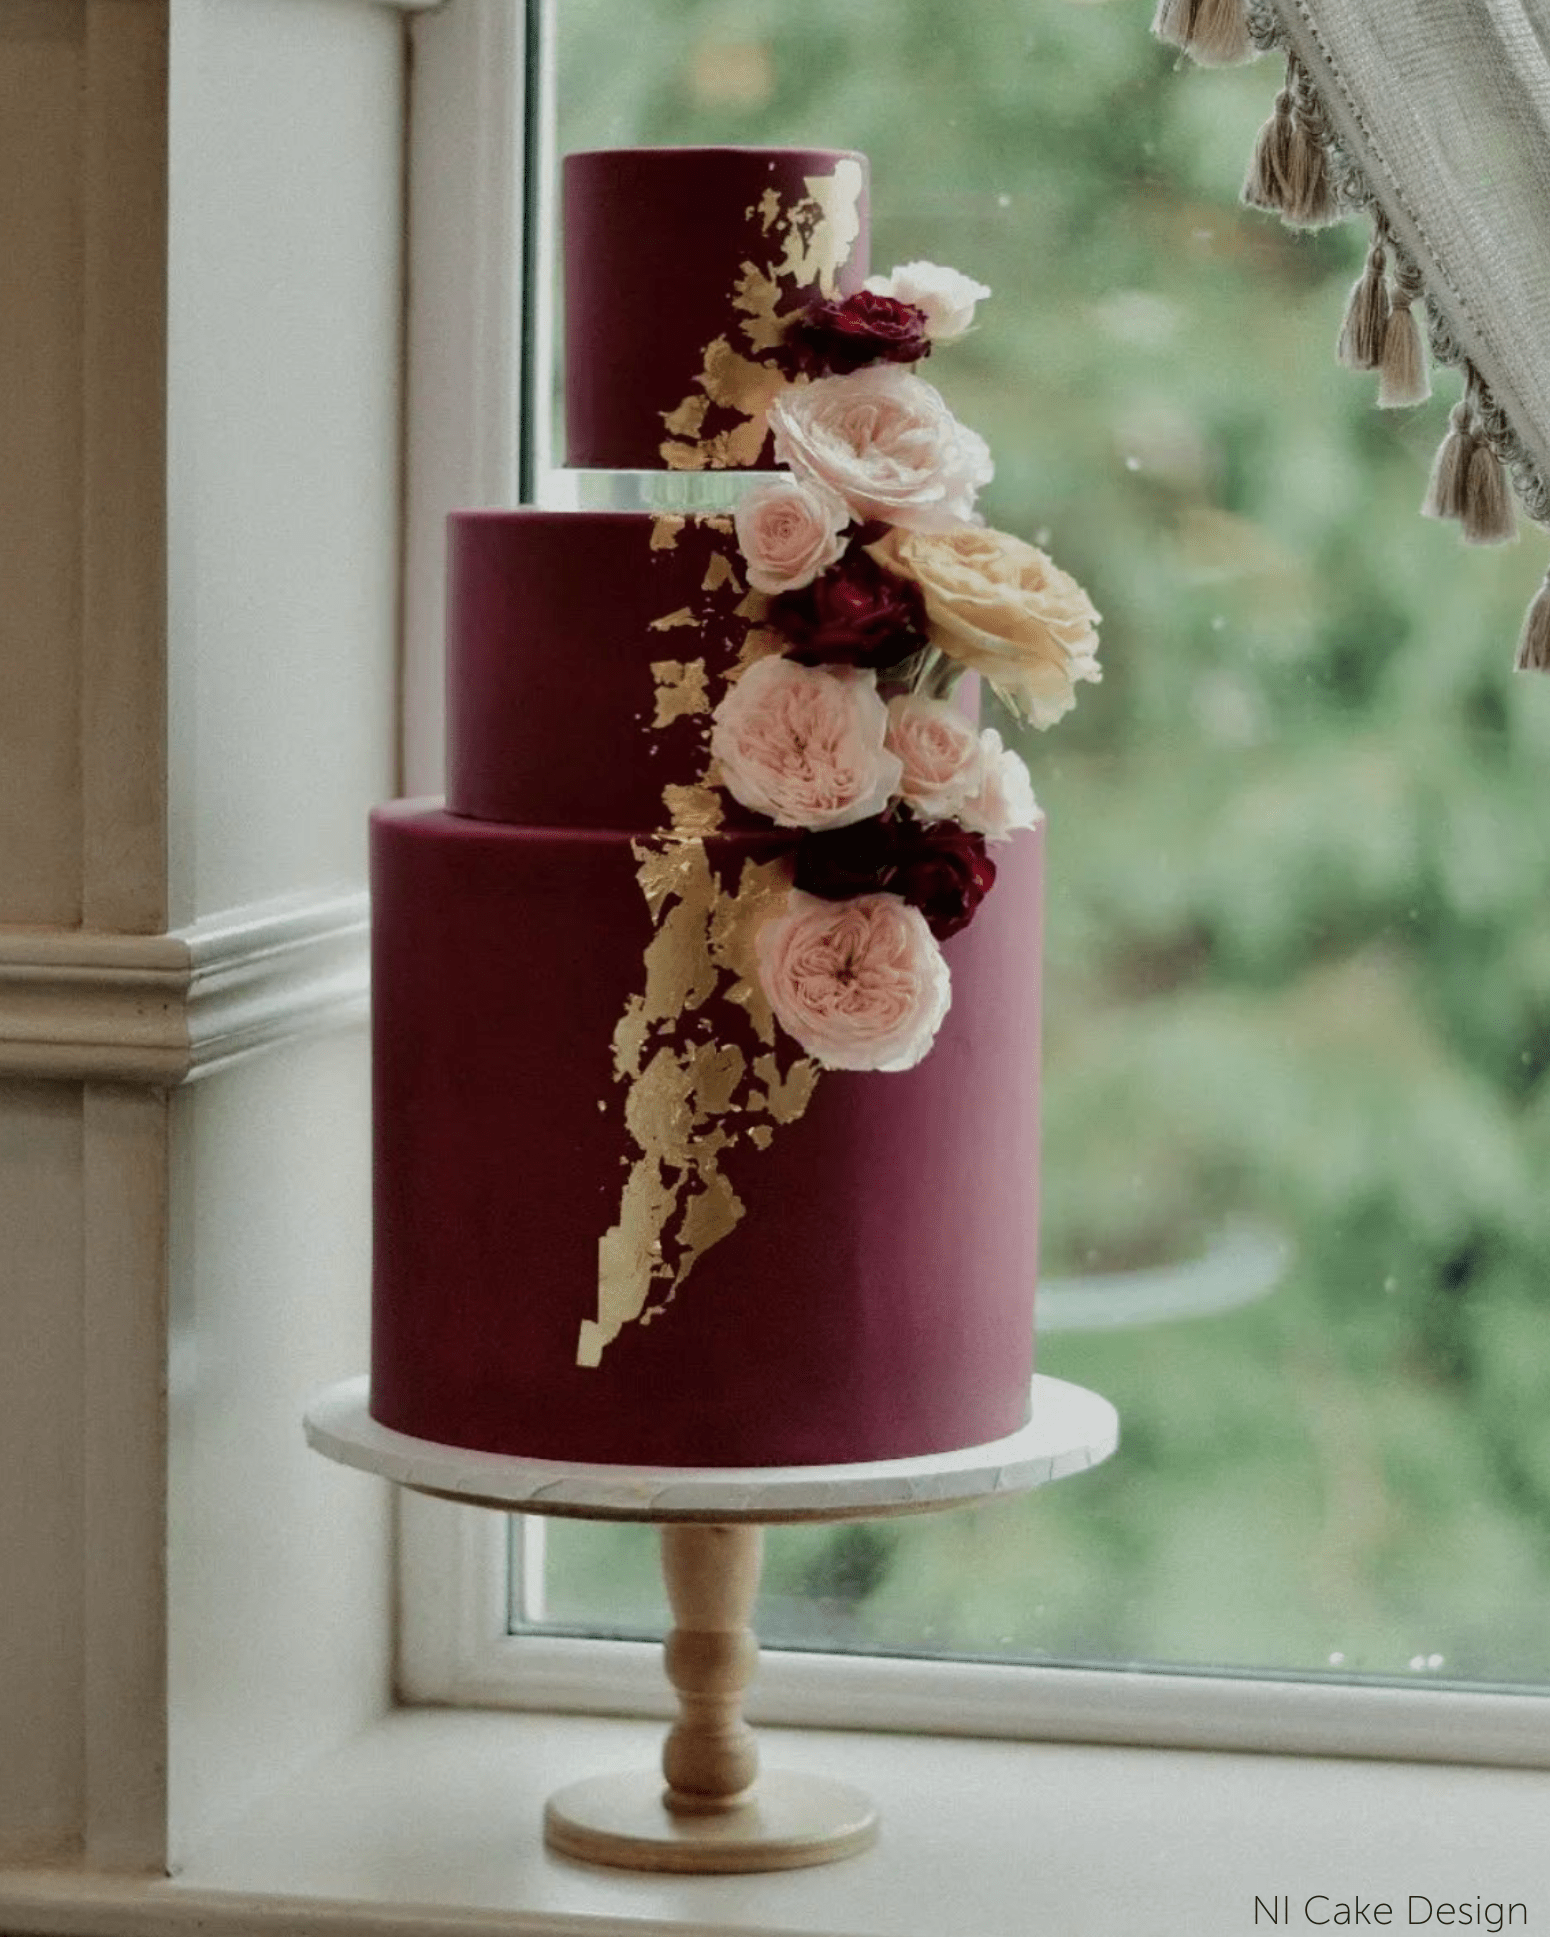
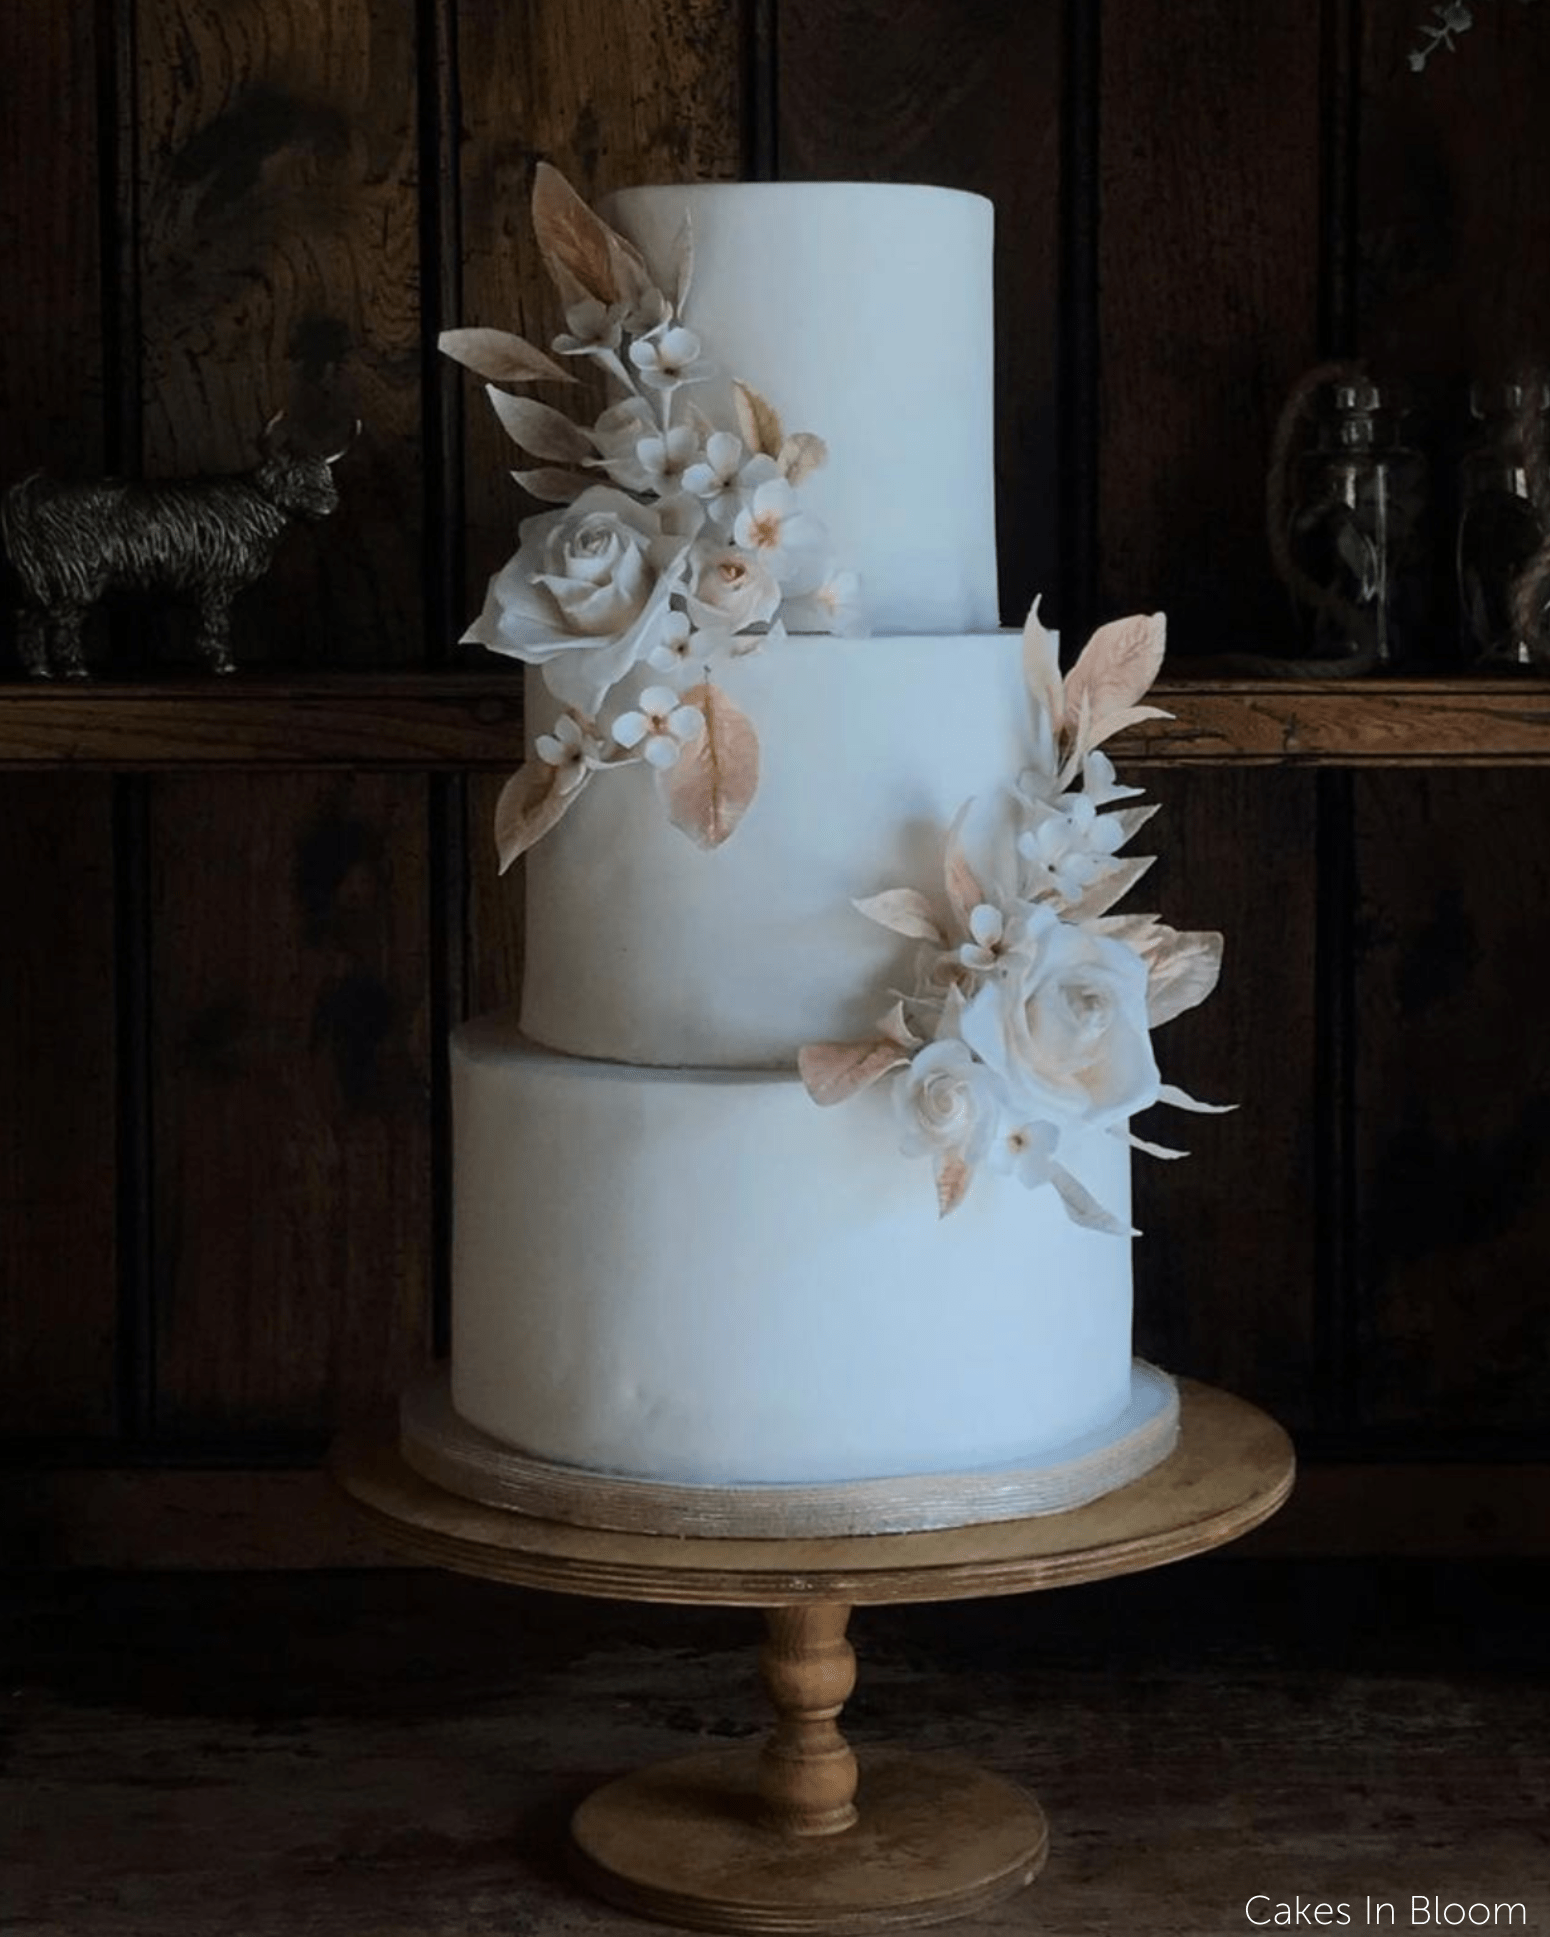
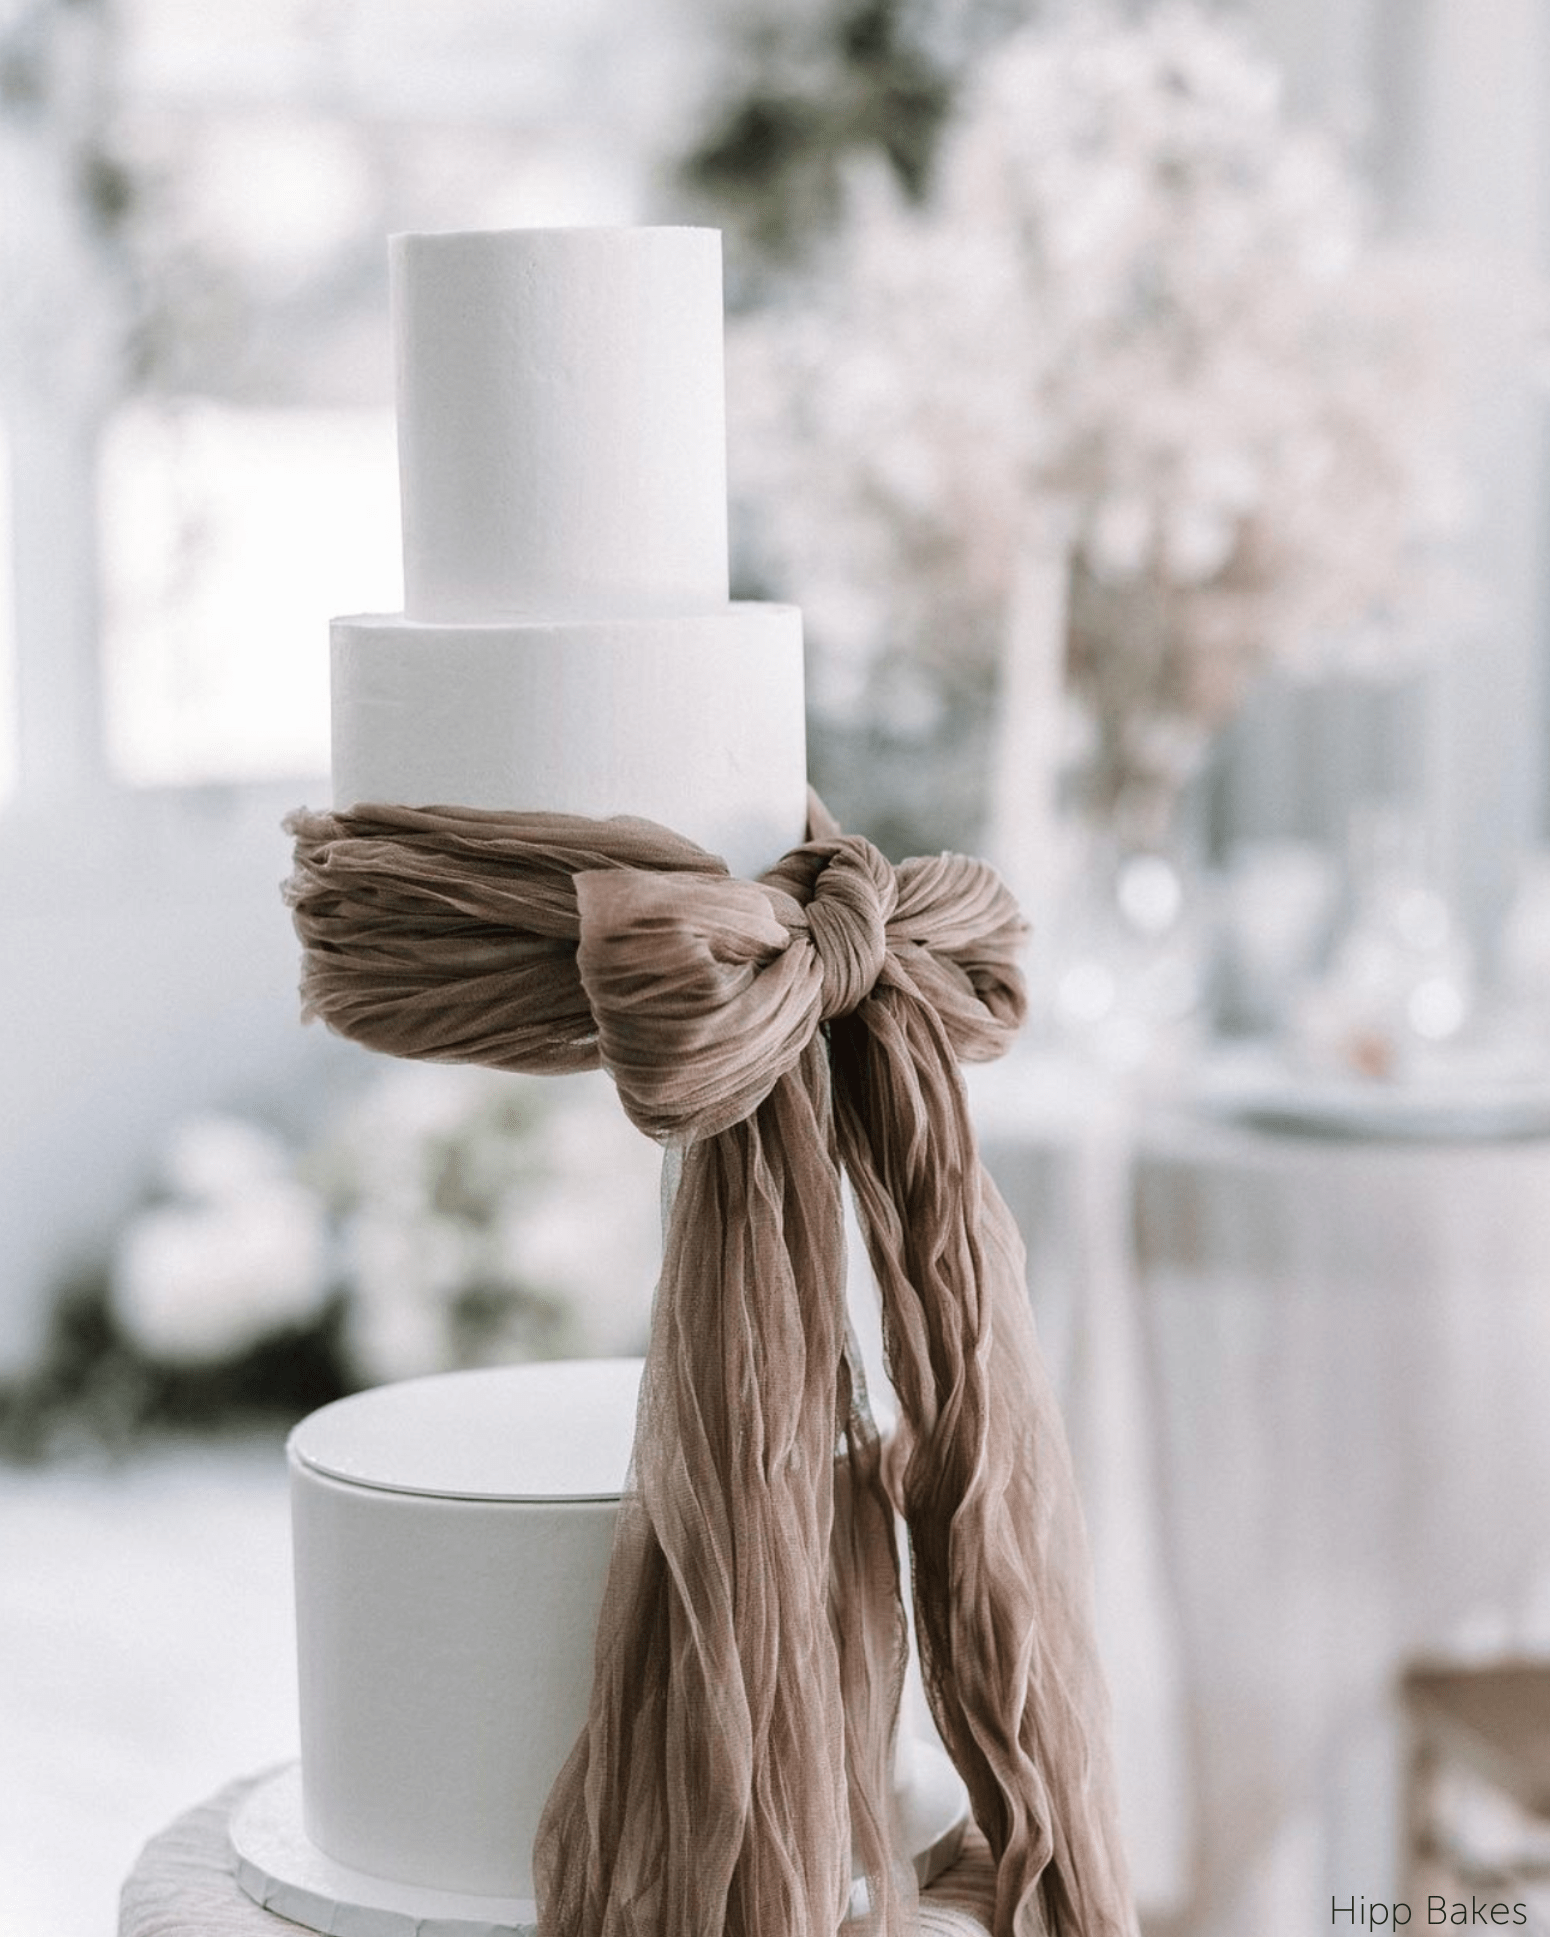
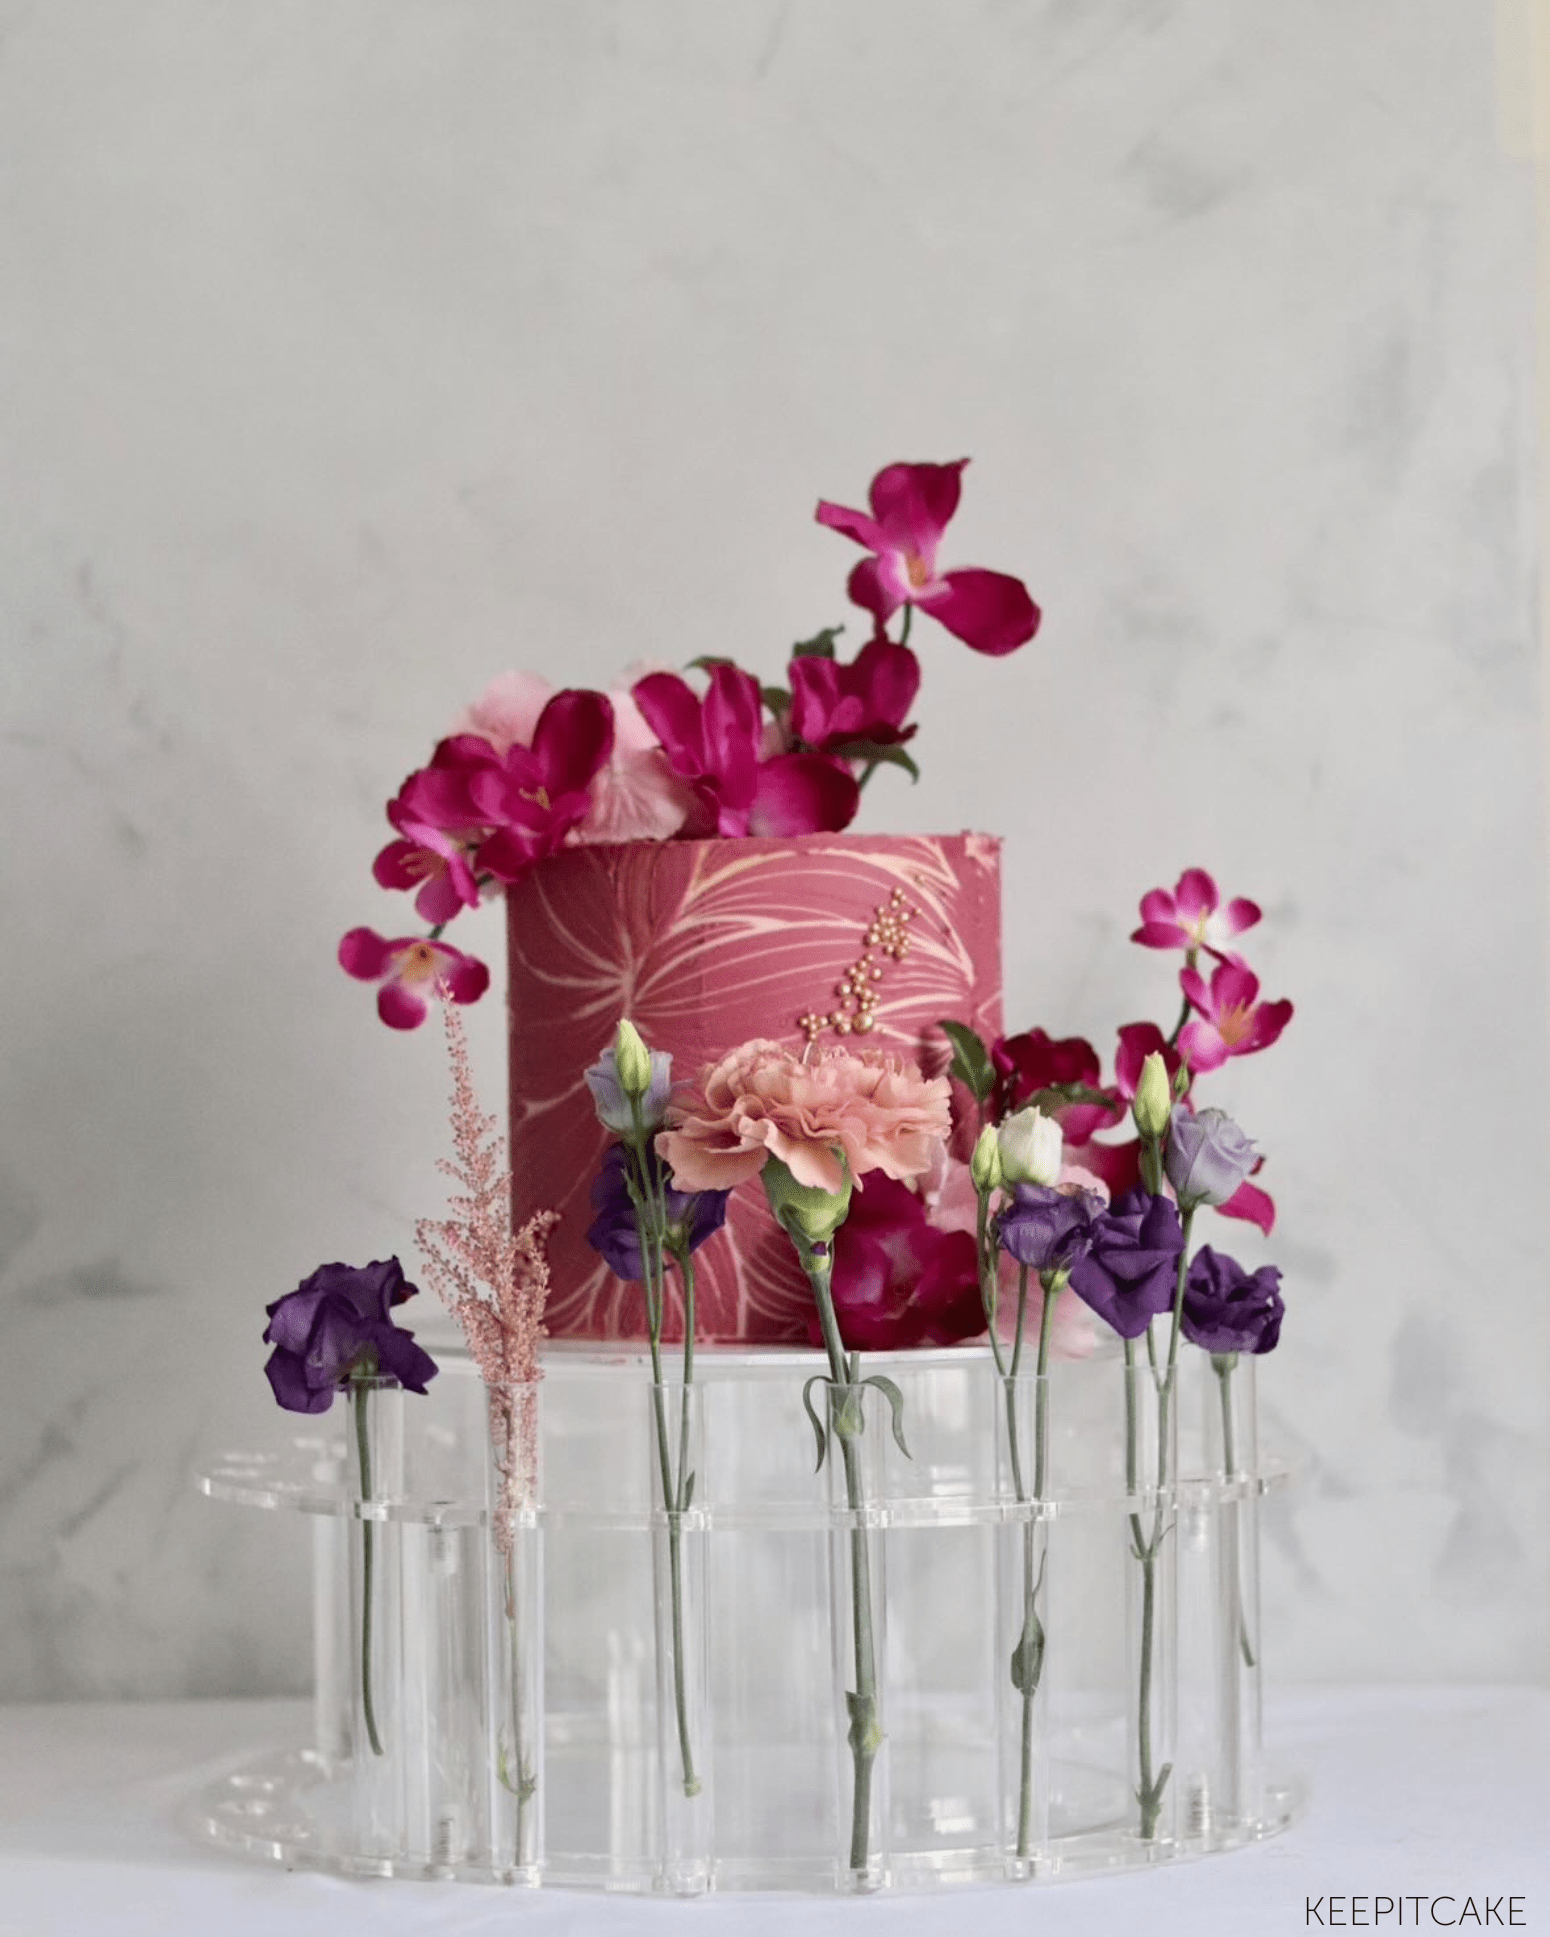
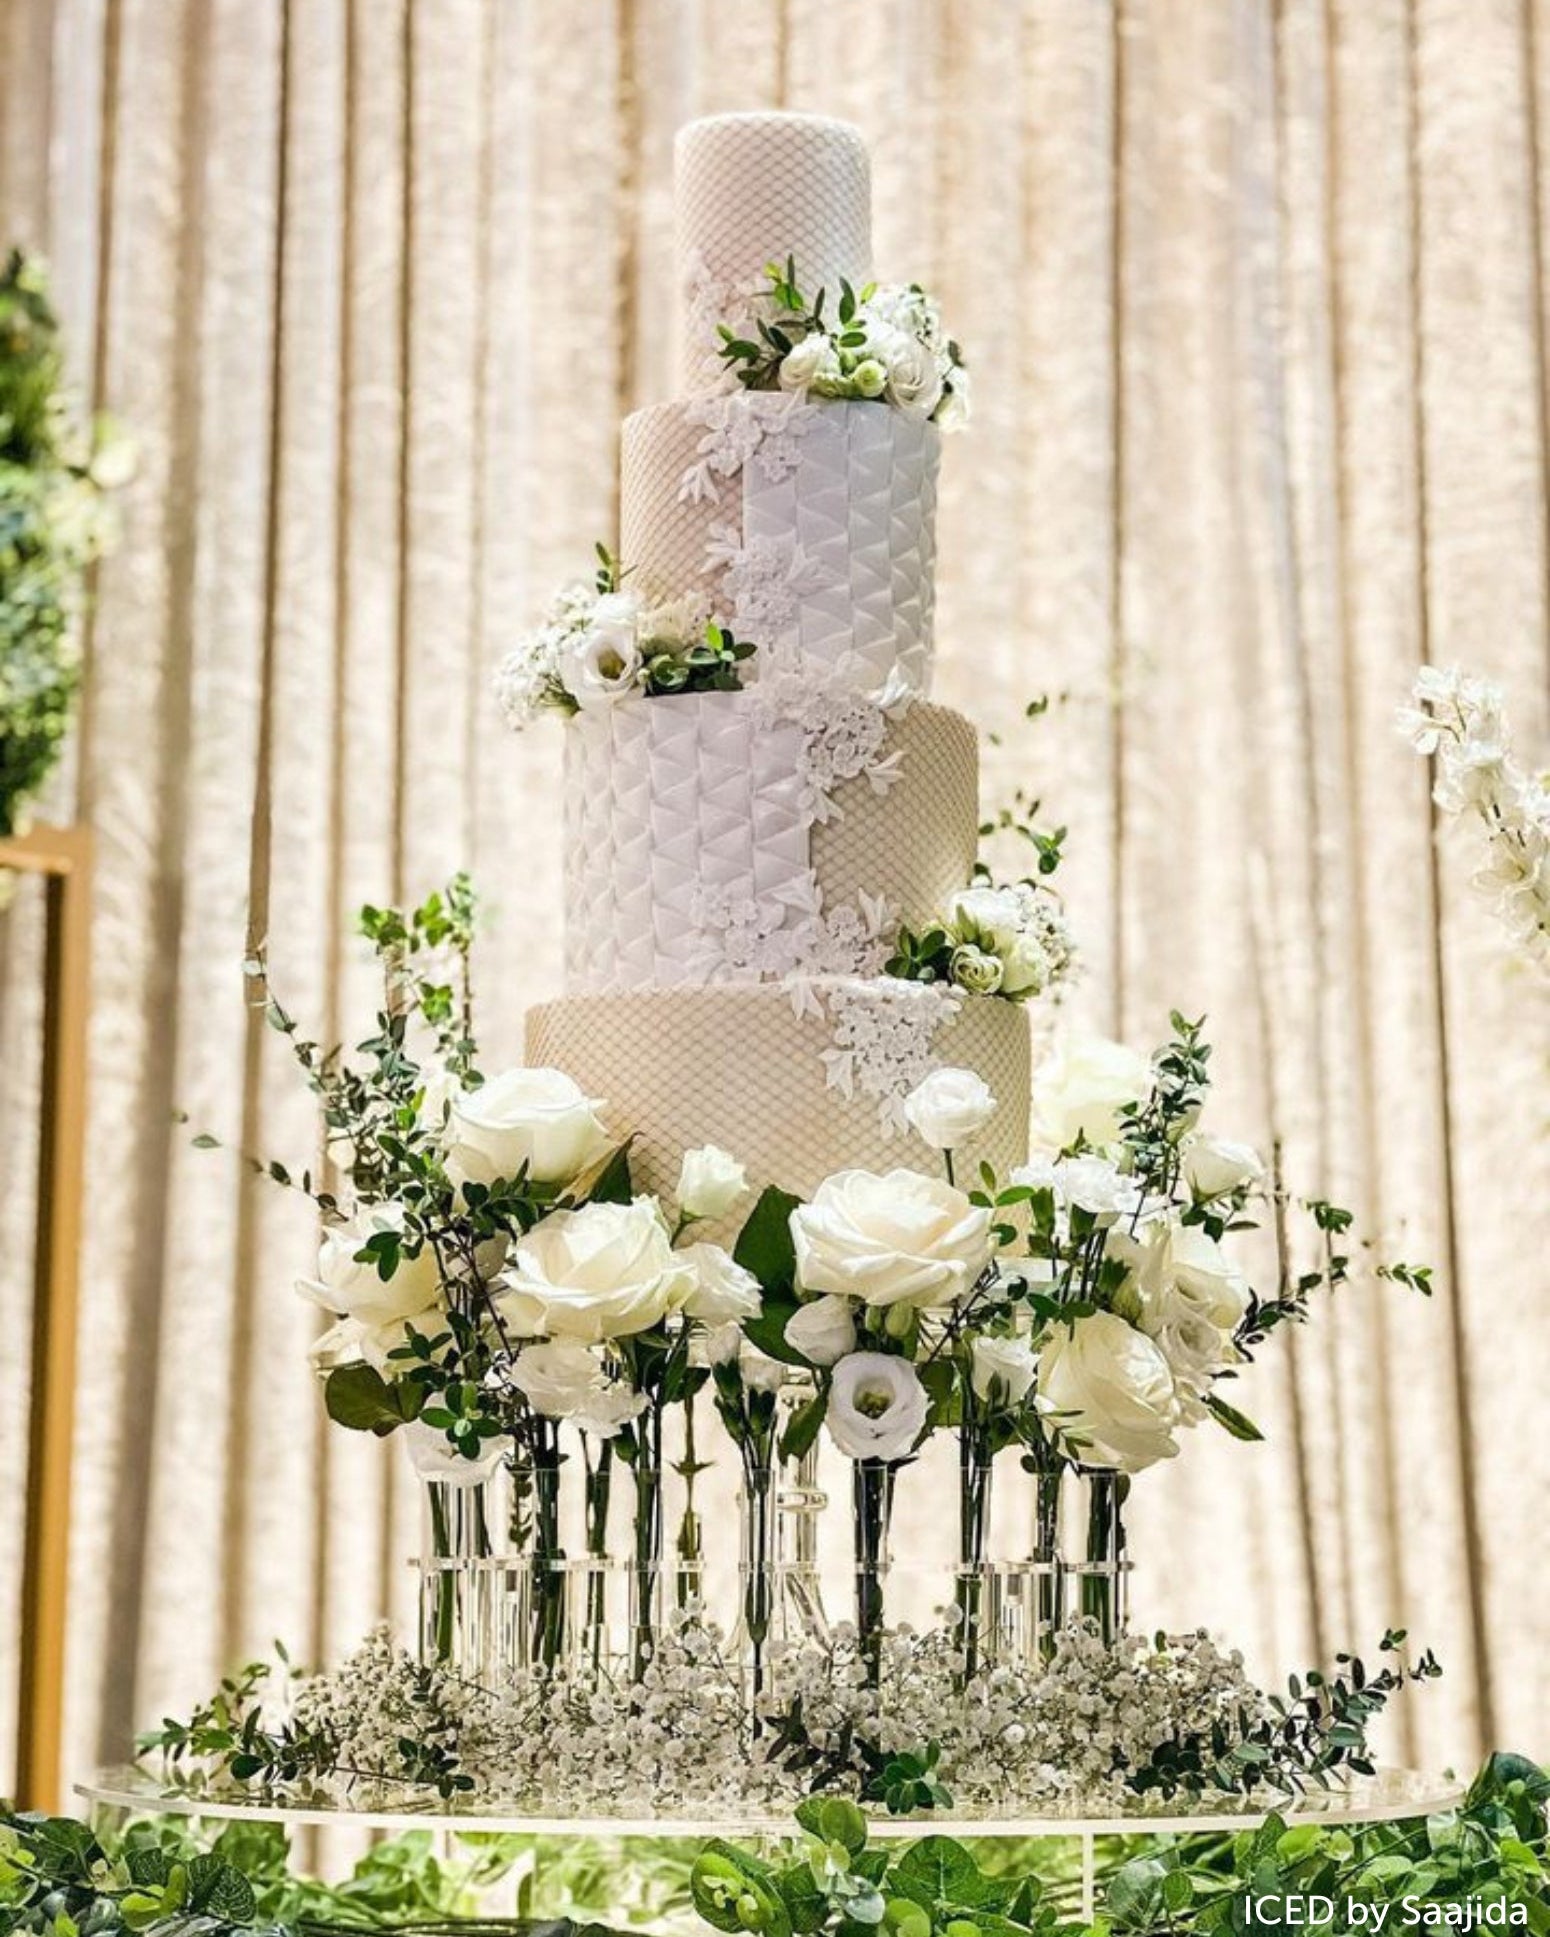
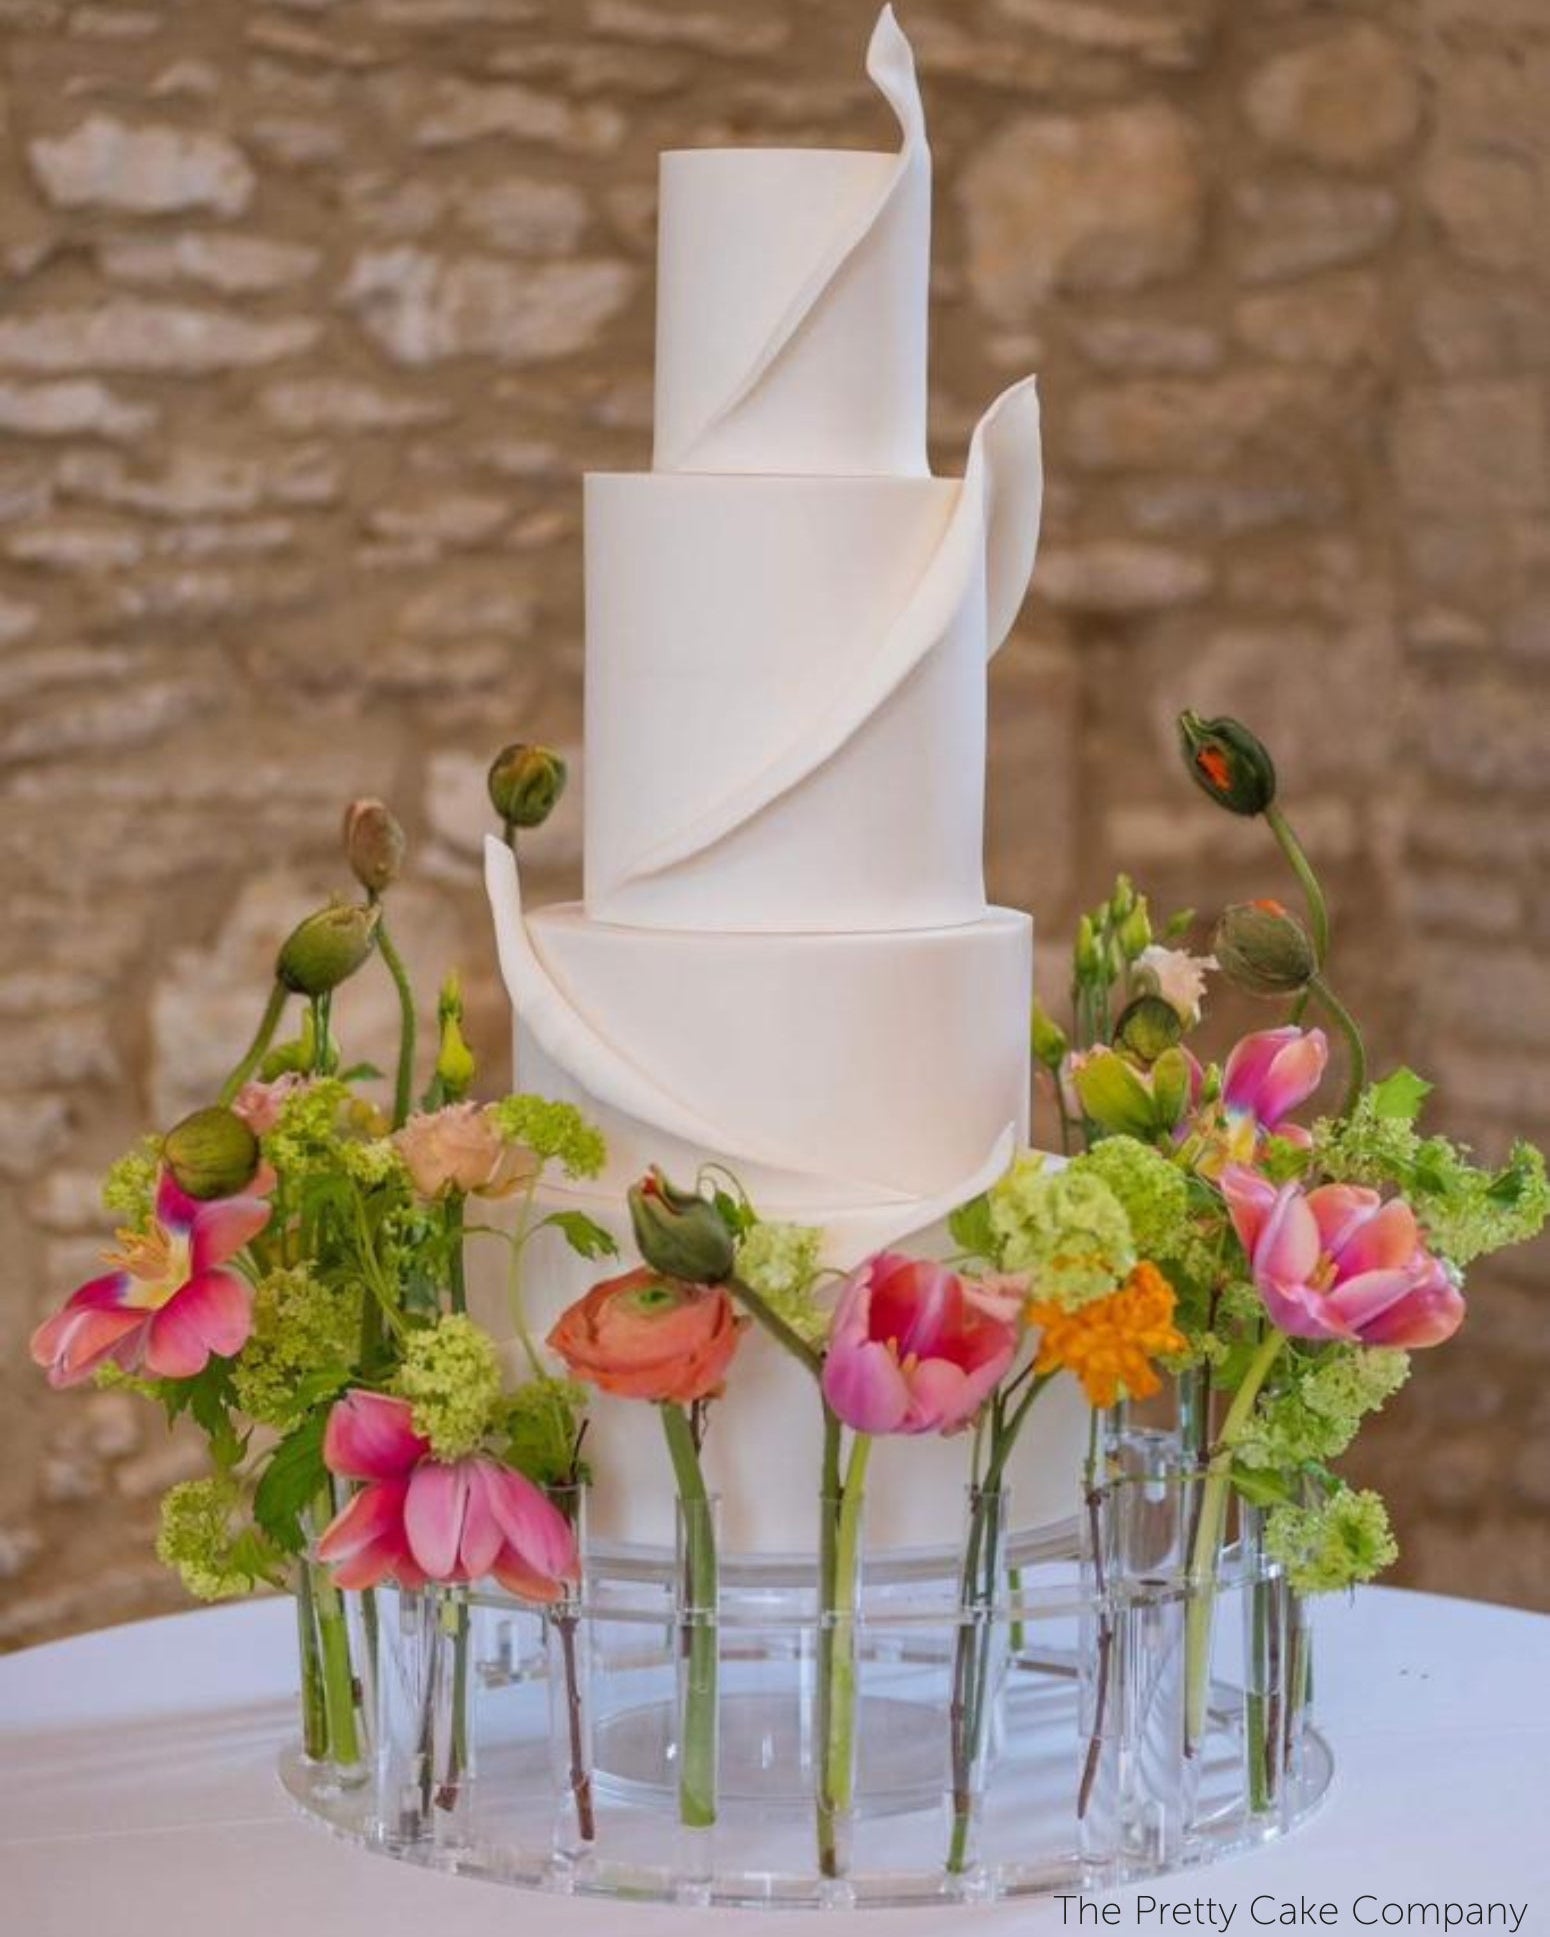
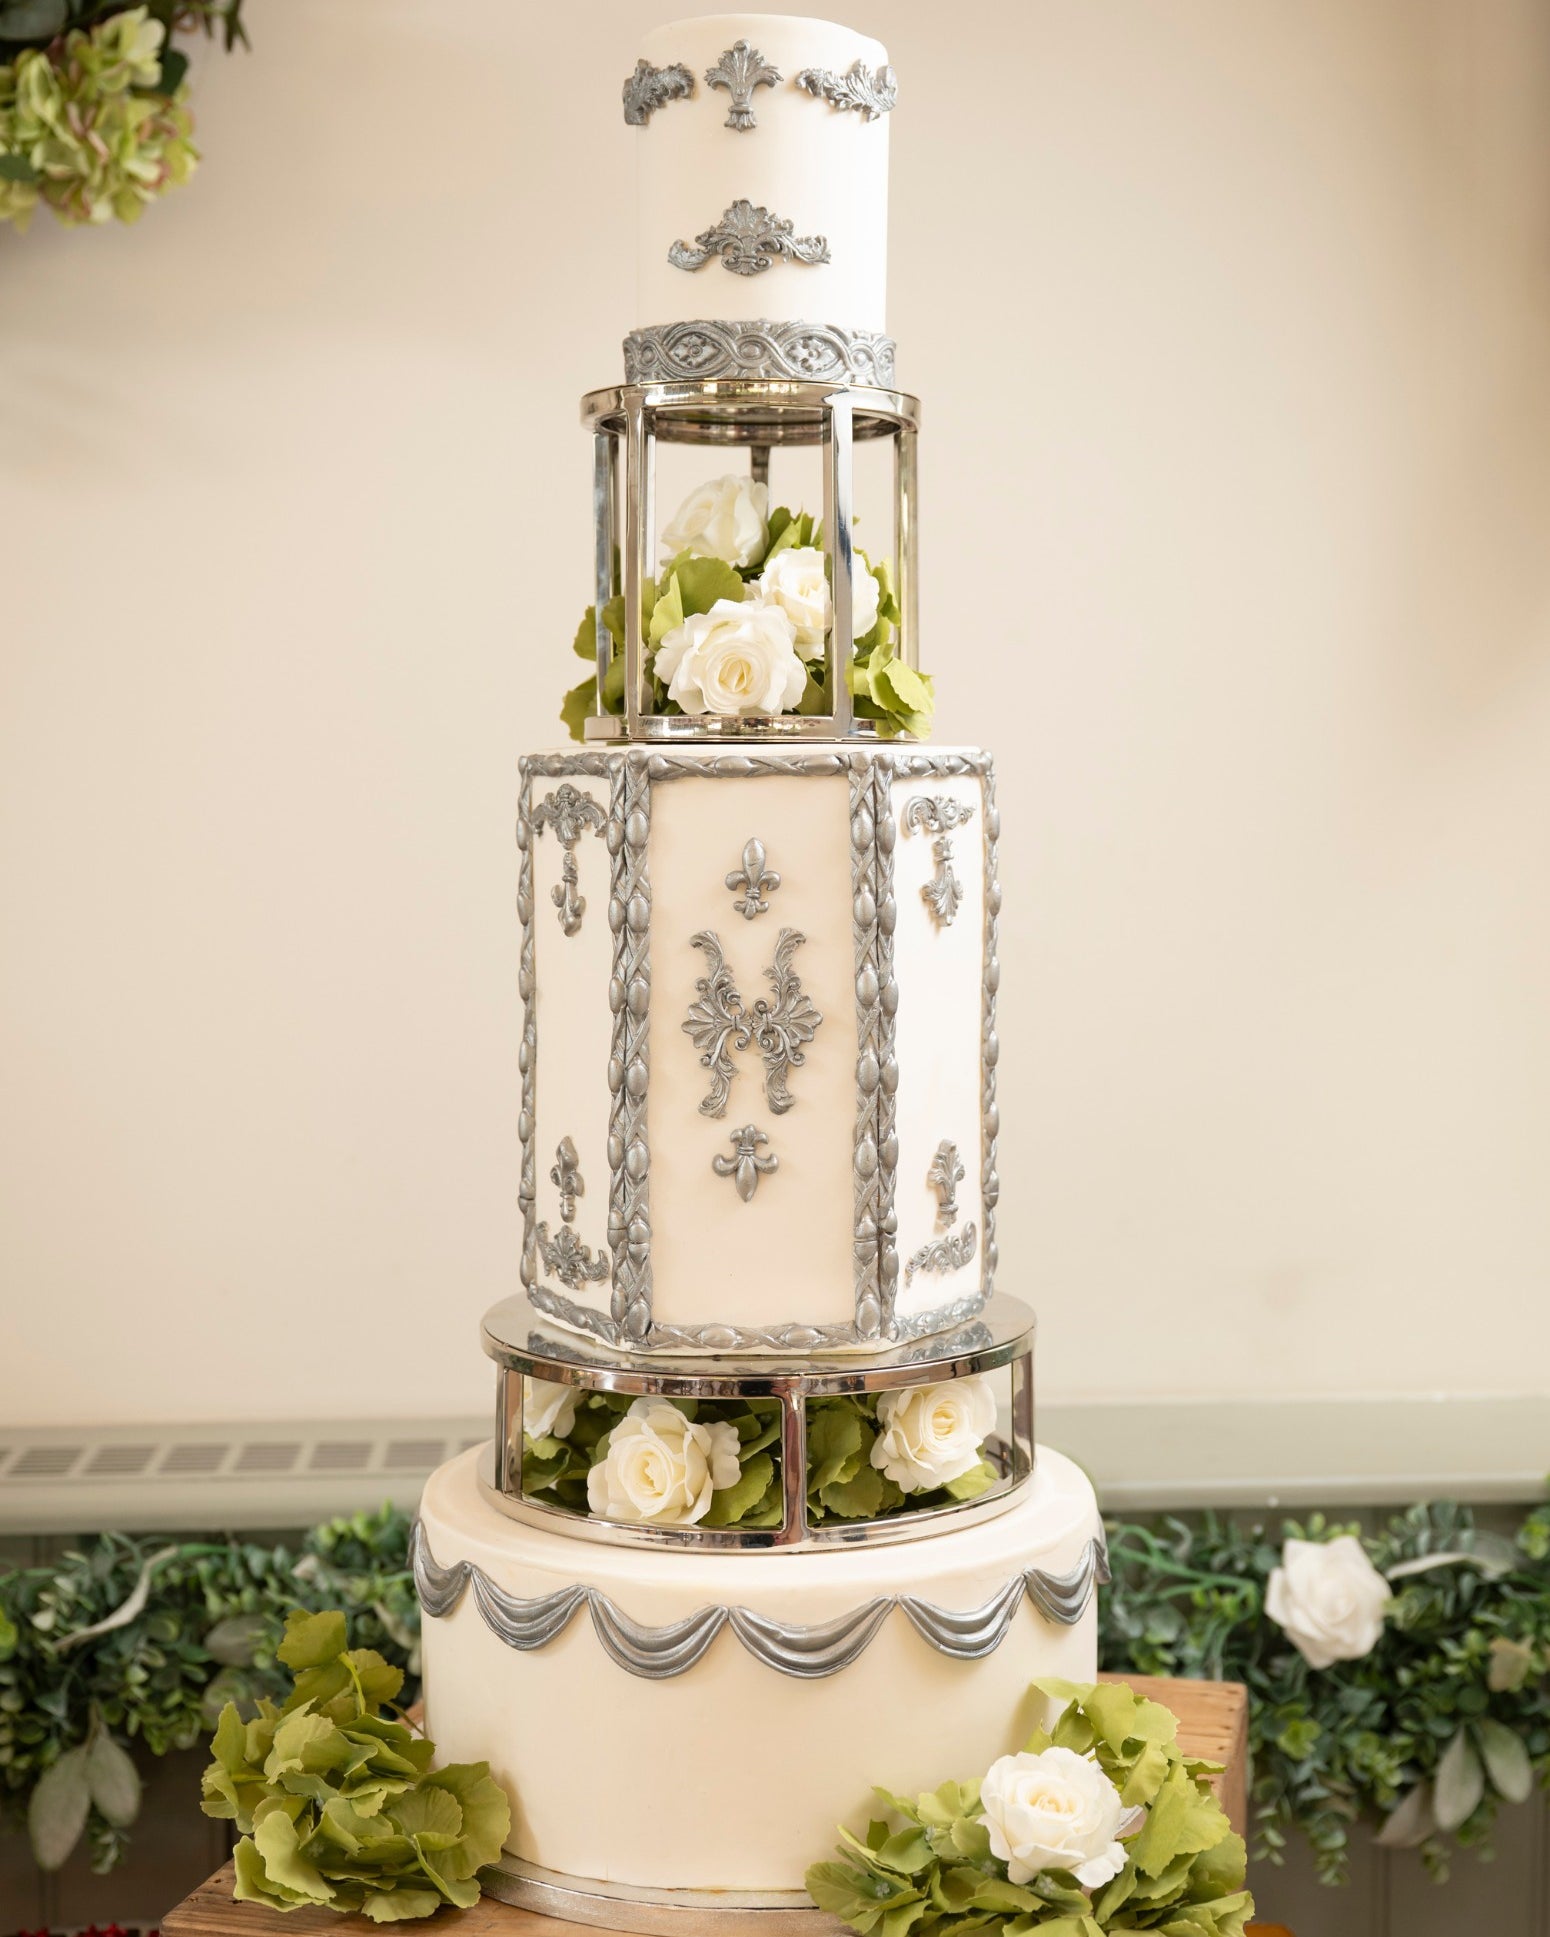
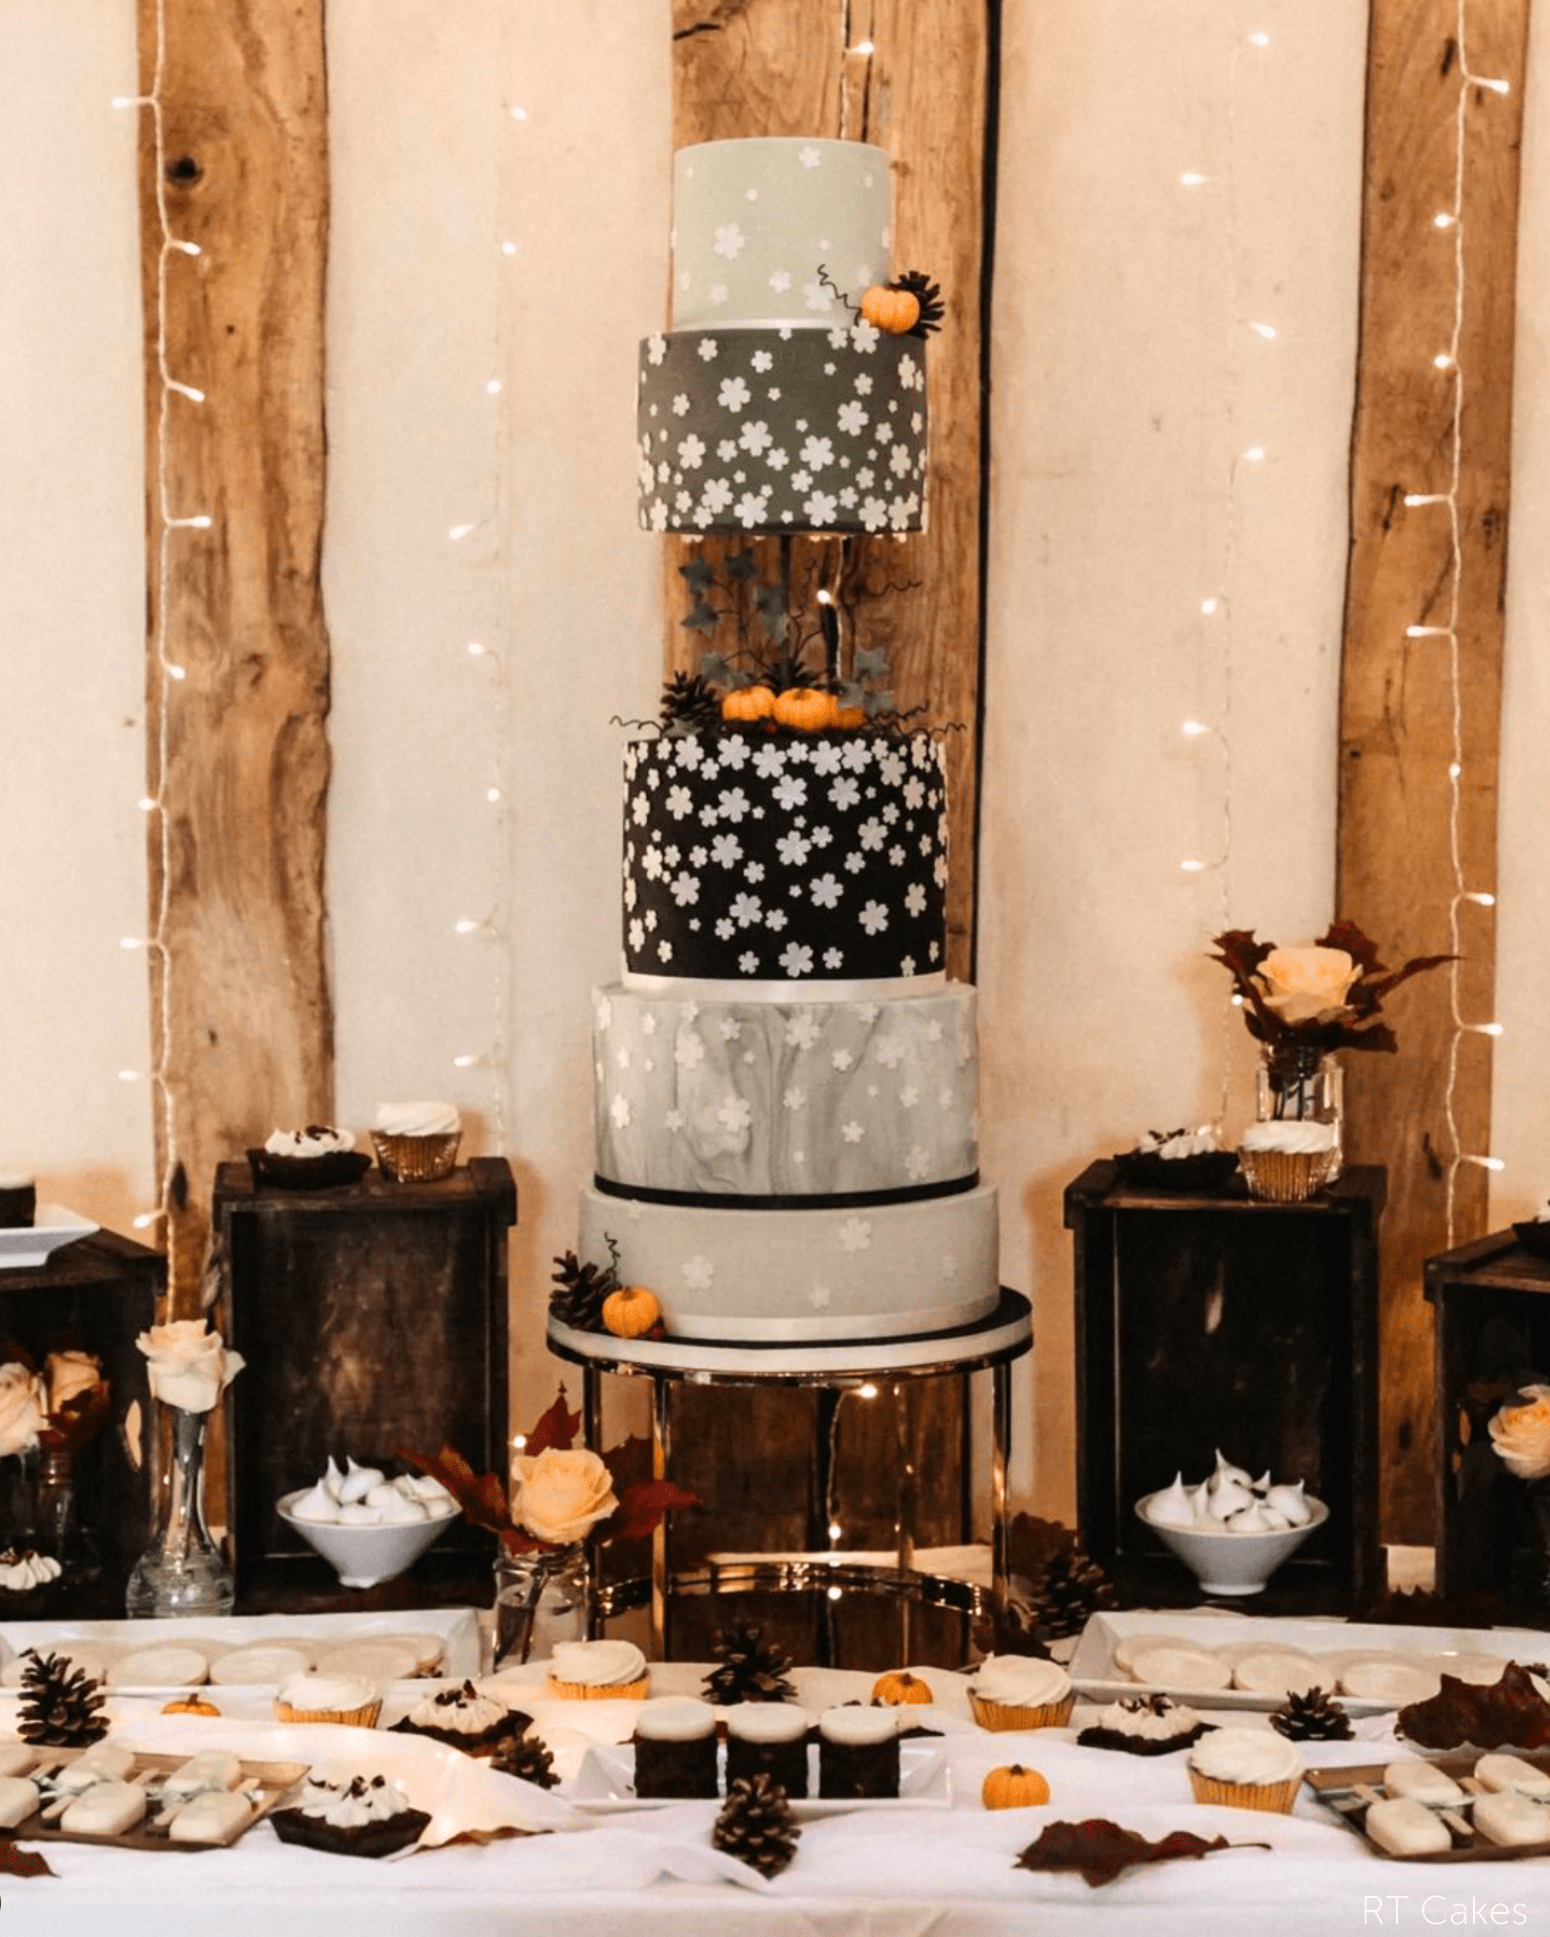
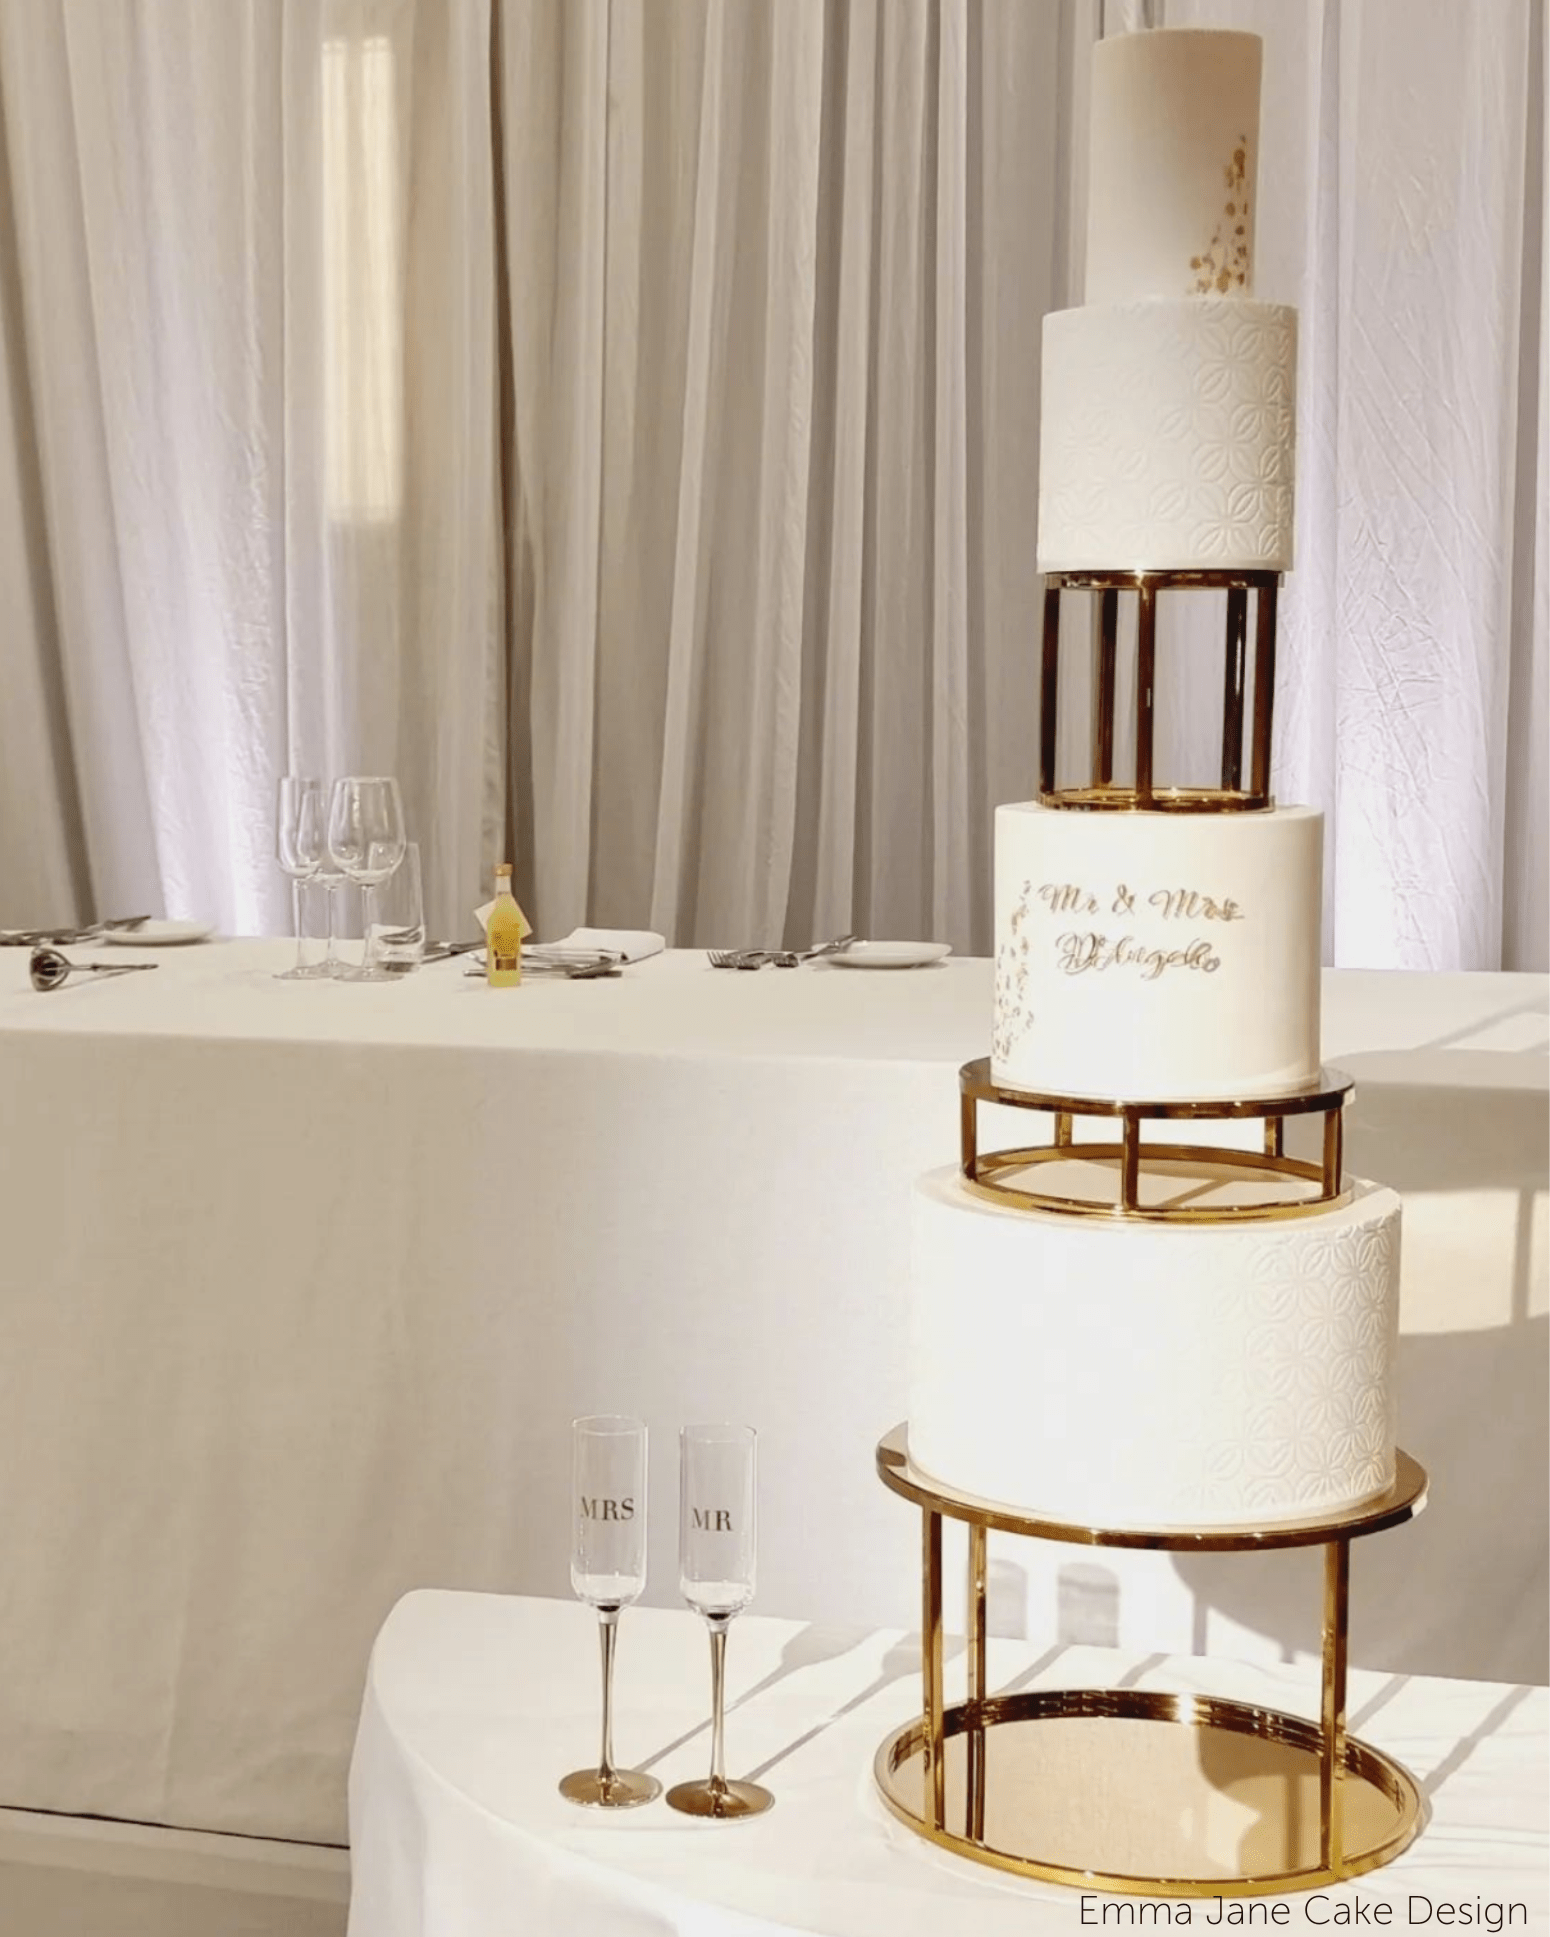
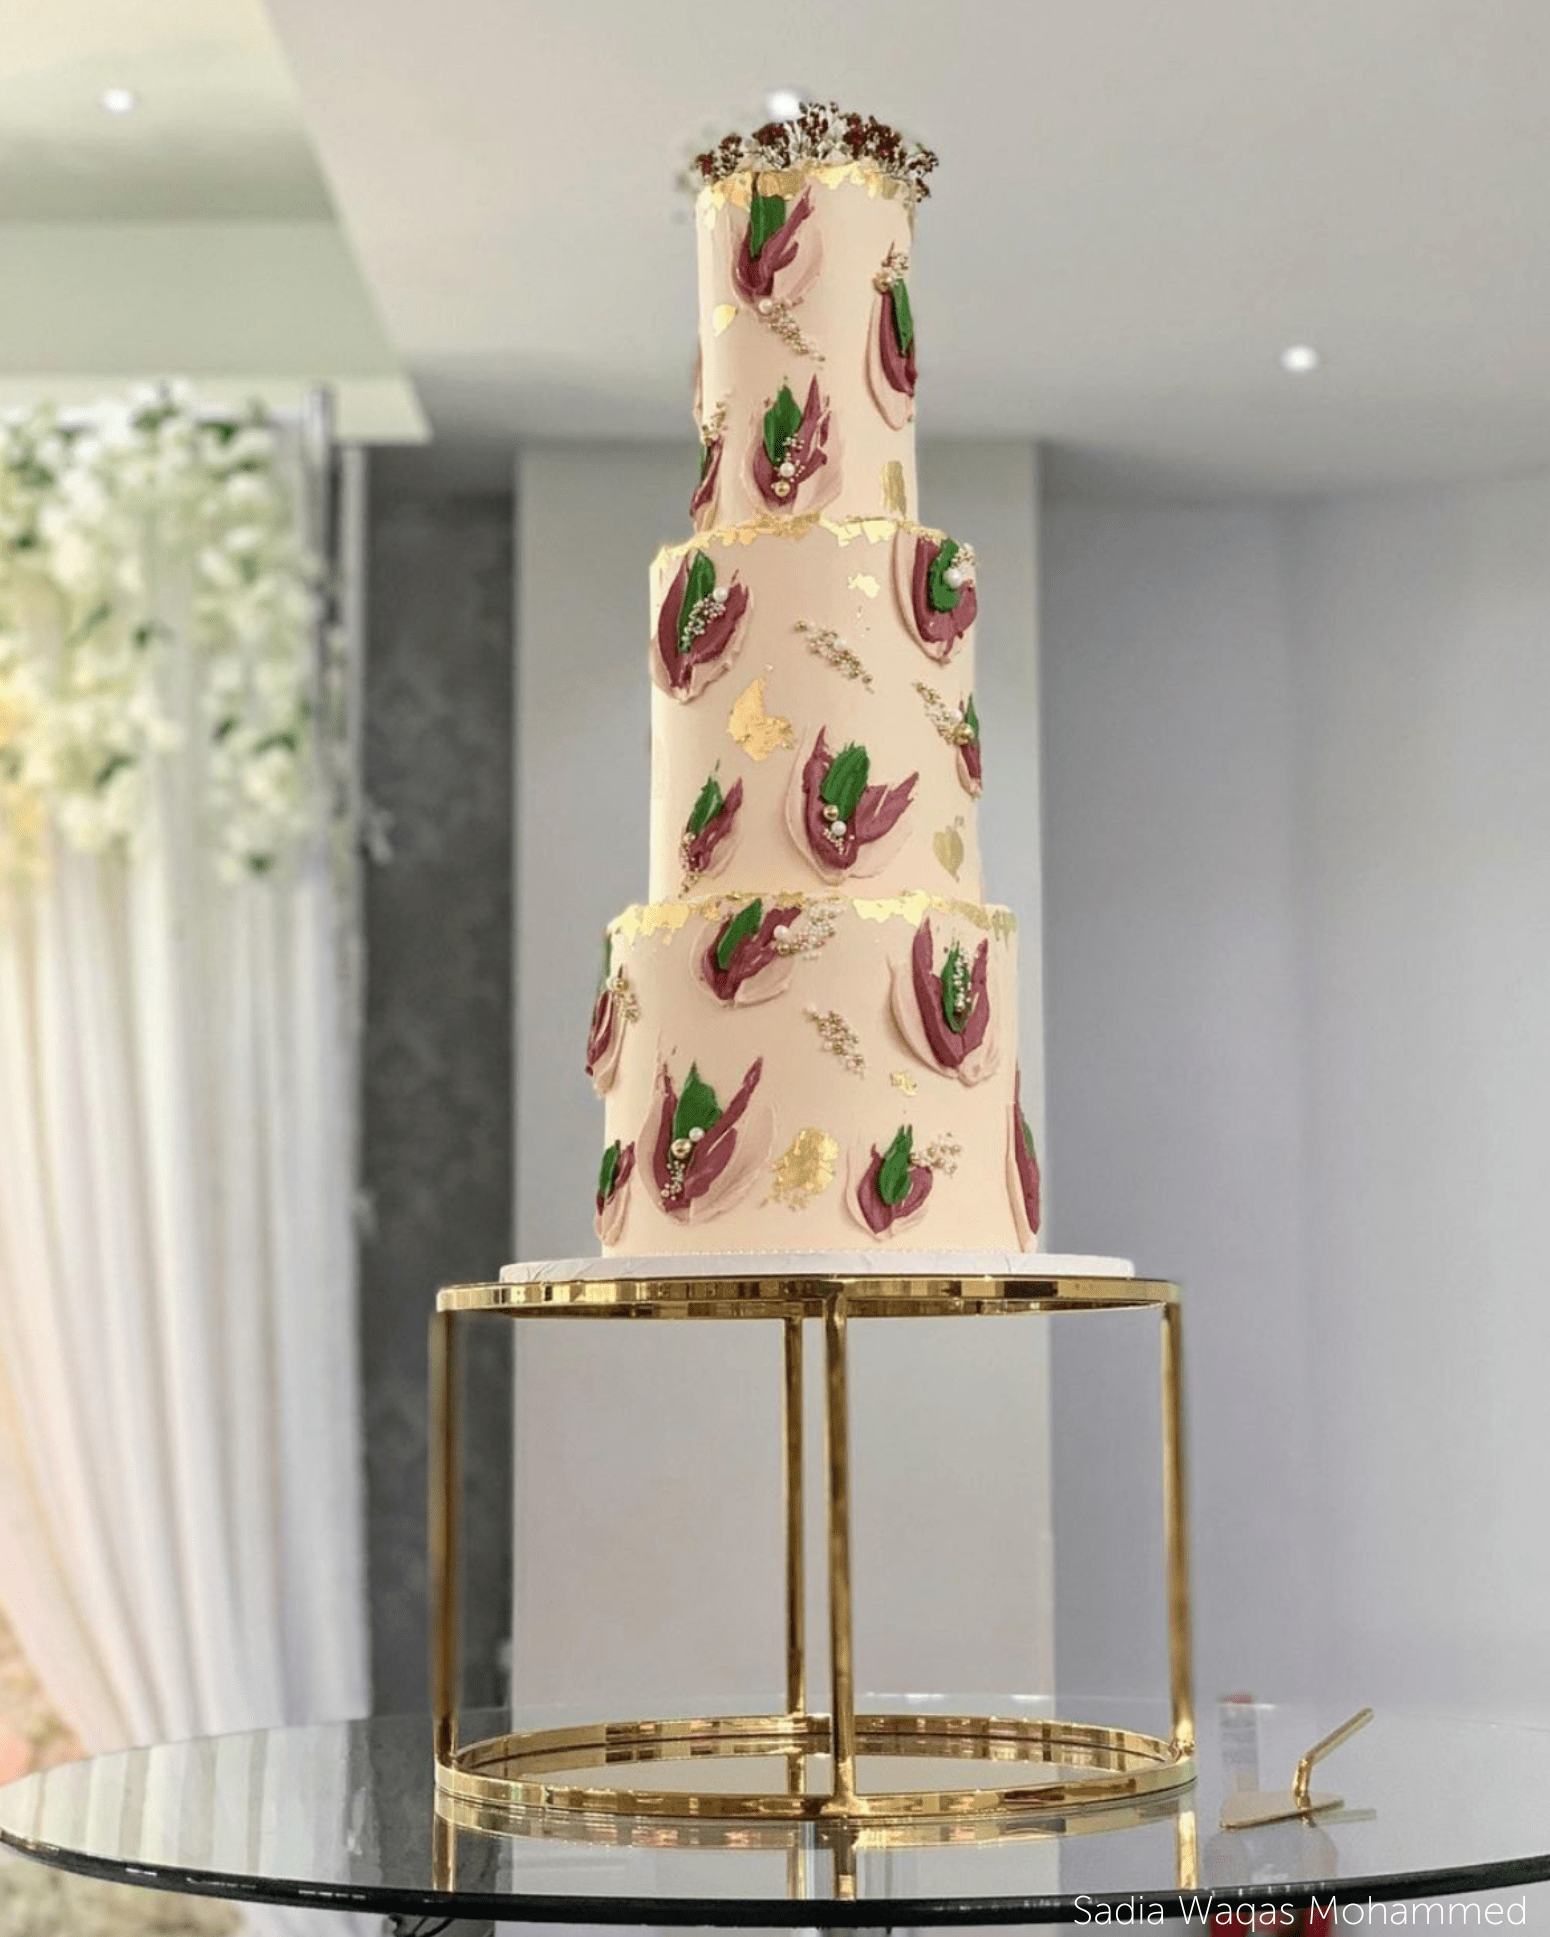
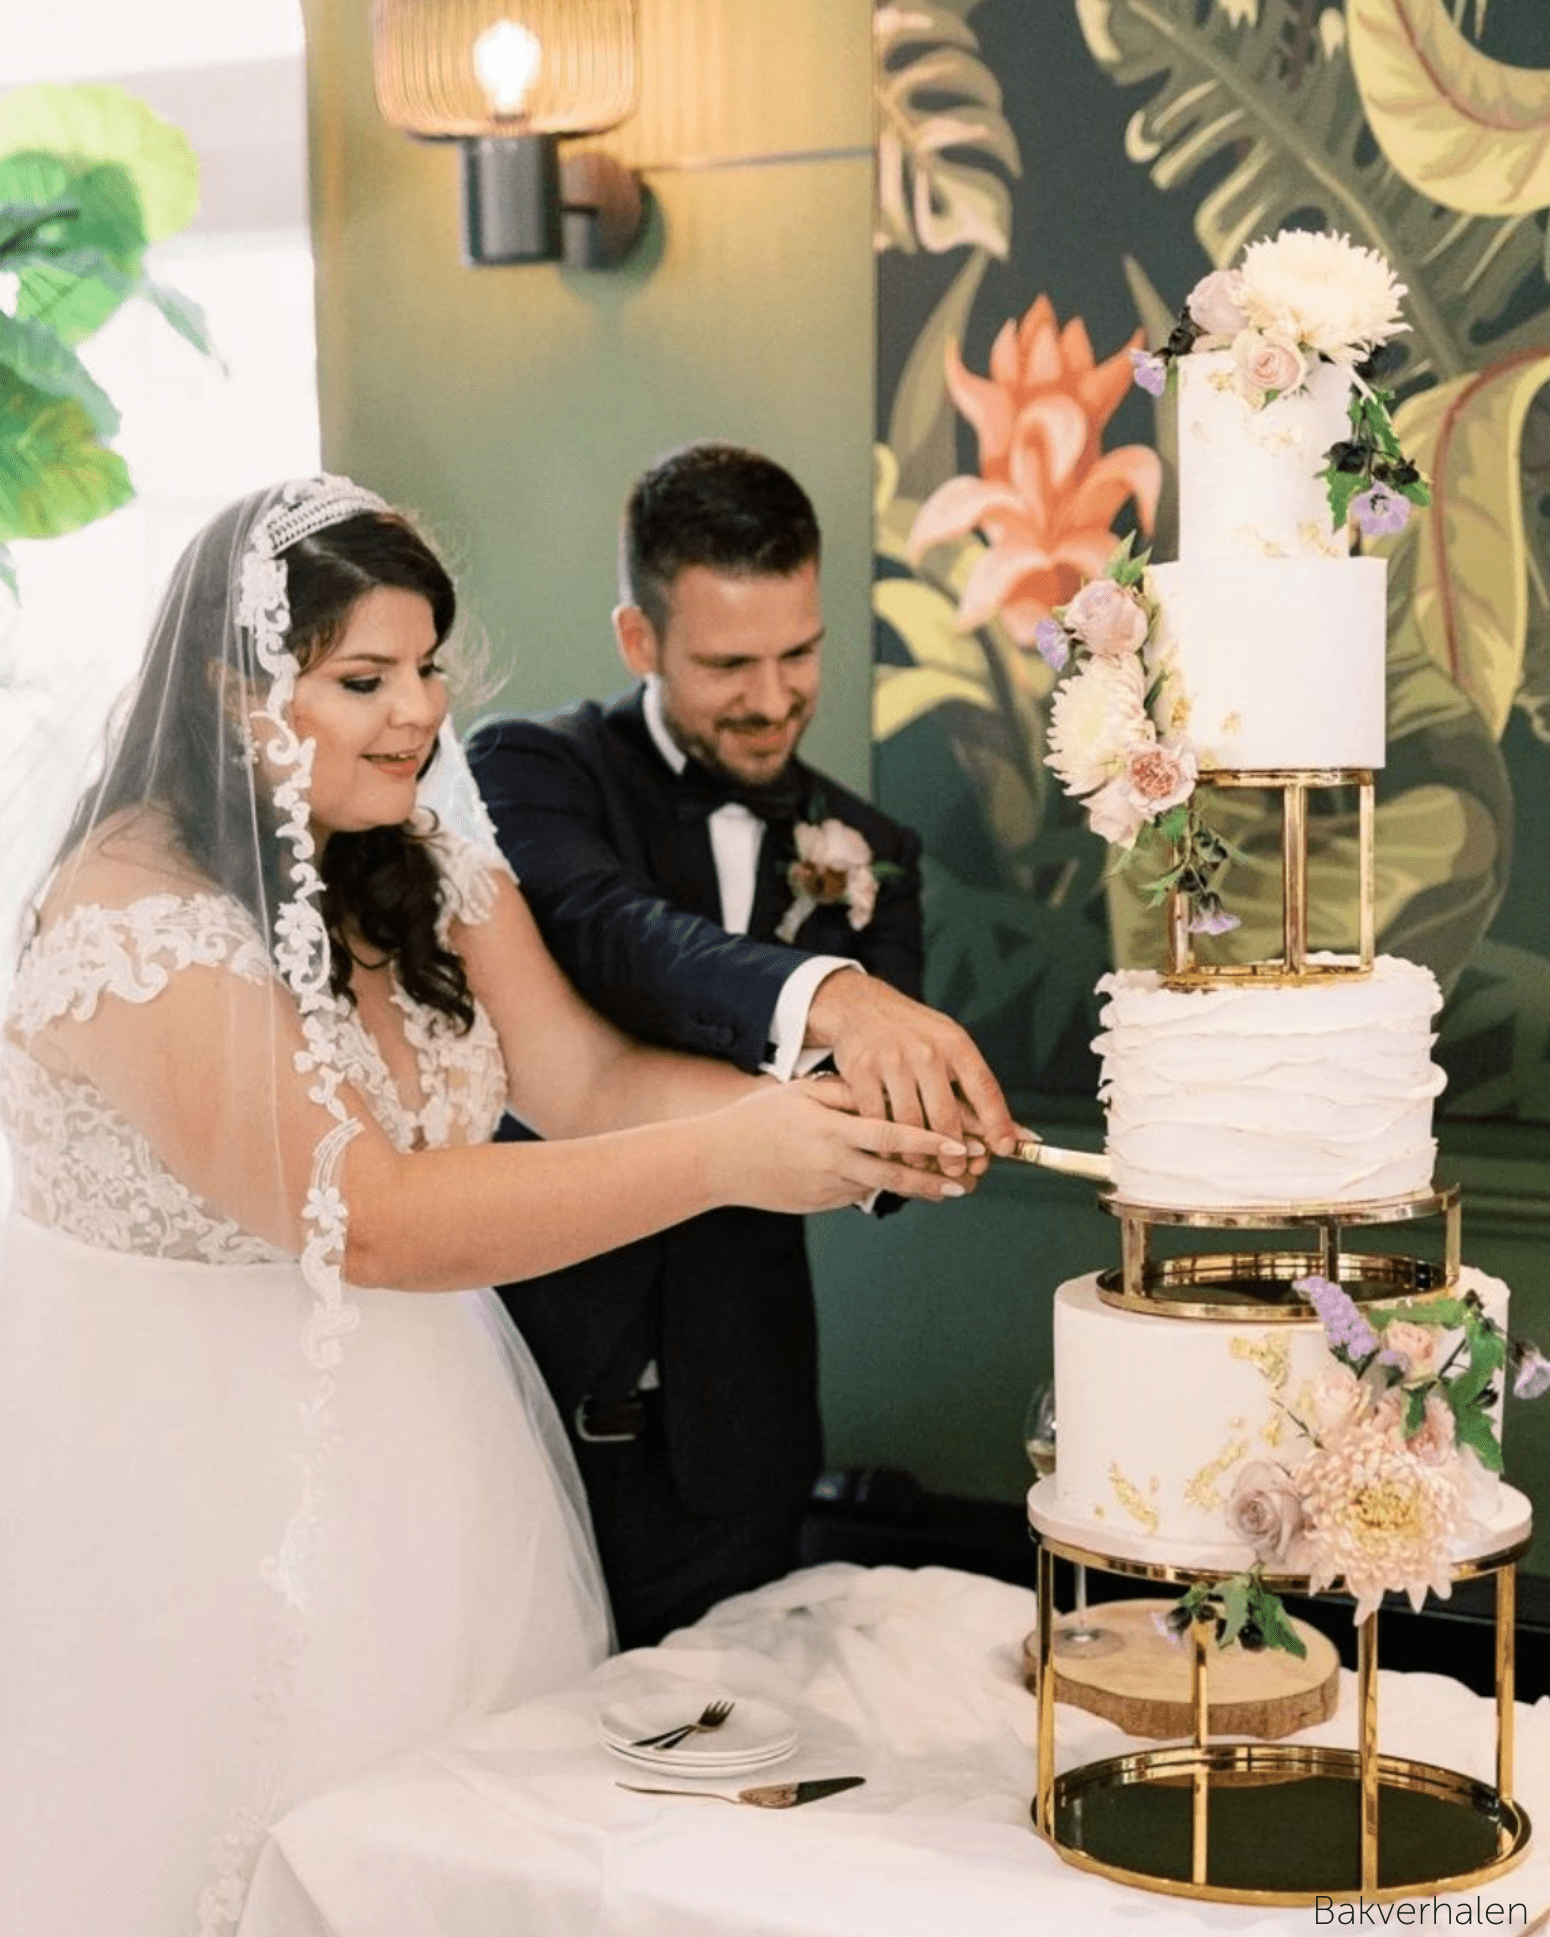
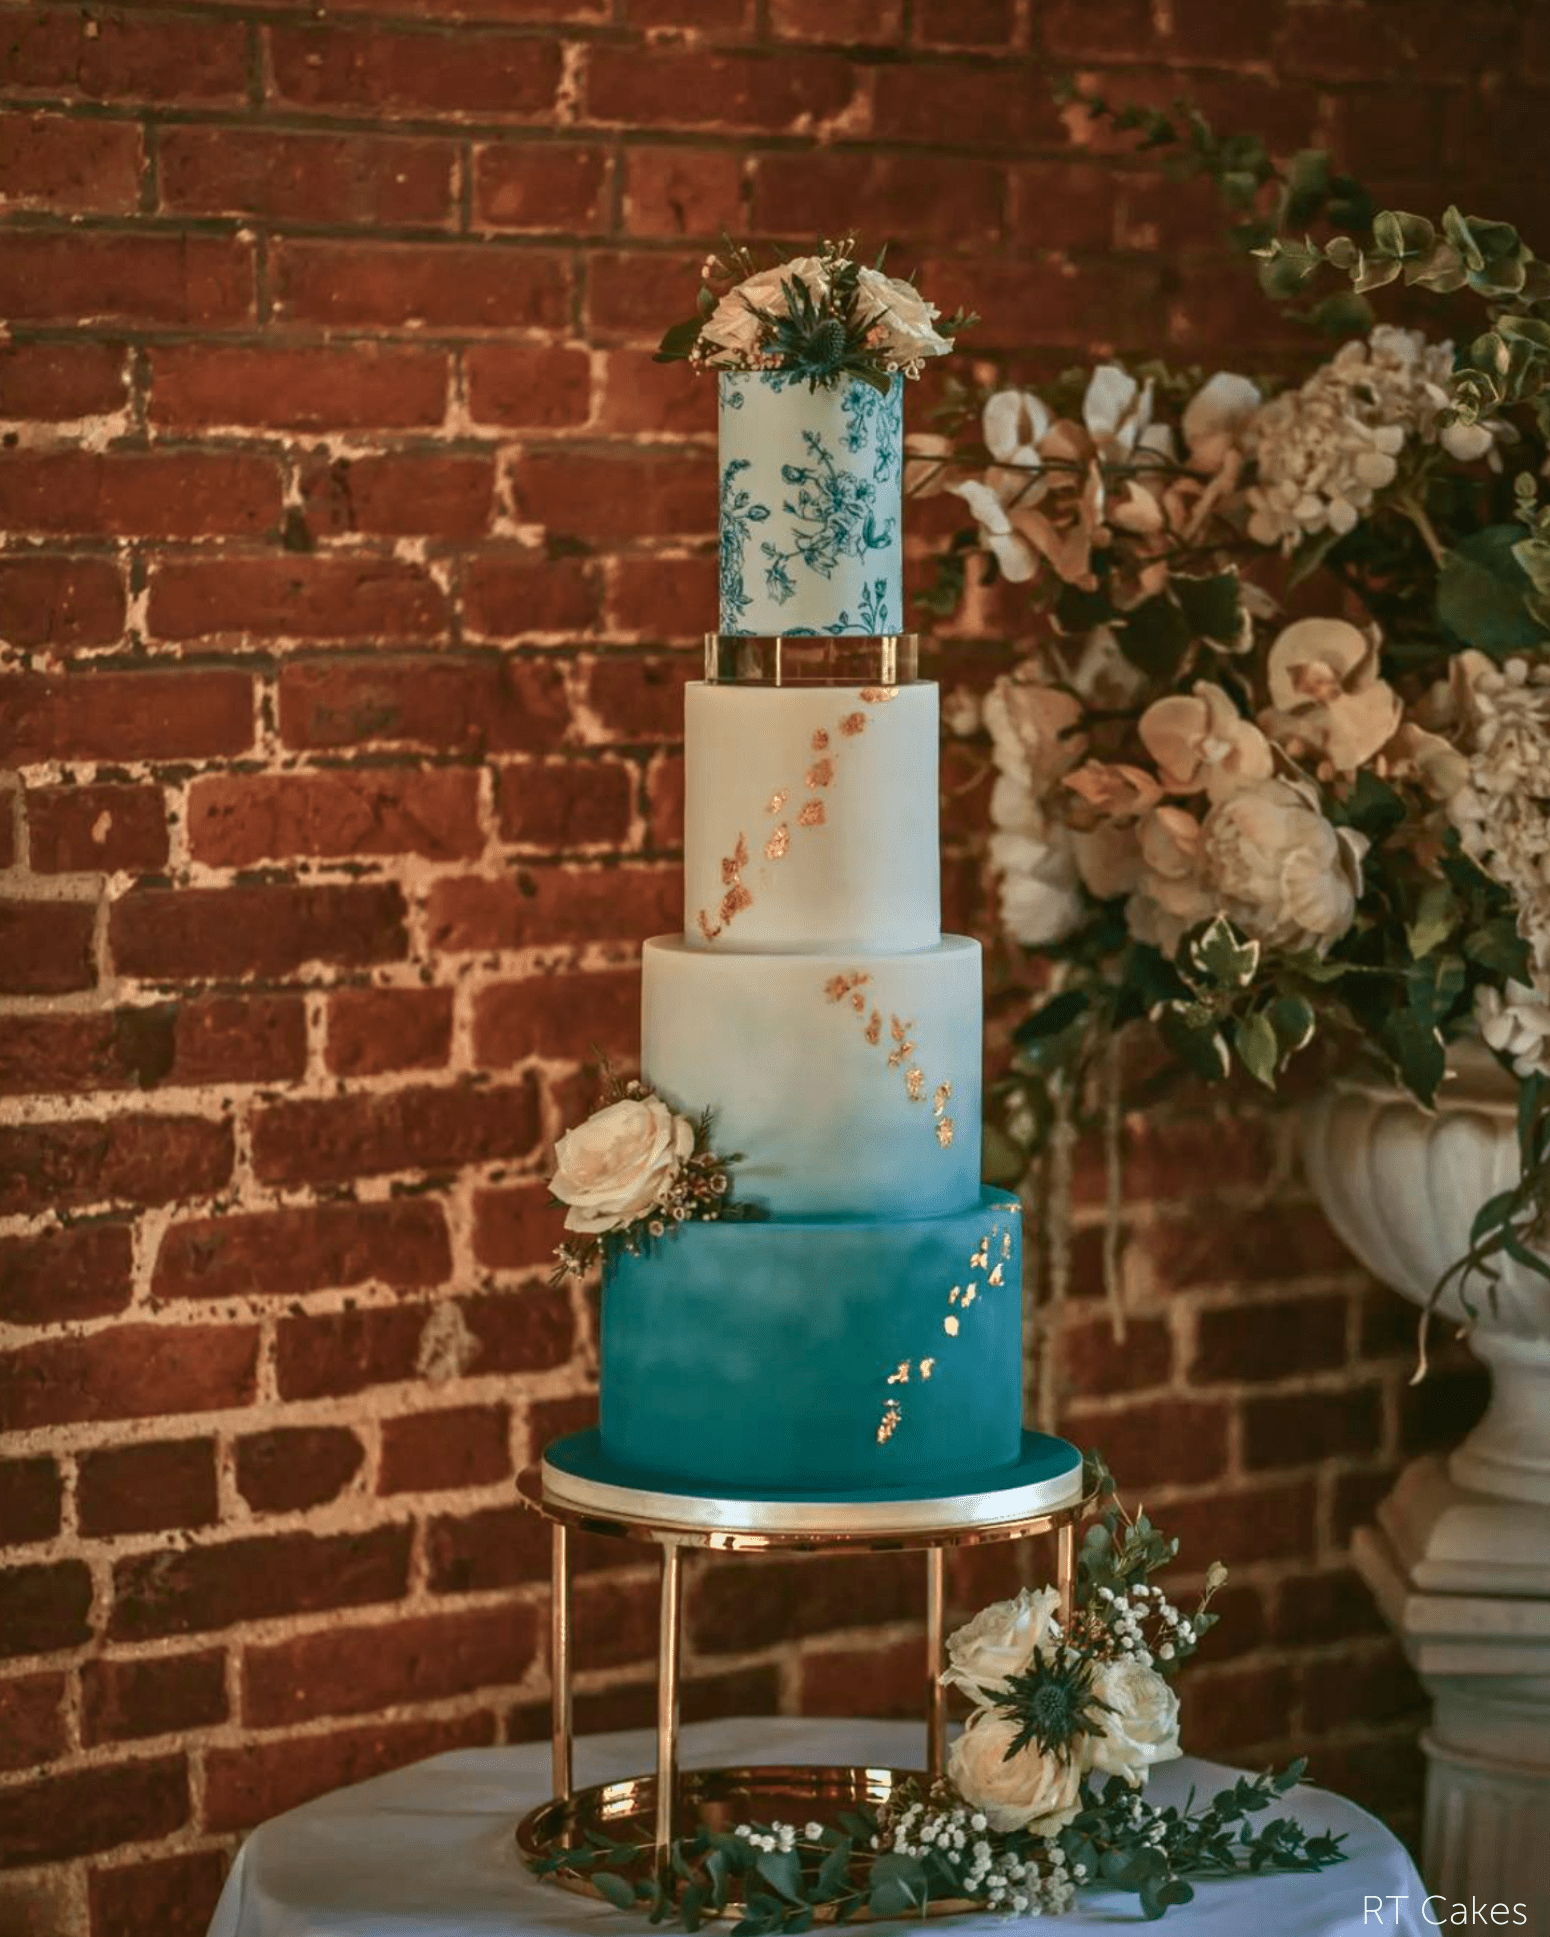
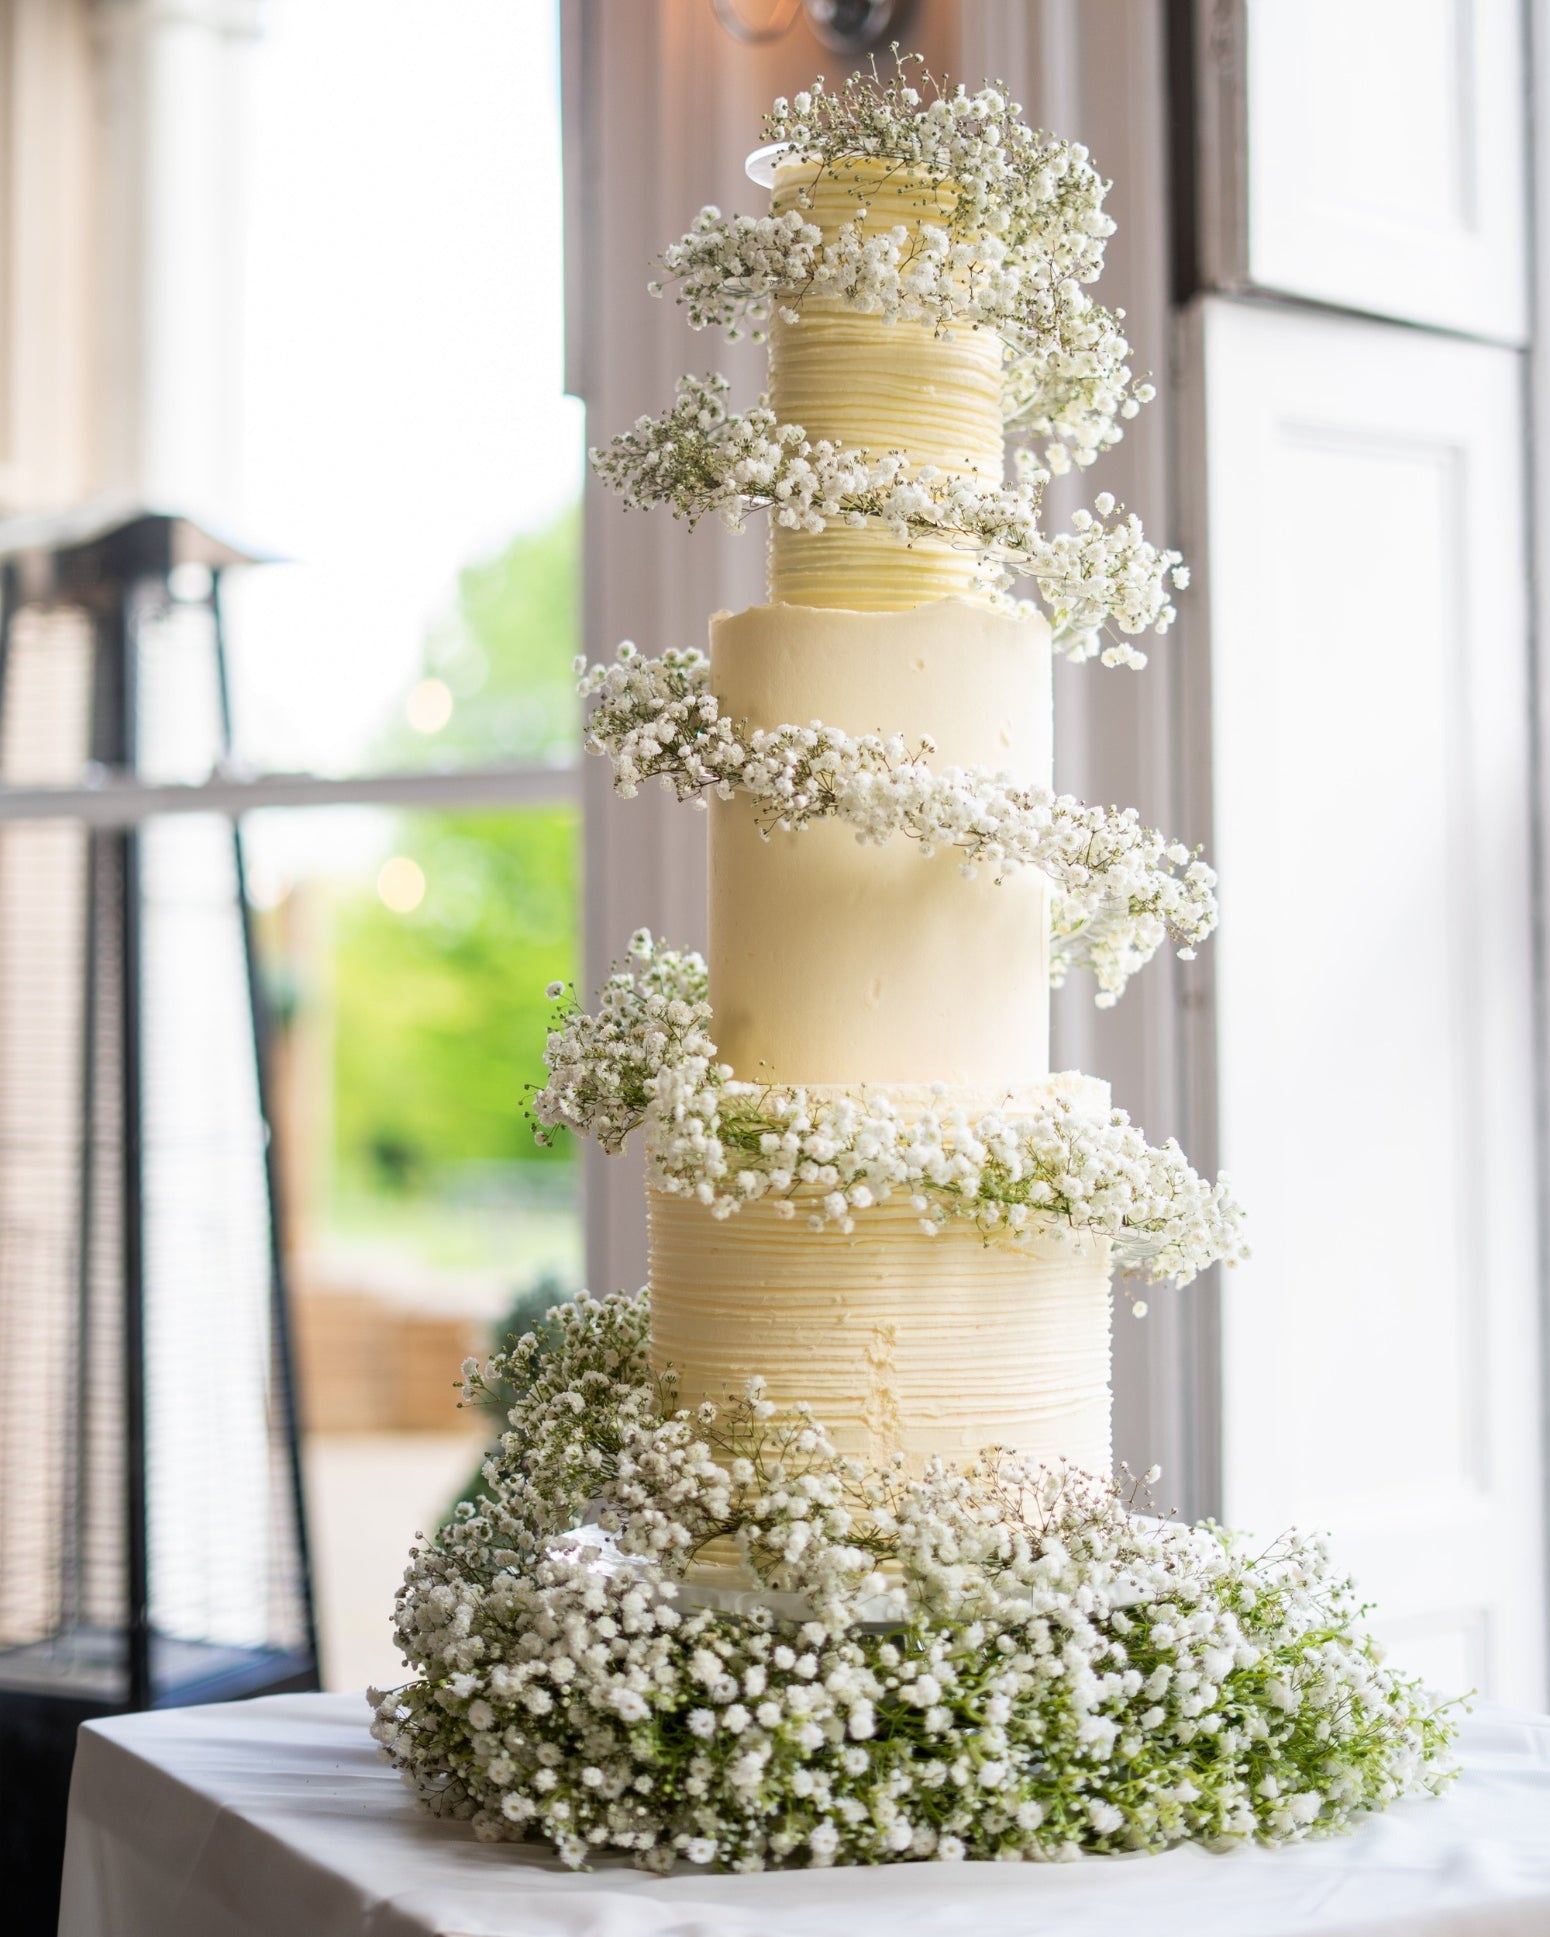
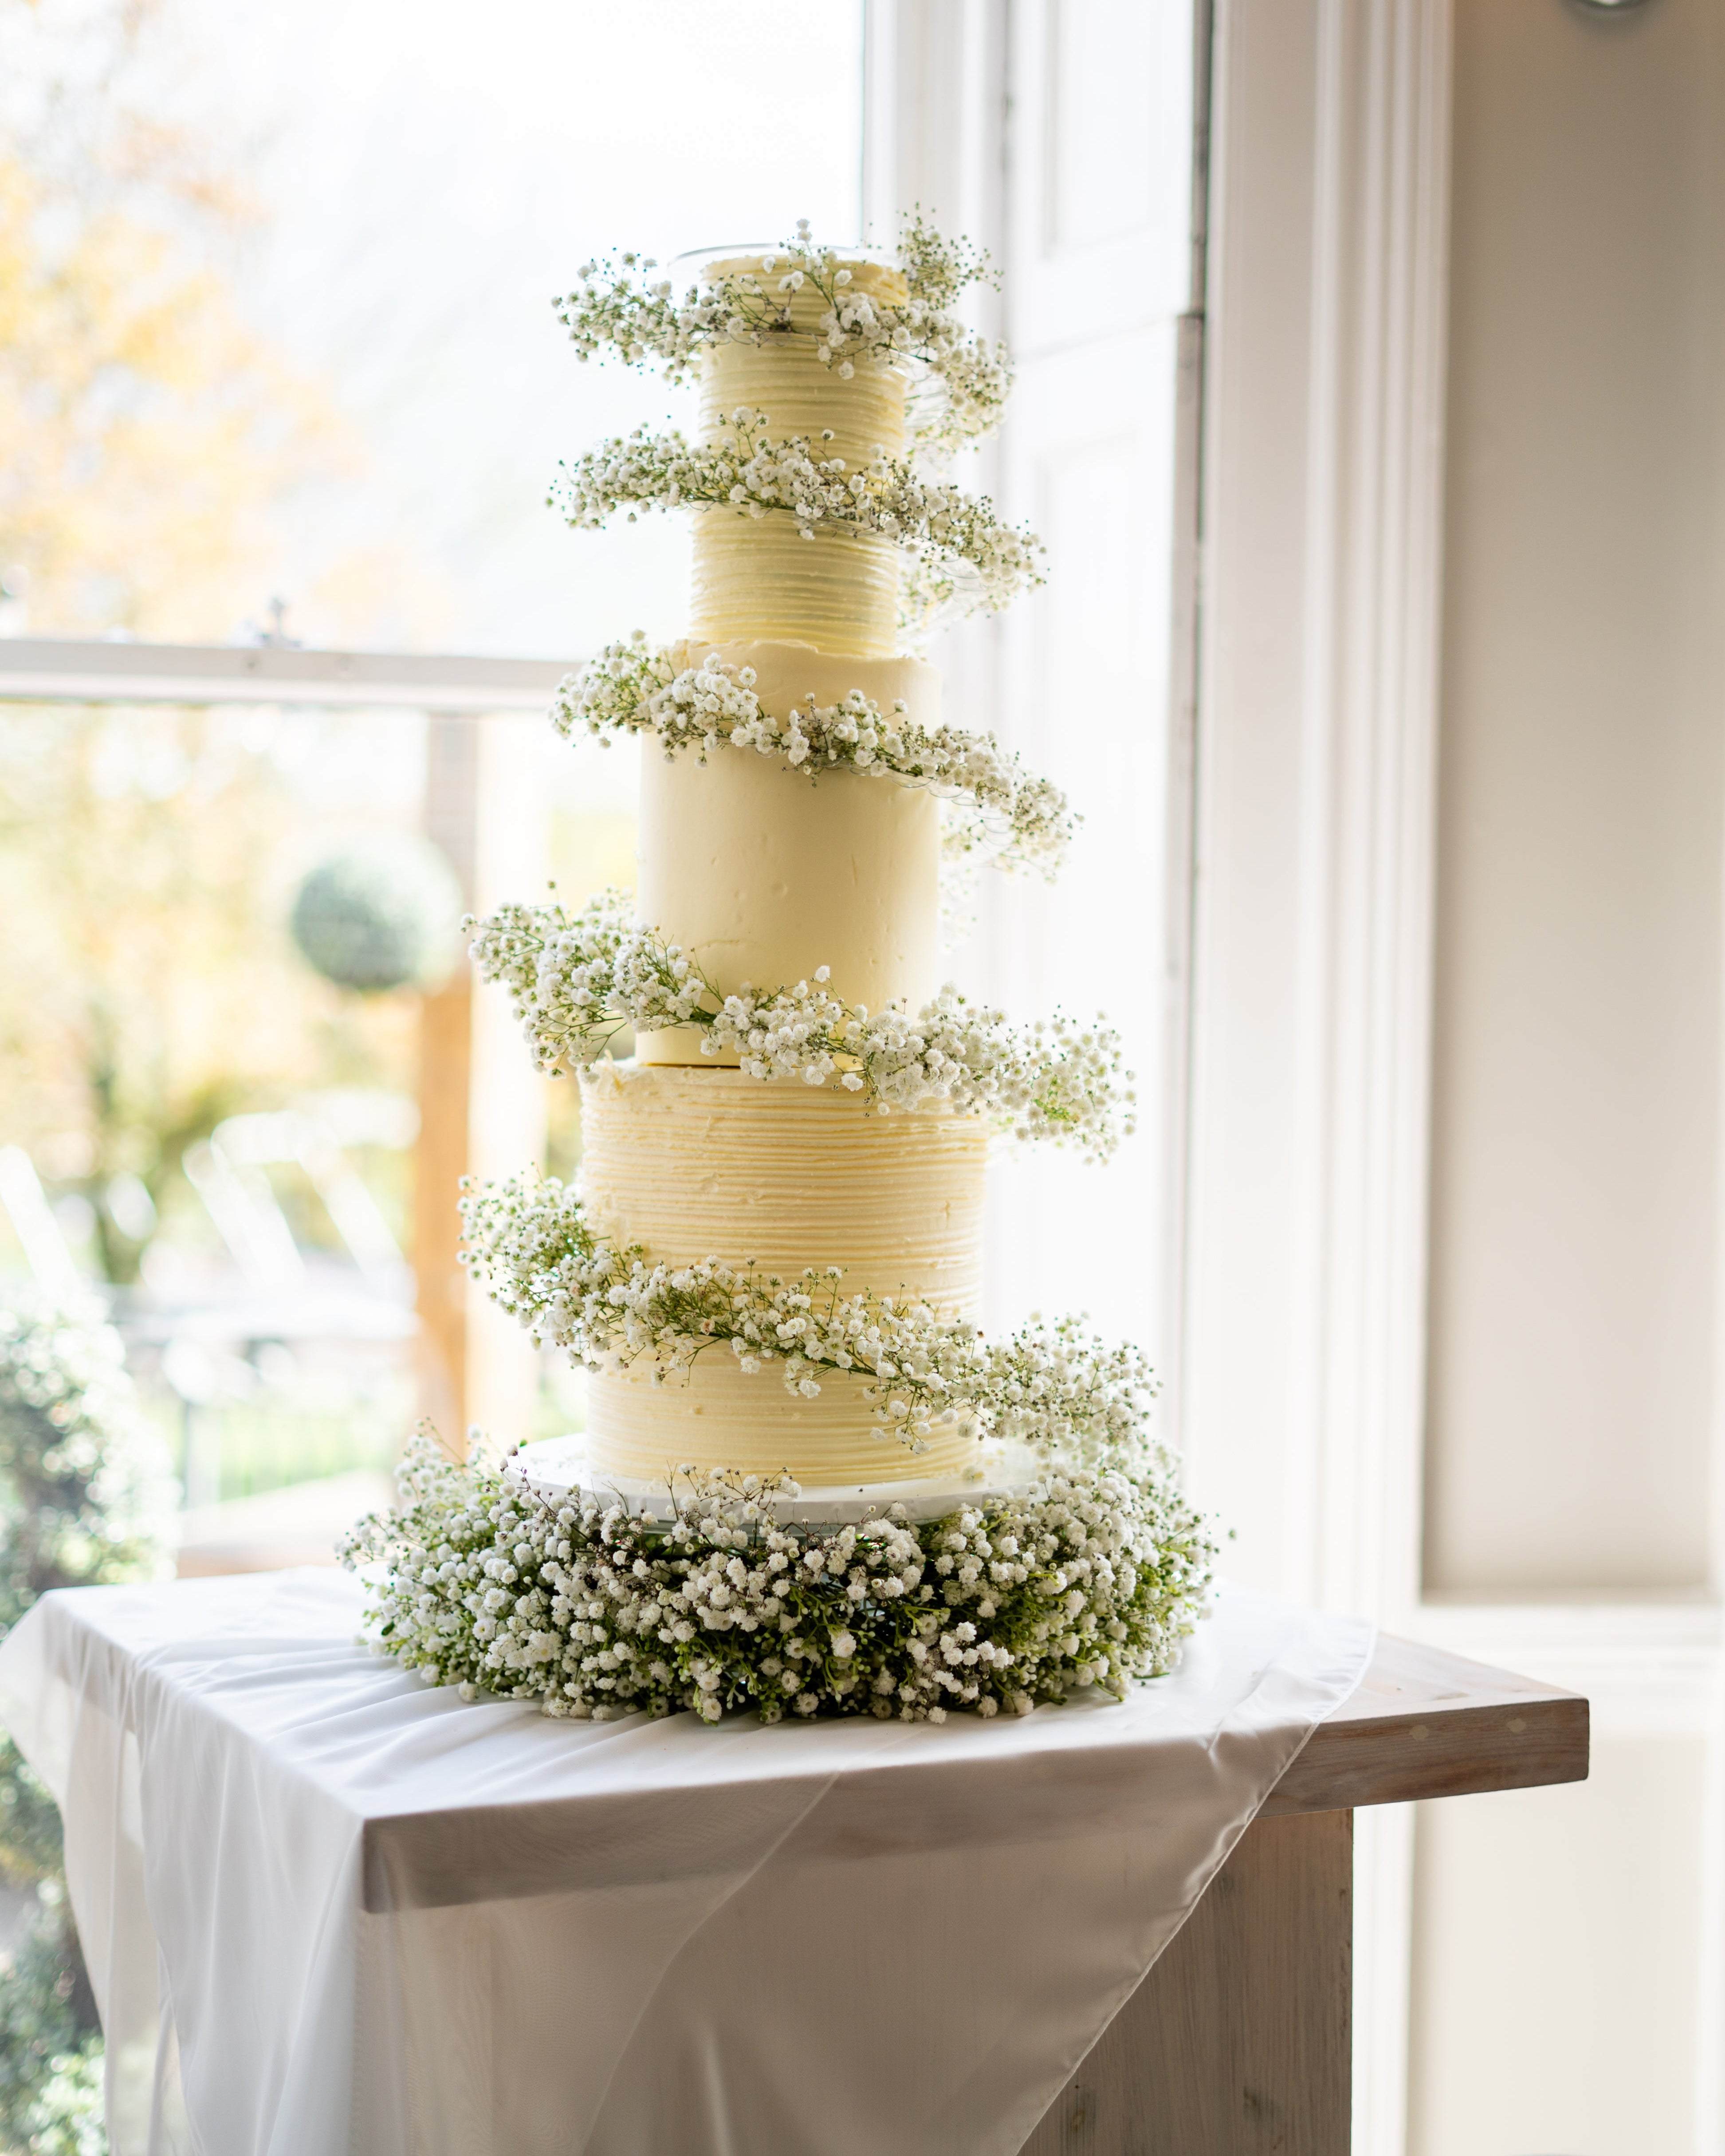
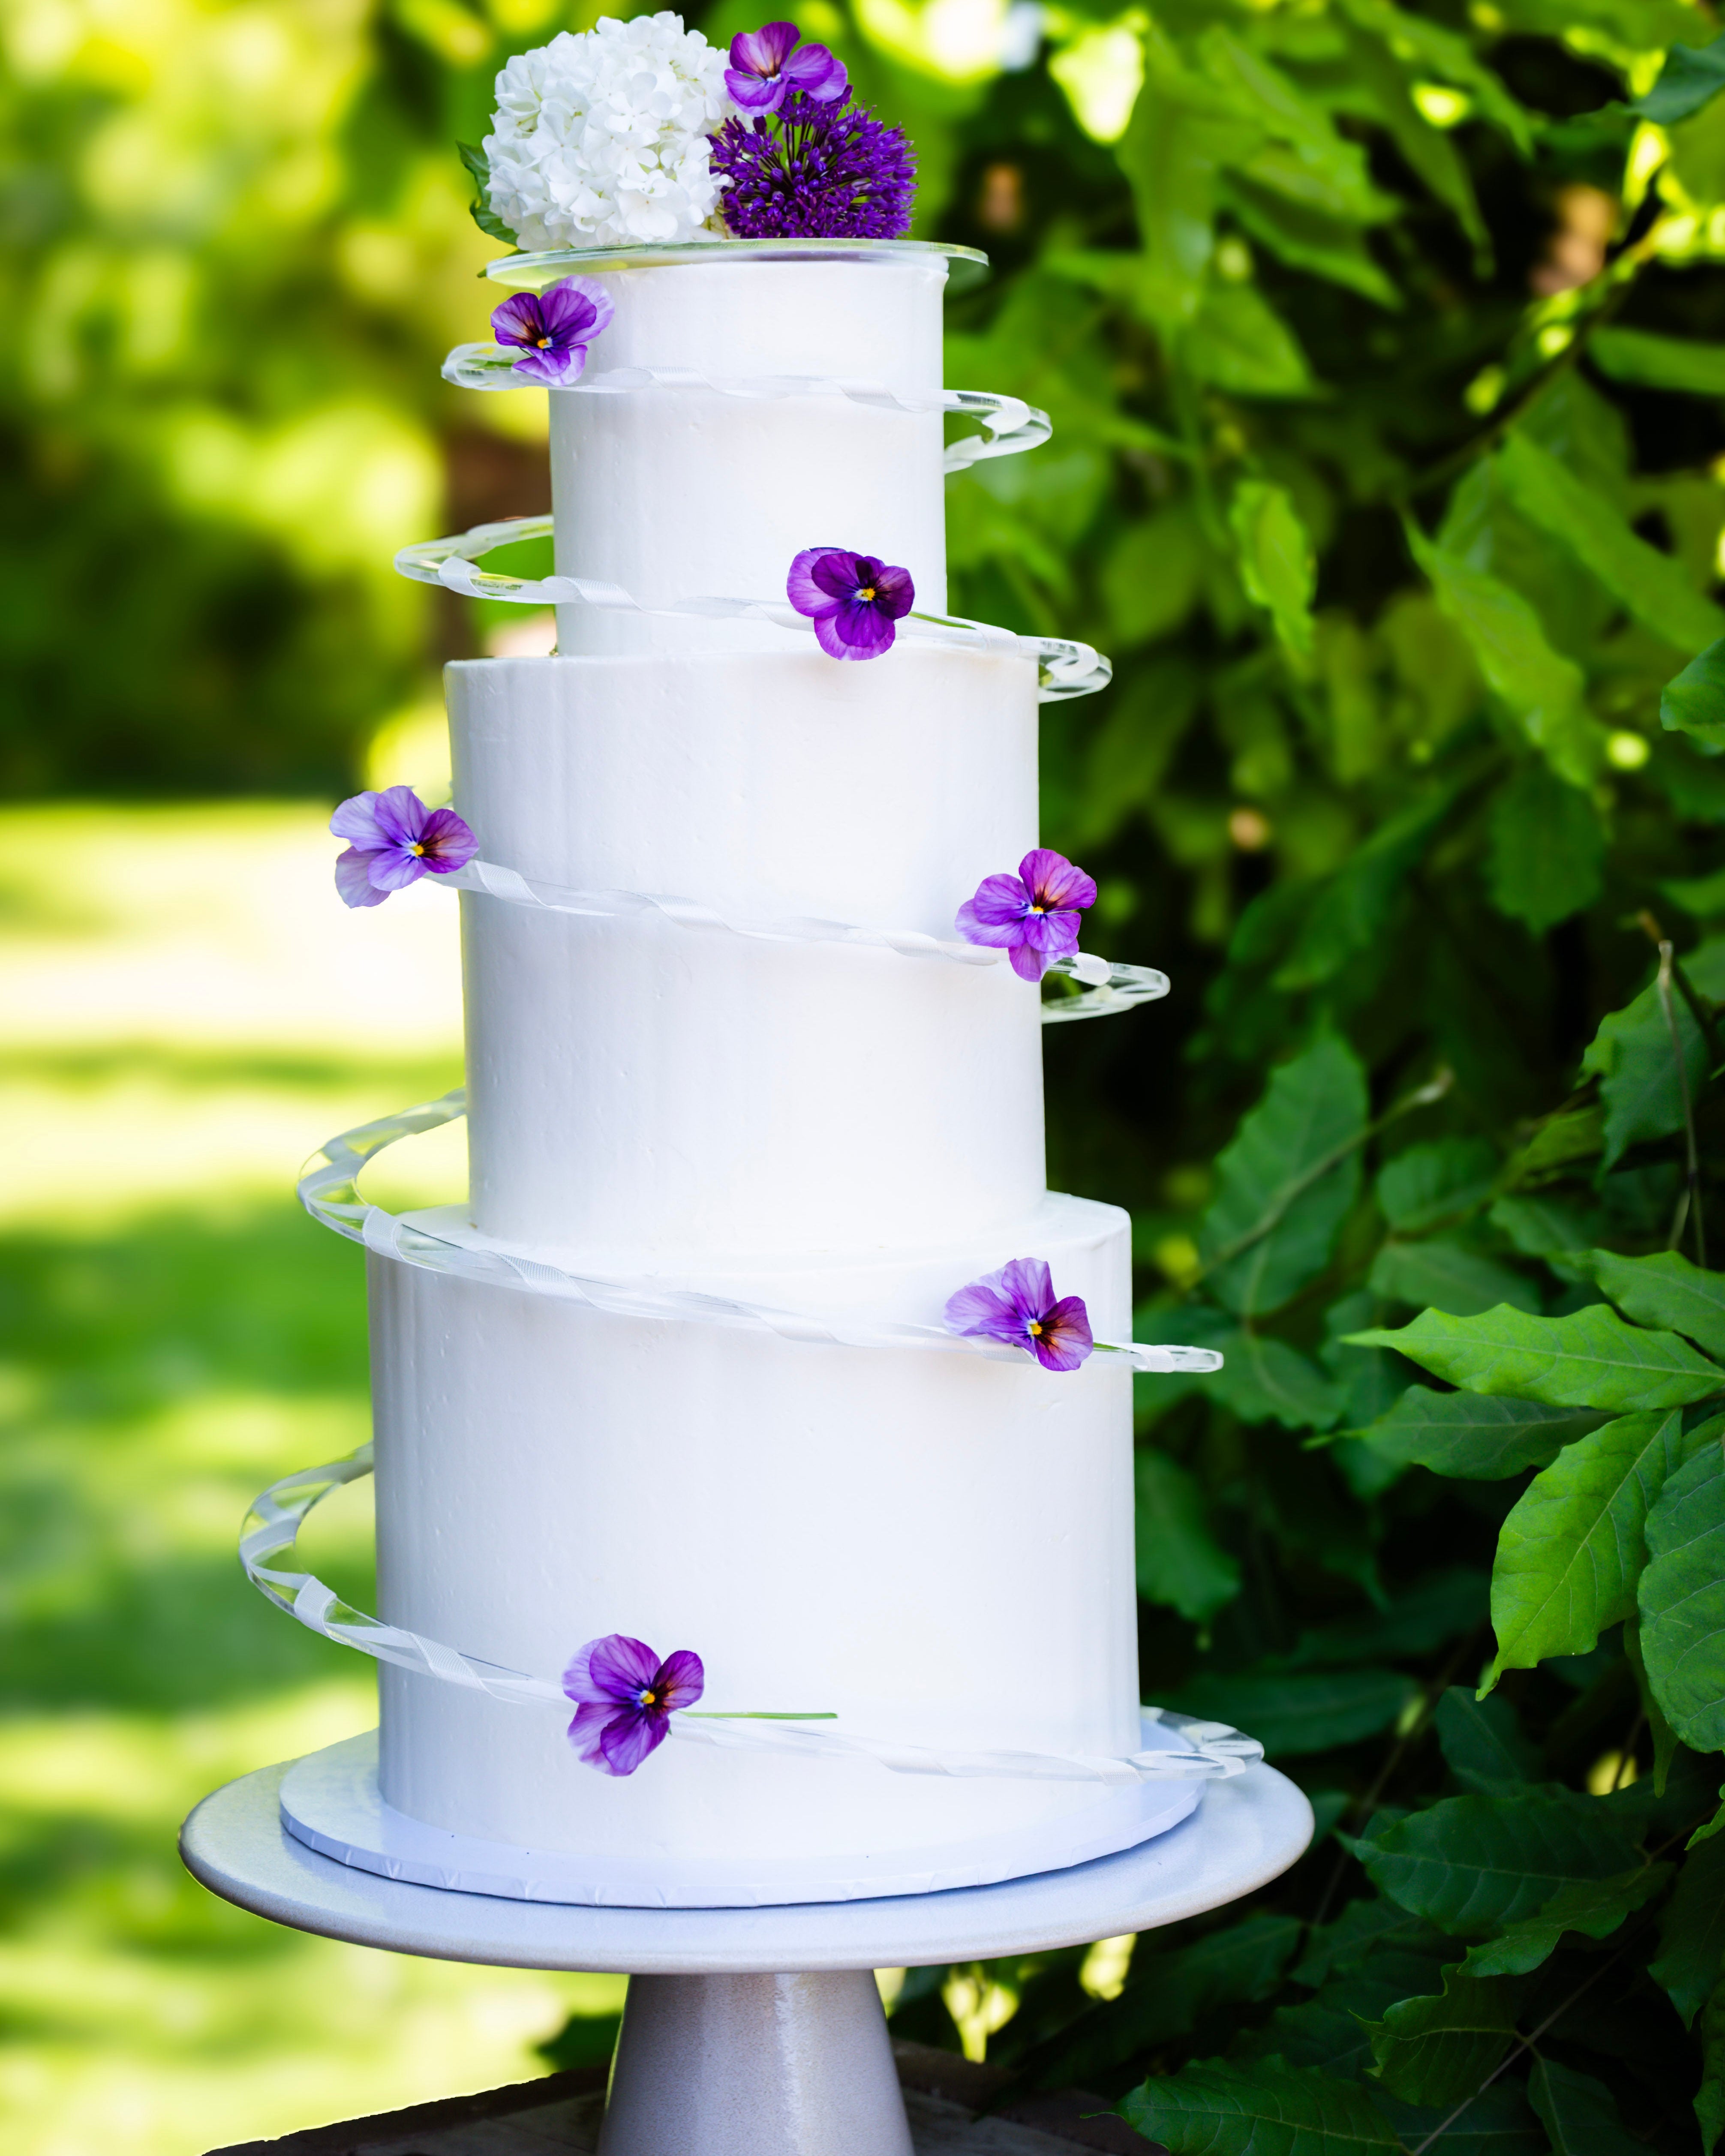
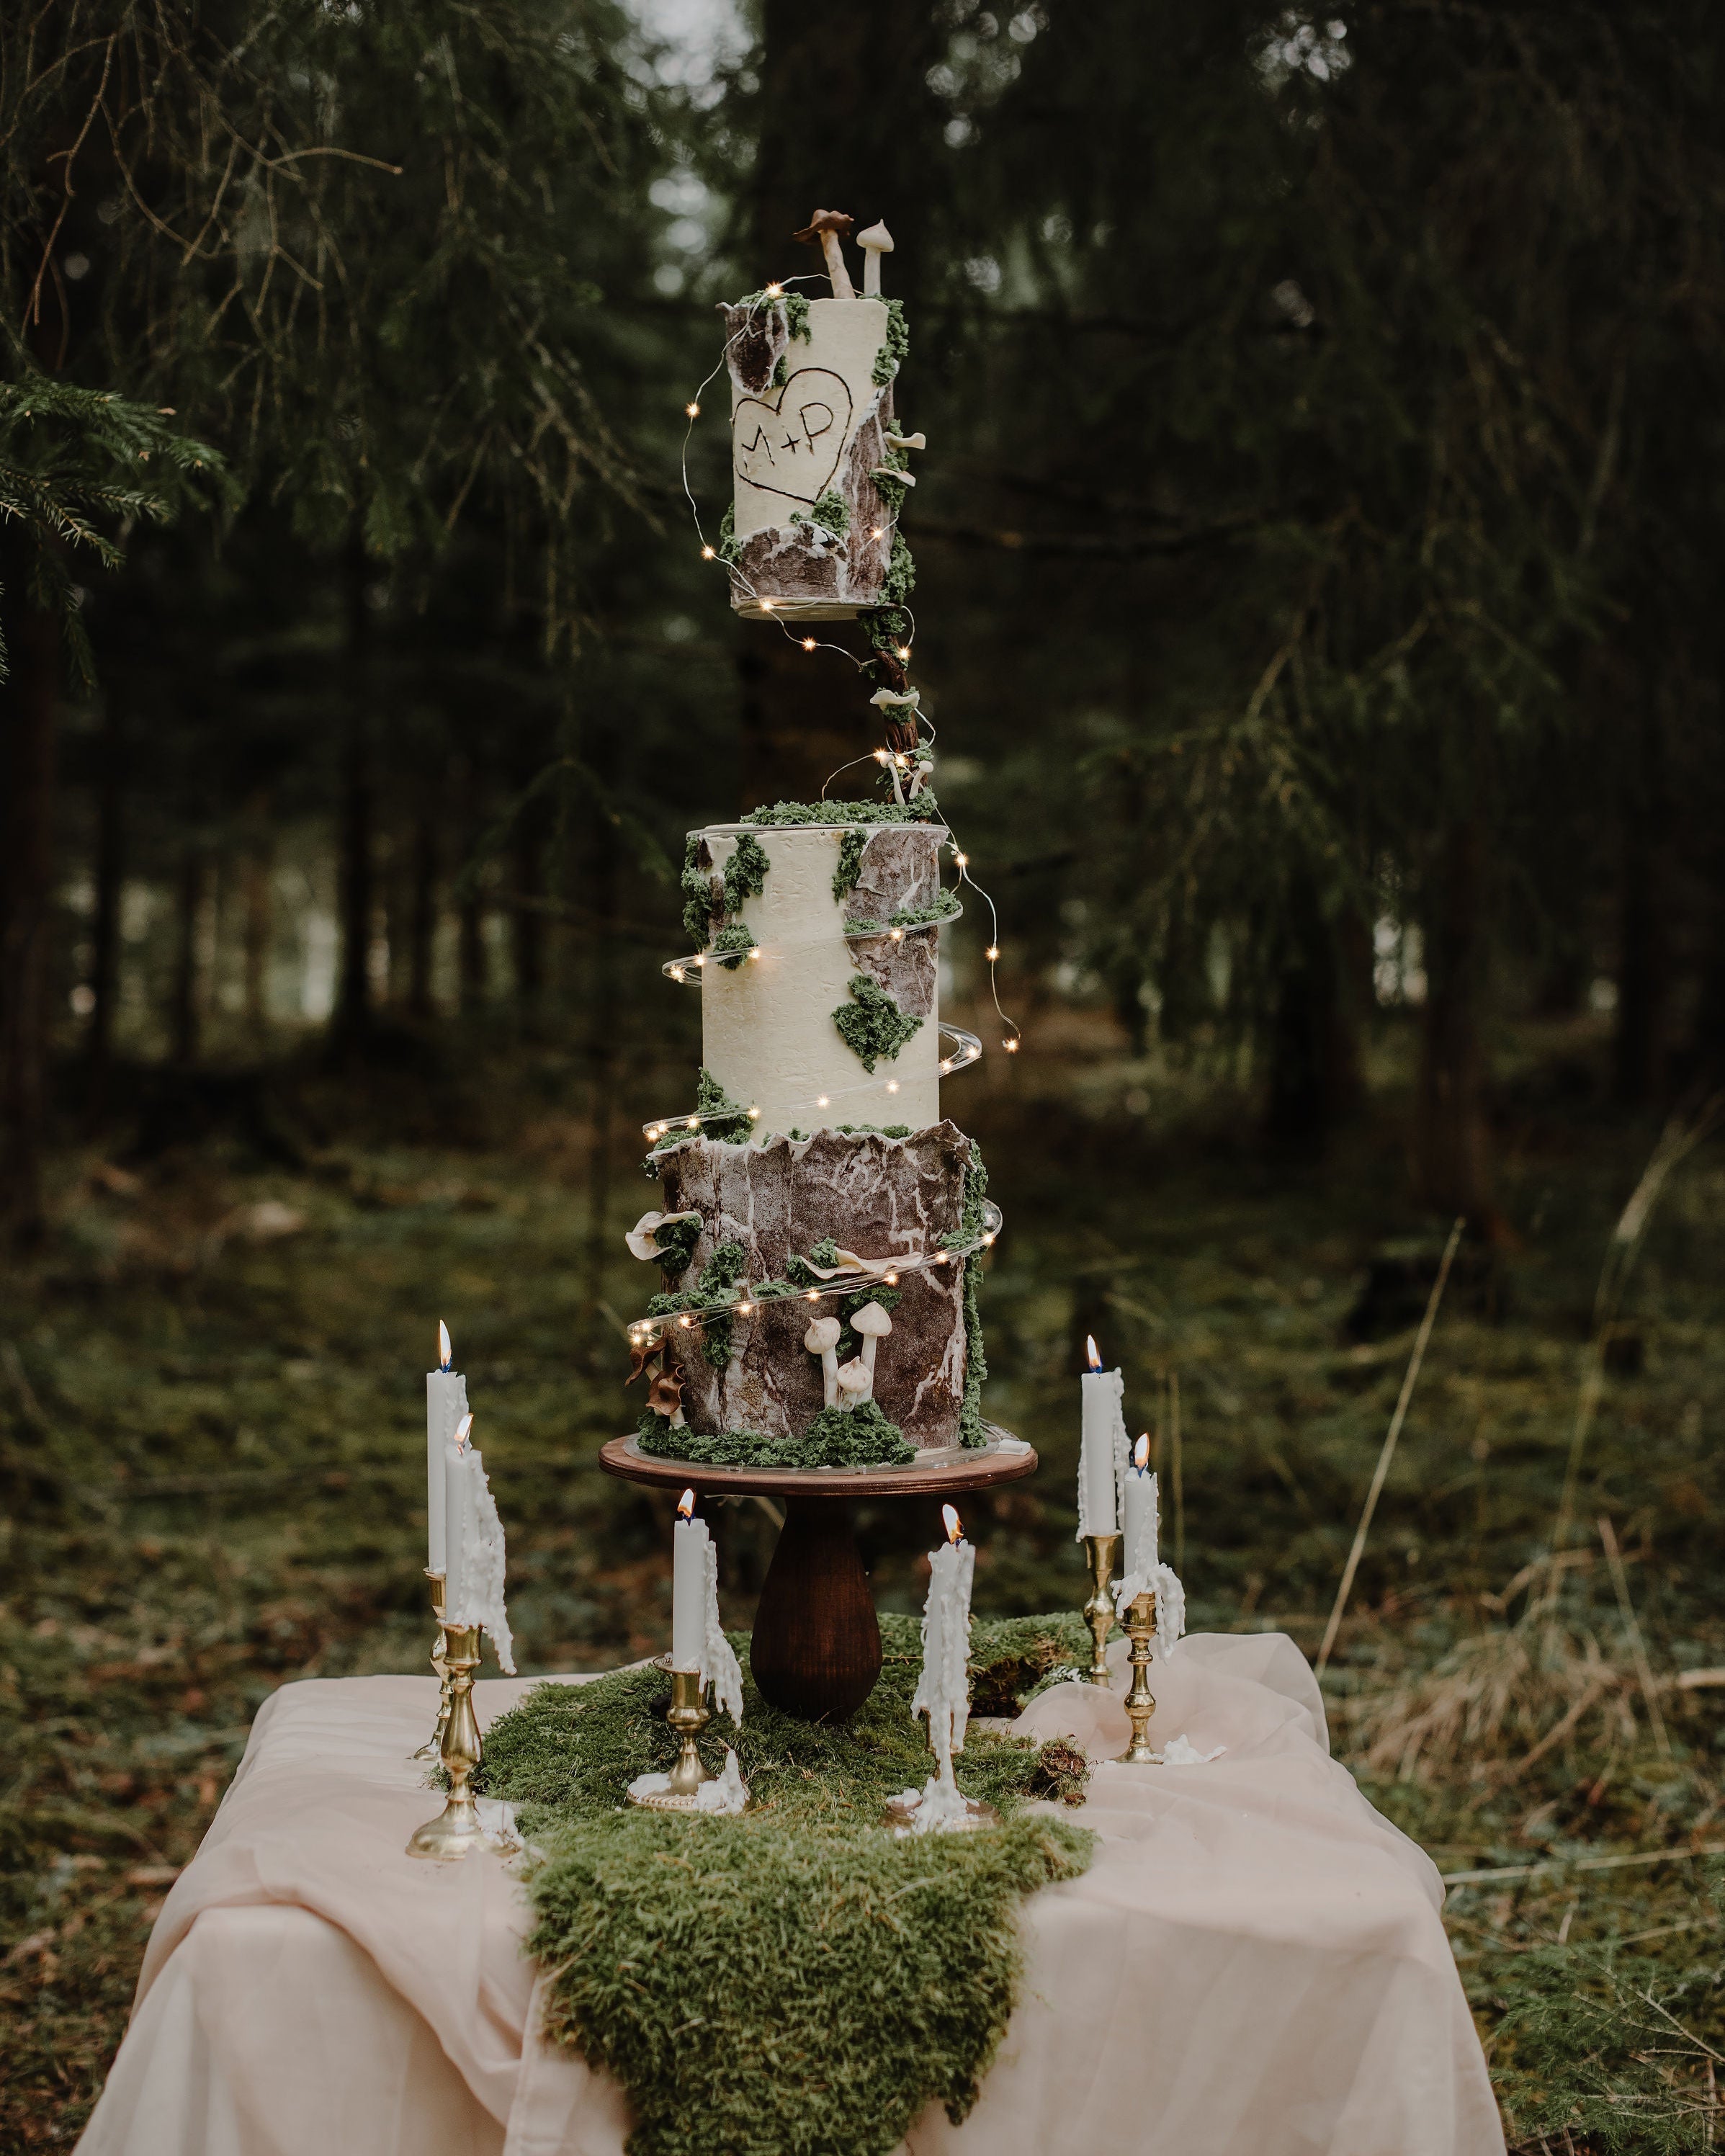
4. Find the right angle
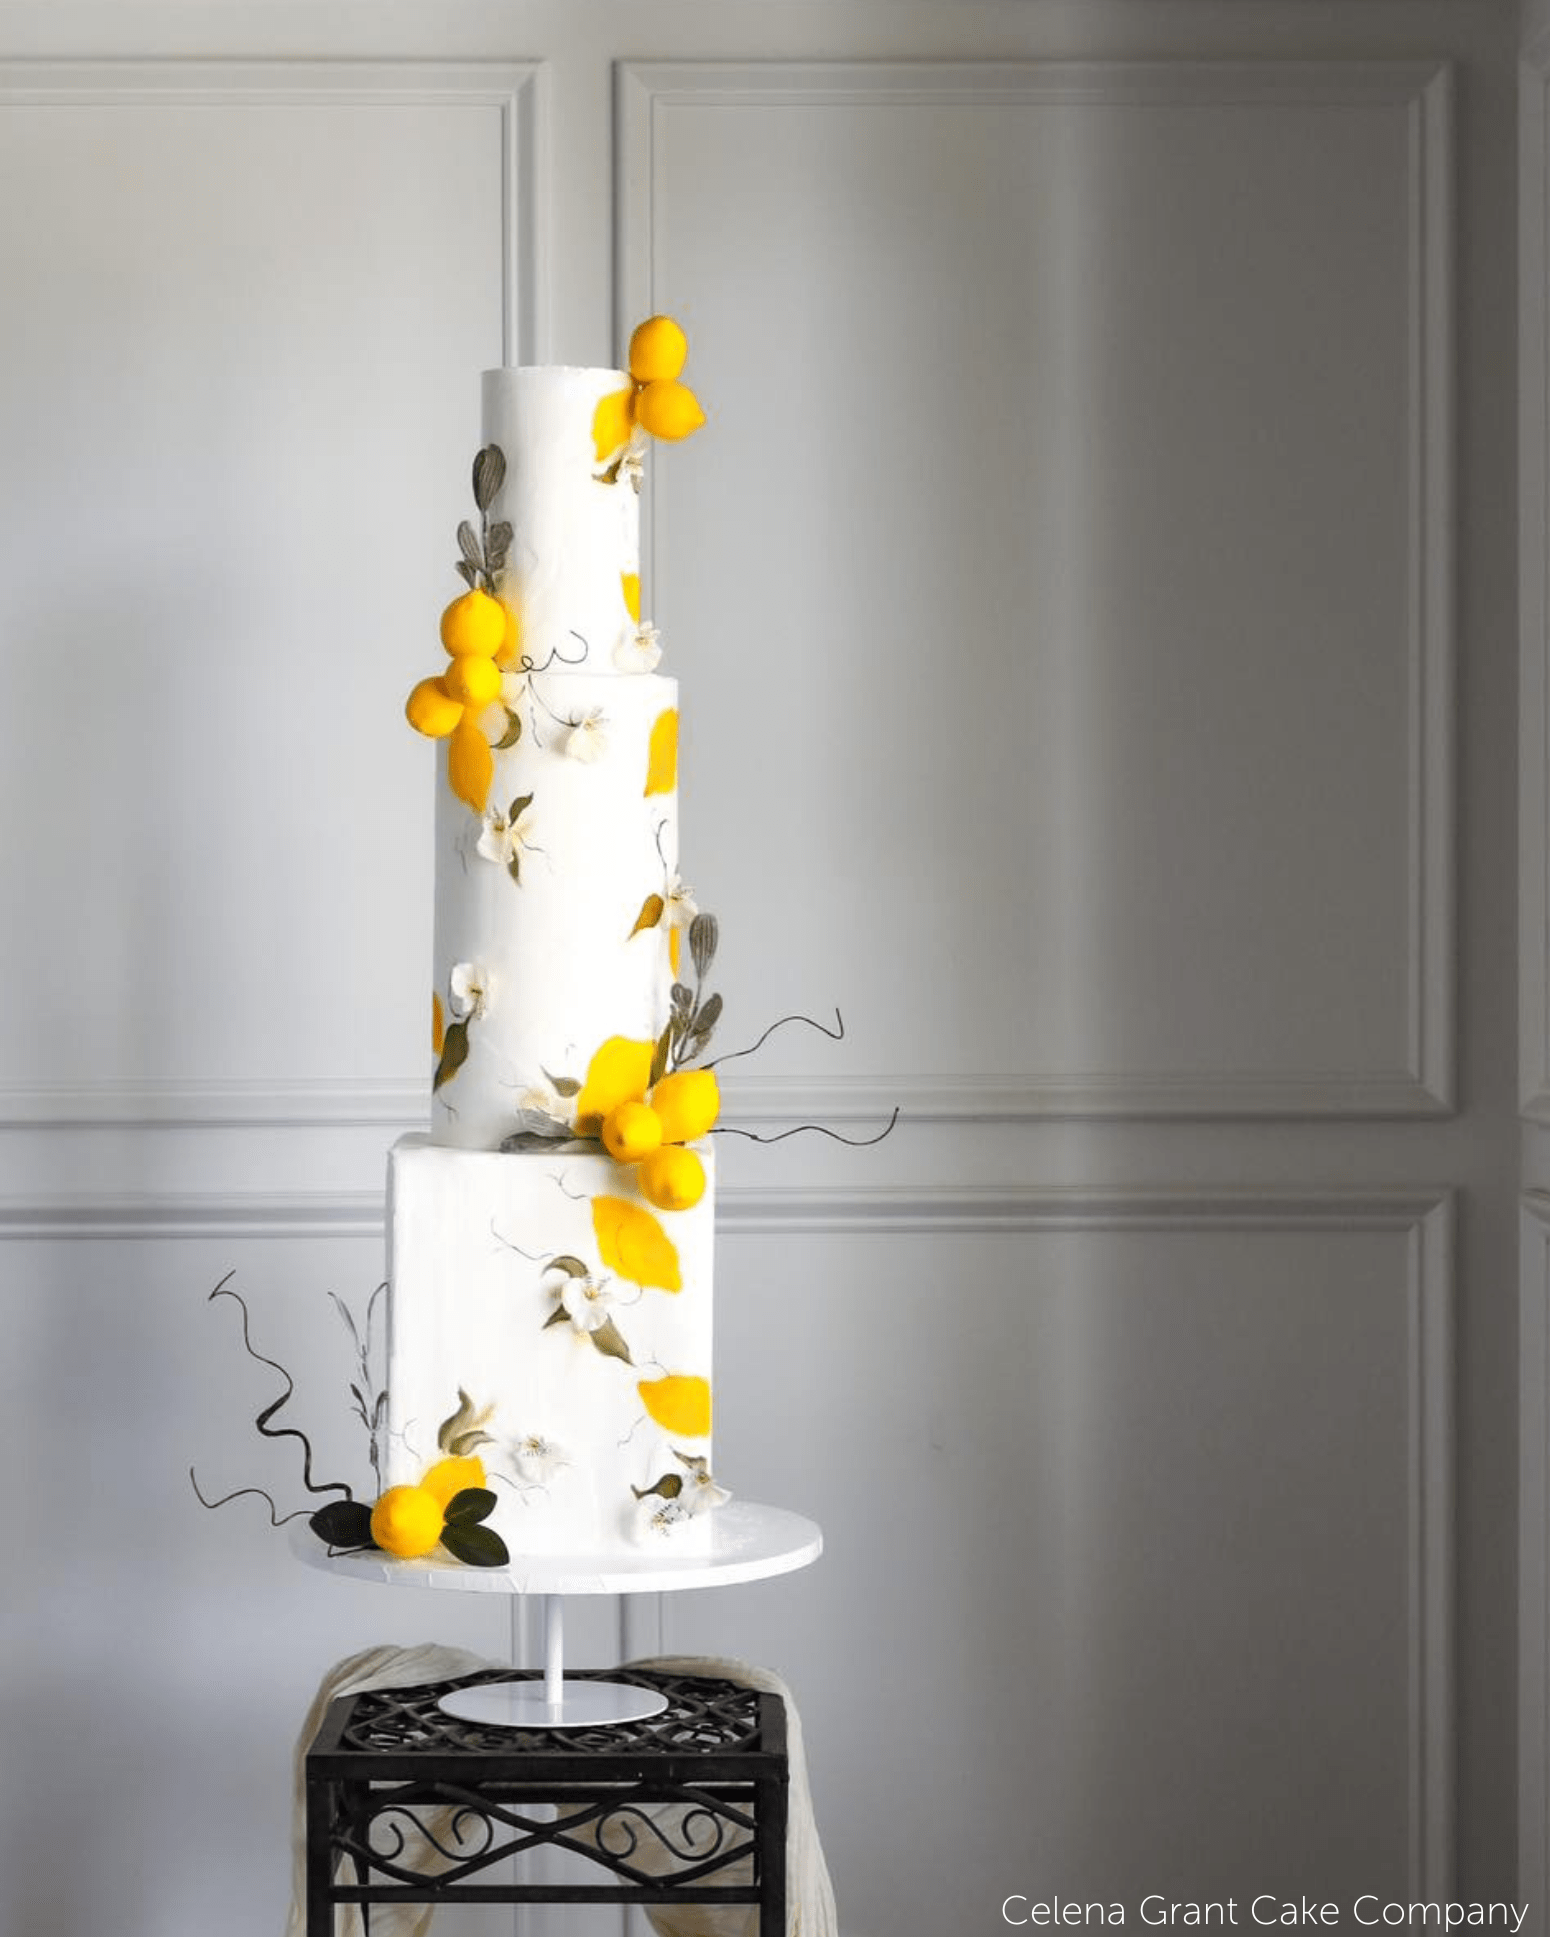
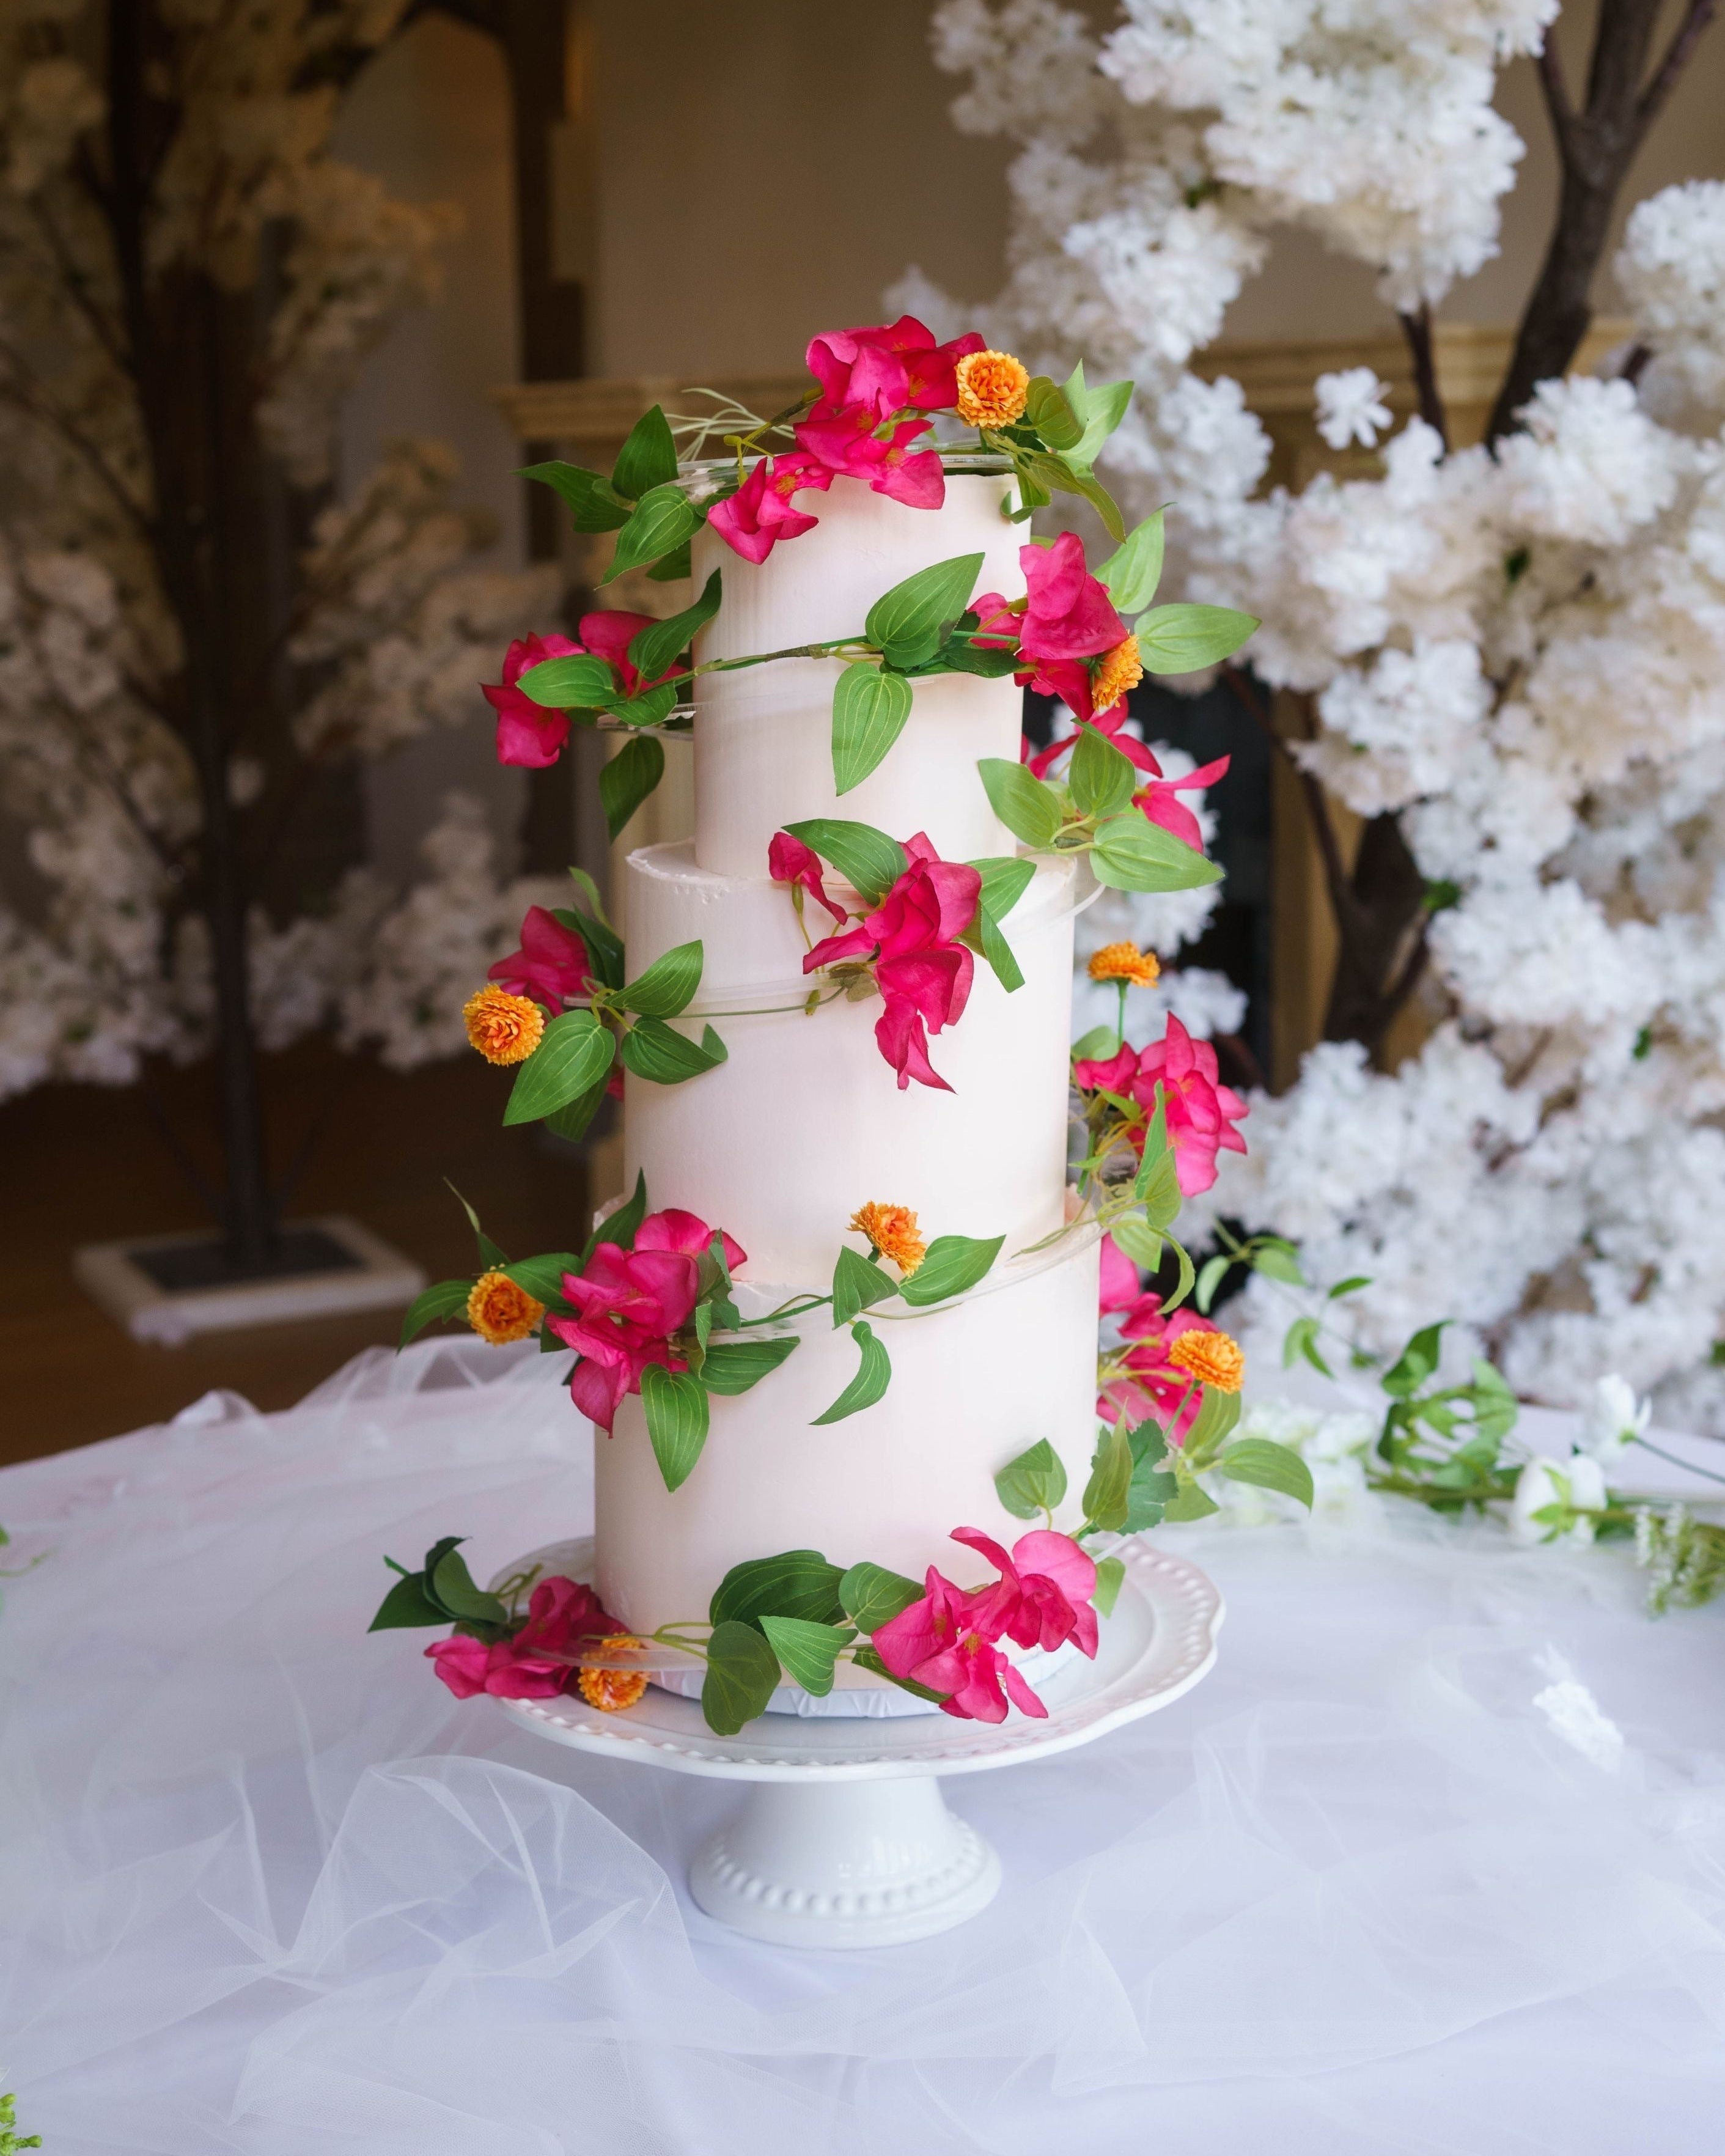
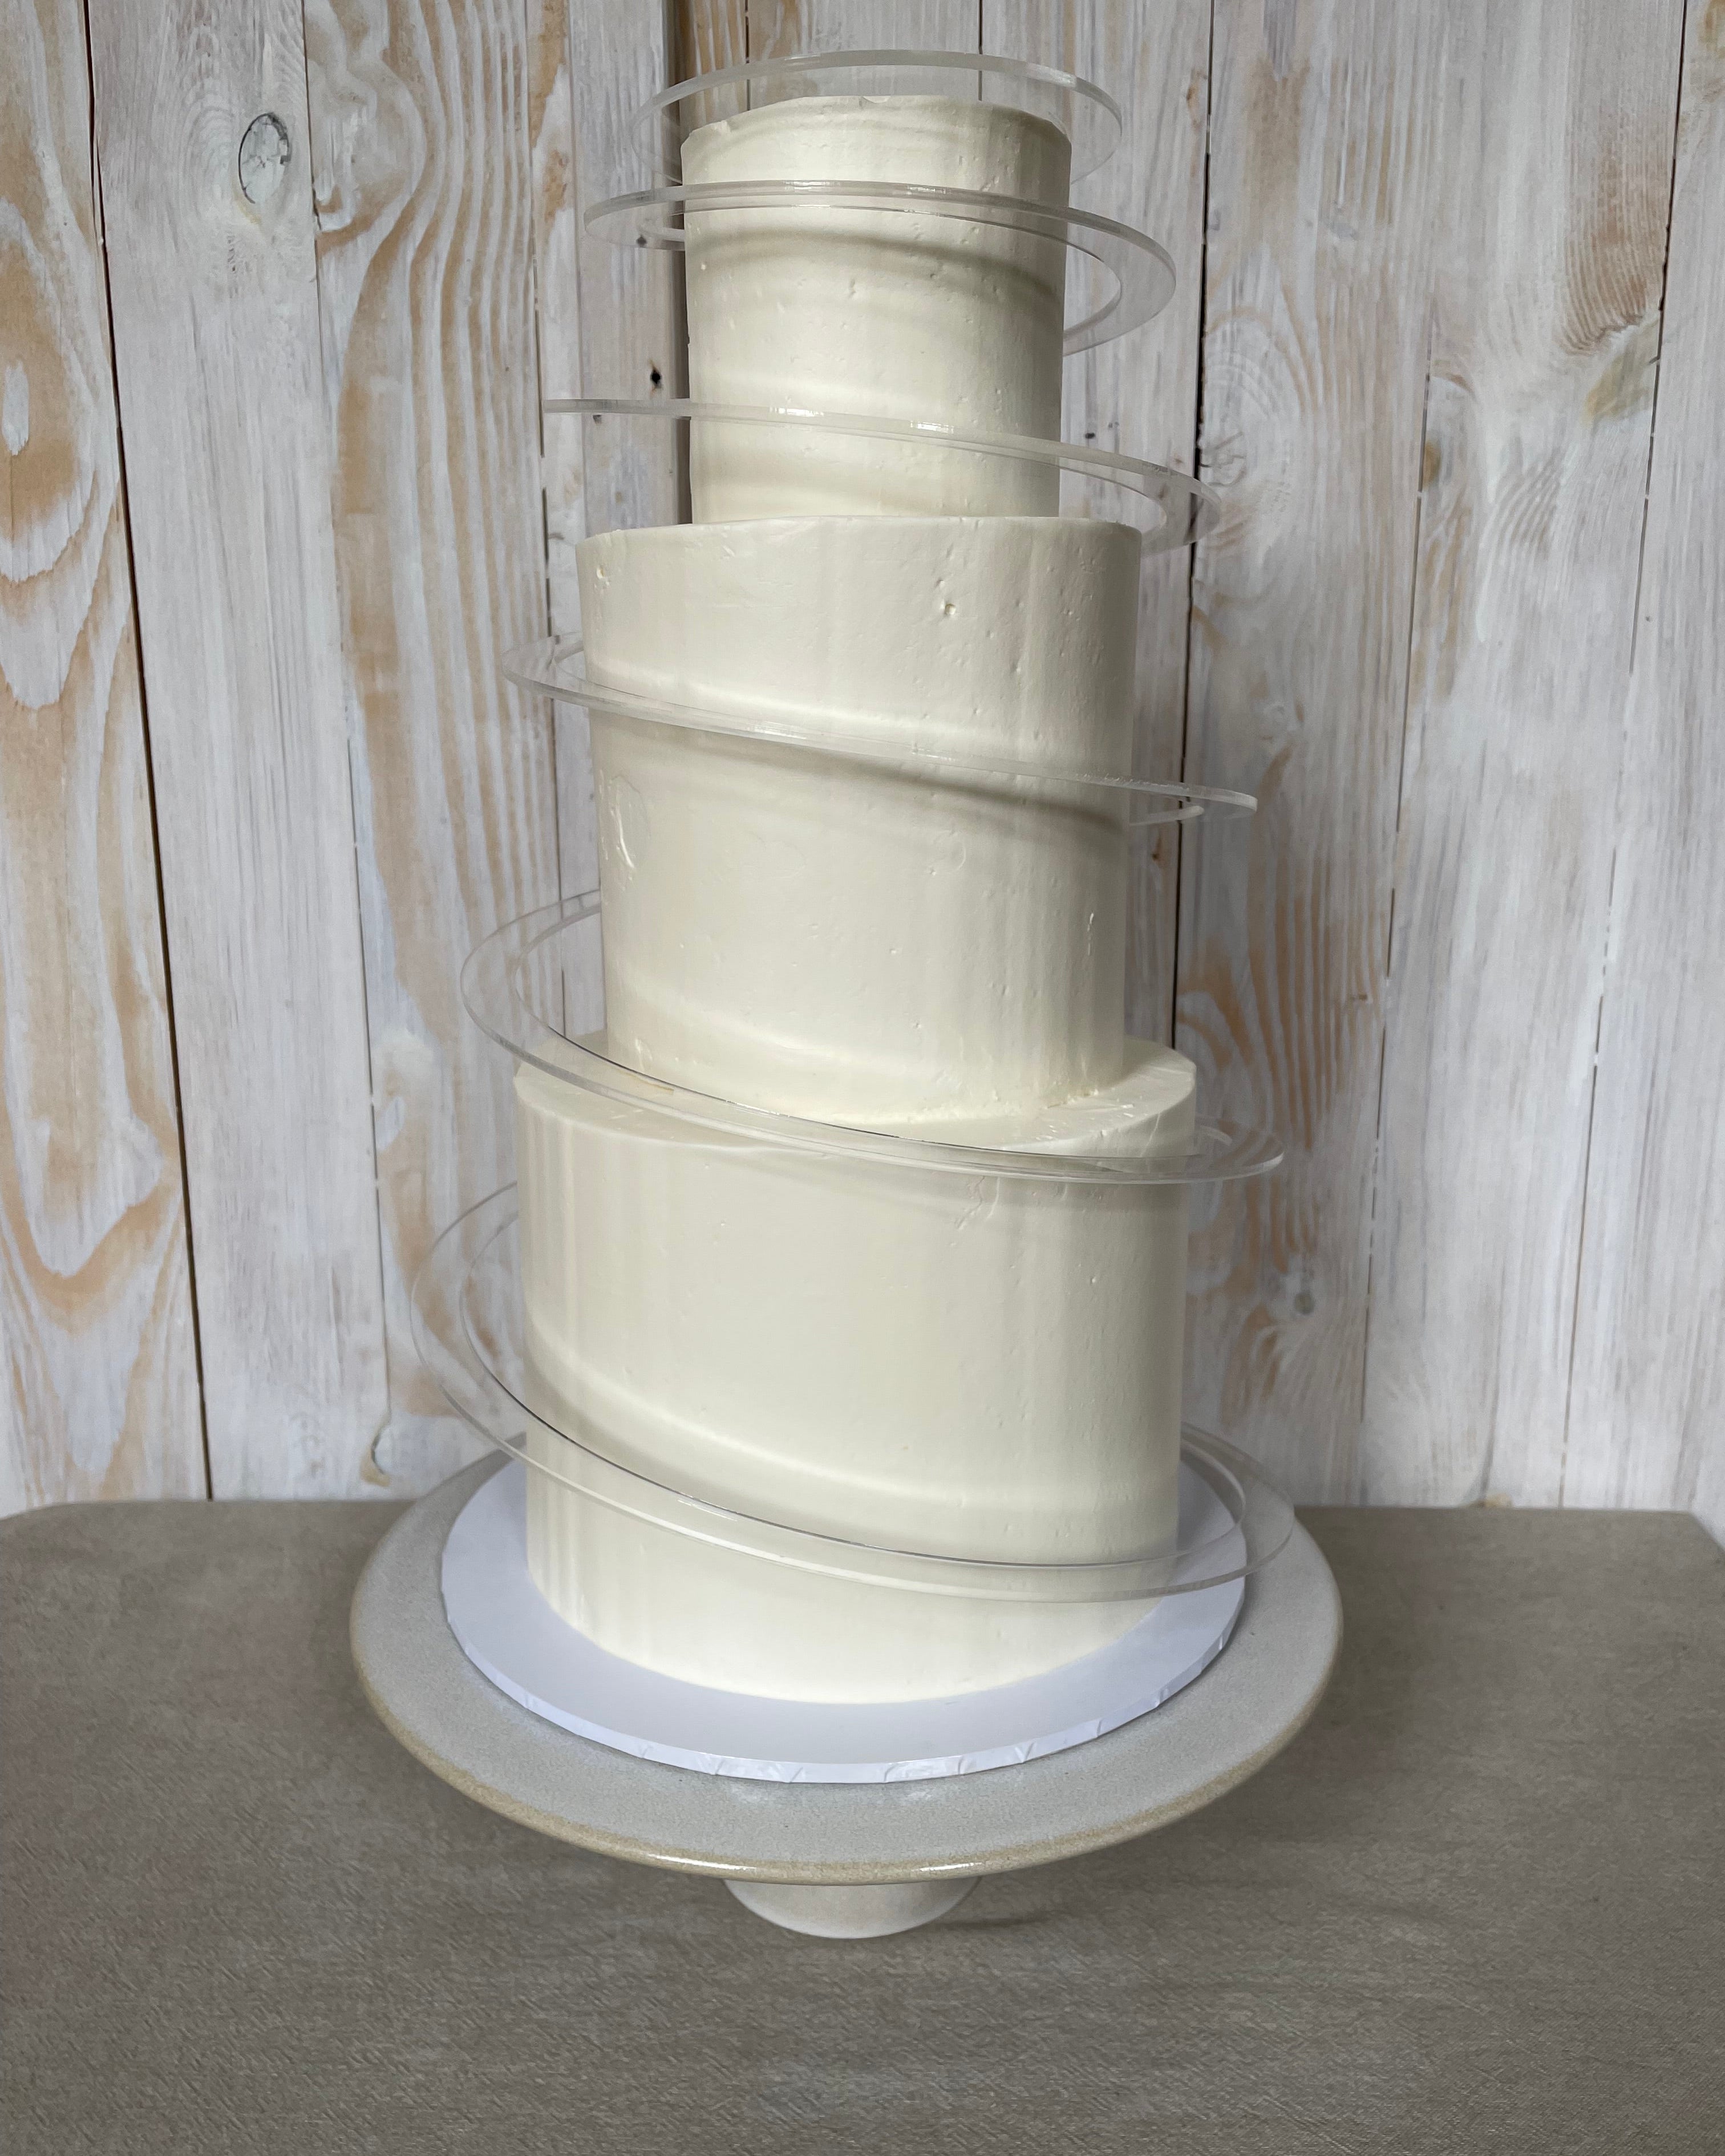
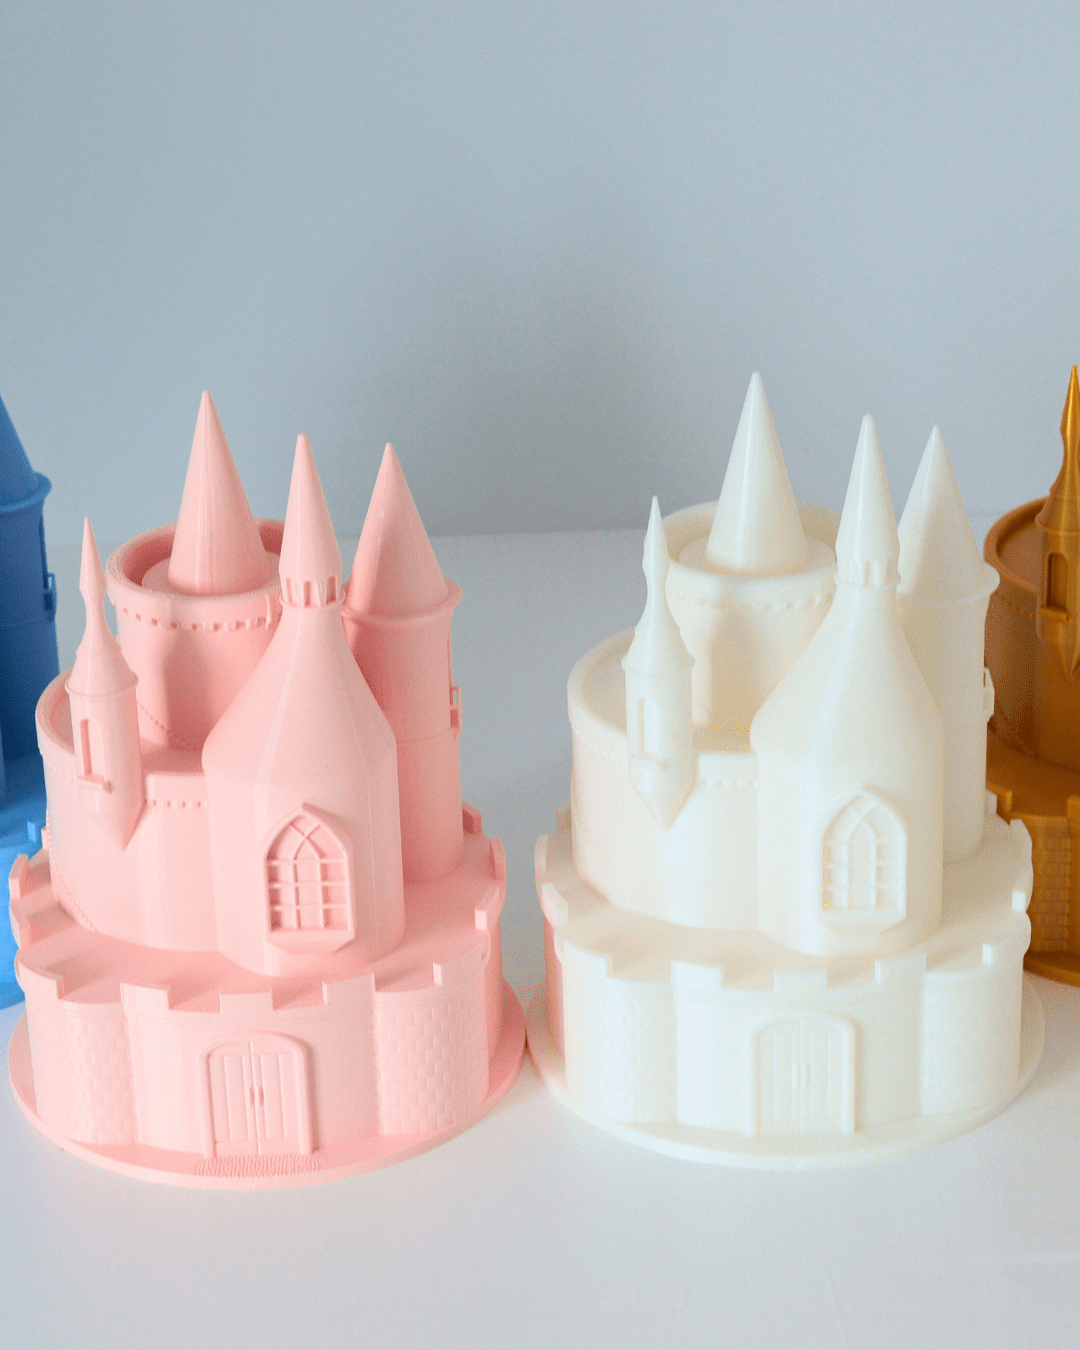
Not every angle flatters every cake. For round cakes, a top-down flat lay works well, especially when the detail sits on the top surface. For tiered cakes, a slight side angle shows the height and the proportion between tiers. If you are photographing a slice, shoot side-on to reveal the layers inside. Try a few angles on each cake and keep the one that shows its strongest feature most clearly.
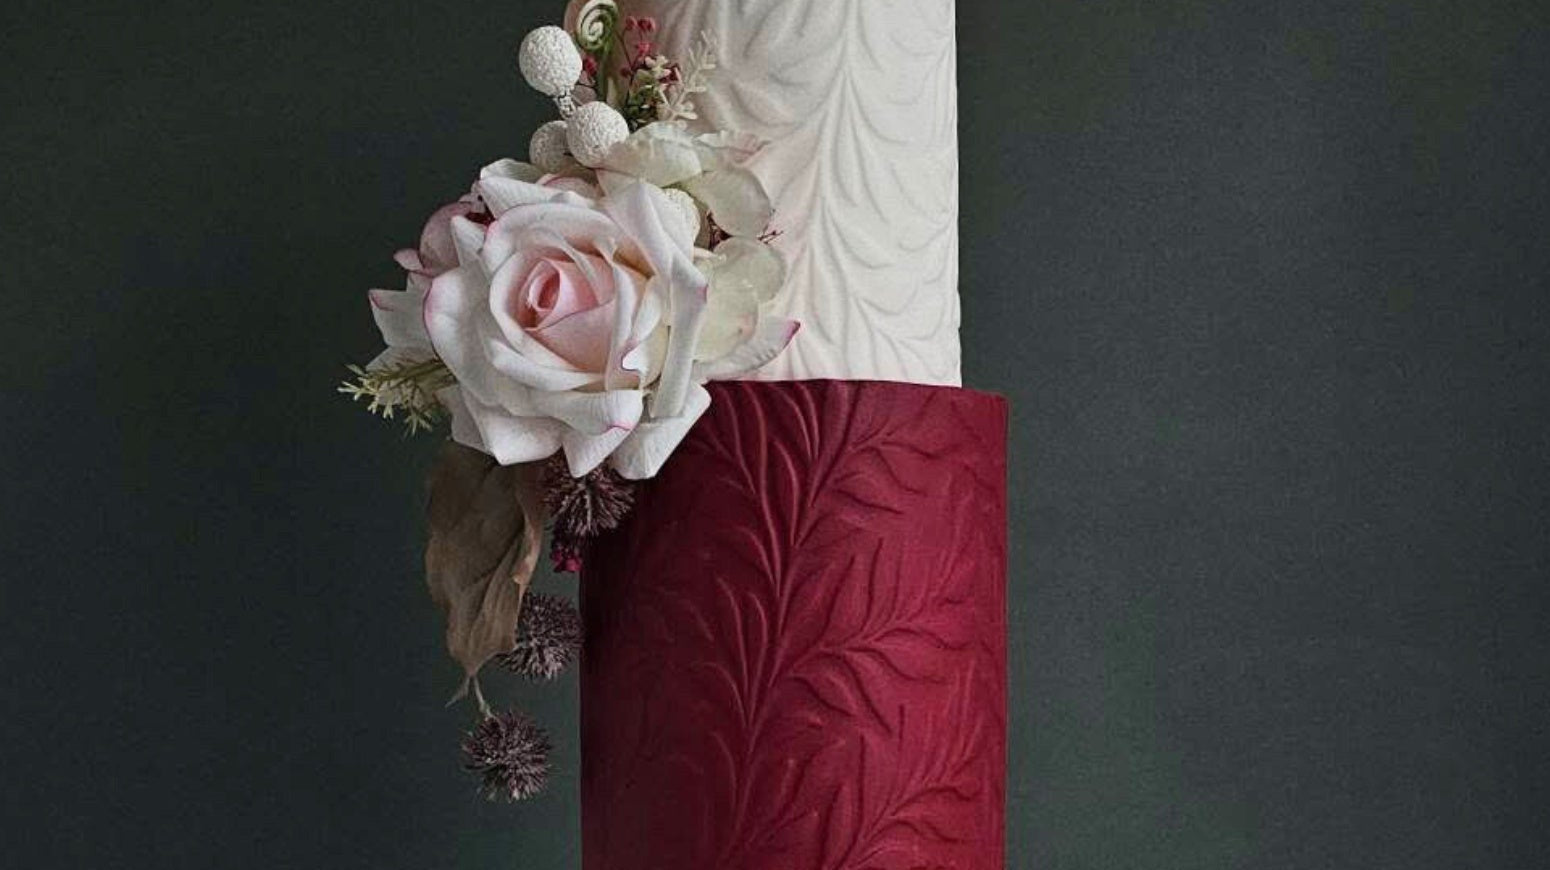
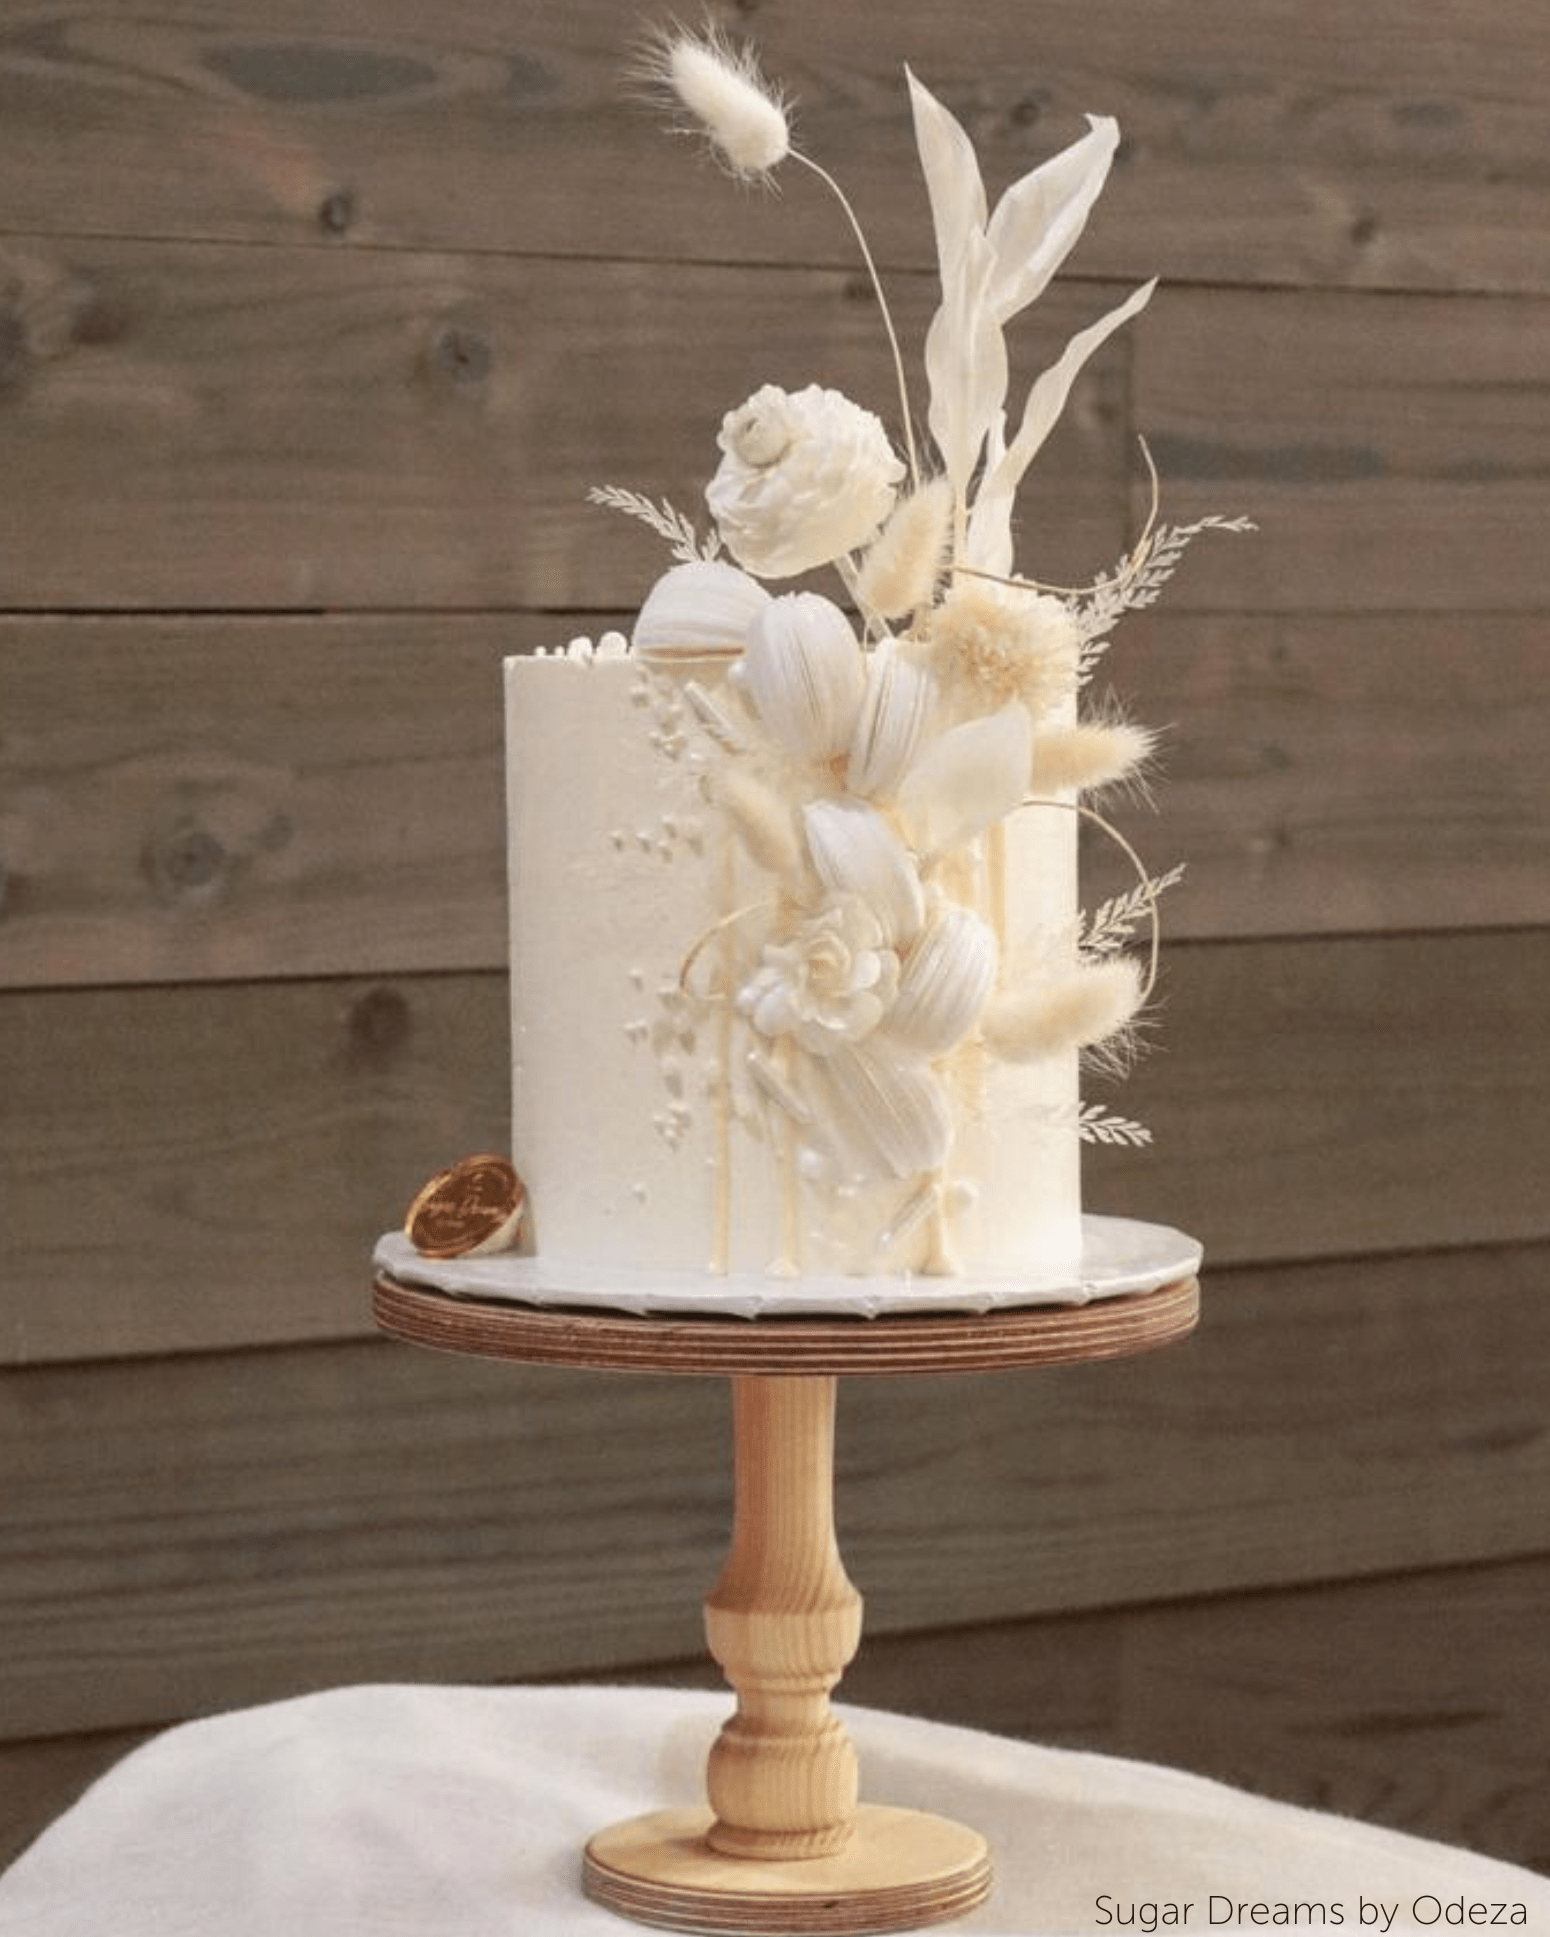
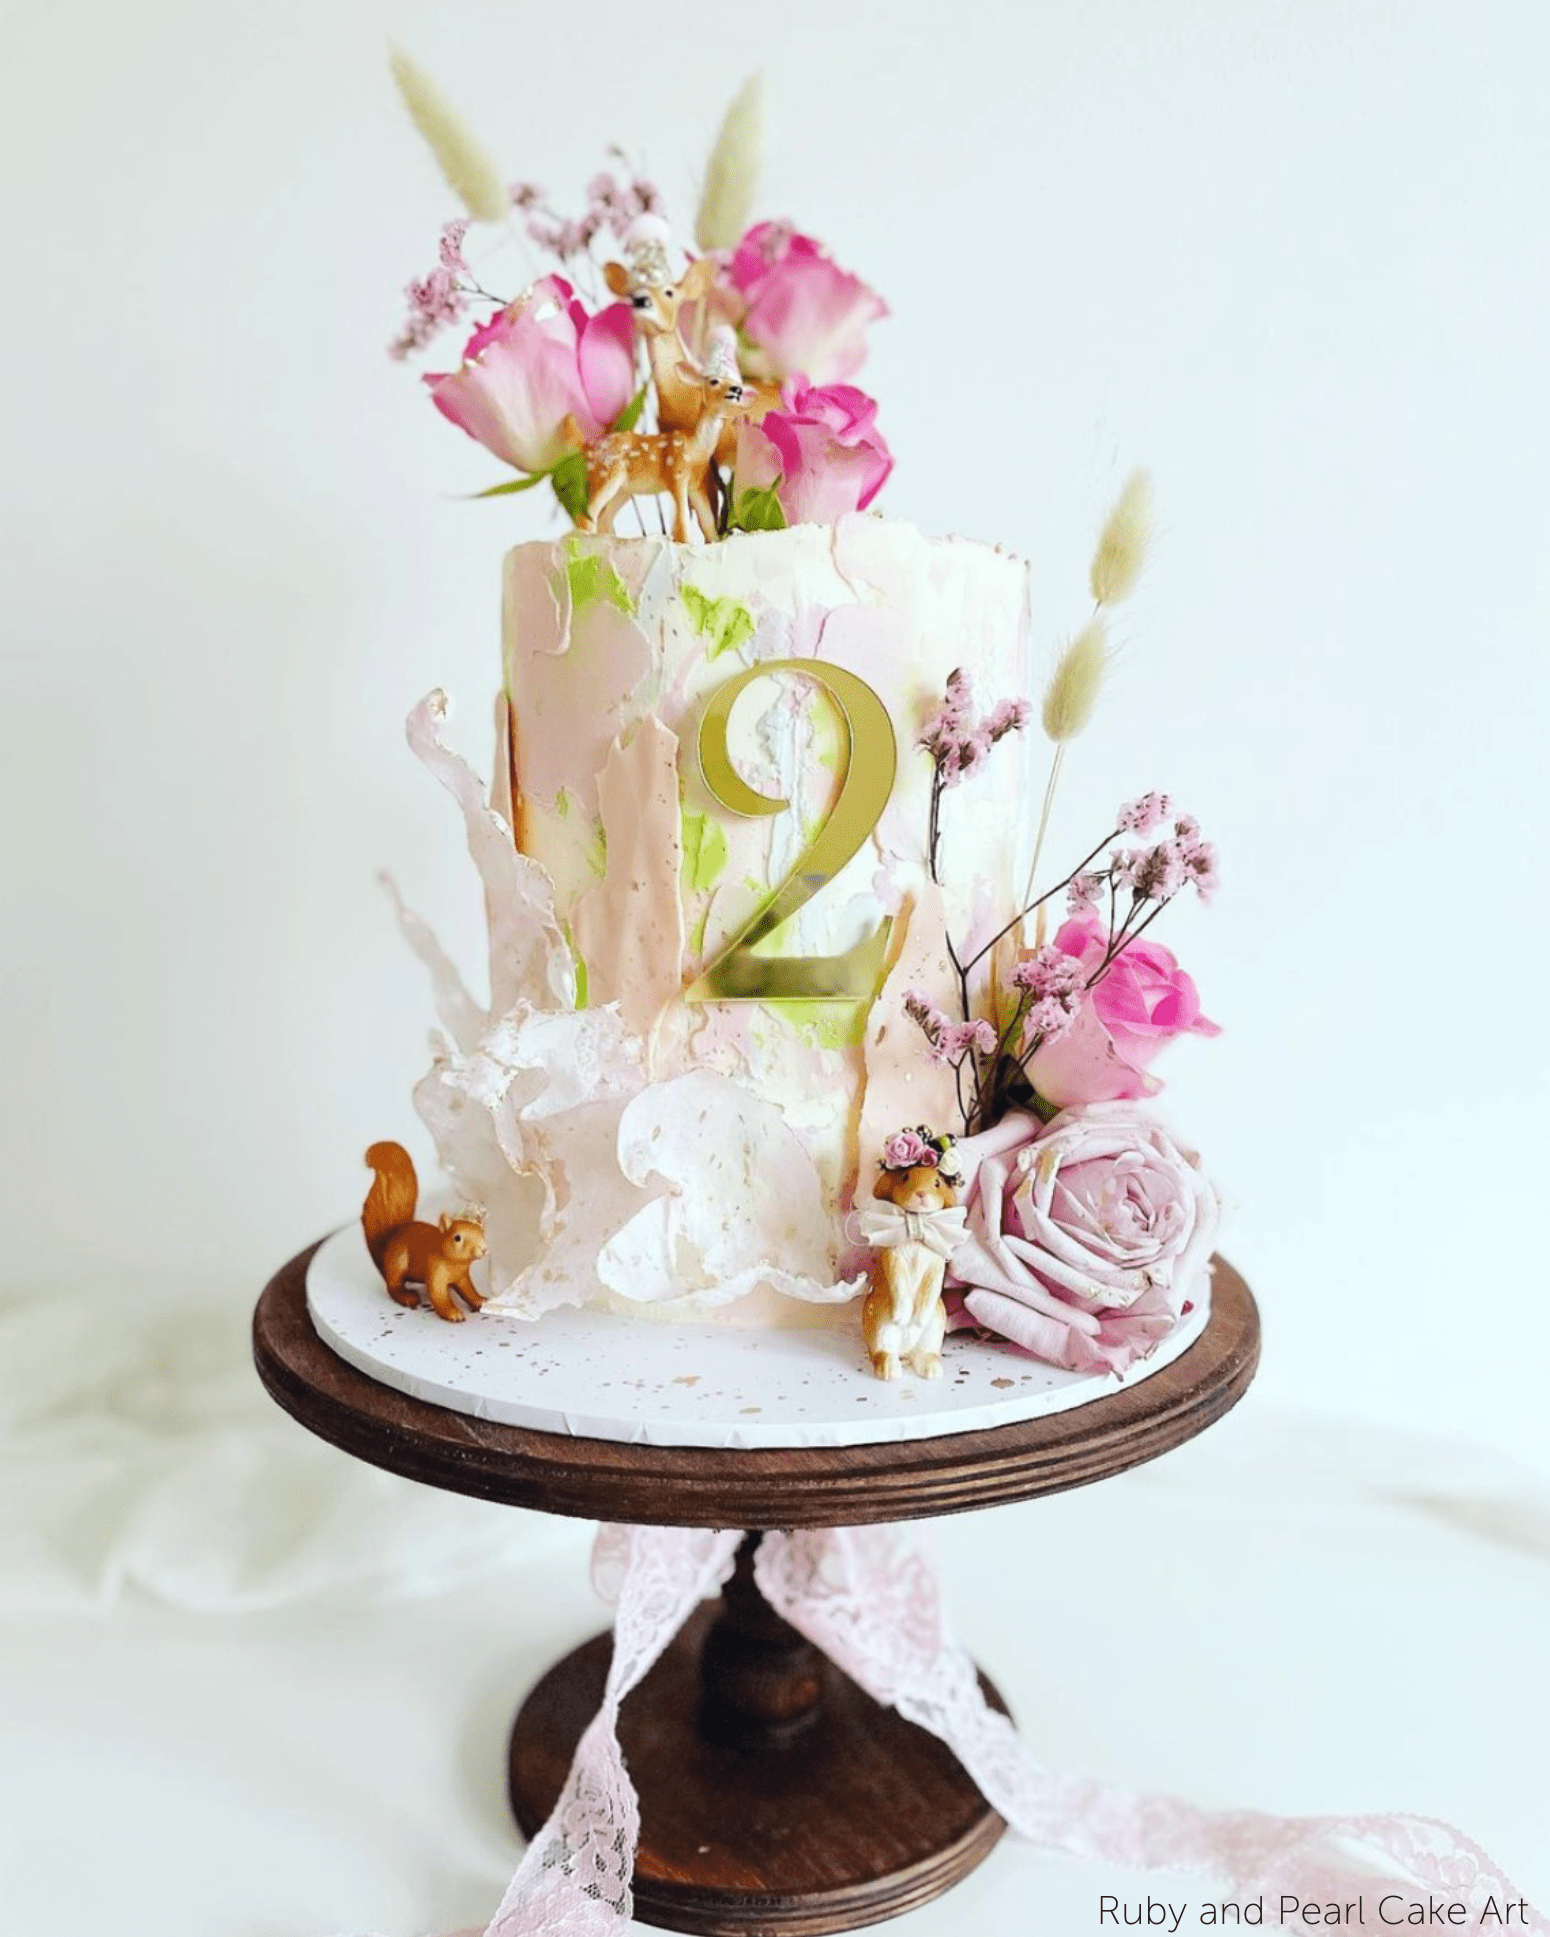
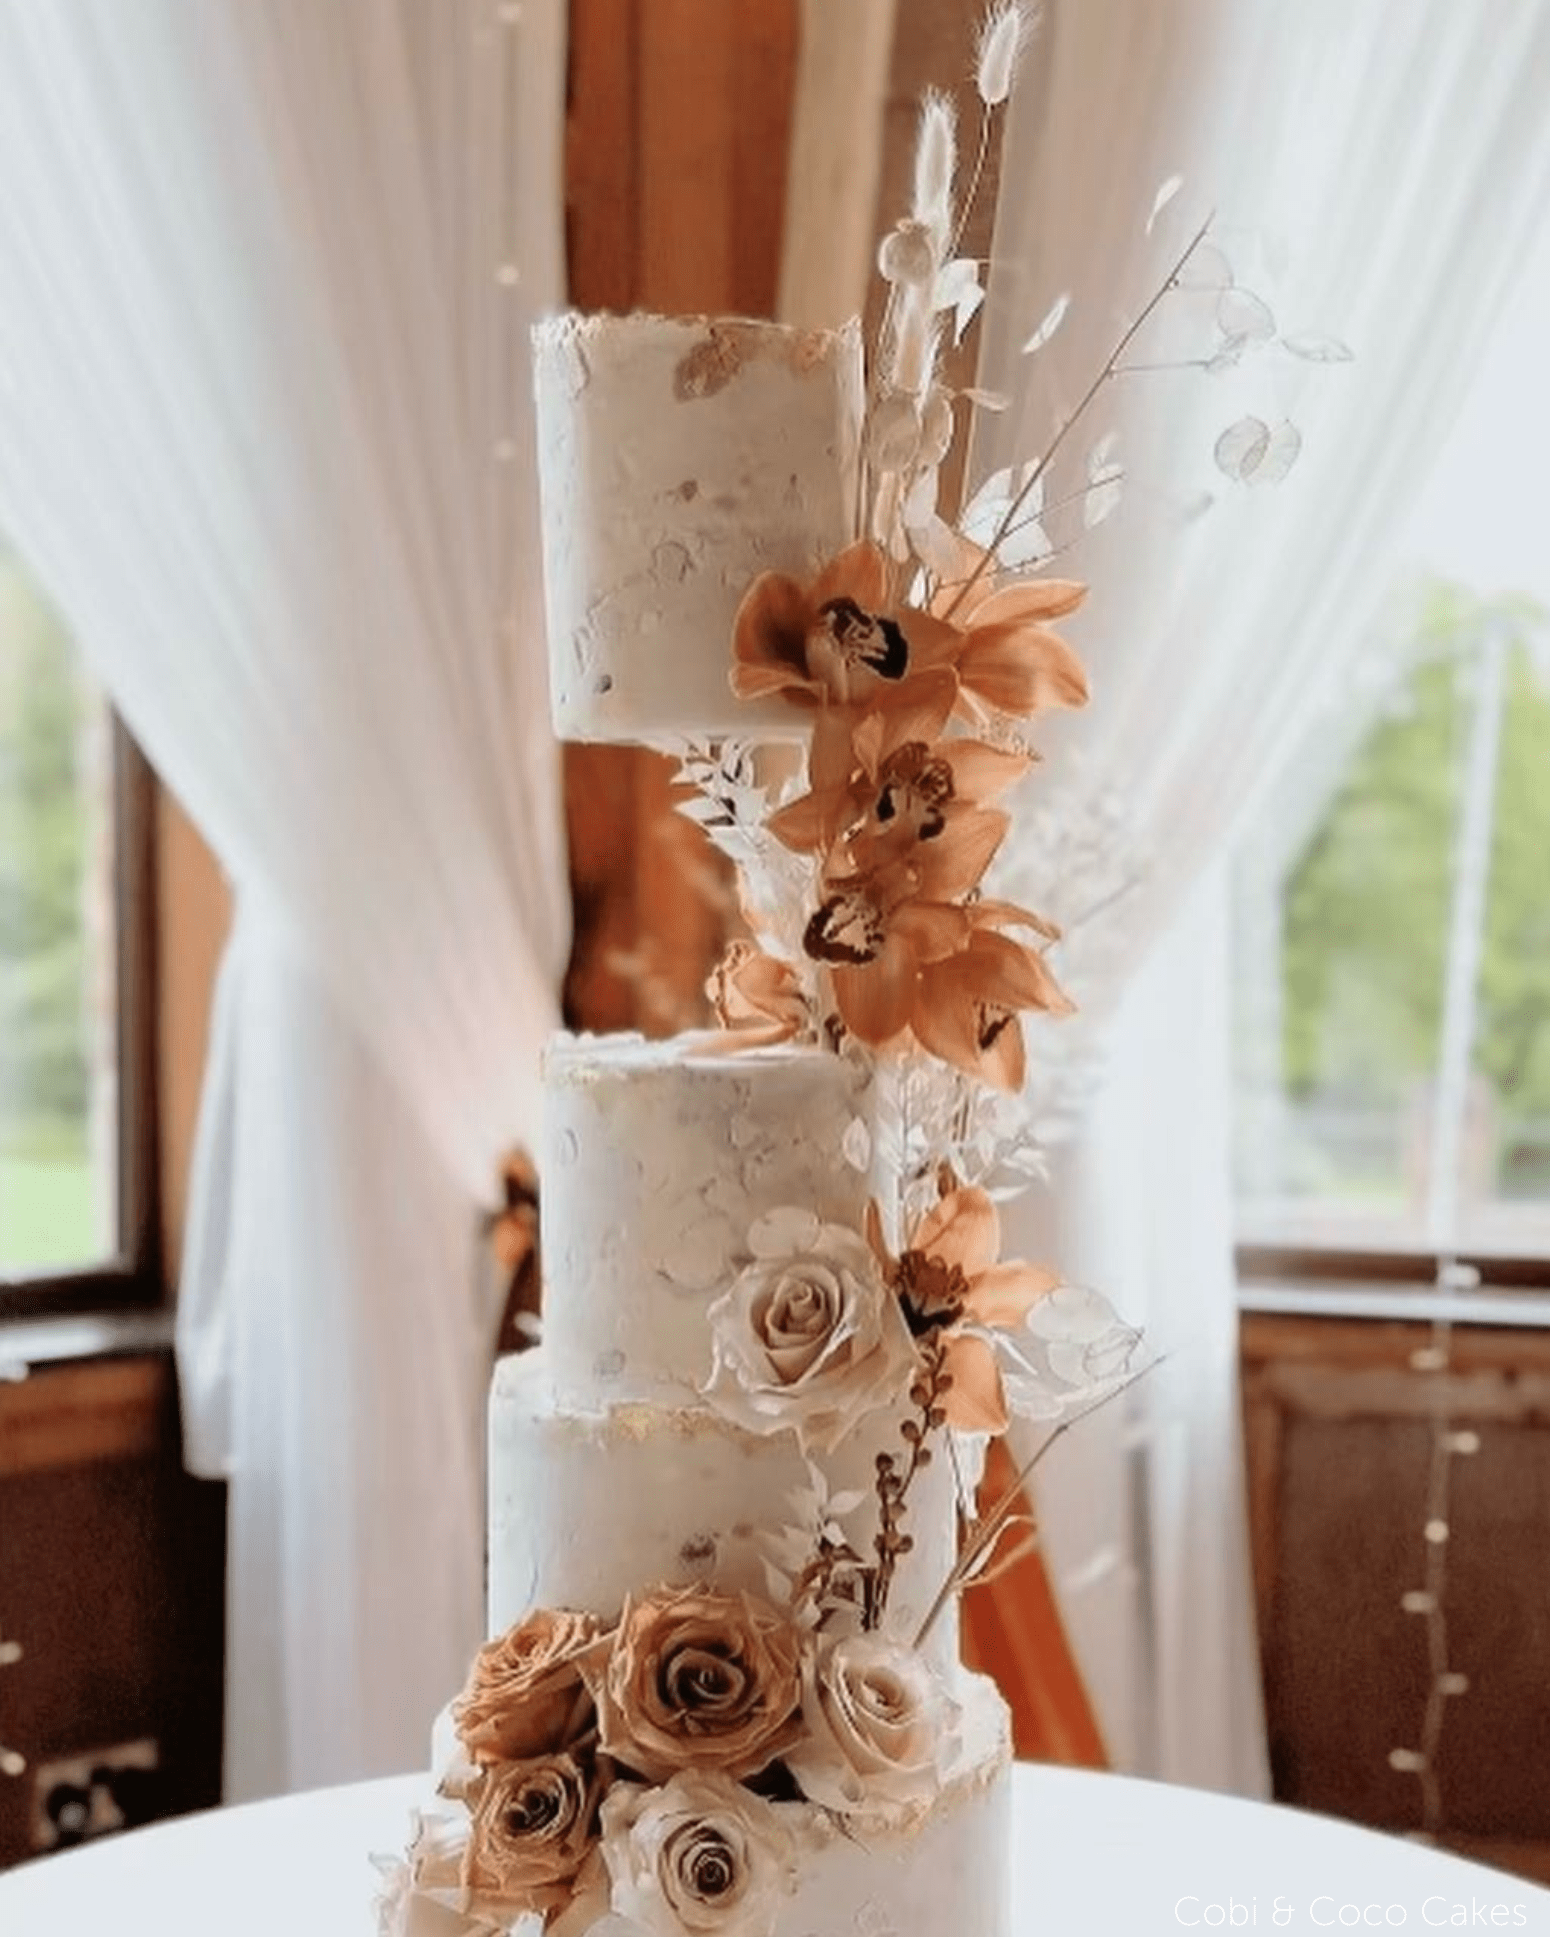
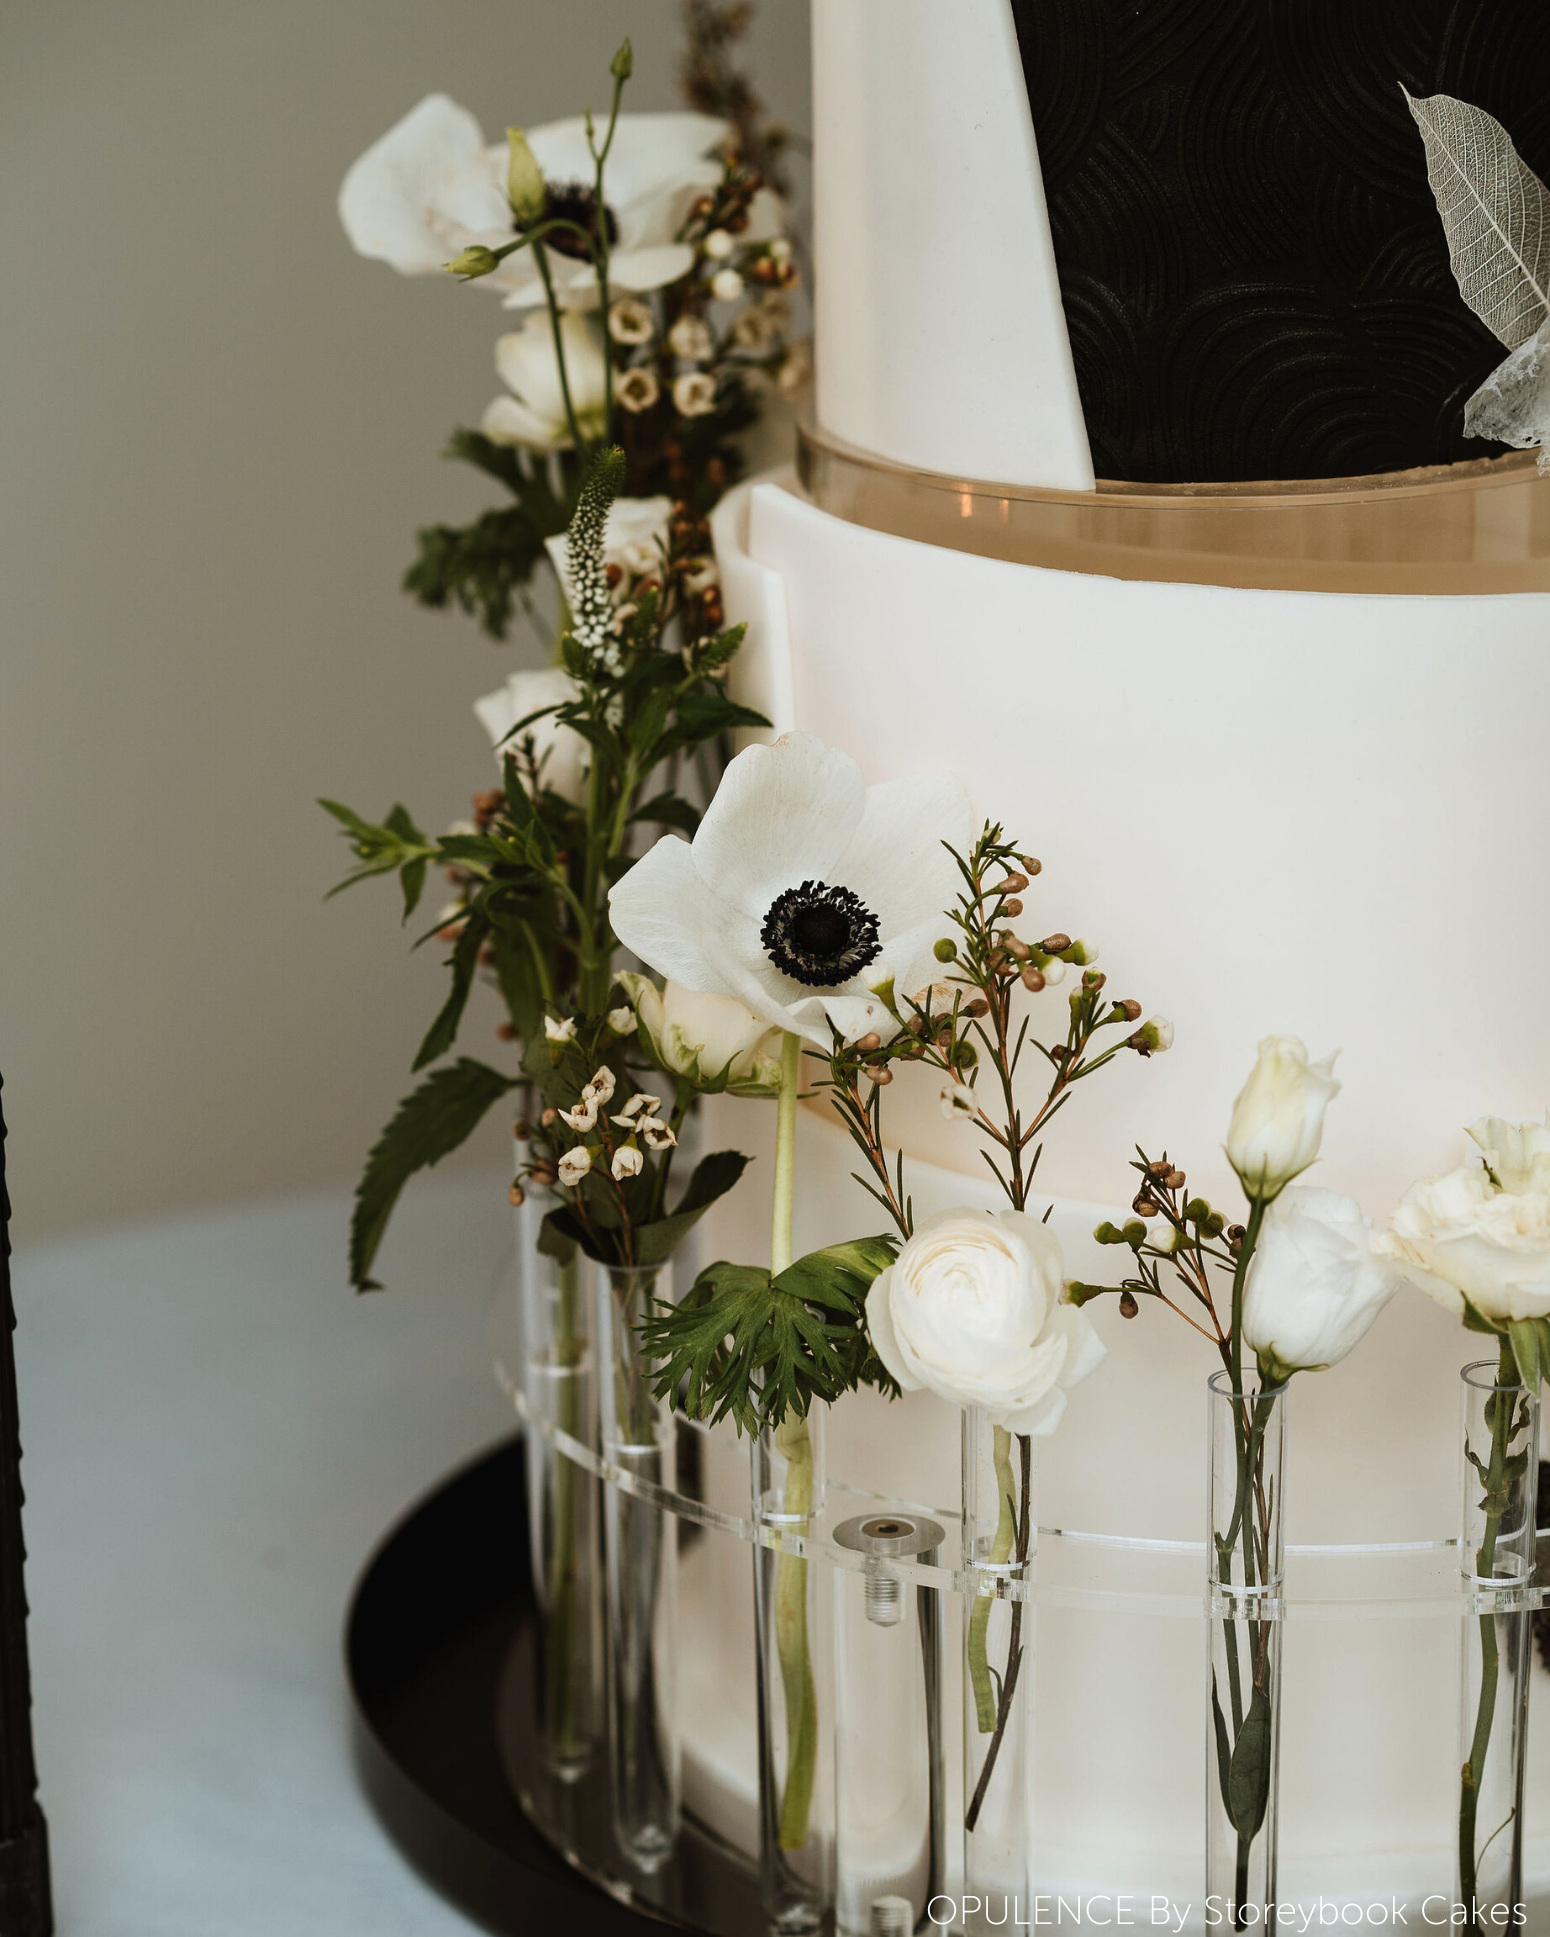
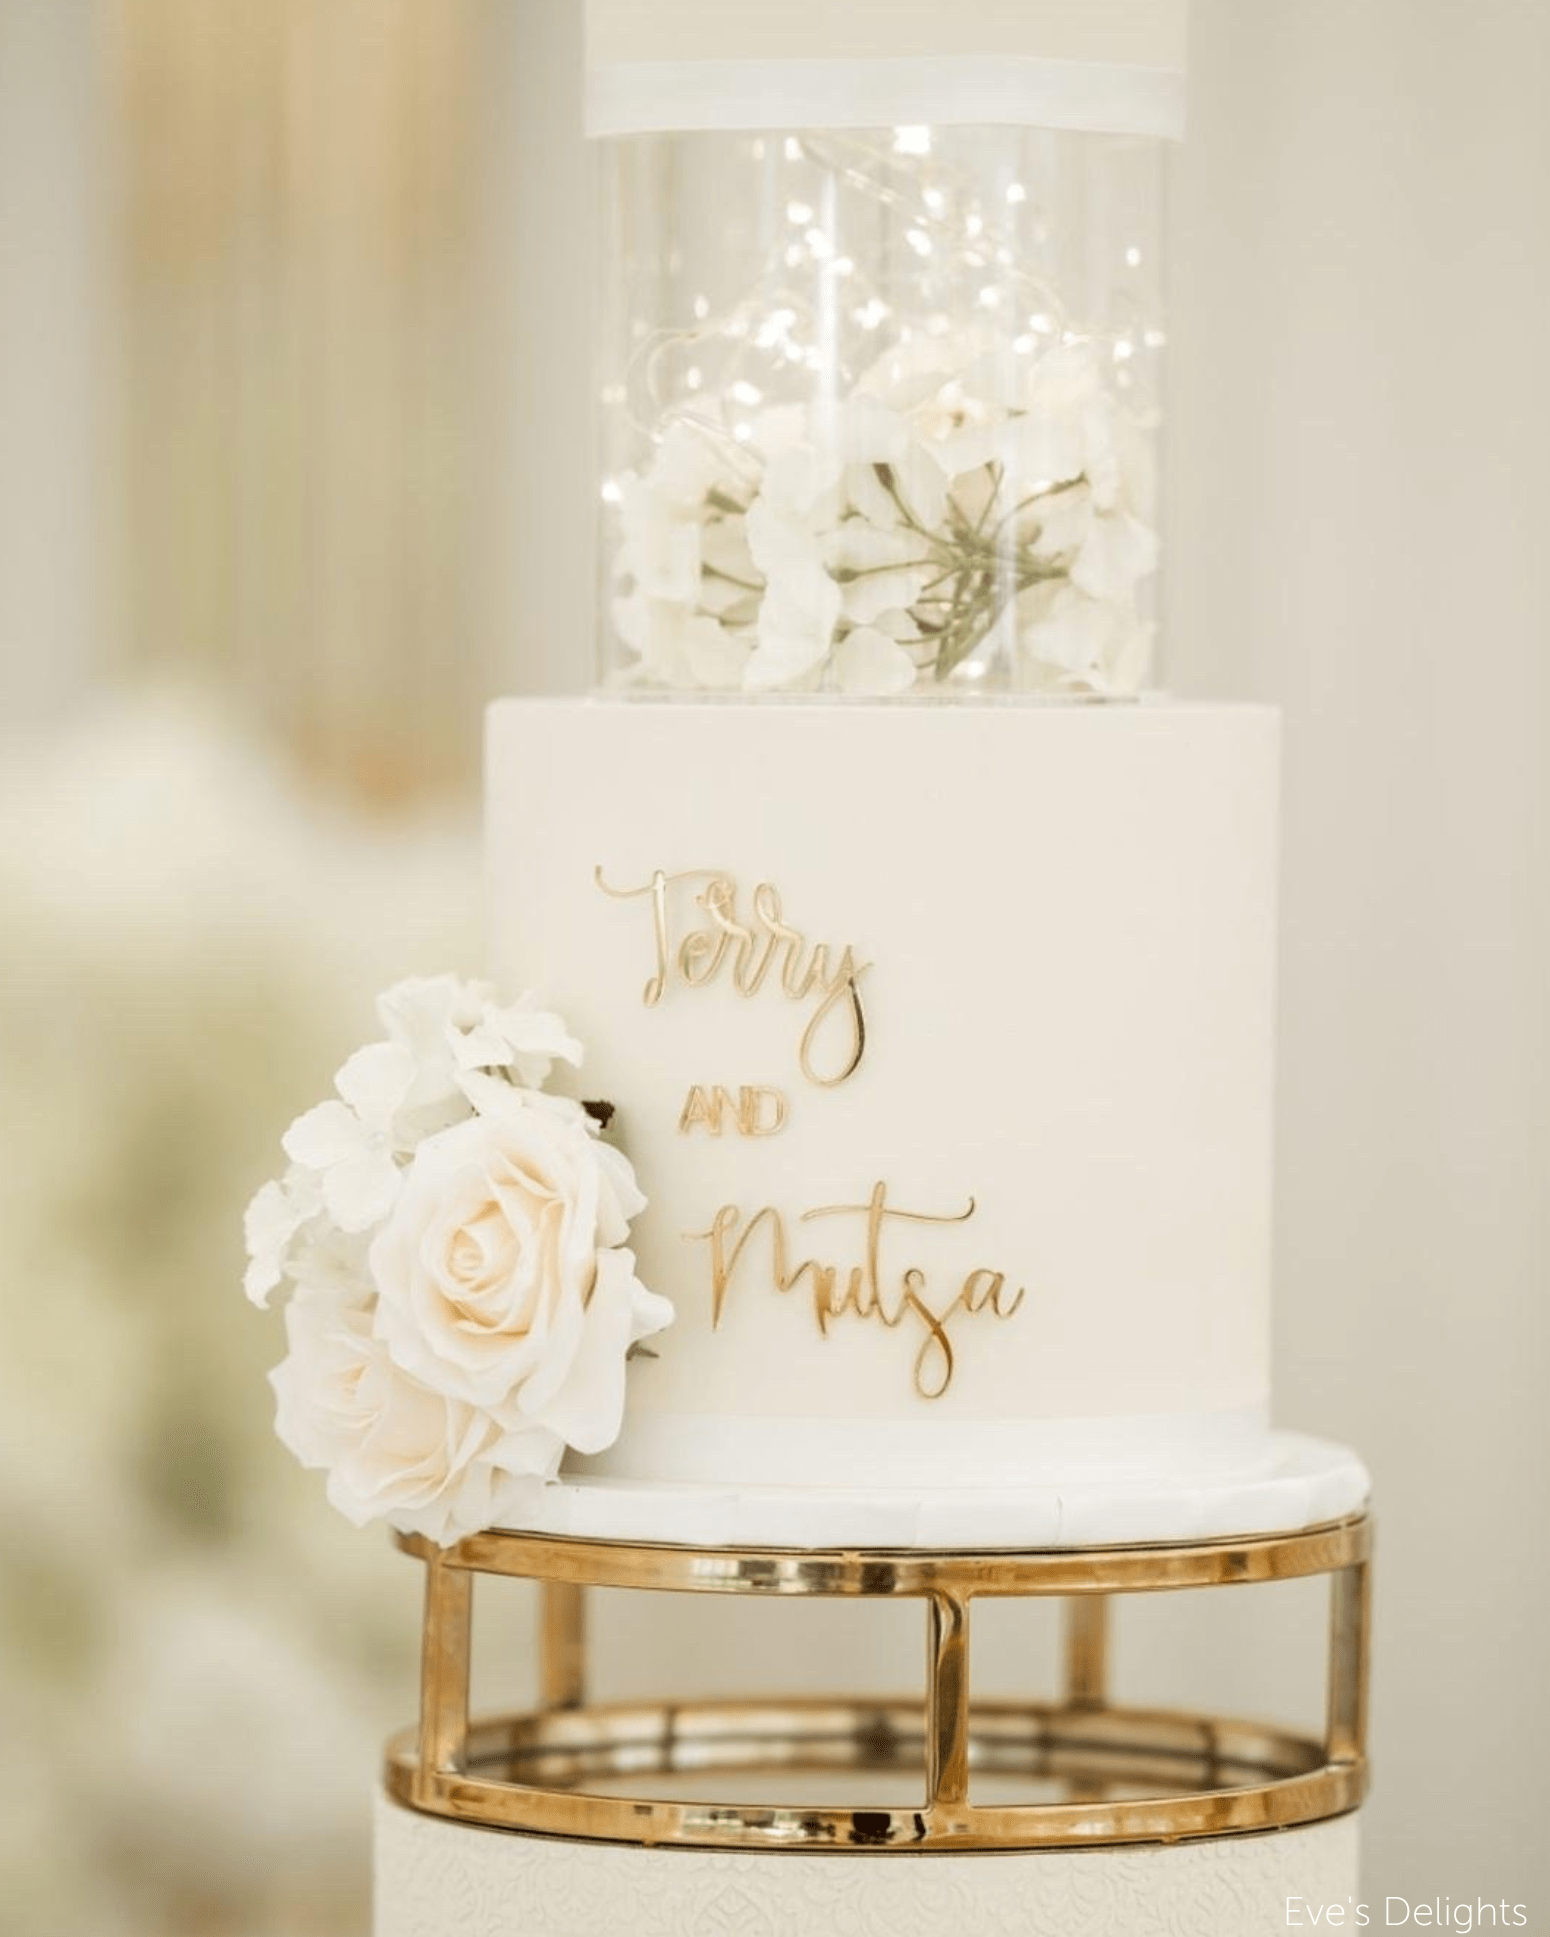
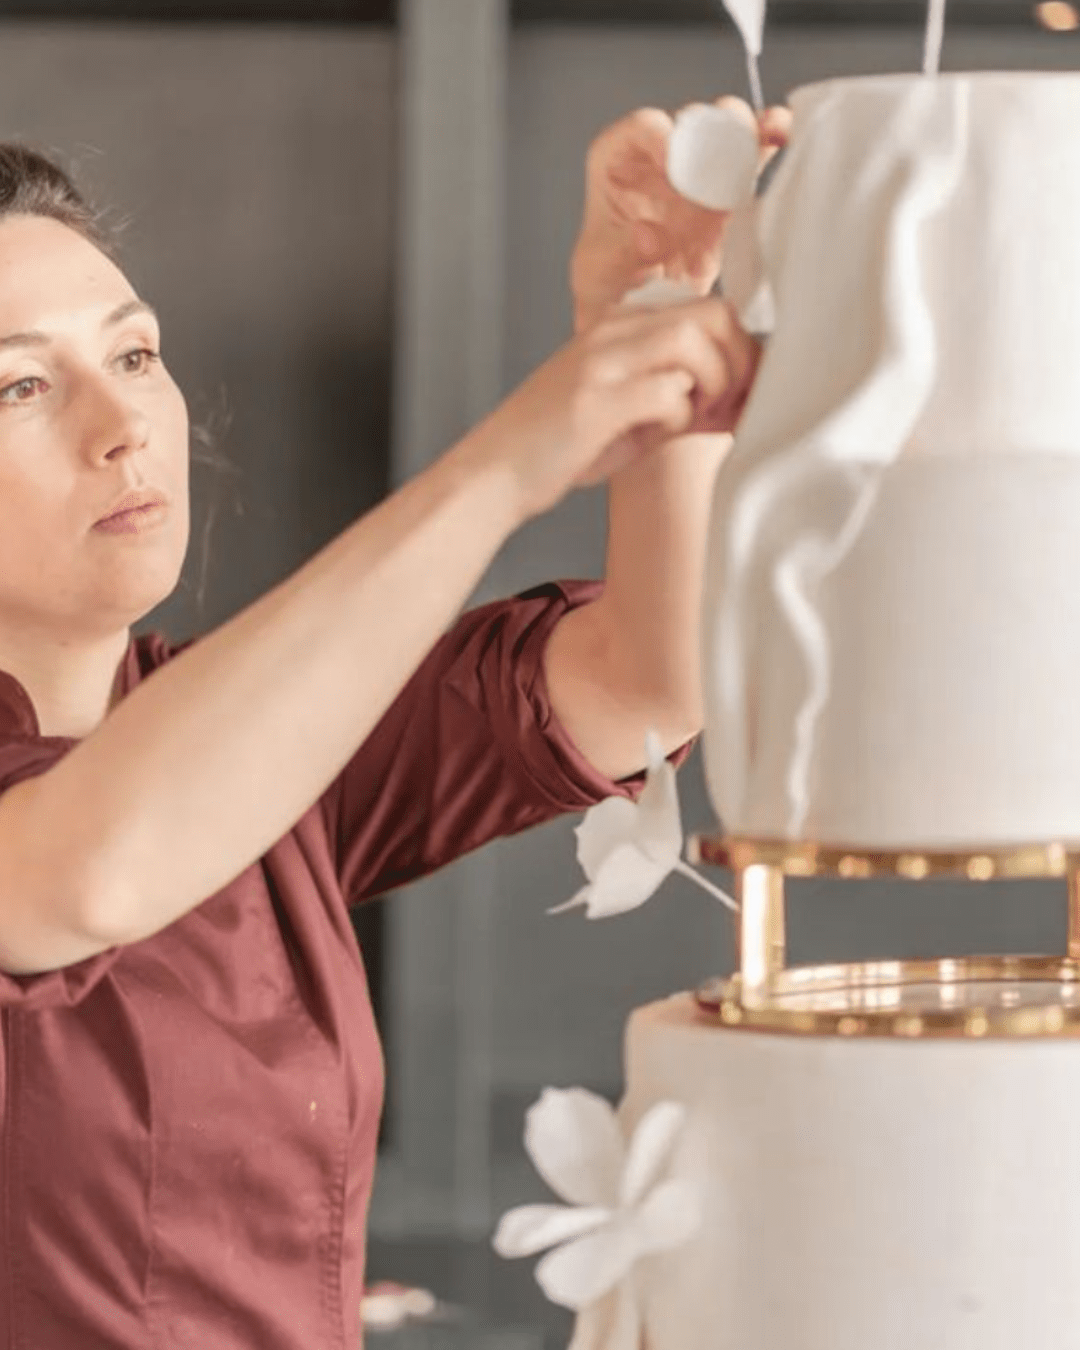
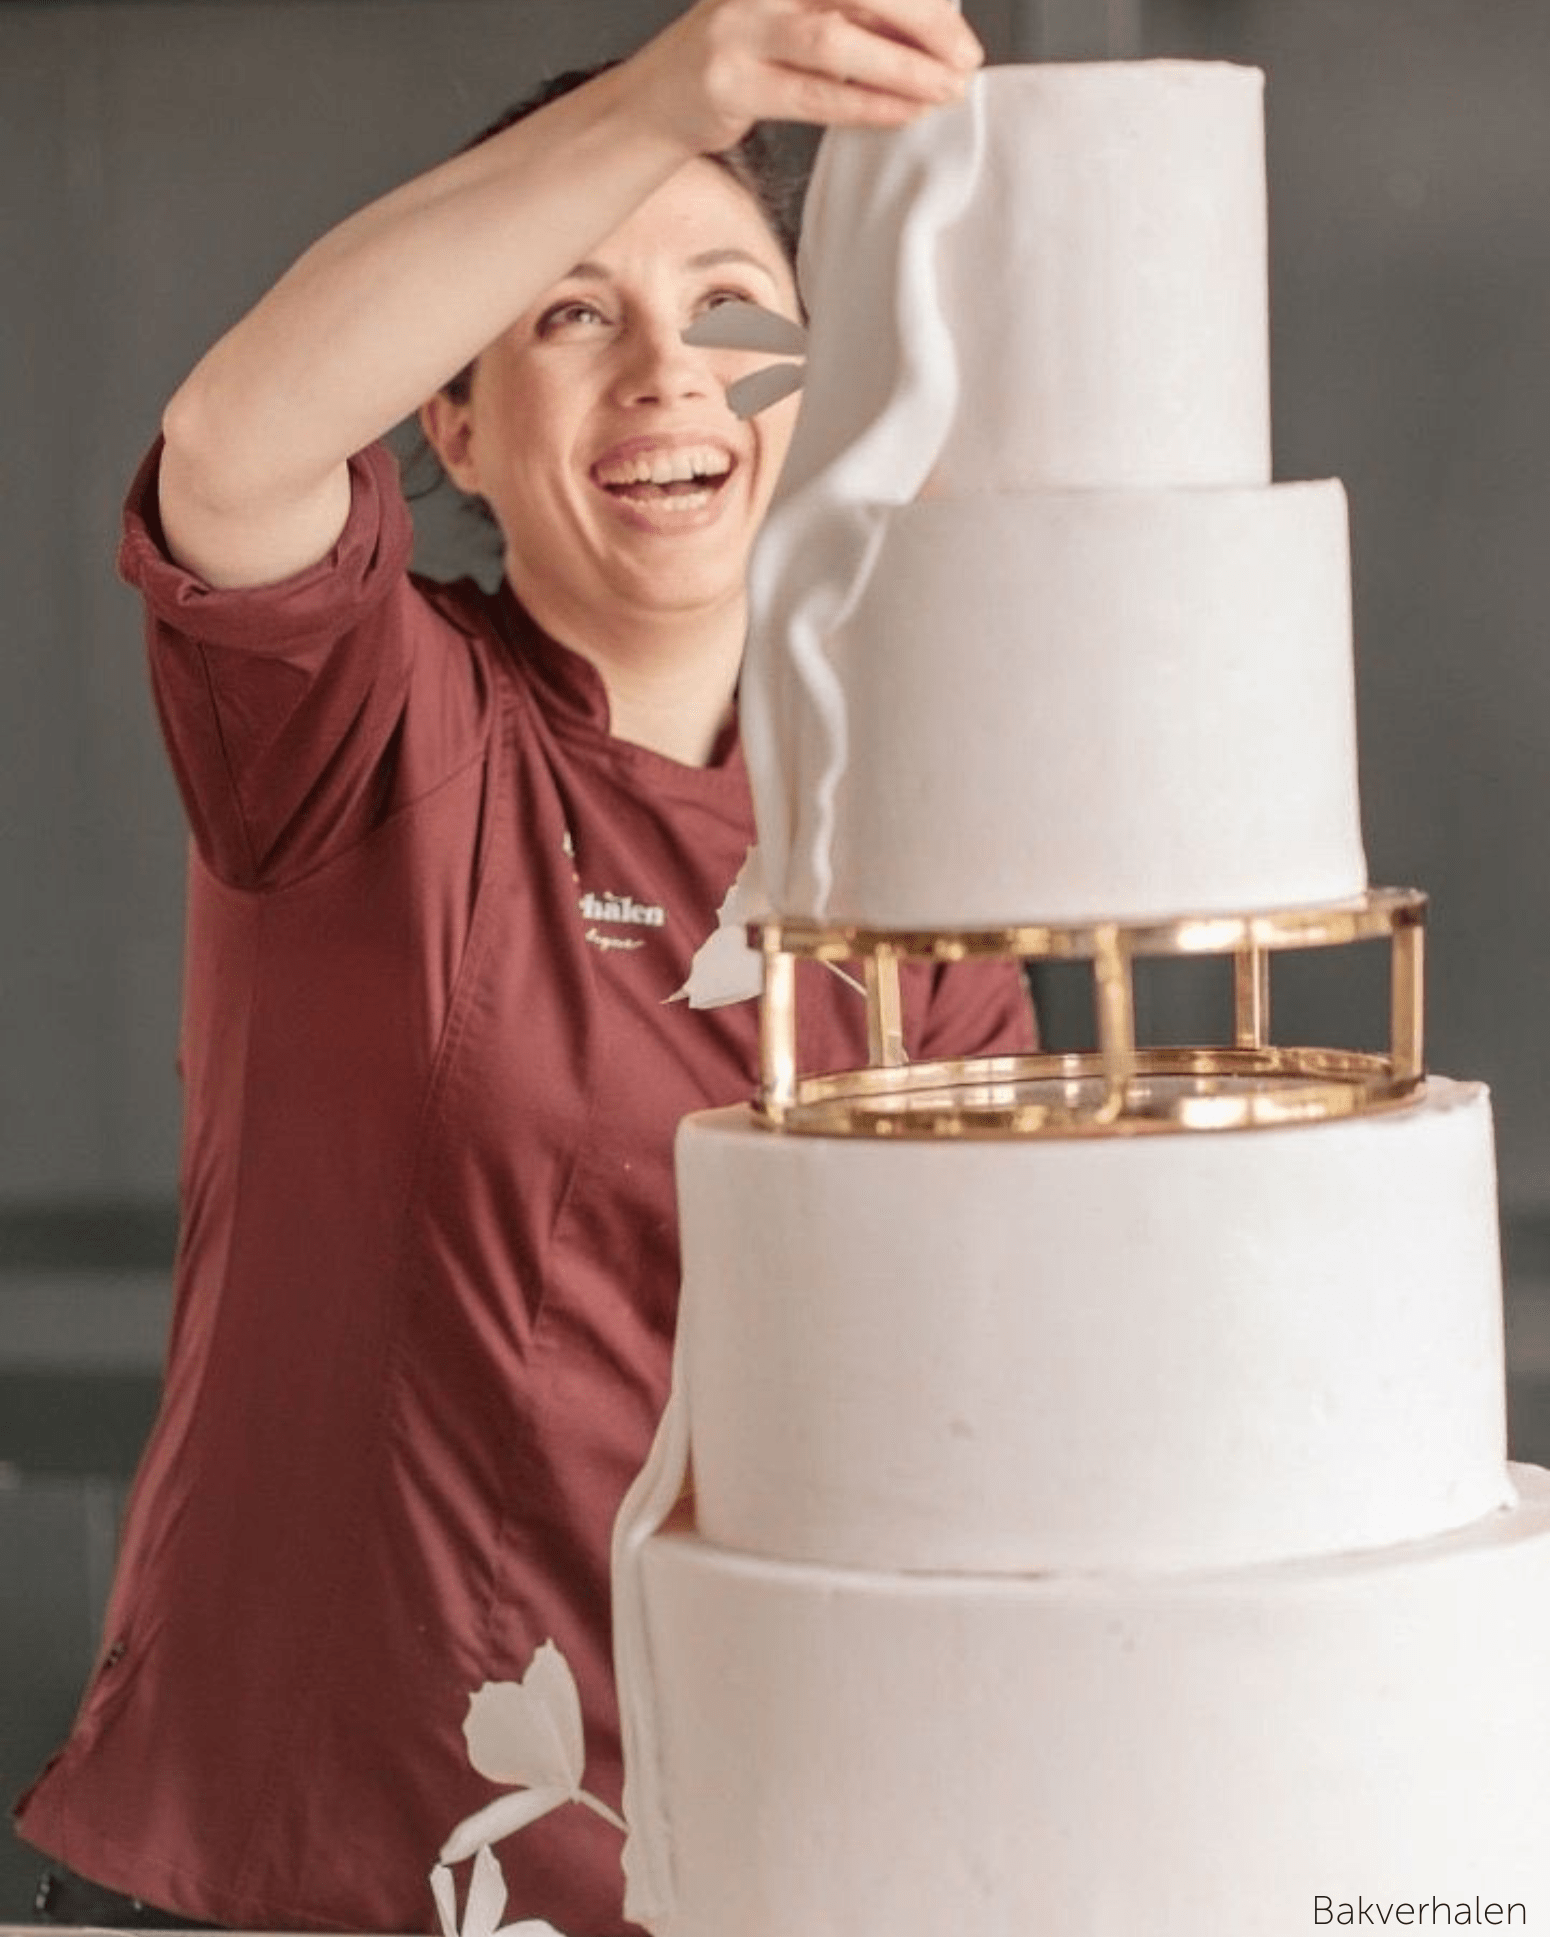
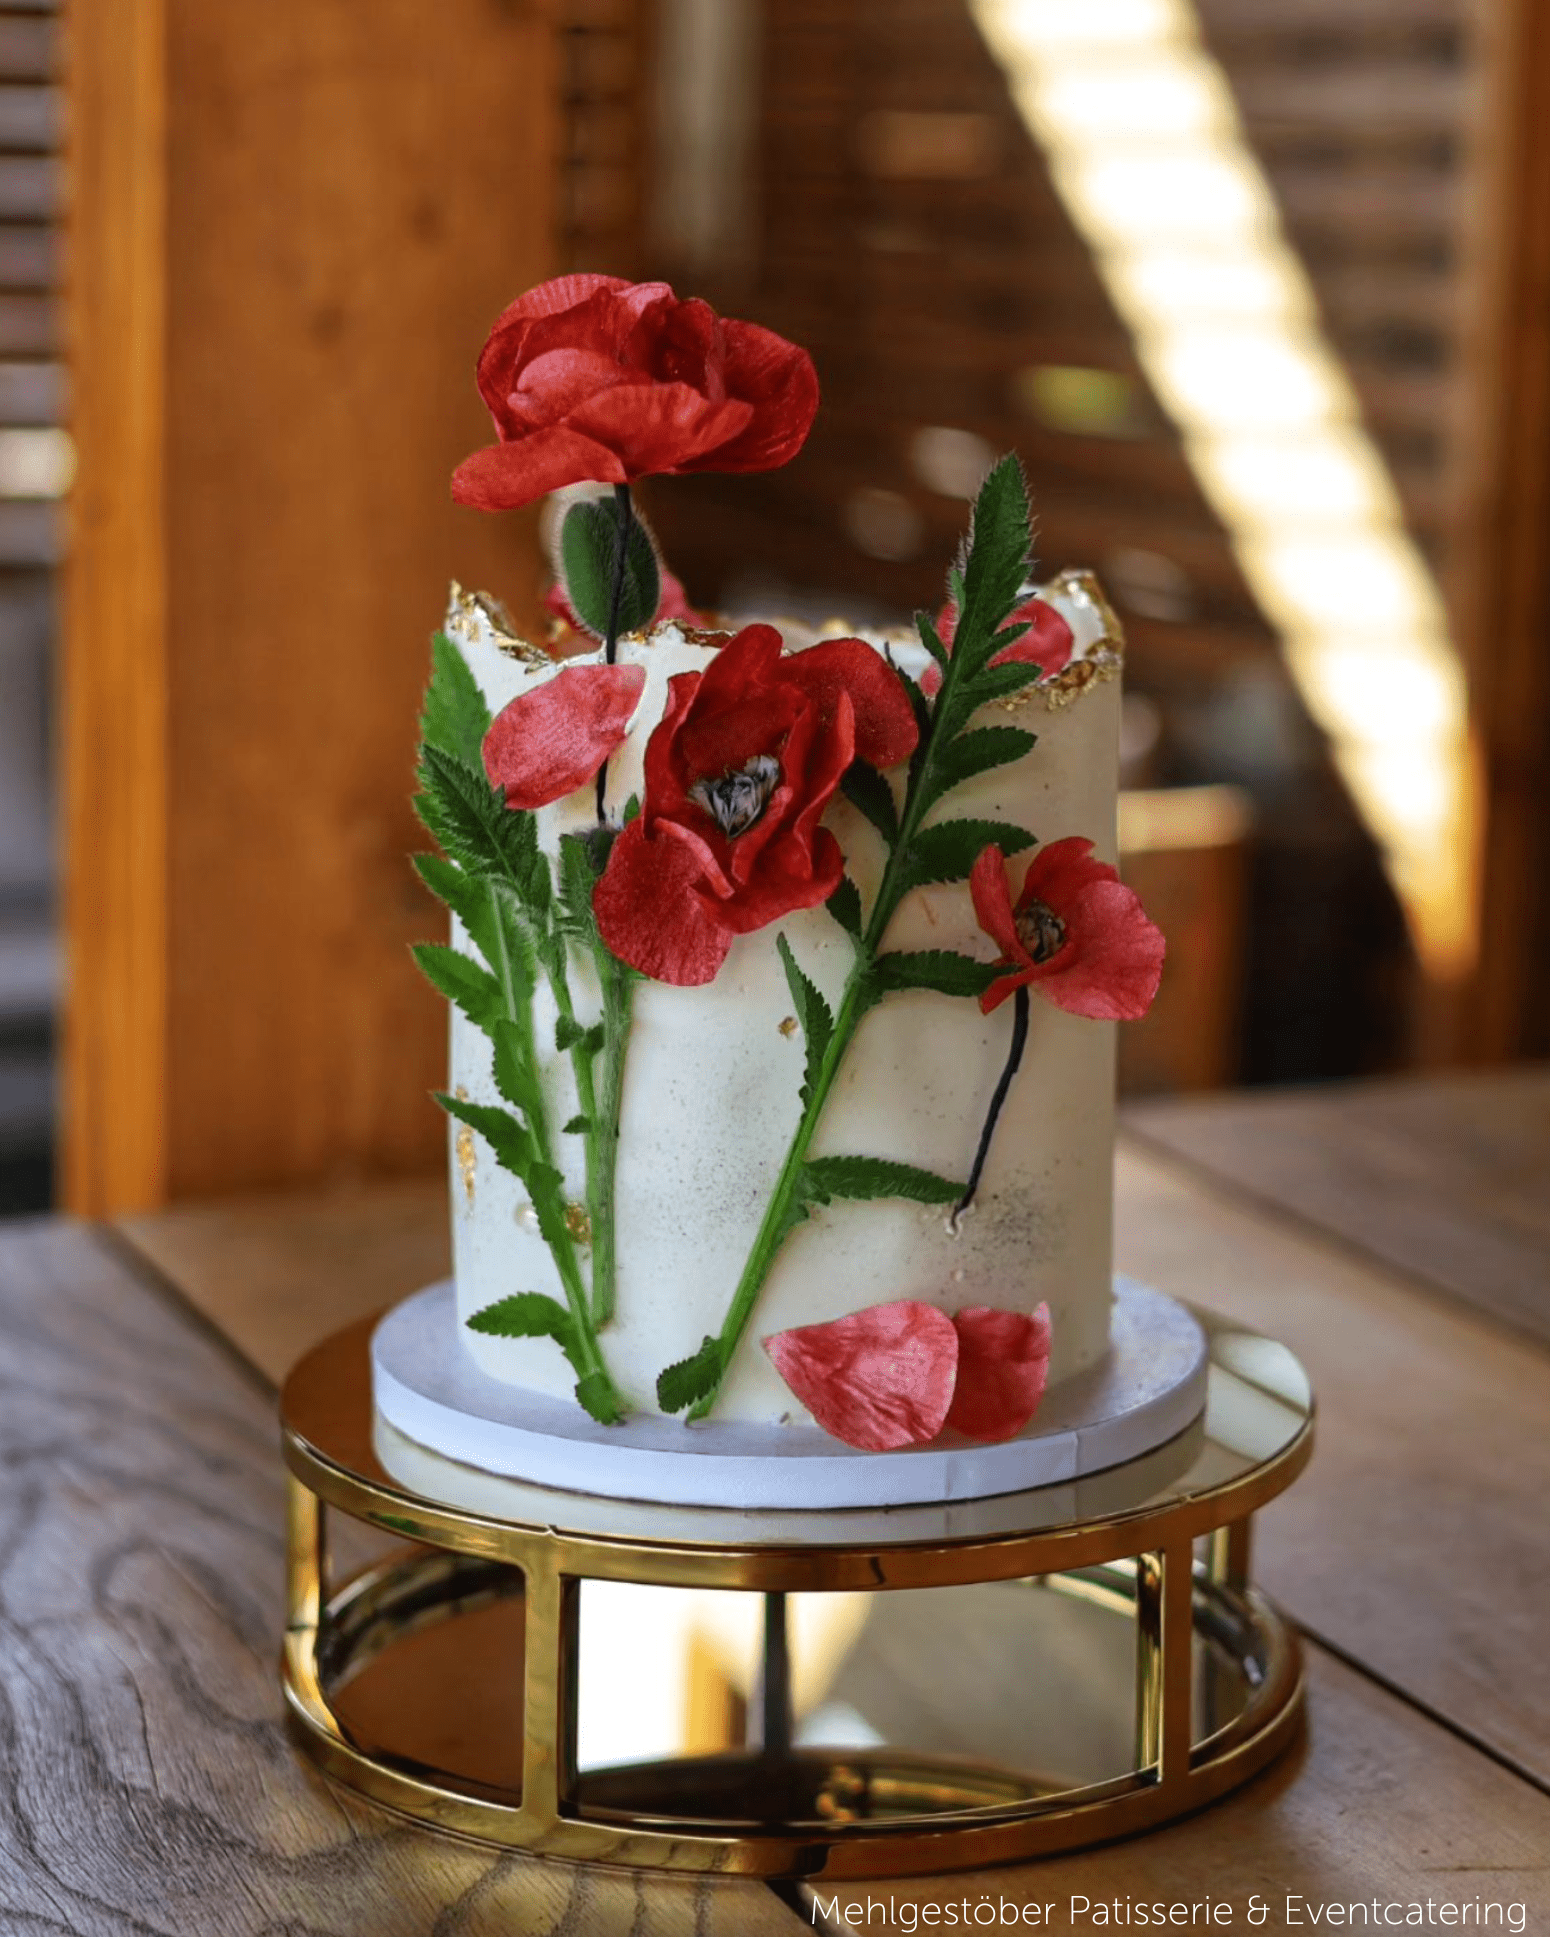
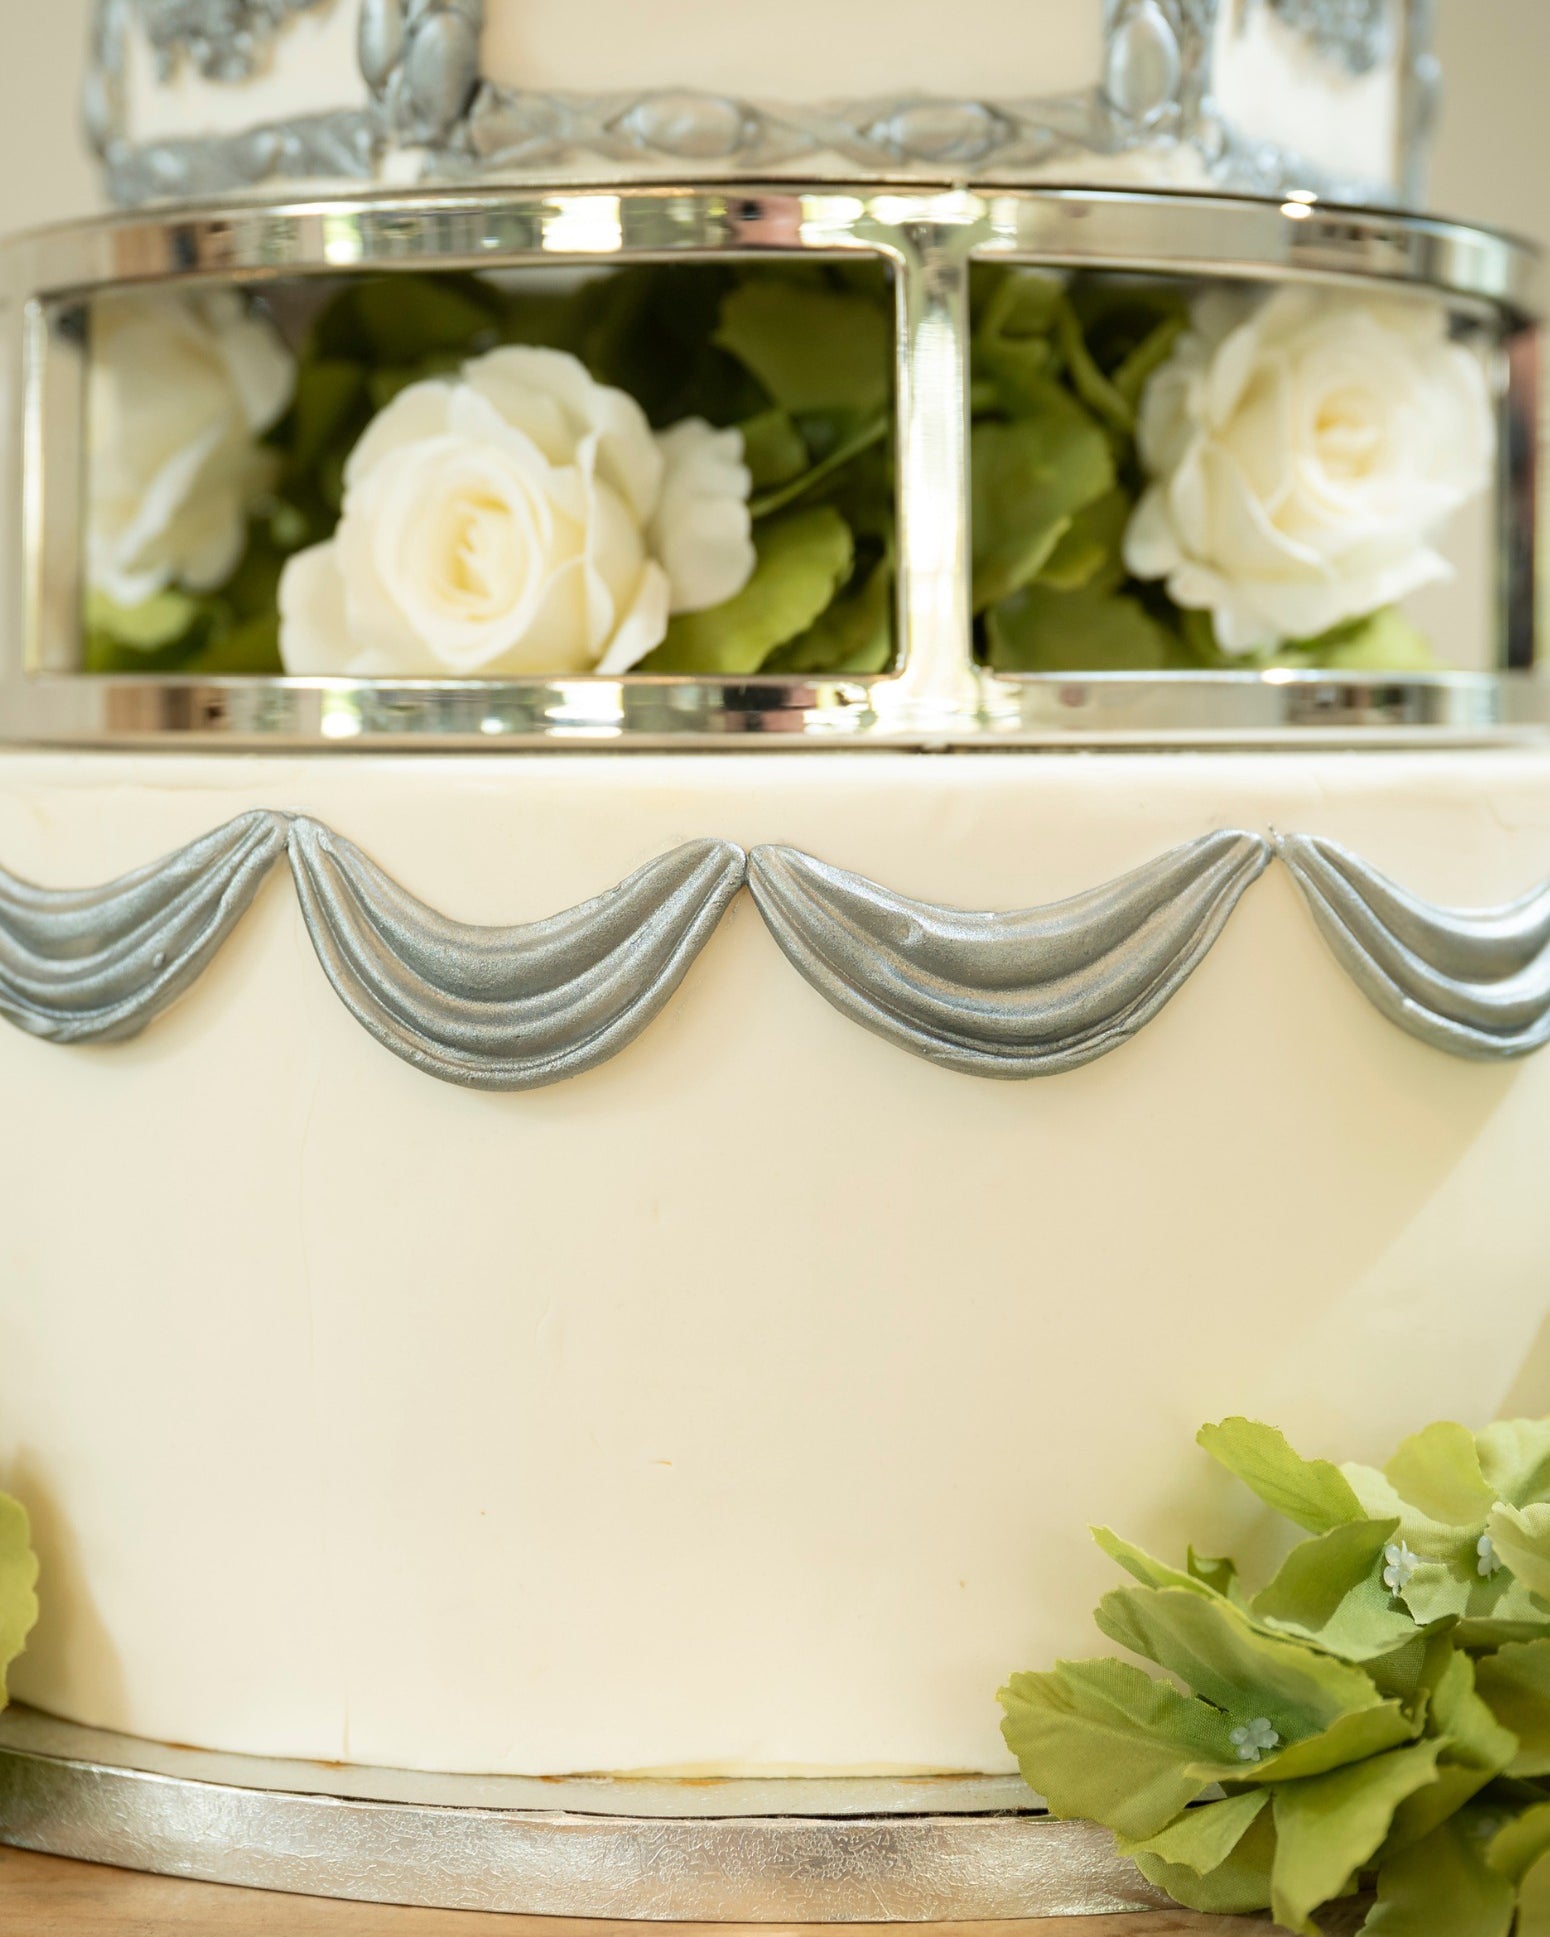
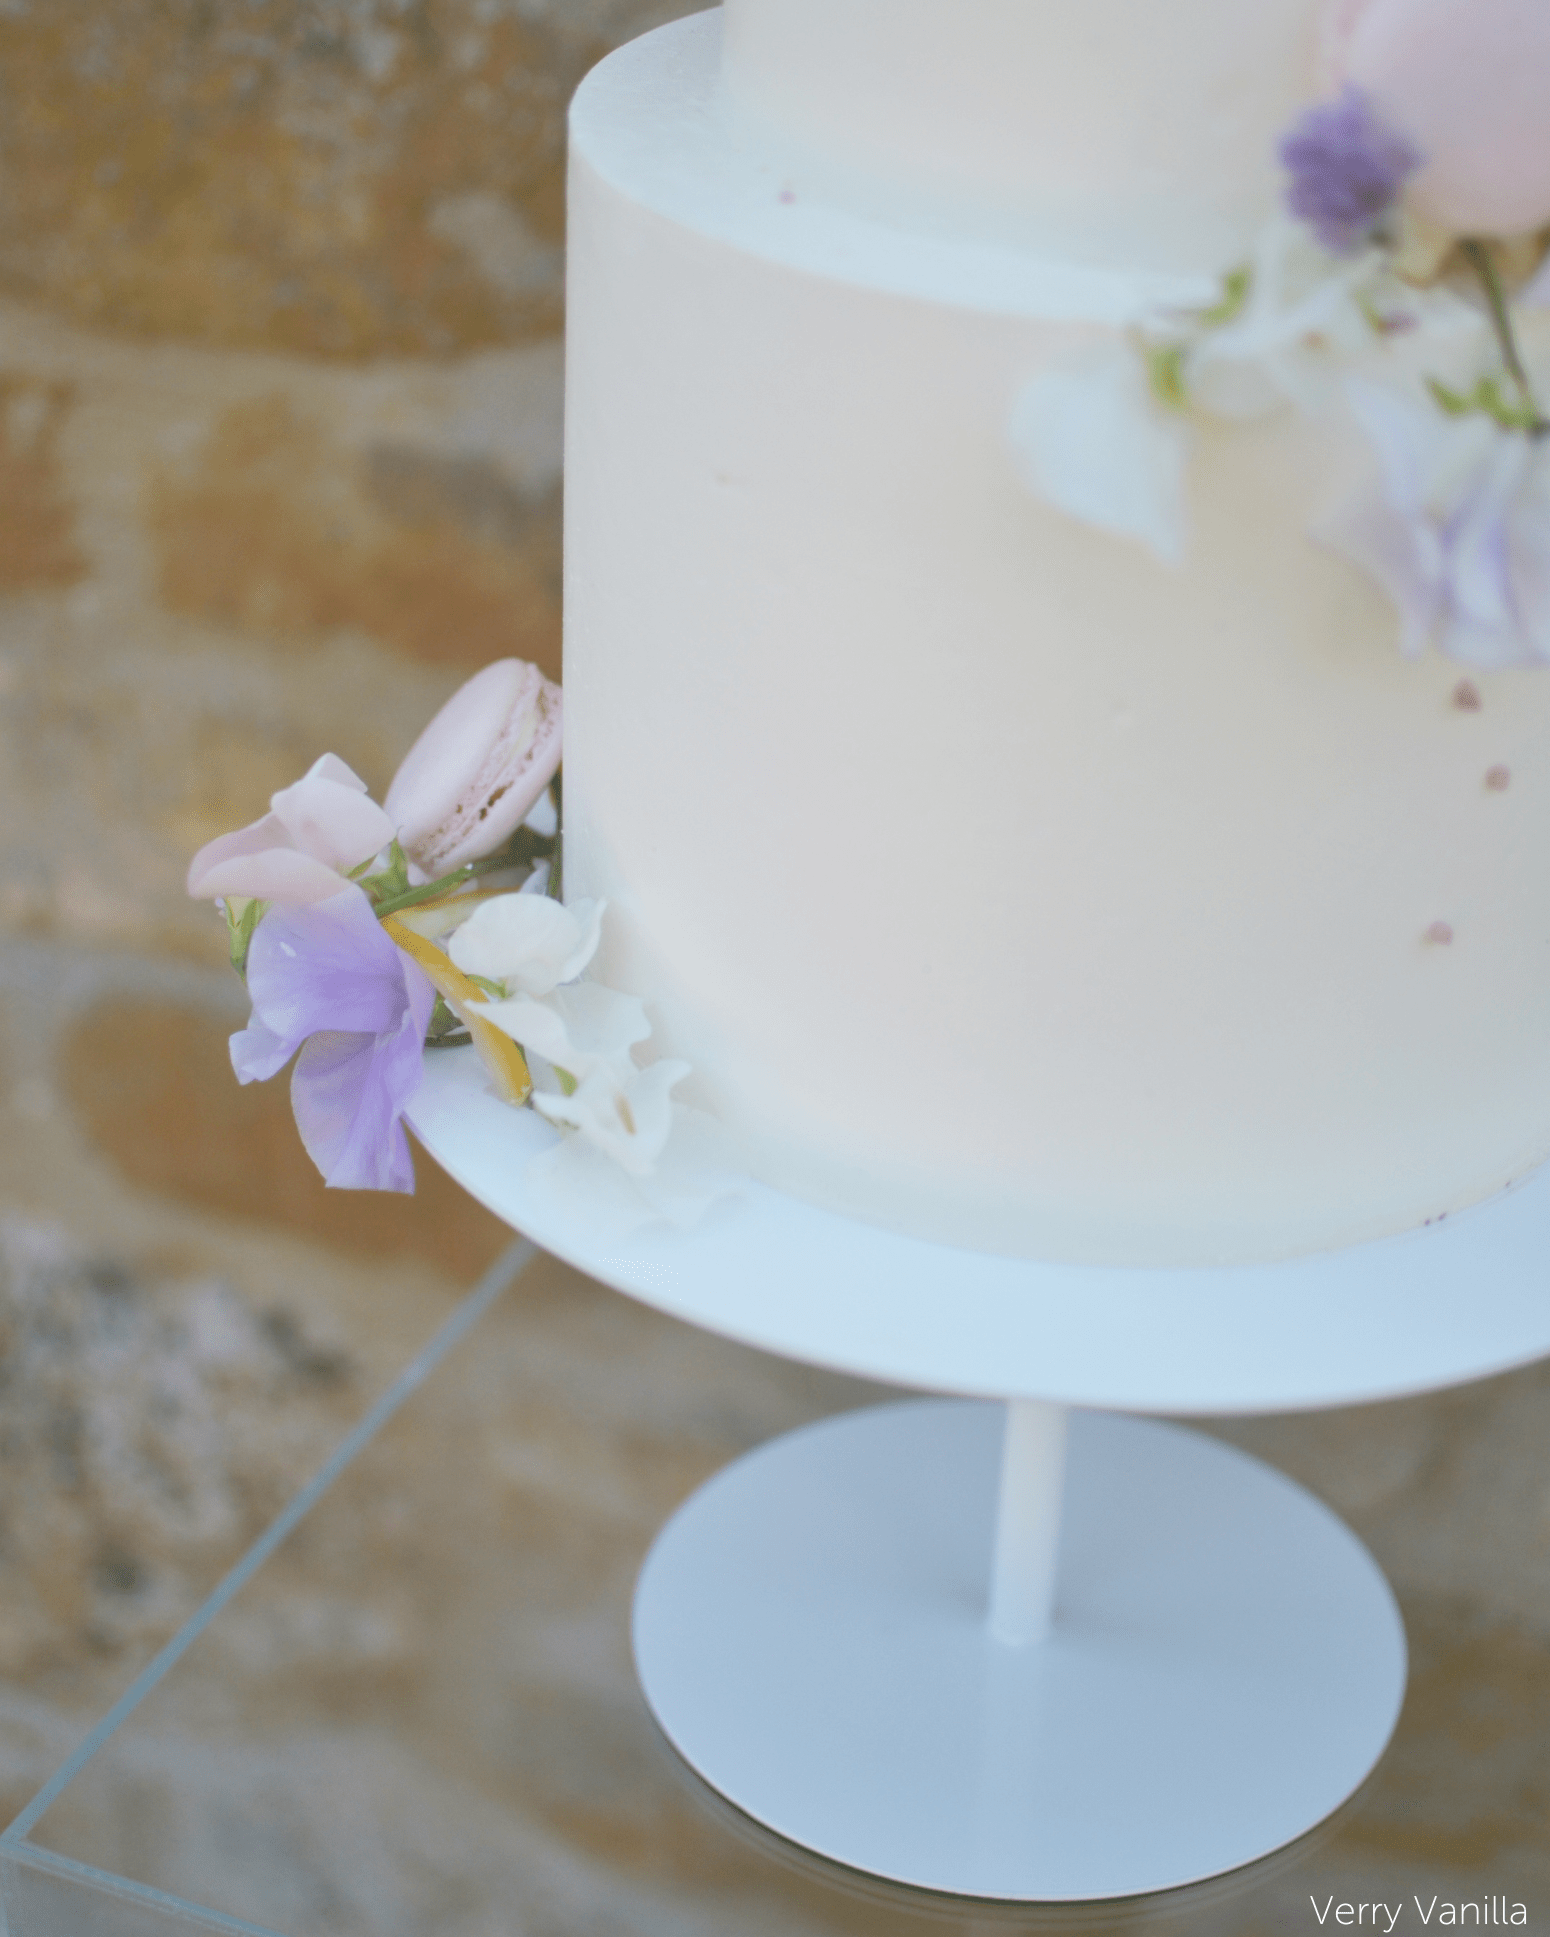
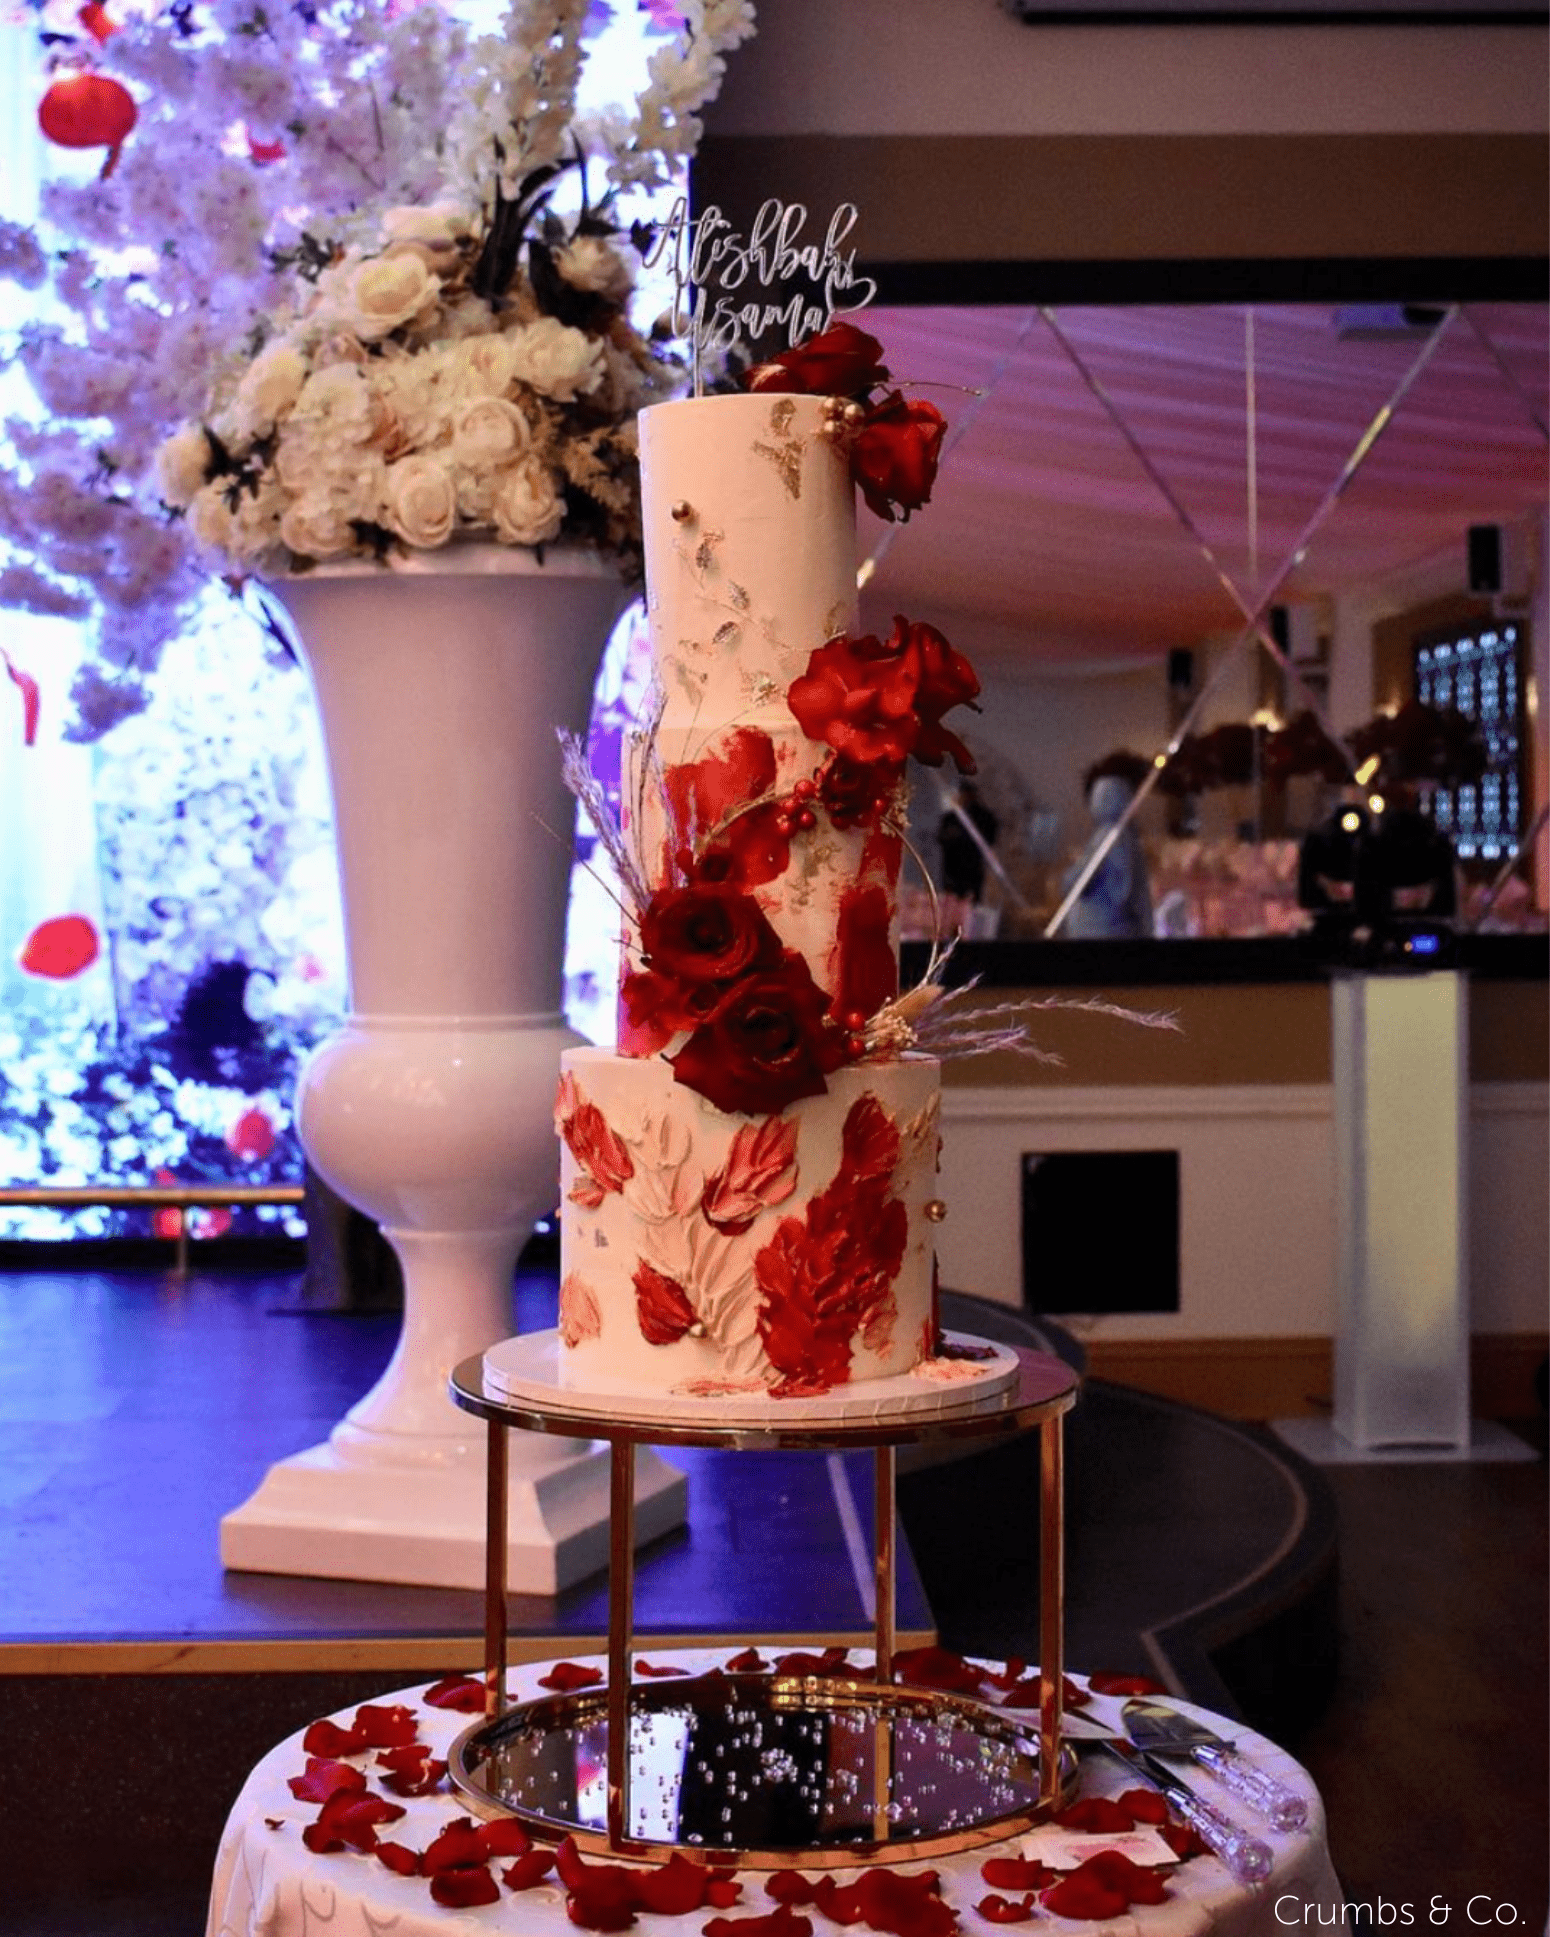
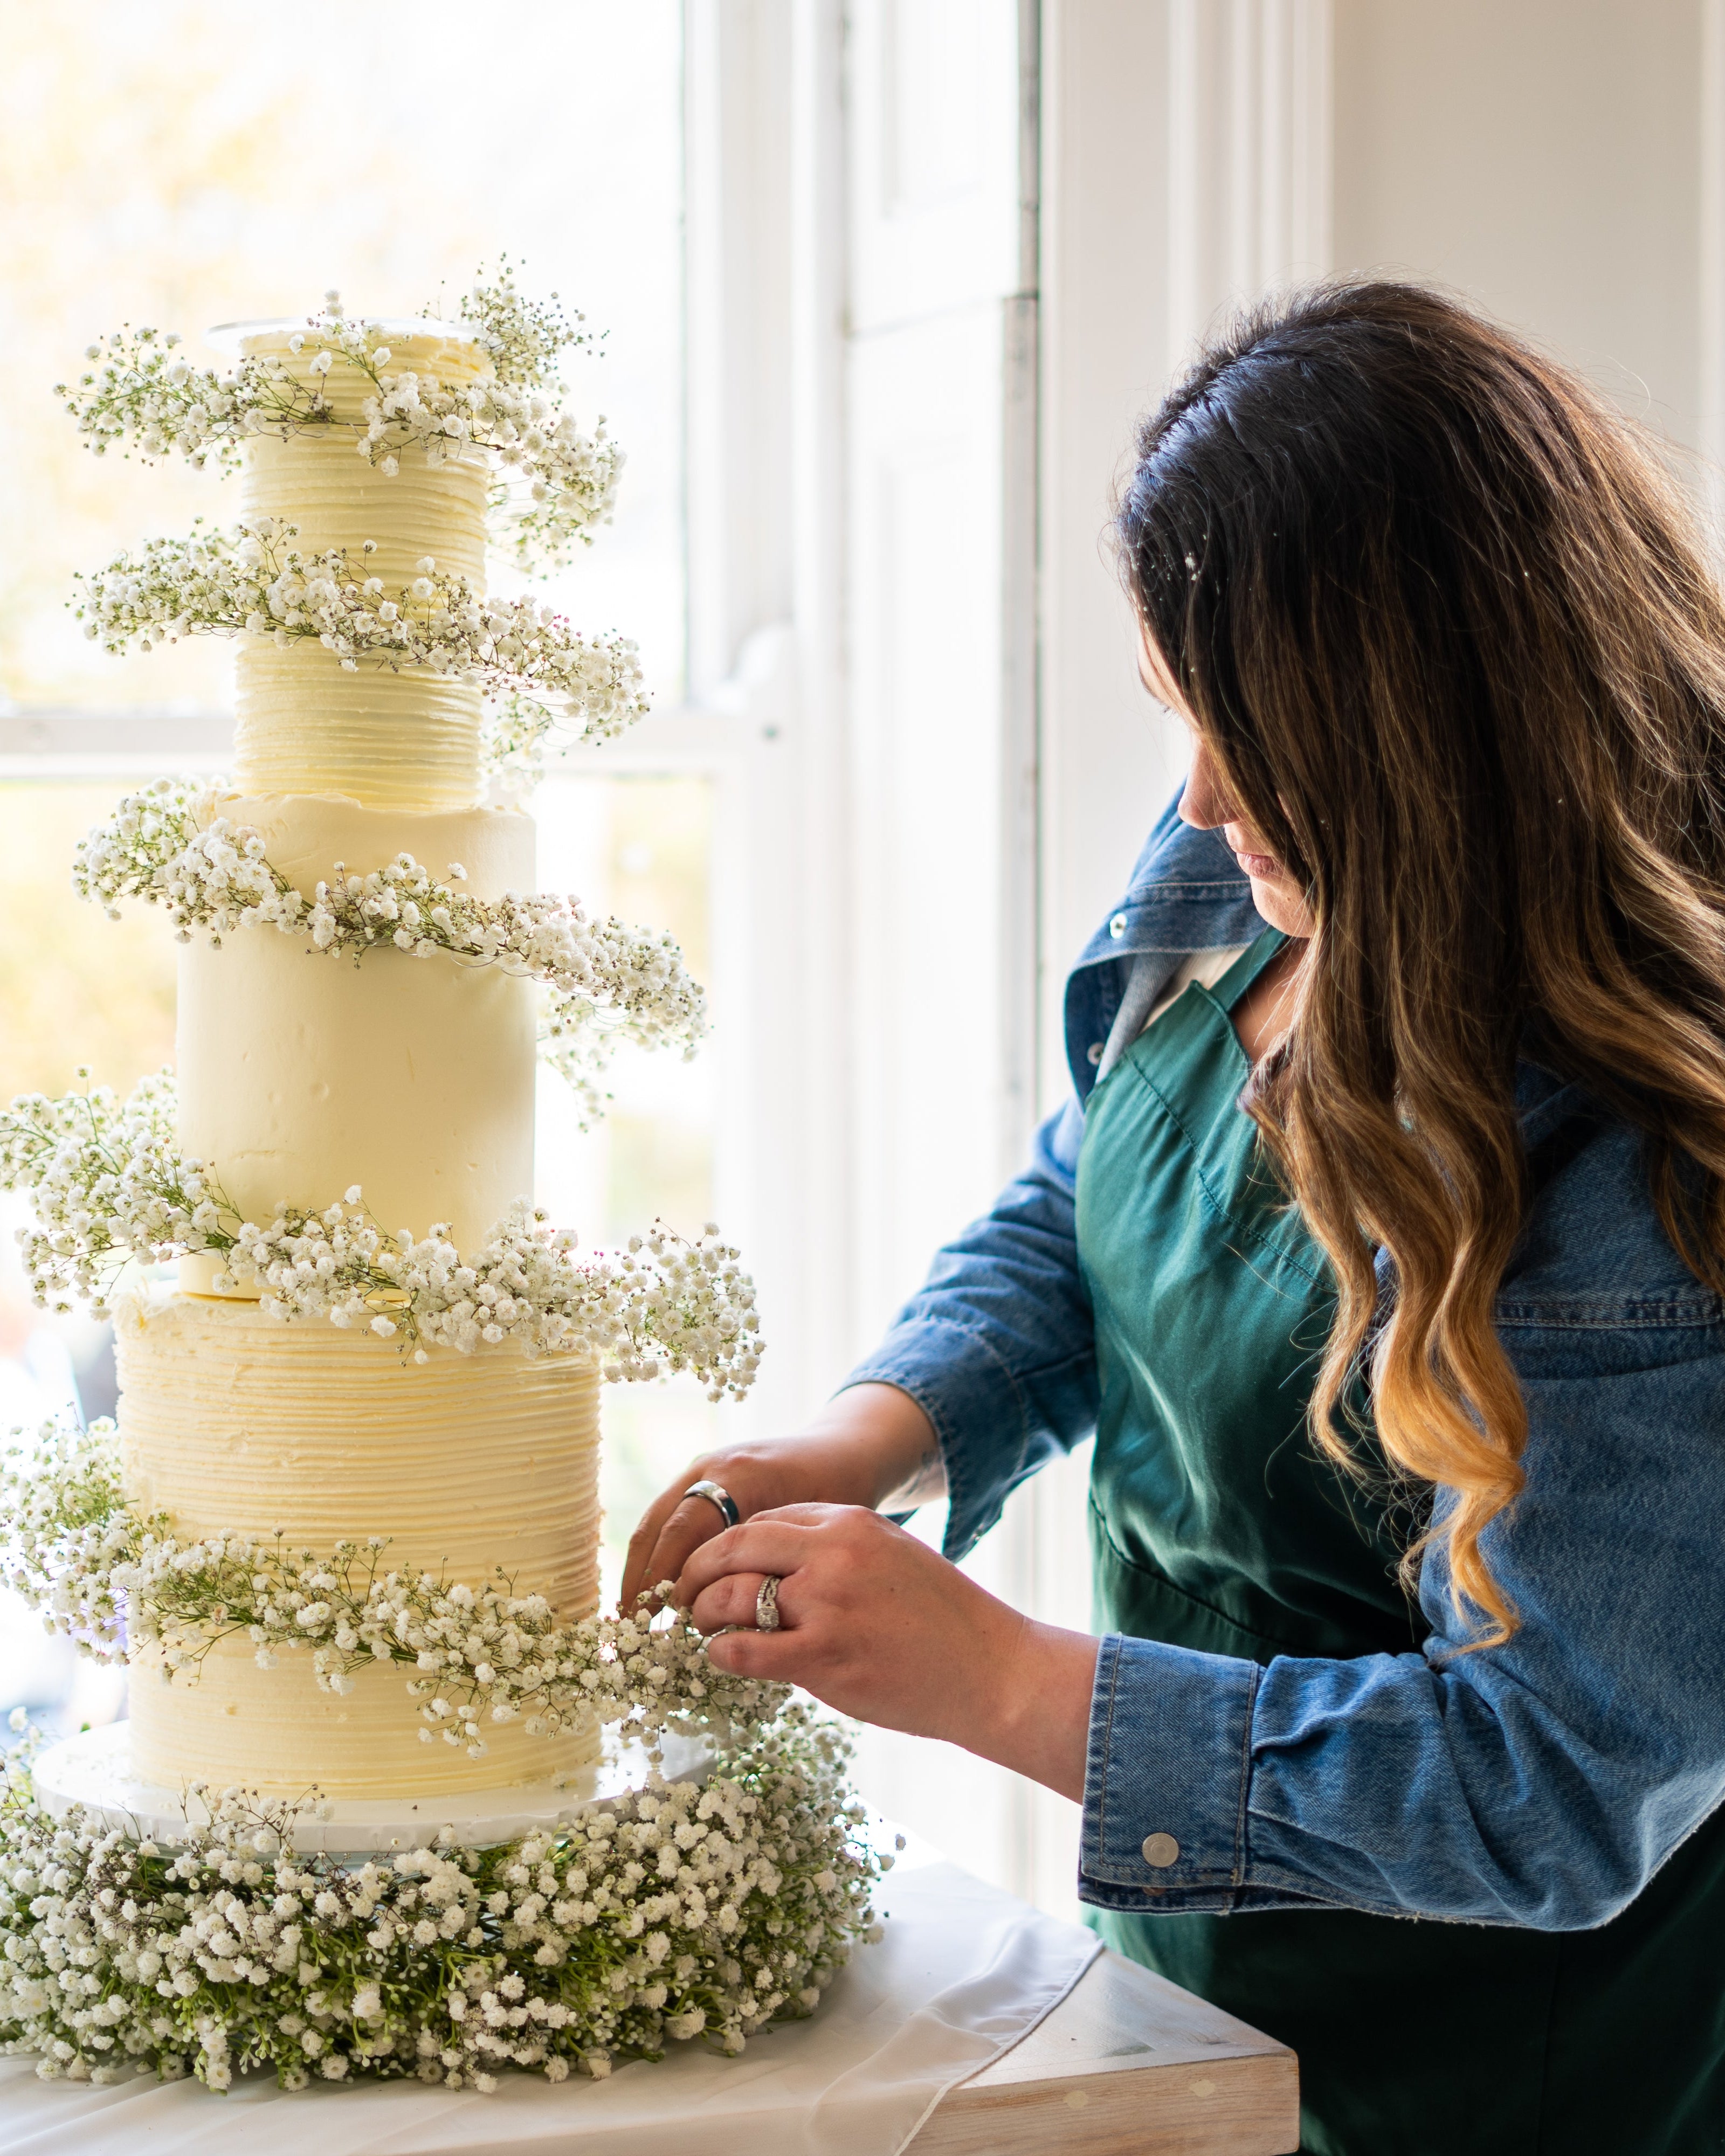
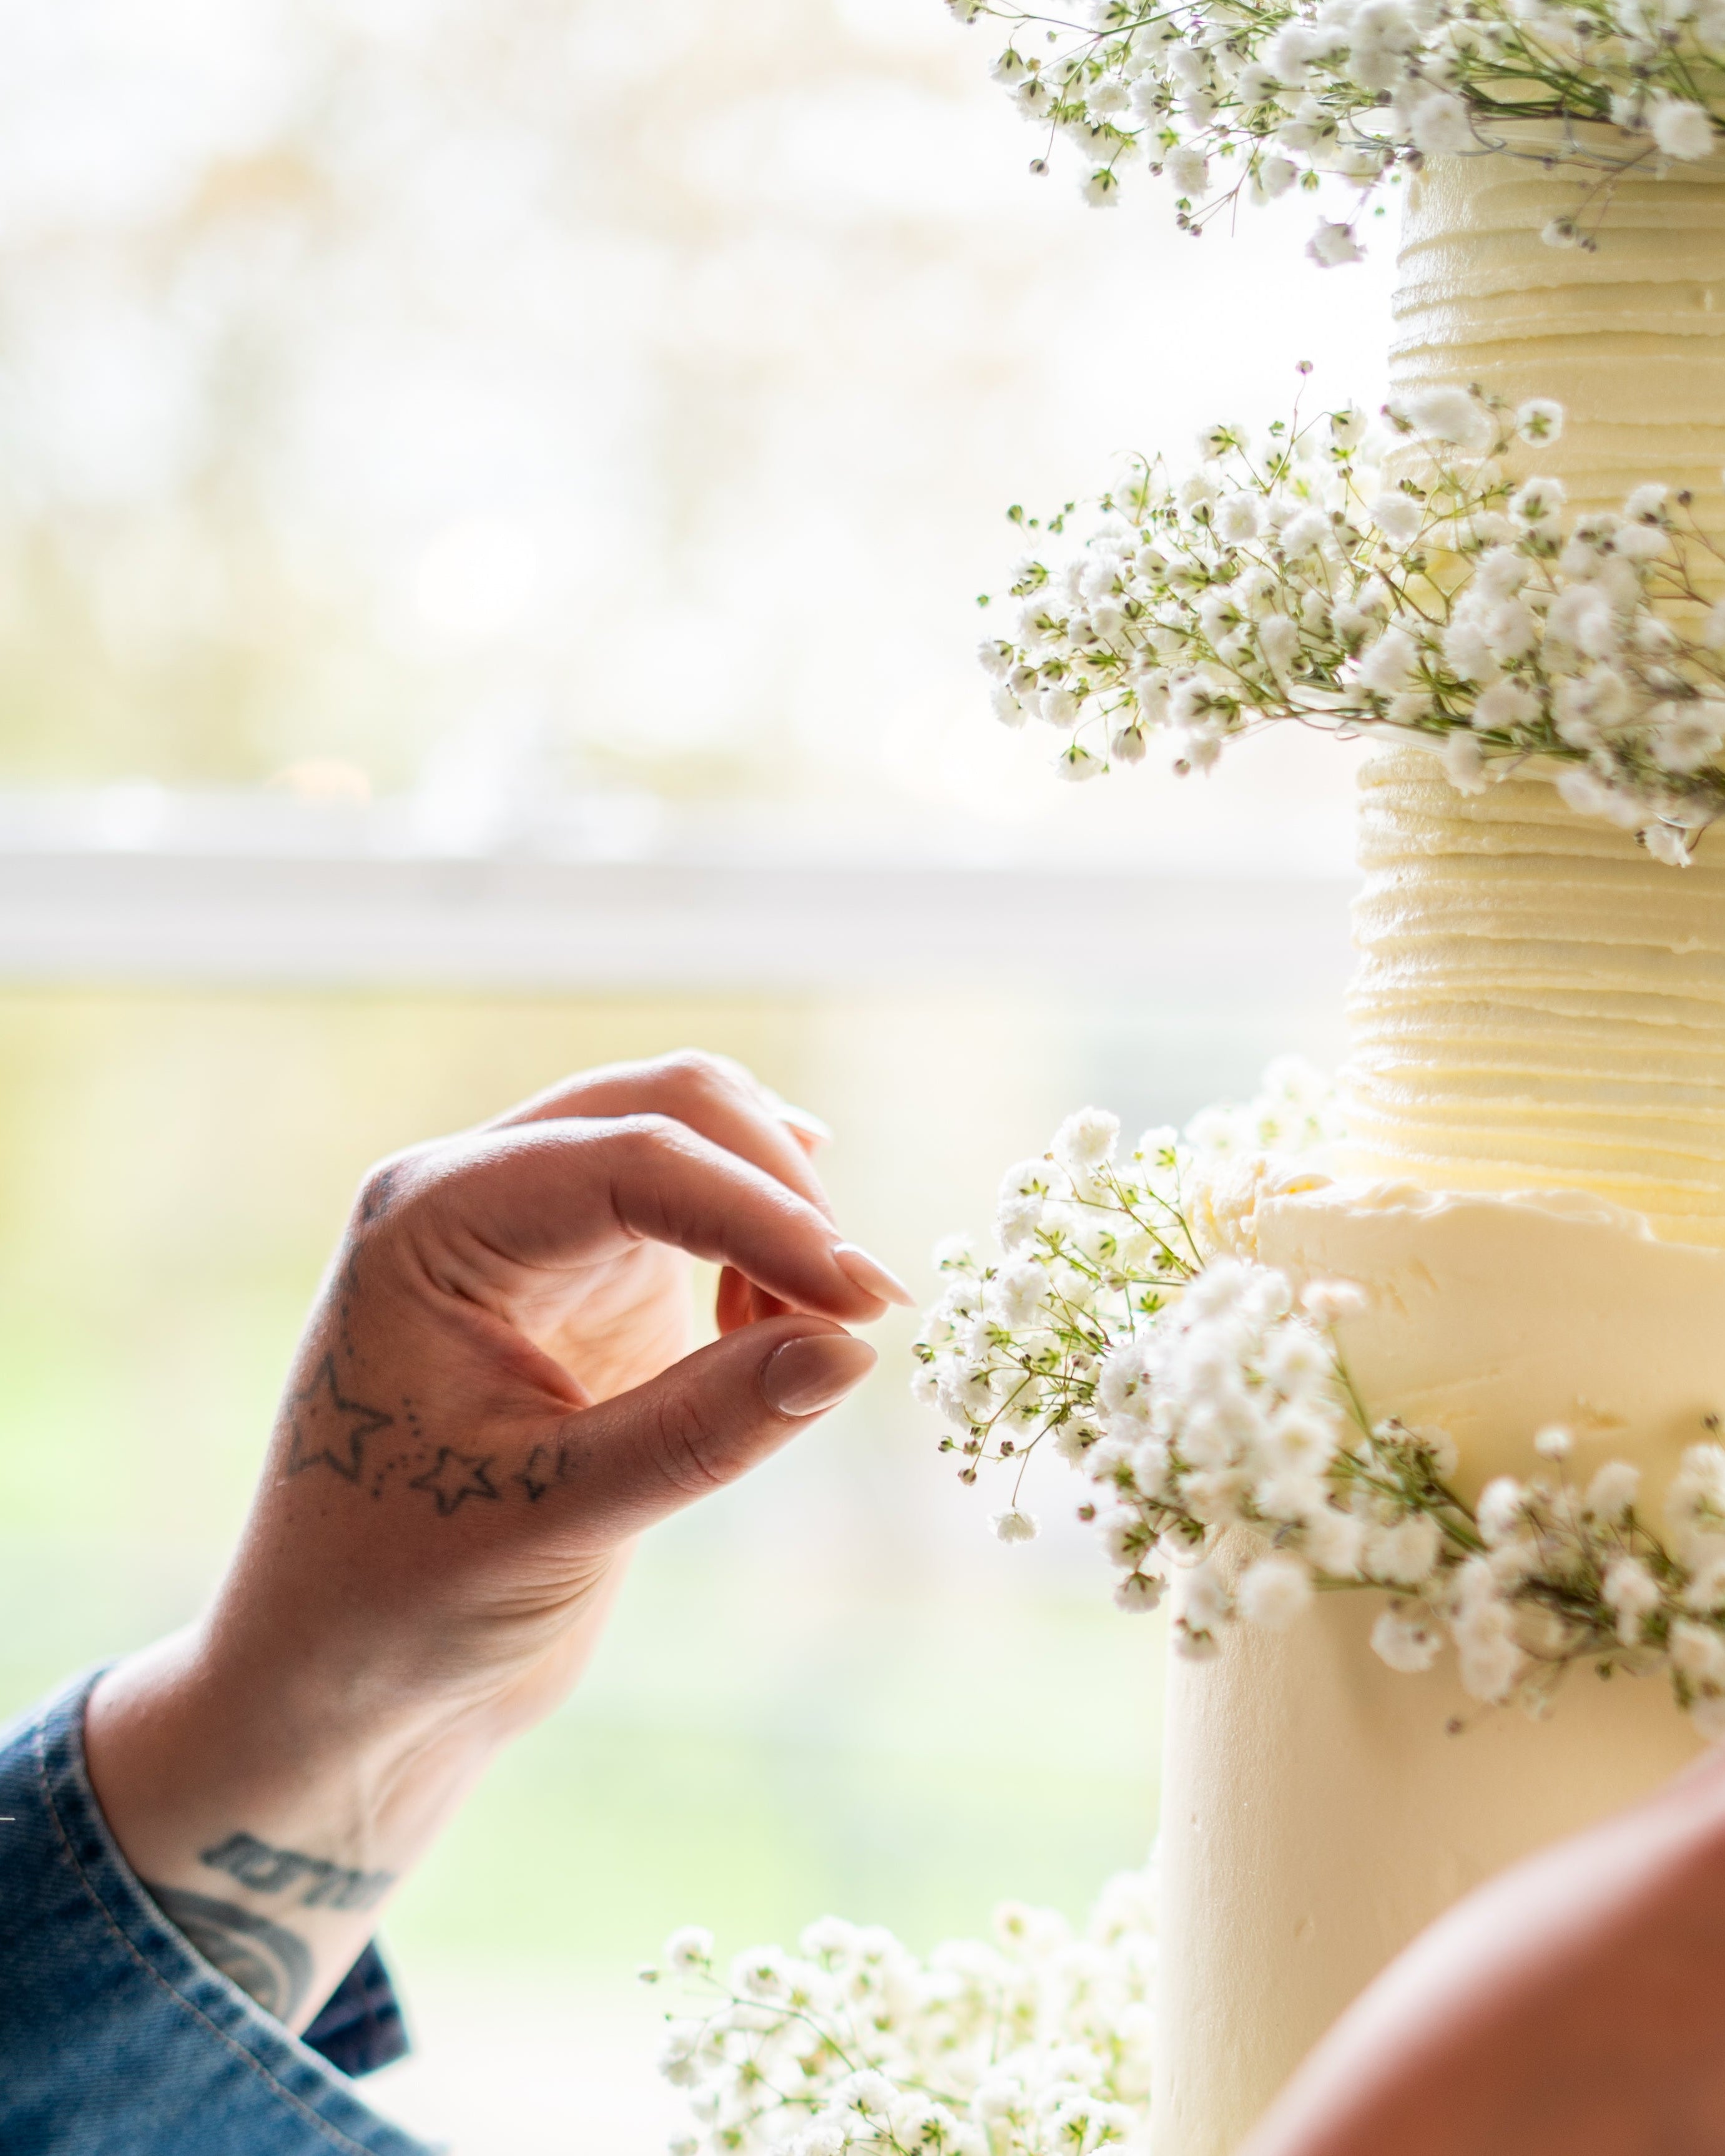
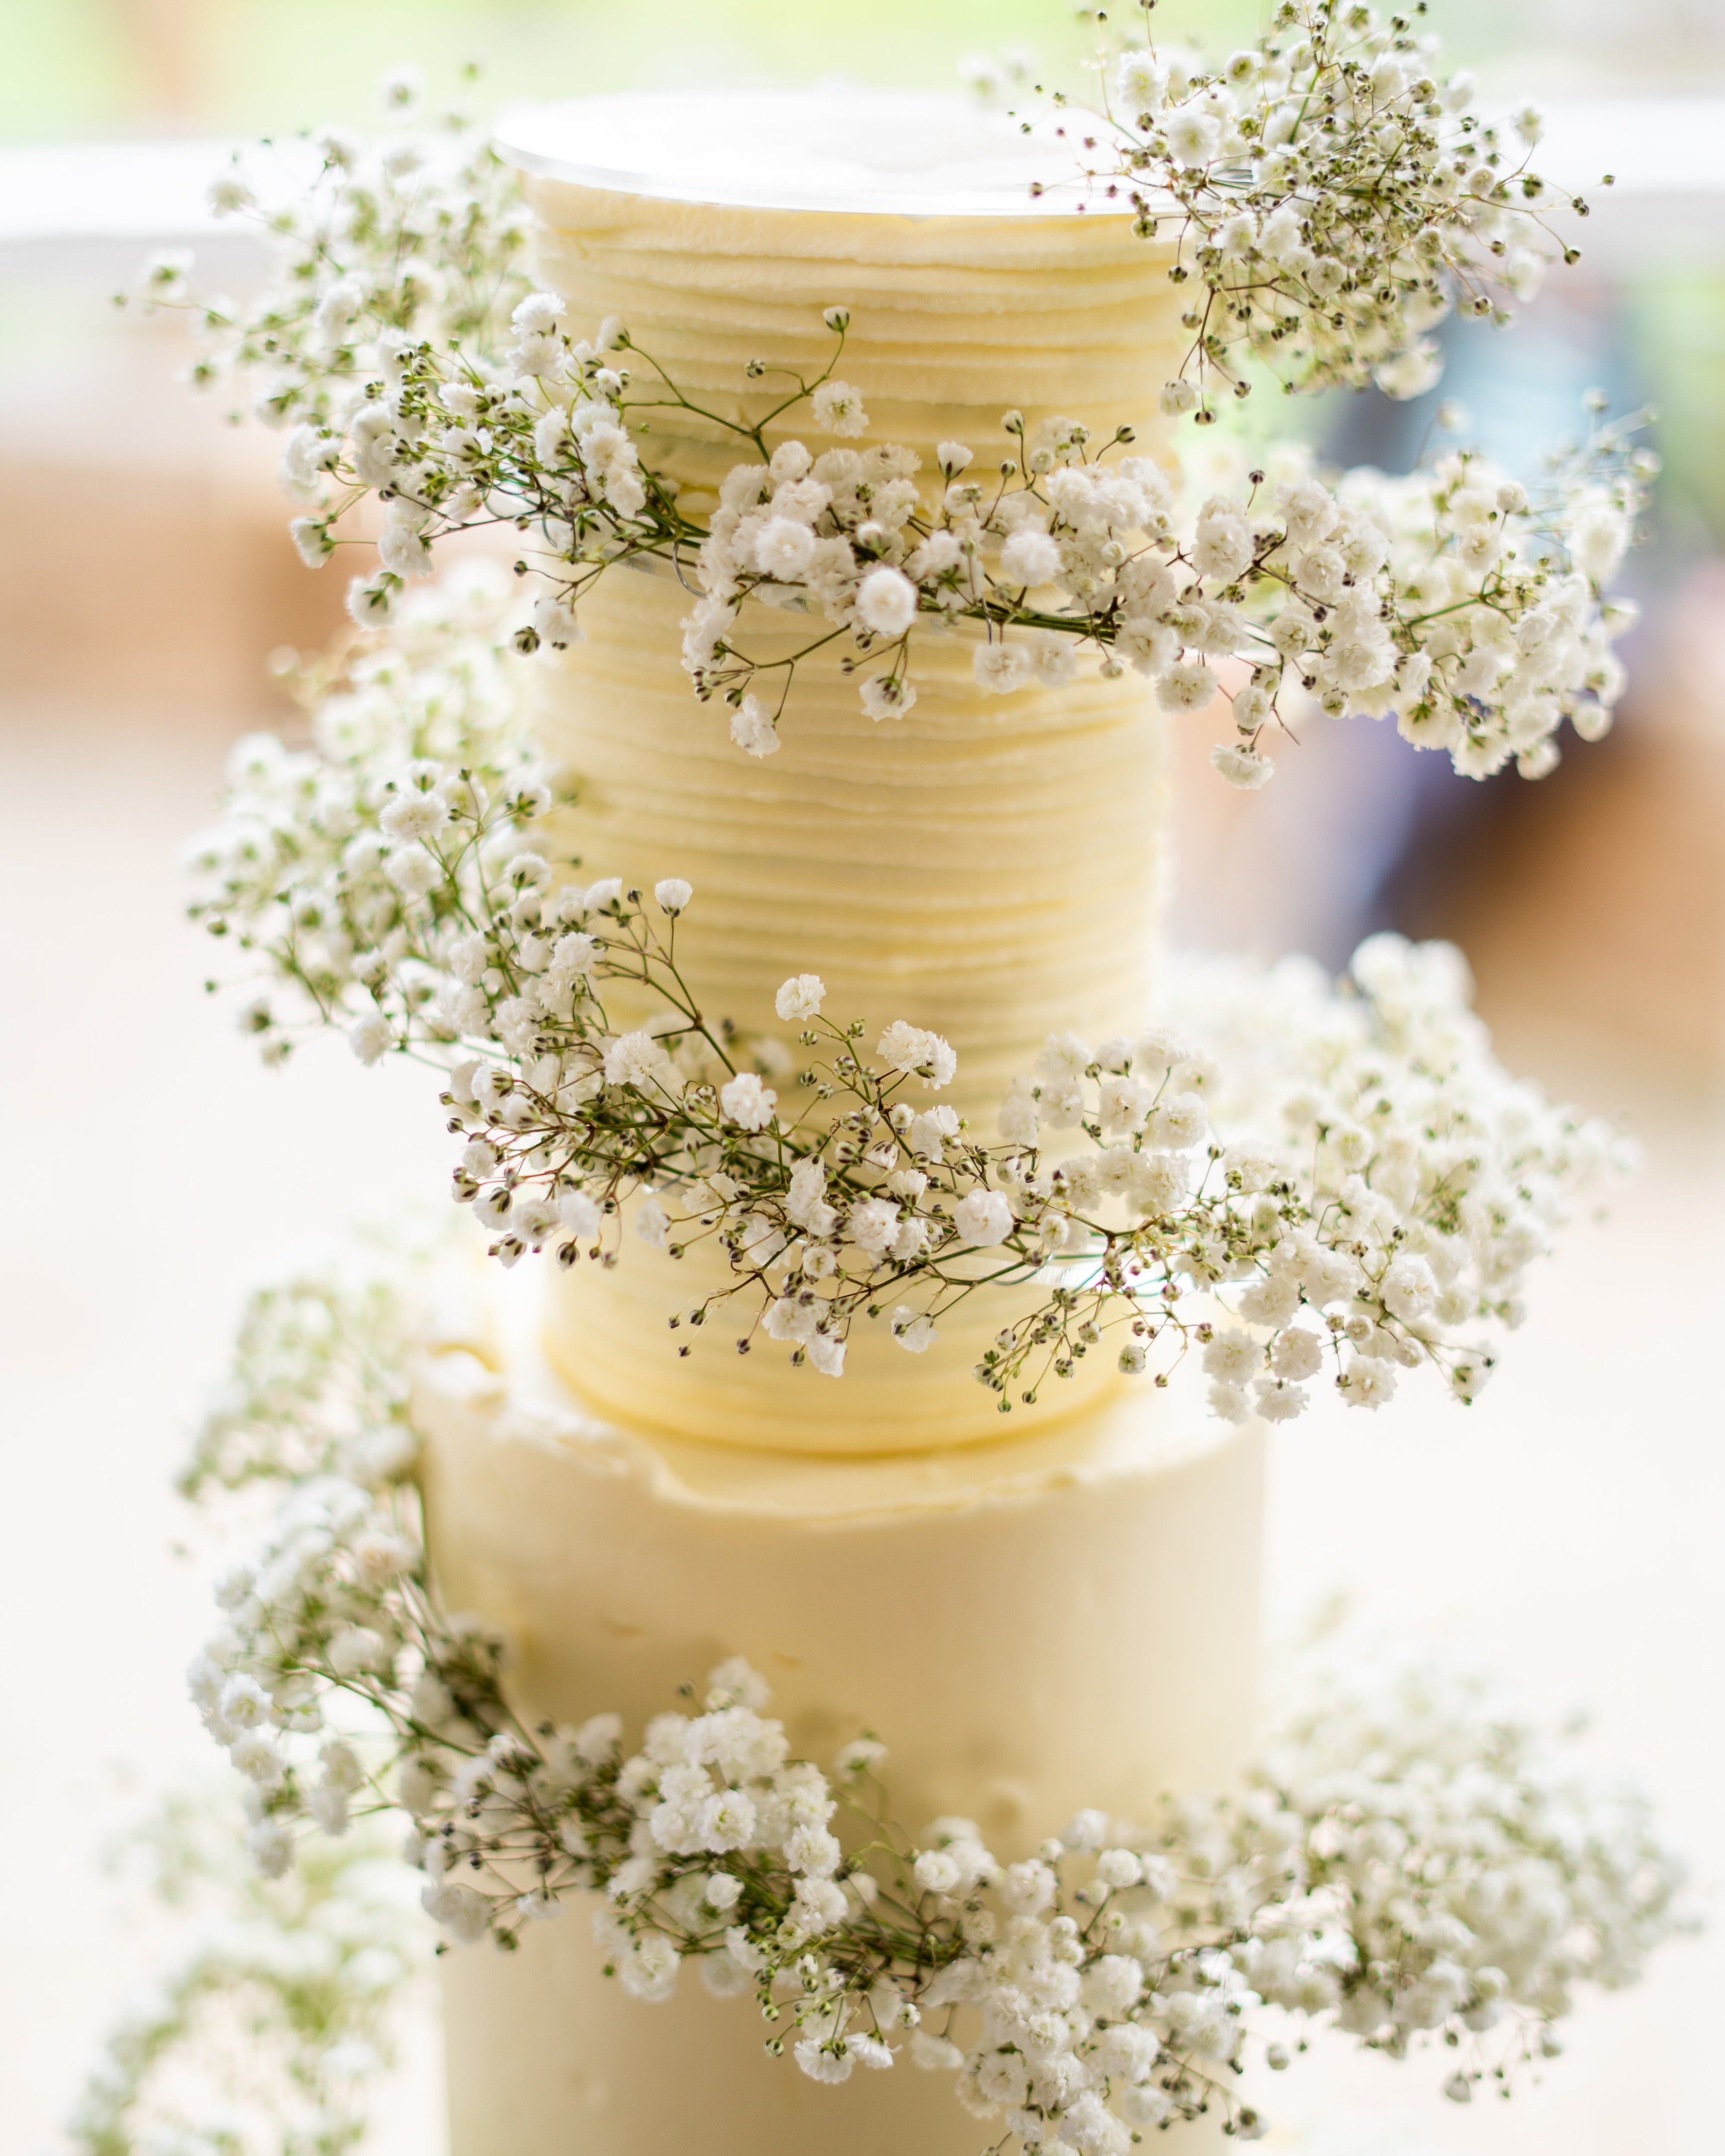
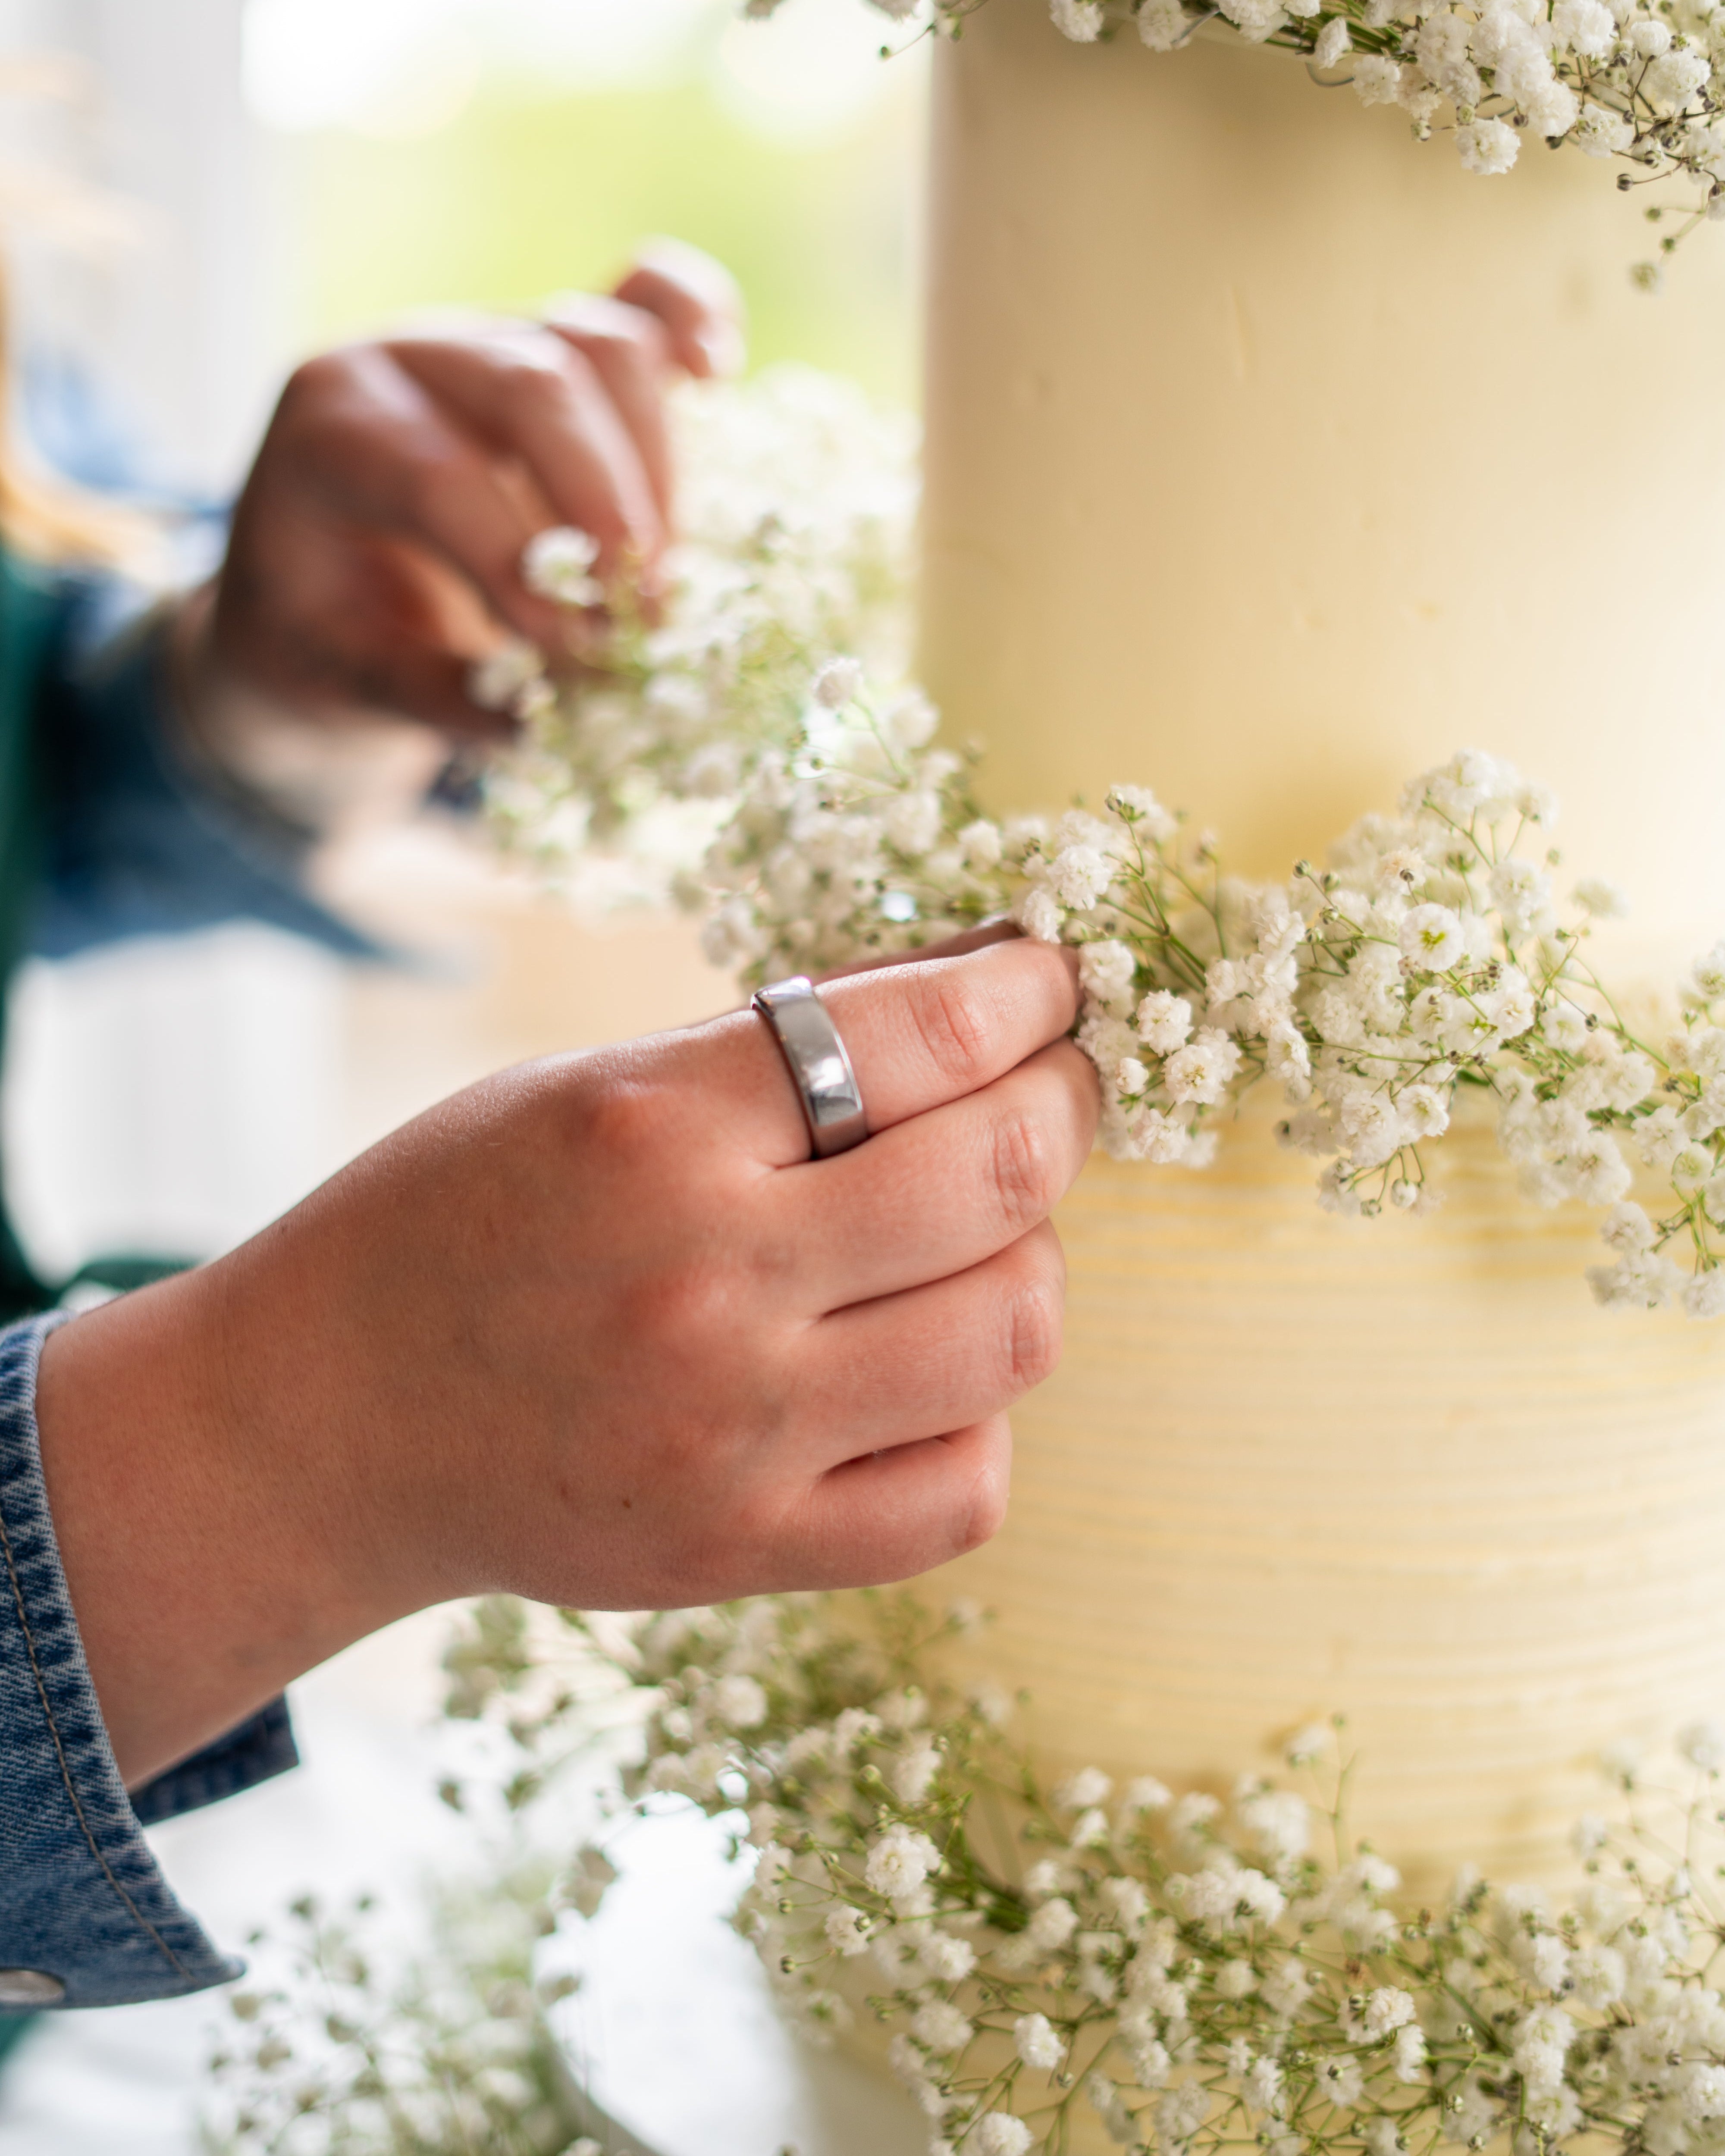
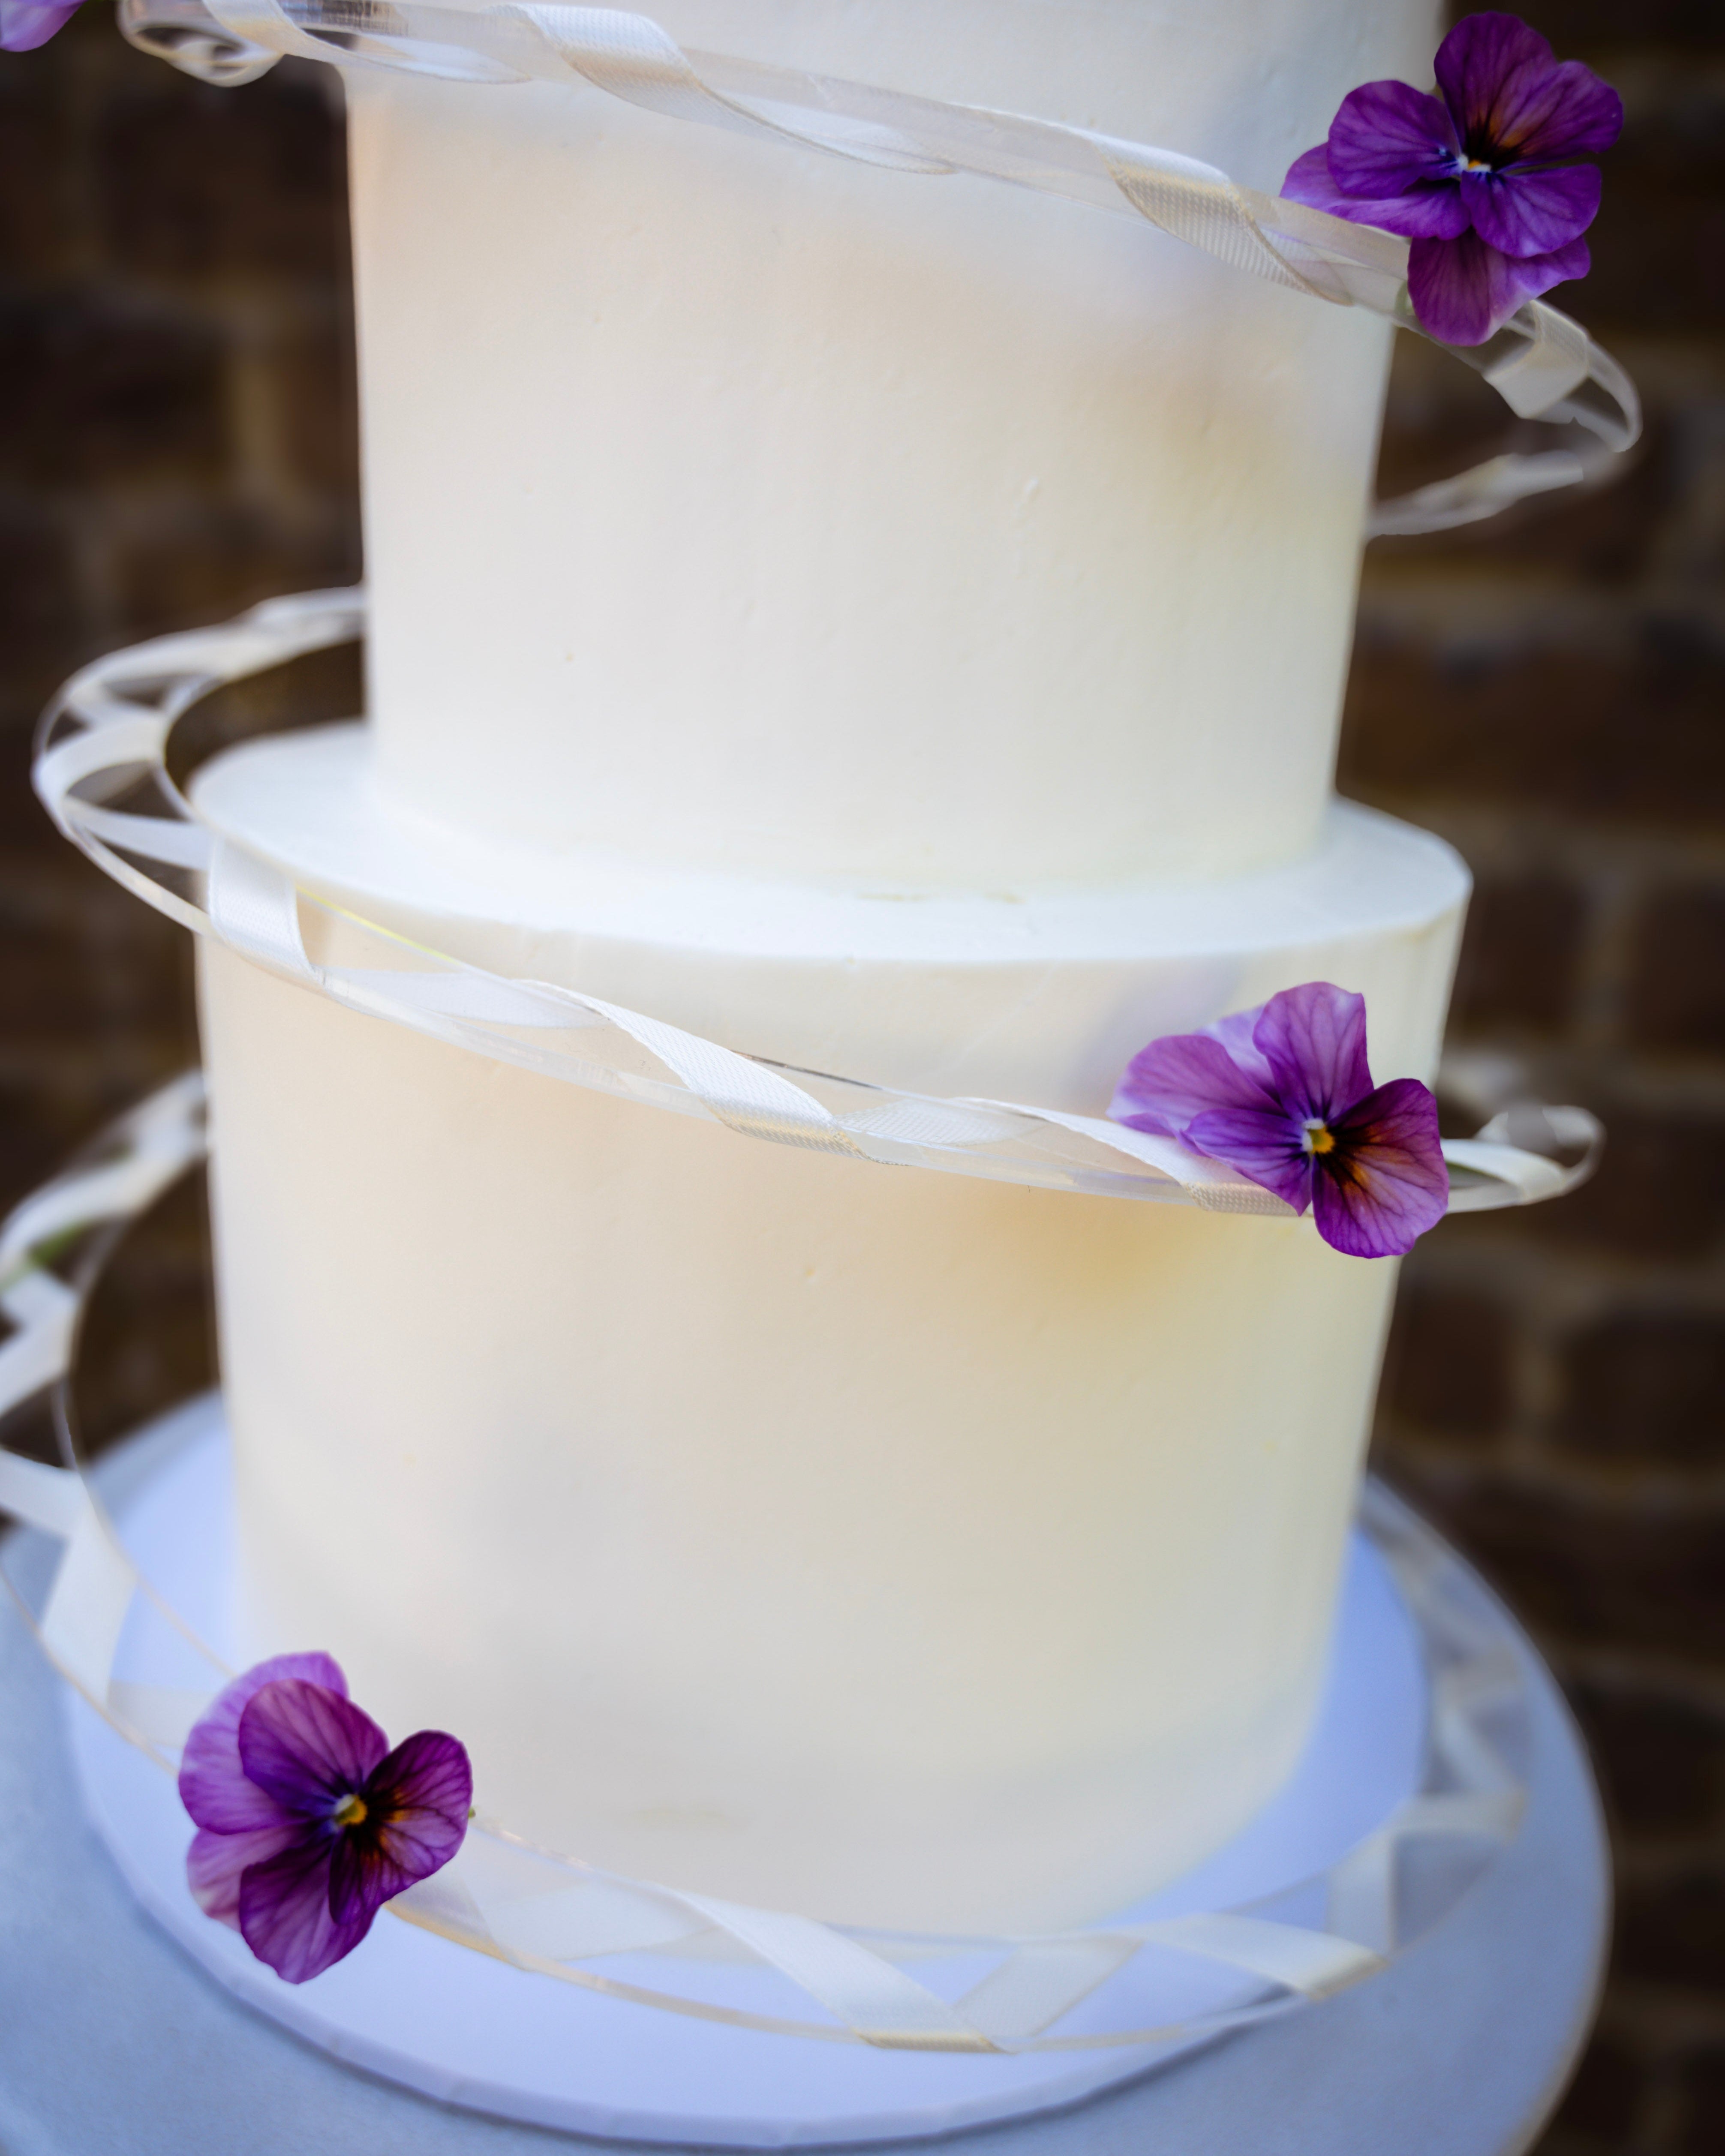
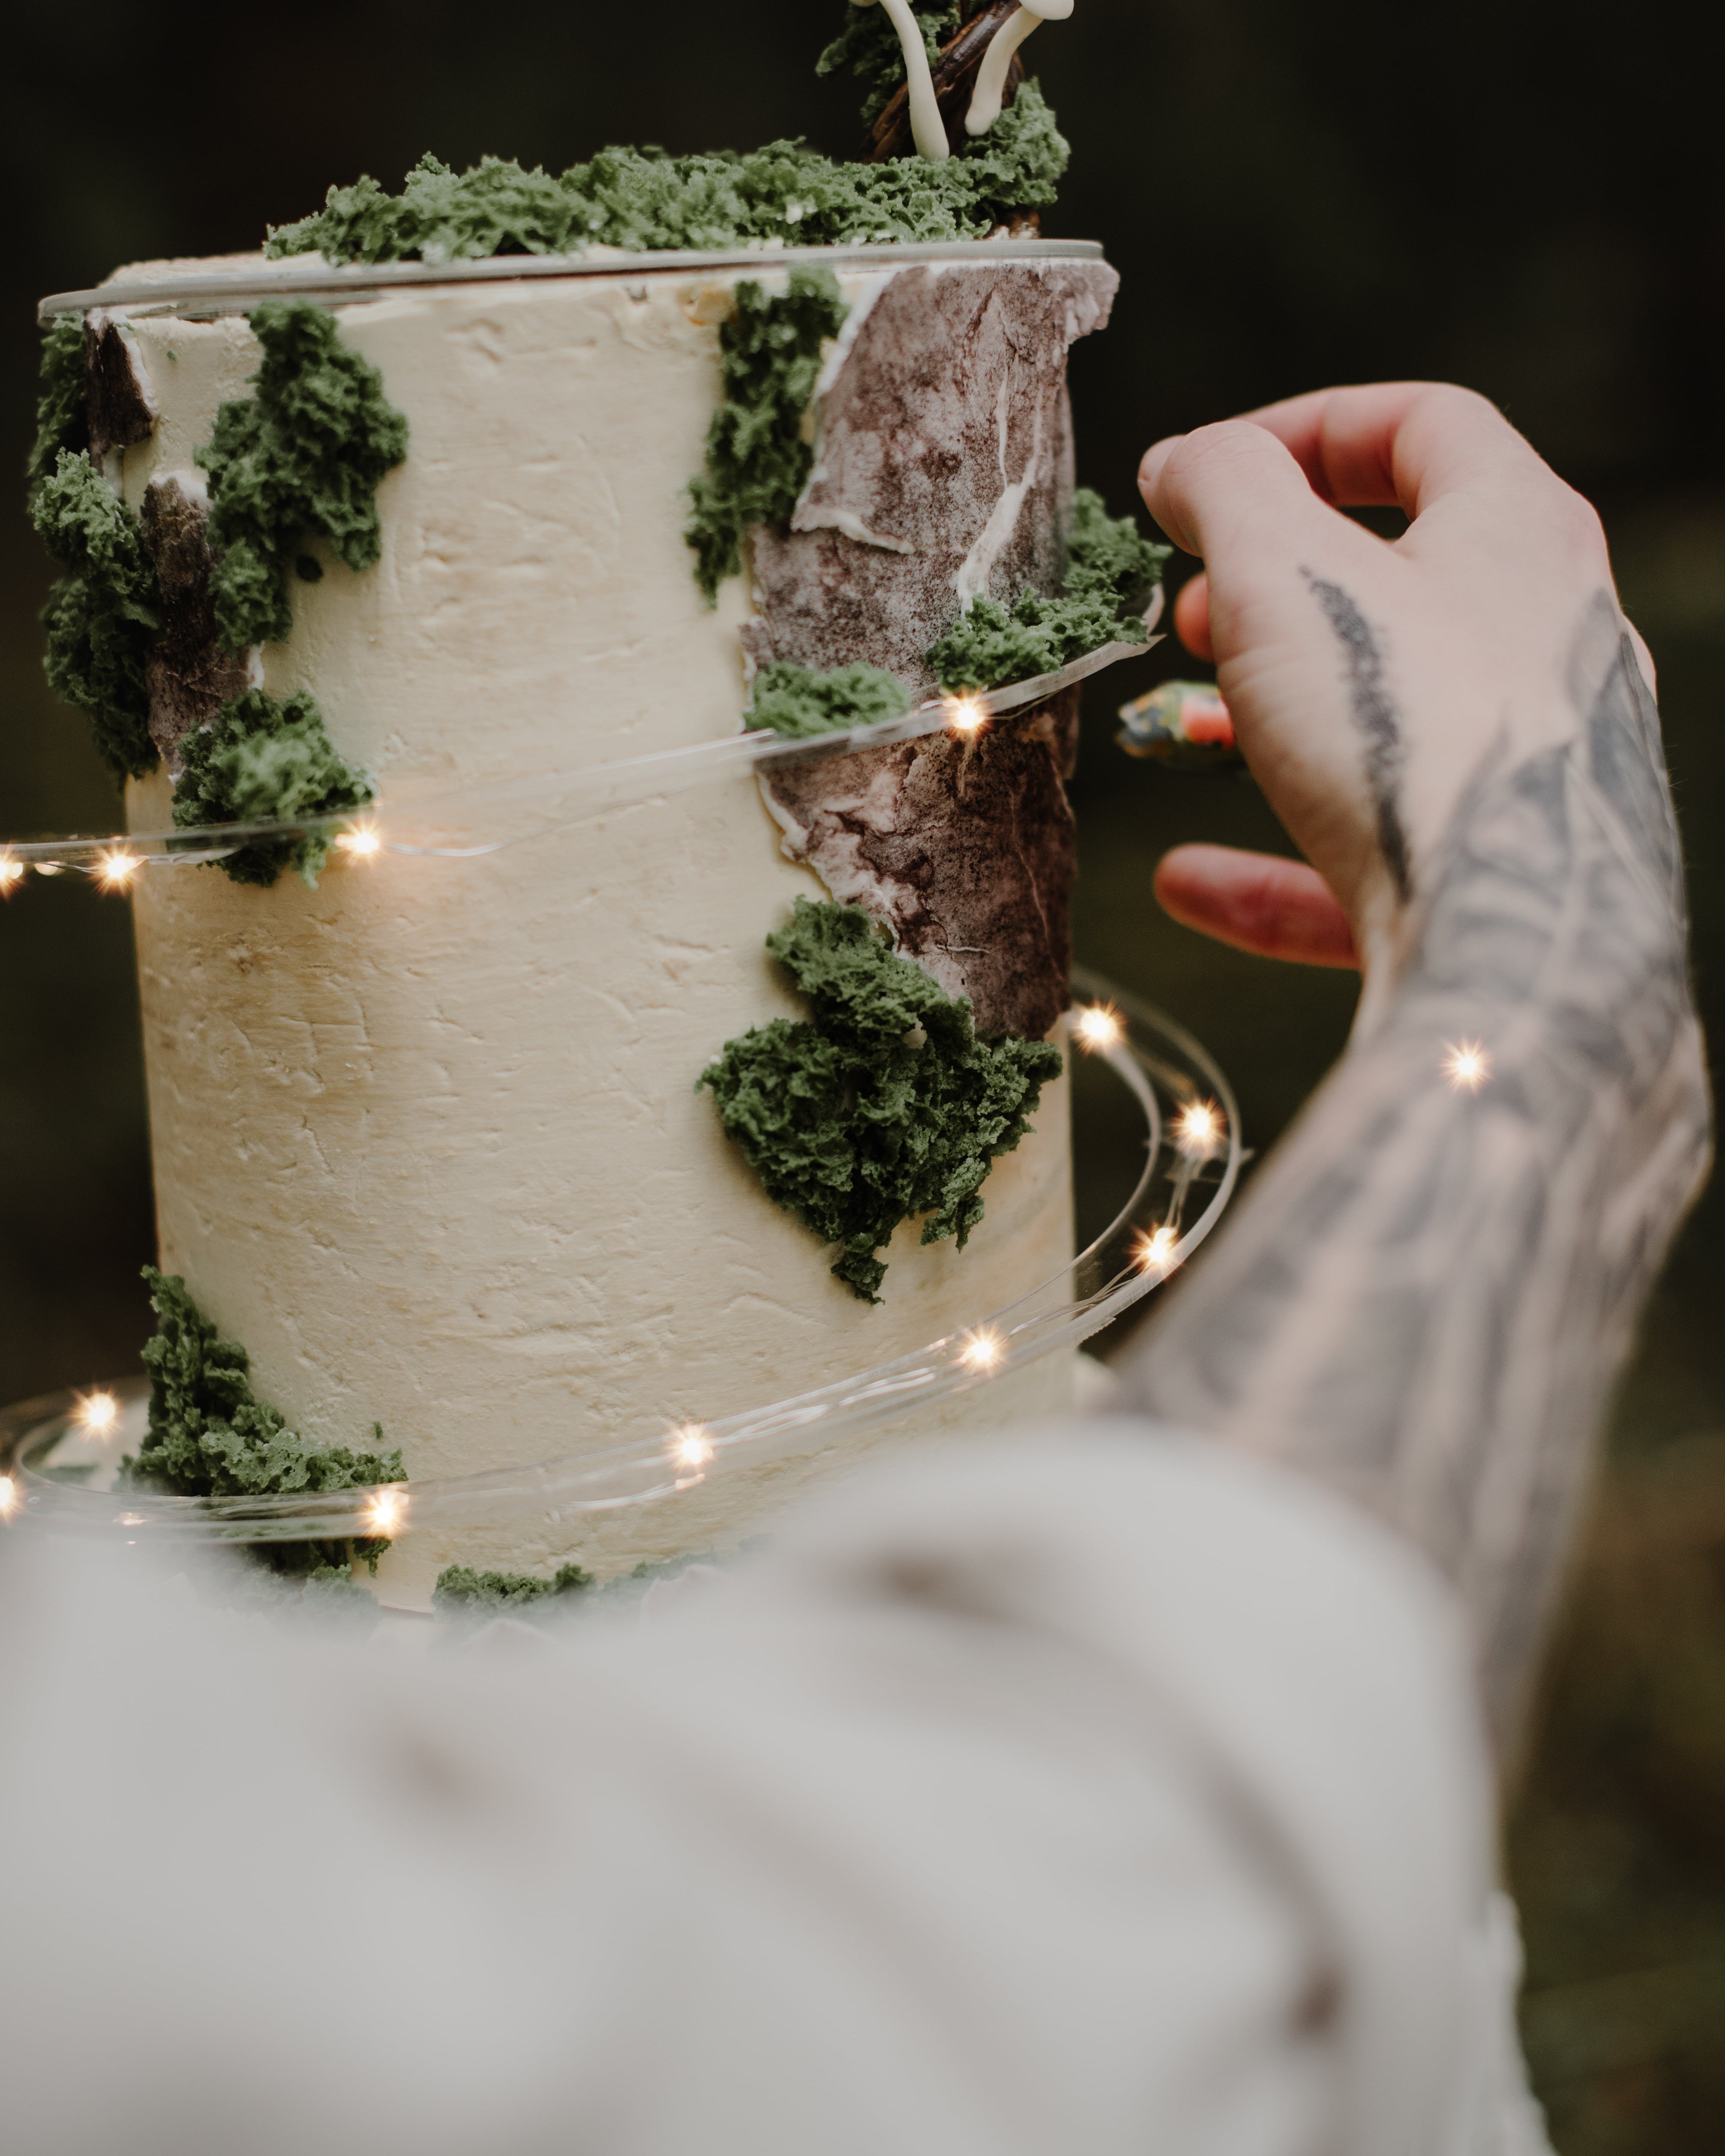
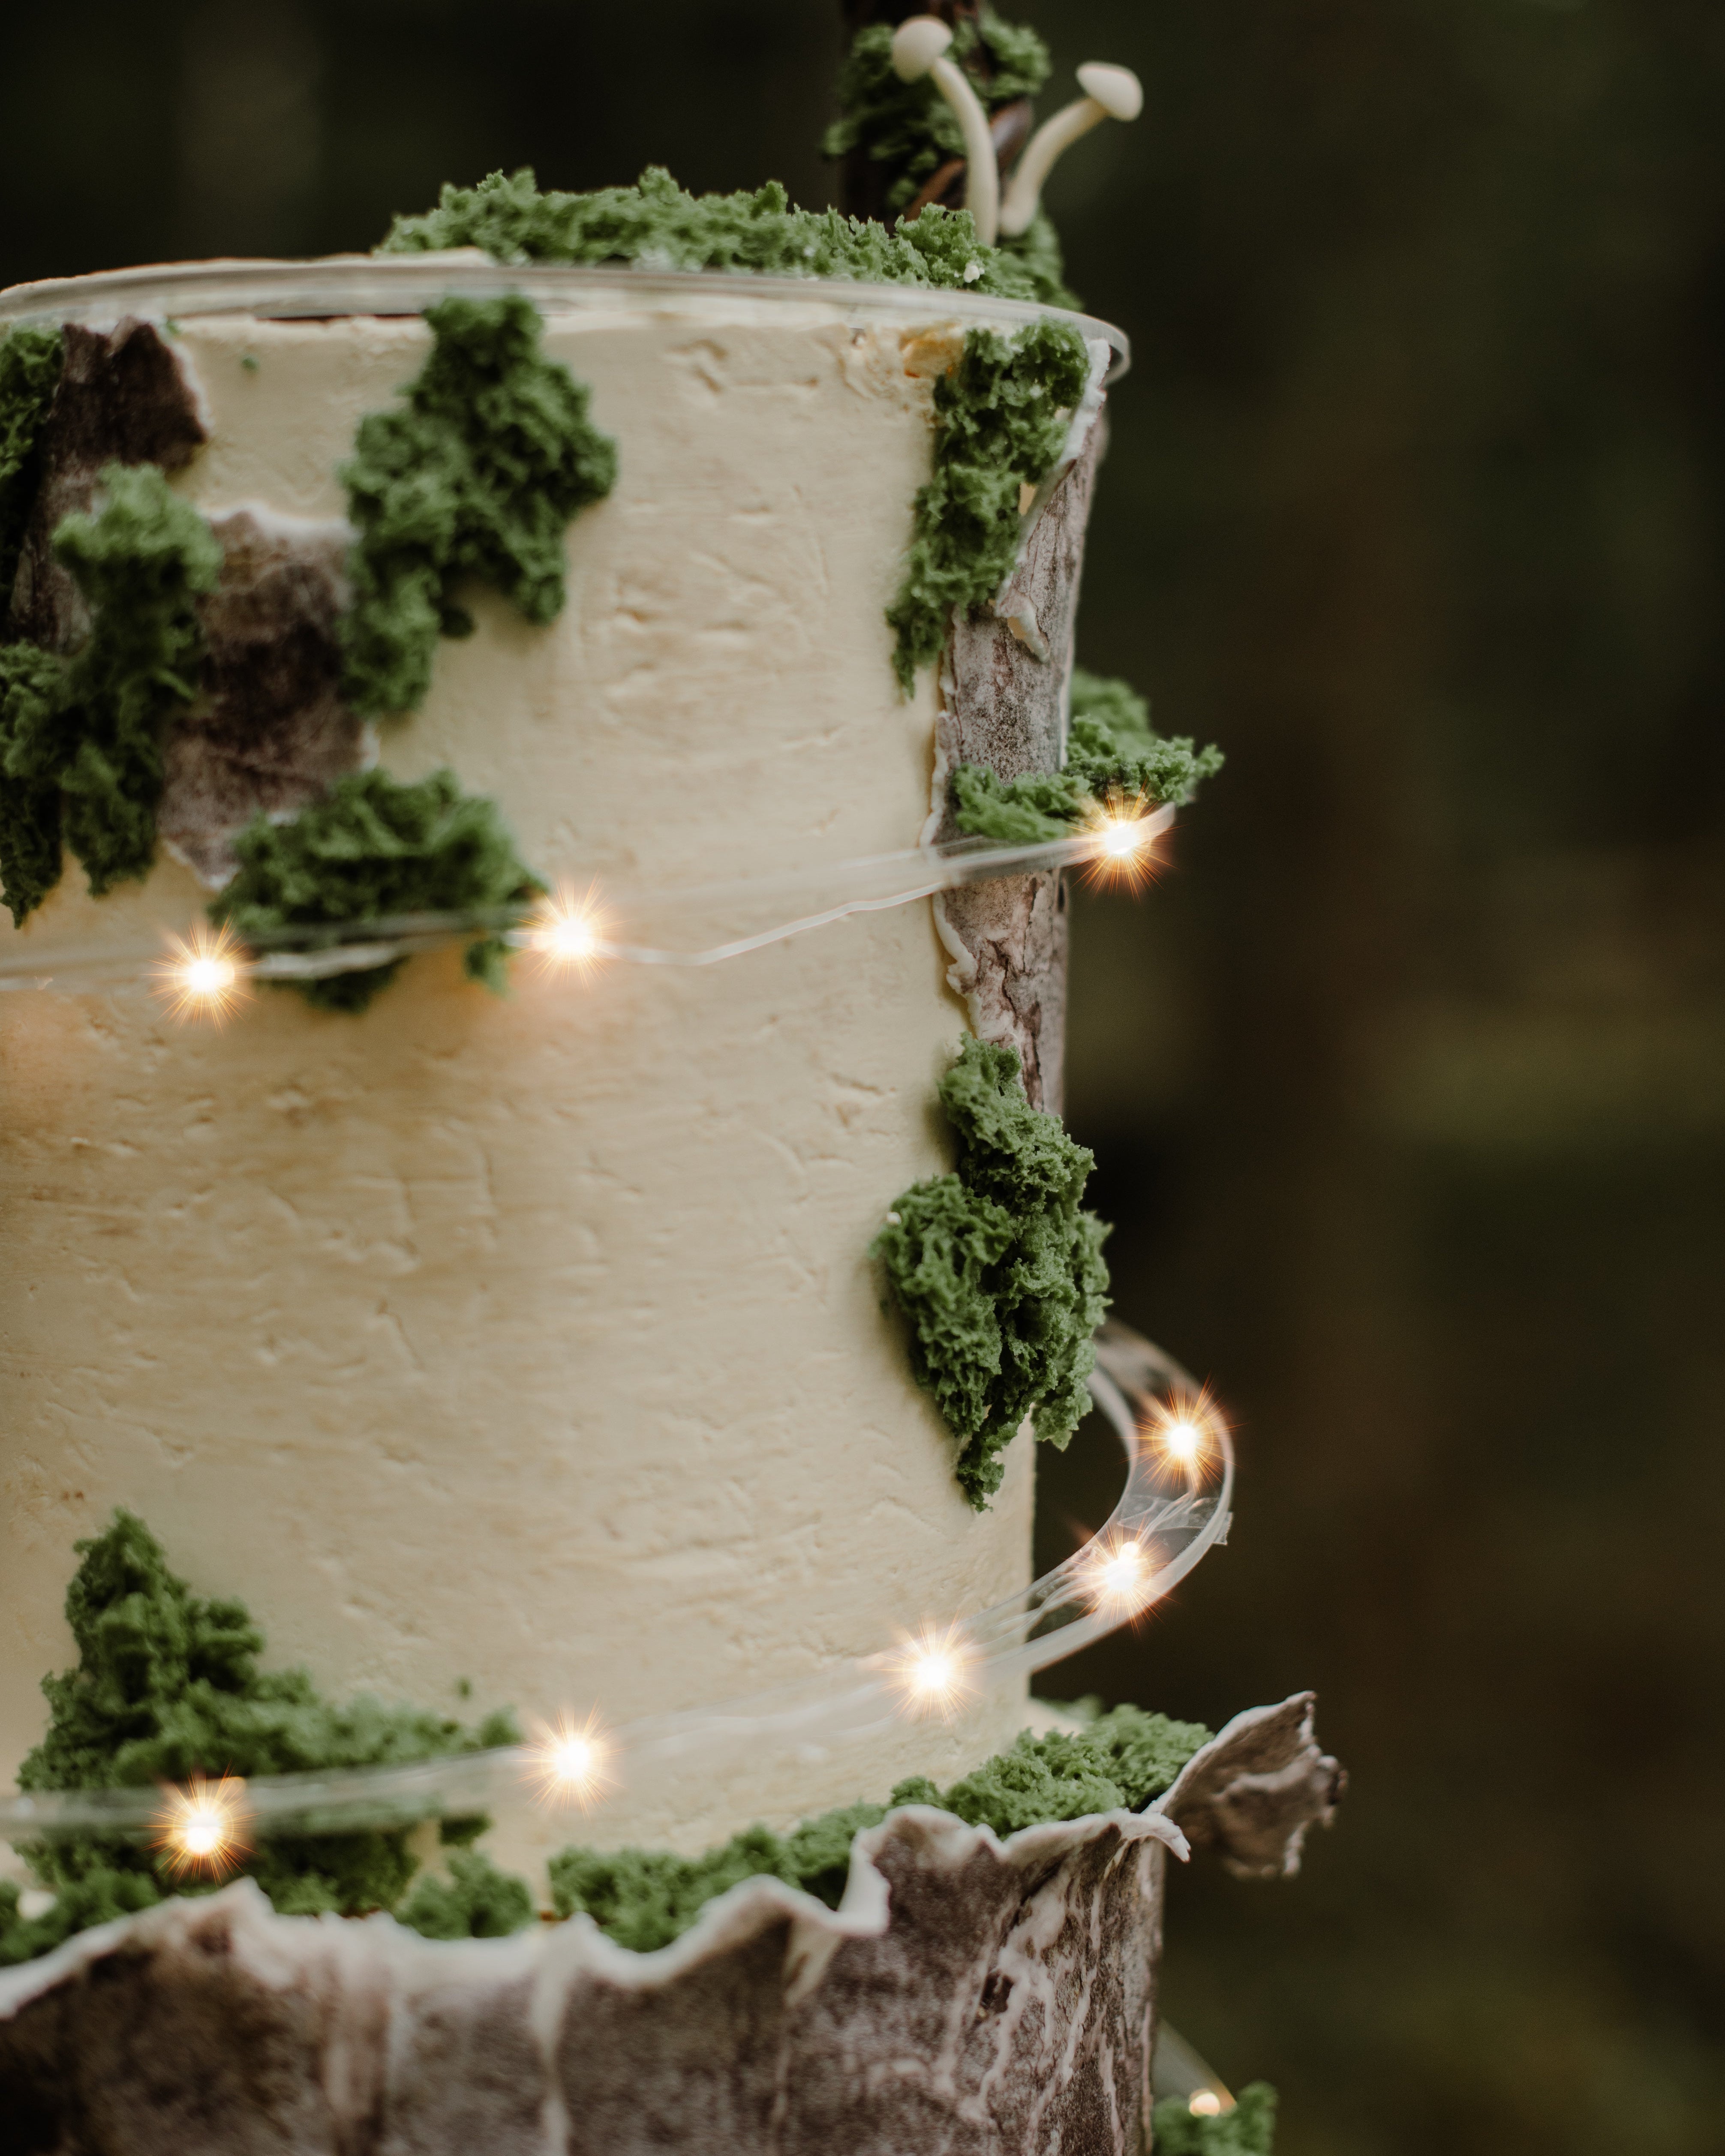
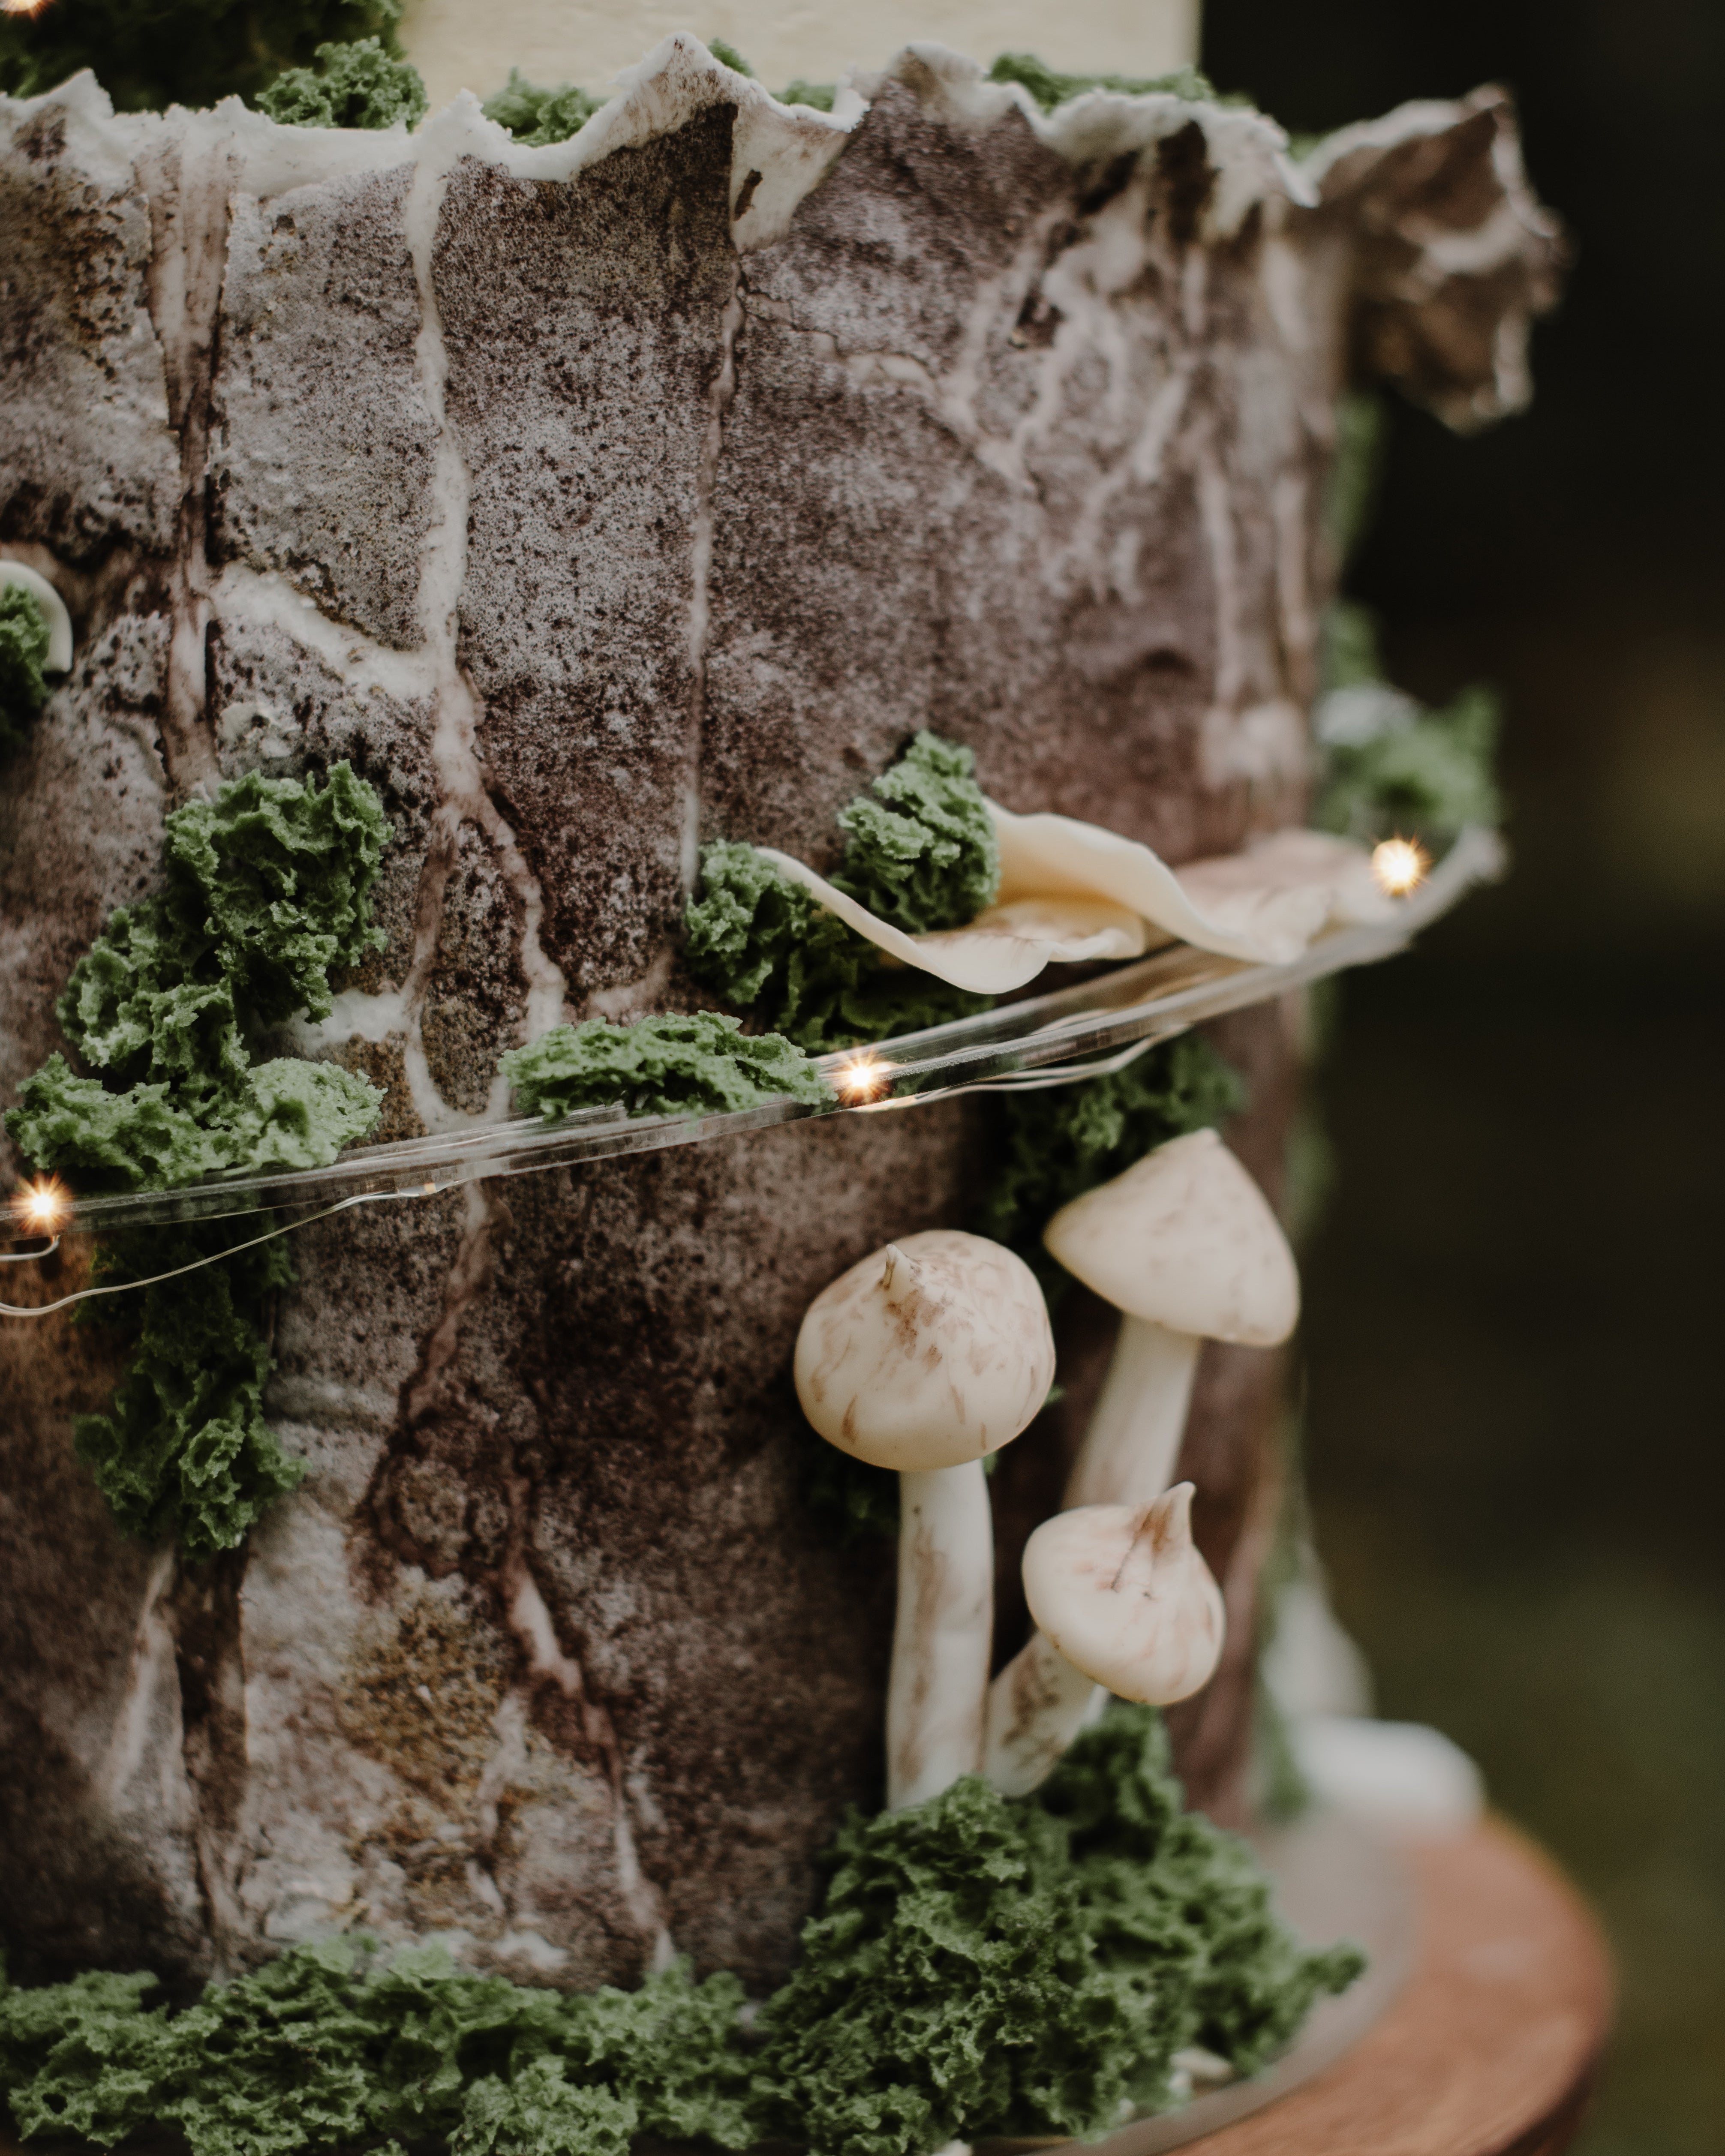
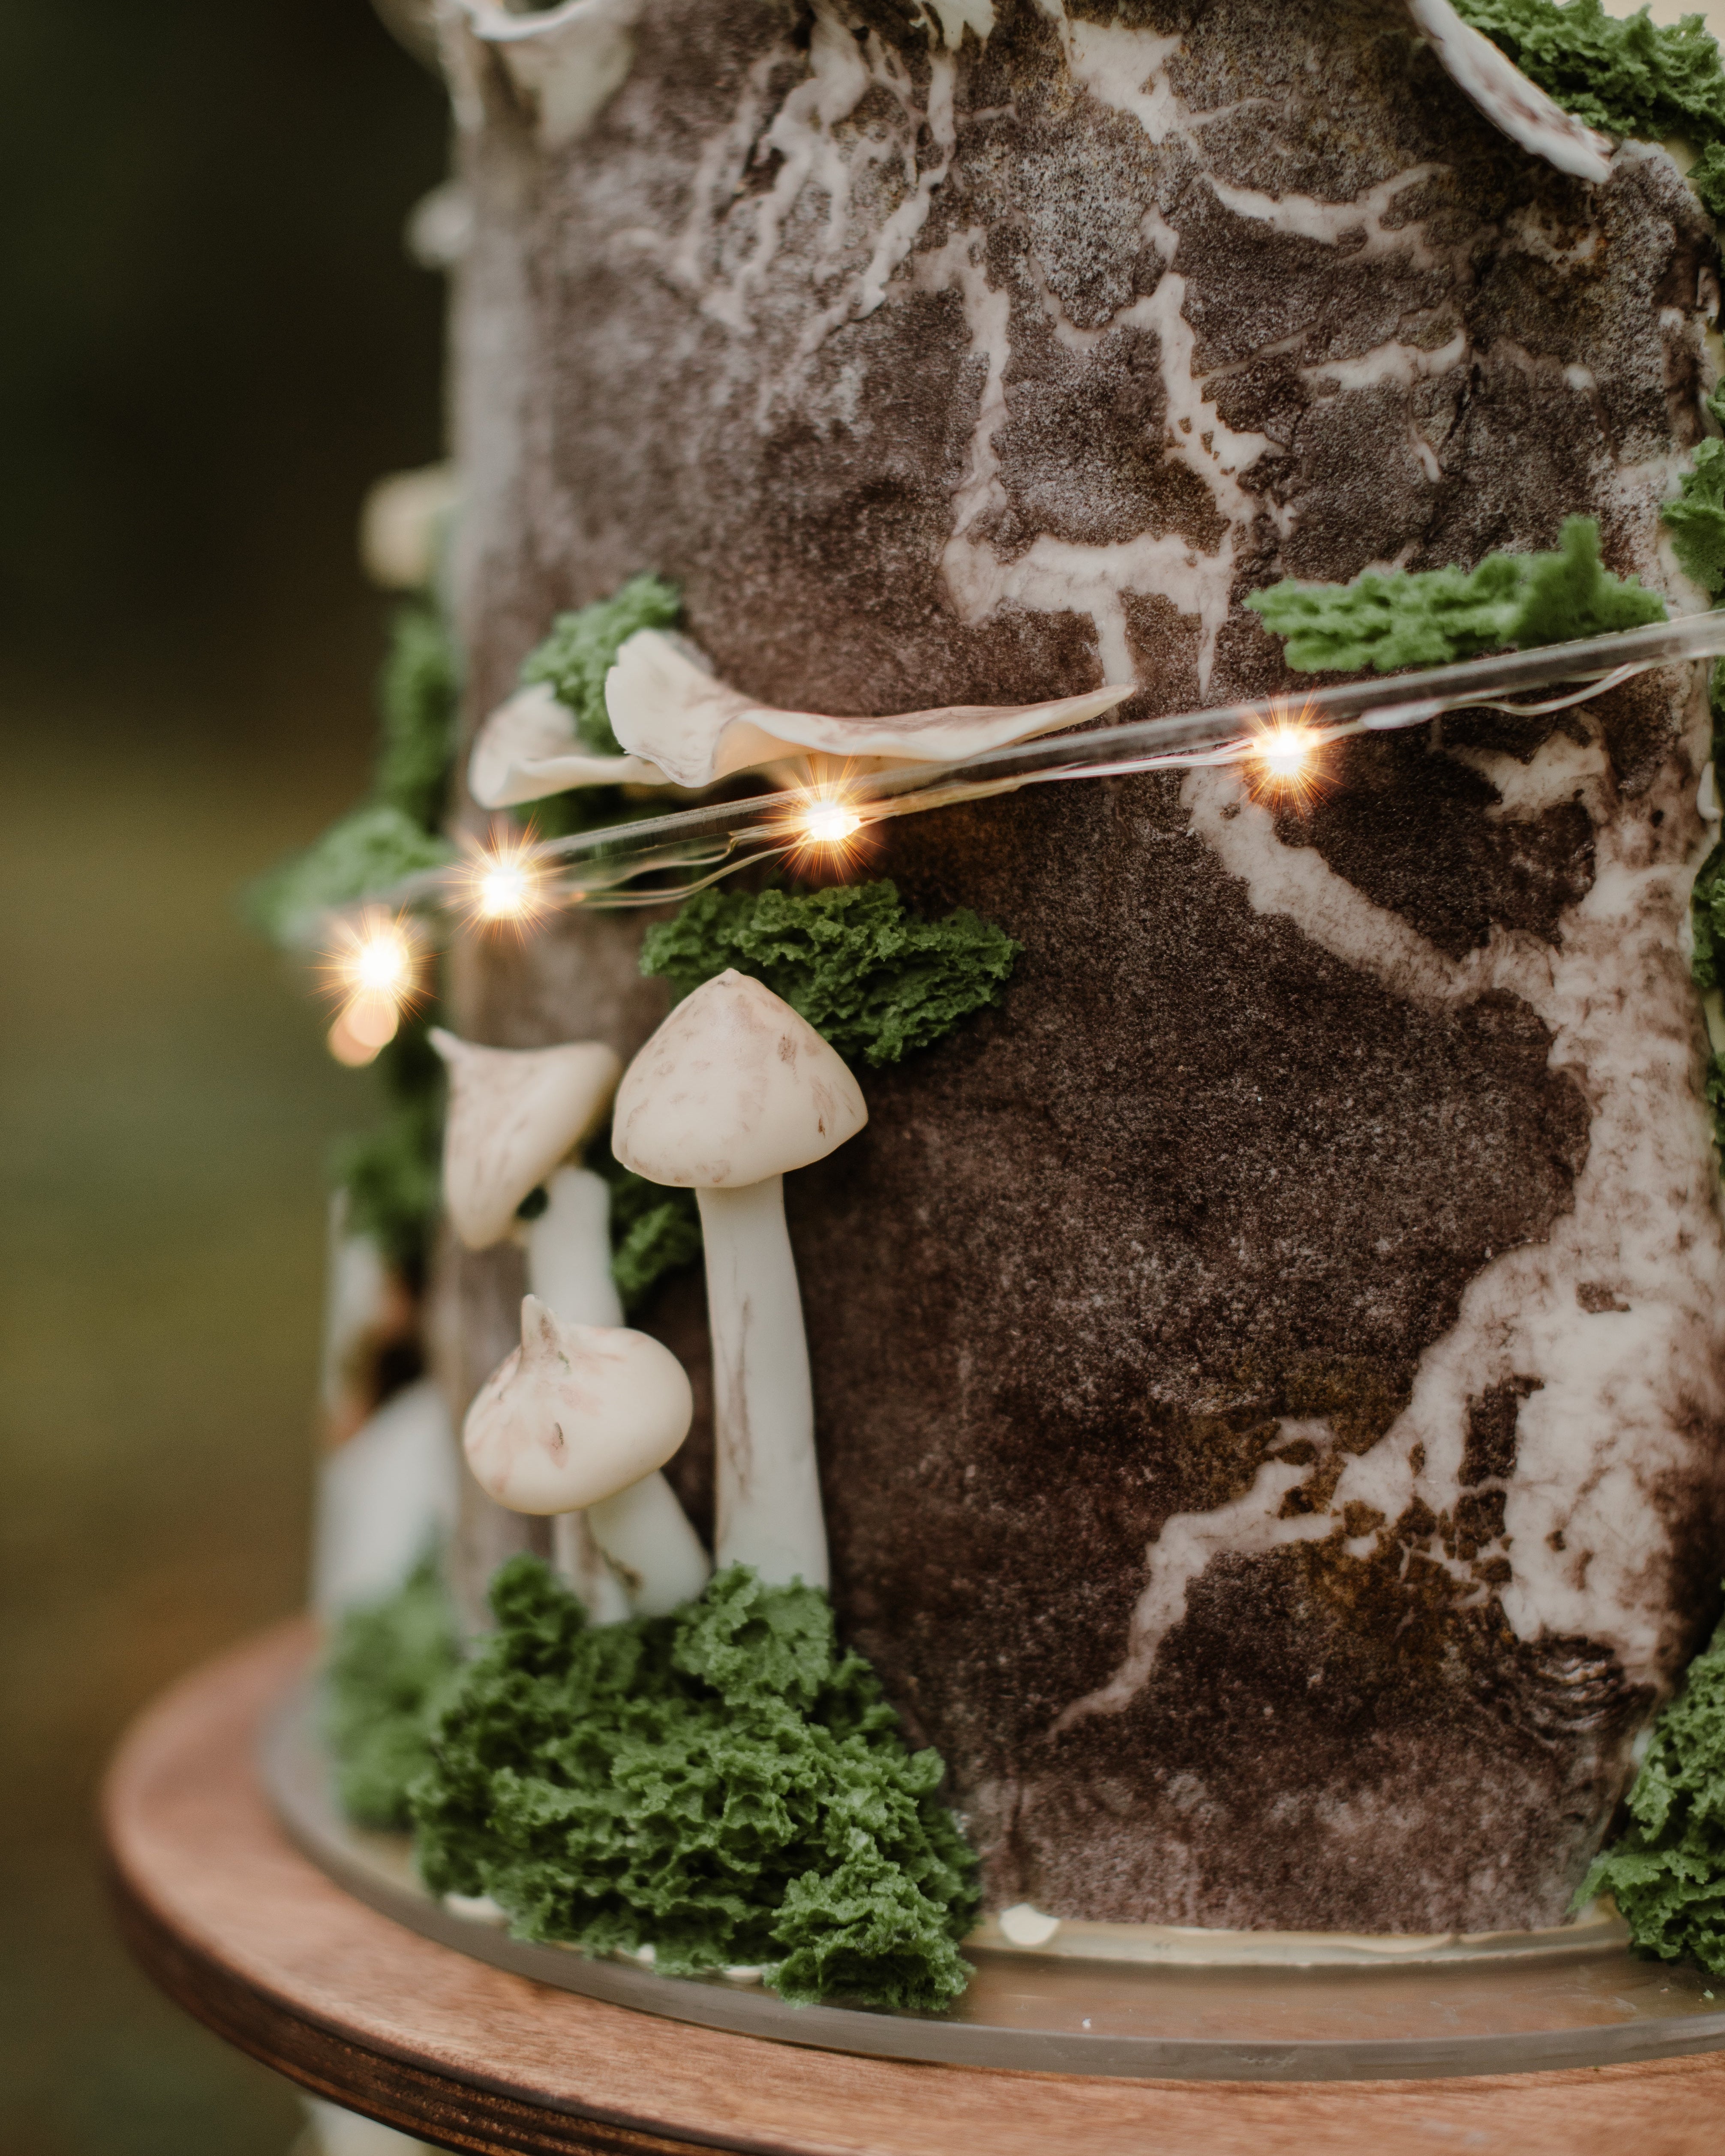
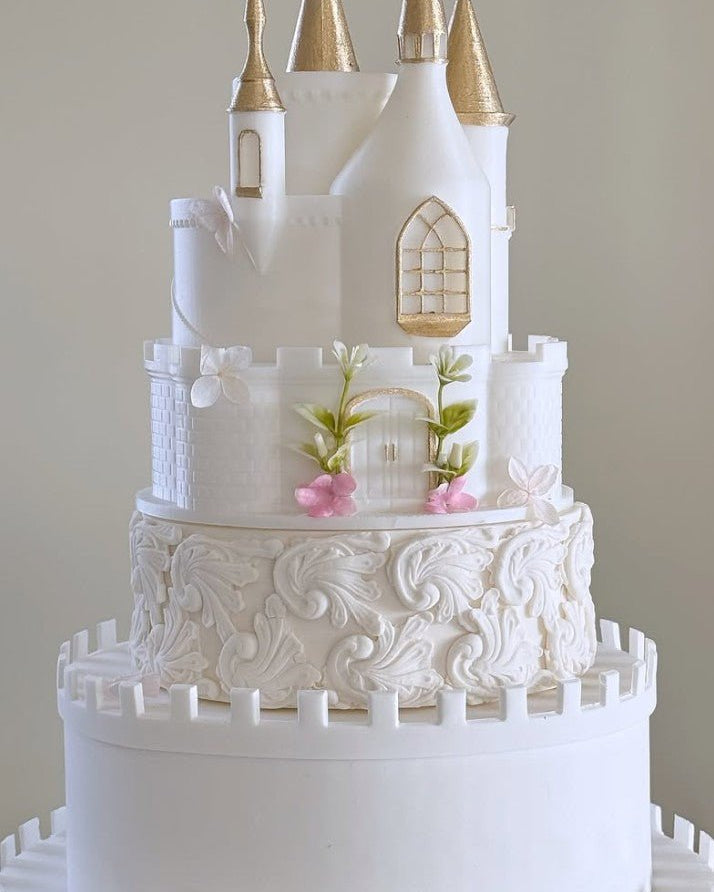
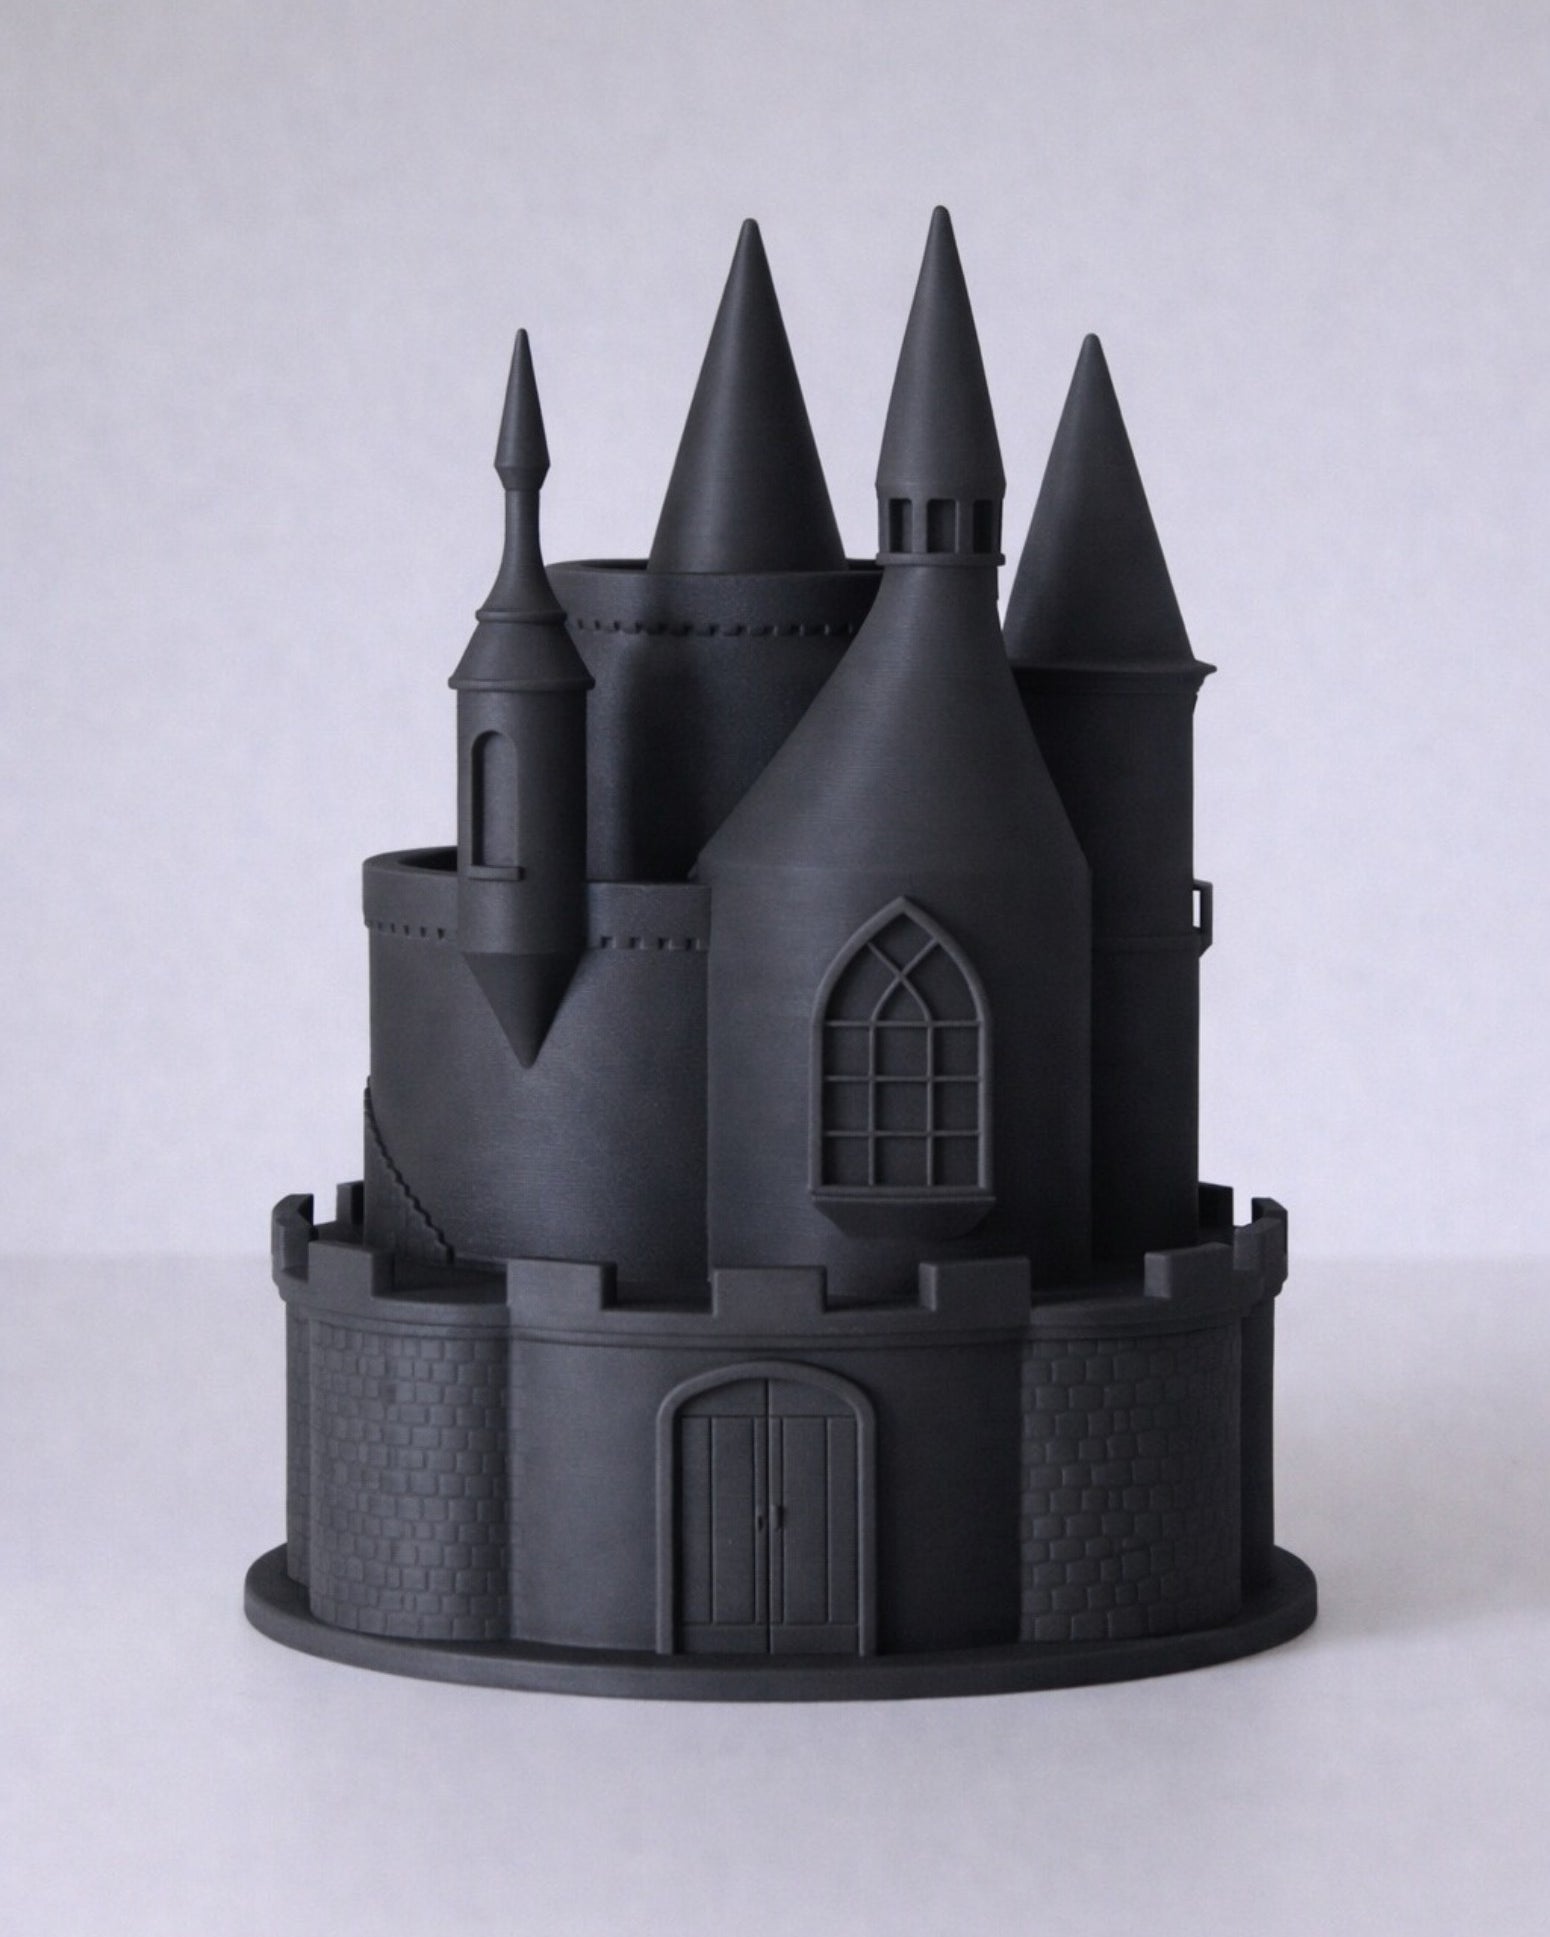
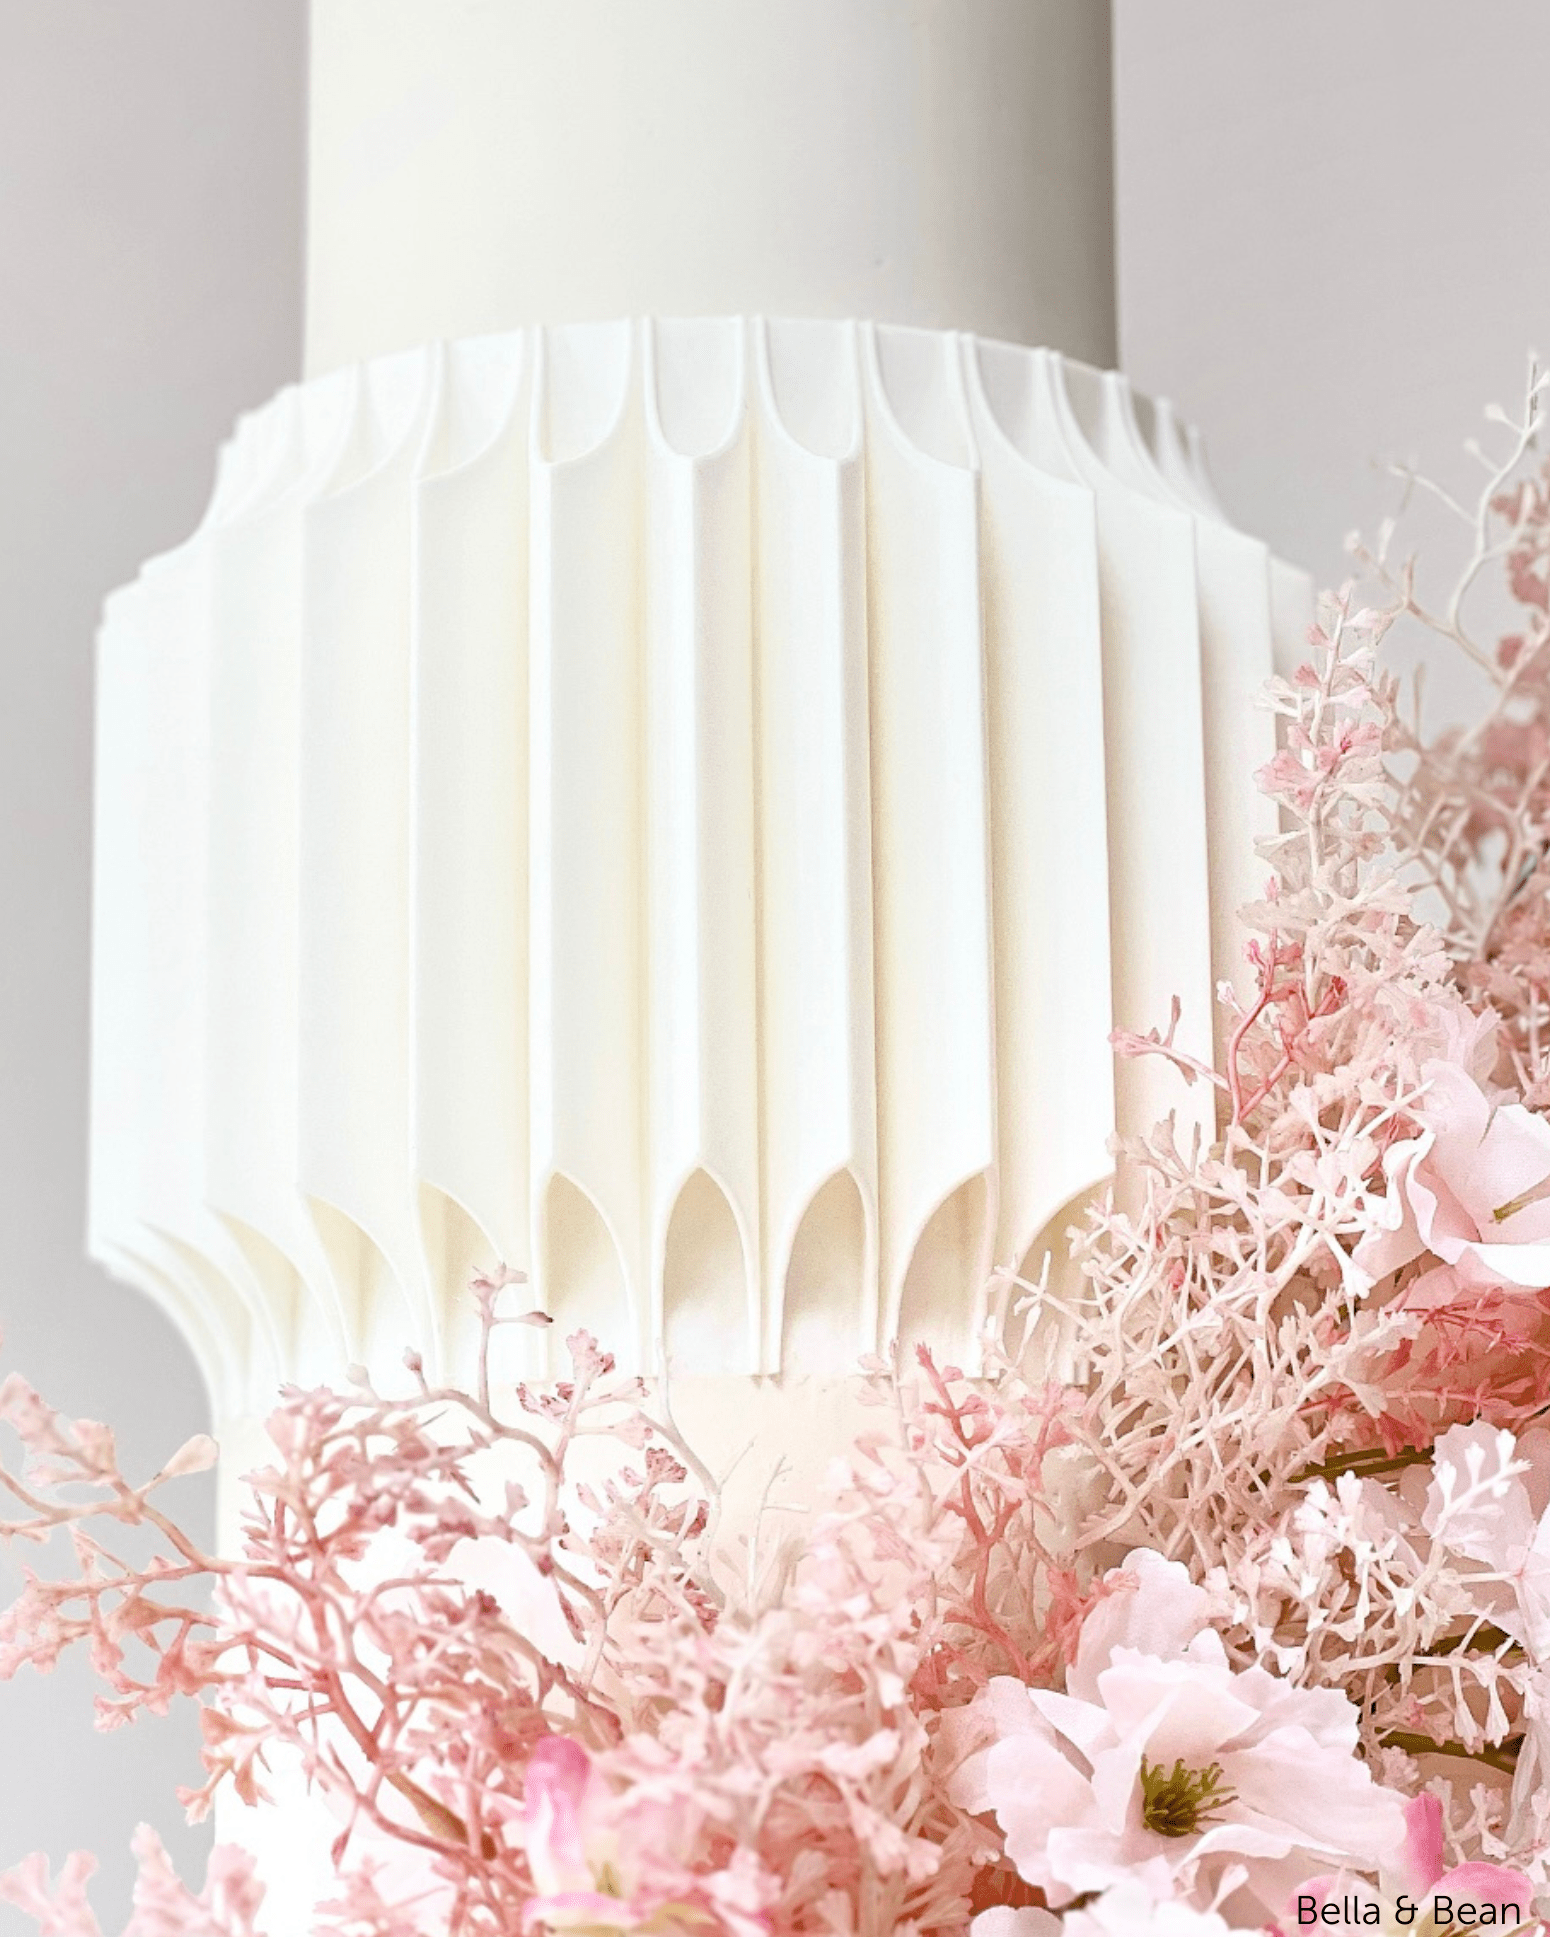
5. Focus on the detail
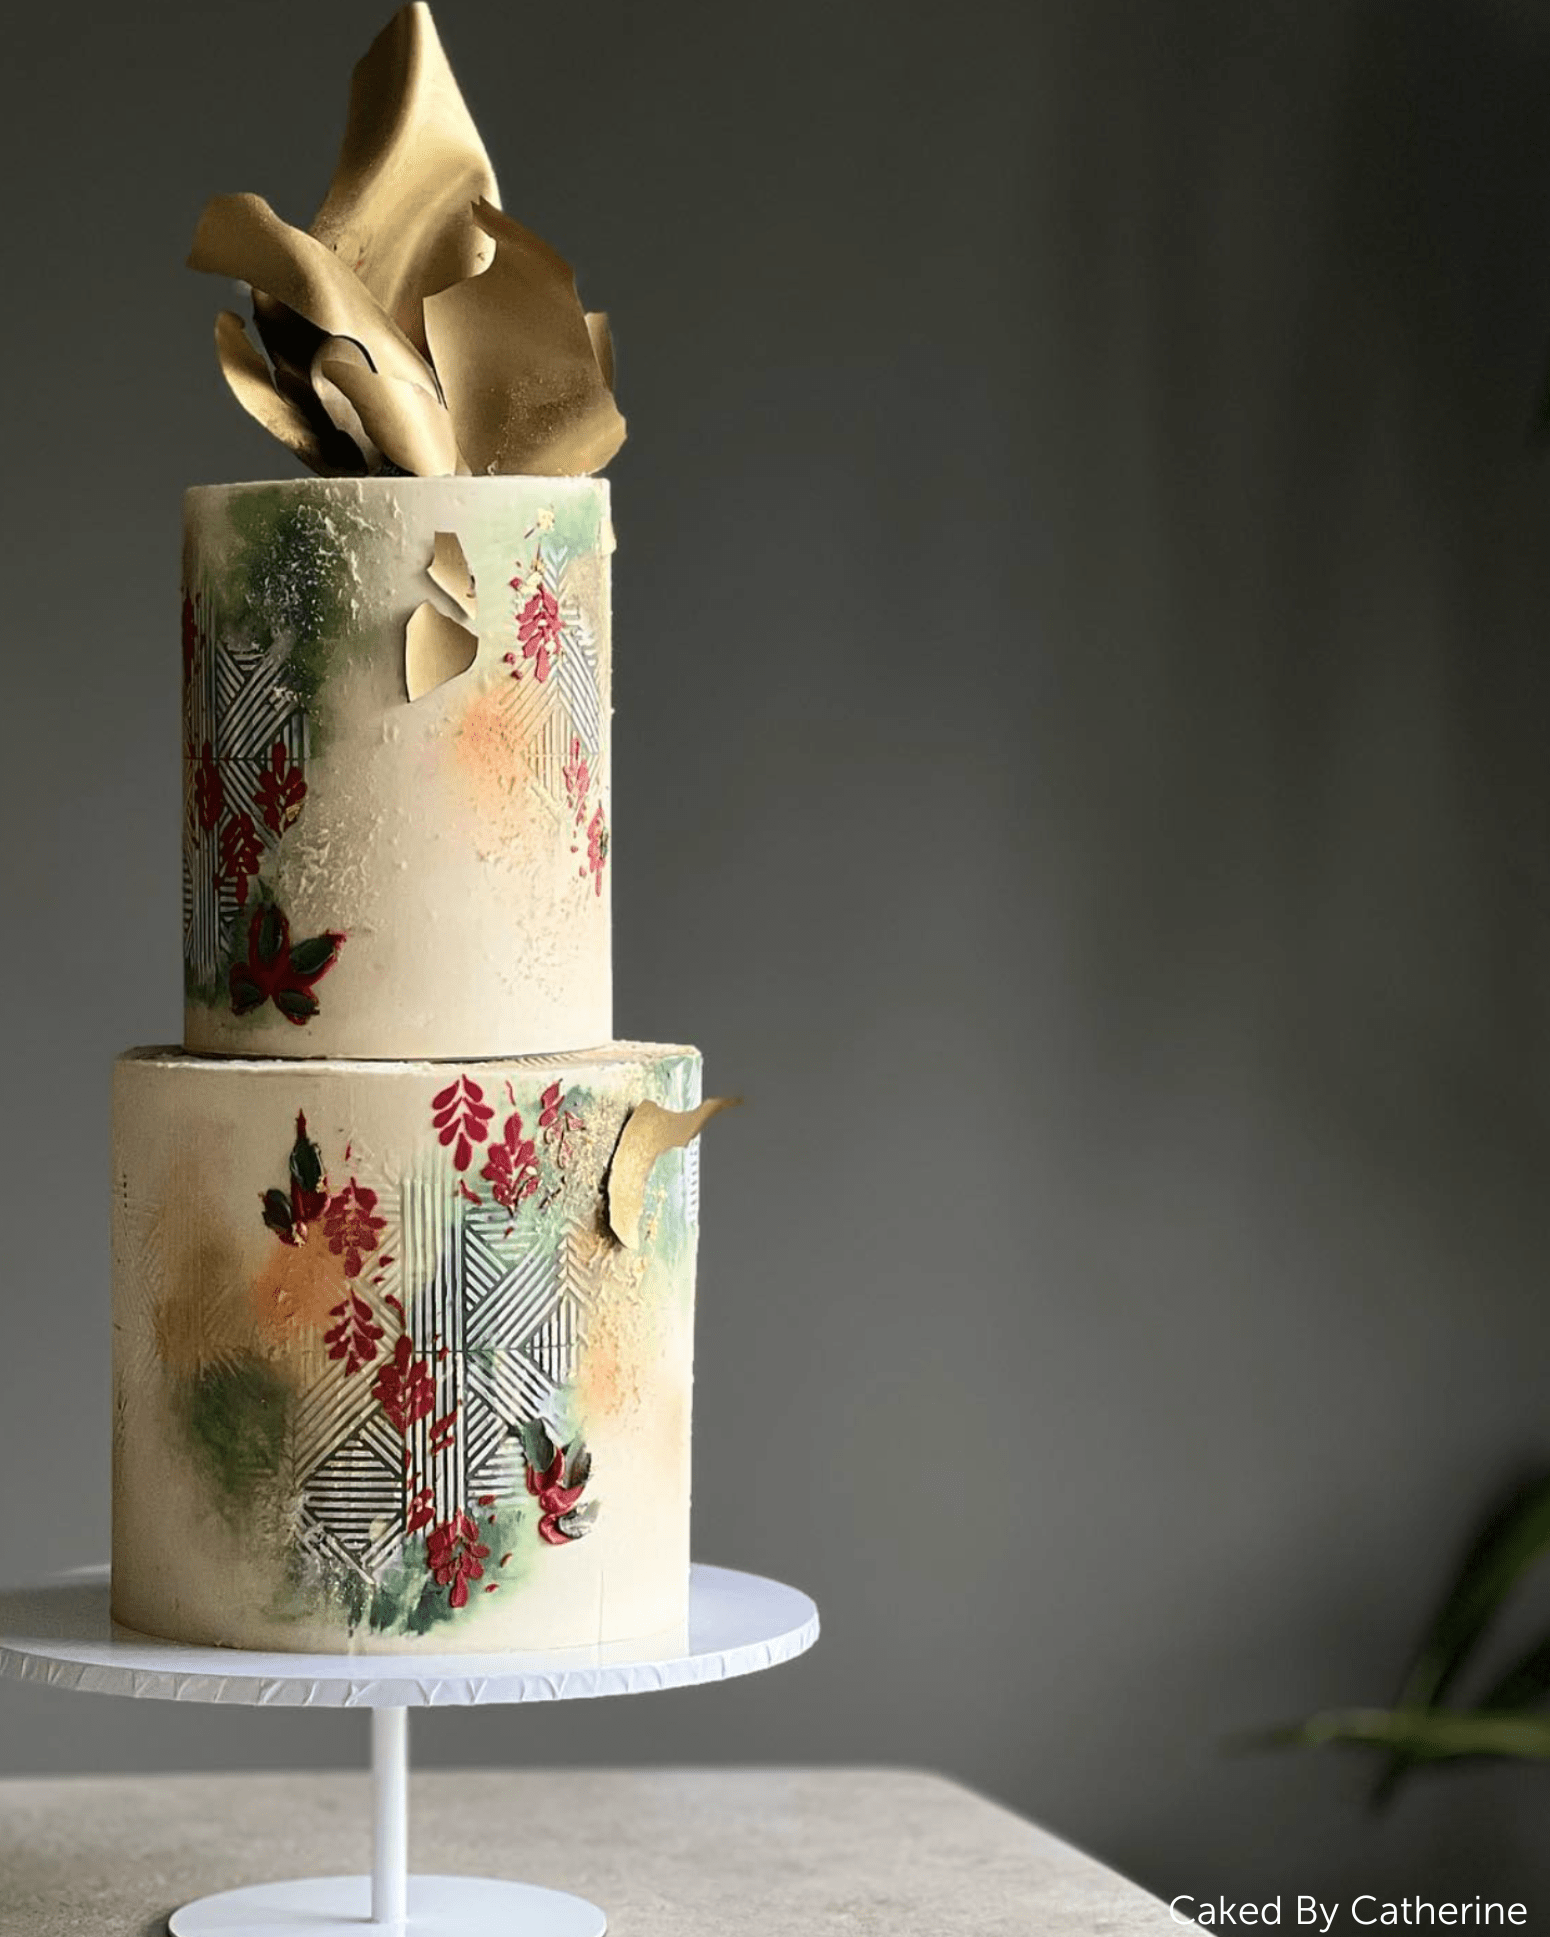
Cake decorating lives in the detail, so the photographs should too. Whether it is sugar flowers, a smooth buttercream finish or the texture of pressed fondant, move in close and capture it. A macro lens, or portrait mode on a smartphone, holds focus on the fine work while softening the background for a cleaner, more professional result. Move in on the piping, the edges, or a one-off topper. This is where the design reads as yours.
Photograph the detail the way you decorate it: deliberately, and close enough to see the hand behind it.
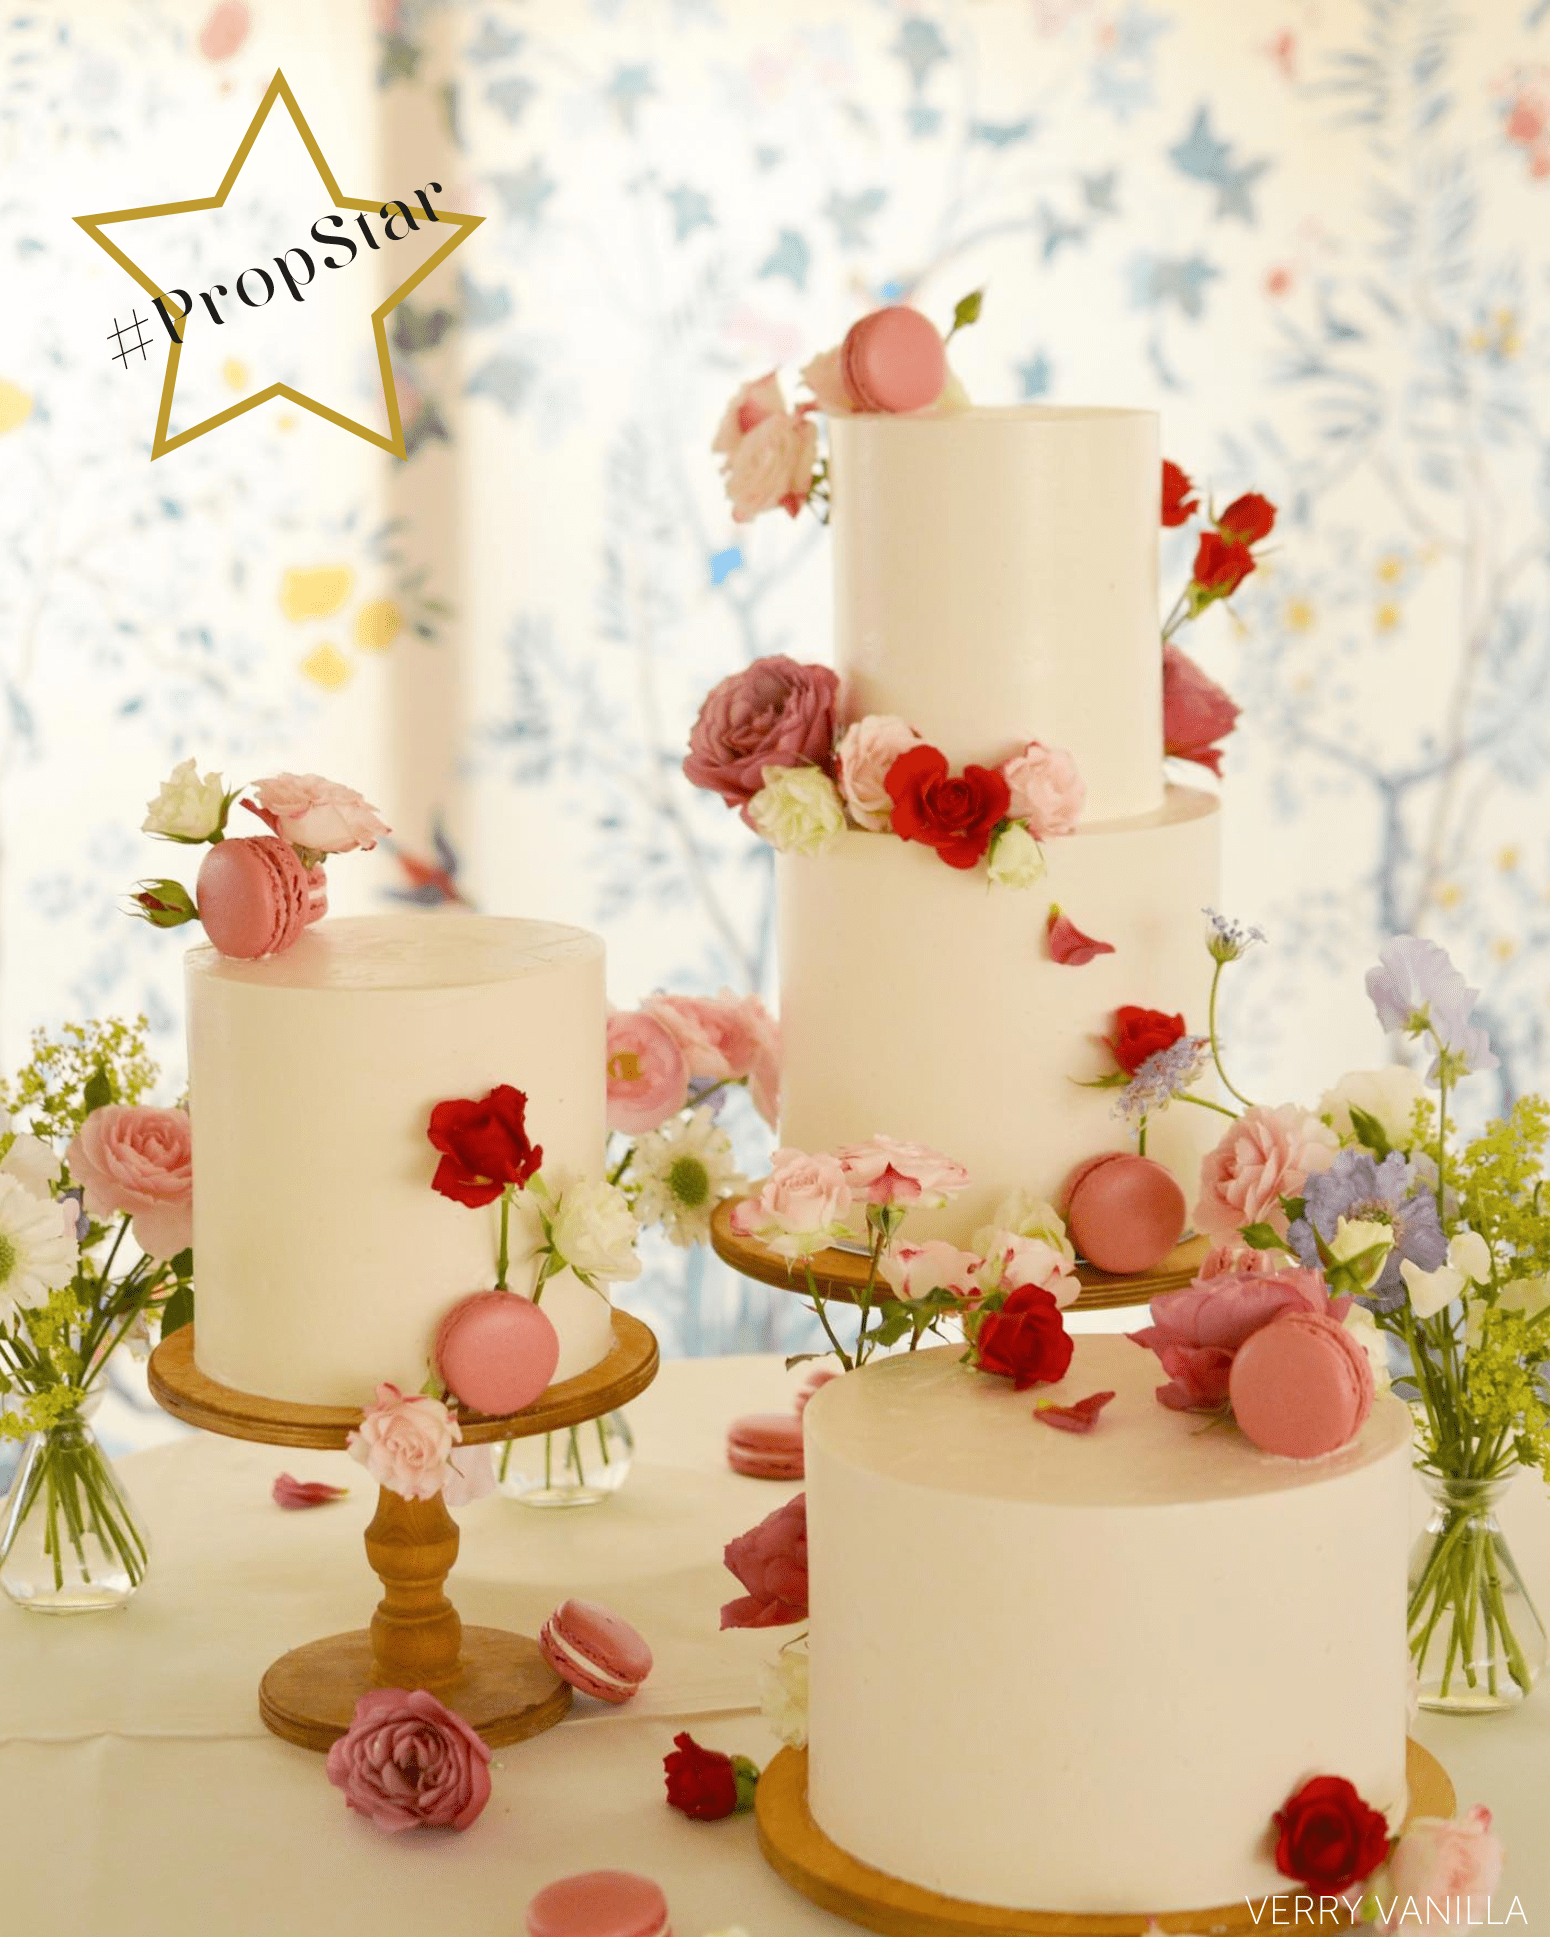
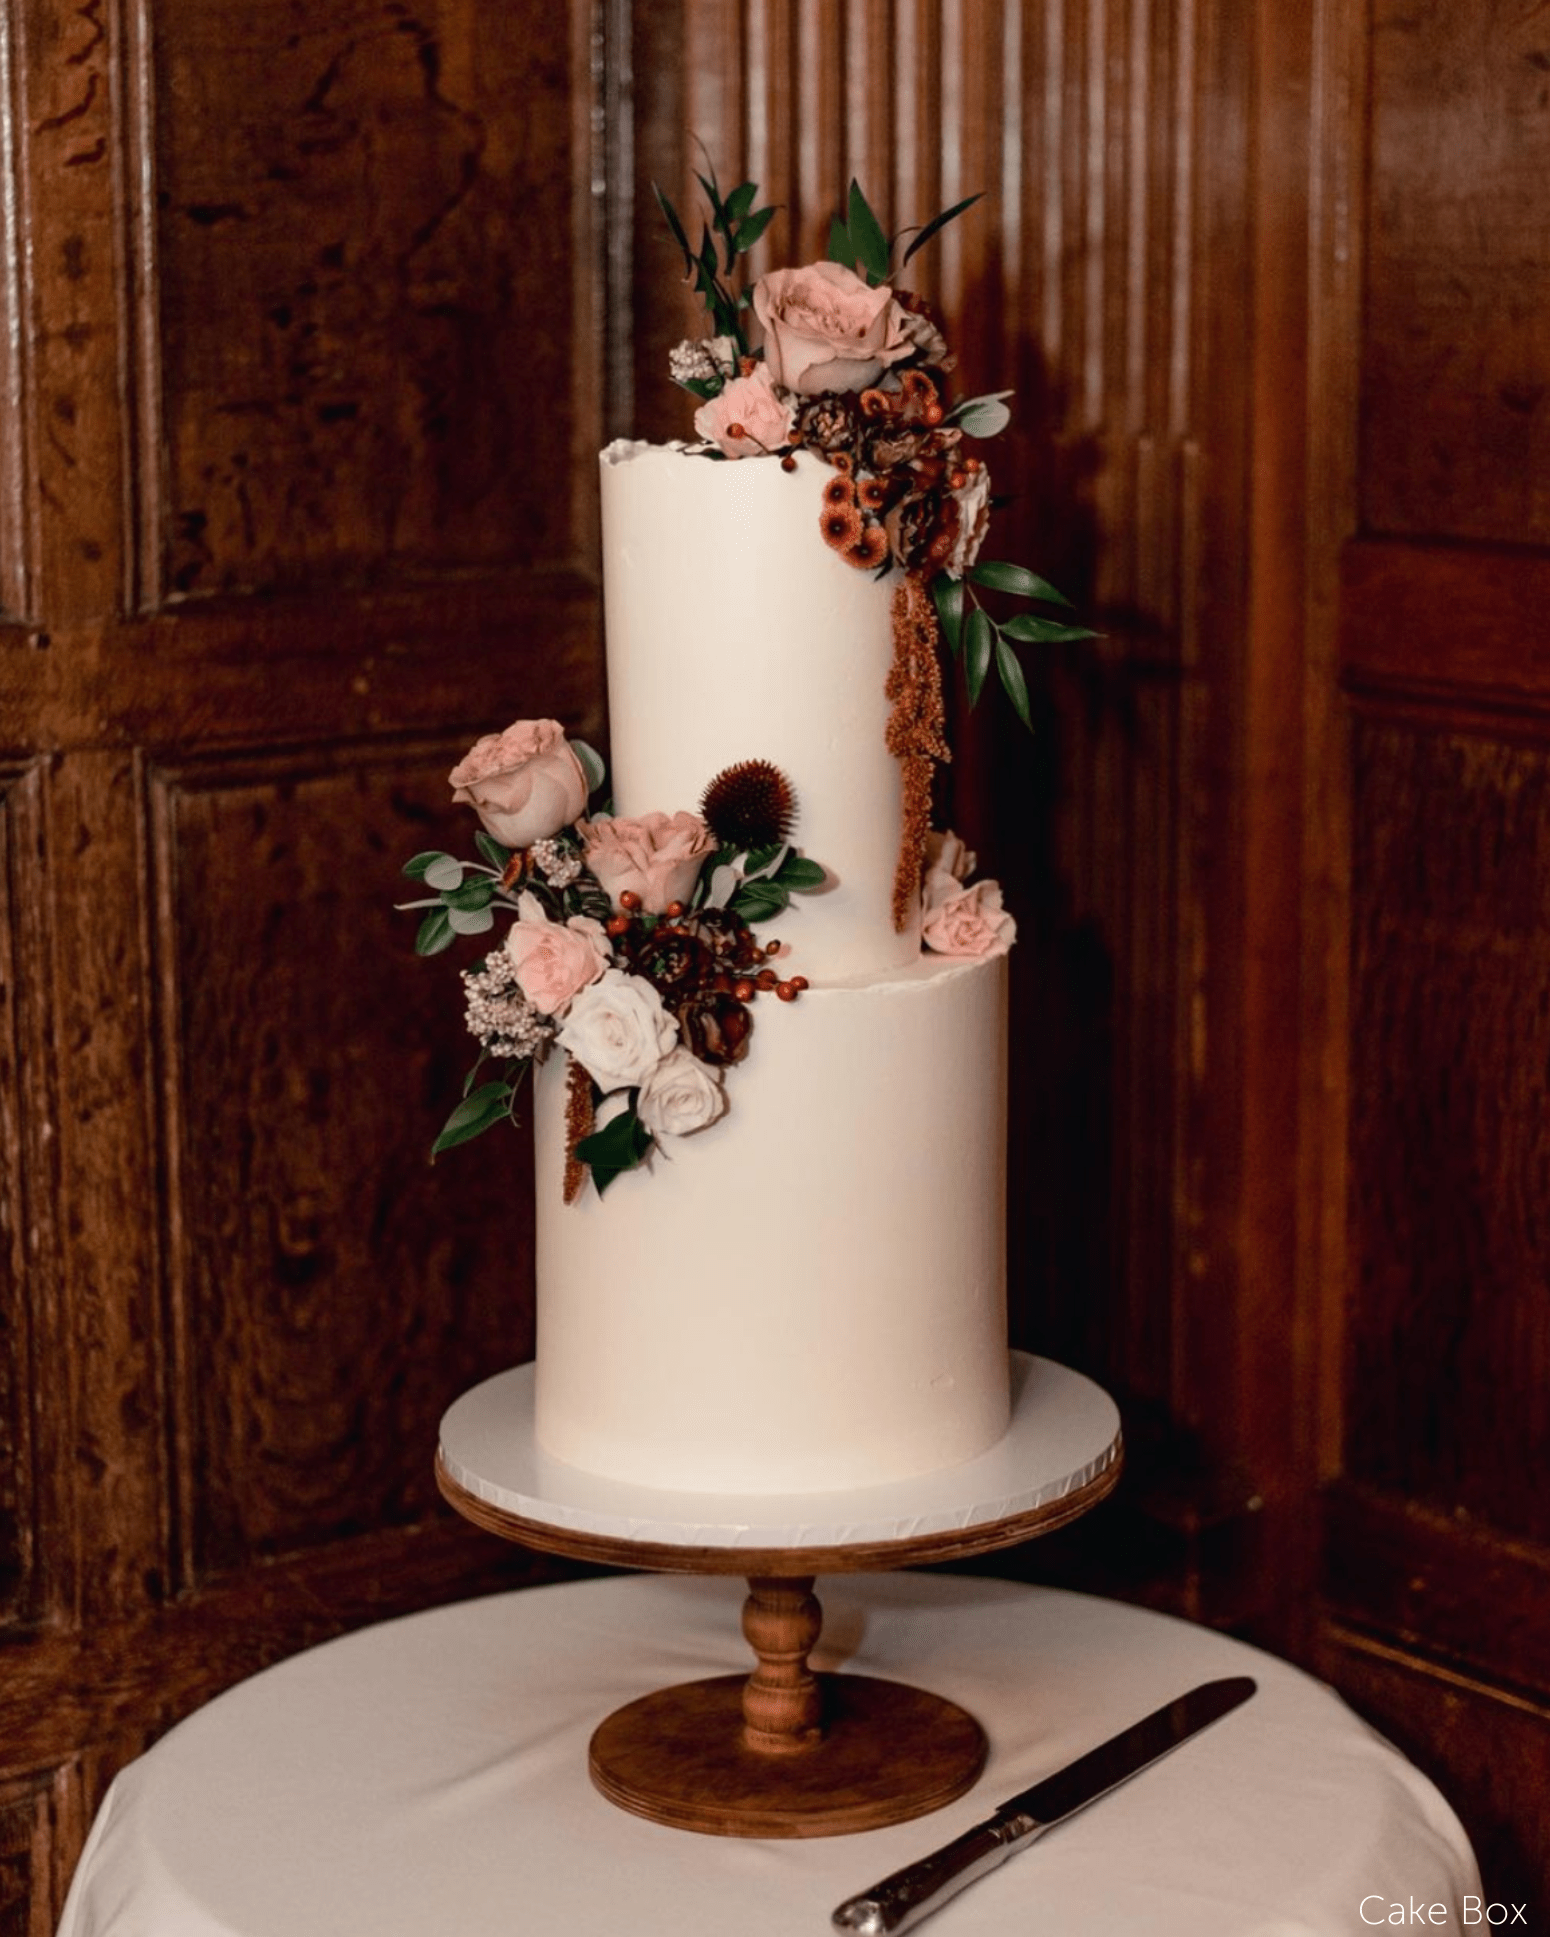
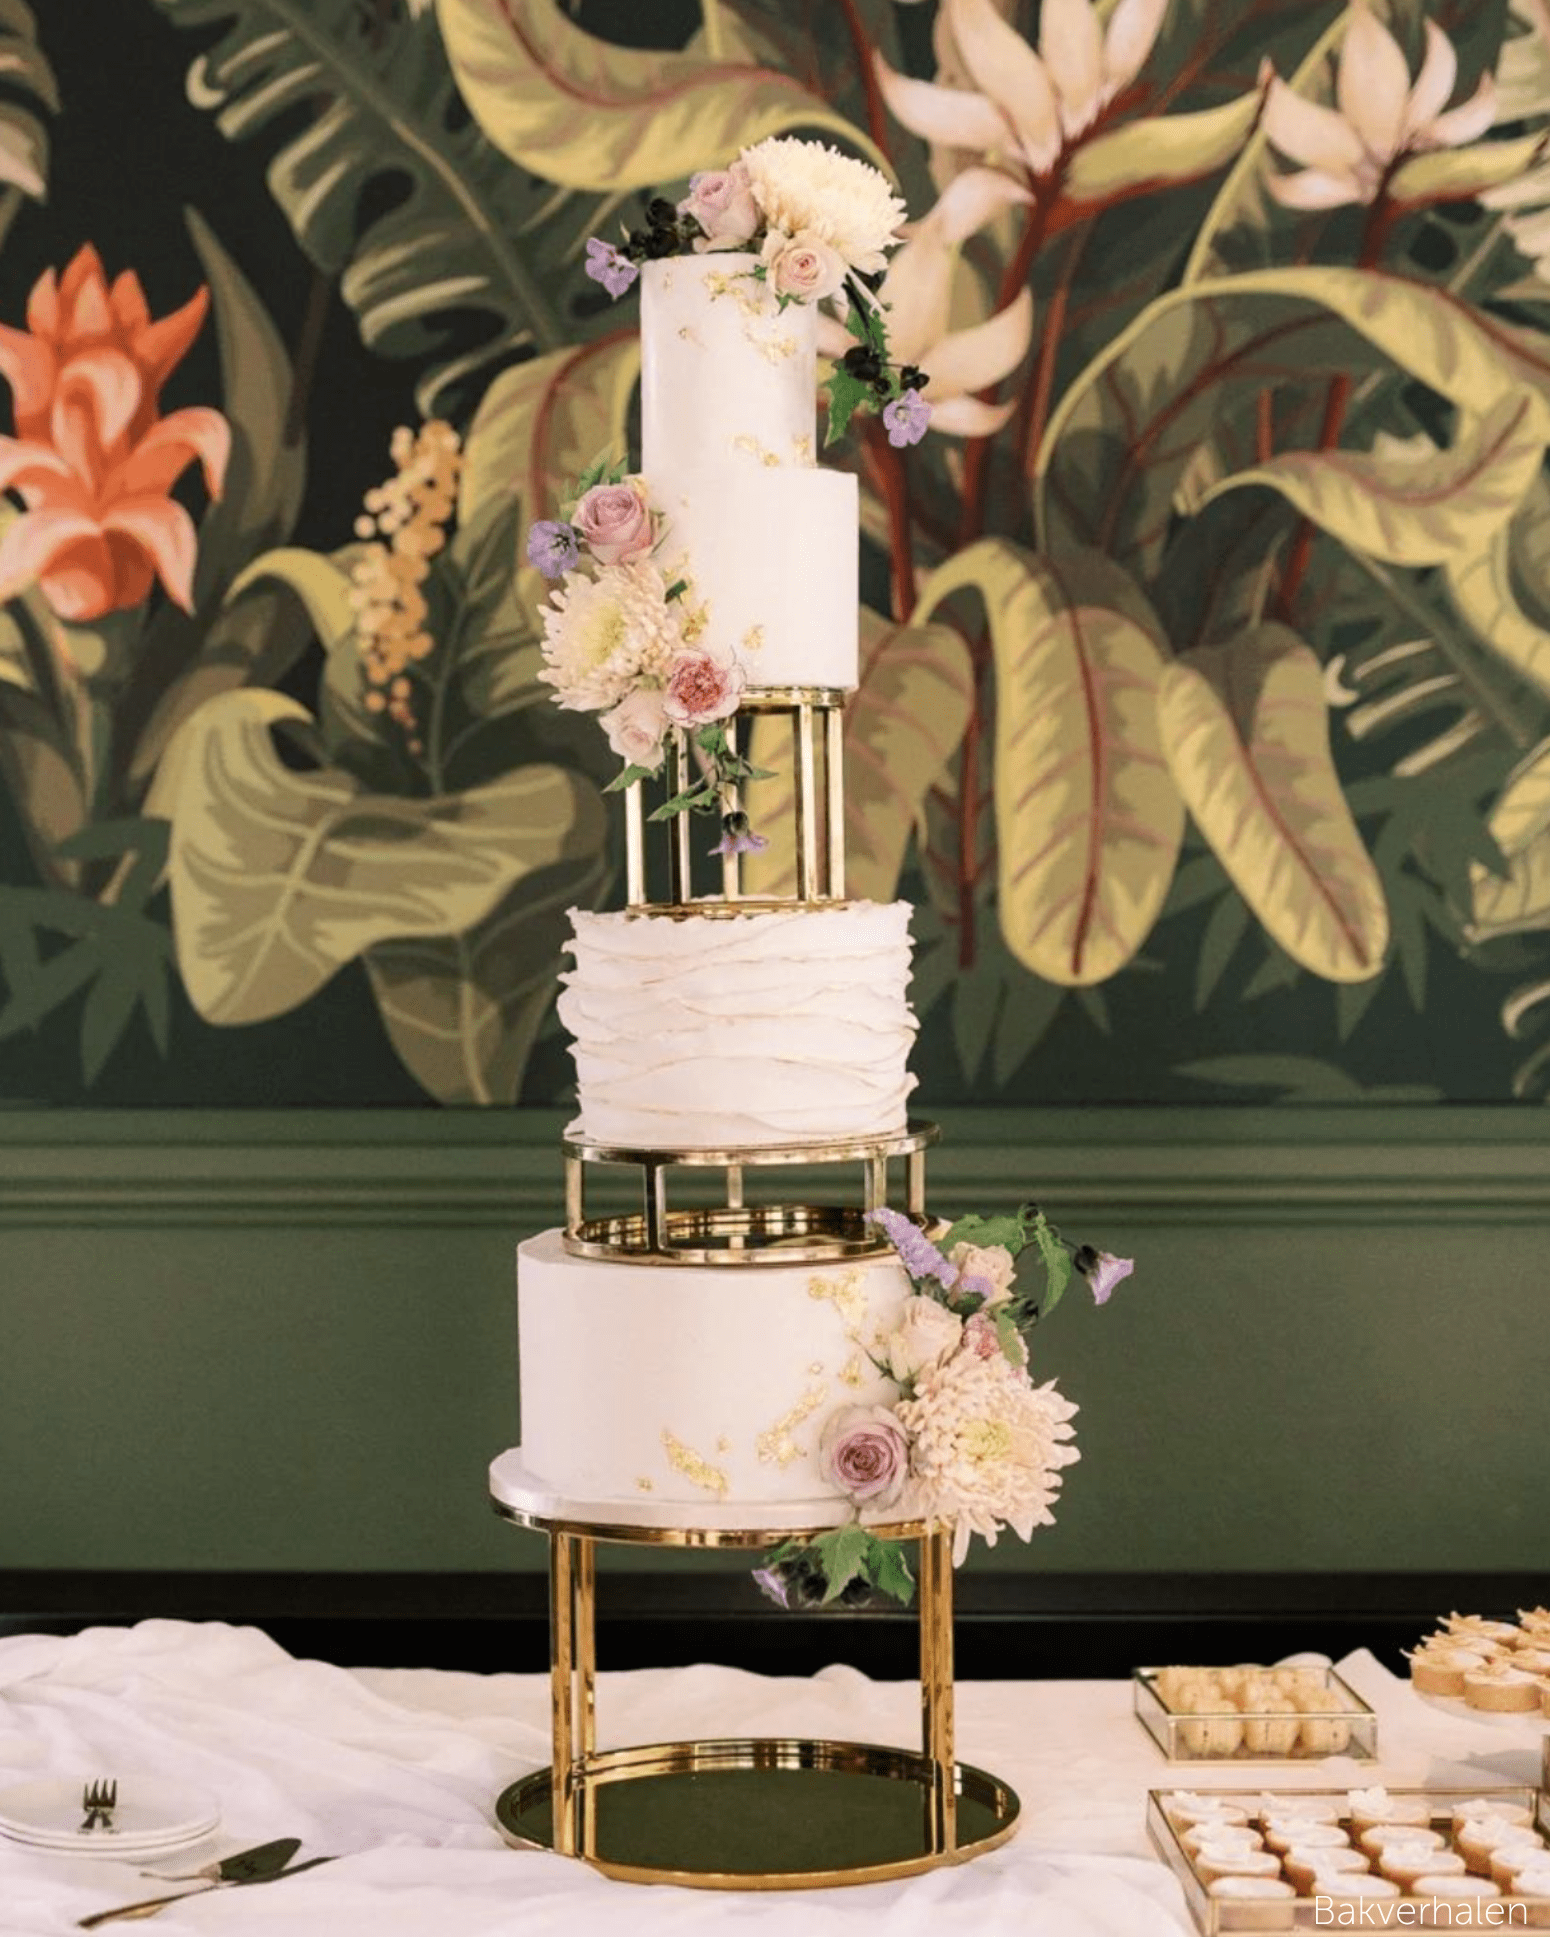
6. Compose with the rule of thirds
A little composition goes a long way. Picture the frame divided into nine equal parts by two horizontal and two vertical lines, then place the cake along one of those lines or on an intersection rather than dead centre. The result feels more balanced and more considered. Where you have room around the cake, let some negative space sit in the frame; it reads as clean and modern, and keeps the cake as the clear focal point.
7. Edit, but with a light hand
Editing should bring out the cake, not rebuild it. Small adjustments to brightness, contrast and sharpness make a cake look fresher and more appetising. Keep the colours true to life and avoid heavy filters that make the finish look unnatural. On a phone, apps such as Snapseed or Lightroom Mobile give you precise control without much effort. The goal is simple: the cake should look as good on screen as it tasted in the room.
Bringing it together
With these steps in hand you can photograph your cakes in a way that does justice to the work and brings in the next enquiry. You do not need a professional camera, only a little planning, a considered setup and some practice. Set the cake on the right stand, find the light, and start shooting; your next design deserves to be seen at its best.
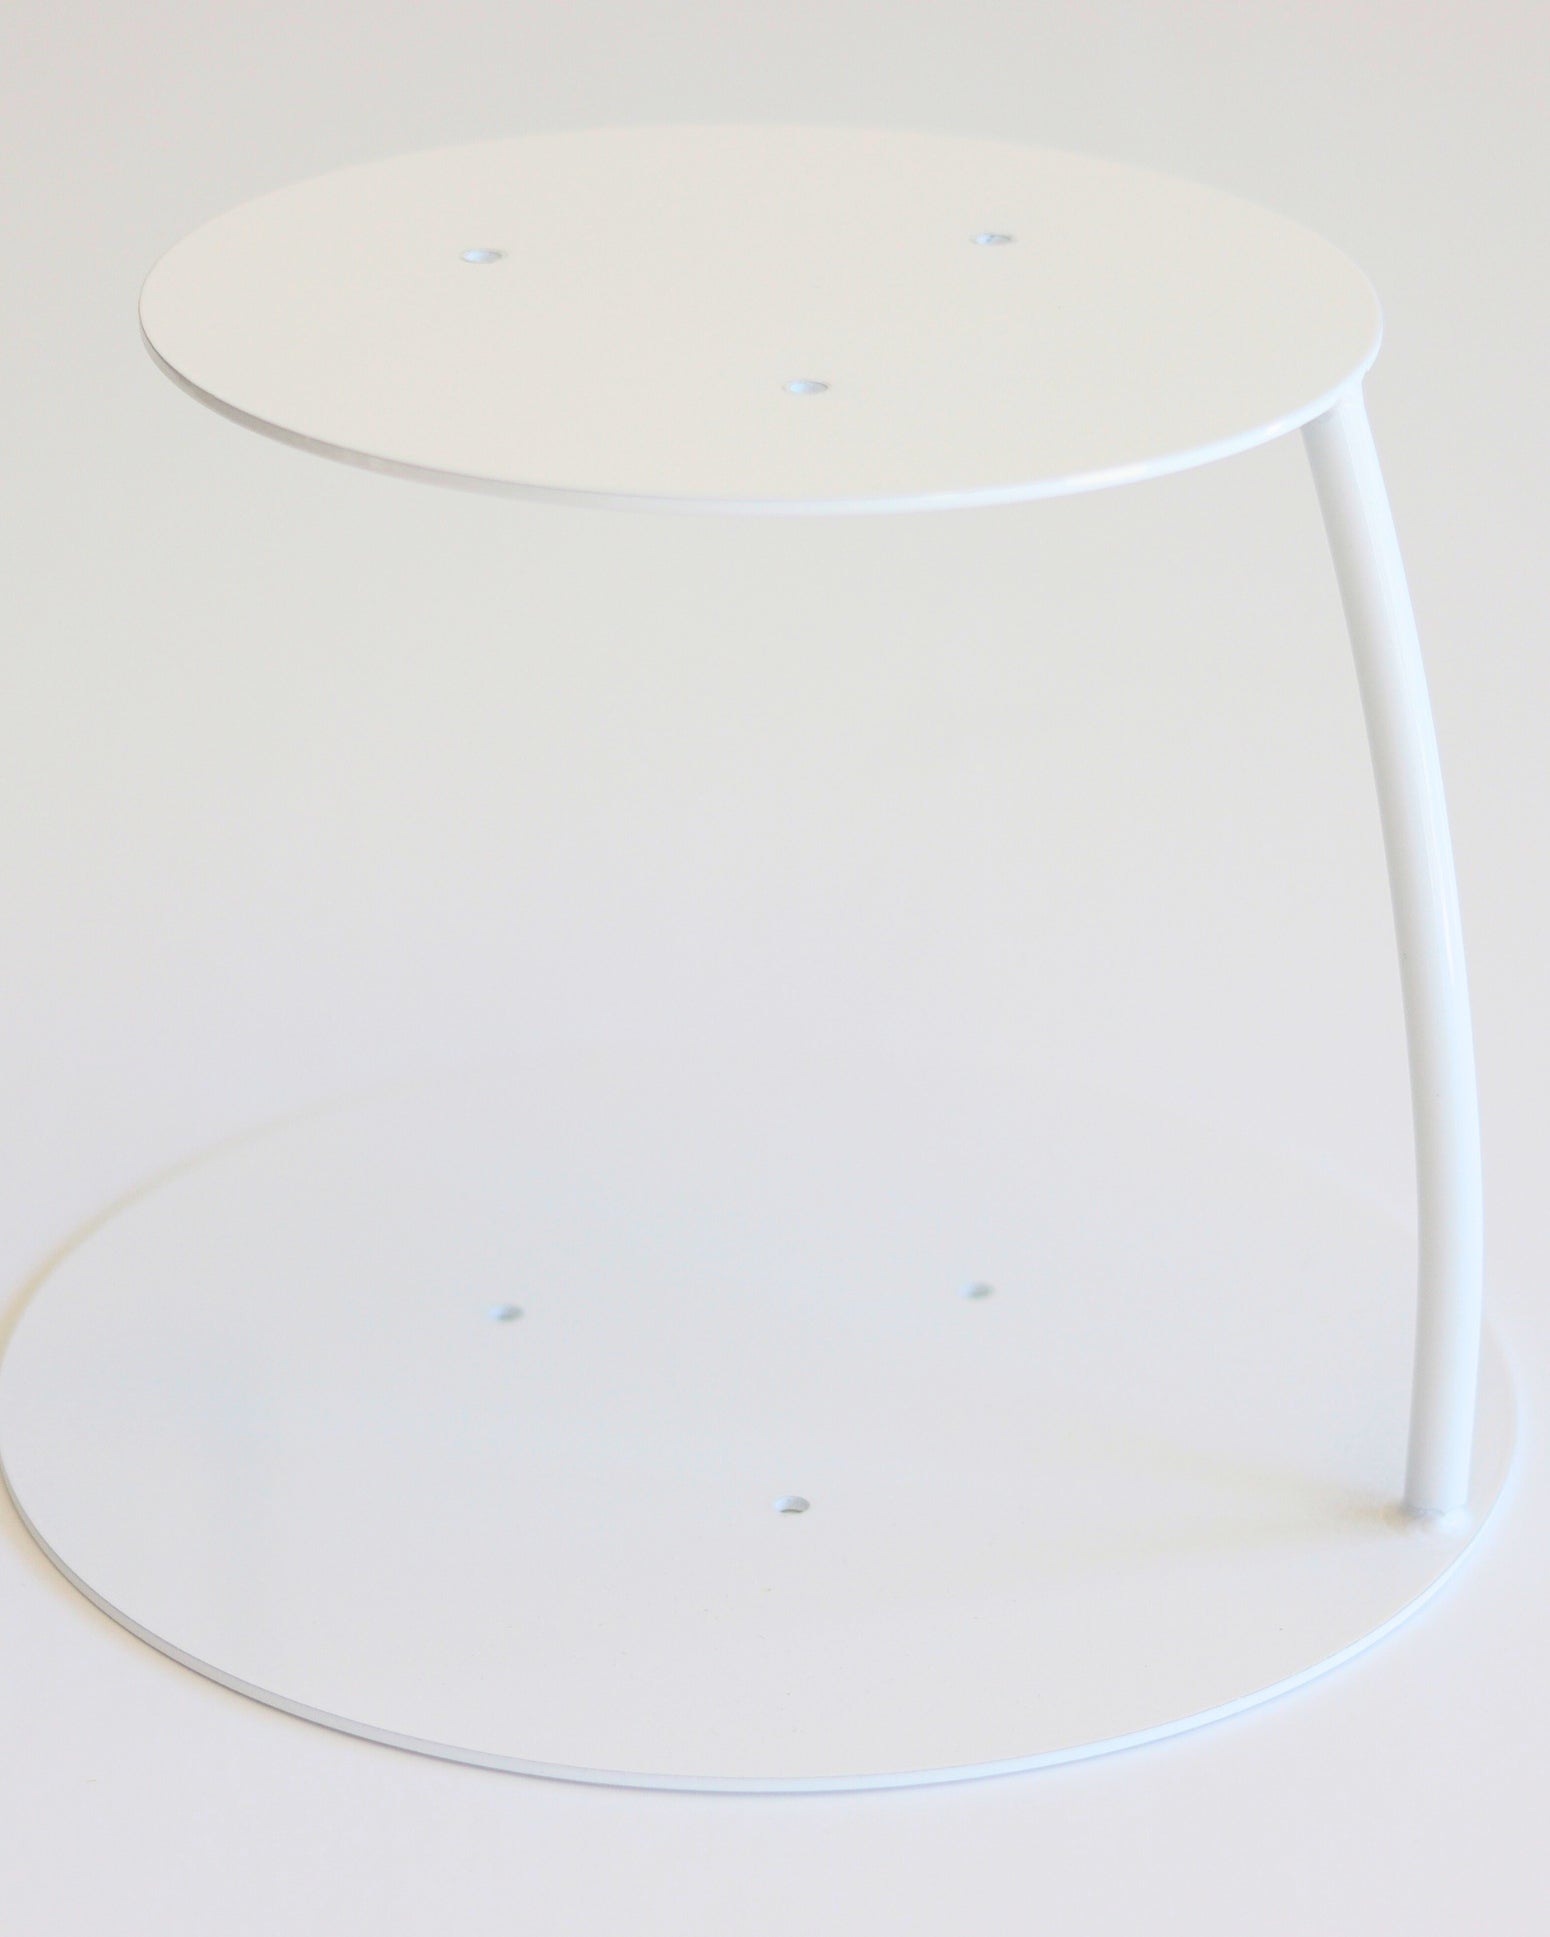
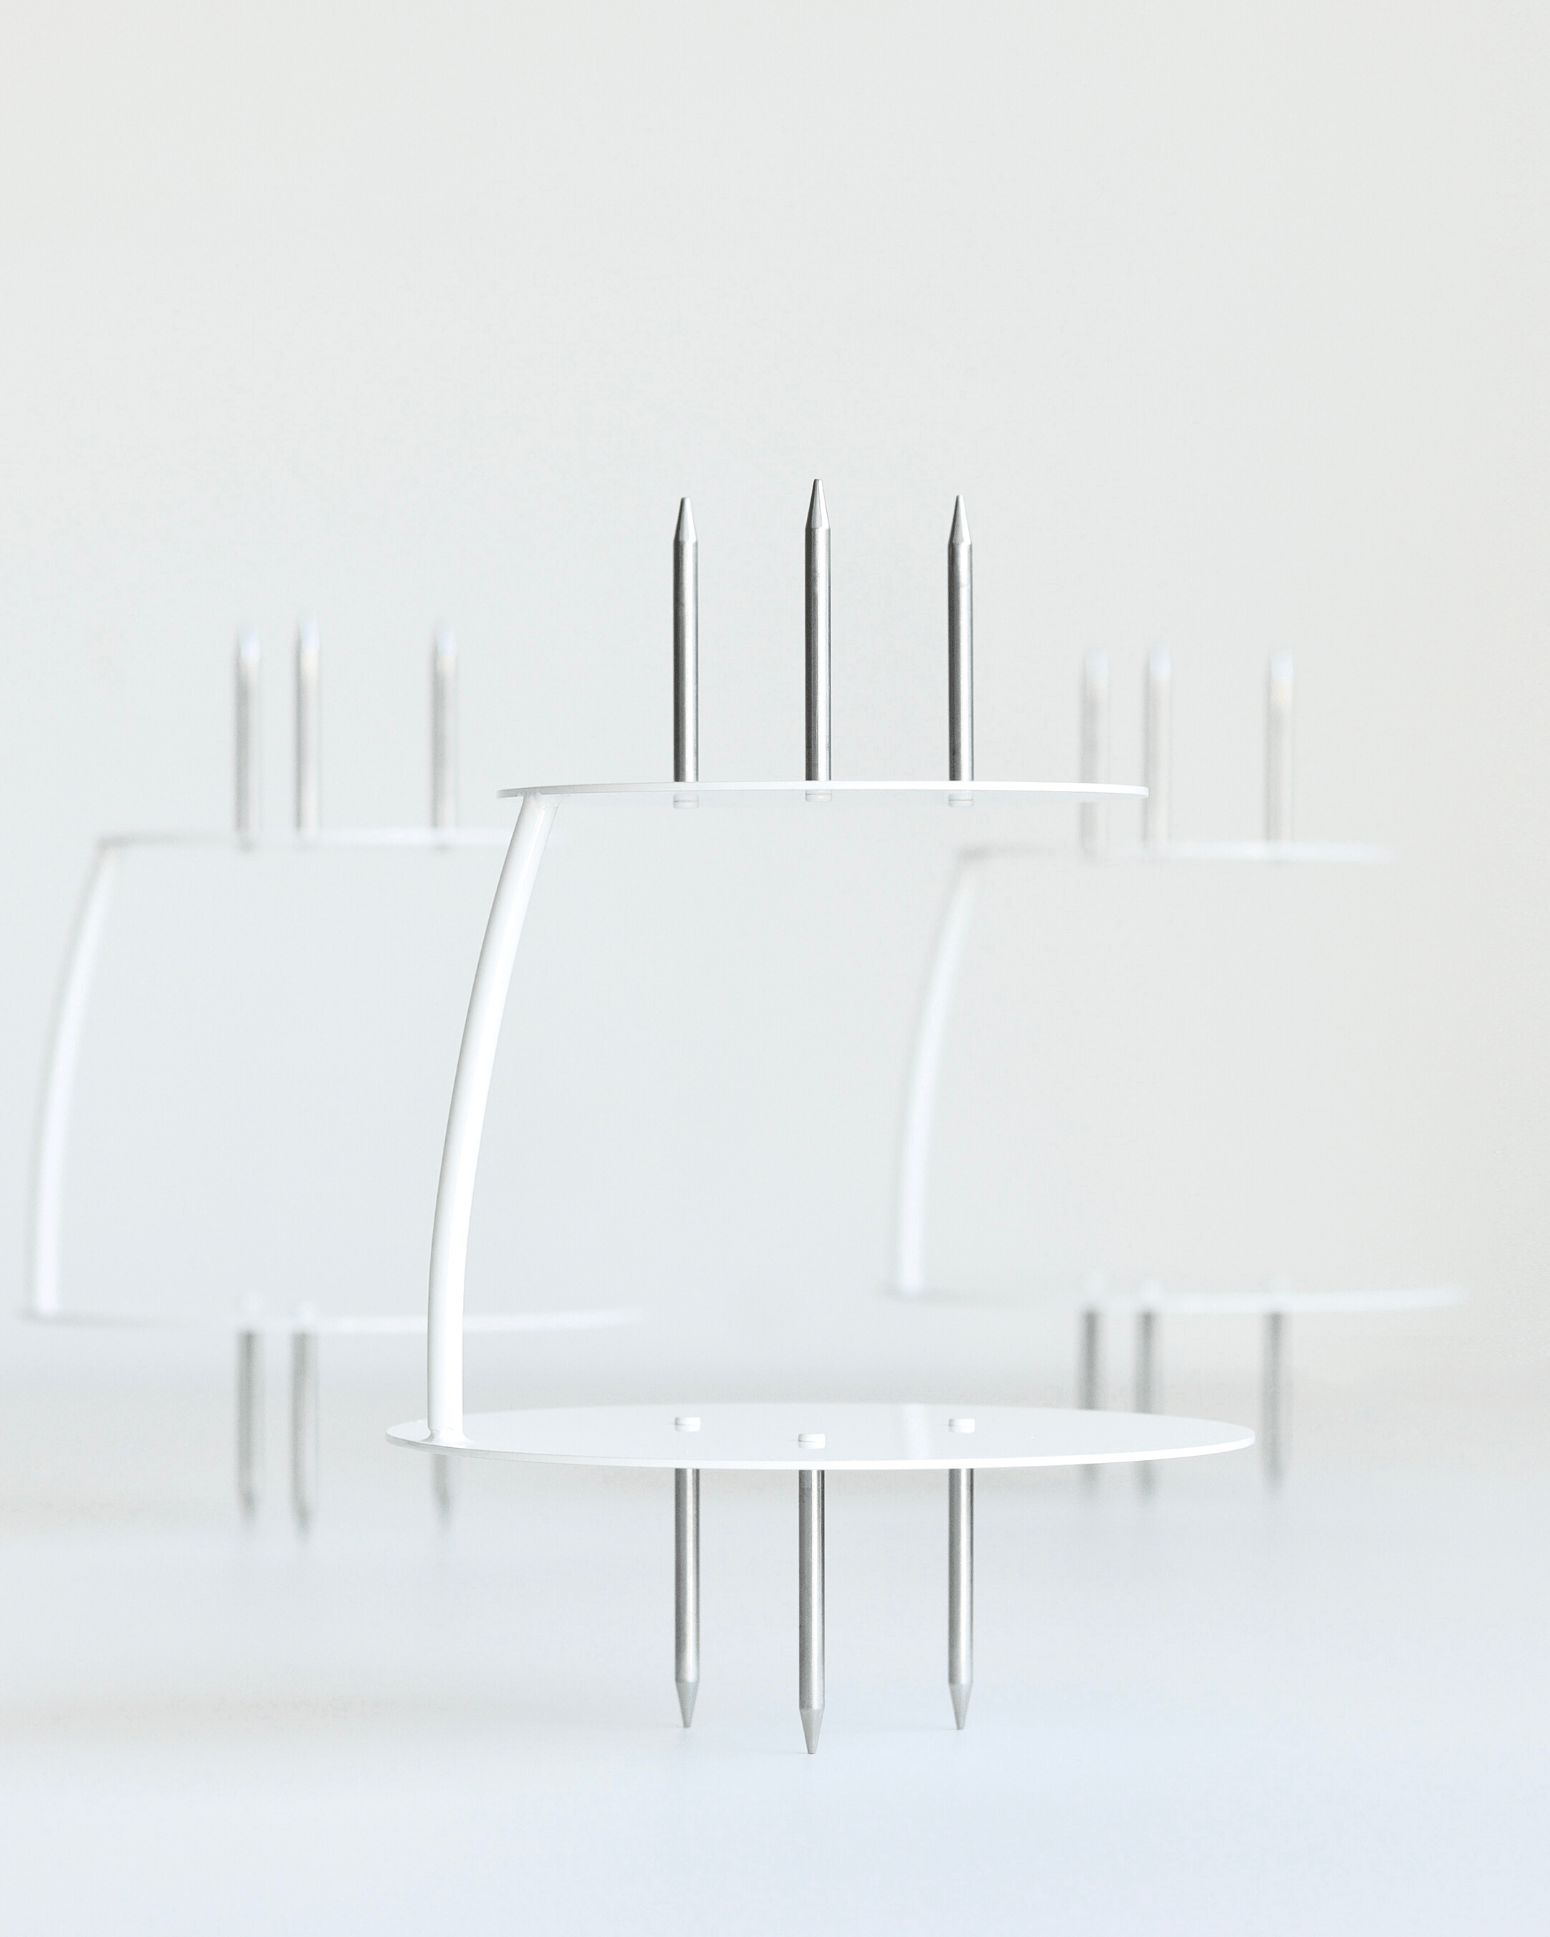
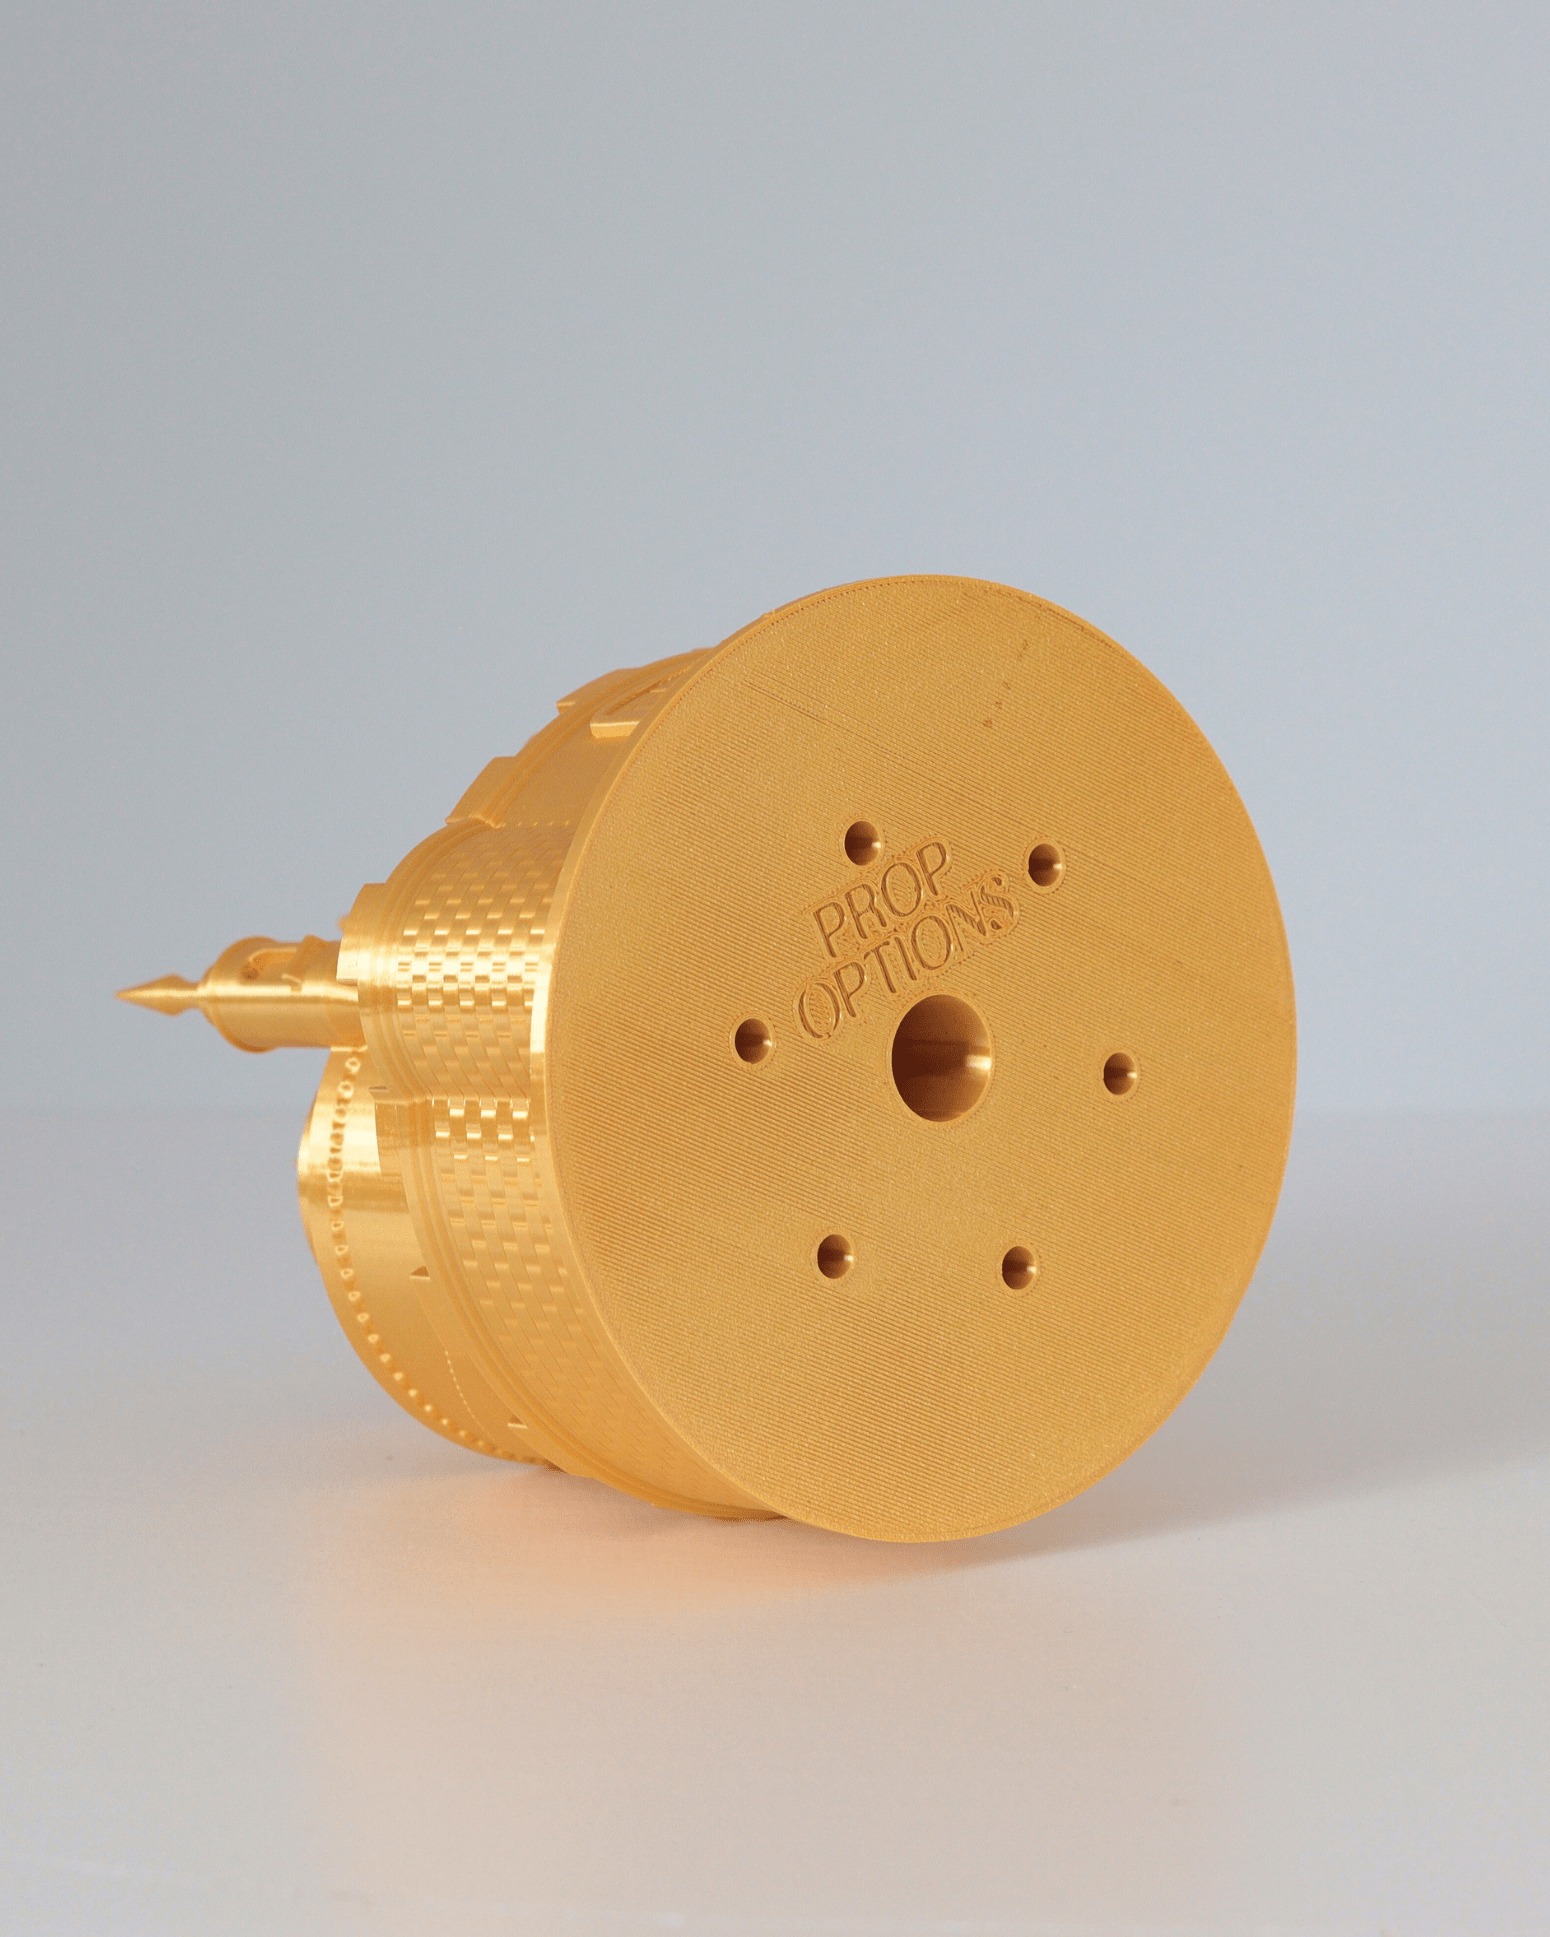
Give your cakes a stage worth photographing
Explore cake stands, plinths and separators in wood, metallic and acrylic finishes, built to carry a centrepiece on camera and in the room.
Shop Cake Stands & Separators