PropTV: How to Cover a Dummy Cake Using the Prop Options Cake Compass
Dummy cakes are perfect for creating display cakes or adding extra tiers to your design without wasting real cake. However, their lightweight nature makes them tricky to work with, as they tend to shift around during decoration. Enter the Prop Options Cake Compass! This tool stabilizes the dummy cake, making the decorating process much more manageable. In this tutorial, we guide you step-by-step on how to cover a dummy cake with sugar paste using the Prop Options Cake Compass.

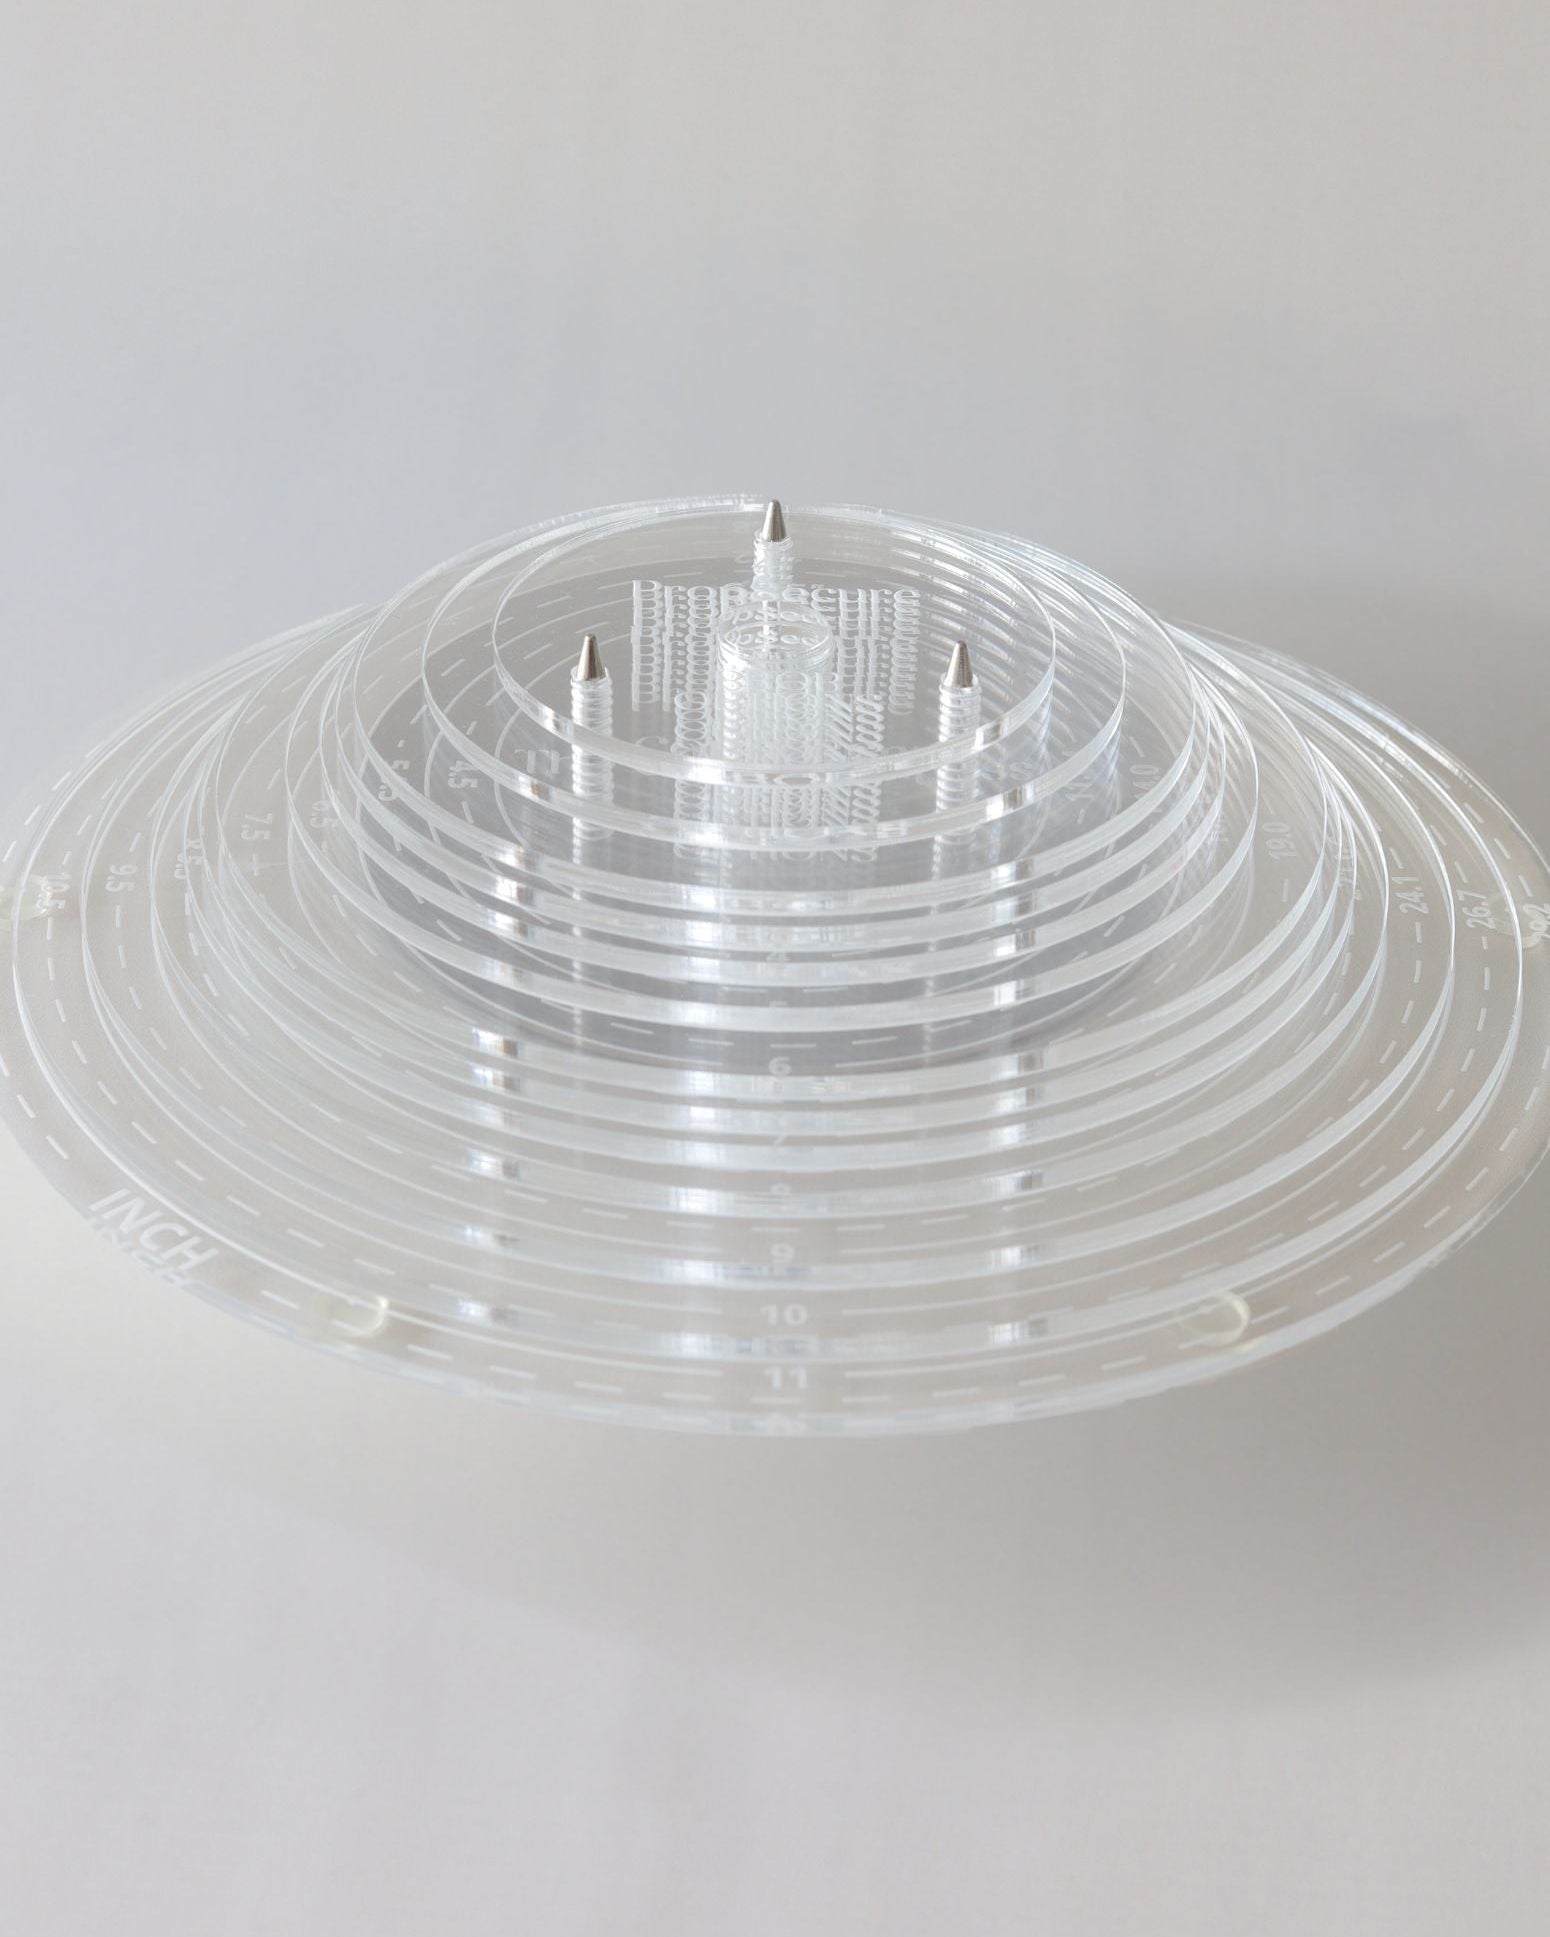
Achieve a Perfect Finish with The Cake Compass
Step One: Preparing the Dummy Cake
To begin, you need to create holes in your dummy cake for the PropSecure pins. Here's how to do it:
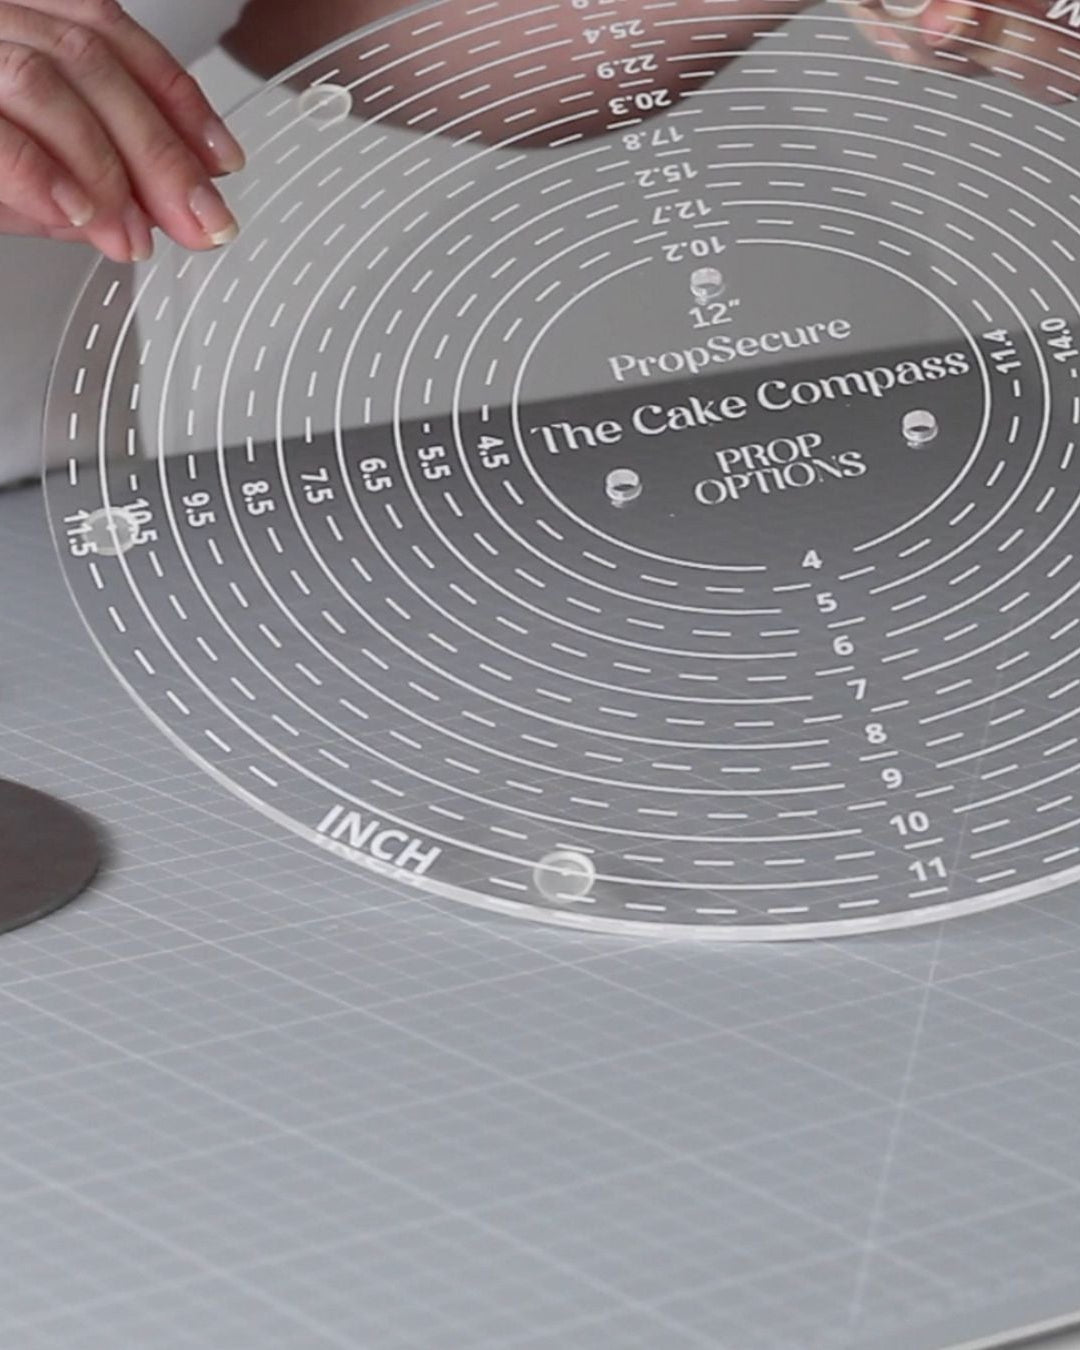
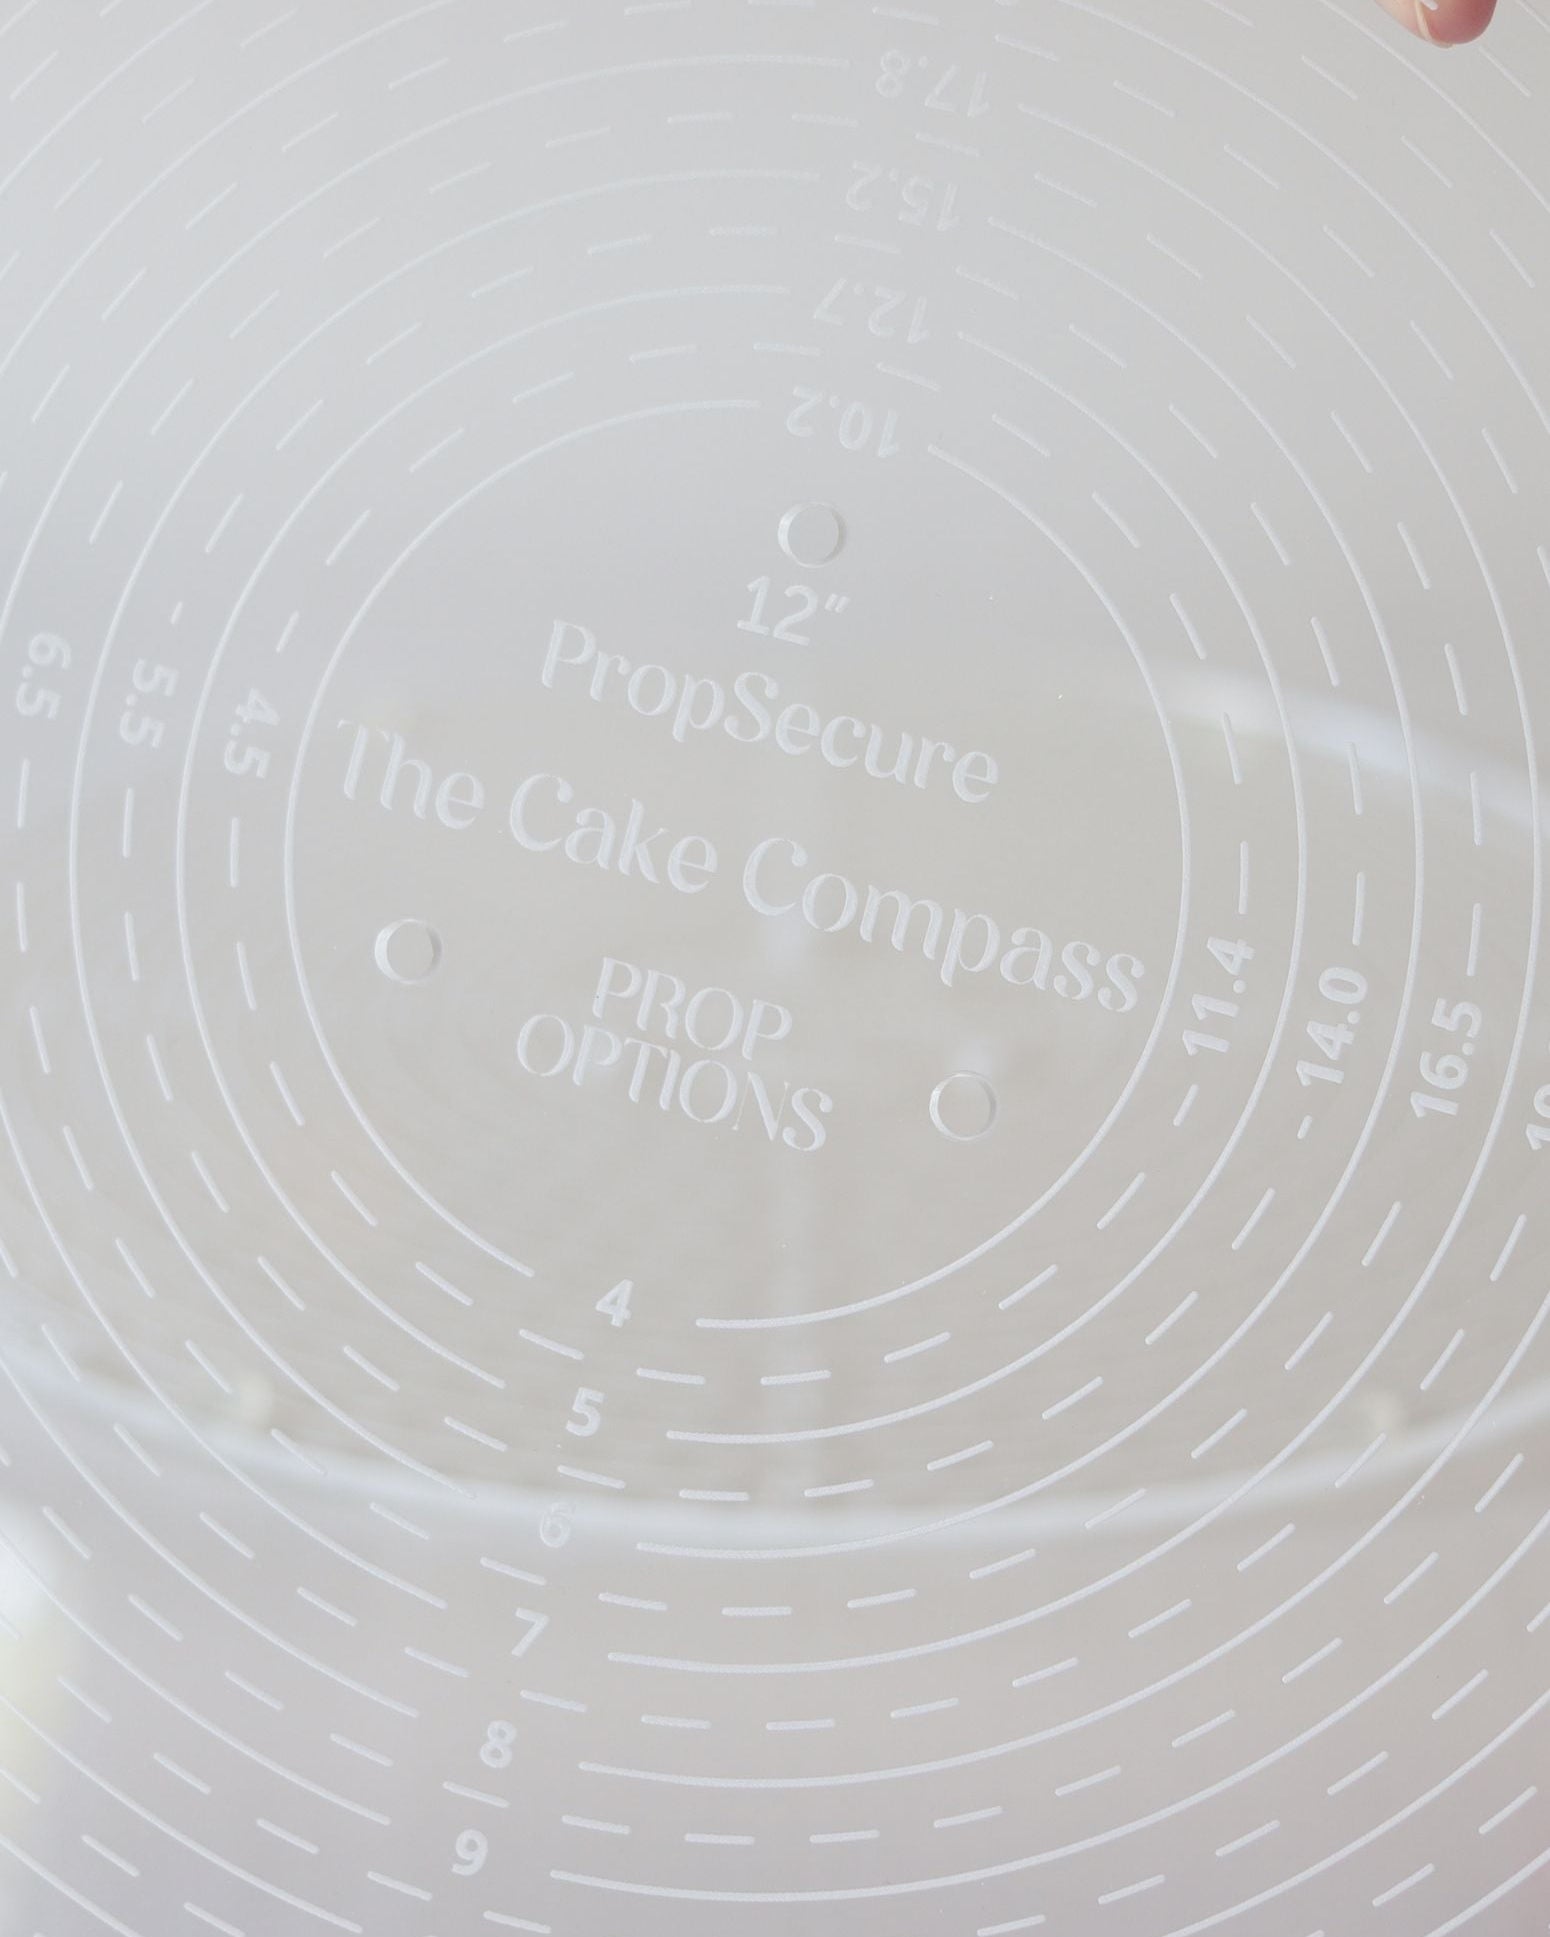
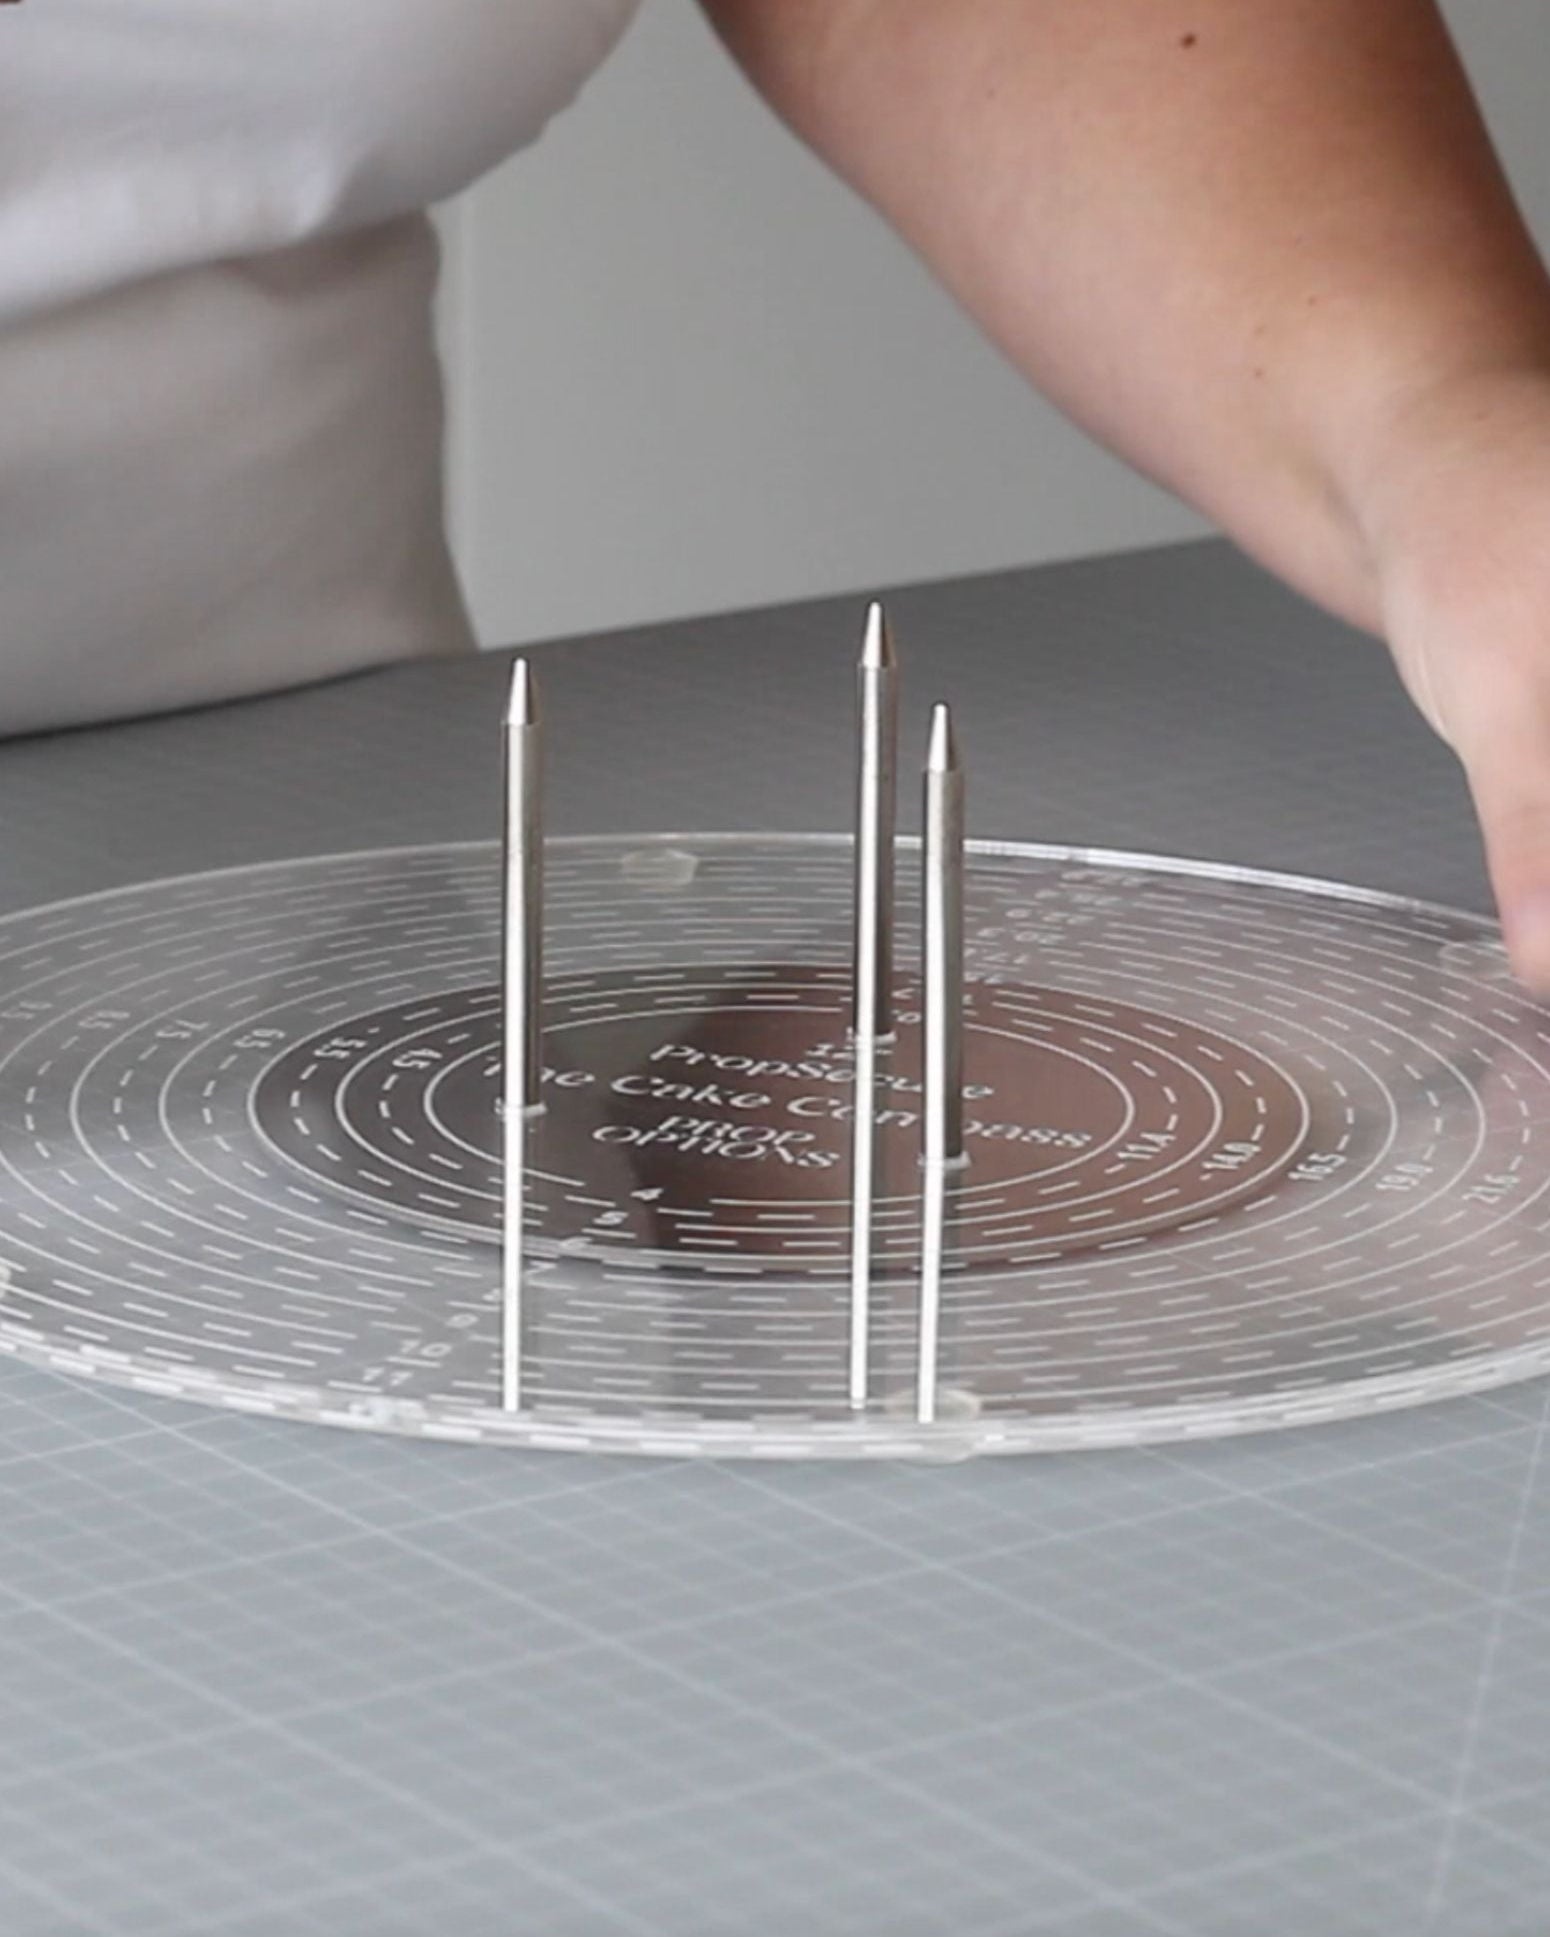
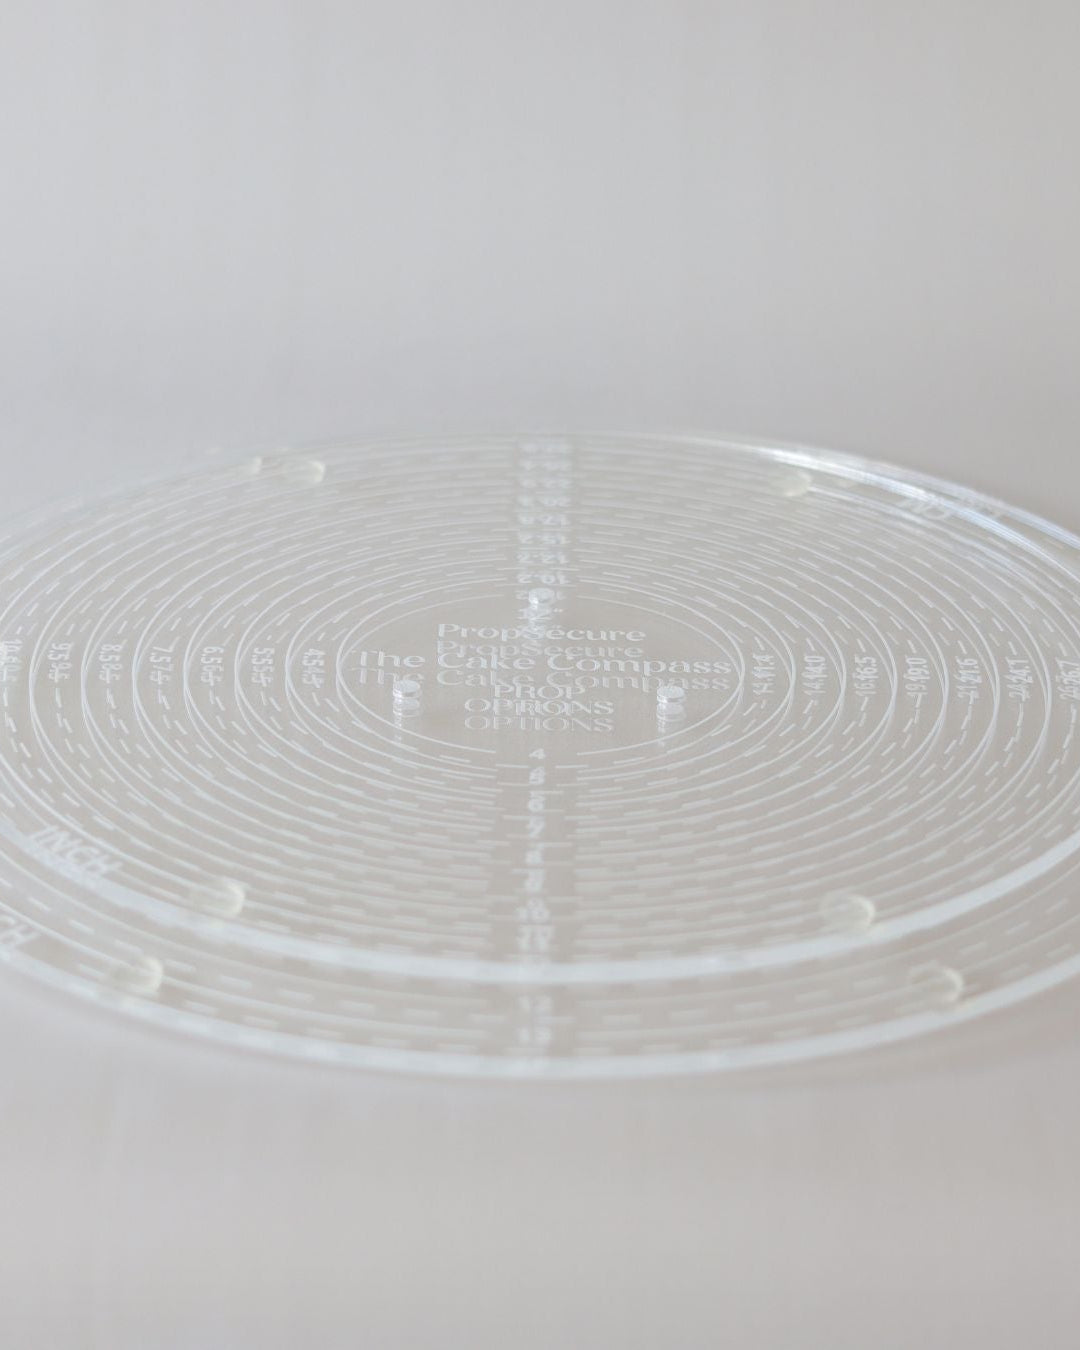
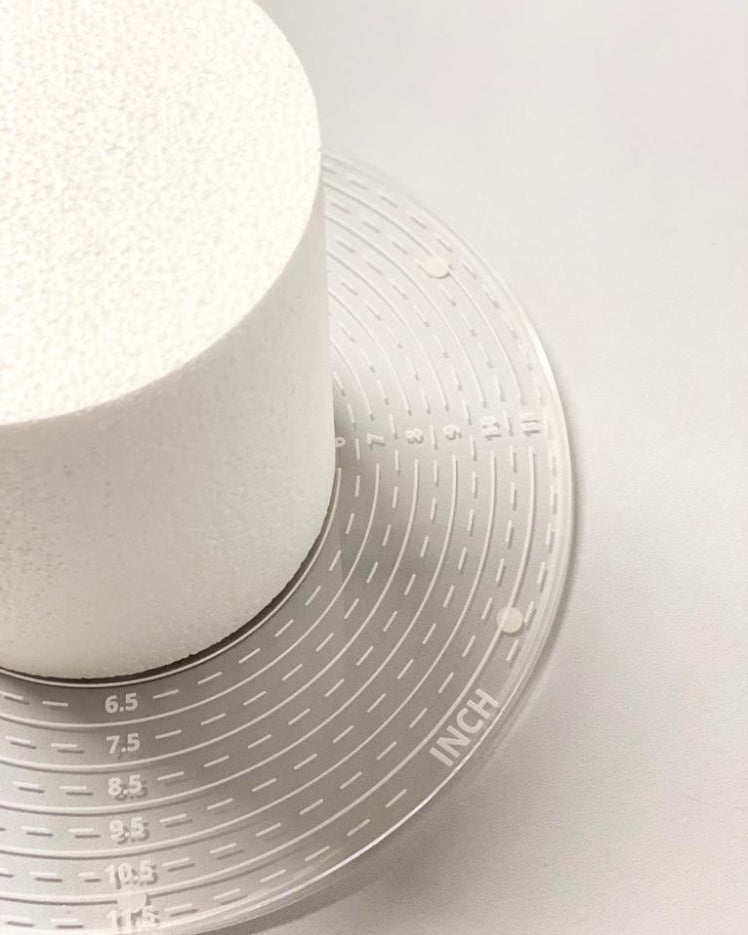
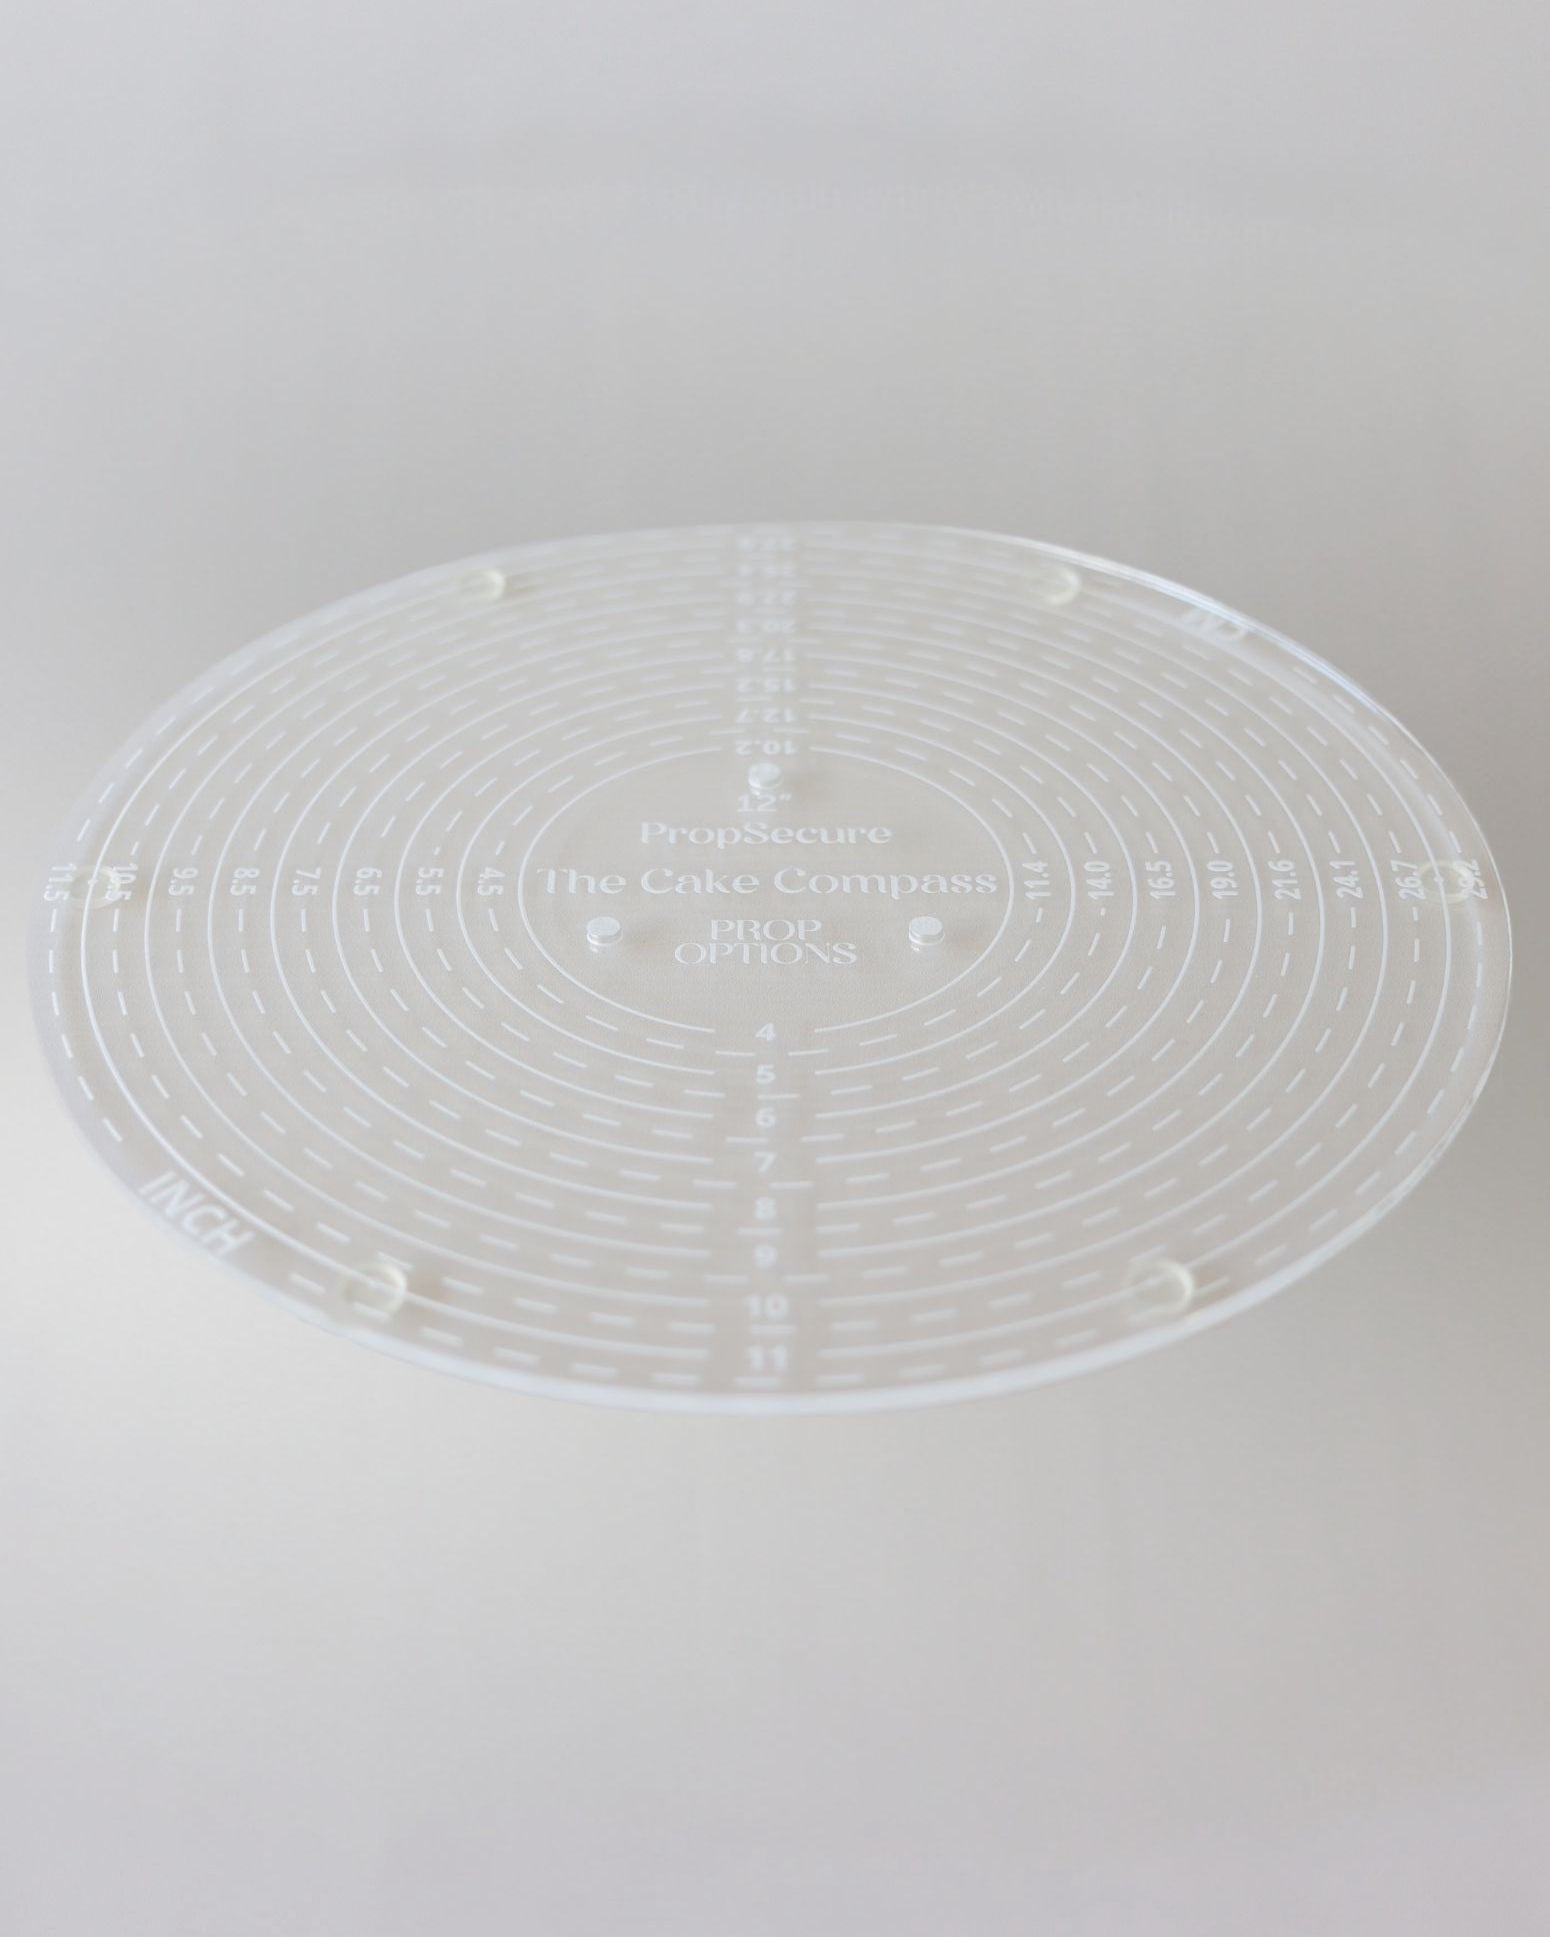
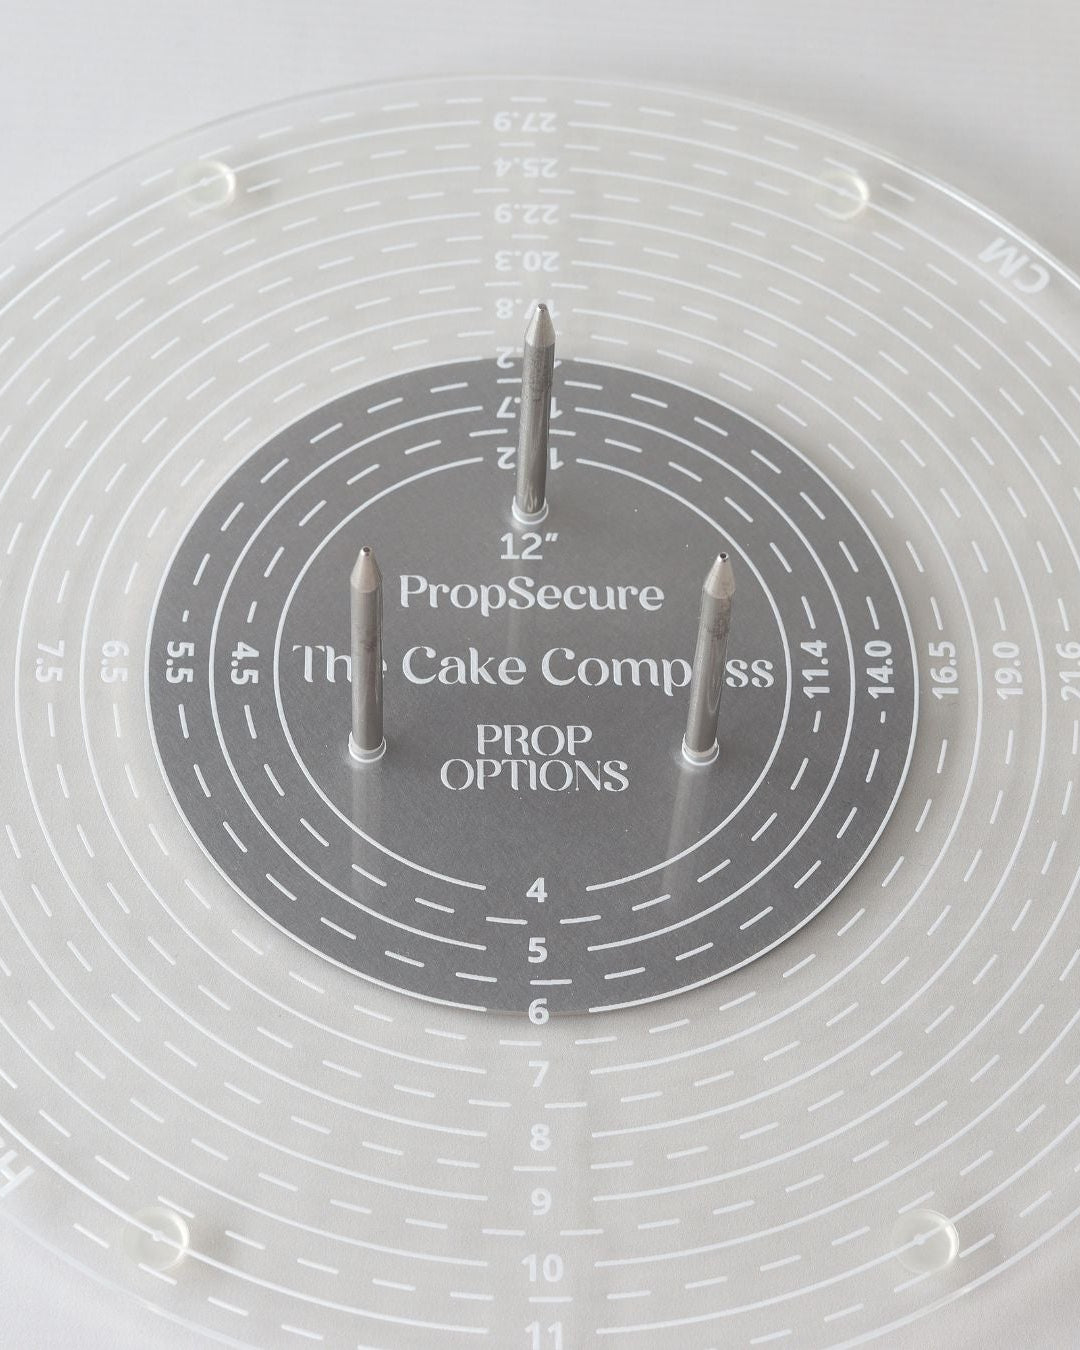
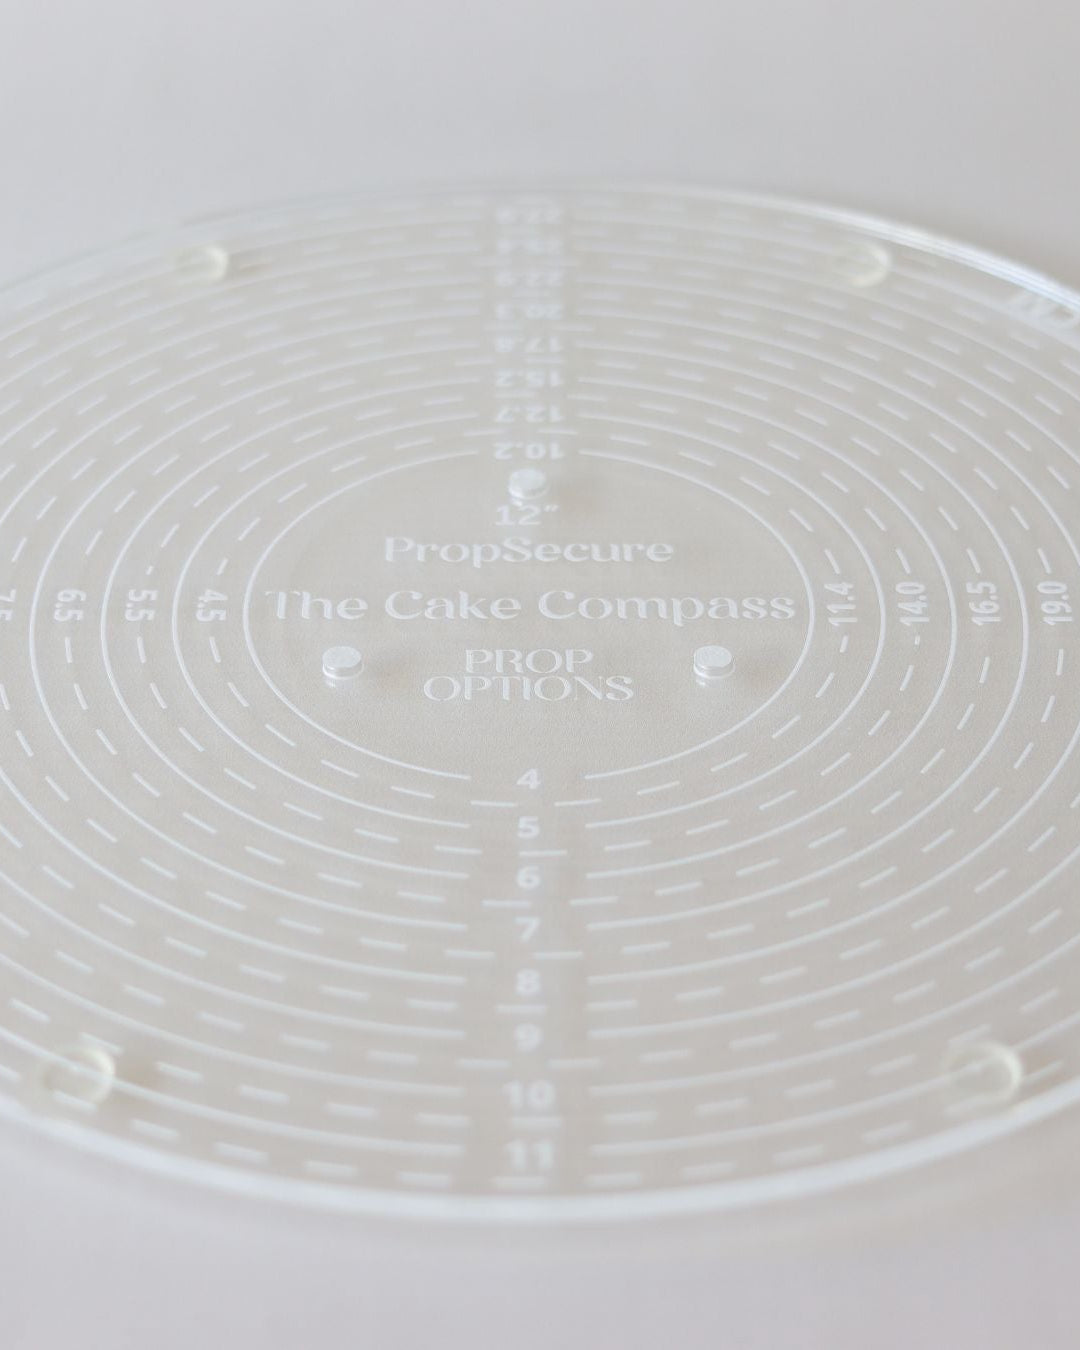
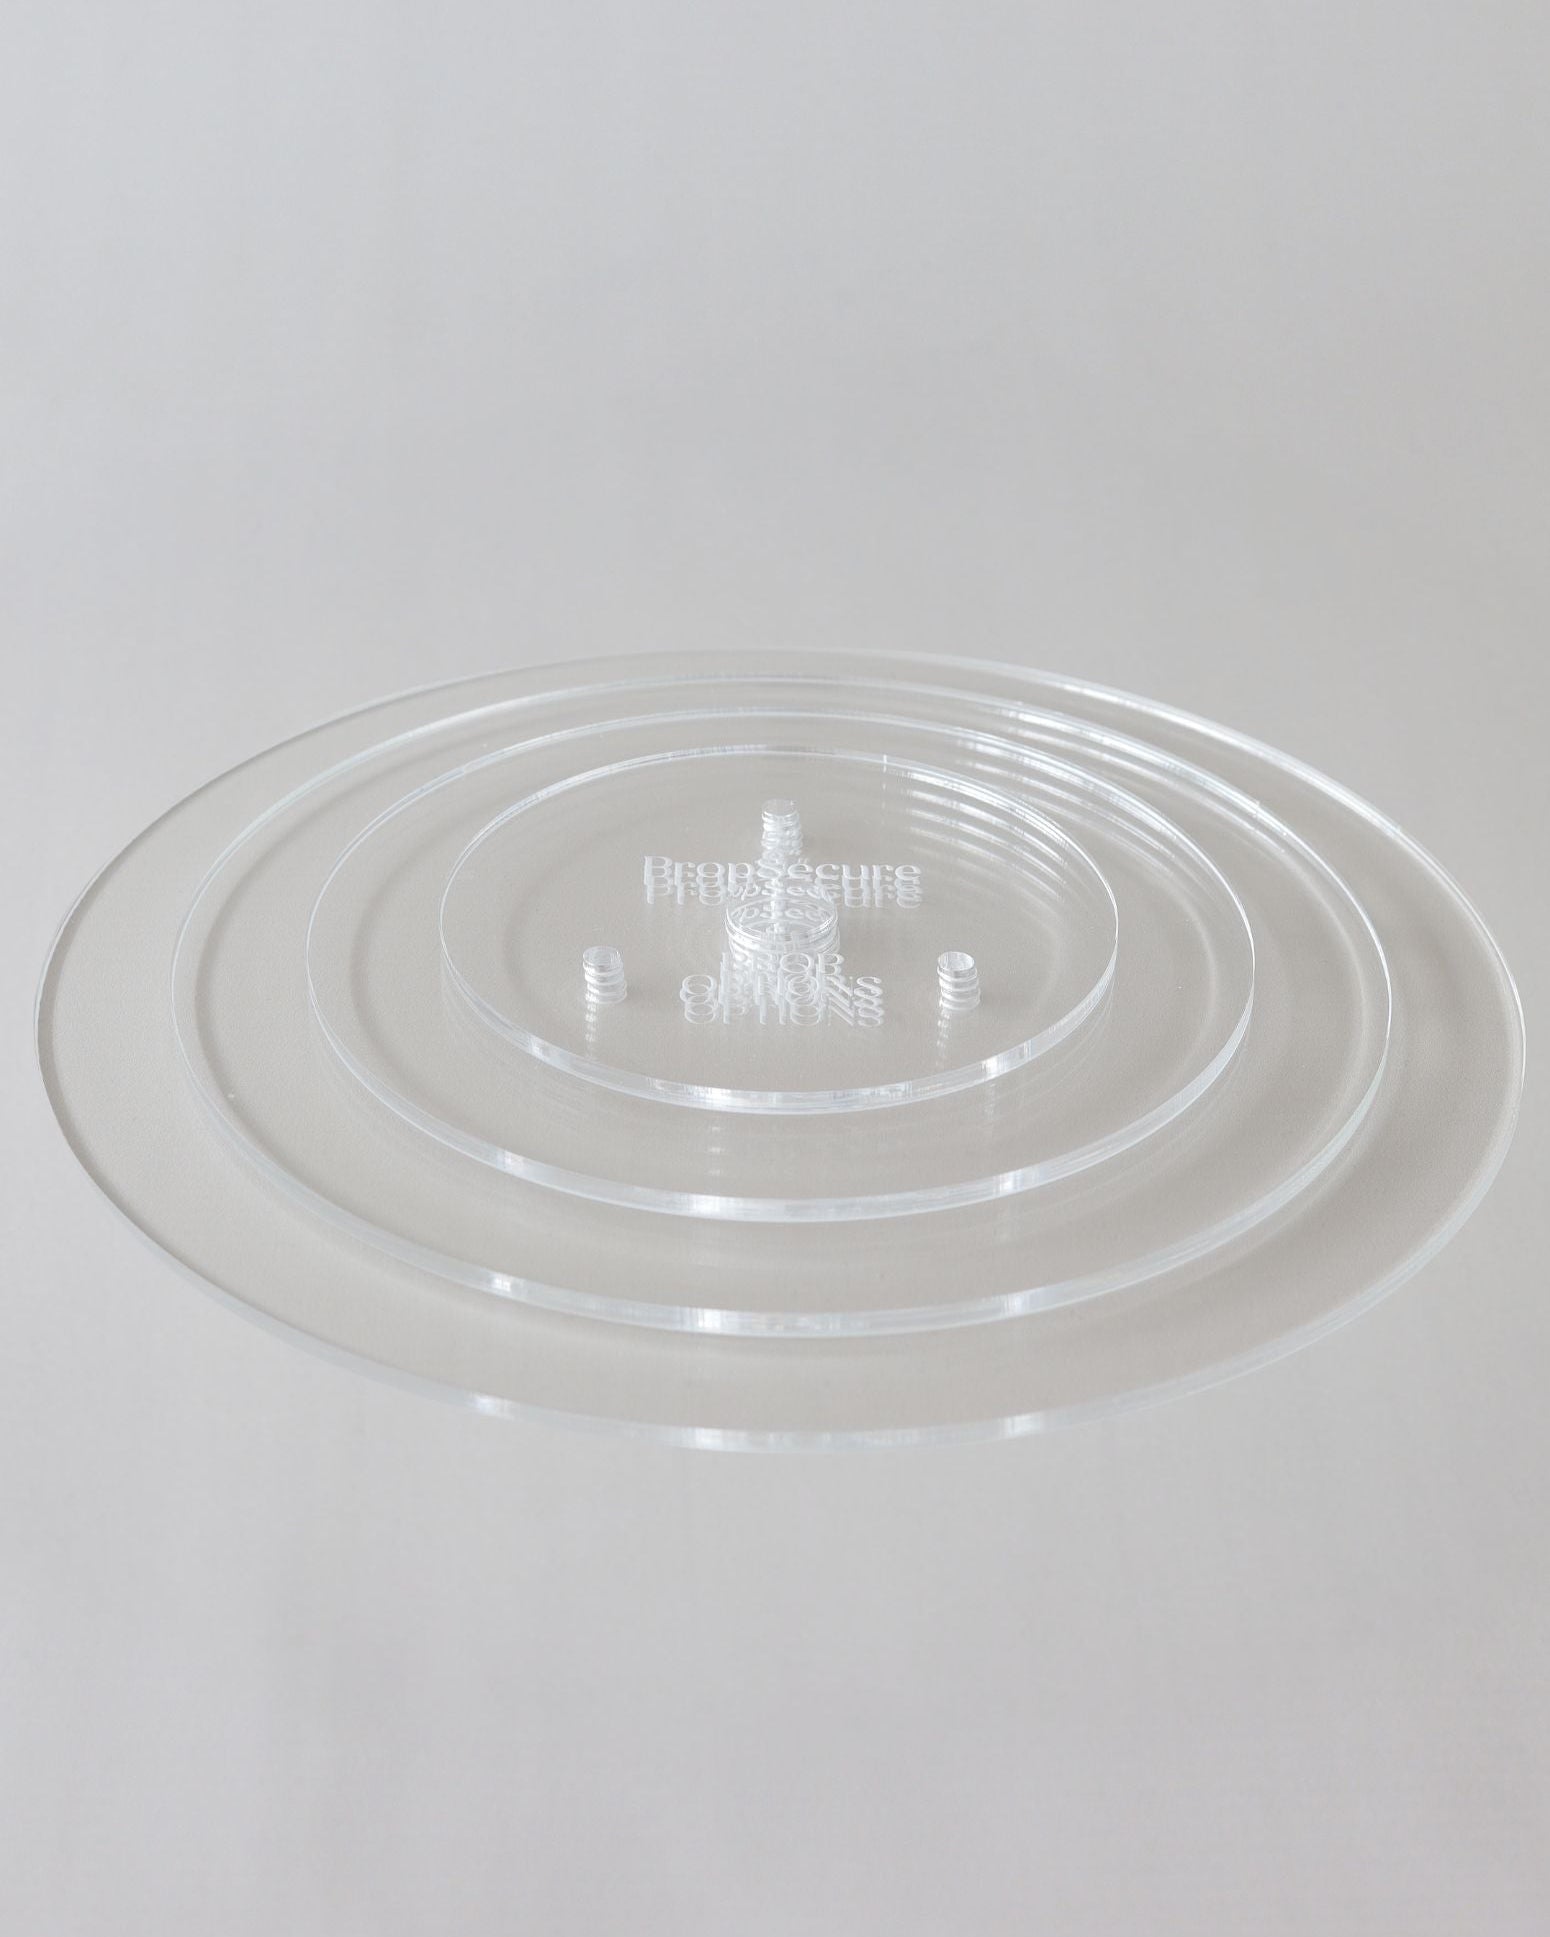
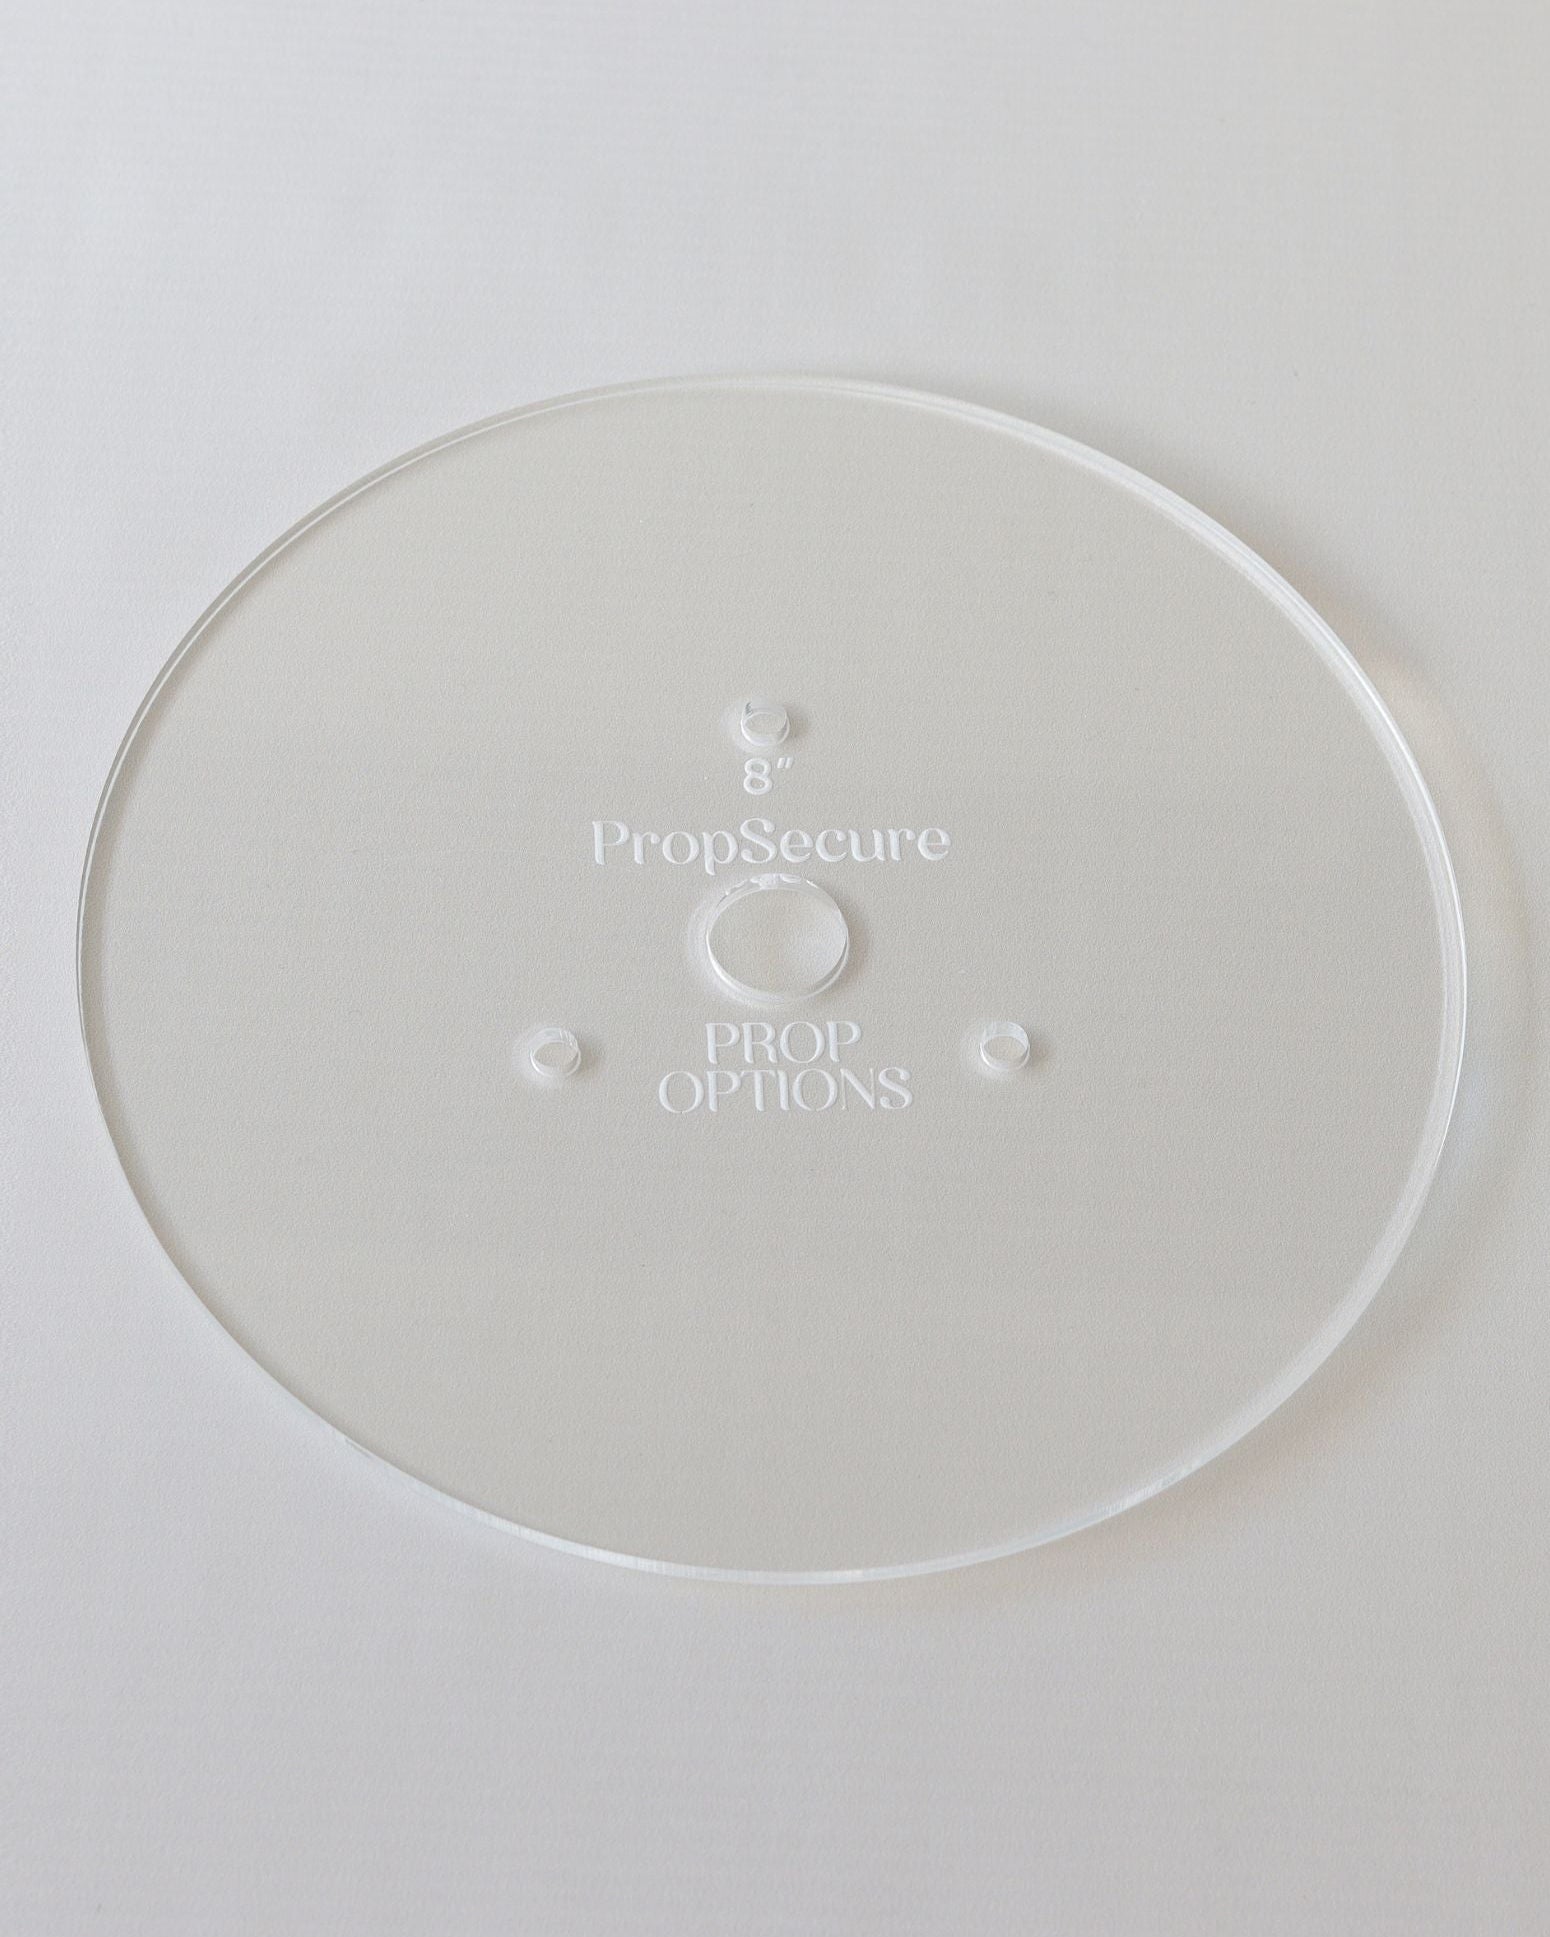
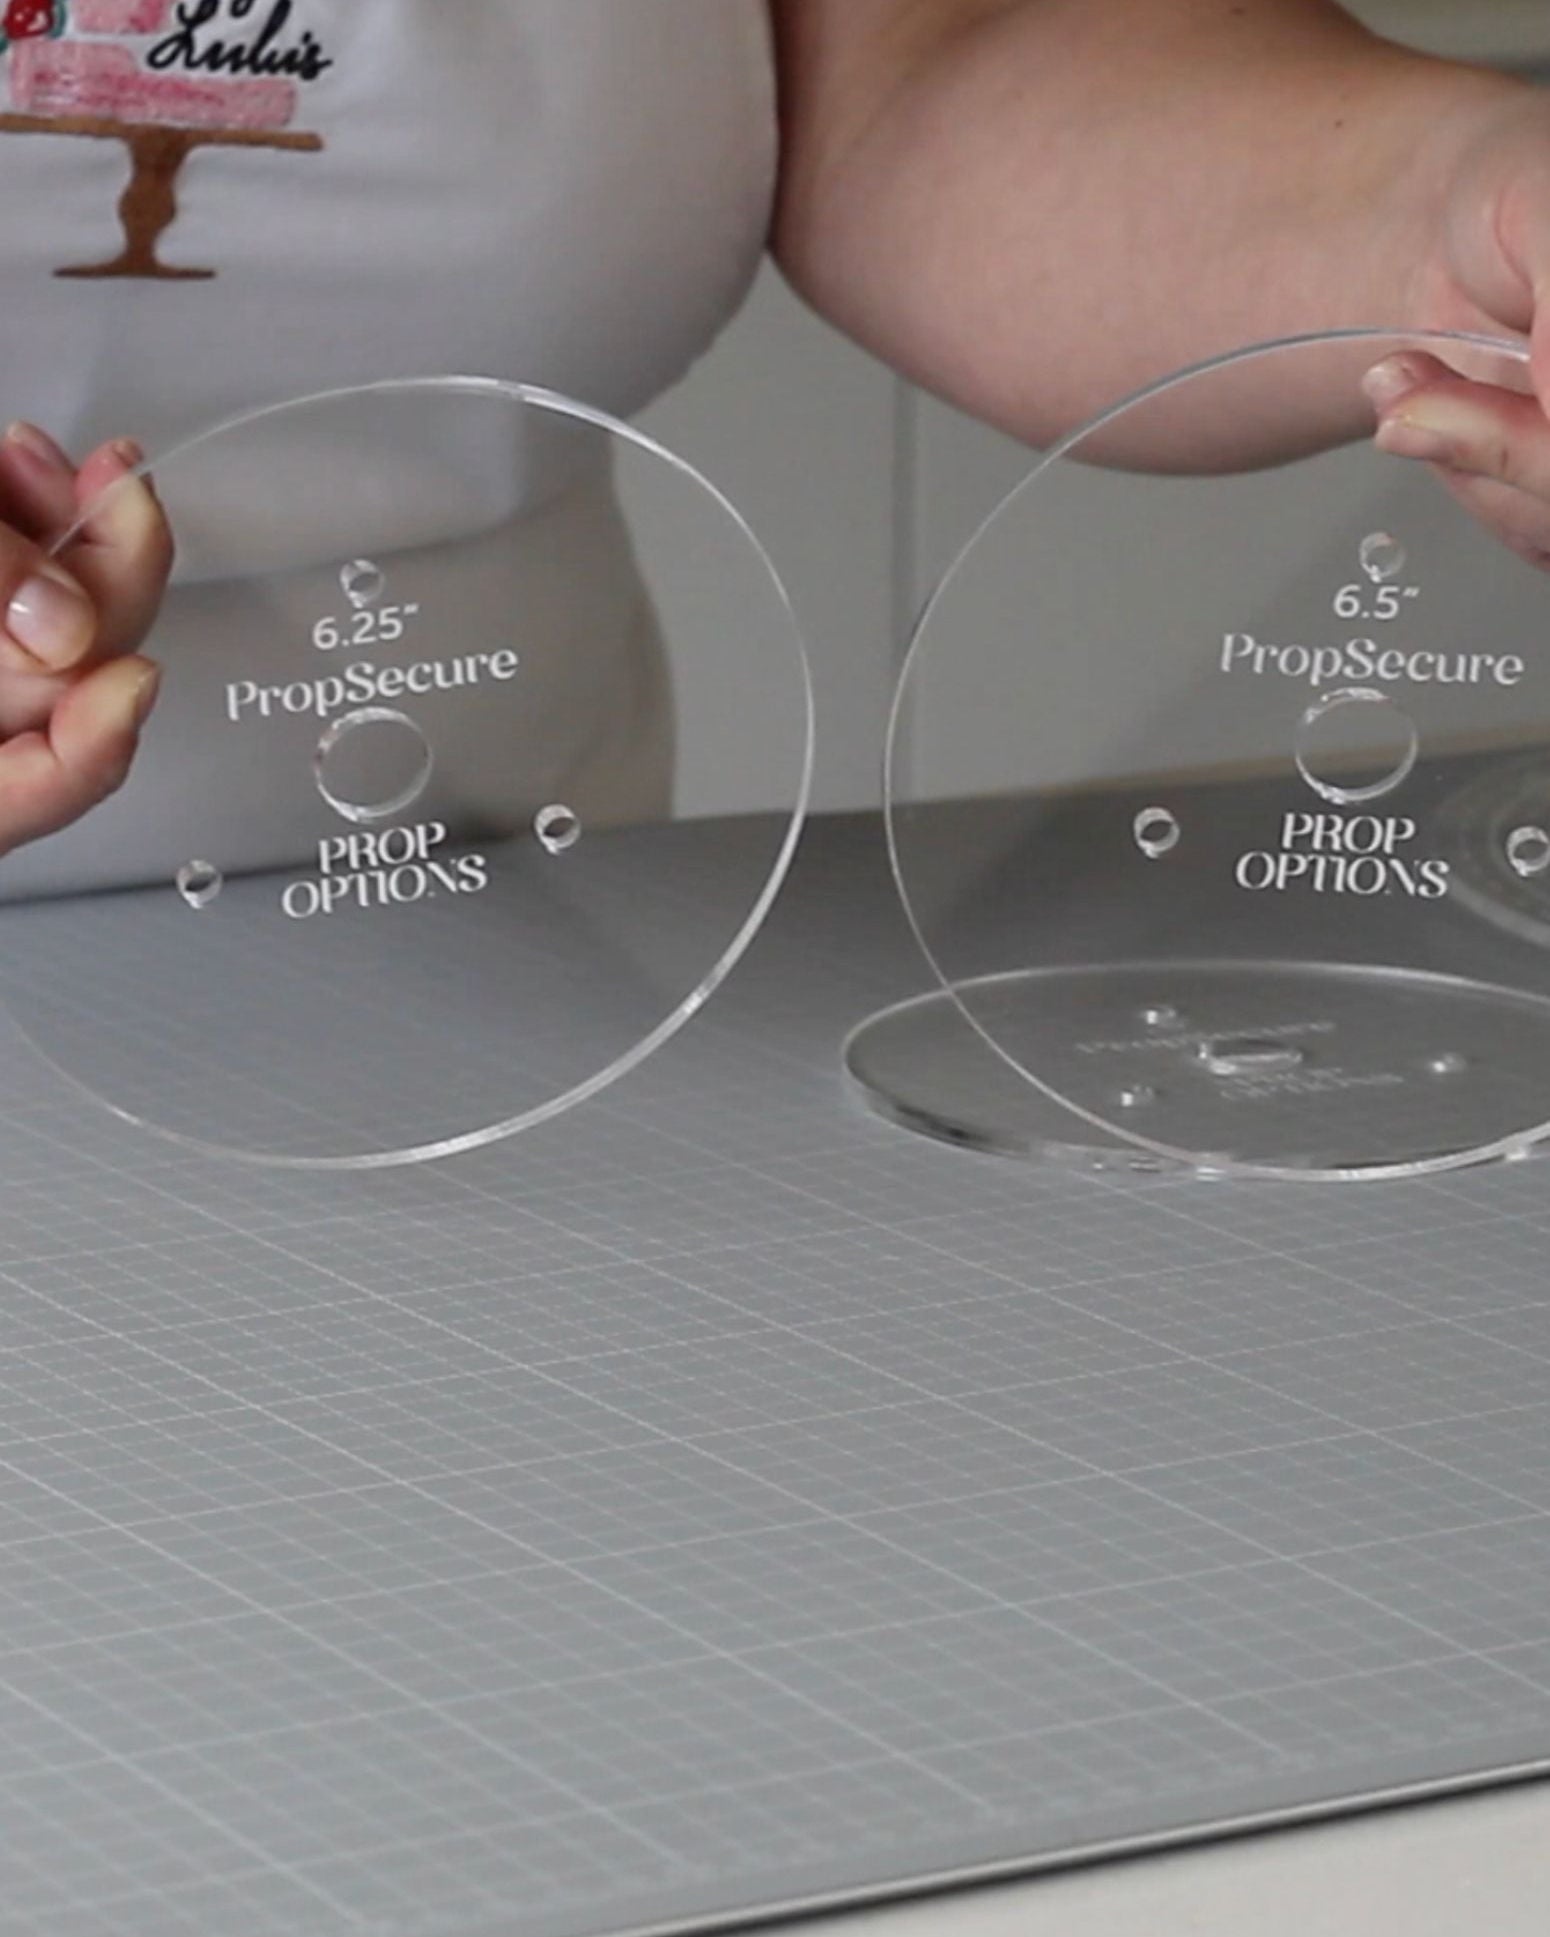
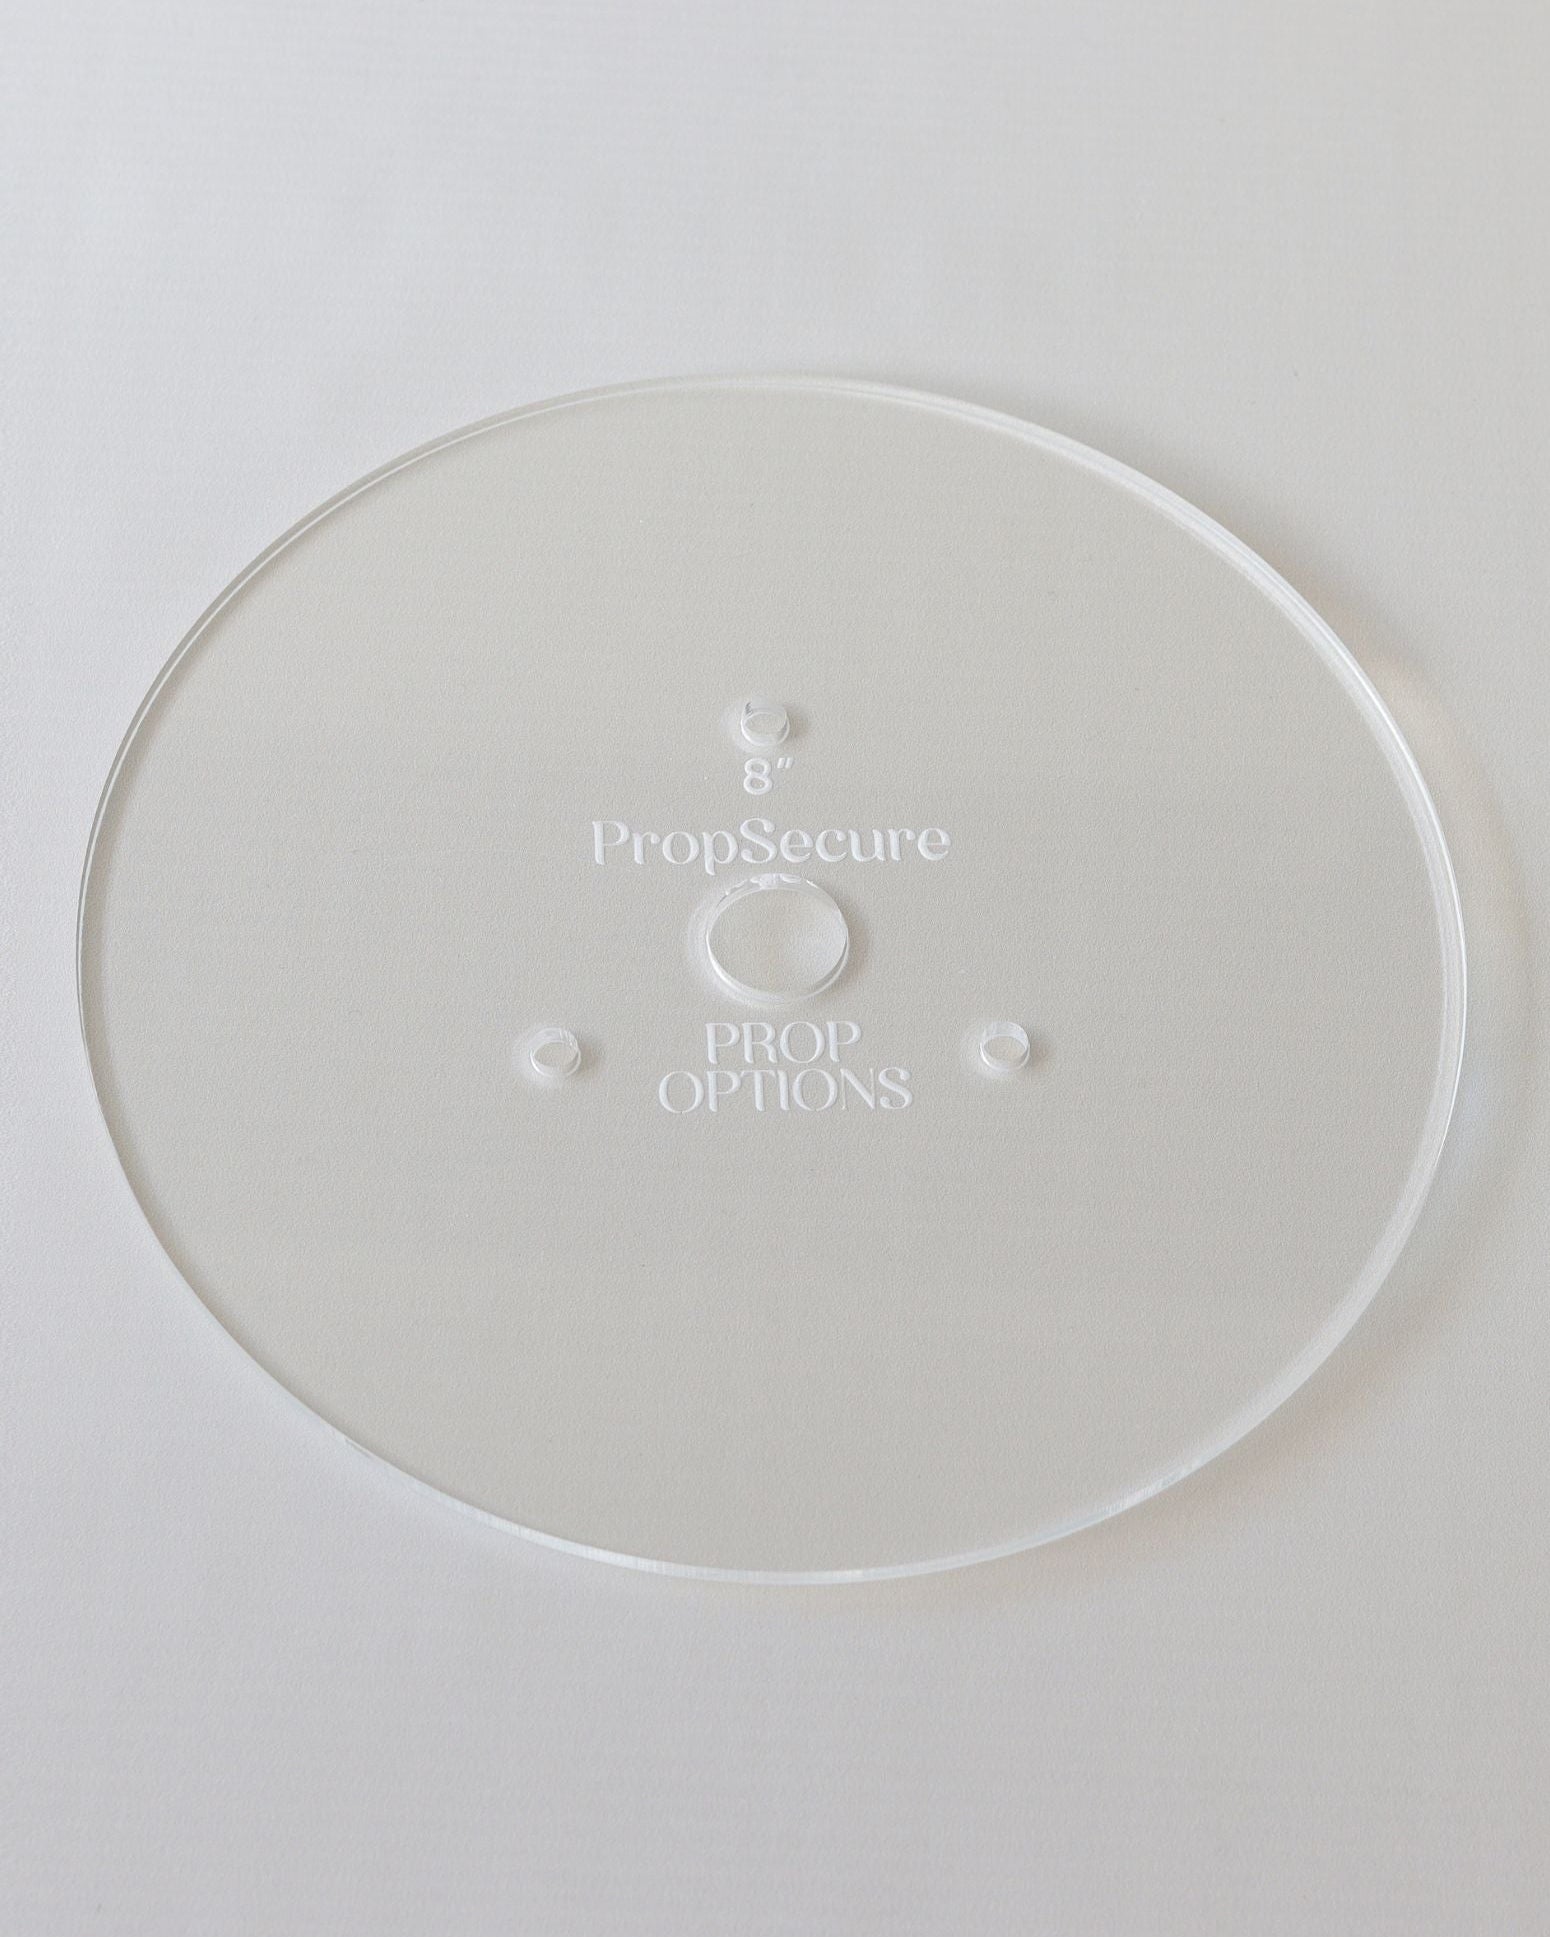
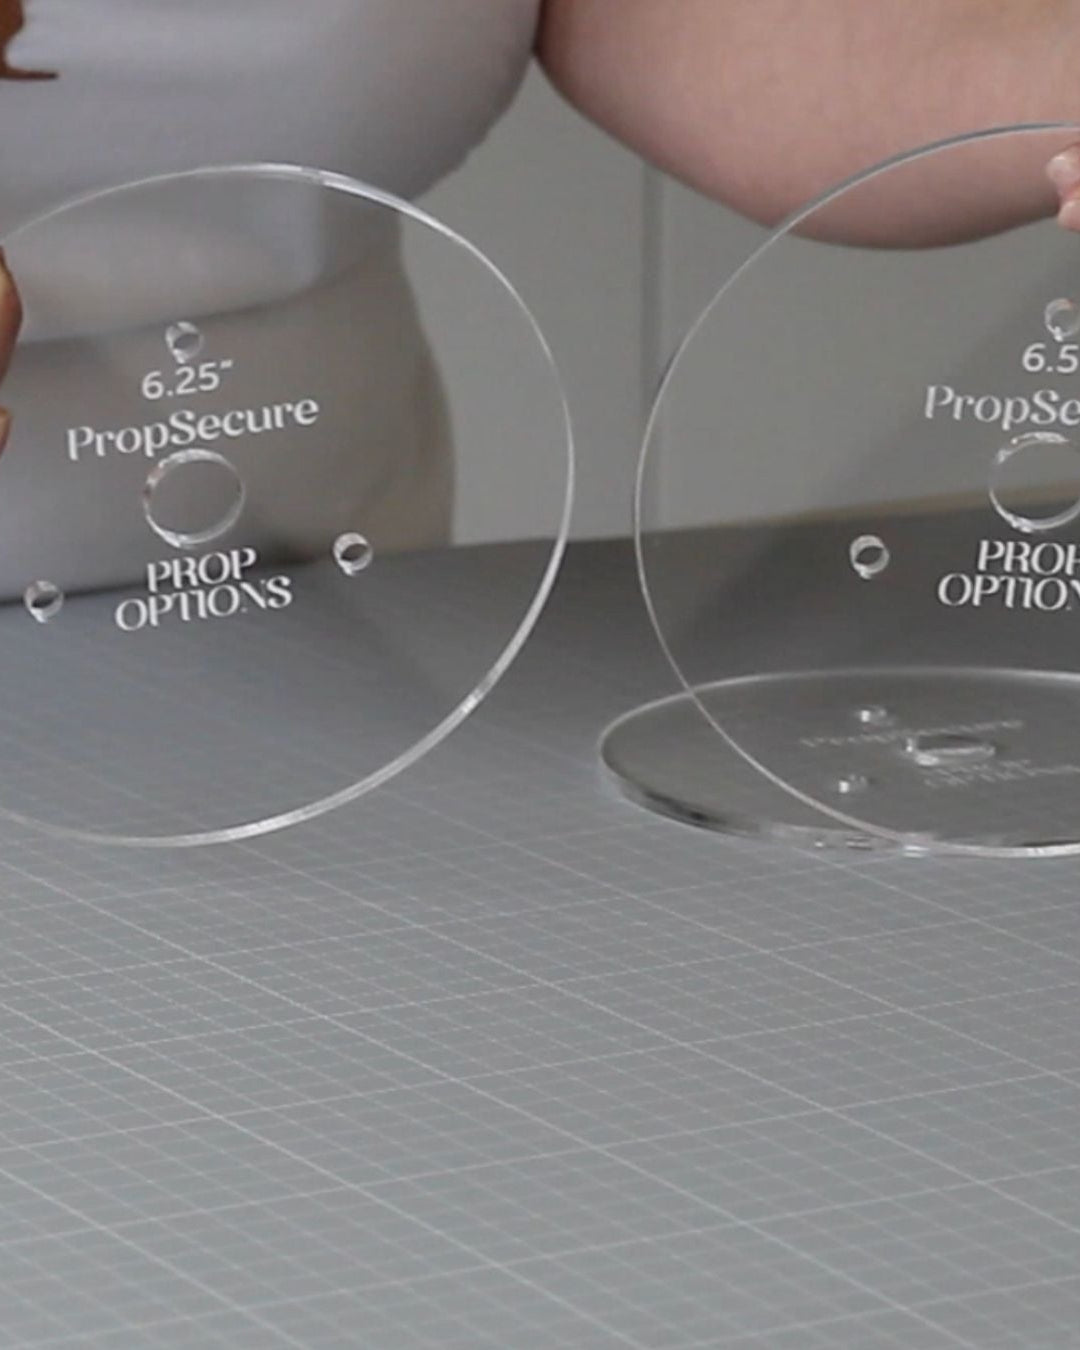
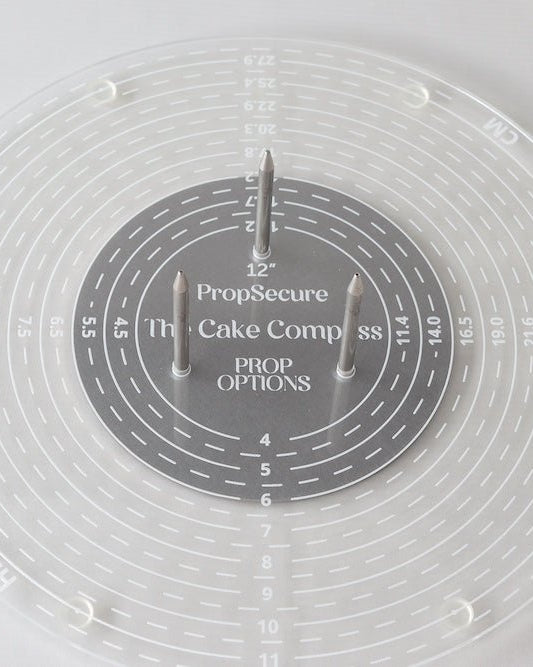
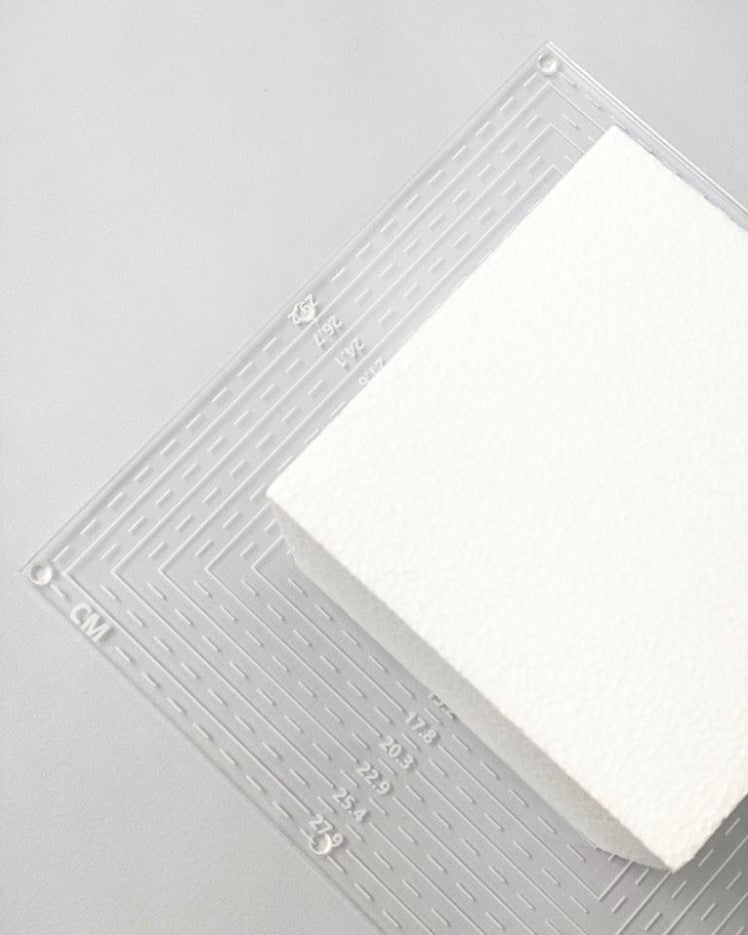
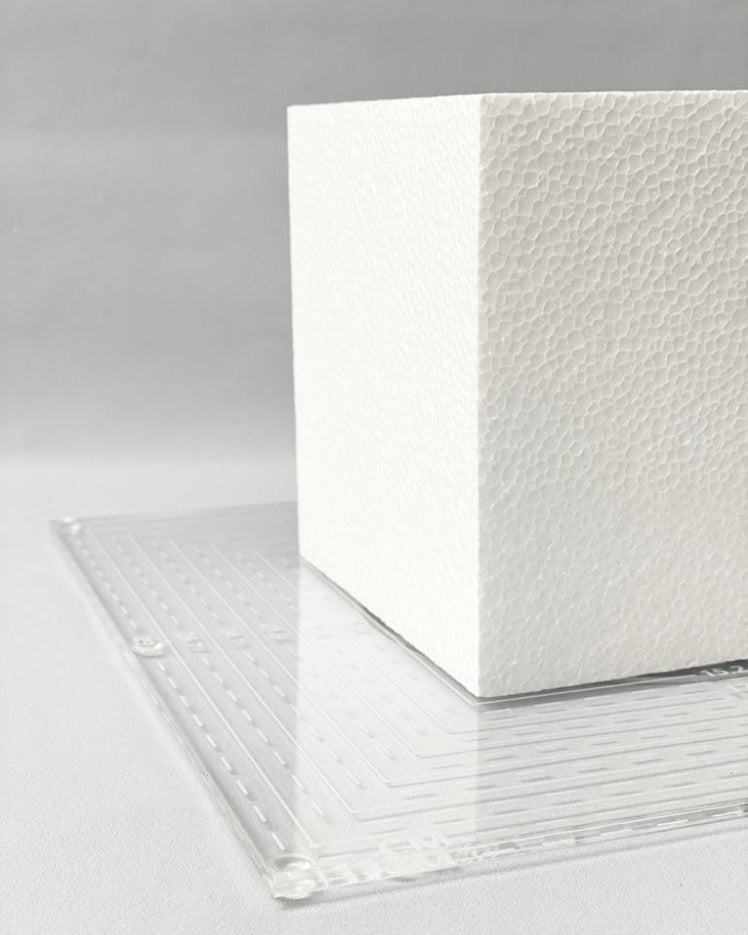
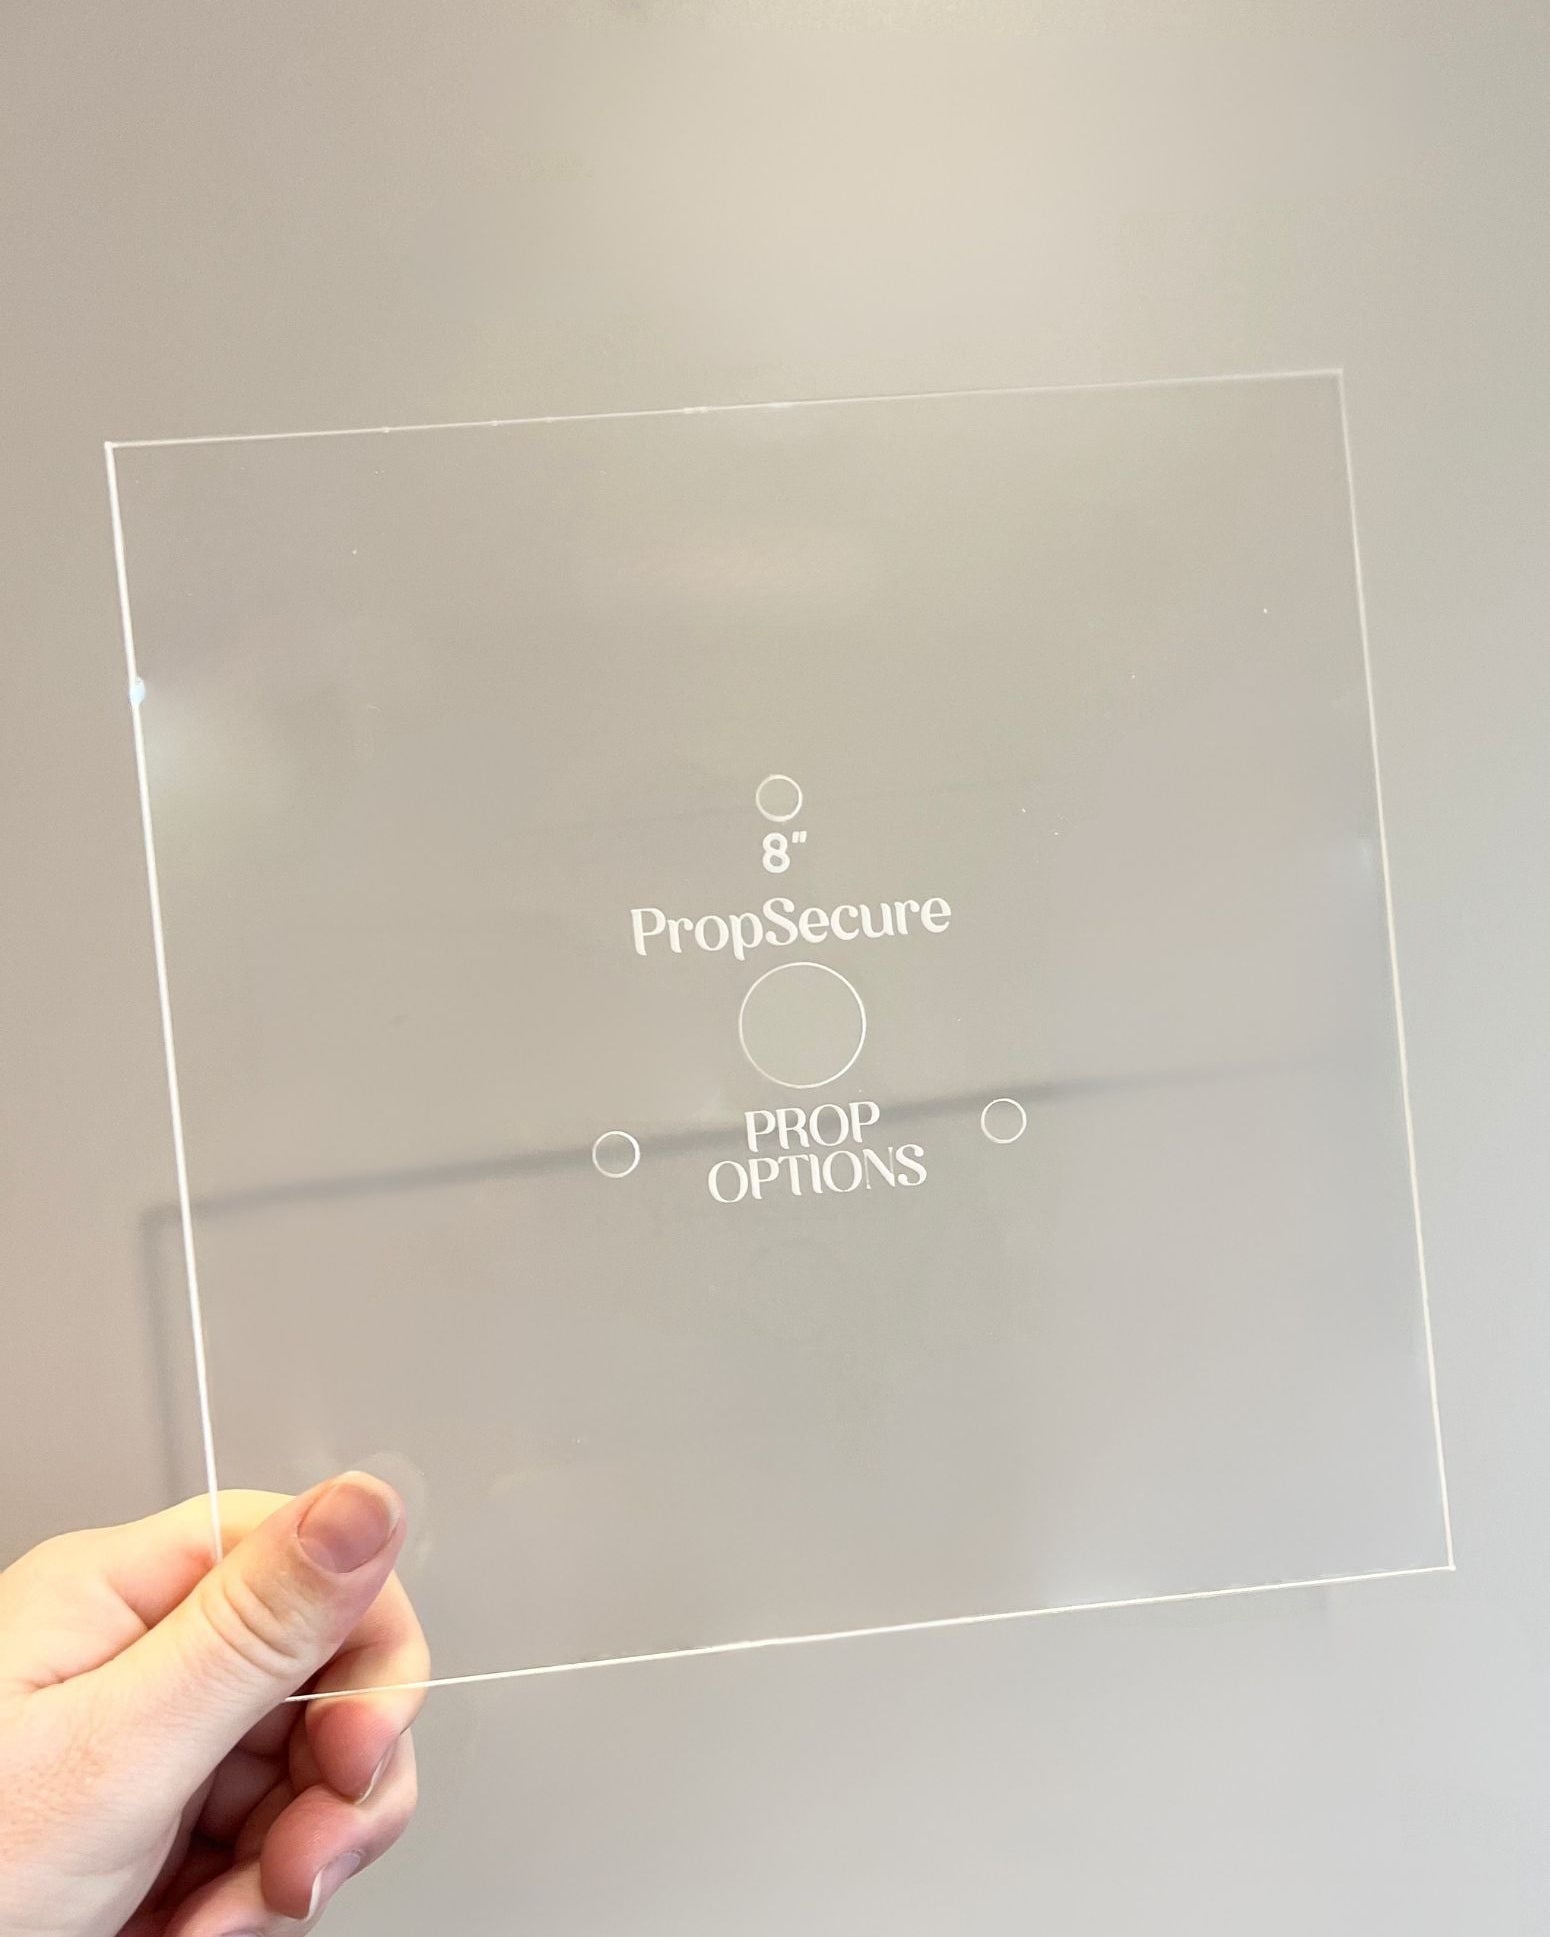
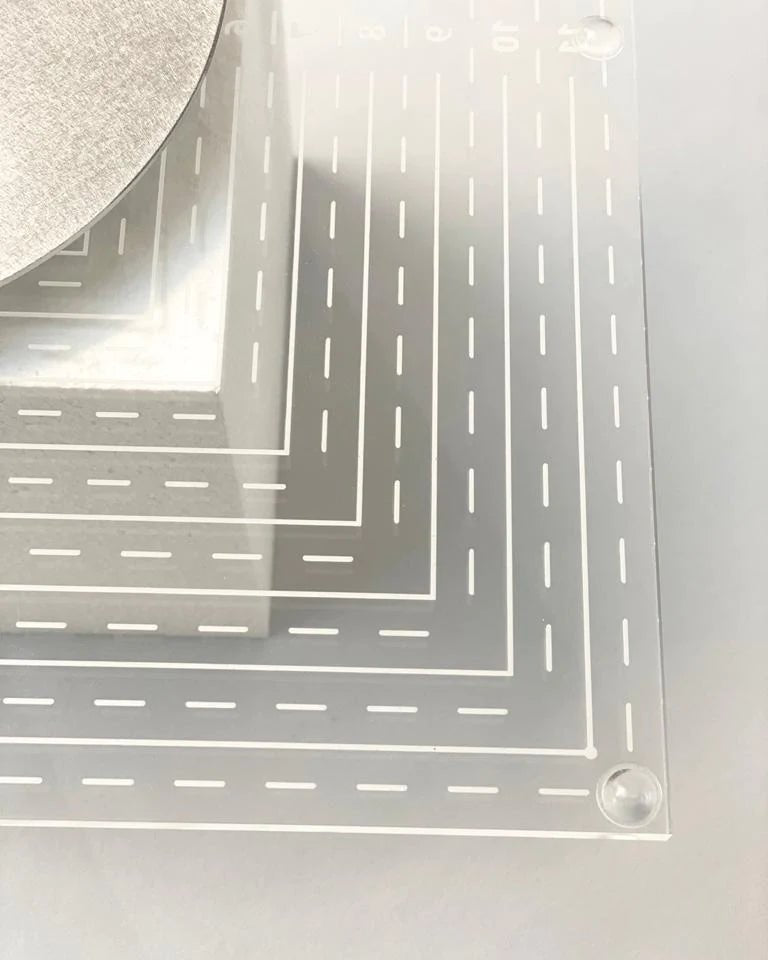
- Gather Your Dimension Plate: The dimension plate from the Cake Compass features guides for various cake sizes in both inches and centimetres. In this example, we're working with an 8-inch dummy cake.
- Mark the Hole Locations: Place the dimension plate on top of the dummy cake and align it. Use a pencil to mark where the prop secure pins will go by tracing the holes on the plate.
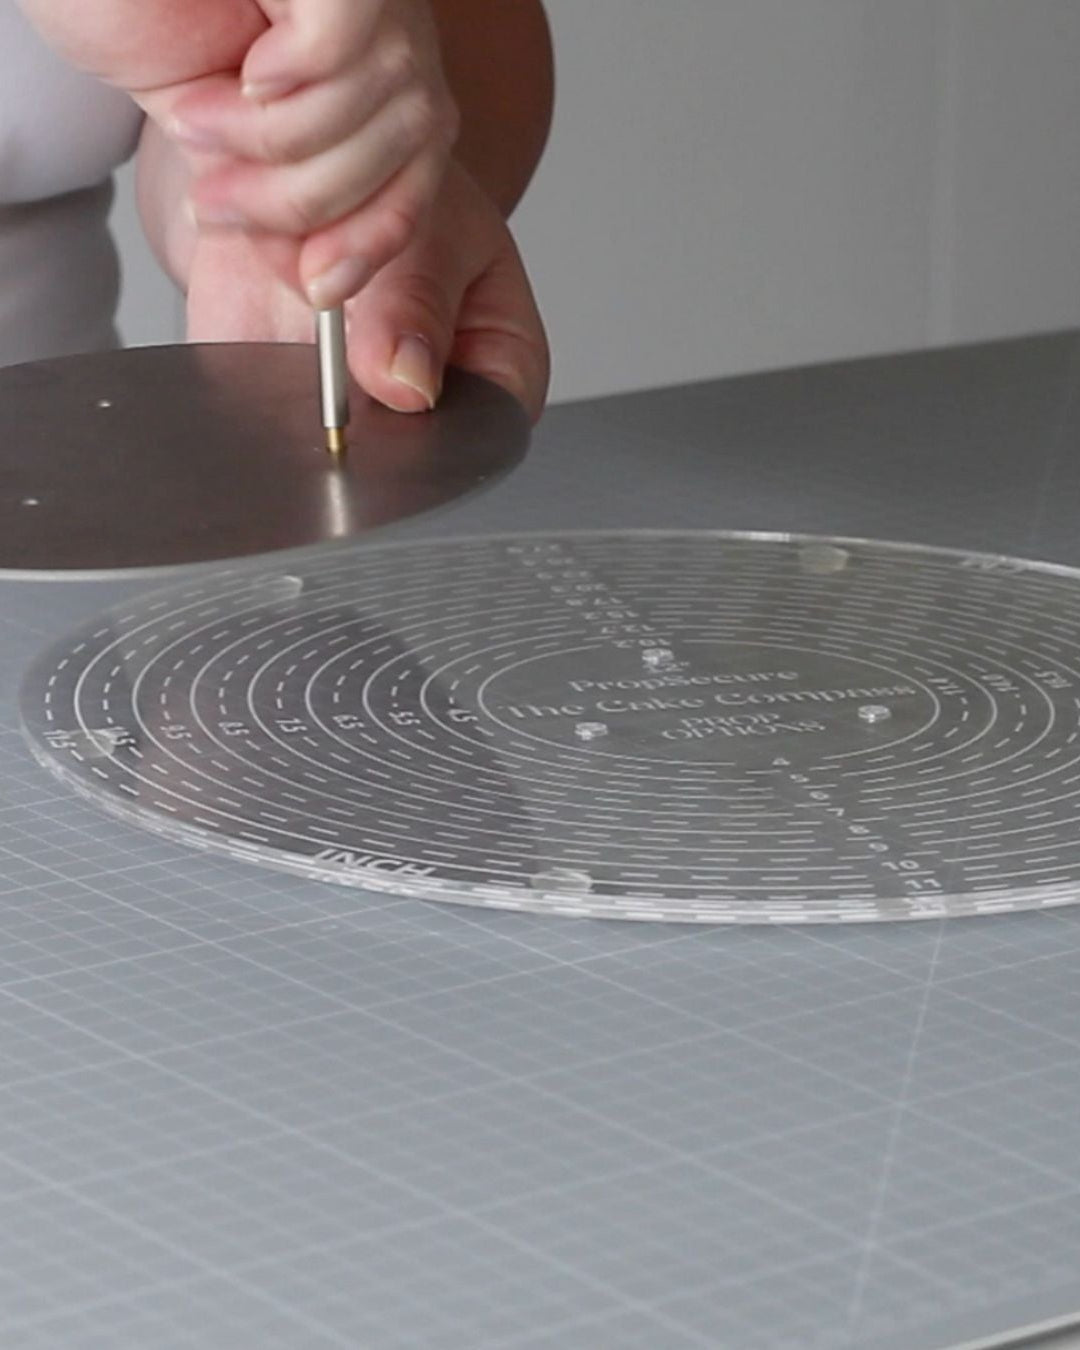
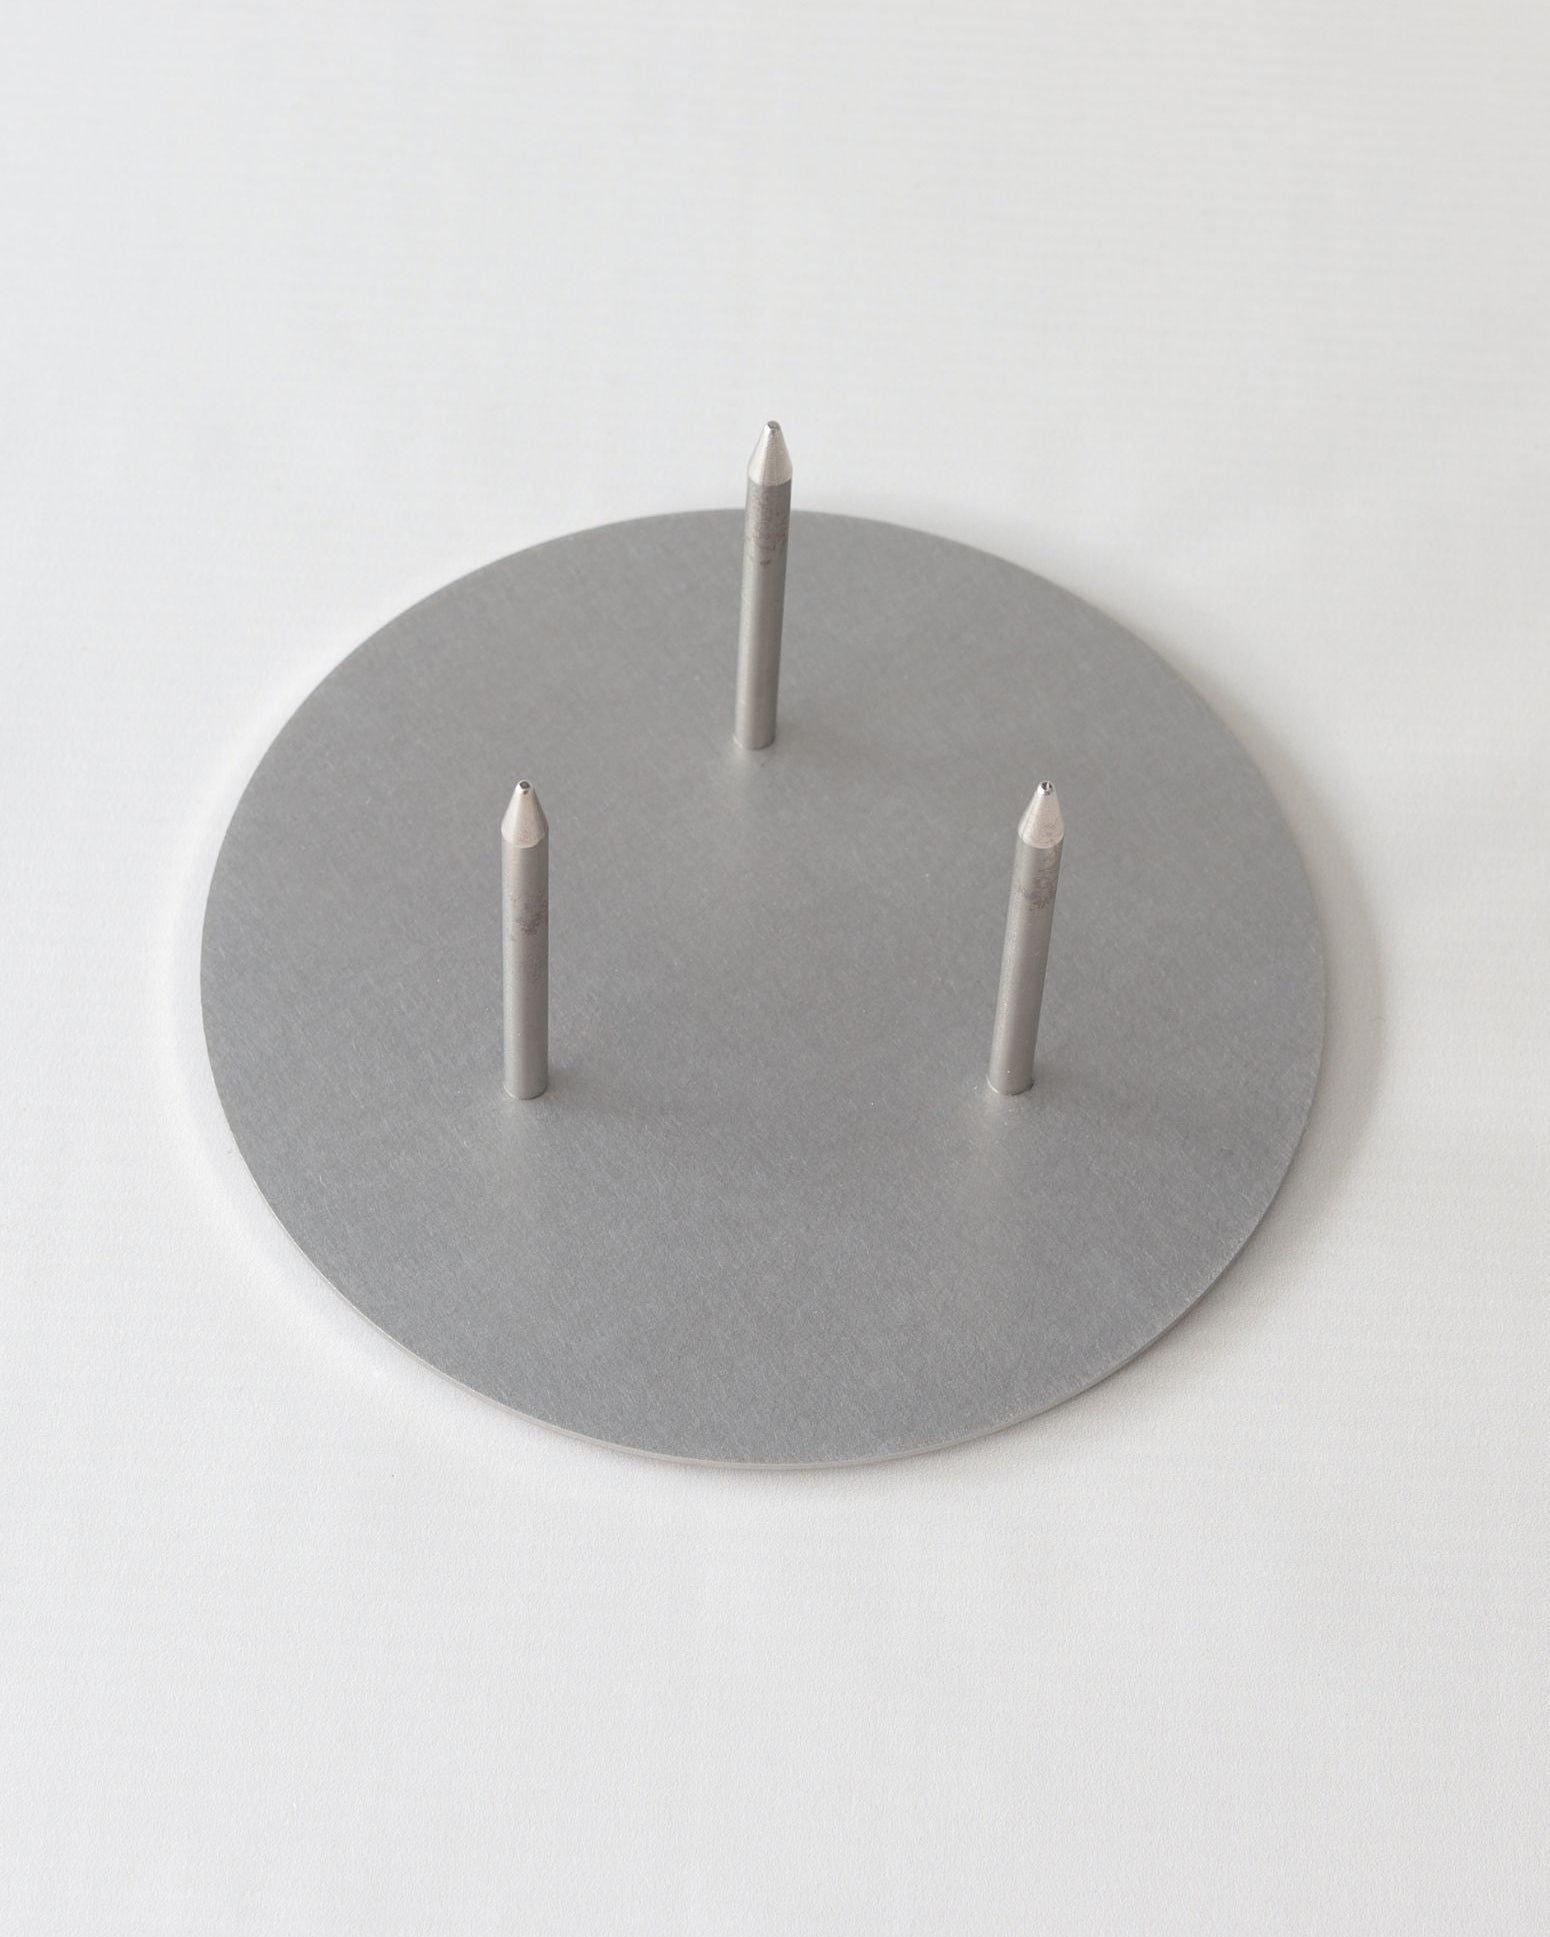
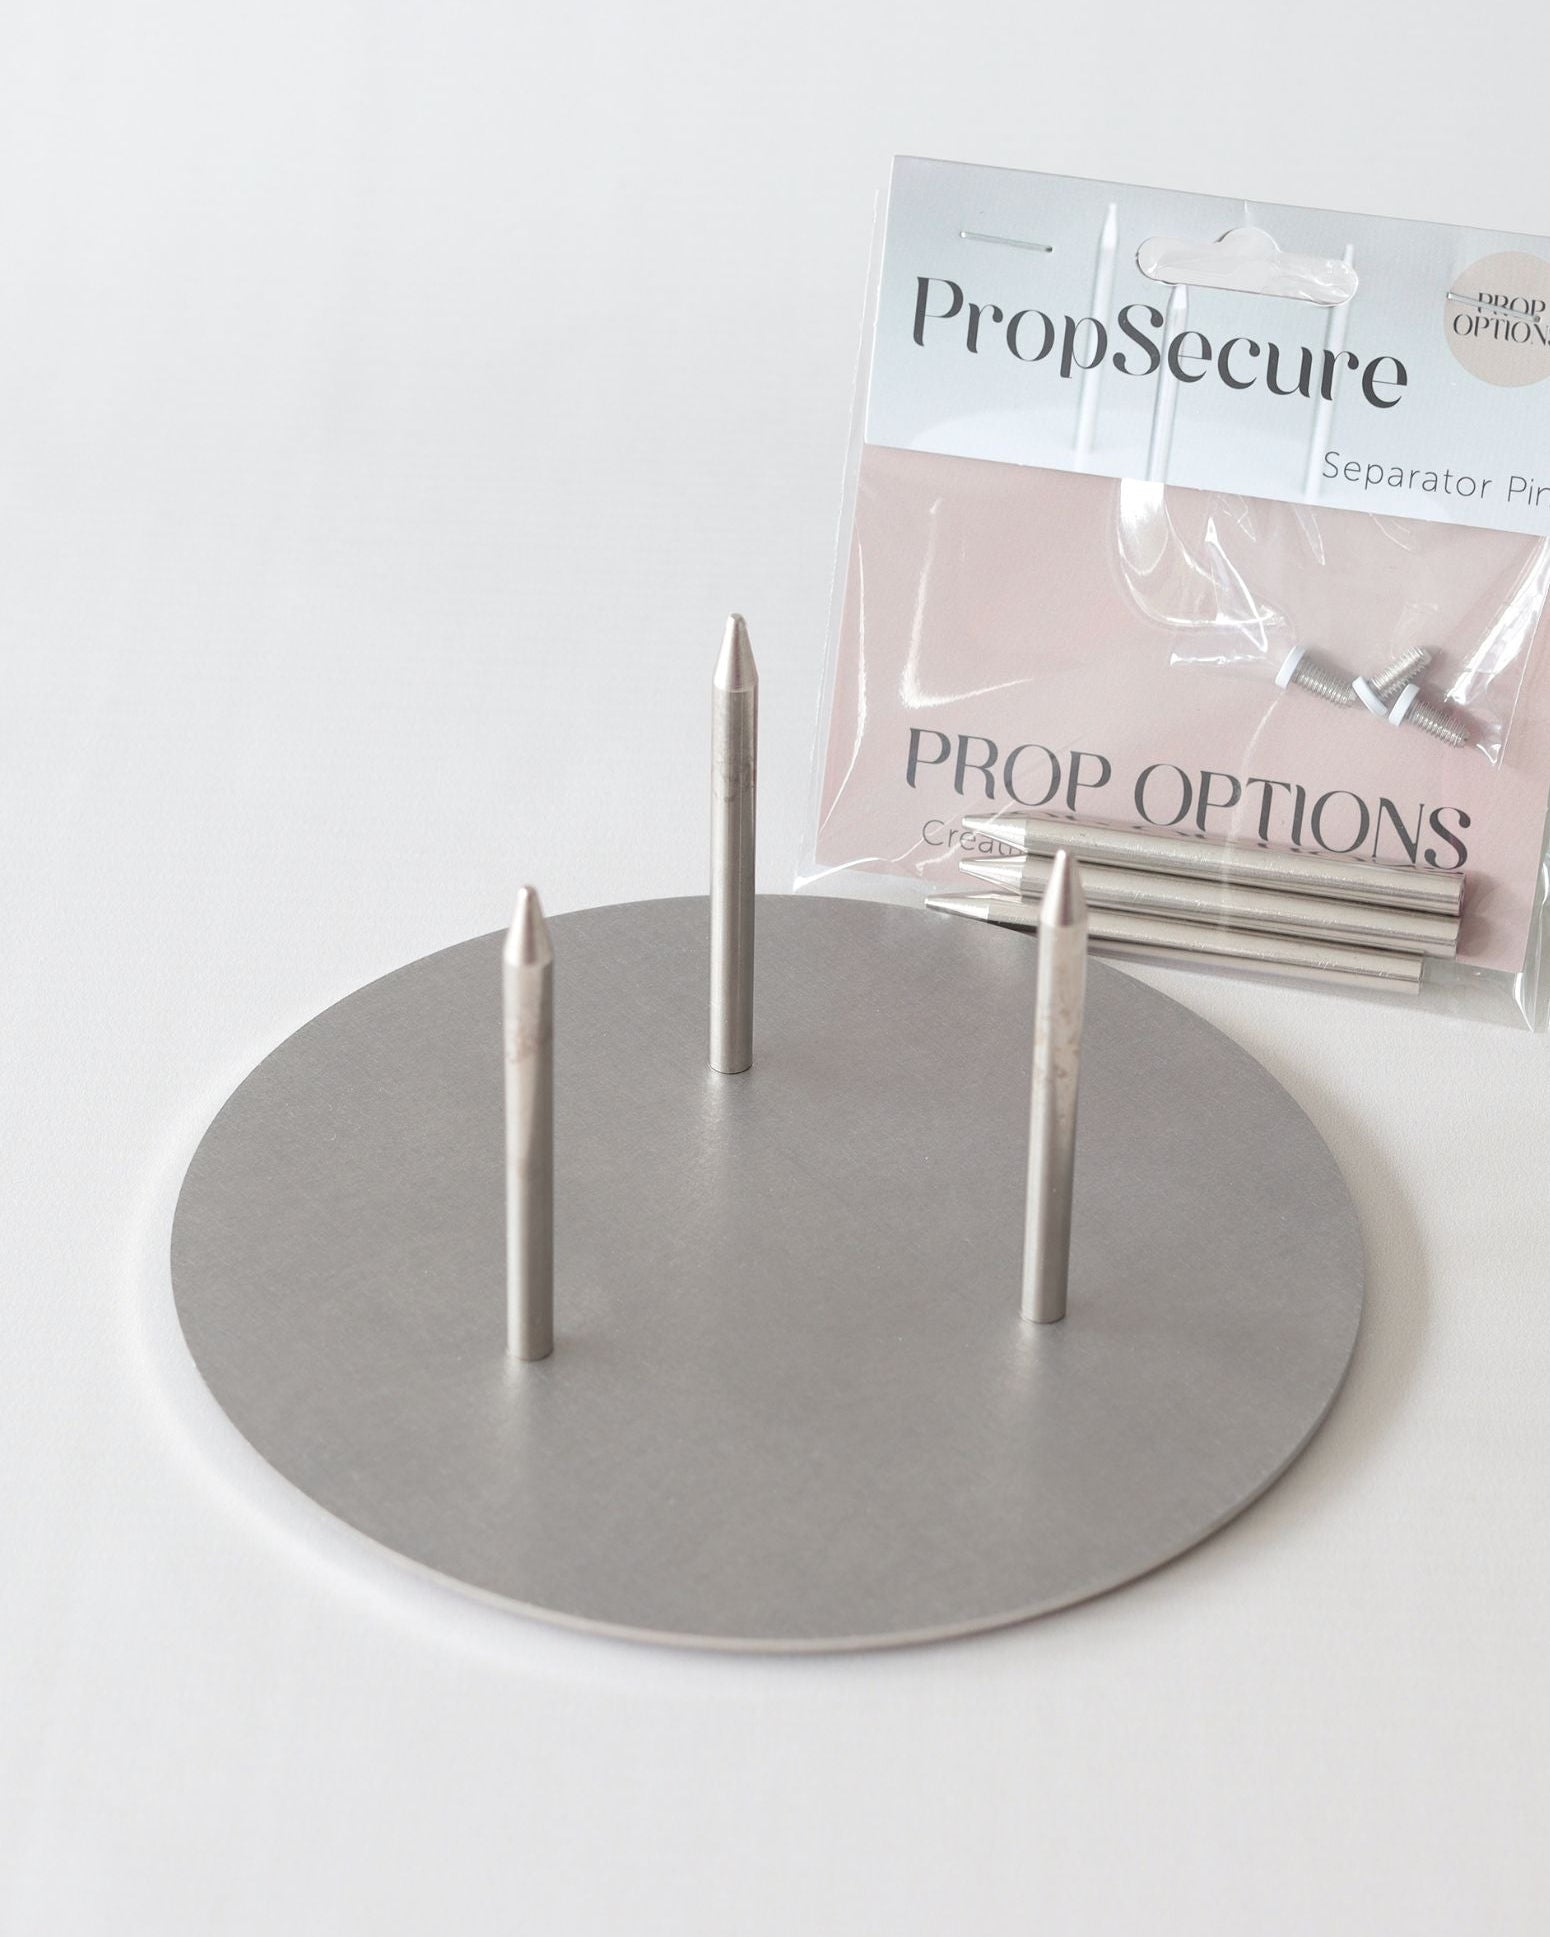
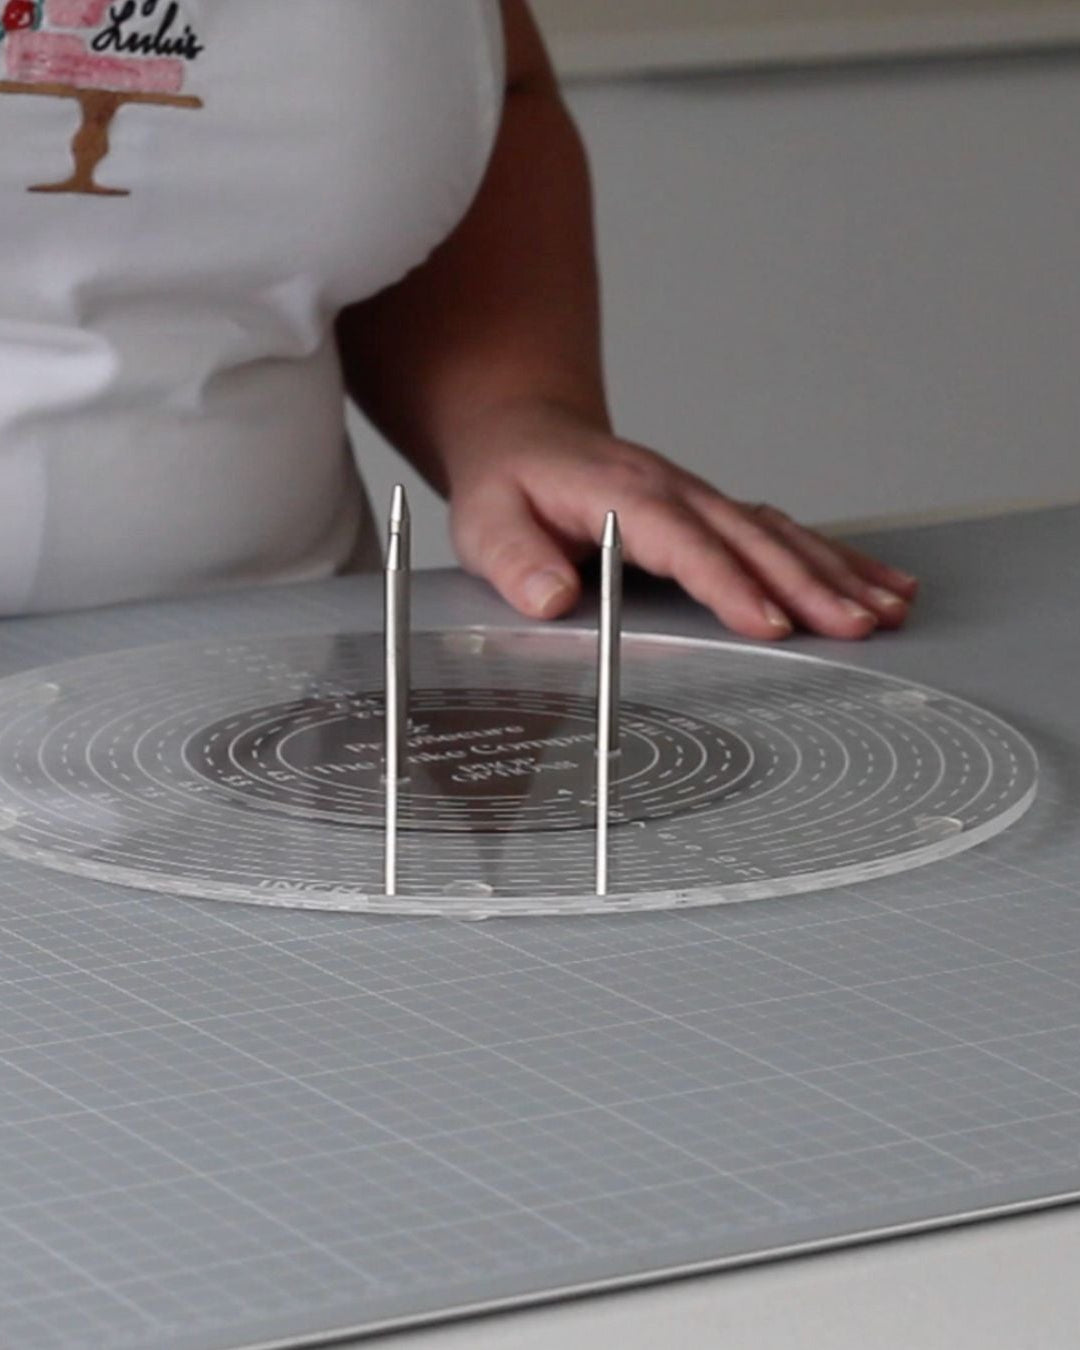
- Create the Holes: You can use a drill, a paintbrush handle, or any similar tool to make the holes. This process may create some polystyrene debris, but a damp piece of kitchen roll can easily clean up the mess. You can also use the PropSecure Pins (attached to the plate) to make the holes. Insert the pins in place and then remove them. We would recommend doing this before decorating for ease of removing the tier from the Cake Compass once decorated.
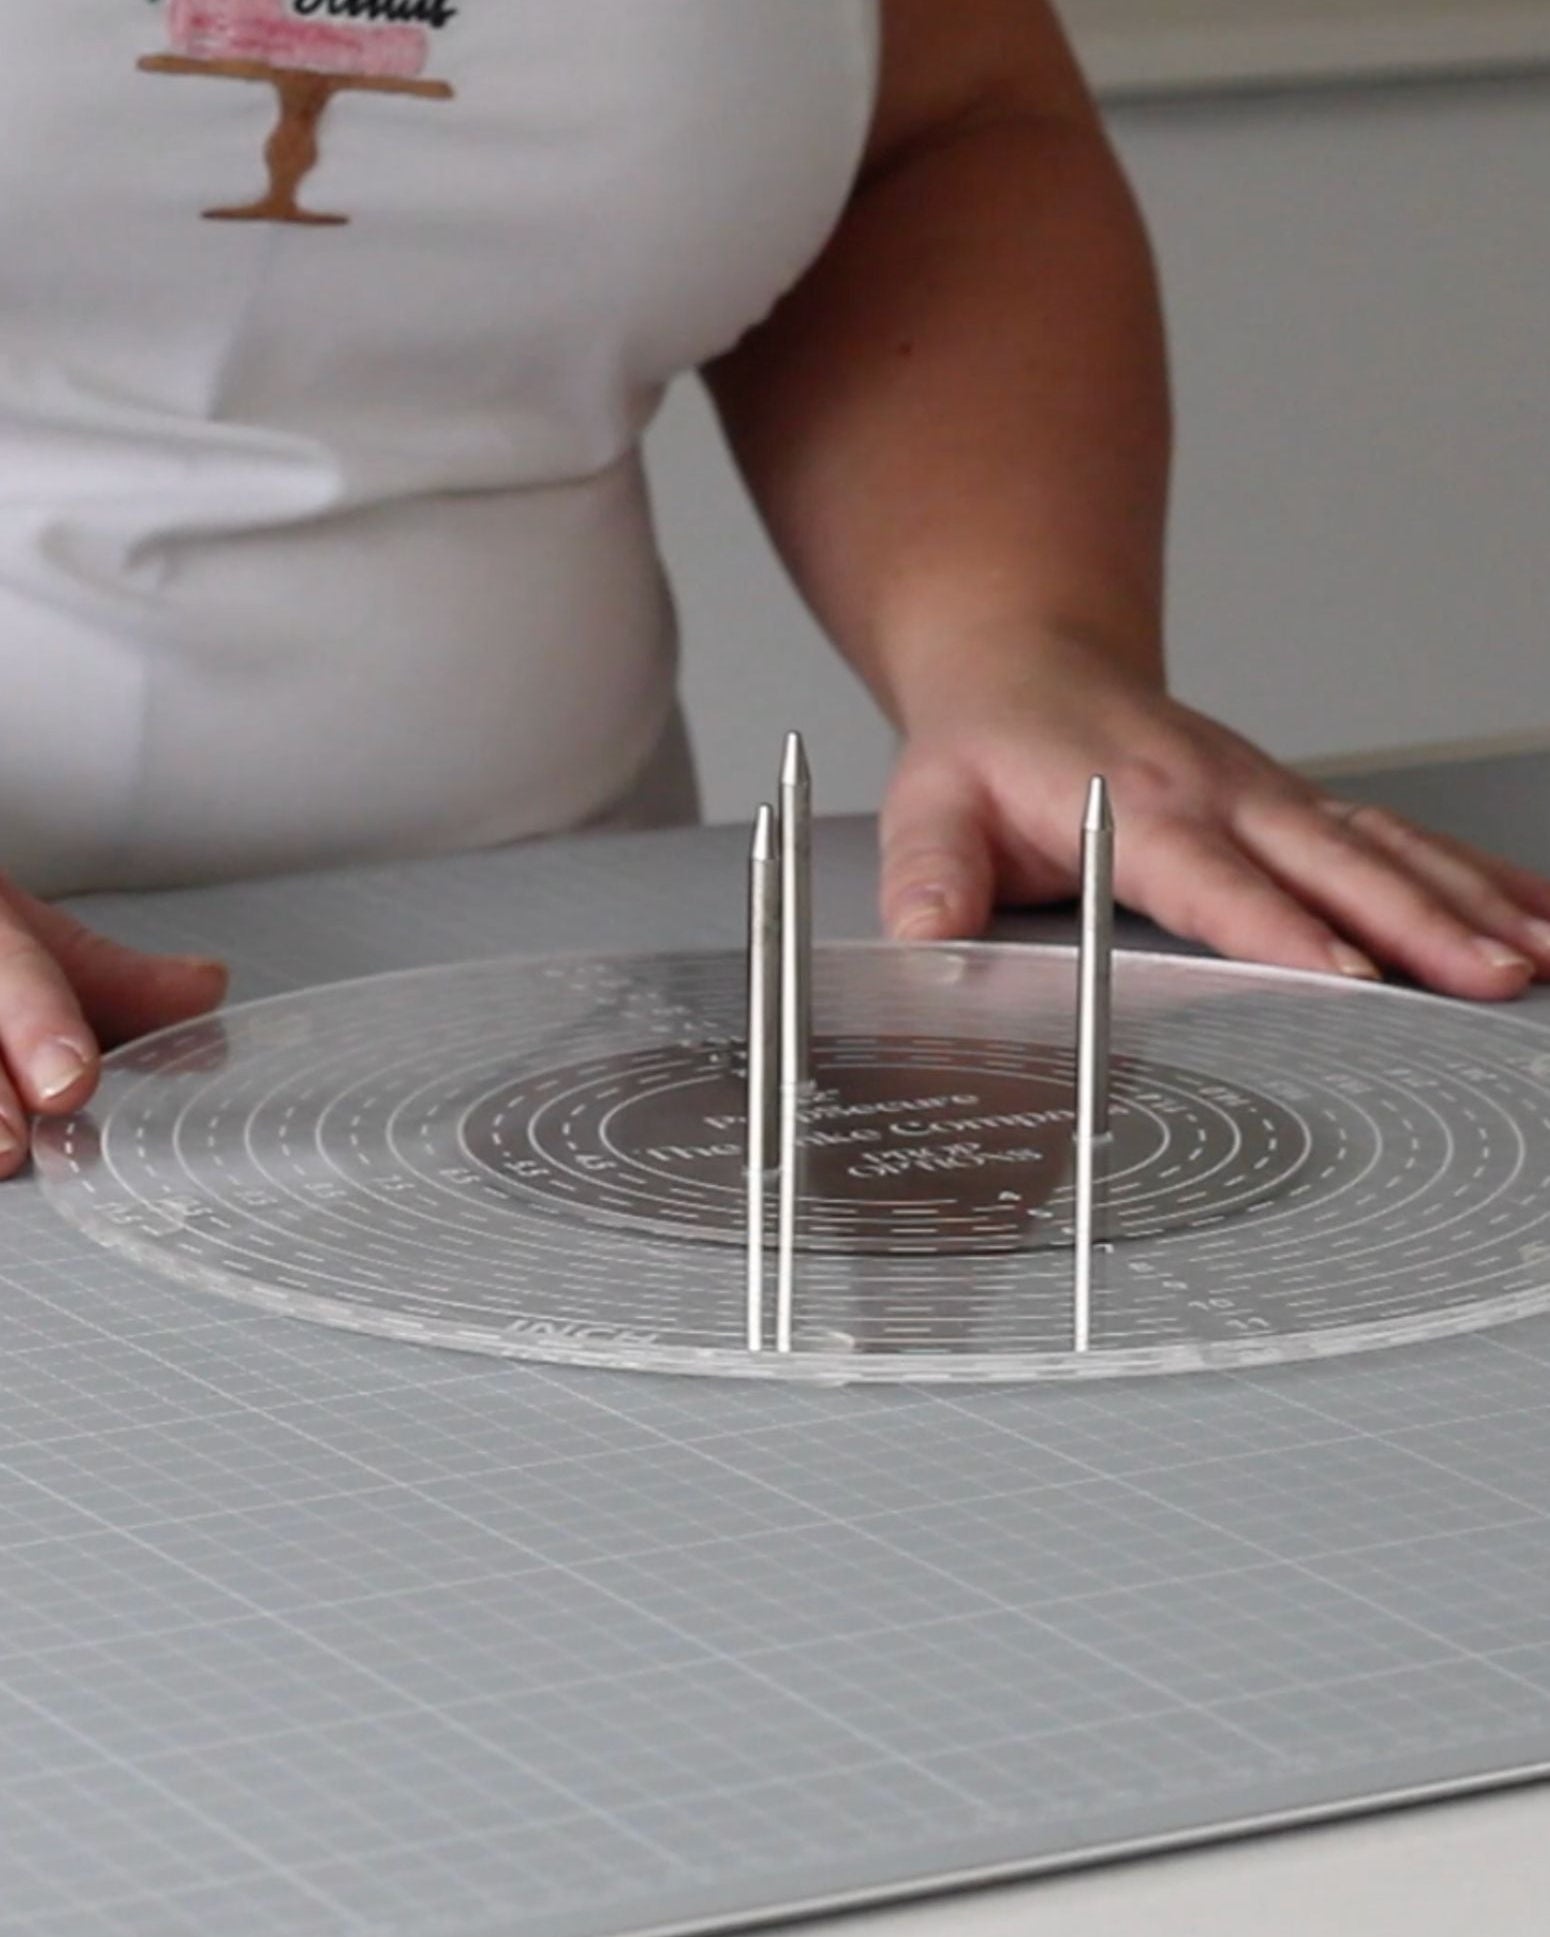
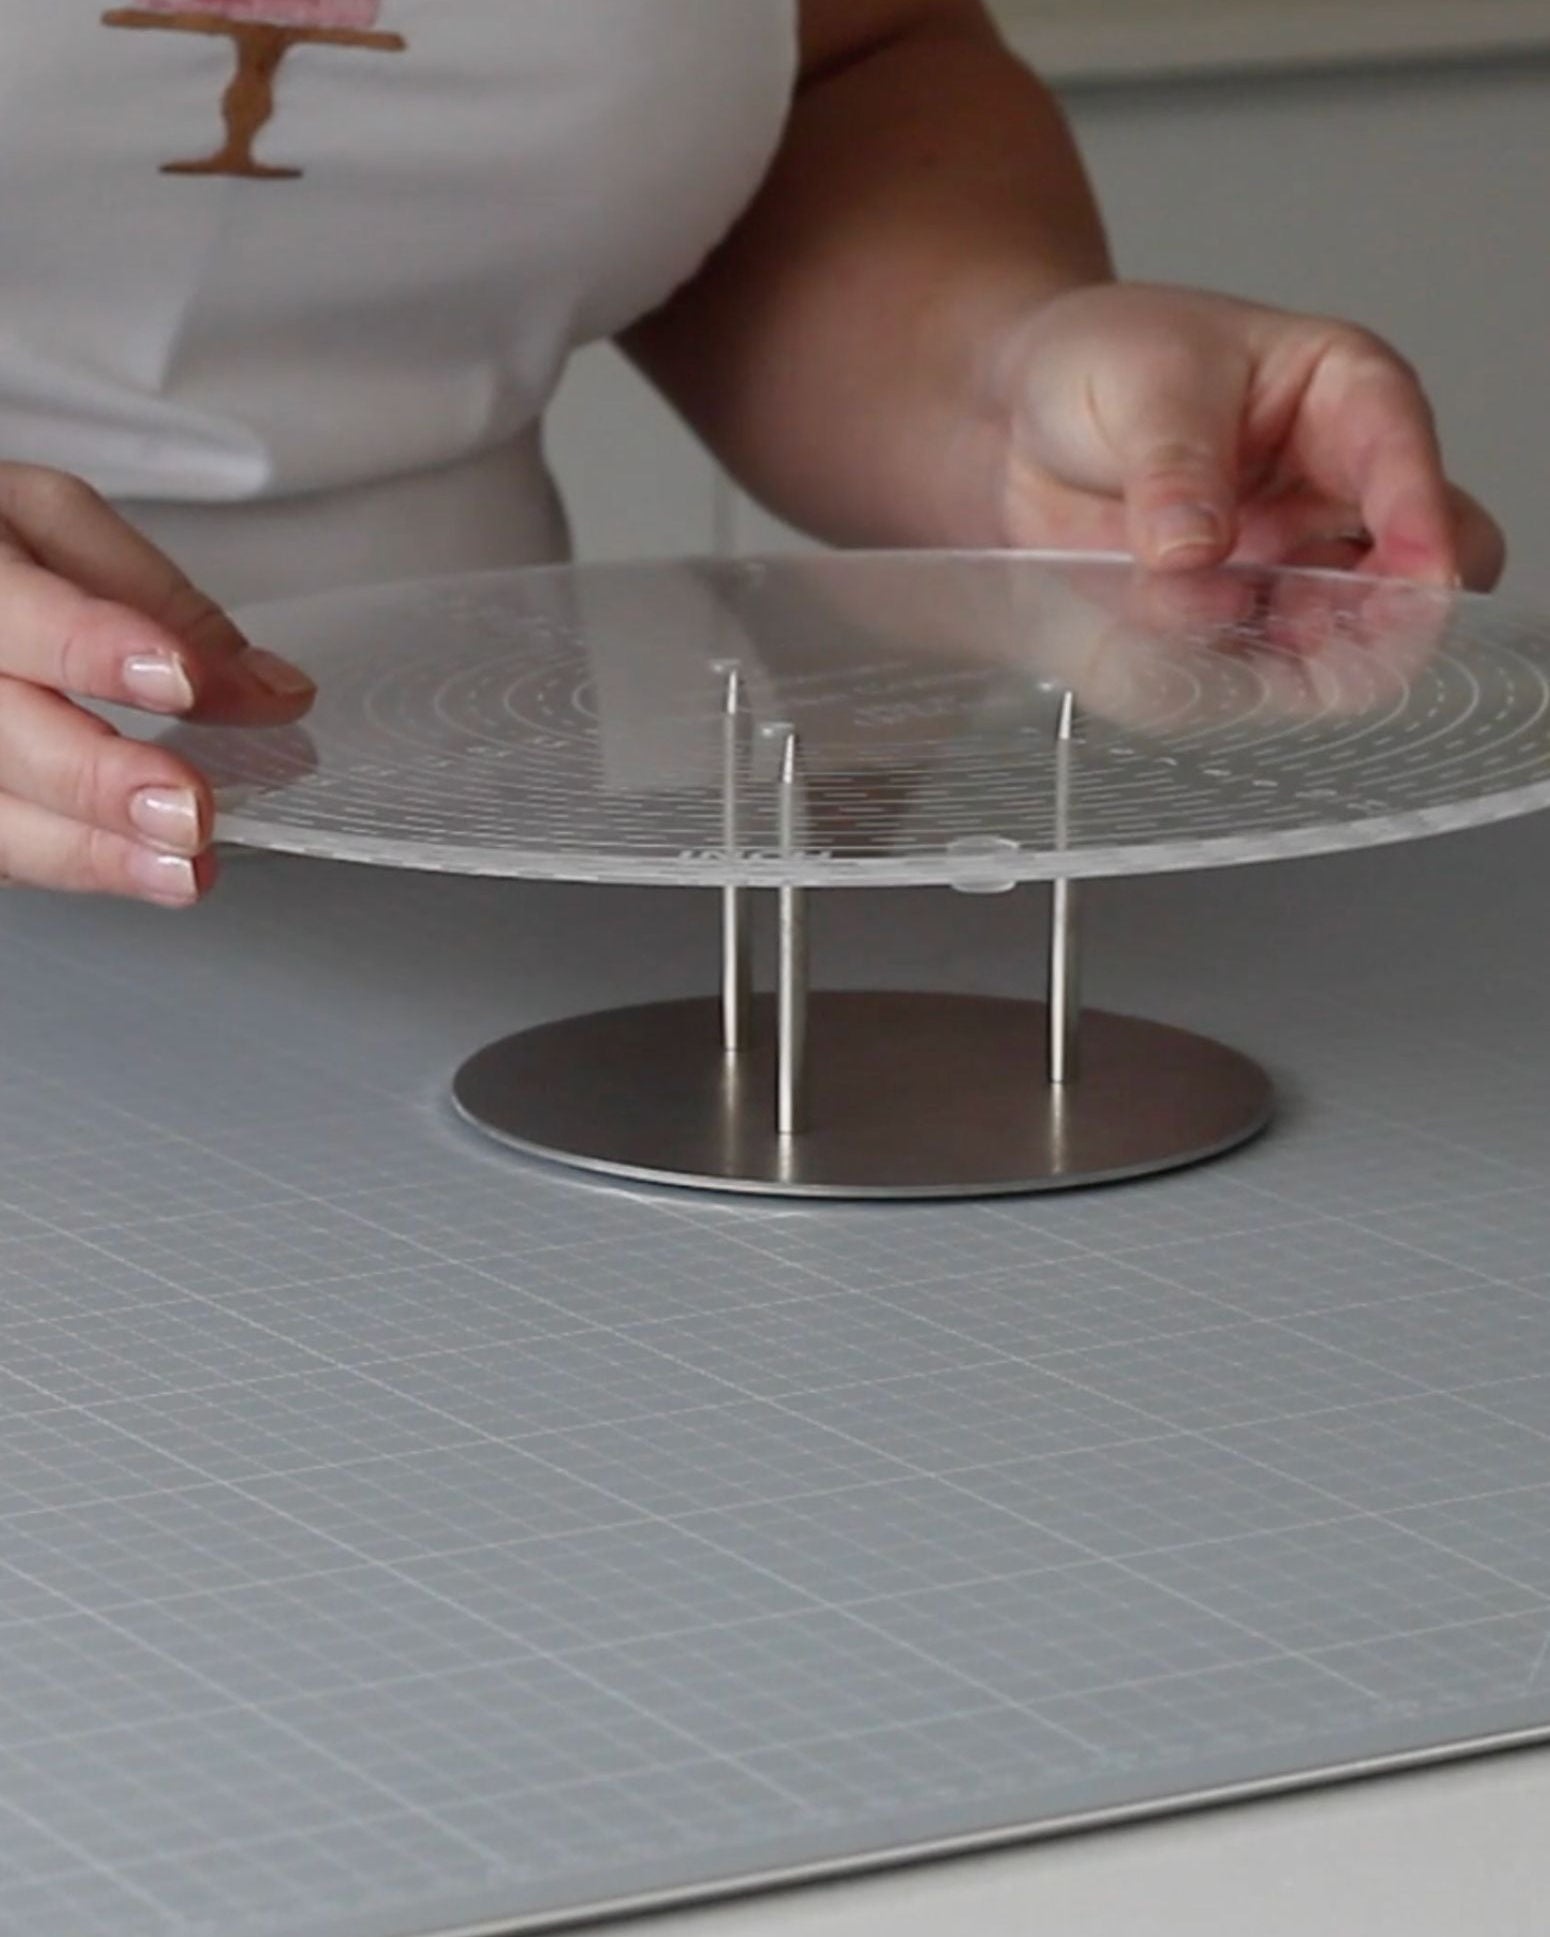
Step Two: Setting Up the Cake Compass
Now that the dummy cake is prepped, it's time to attach it to the Cake Compass:
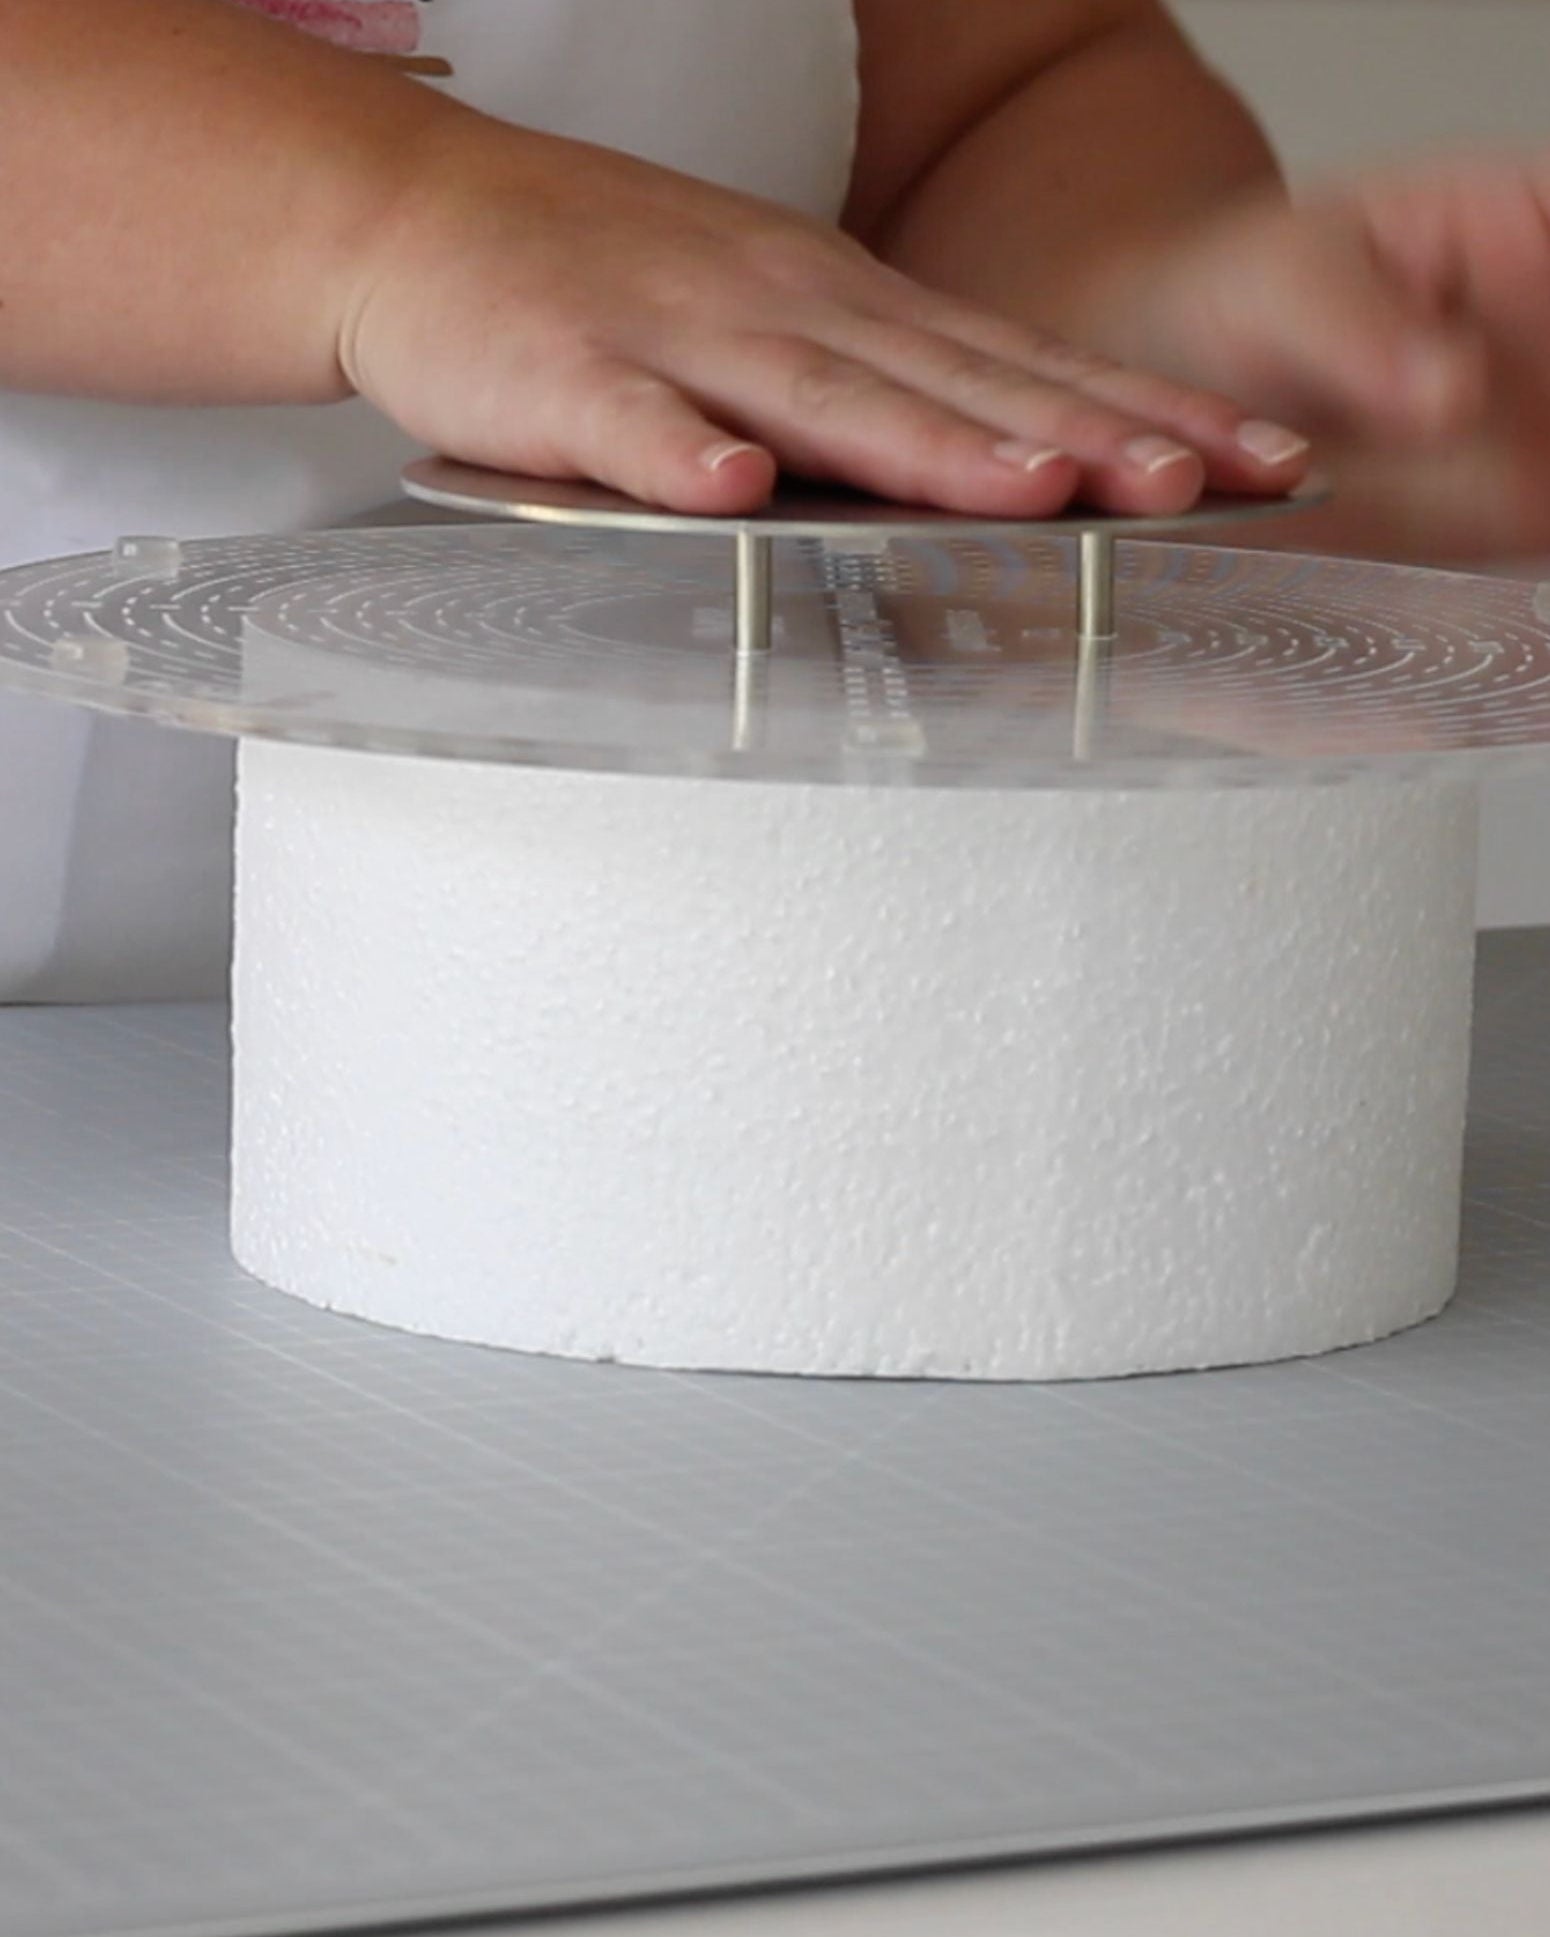
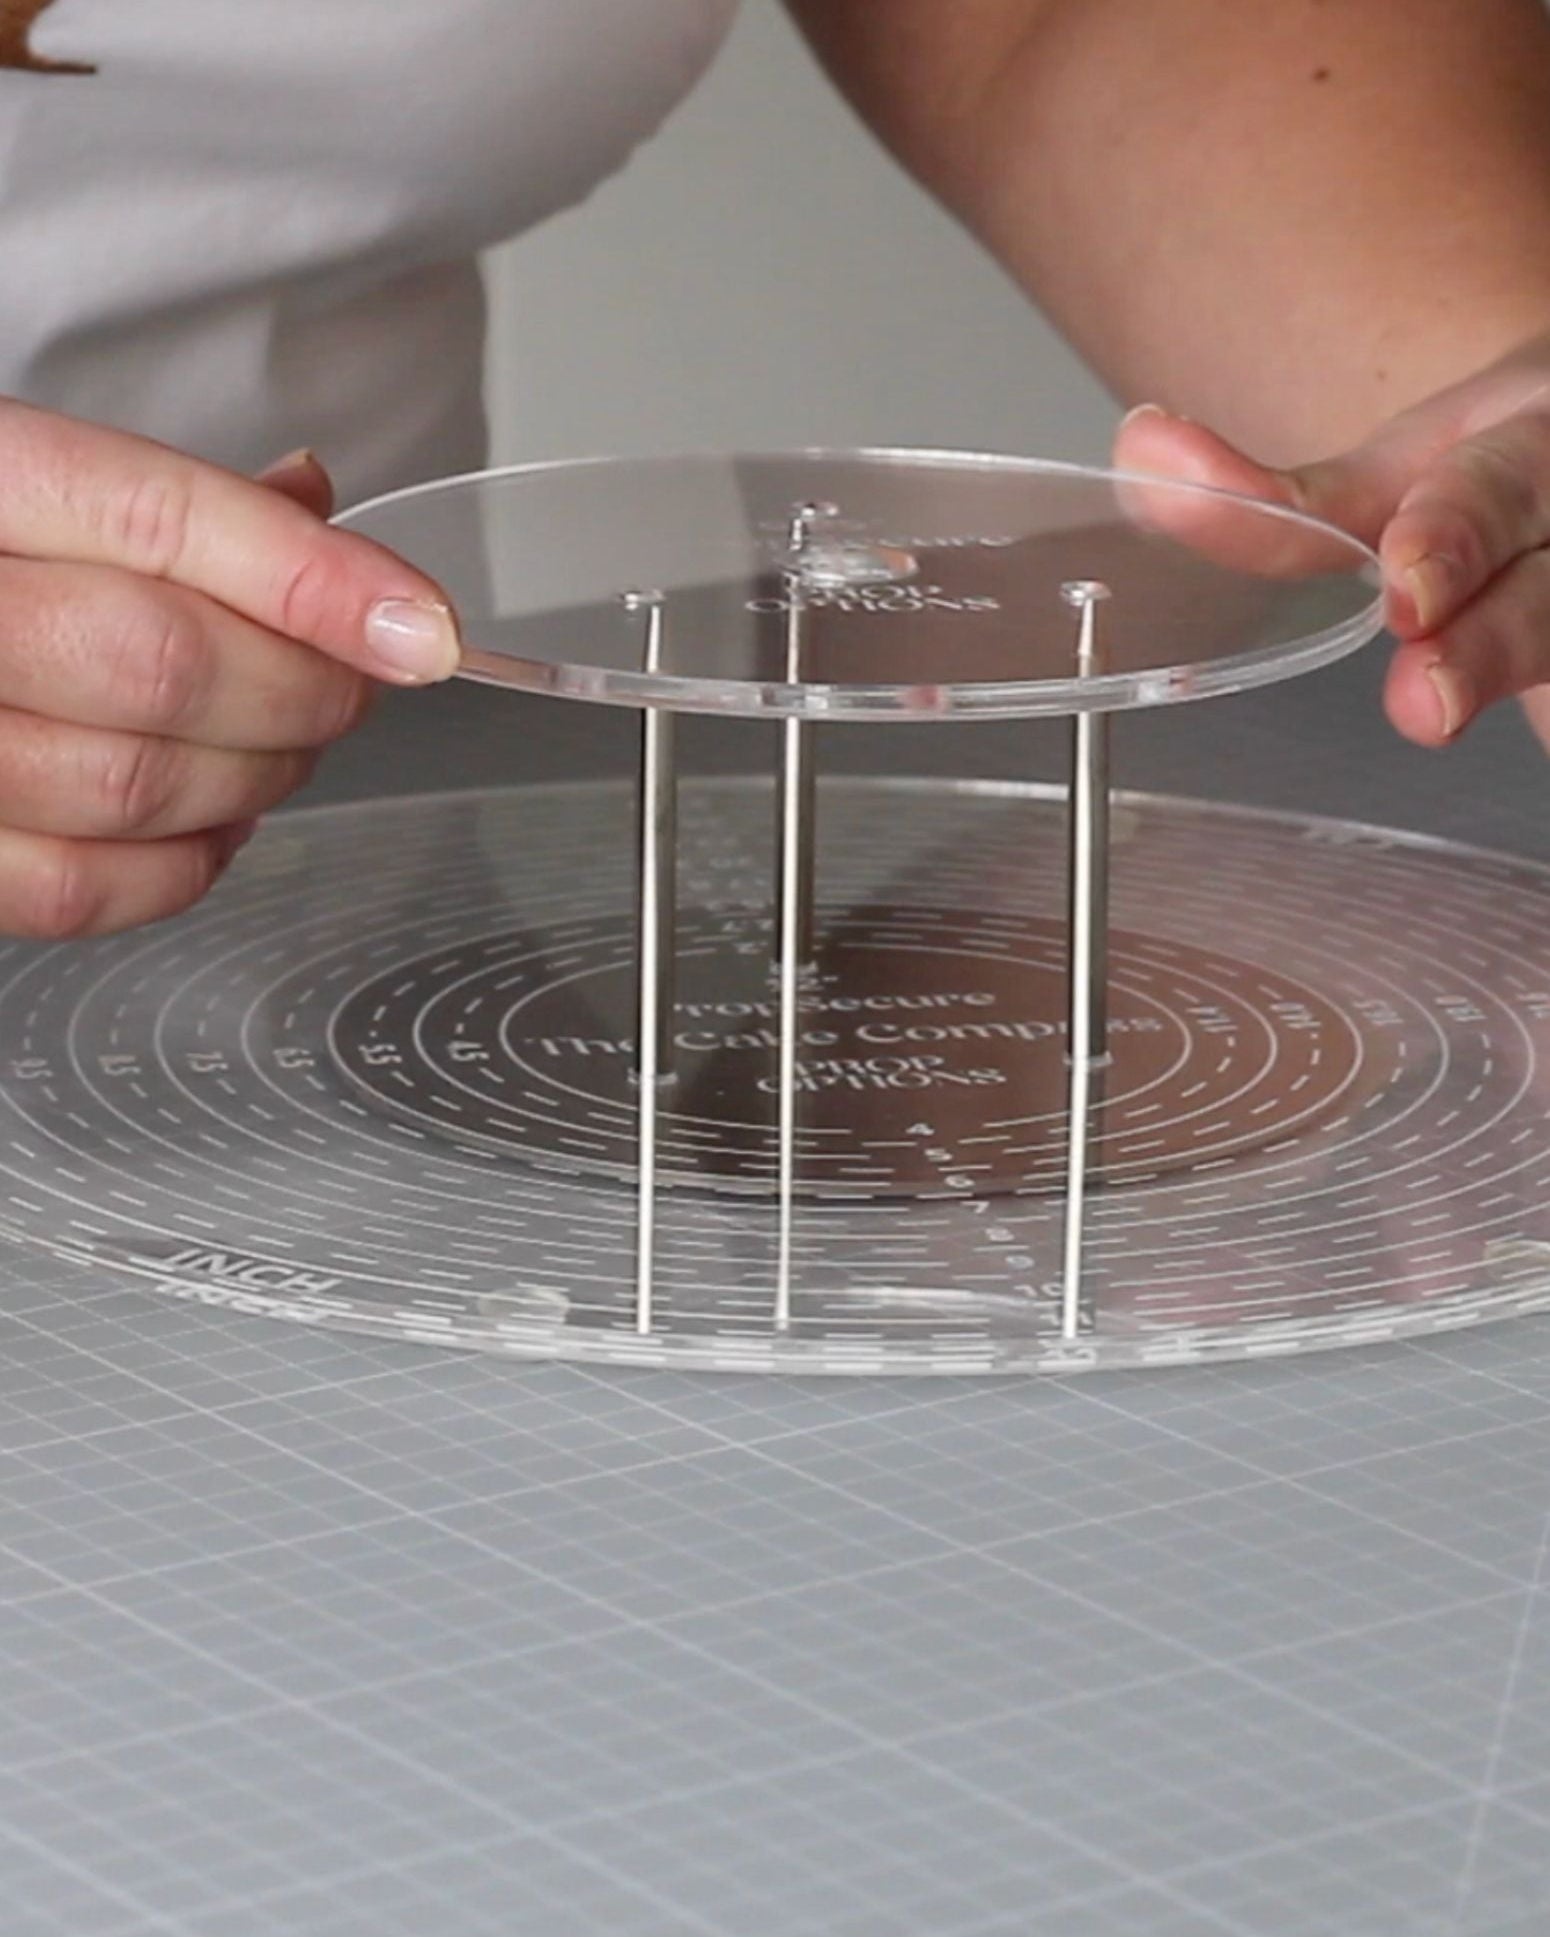
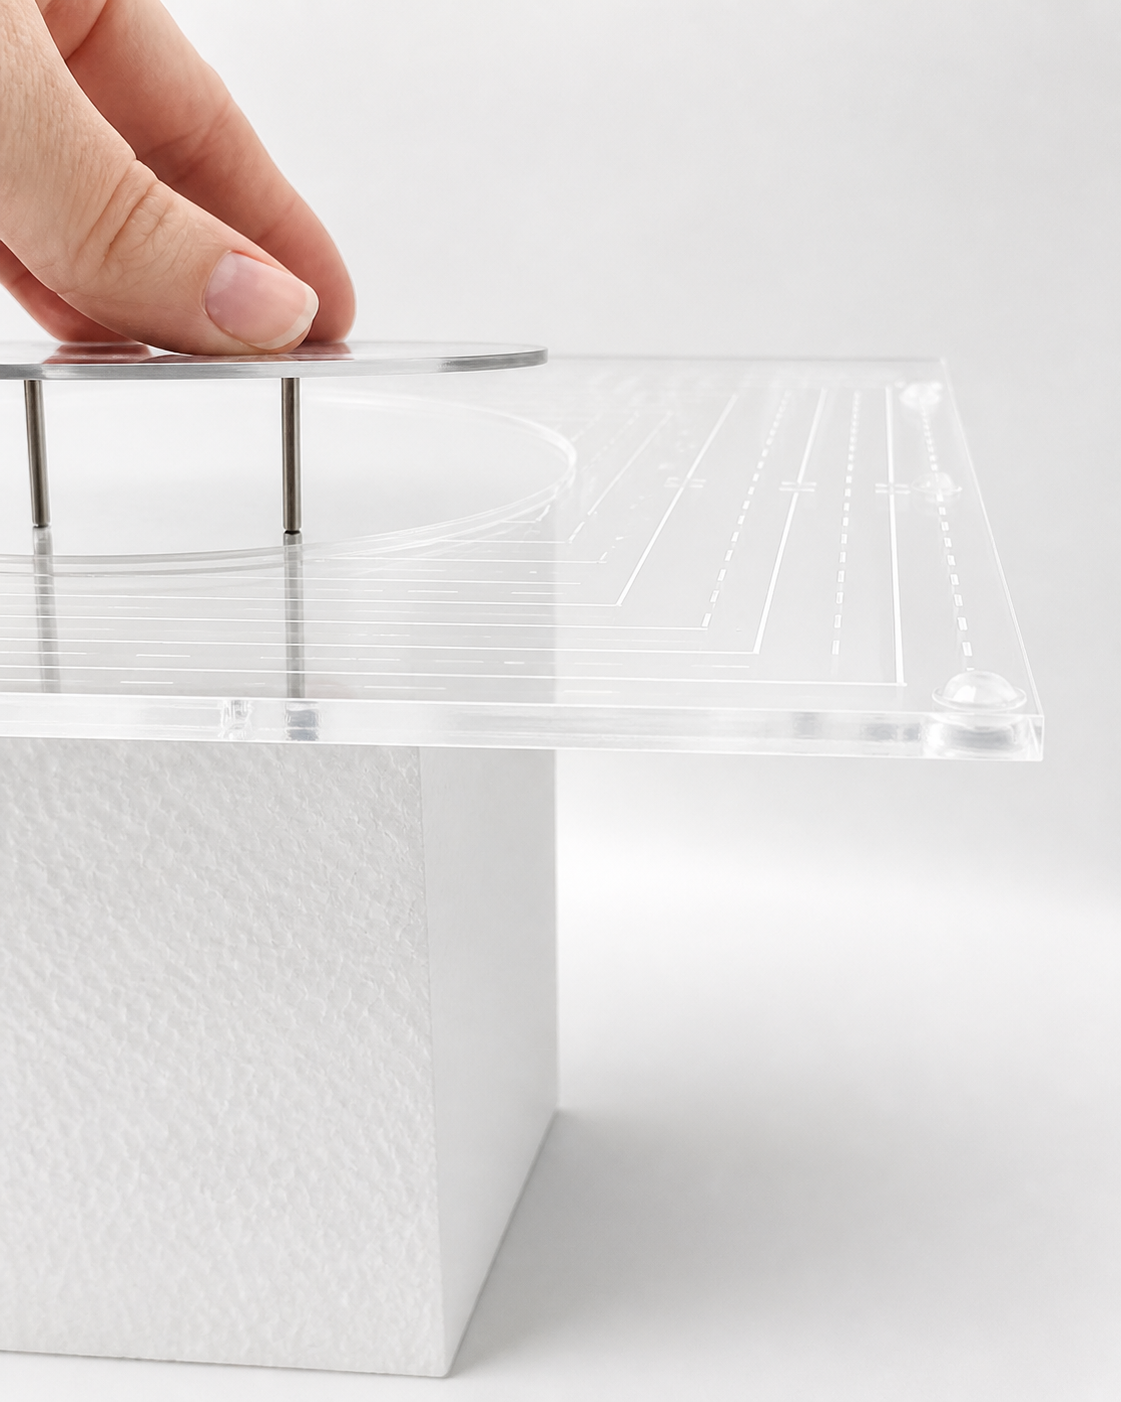
- Attach the Dimension Plate: Flip the dimension plate from the Cake Compass so that the small feet are on top. Align the holes in the plate with those on your dummy cake.
- Insert the Prop Secure Pins: Push the pins and plate into the dummy cake to secure it firmly.
- Flip the Cake: Once secured, flip the cake right-side up. It is now stable and ready for decorating.

Step Three: Preparing the Sugar Paste
Next, prepare your sugar paste for covering the dummy cake:
- Roll Out the Sugar Paste: Roll out your sugar paste to the desired size and thickness.
- Prep the Cake Surface: Apply a thin layer of vegetable fat, water, or any adhesive you usually use to help the sugar paste stick to the dummy cake.
Step Four: Covering the Dummy Cake
With your sugar paste ready, it's time to cover the cake:
- Drape the Sugar Paste: Carefully lift the rolled-out sugar paste with your rolling pin and drape it over the dummy cake.
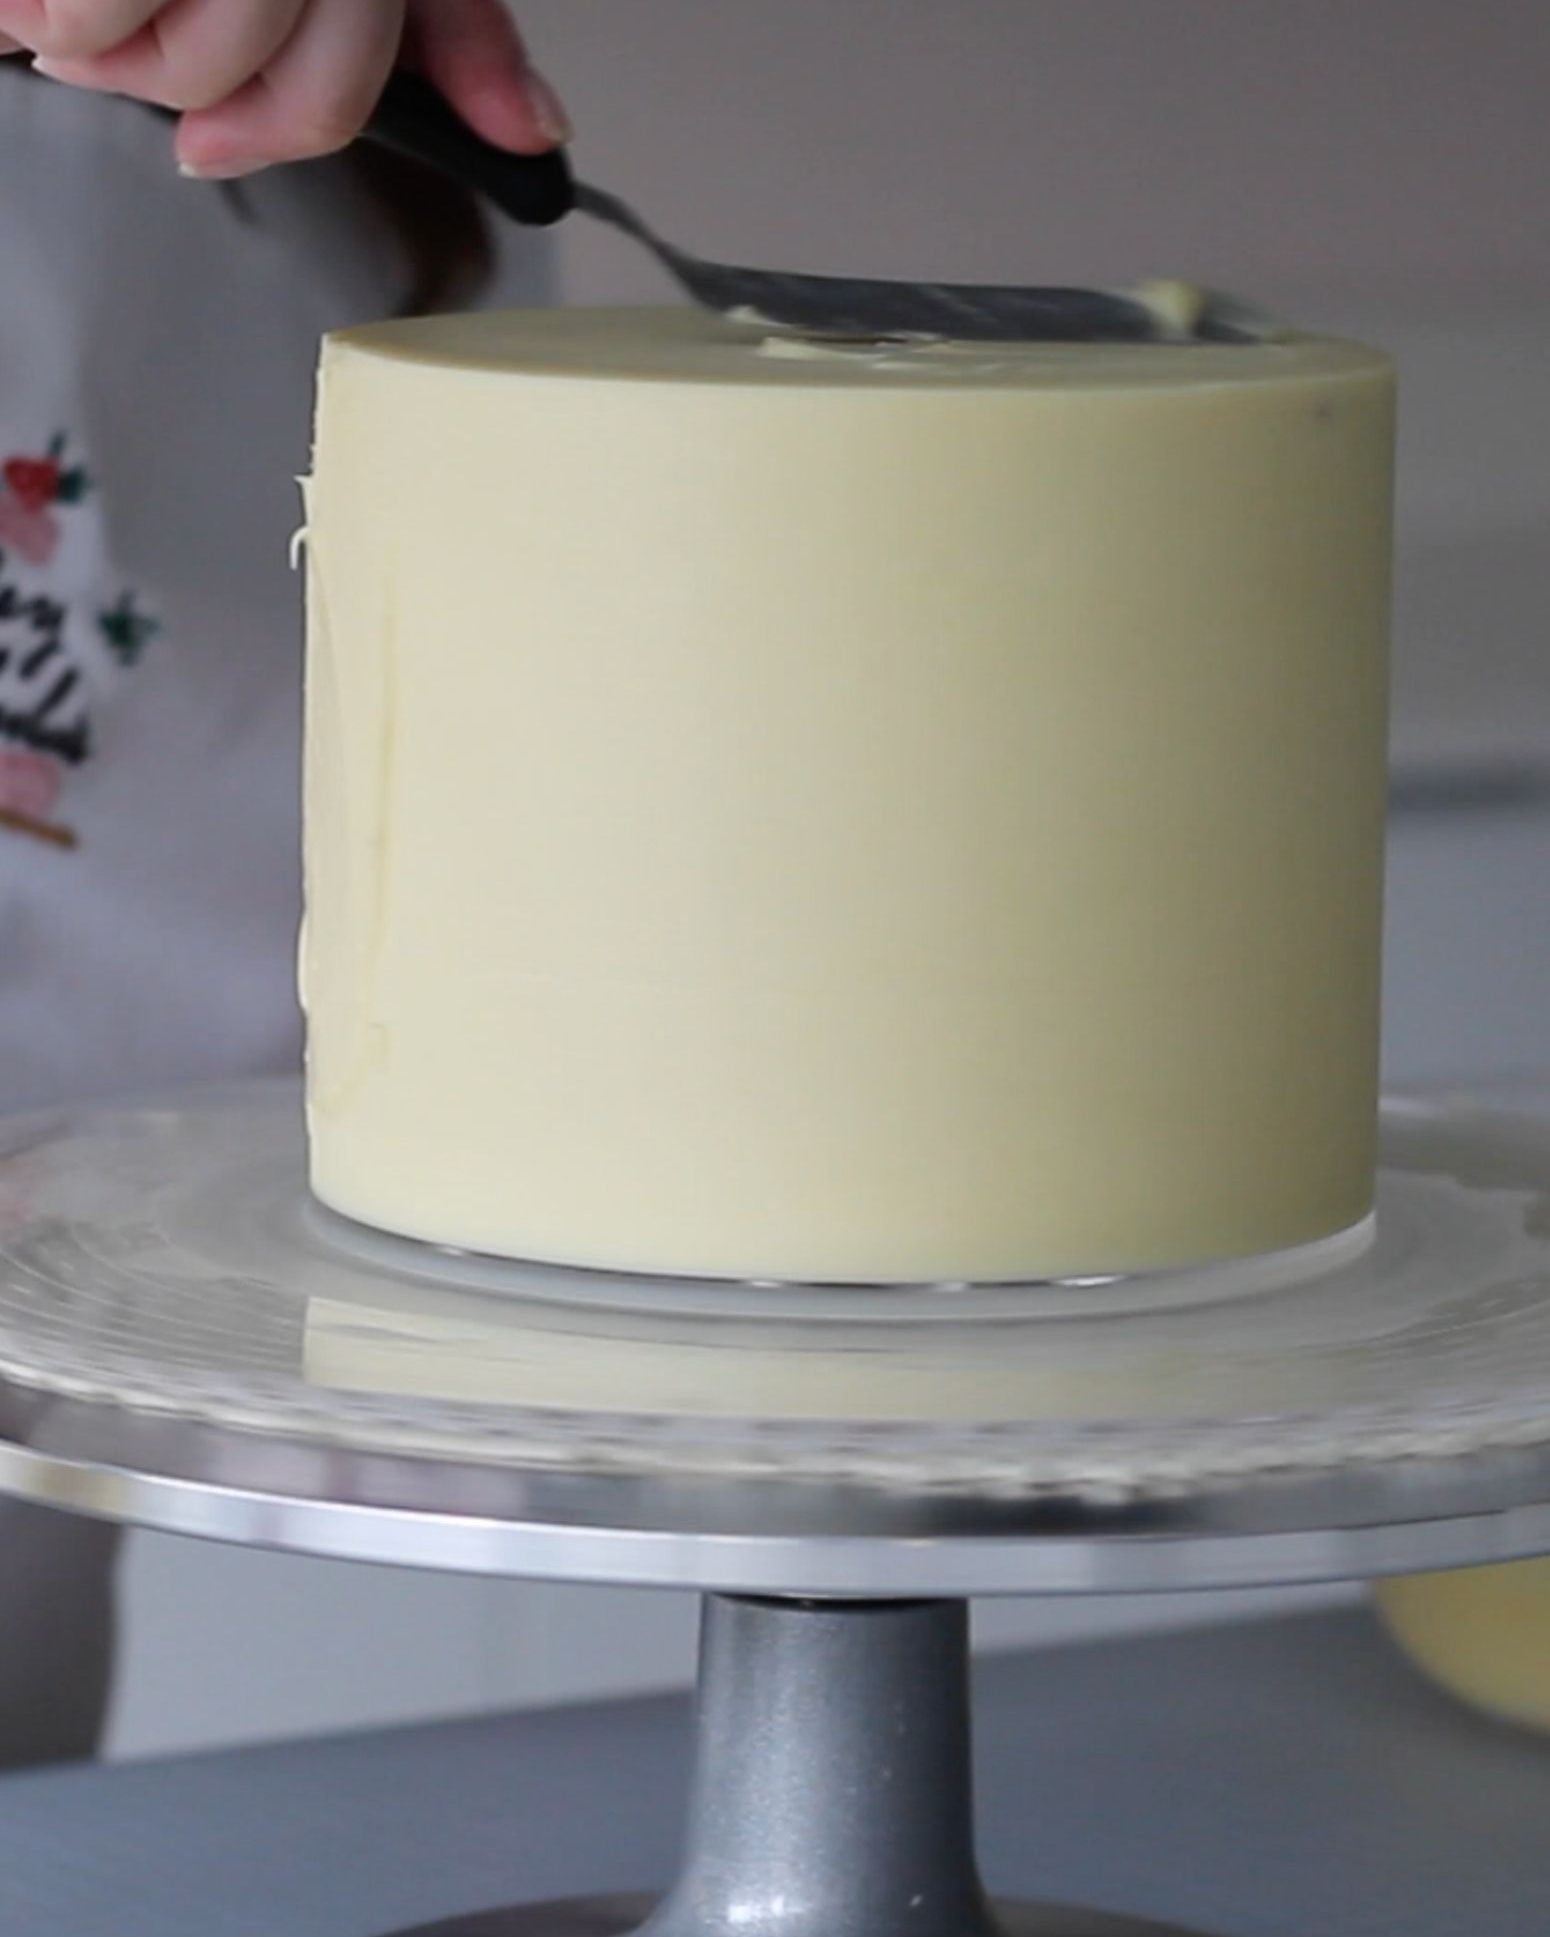
- Smooth the Top: Use a cake smoother to ensure the sugar paste adheres to the top of the cake without any air bubbles.
- Work Down the Sides: Push down the sugar paste and gently pull out any pleats as you smooth it around the cake. You’ll notice how the Cake Compass keeps the dummy cake steady, making this process easier.
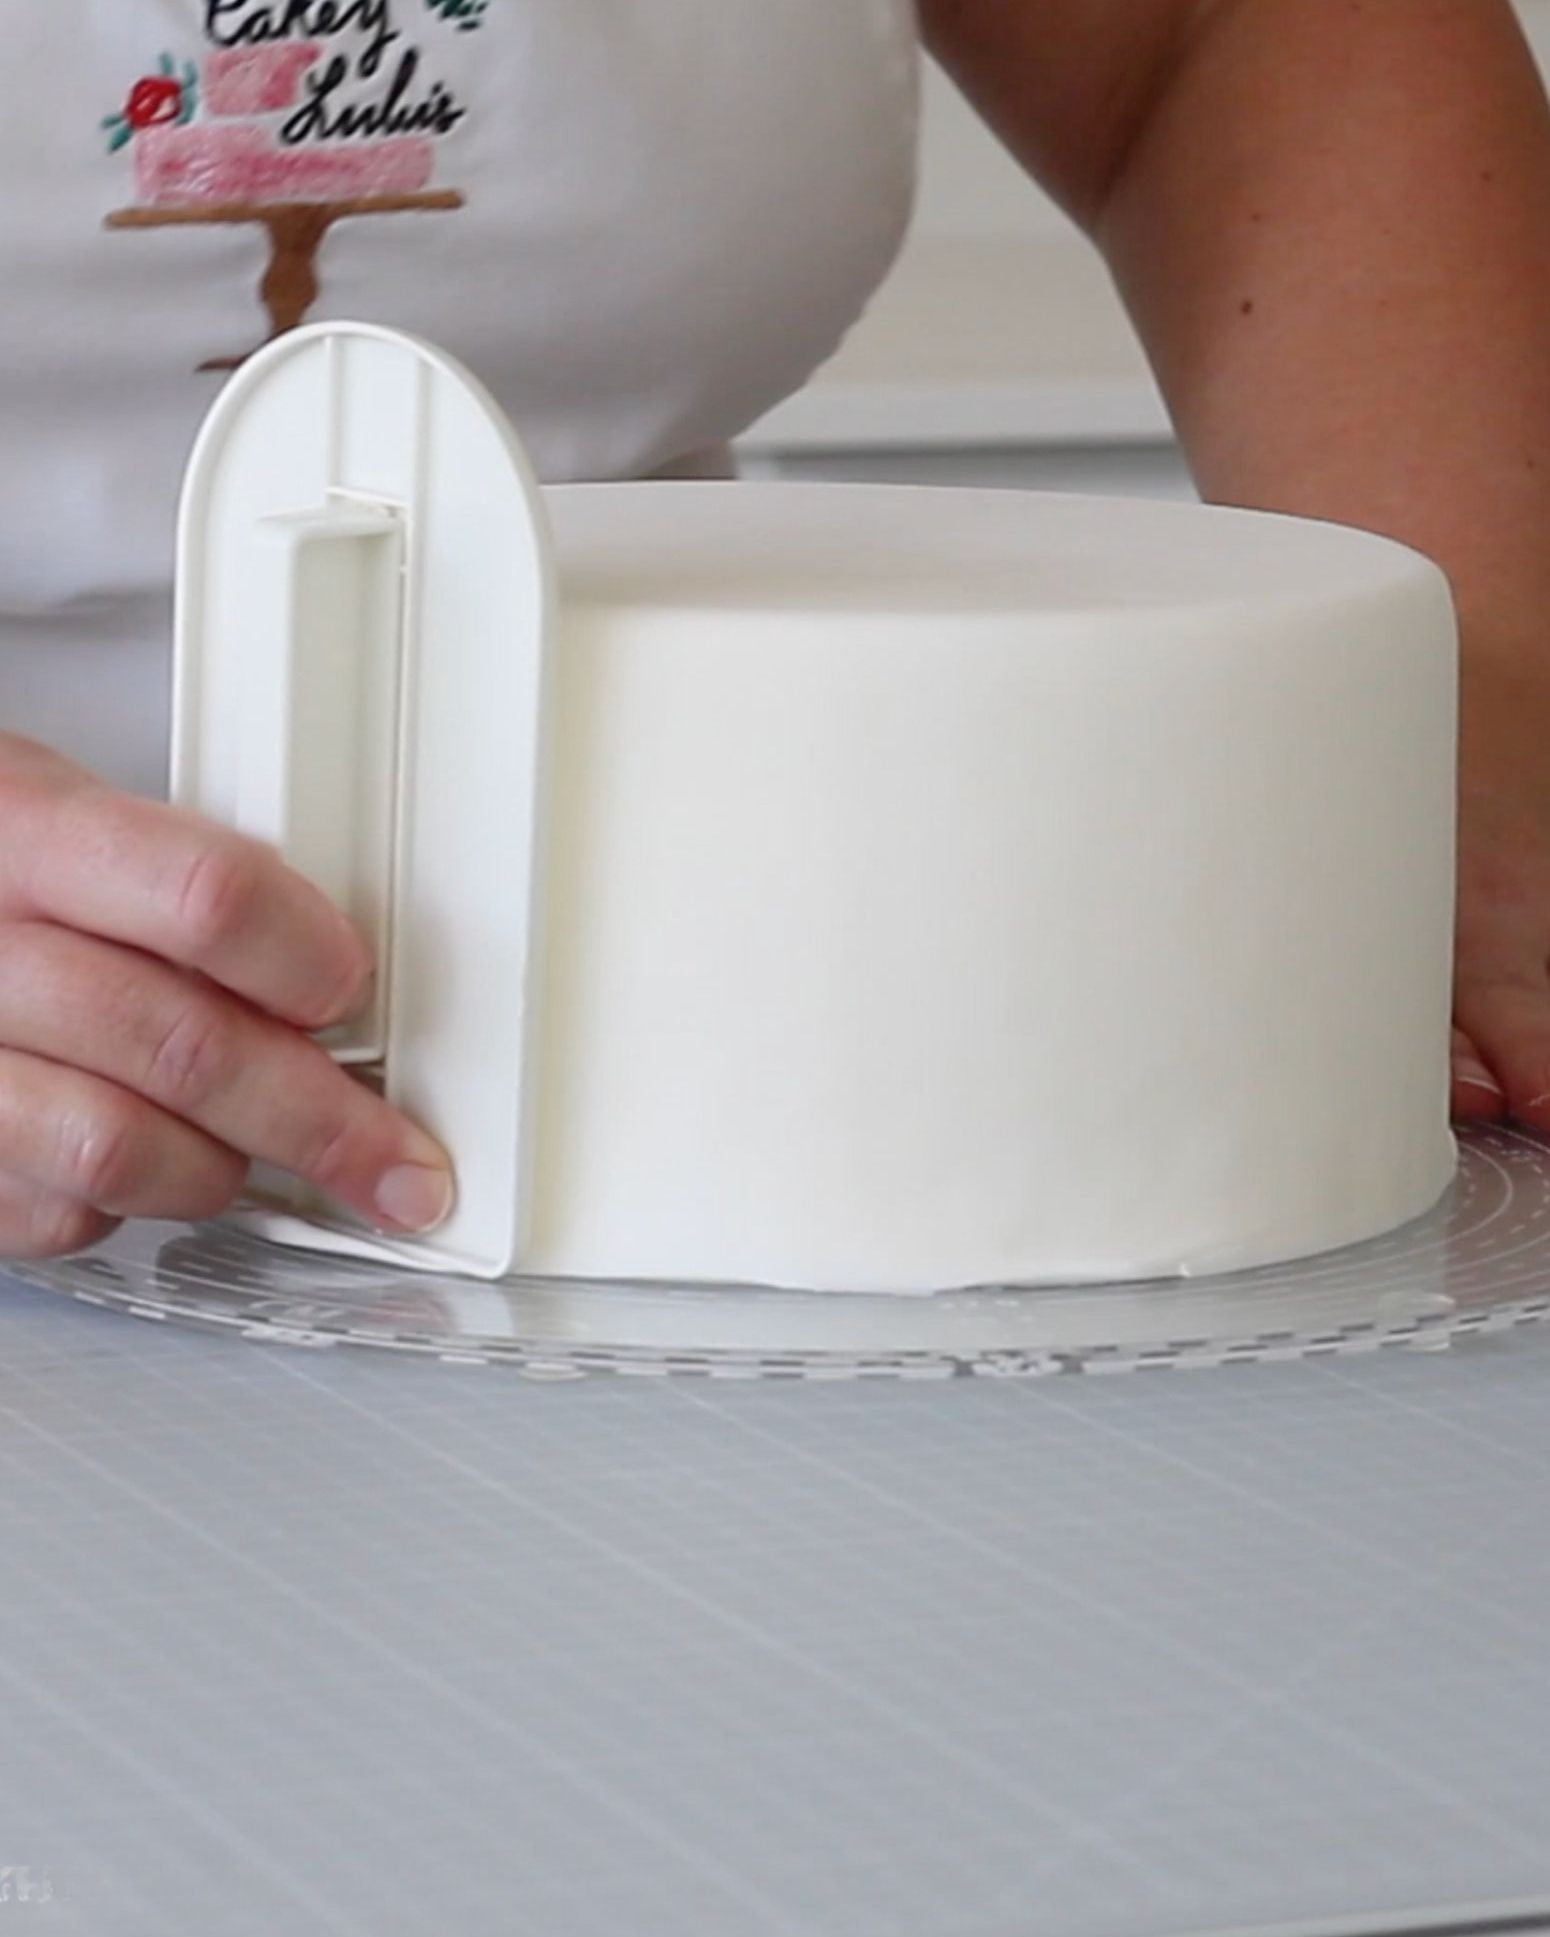
Step Five: Trimming the Excess
Once the cake is covered, it’s time to trim off the excess sugar paste:
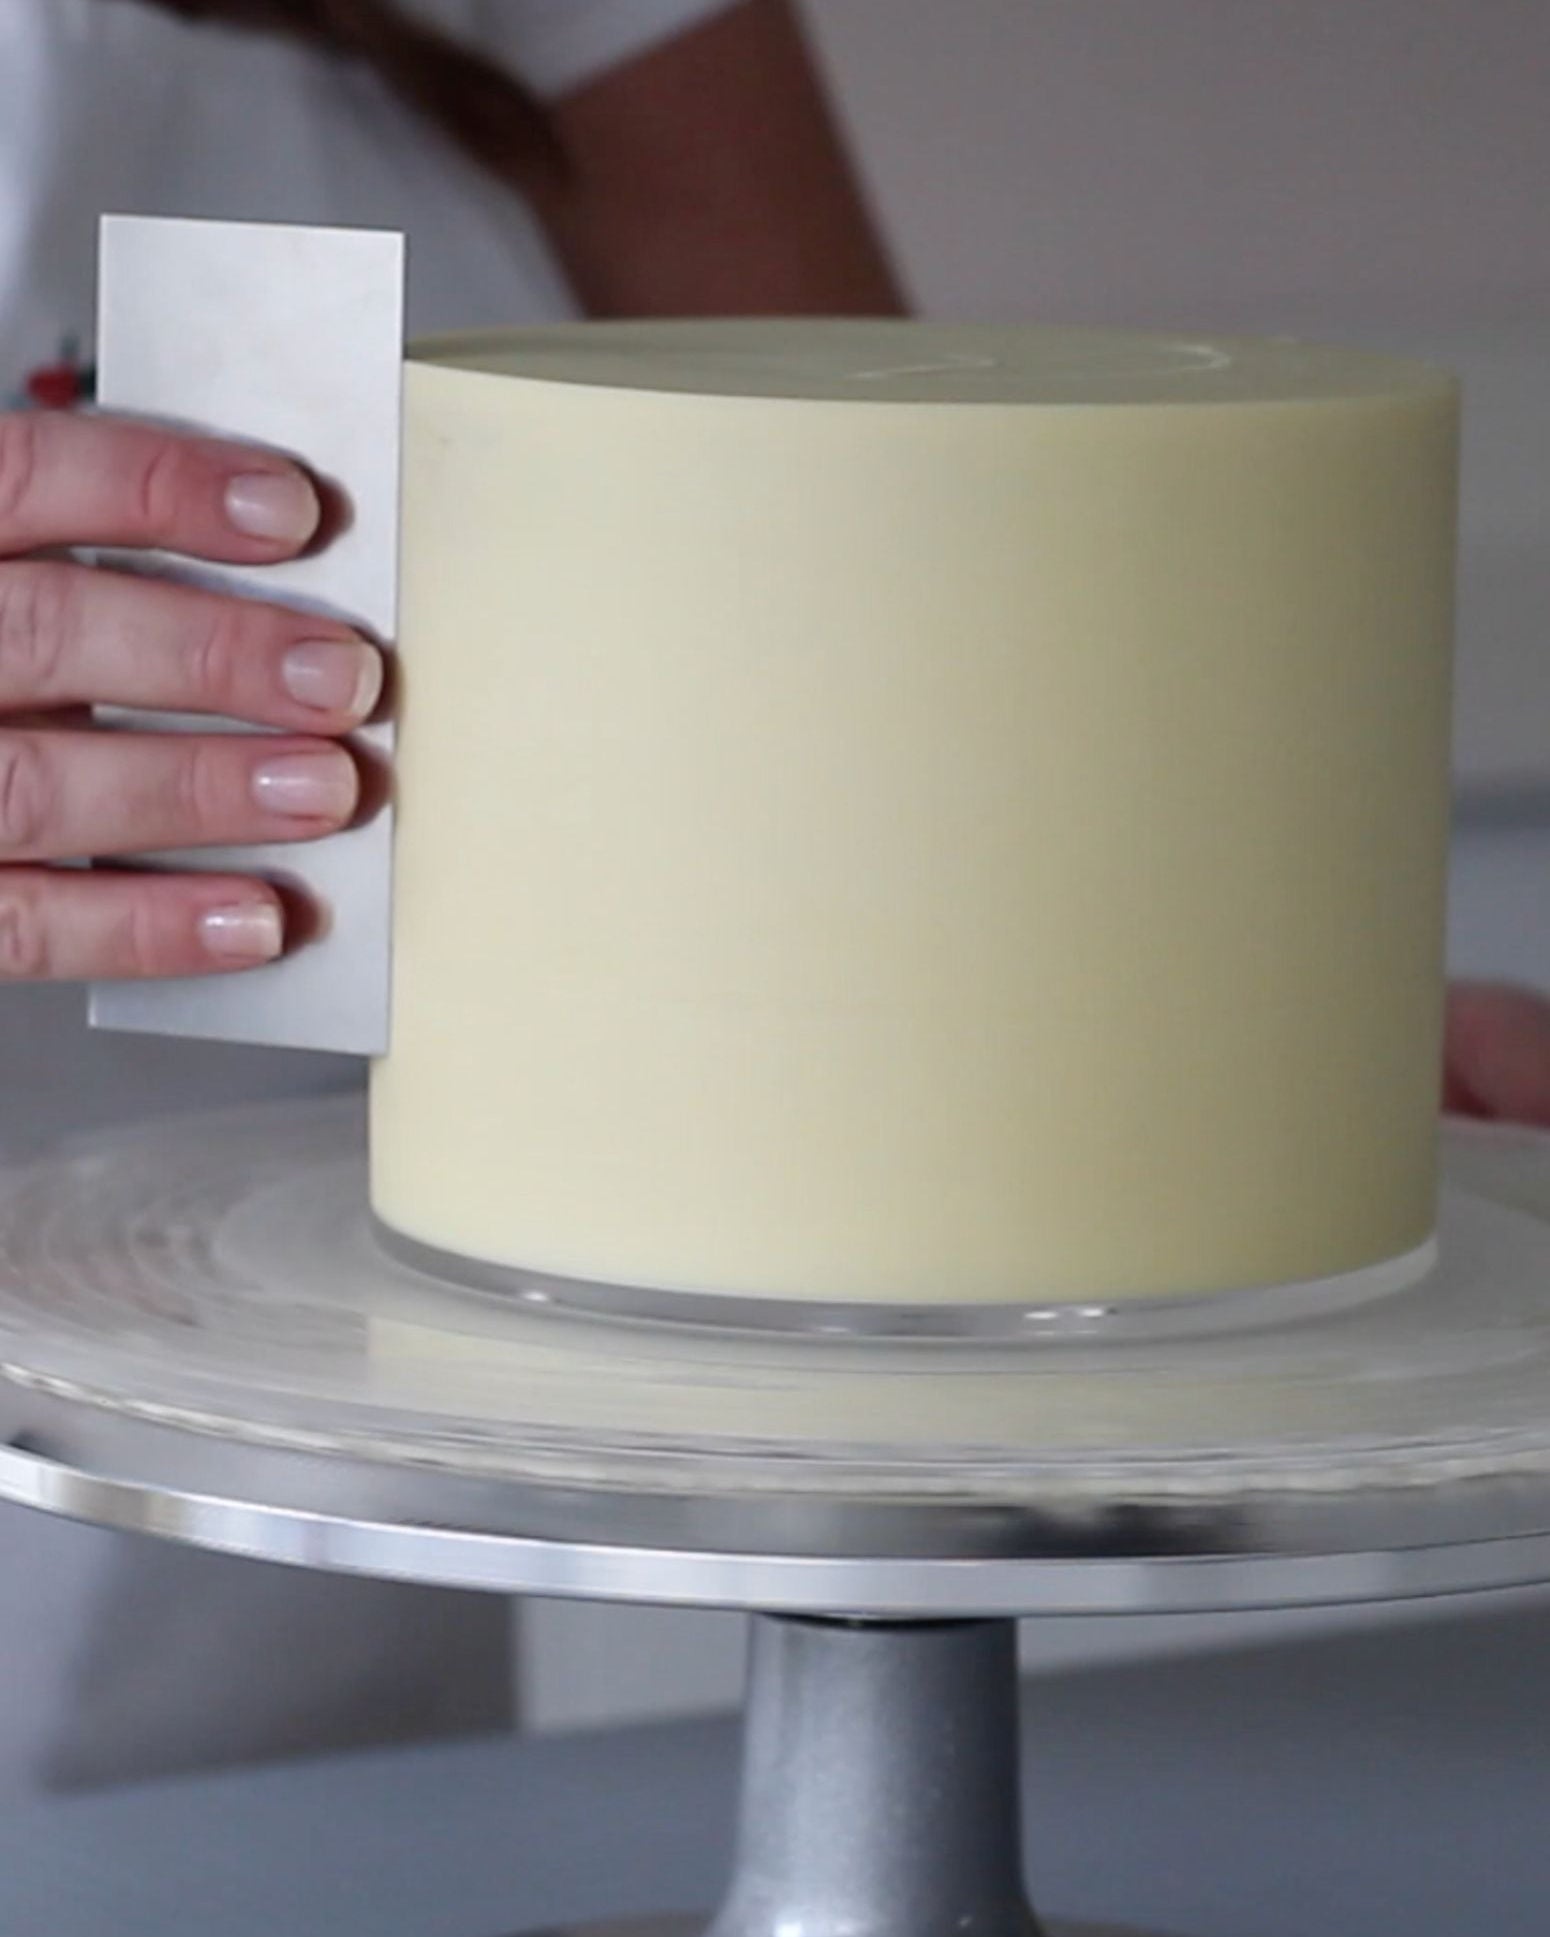
- Use a Cutting Wheel: Trim around the base of the cake with a cutting wheel to remove the excess sugar paste.
- Neaten the Edges: Bring in another smoother to refine and perfect the edges of the cake.
- Final Trim: Use a sharp knife to trim any remaining excess at the very base of the cake.

Step Six: Removing the Cake from the Compass
Once the dummy cake is fully covered, it’s time to remove it from the Cake Compass:
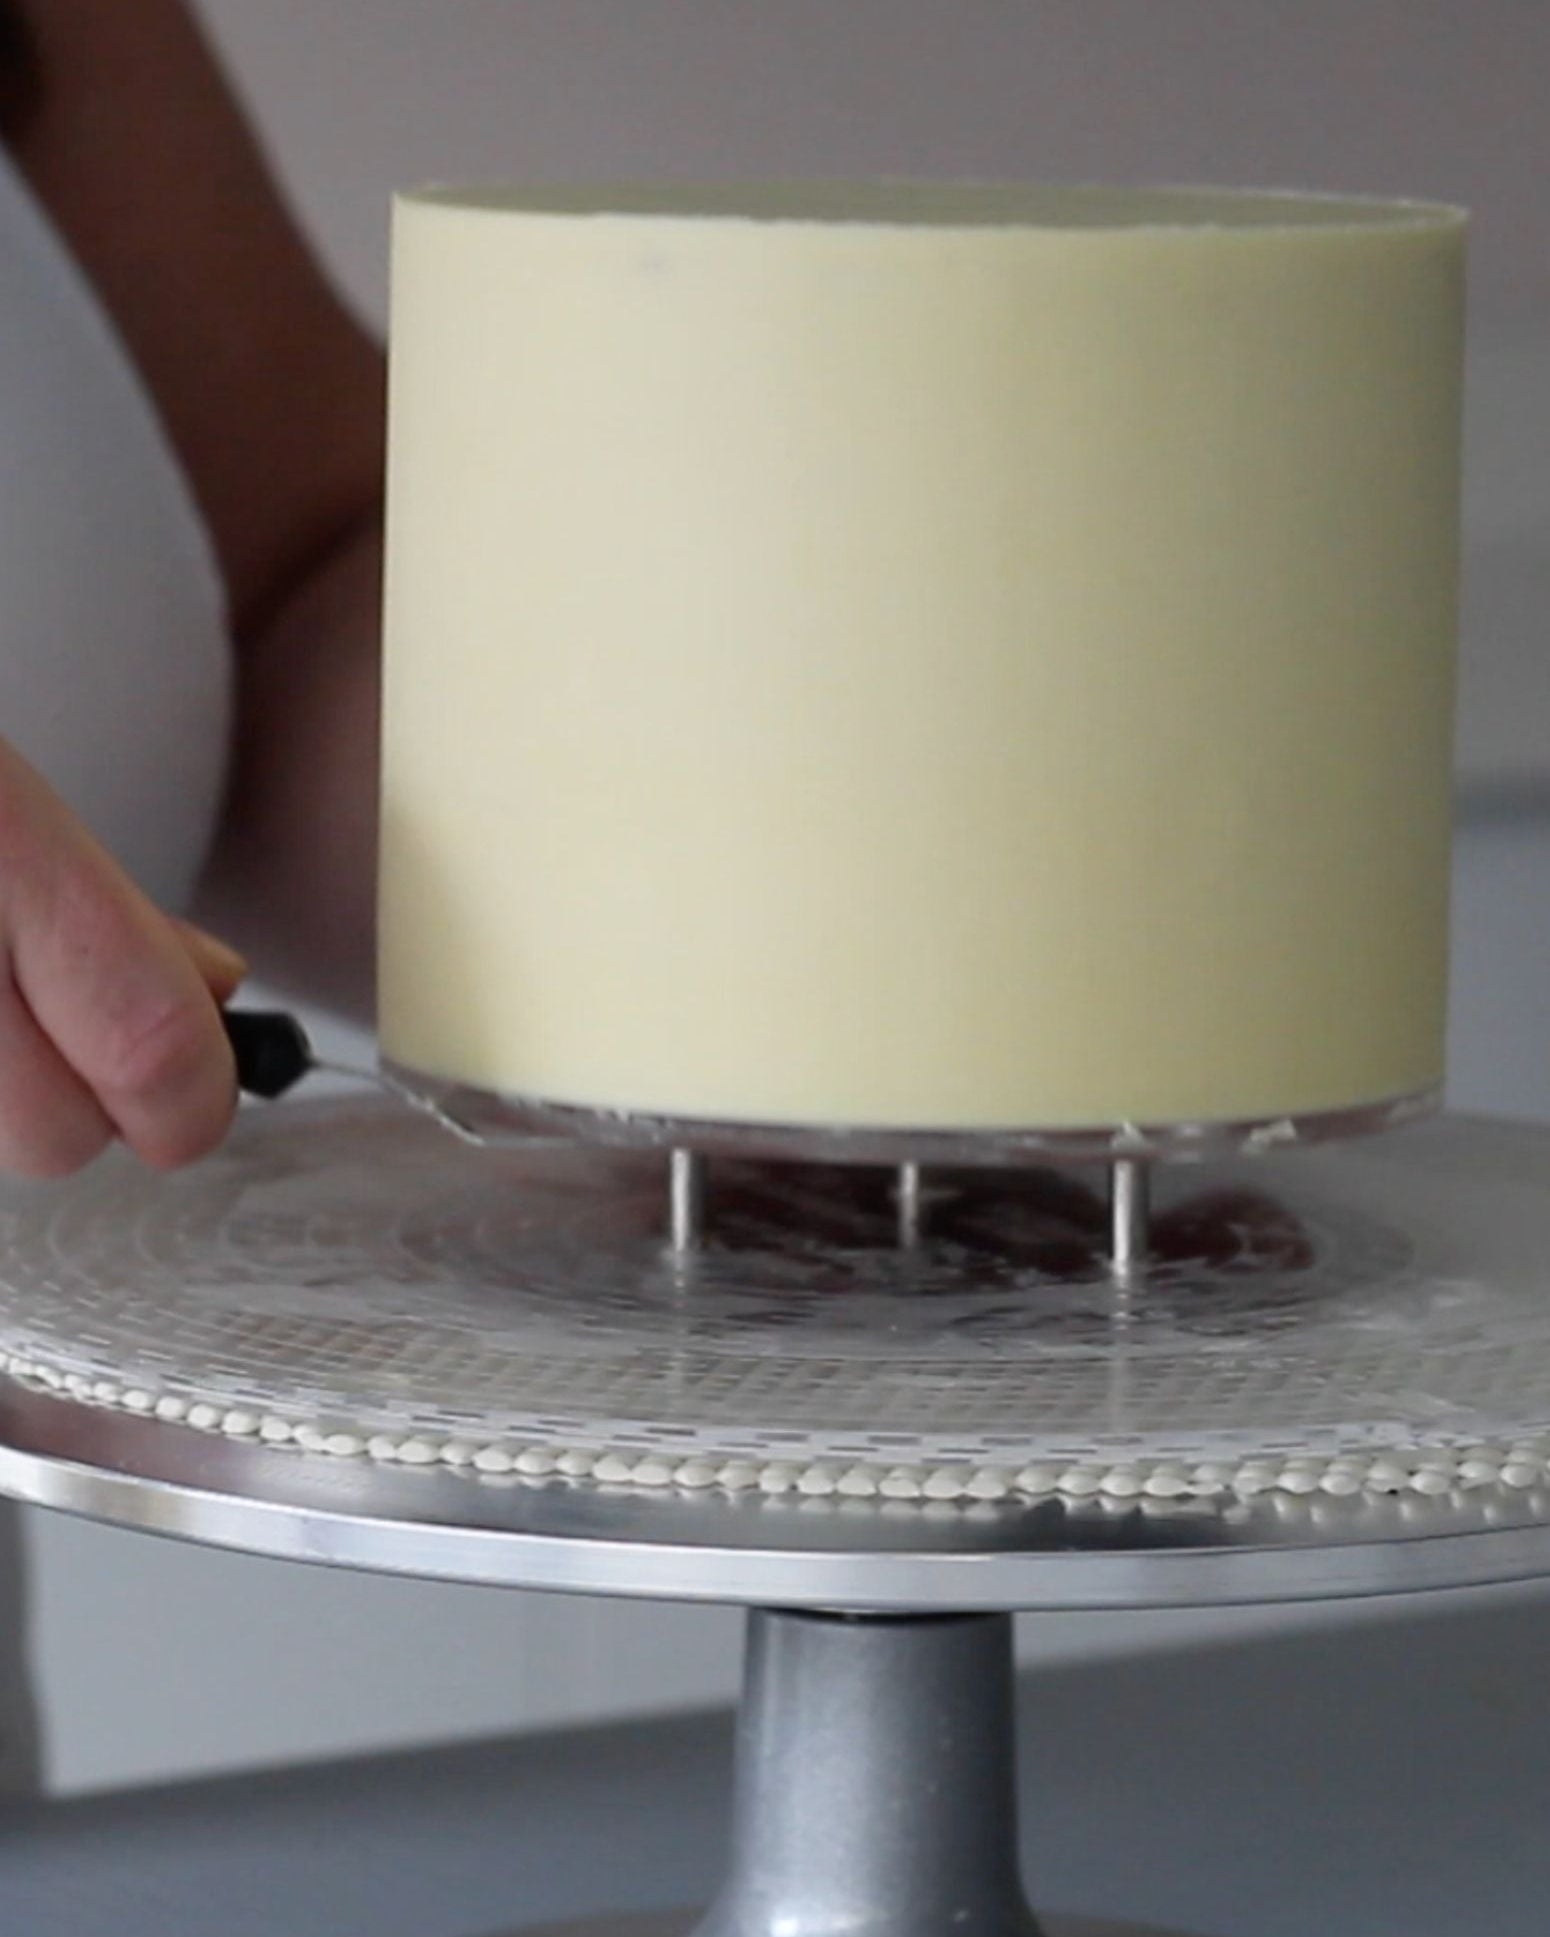
- Prepare the Workboard: Sprinkle a little cornflour on top of the cake to prevent sticking.
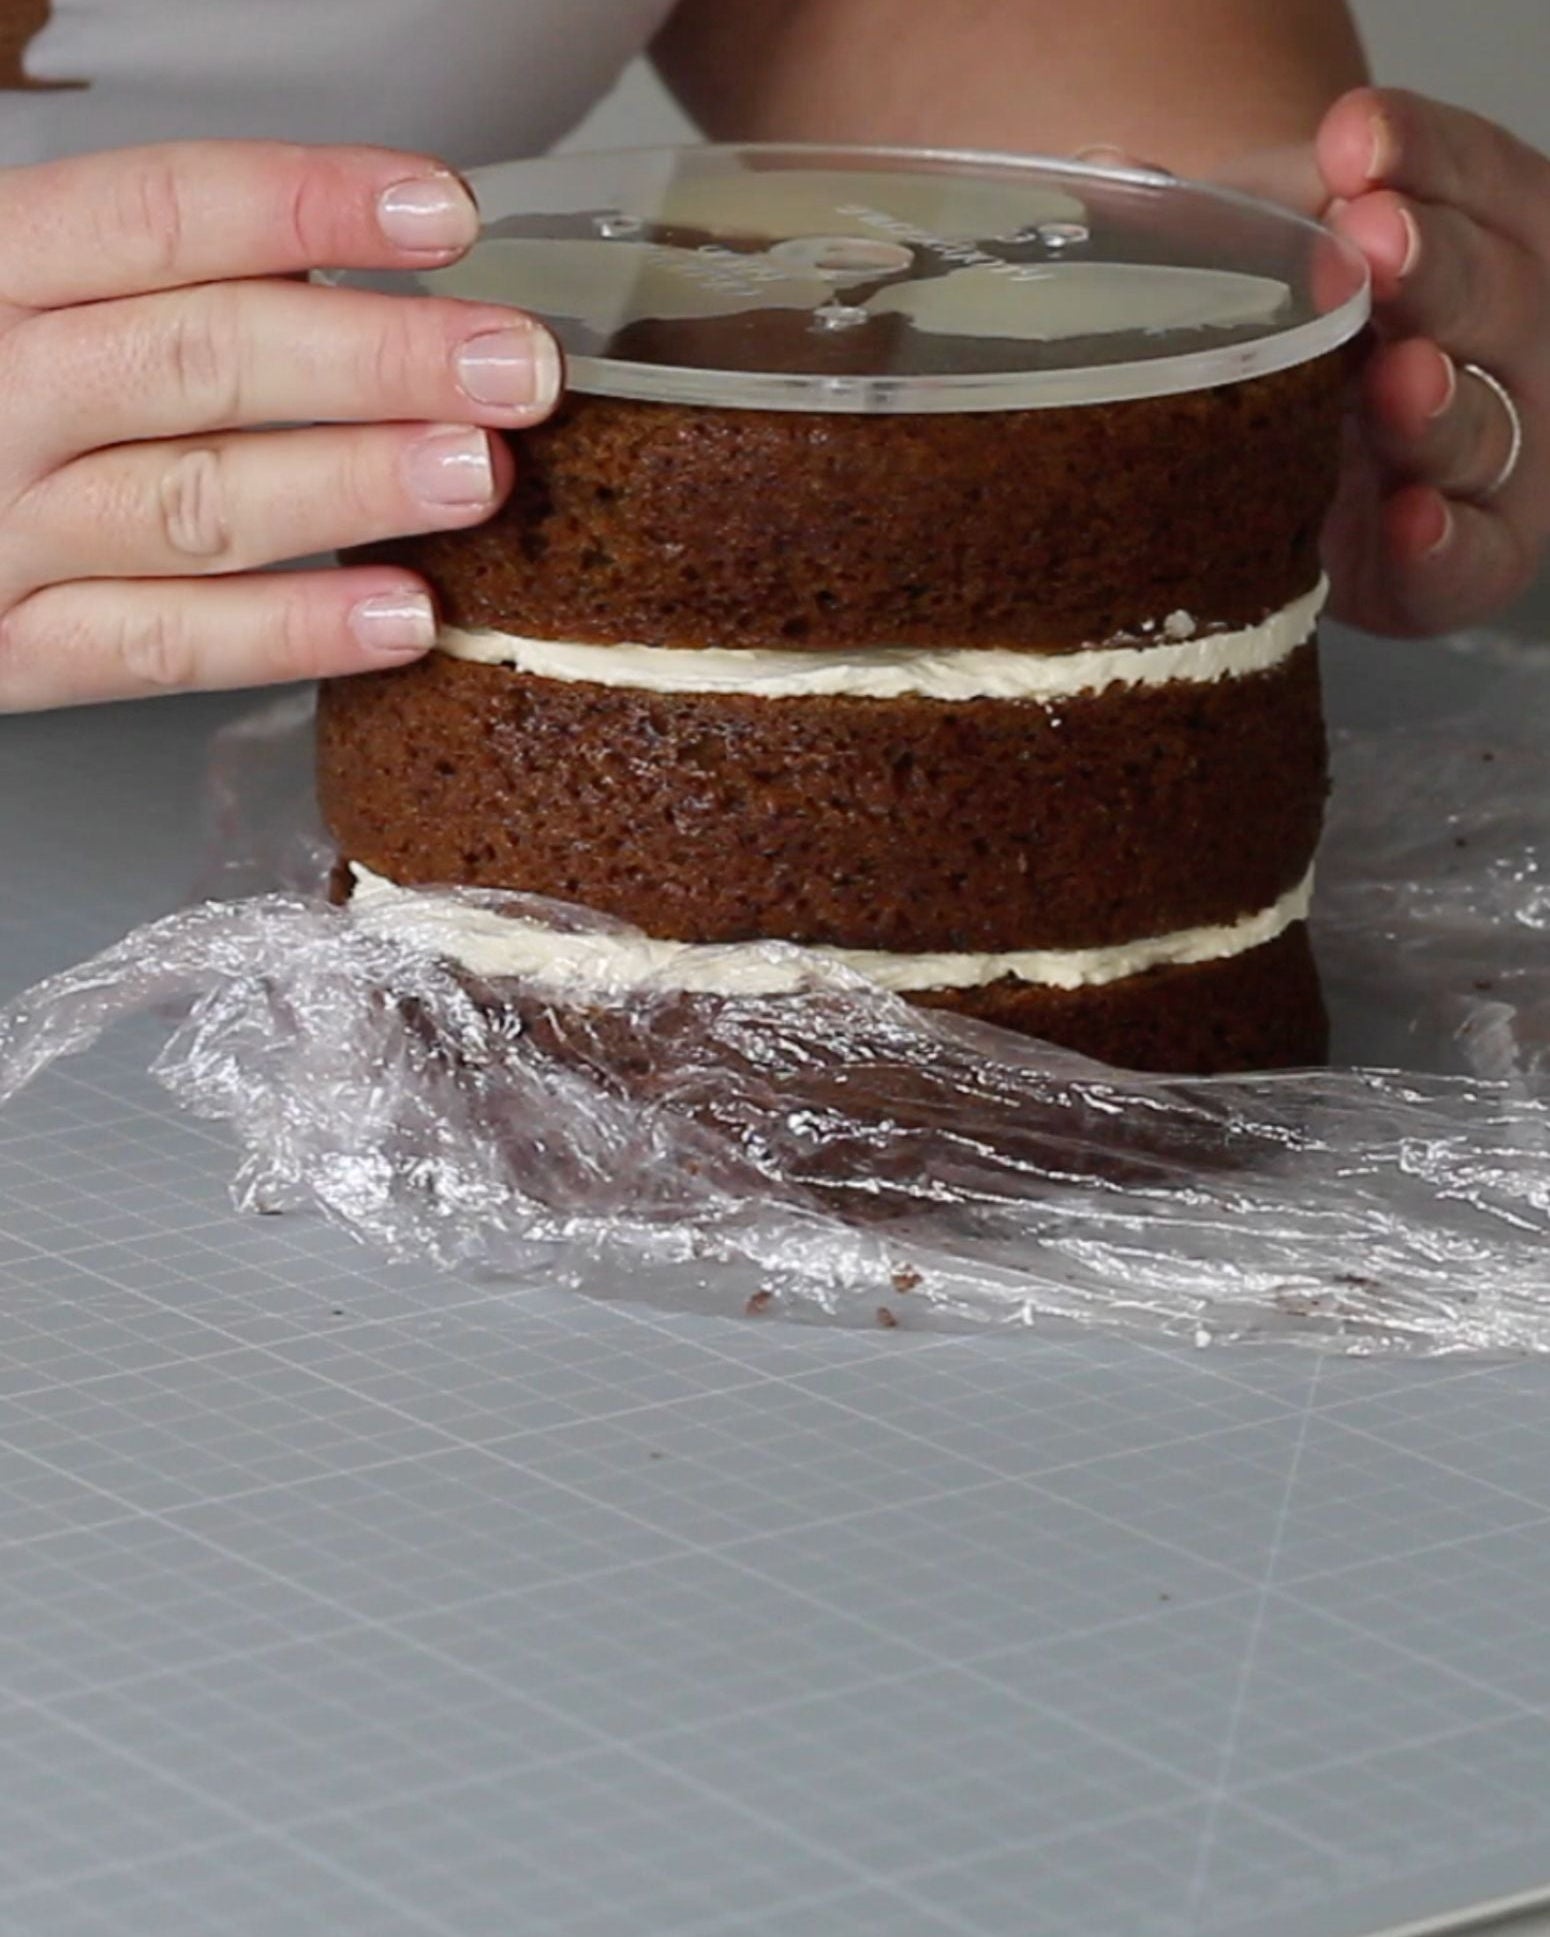
- Flip the Cake: Place the Prop Options workboard upside down on top of the cake. With one hand underneath the cake and one on top of the workboard, flip it over in one quick motion.
- Remove the PropSecure Pins: Carefully remove the PropSecure pins and dimension plate from the cake. Use a knife or spatula if needed to gently lift them.
Step Seven: Perfecting the Edges and Final Flip
Before flipping the cake back upright, take a moment to perfect the edges:
- Sharpen the Edges: Use a smoother to refine the top edges until you’re happy with the sharpness.
- Attach a Cakeboard: Place a cakeboard on the bottom of the cake.
- Flip the Cake: Just like before, place one hand underneath and one on top, and flip the cake upright.
- Remove the Workboard: Remove the workboard, revealing a beautifully iced dummy cake.

Final Thoughts
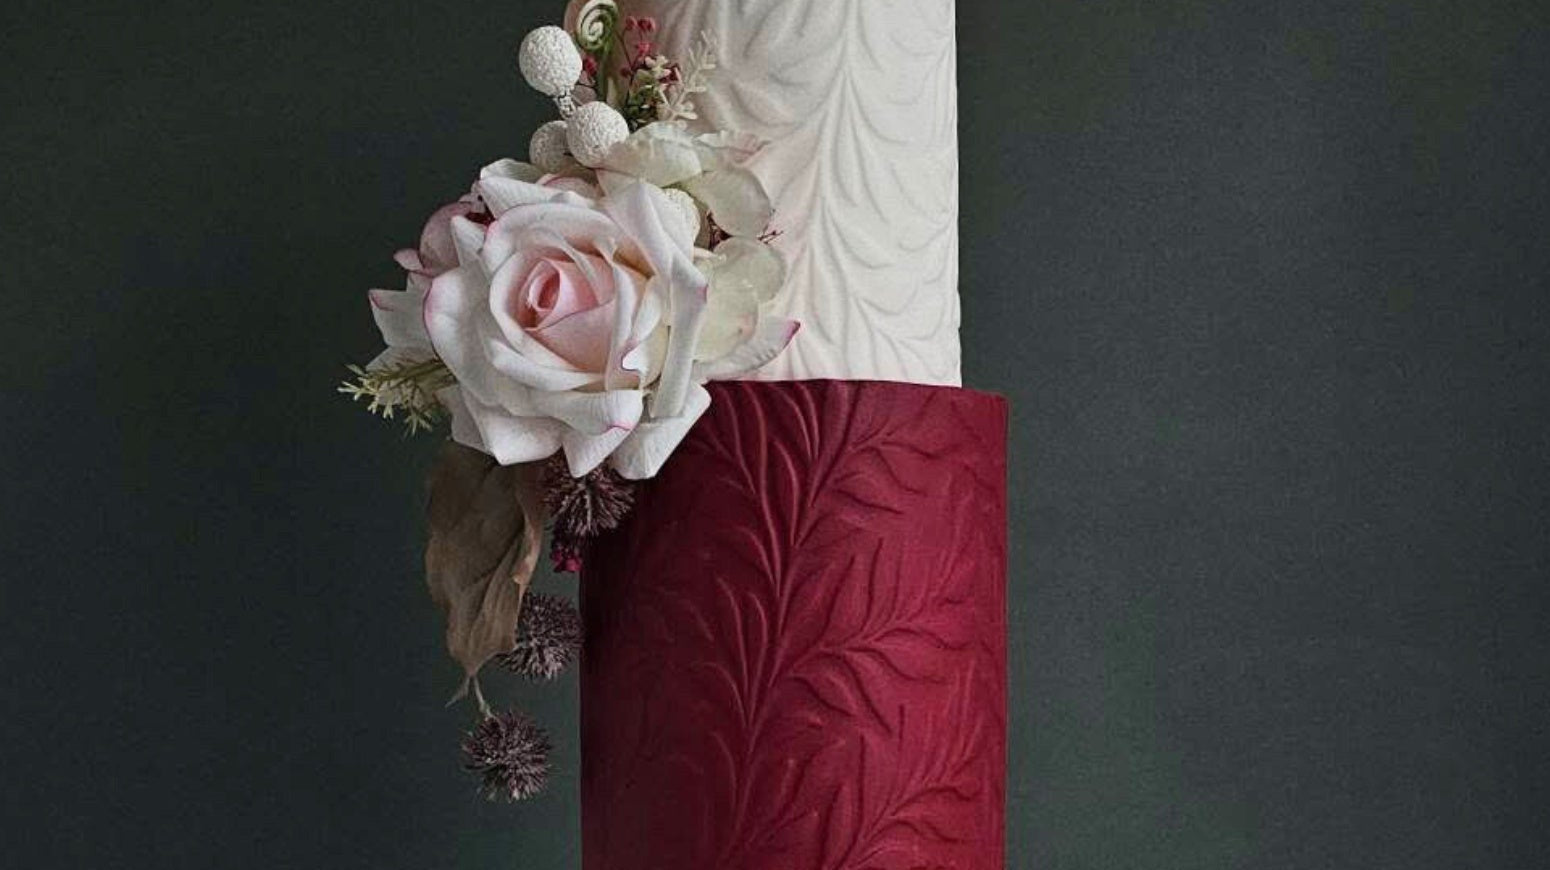
By using the Prop Options Cake Compass, you can achieve a professionally decorated cake with ease and precision. The Compass keeps the cake secure throughout the process, eliminating the frustration of a shifting dummy cakes. Whether you’re decorating with buttercream or ganache, or sugar paste, this tool streamlines the process and ensures consistent results every time.
If you have any questions or need additional tips, feel free to leave a comment or reach out. Don’t forget to check out the Prop Options YouTube channel for more tutorials and cake decorating inspiration. Happy baking!
For endless inspiration and more, find us on Facebook and Instagram, and explore the PropBlog! And don't forget to Subscribe to PropTV over on our YouTube channel for top tips, tutorials, and much more!