PropTV: How to Perfectly Decorate a Real Cake Using The Cake Compass
If you’ve ever struggled to achieve a flawless finish on your cakes, this step-by-step guide will walk you through the process using the Prop Options Cake Compass. With the help of this innovative tool, decorating your cakes with buttercream or ganache has never been easier or more precise.

Achieve a Perfect Finish with The Cake Compass
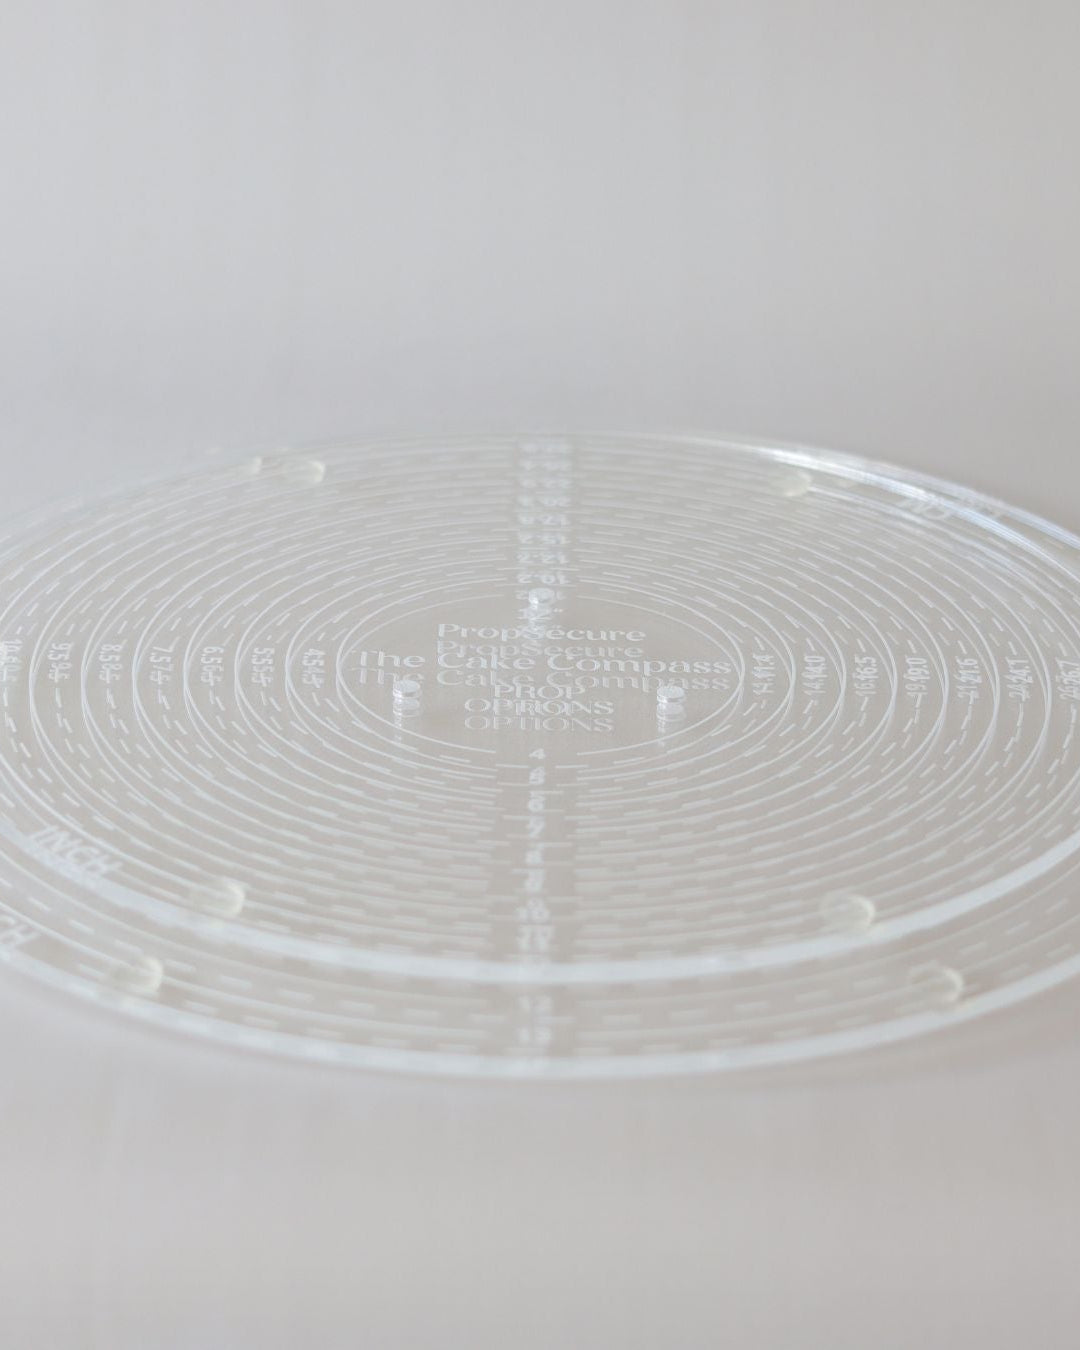
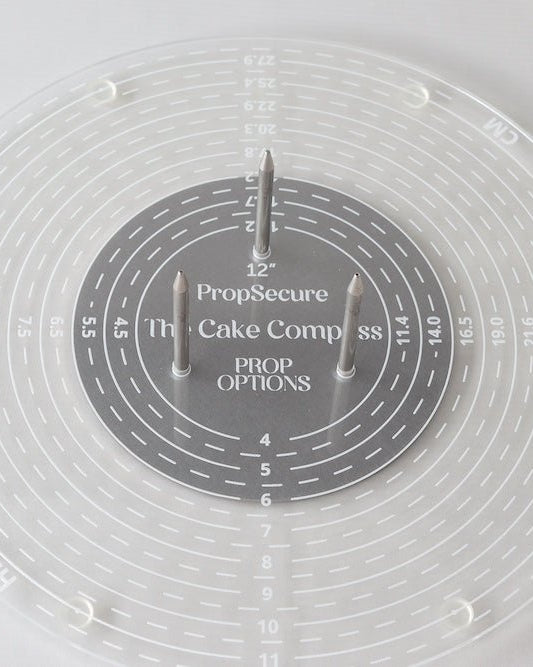
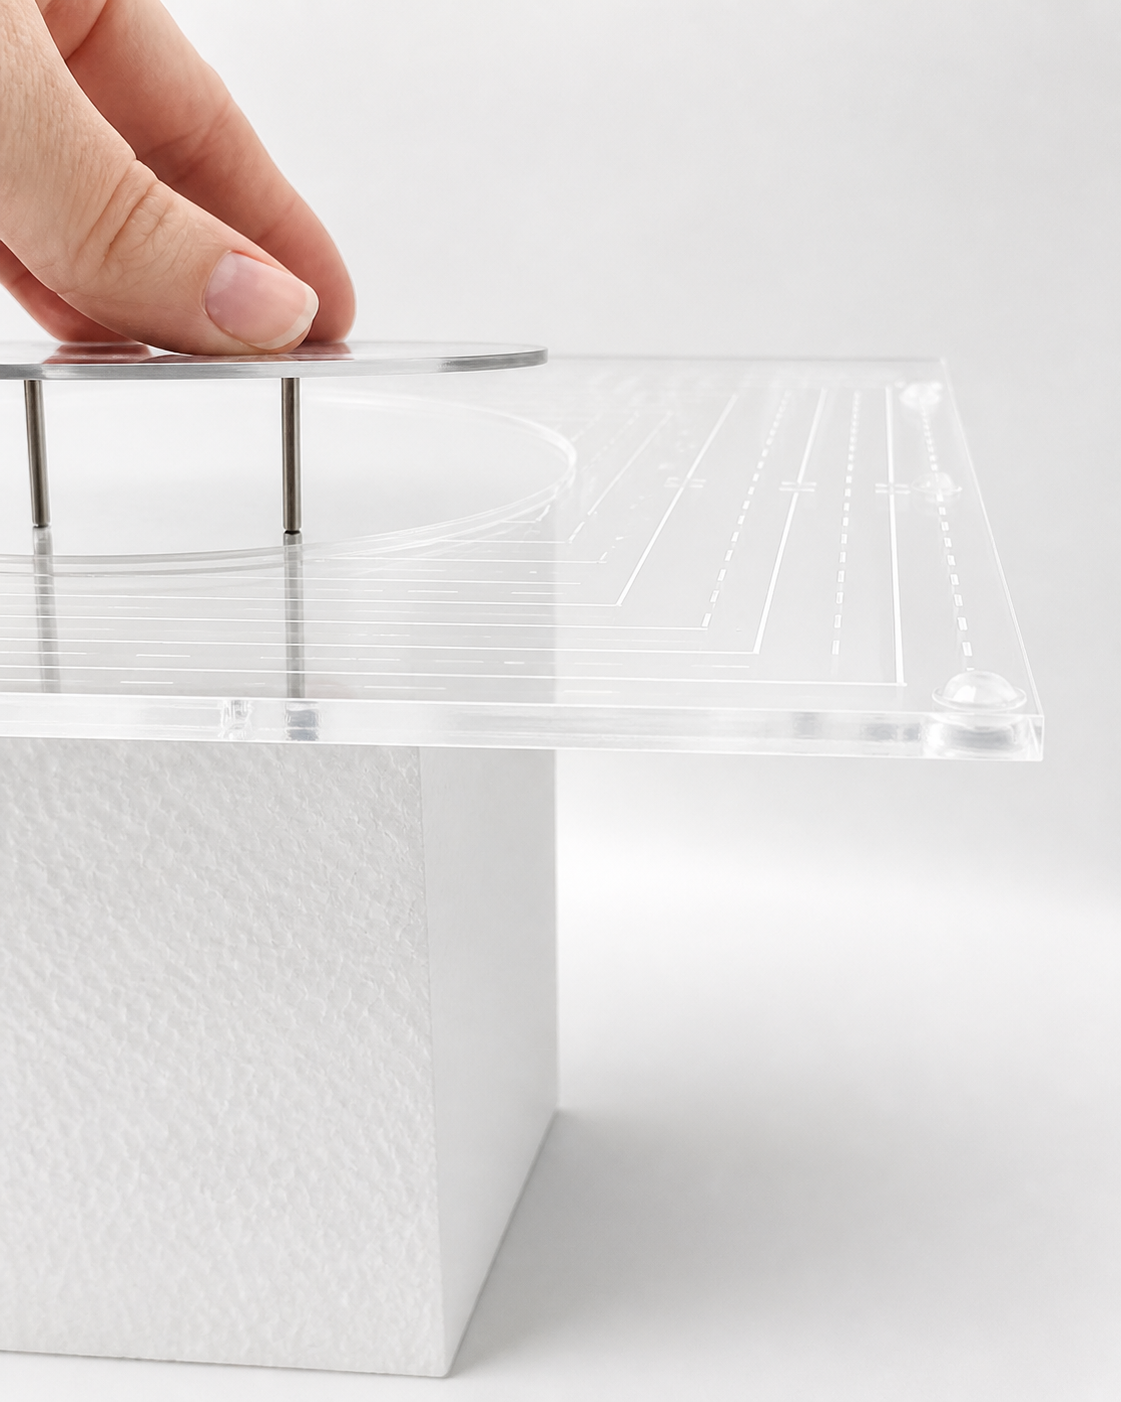
Step One: Assemble the Cake Compass
Before starting, you’ll need to set up your Cake Compass. Here's how:
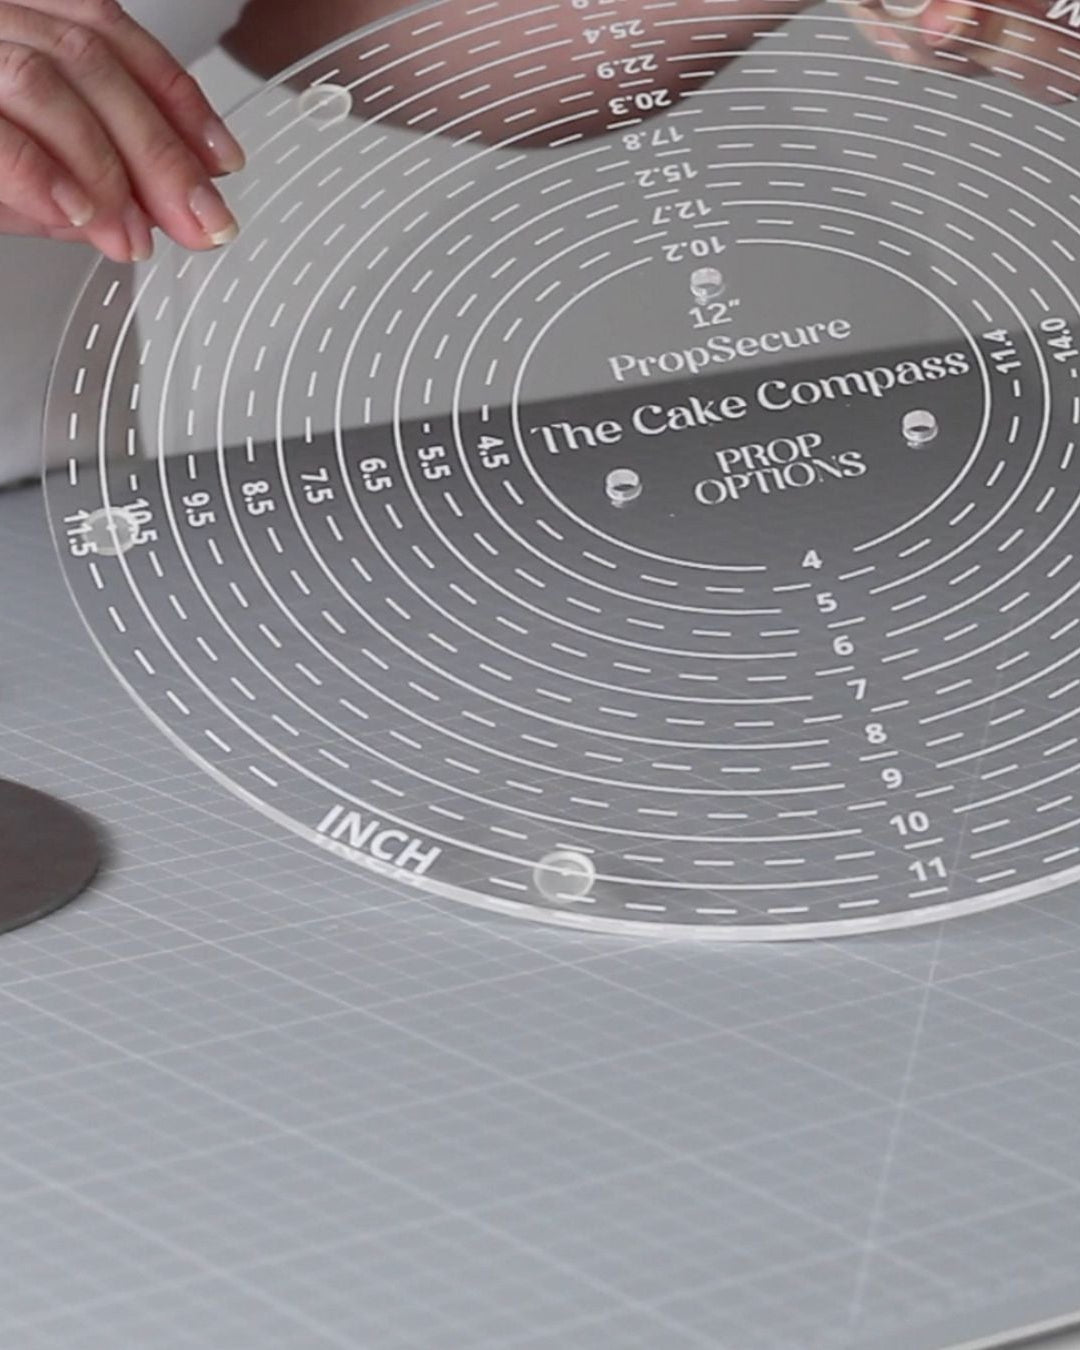
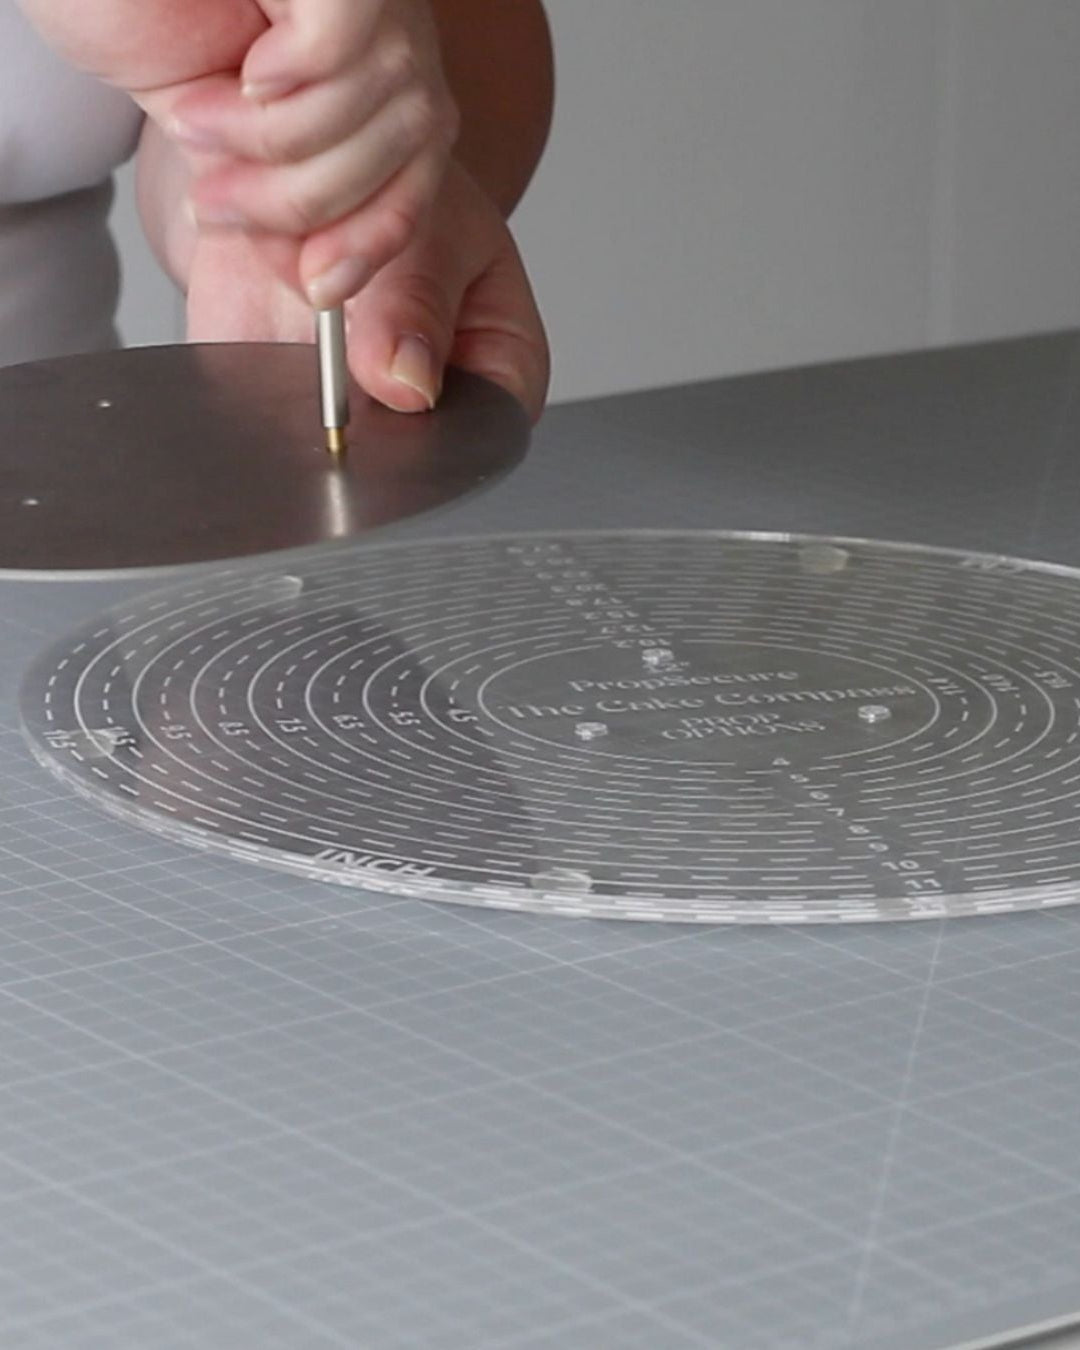
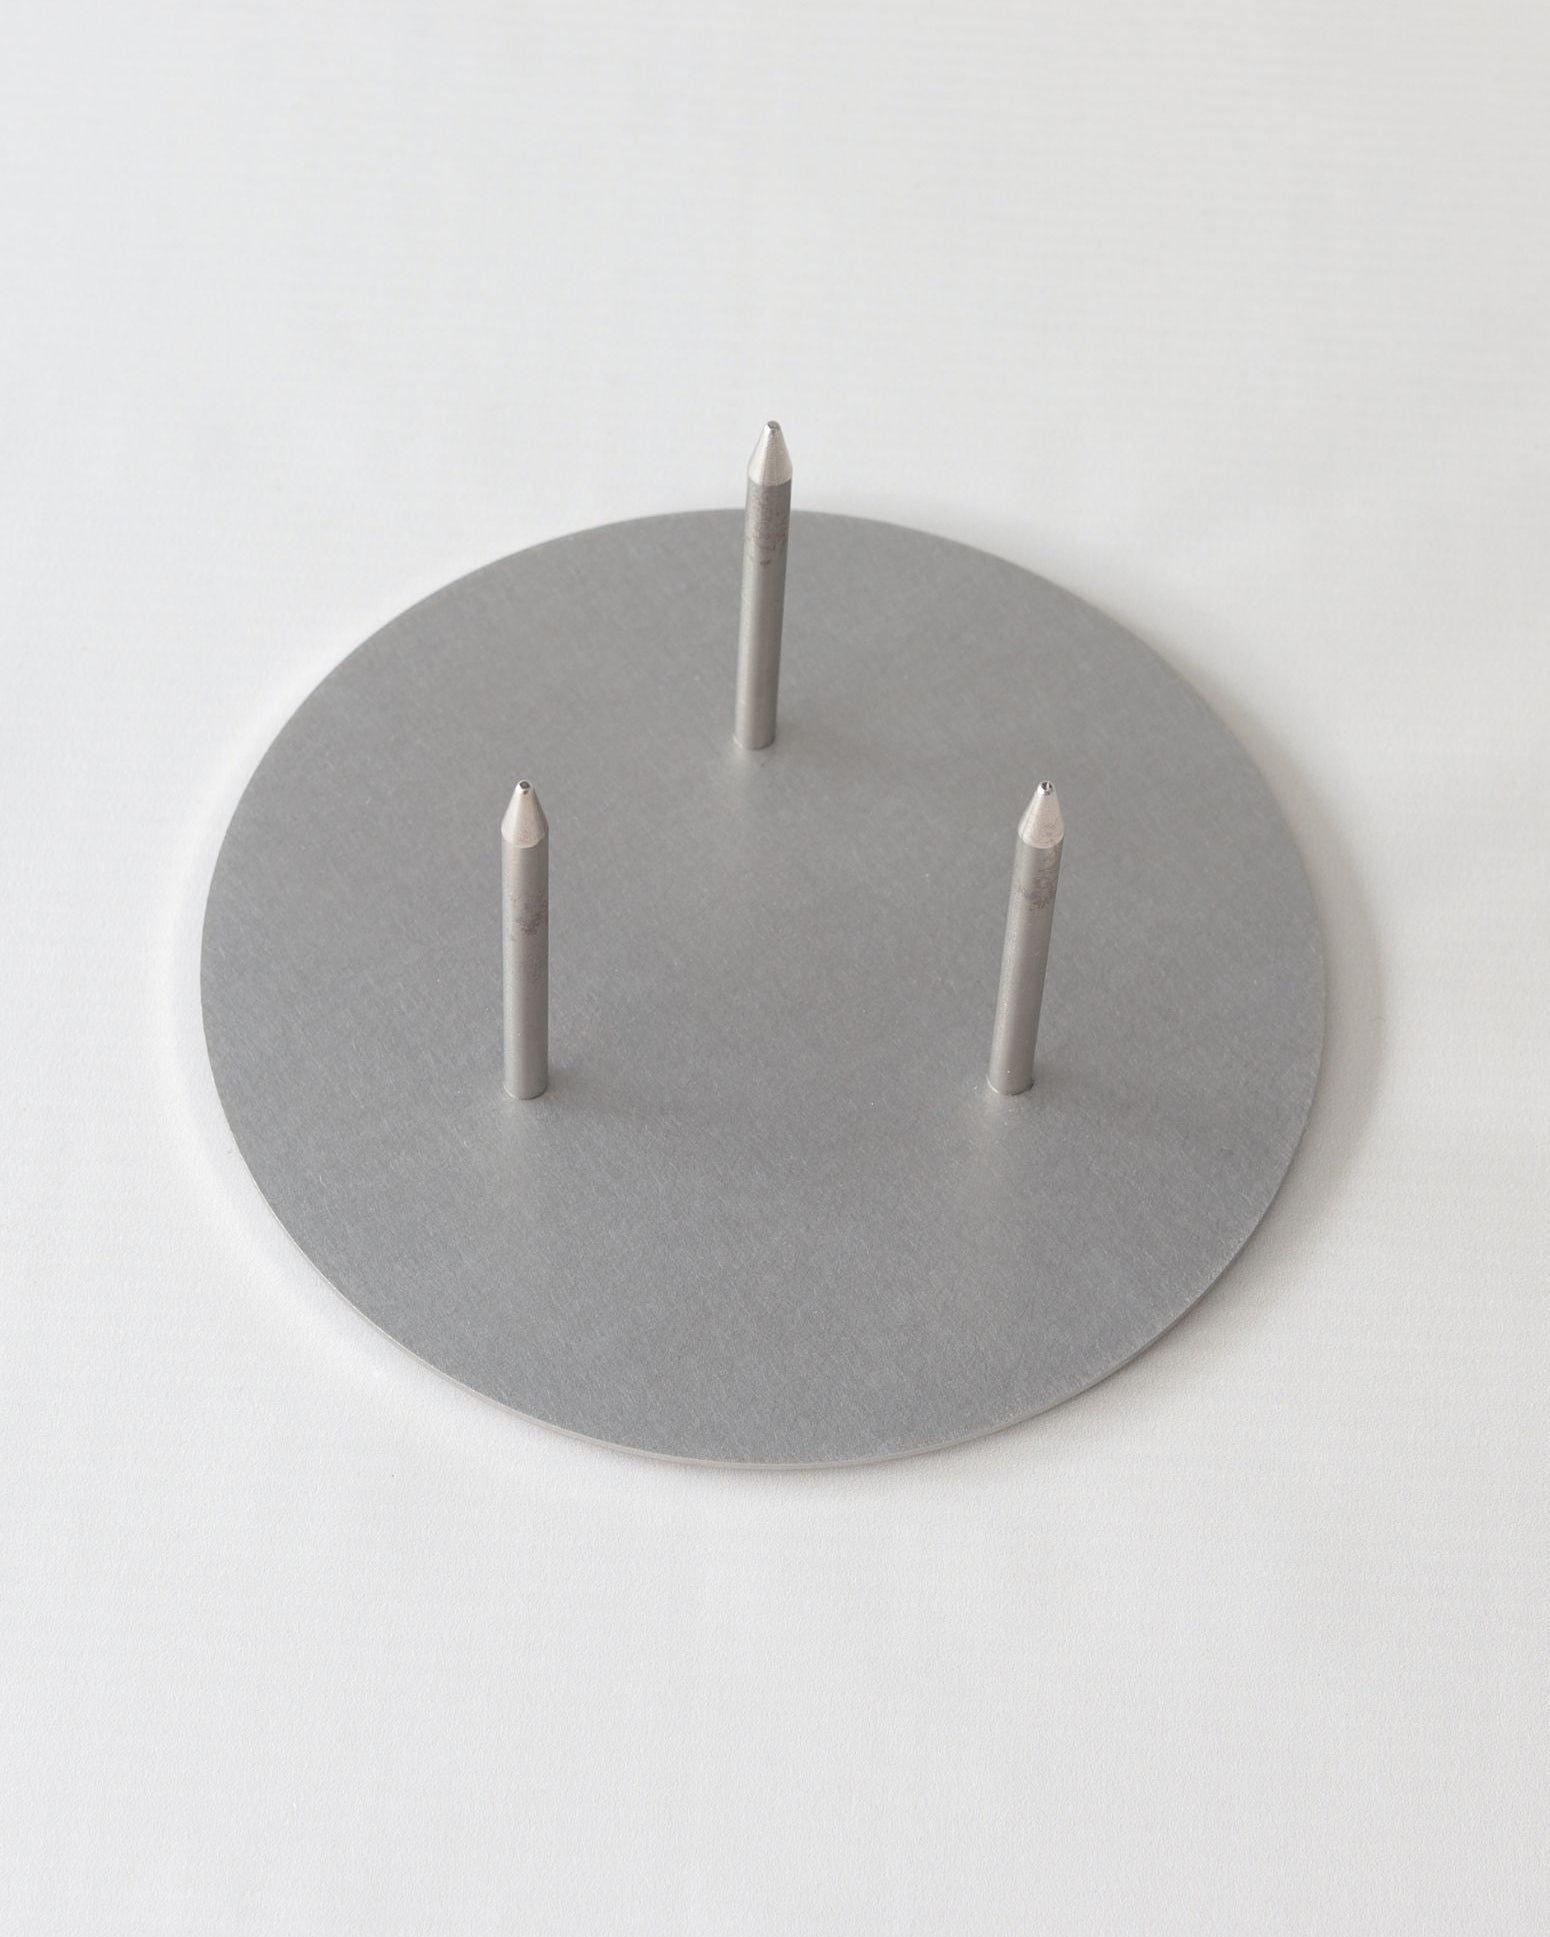
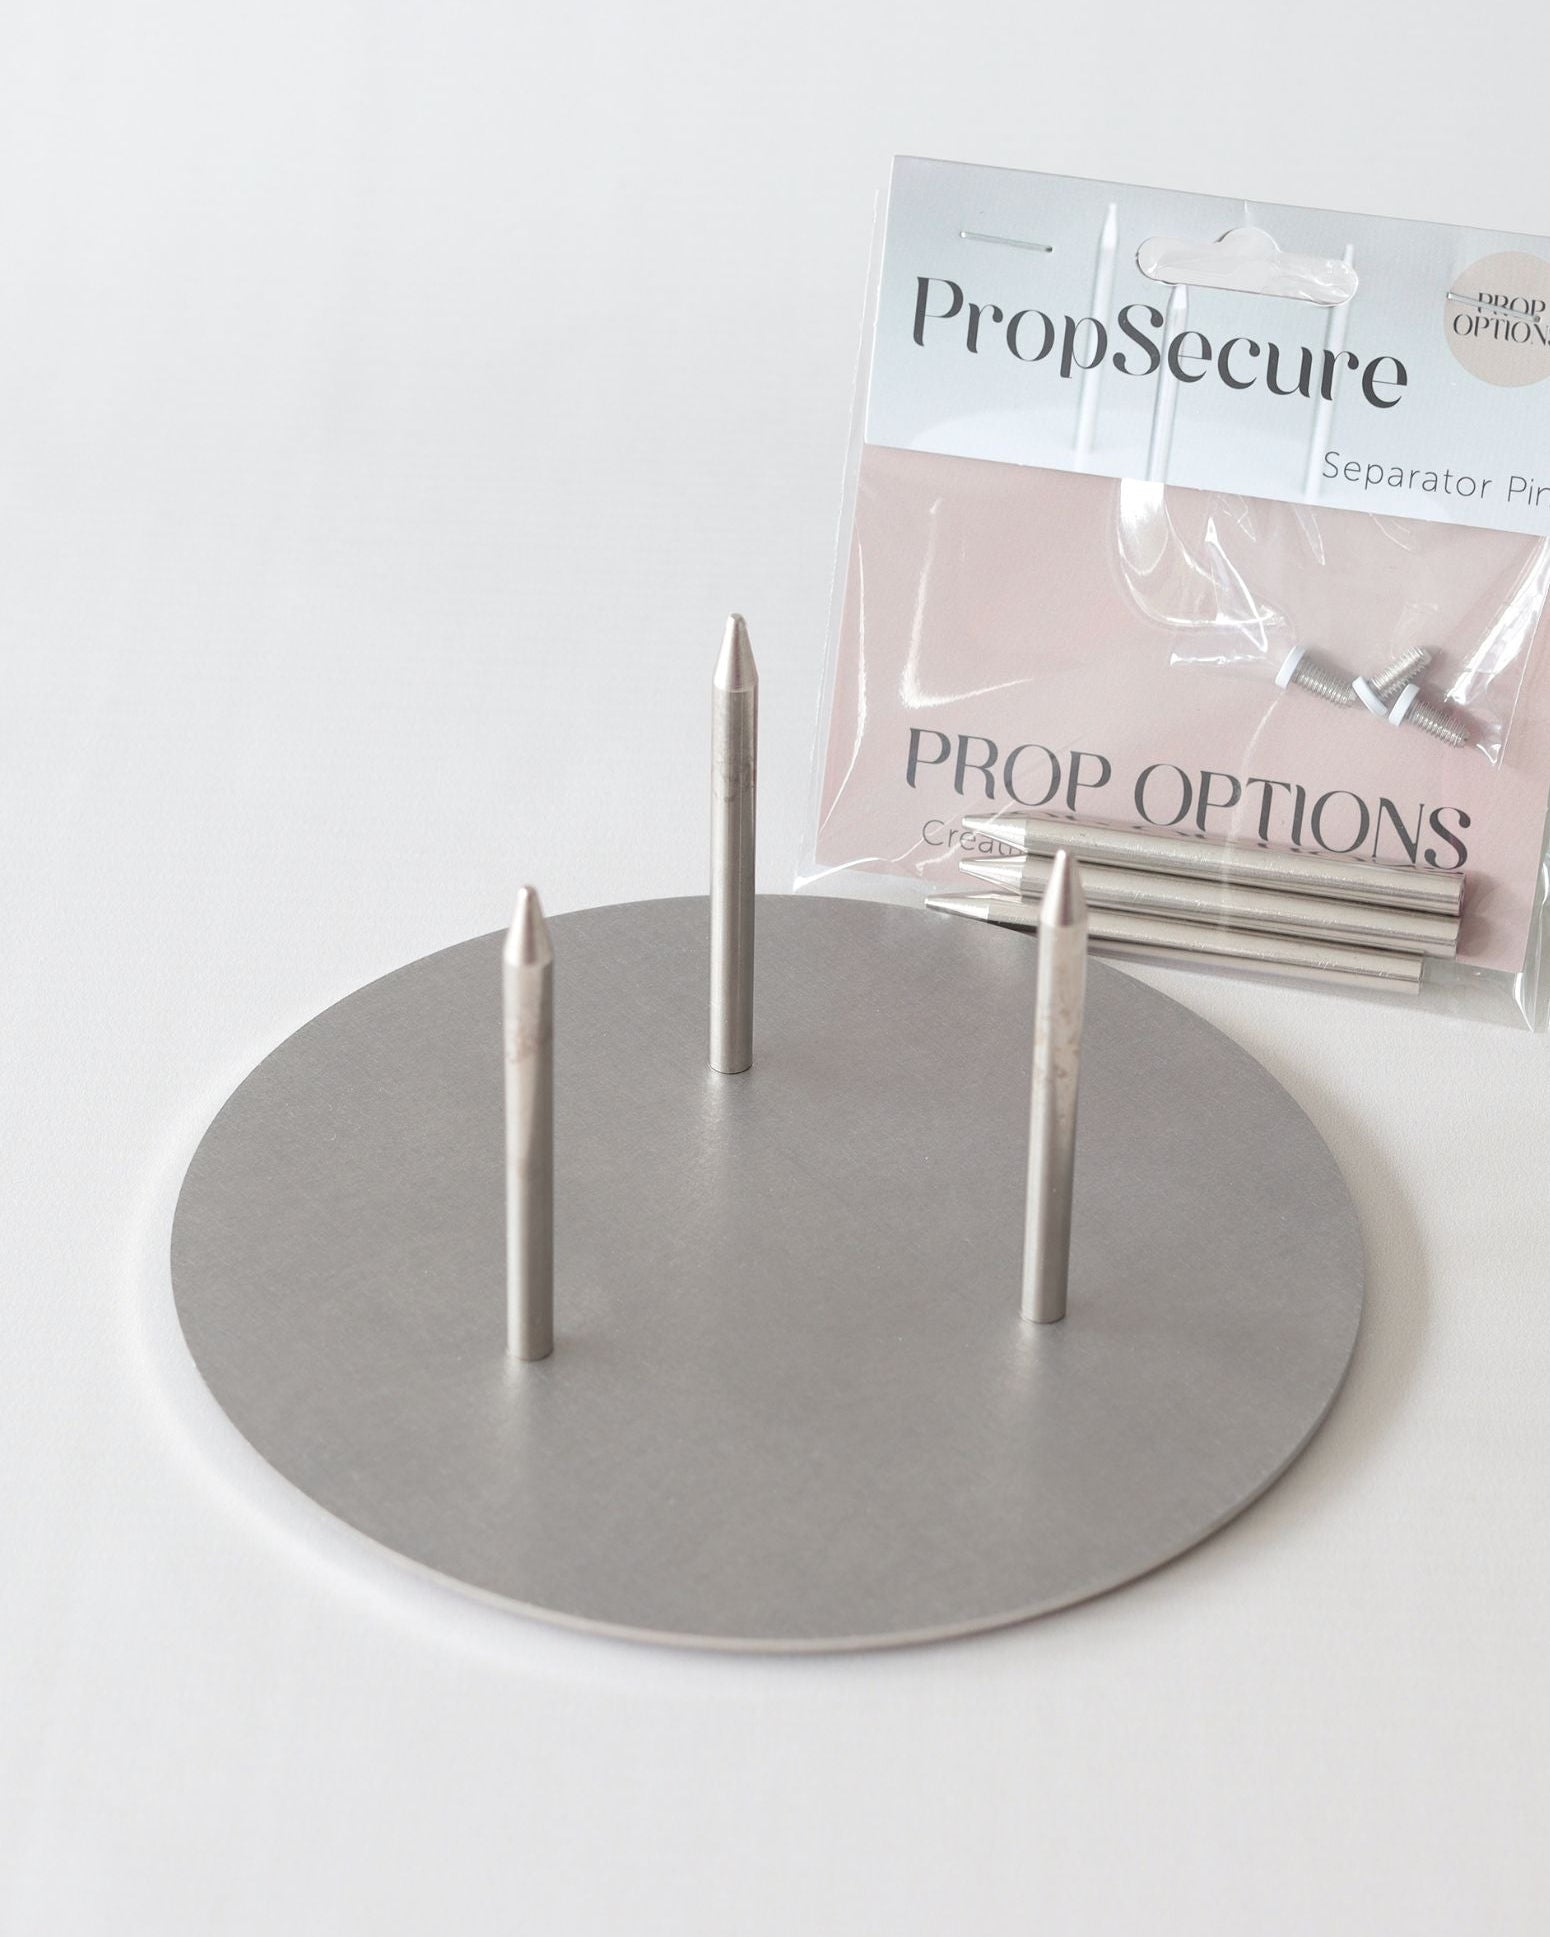
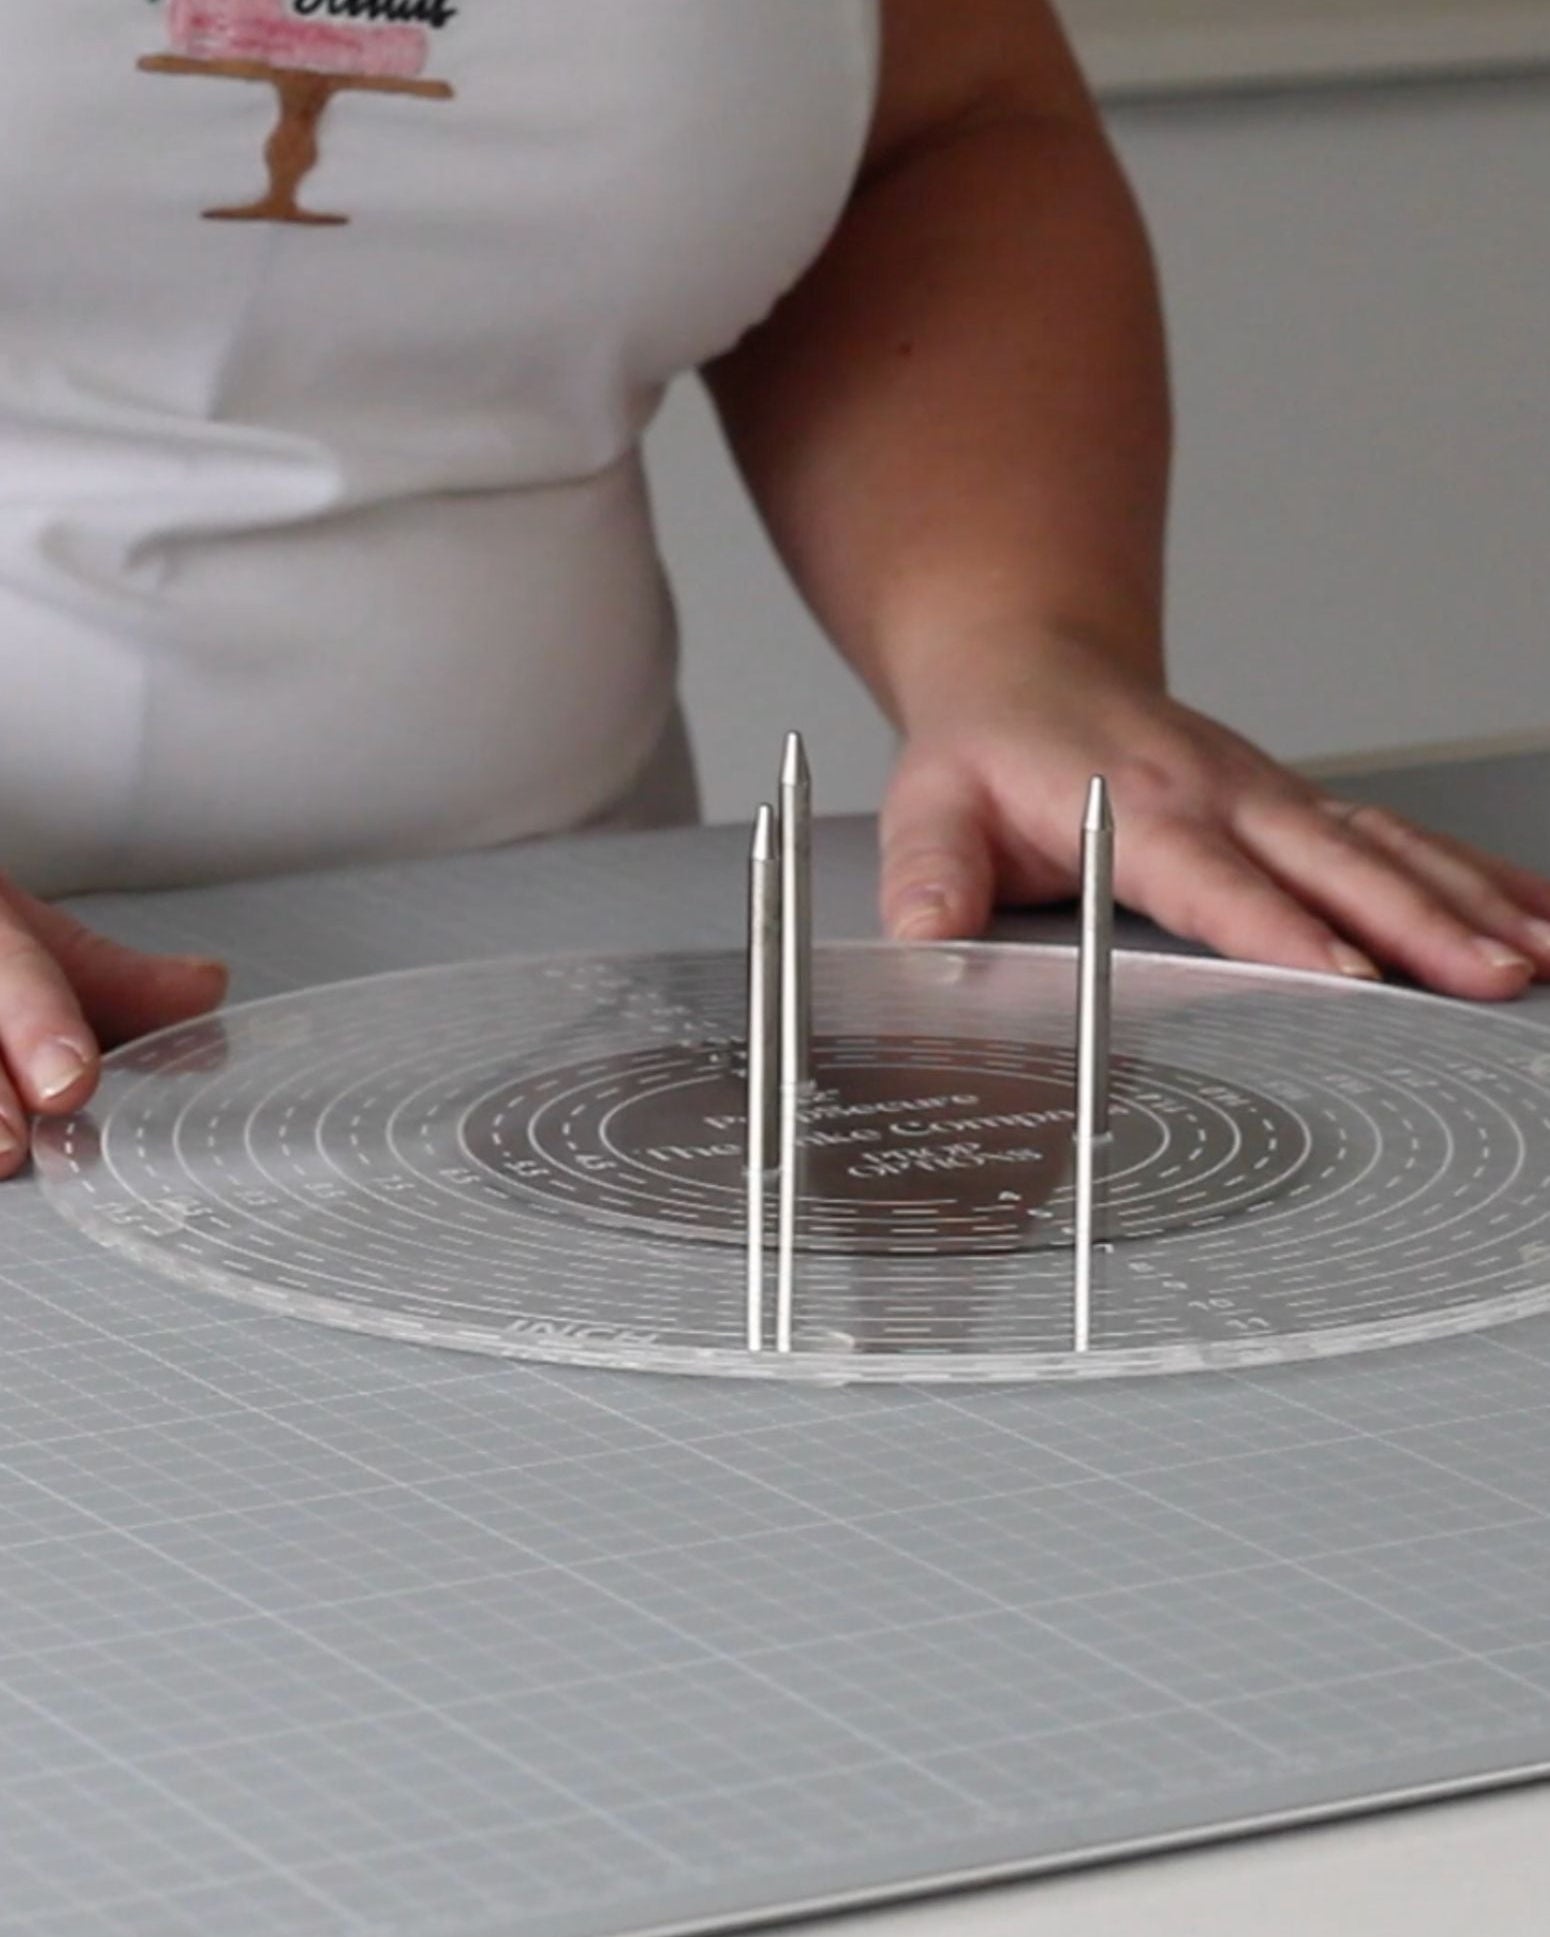
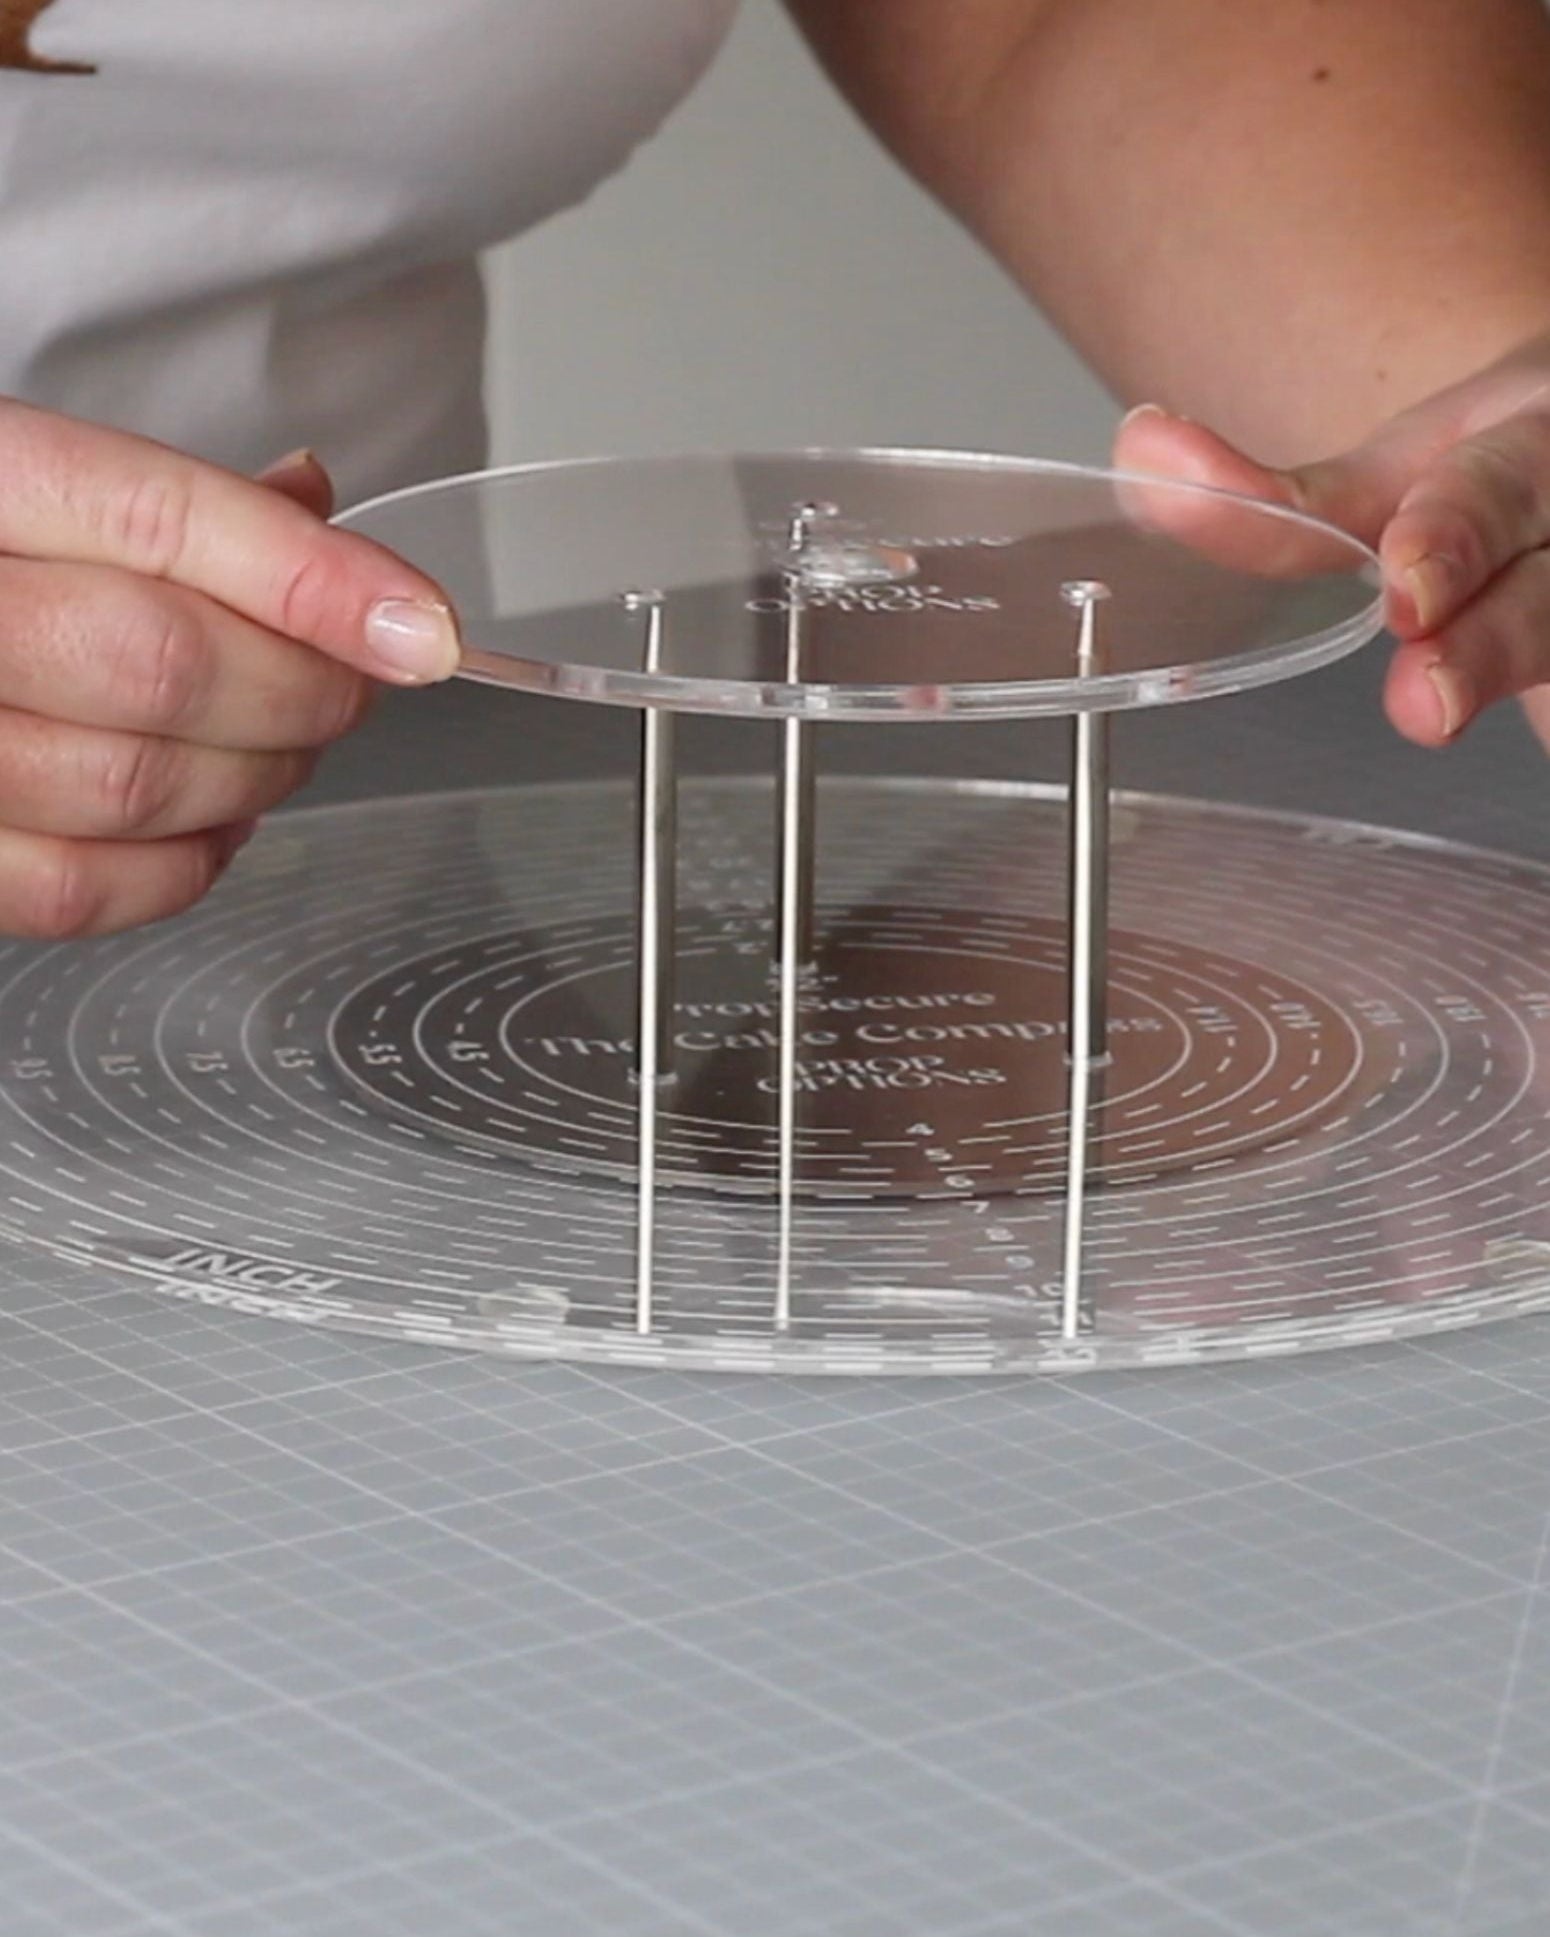
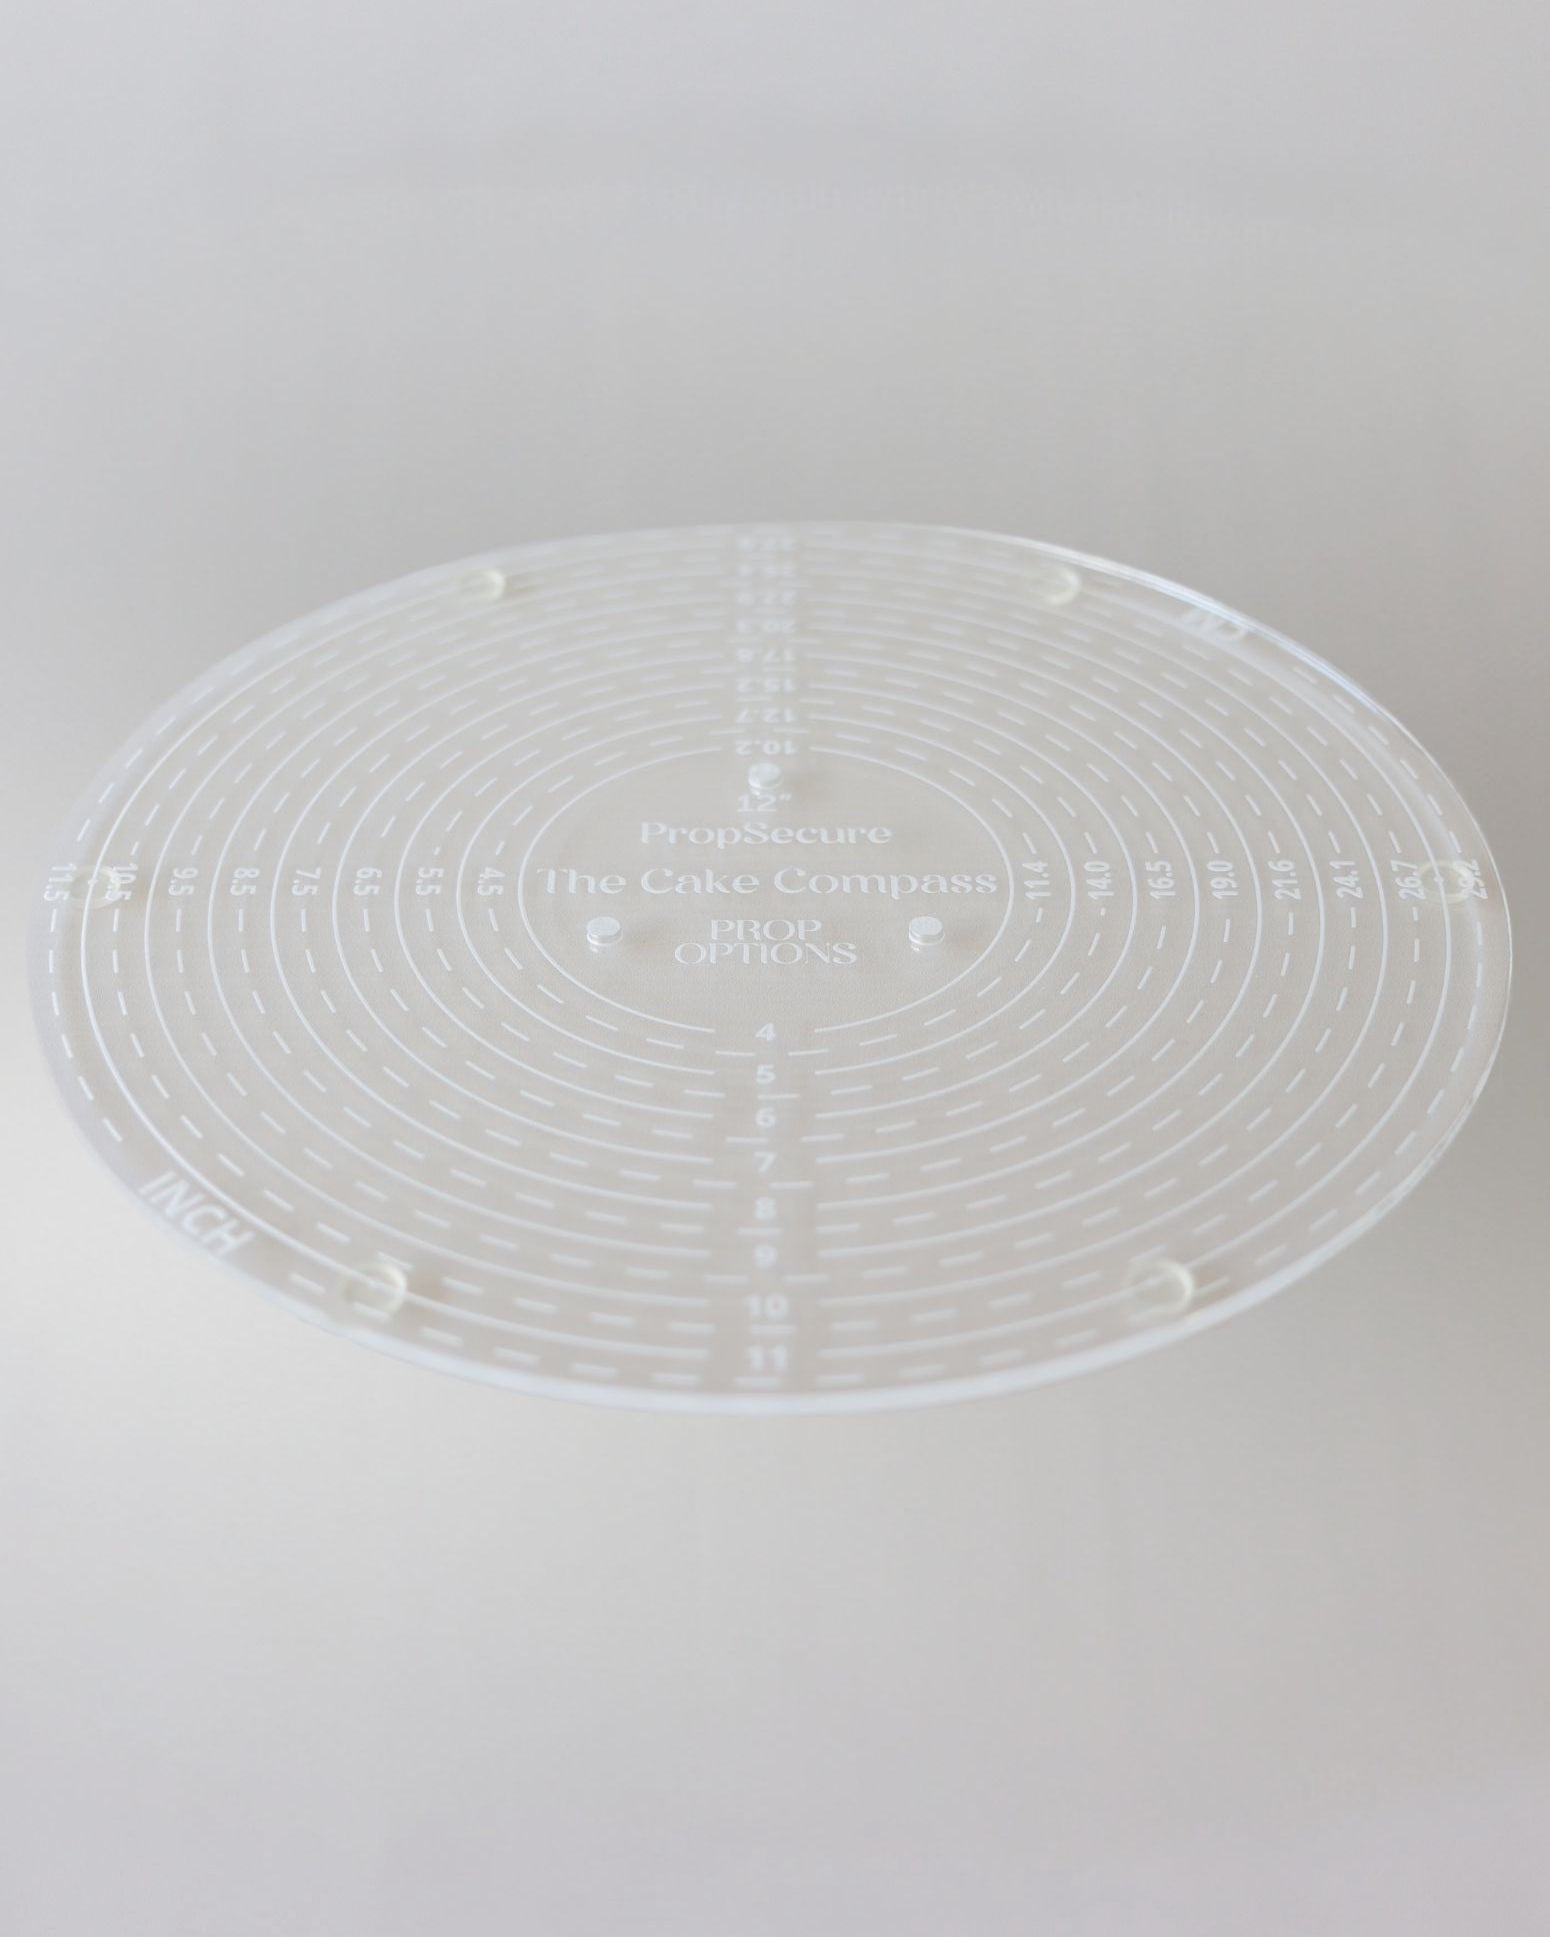
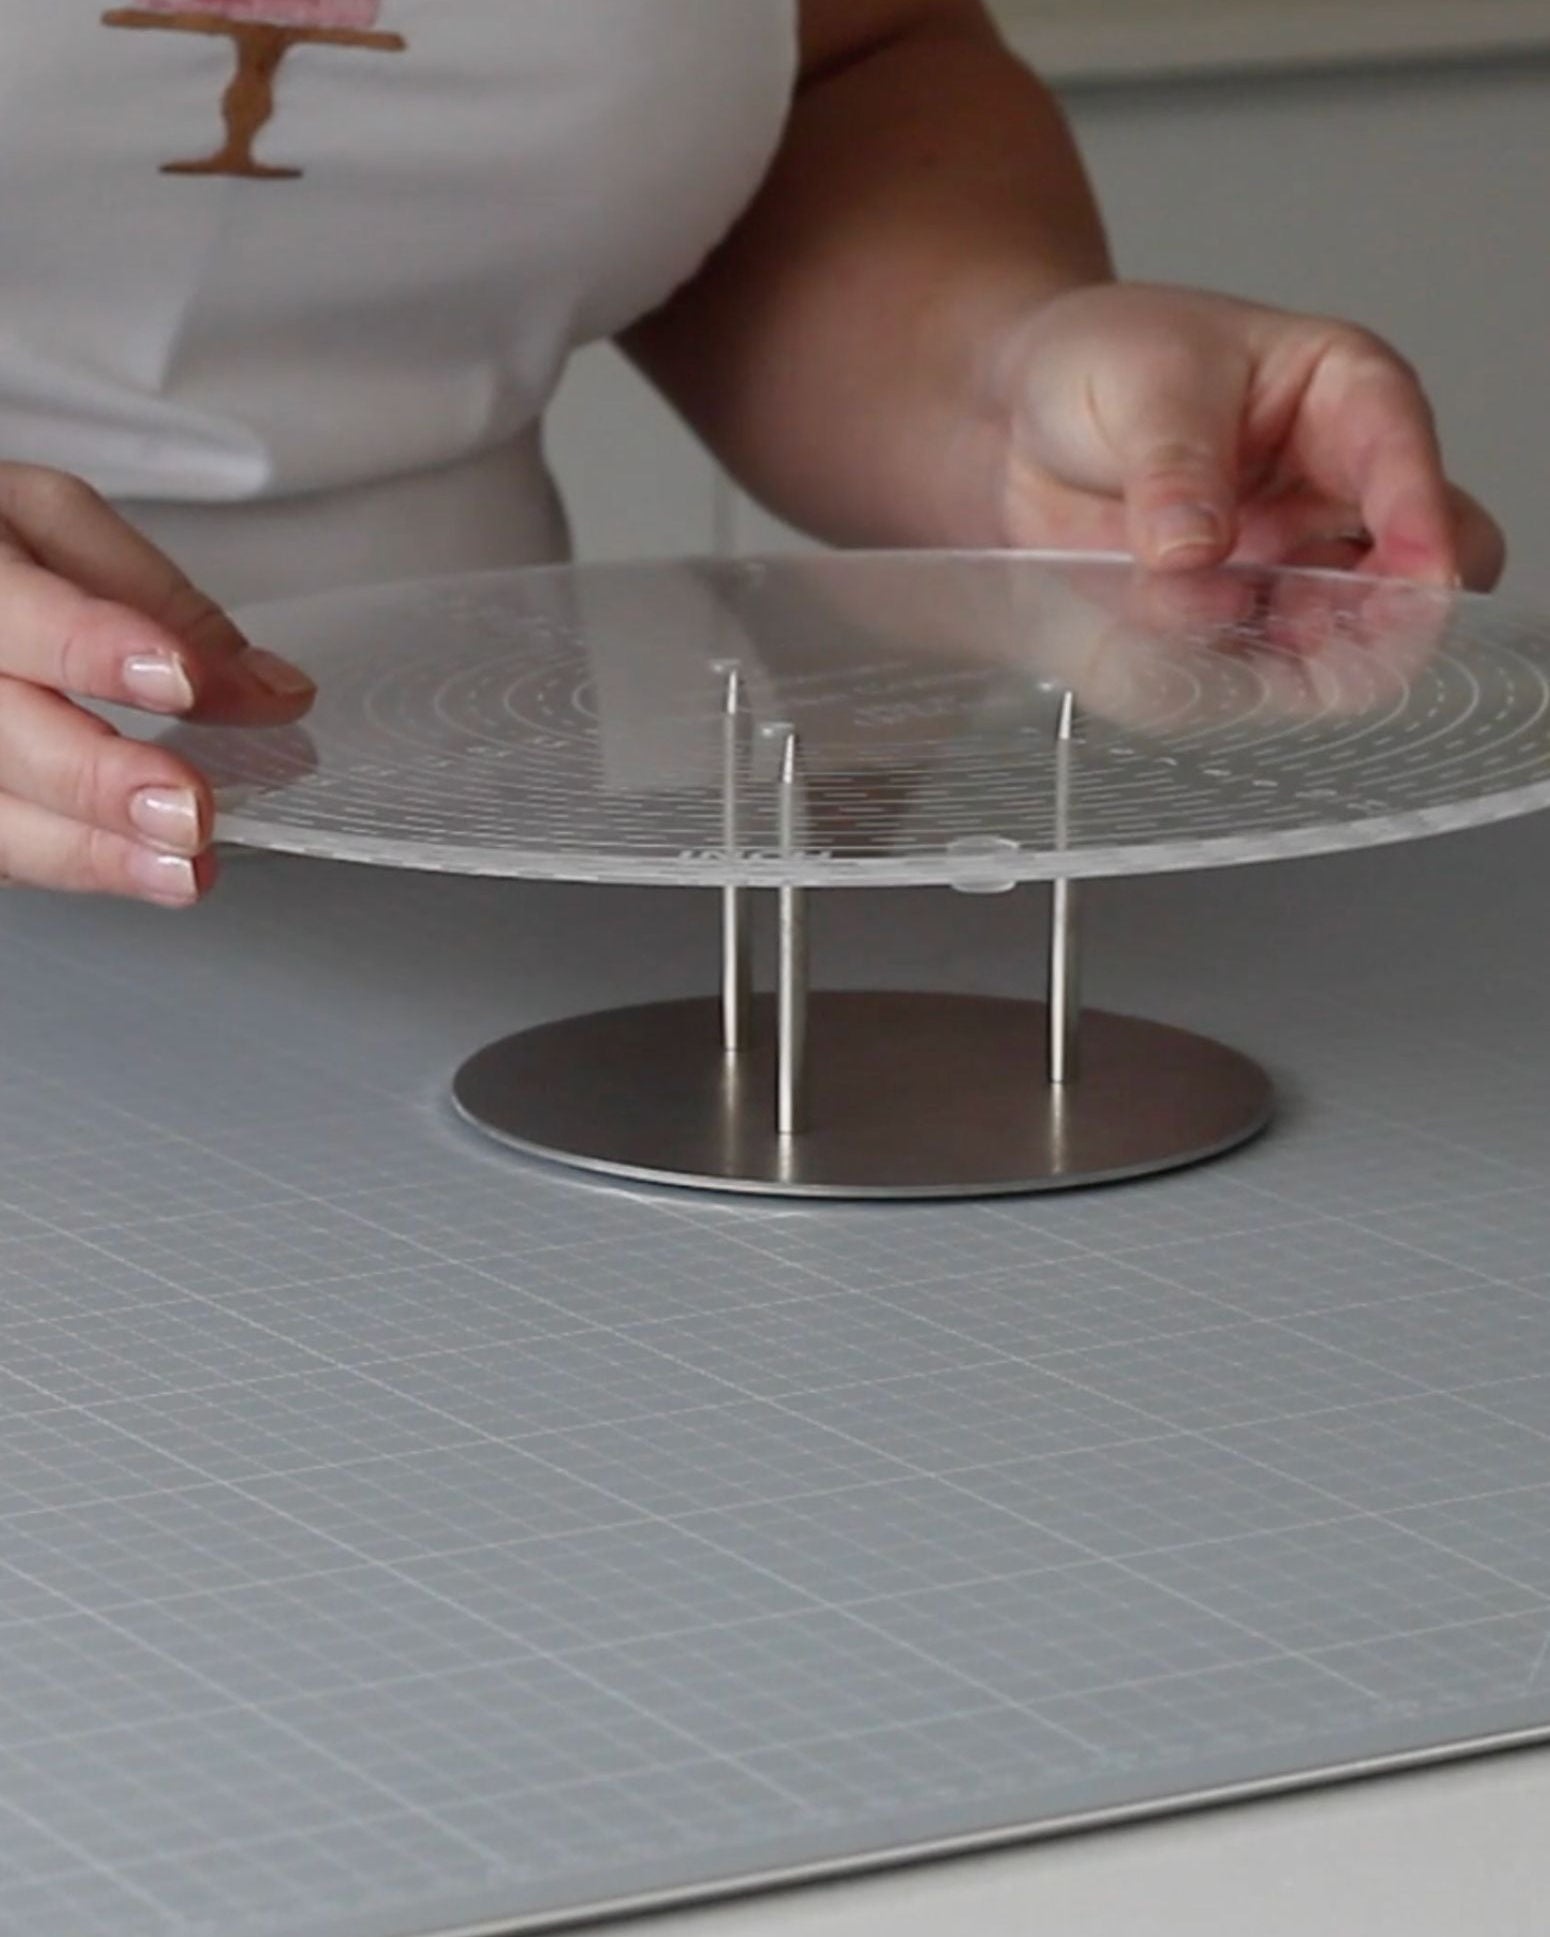
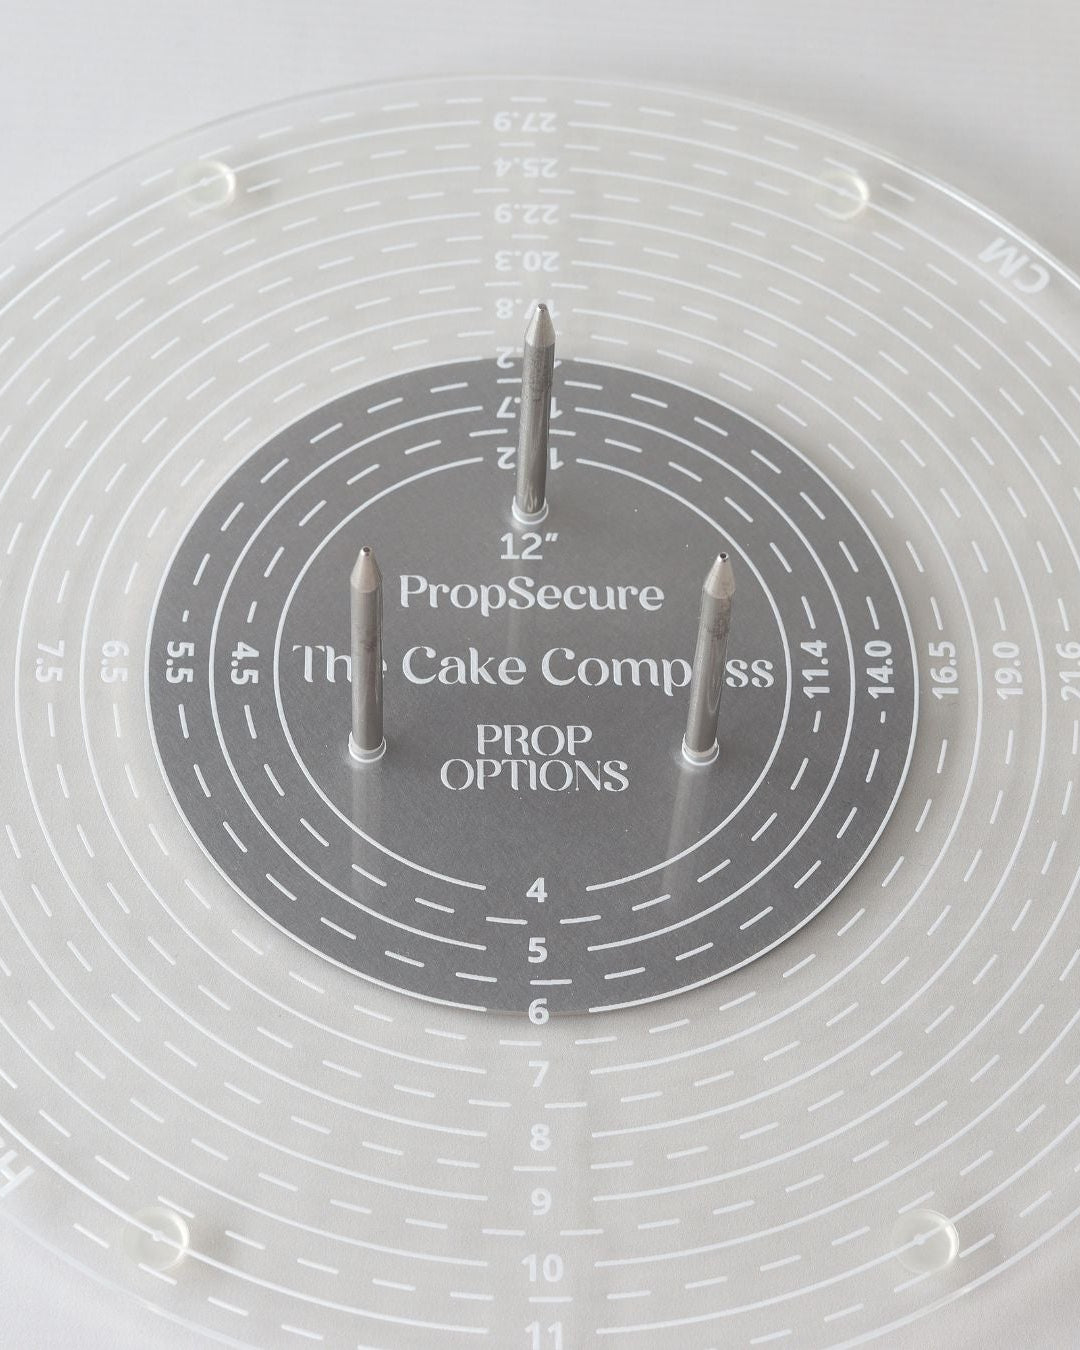
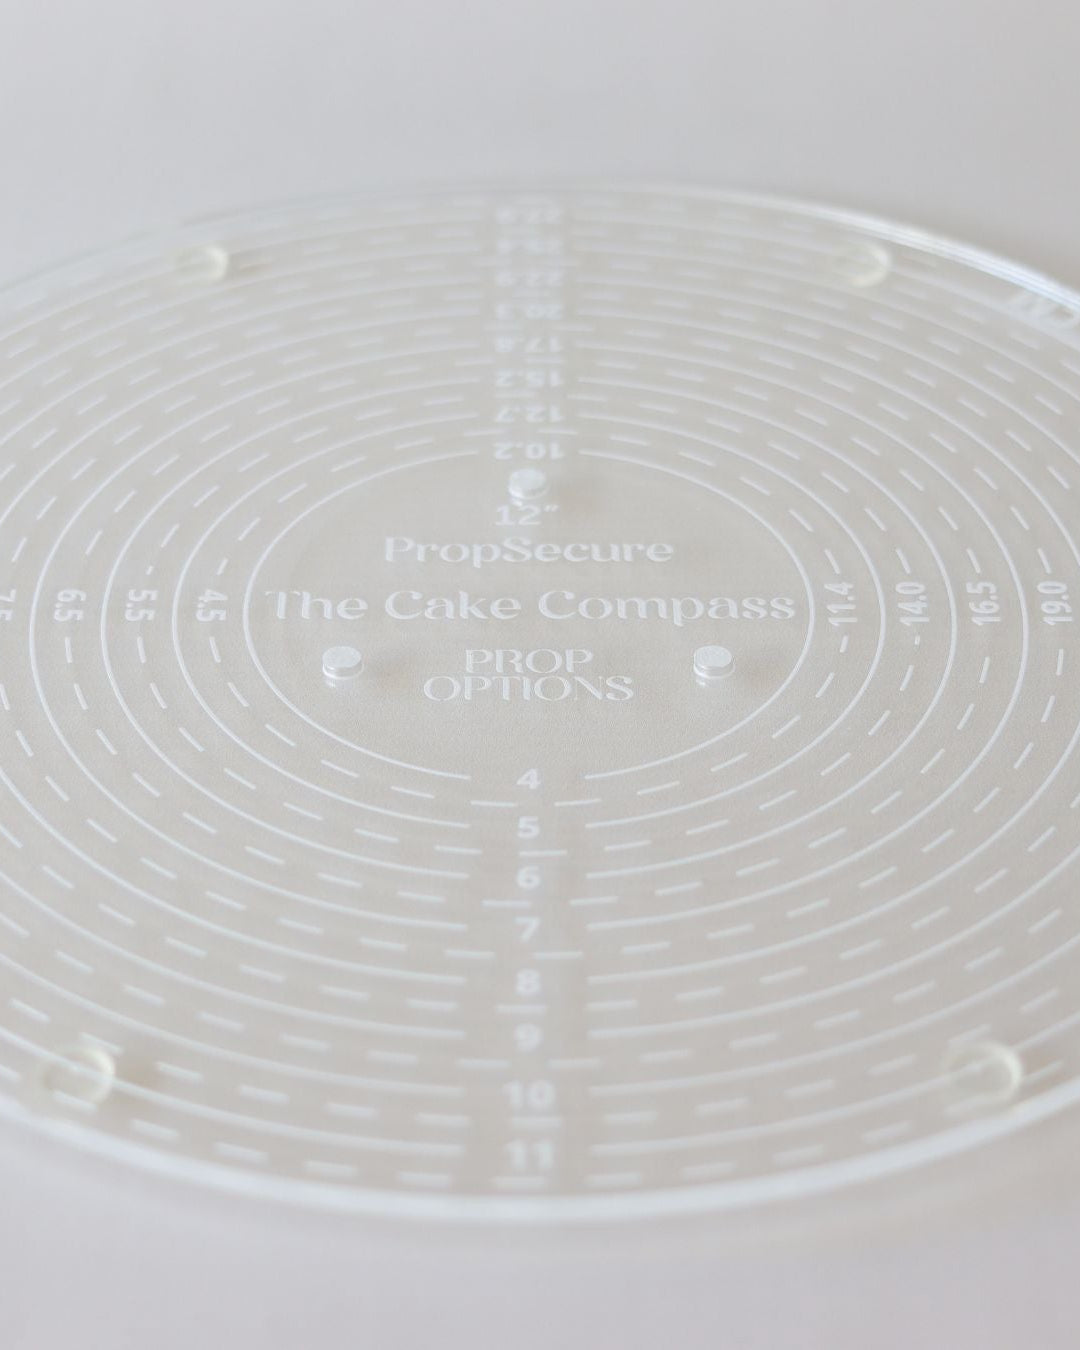
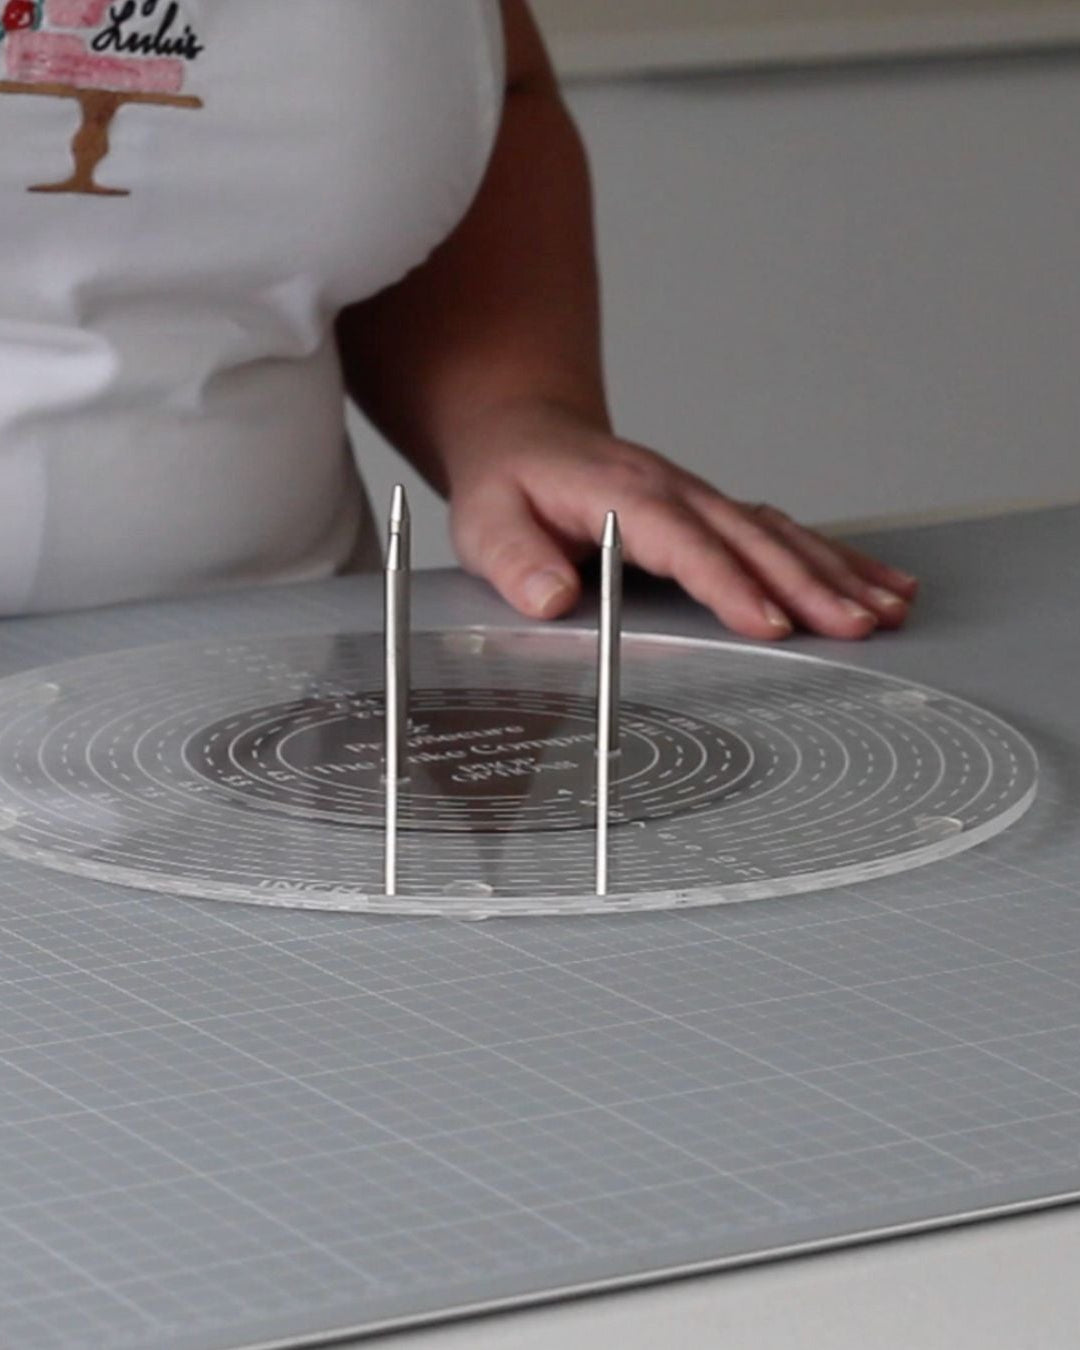
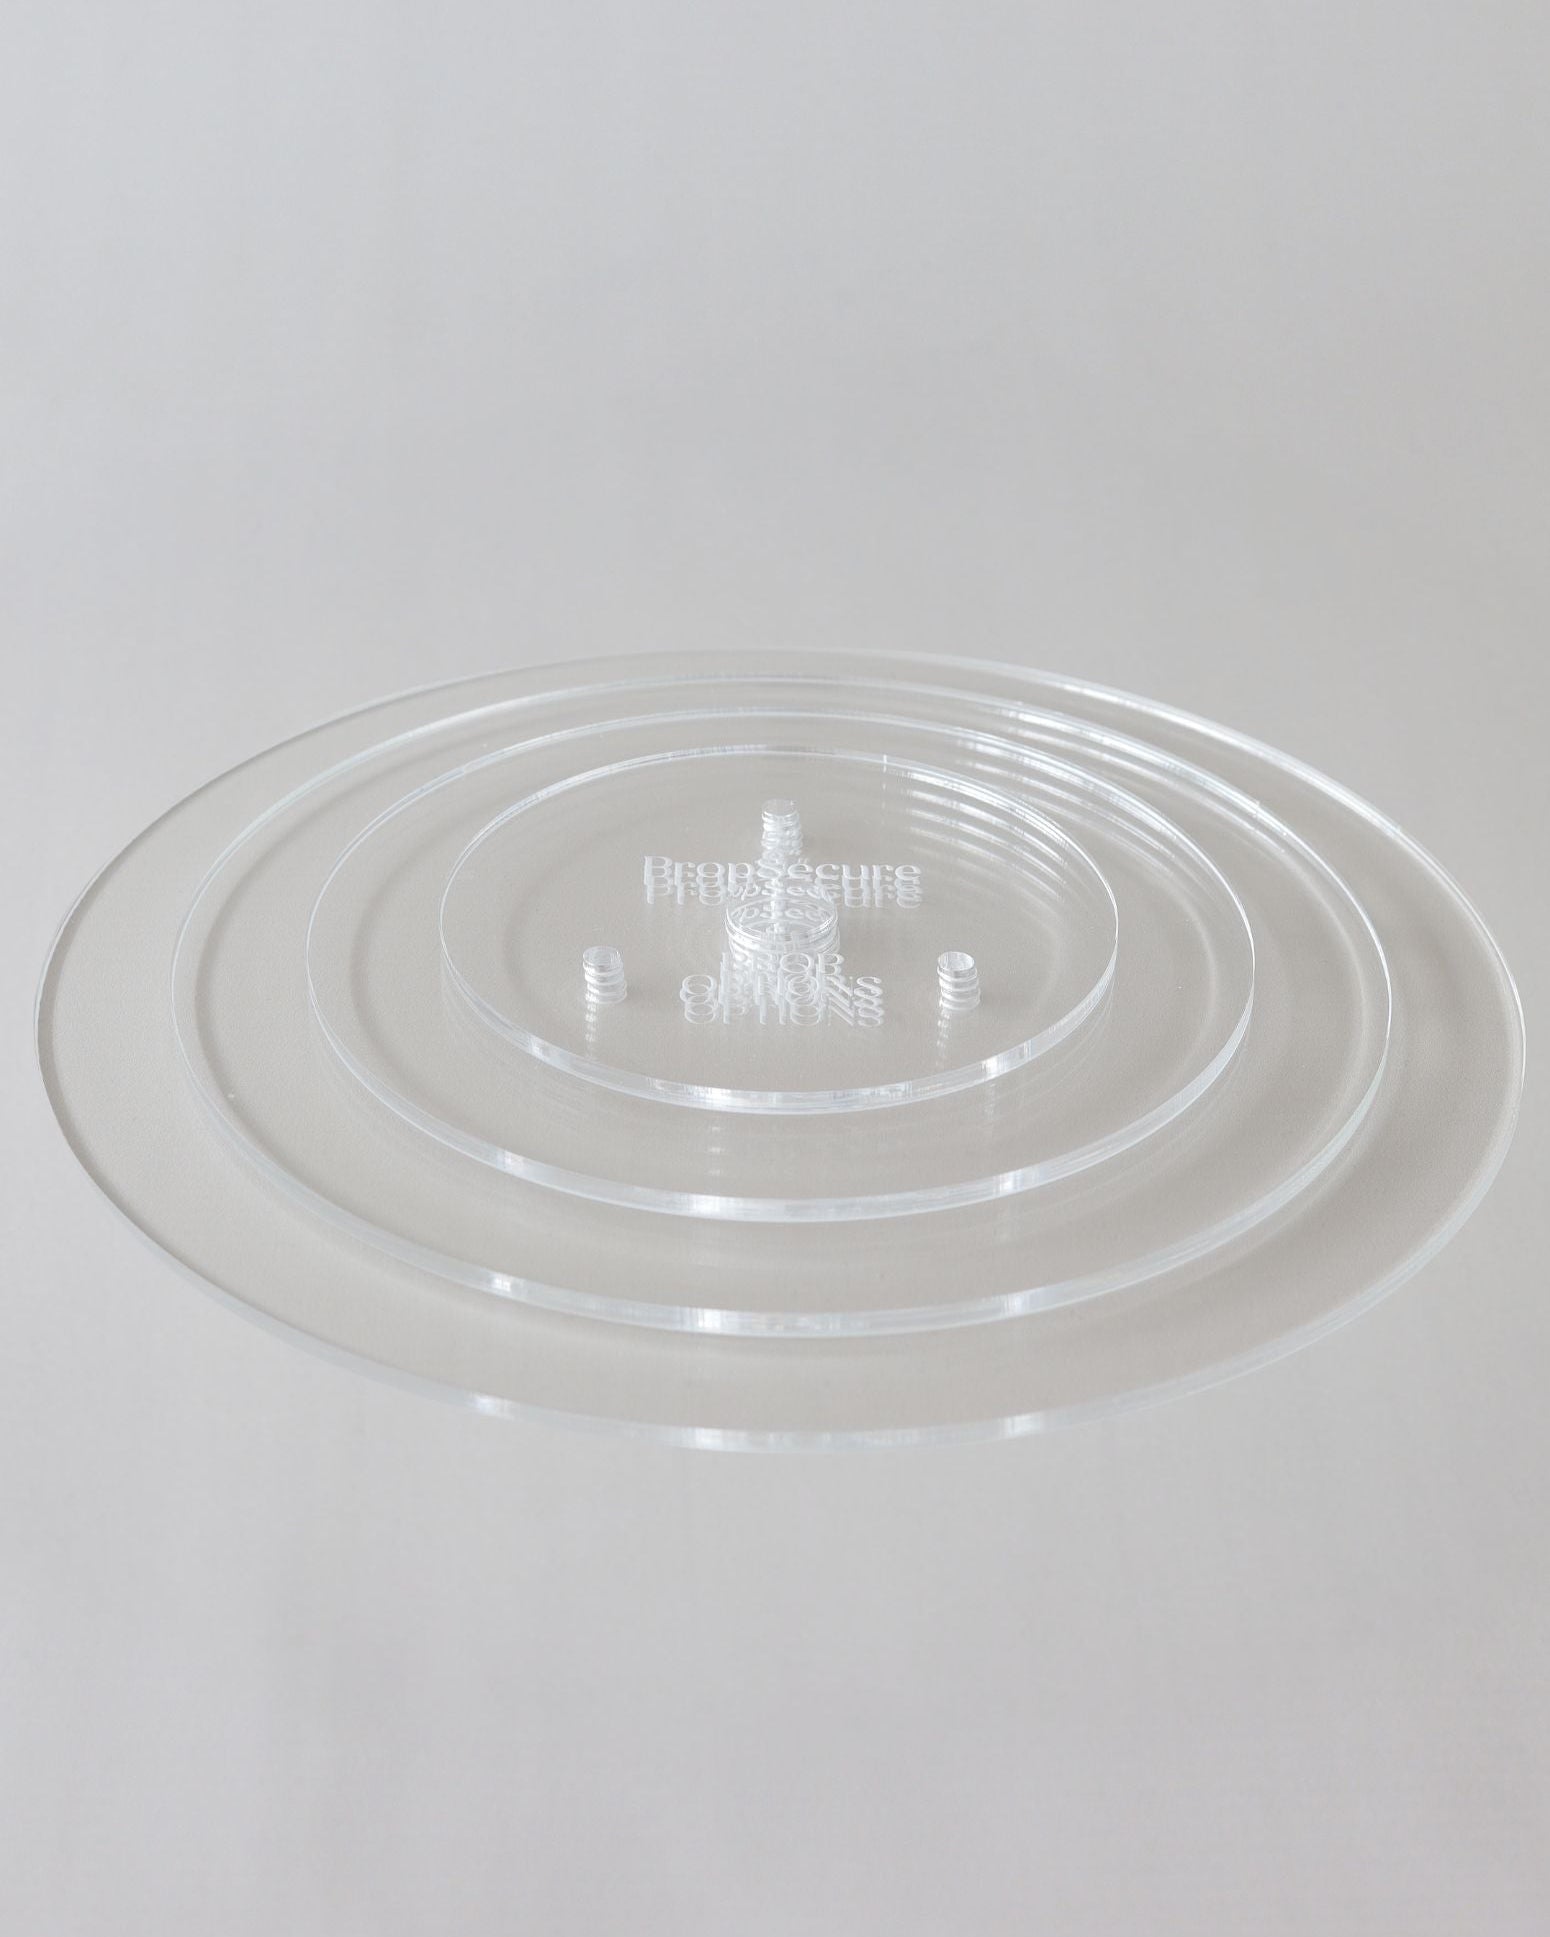
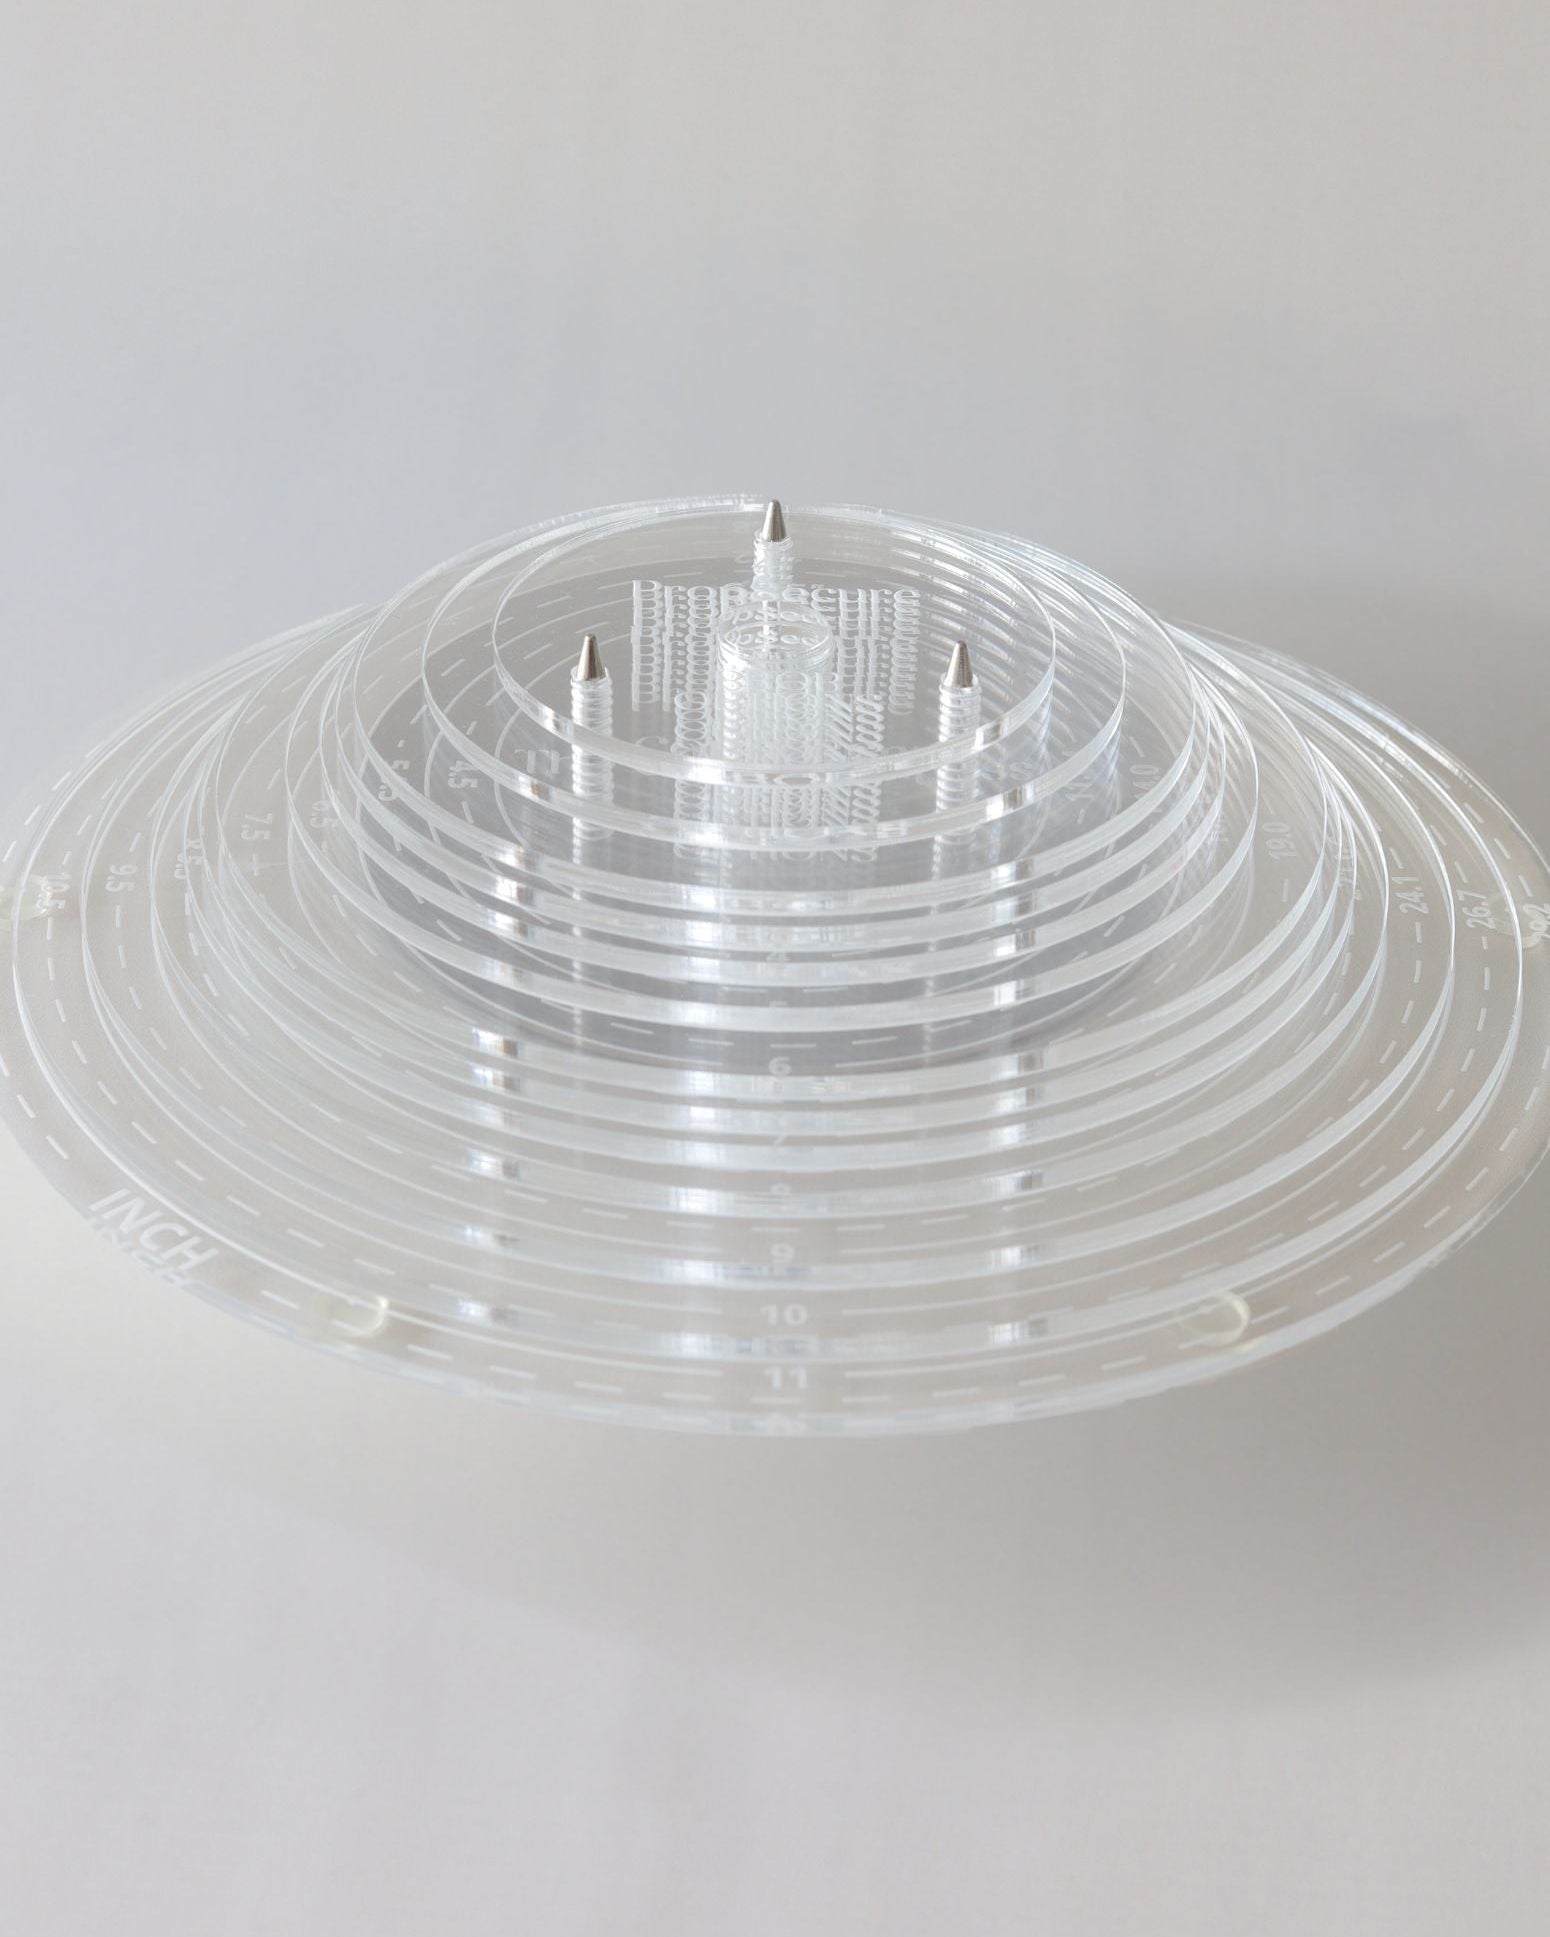
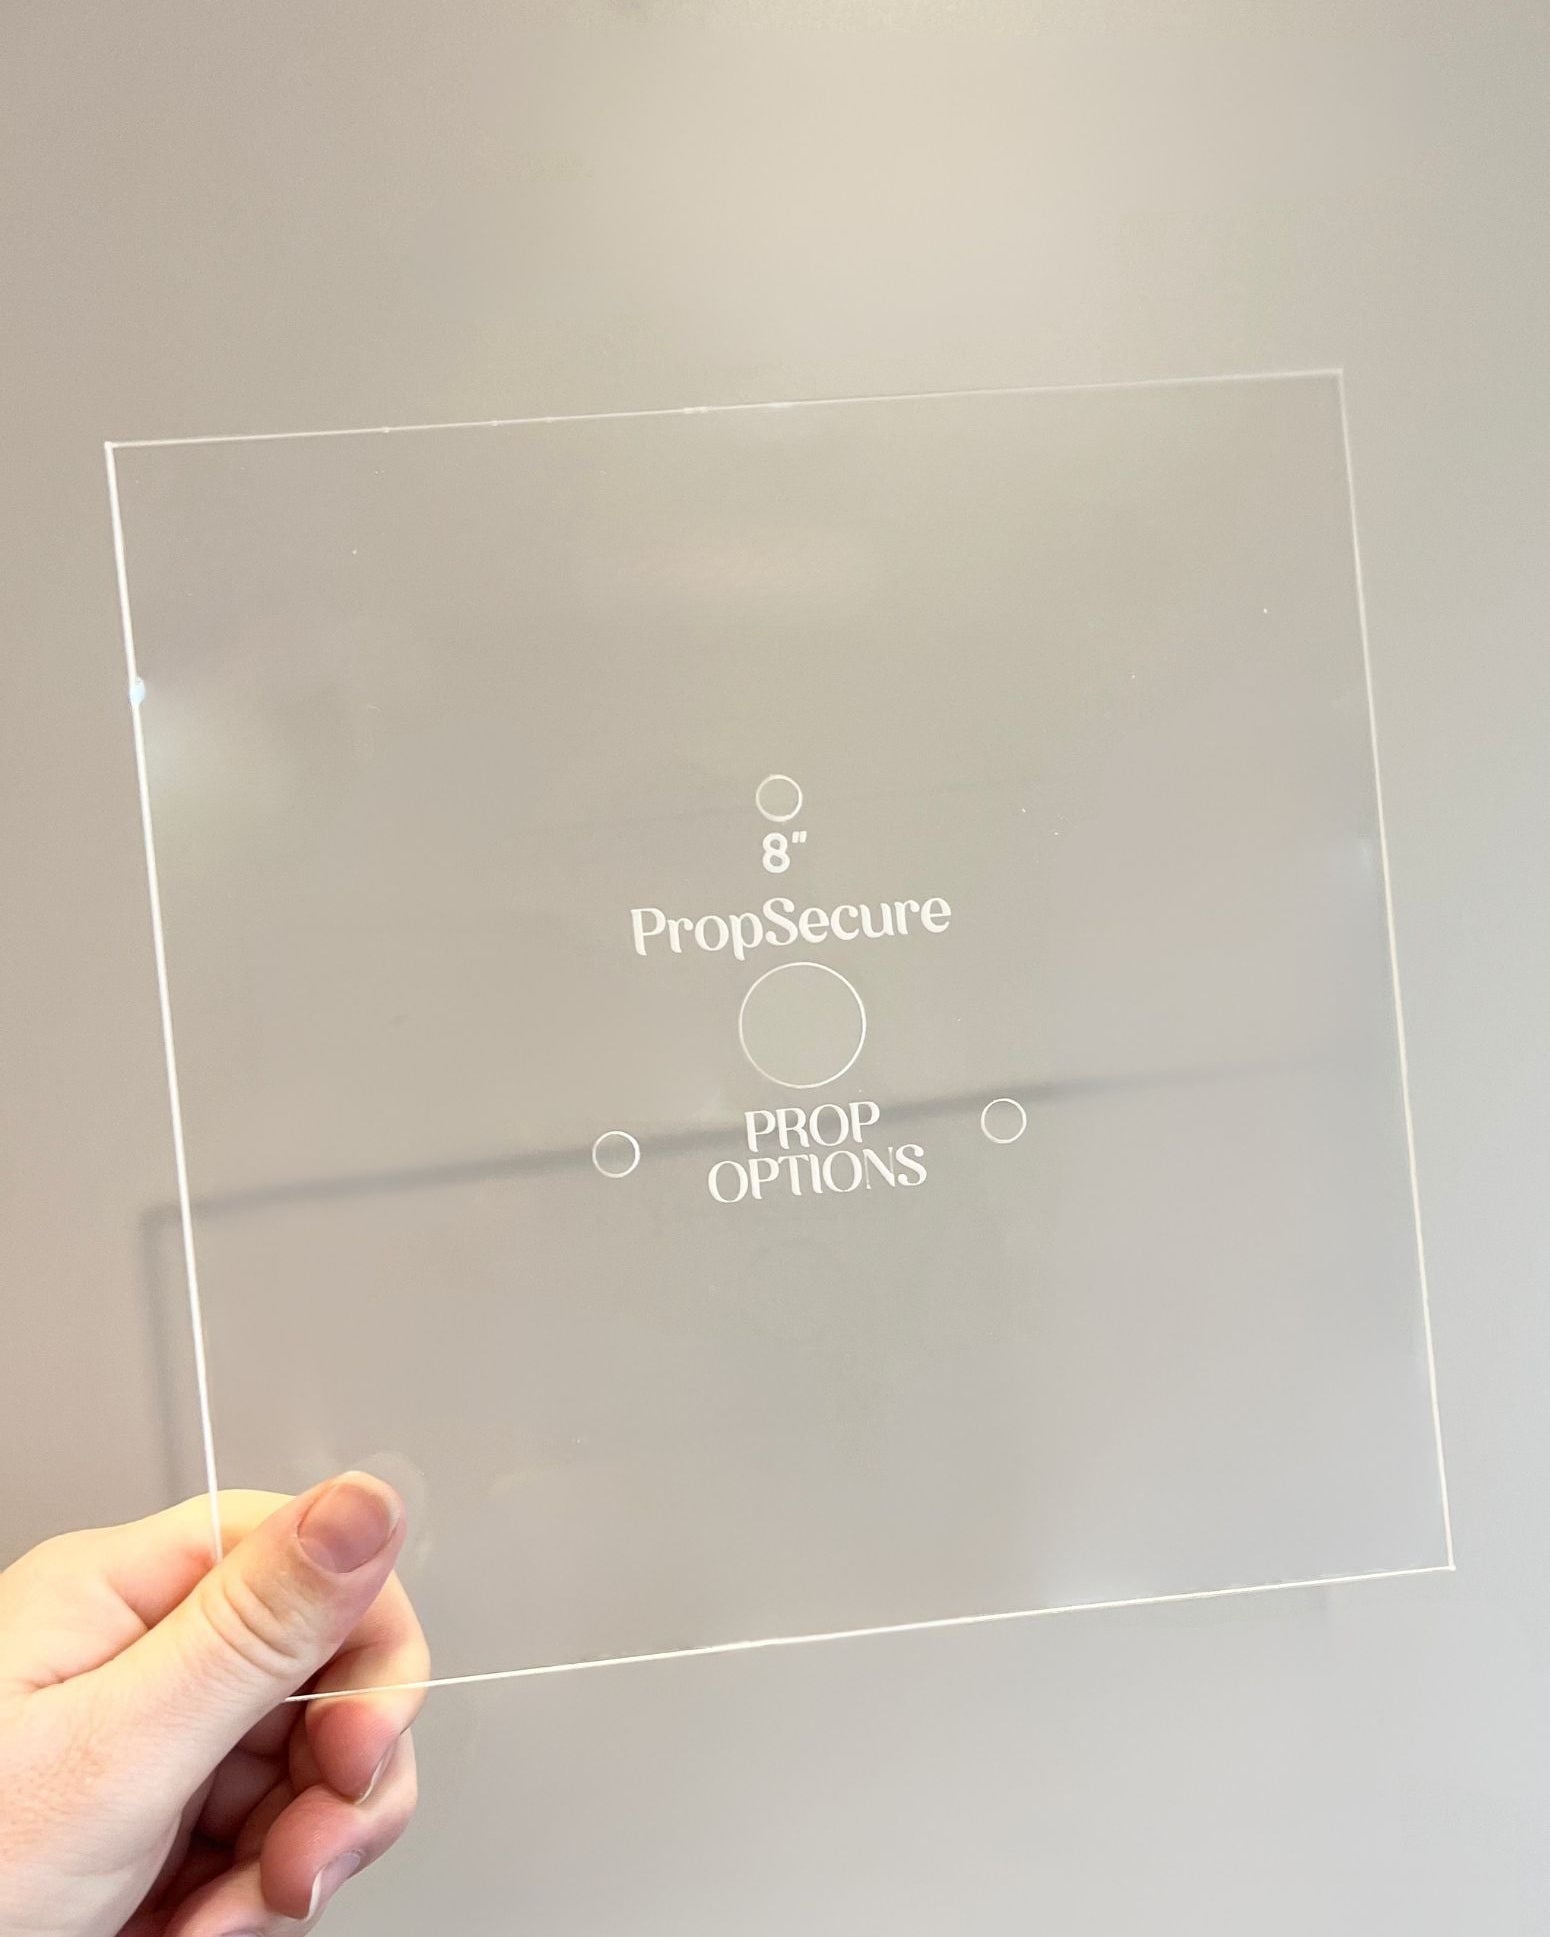
- Take your Dimension Disc, food-grade stainless steel plate, and PropSecure Pins.
- Attach the PropSecure Pins to the metal plate.
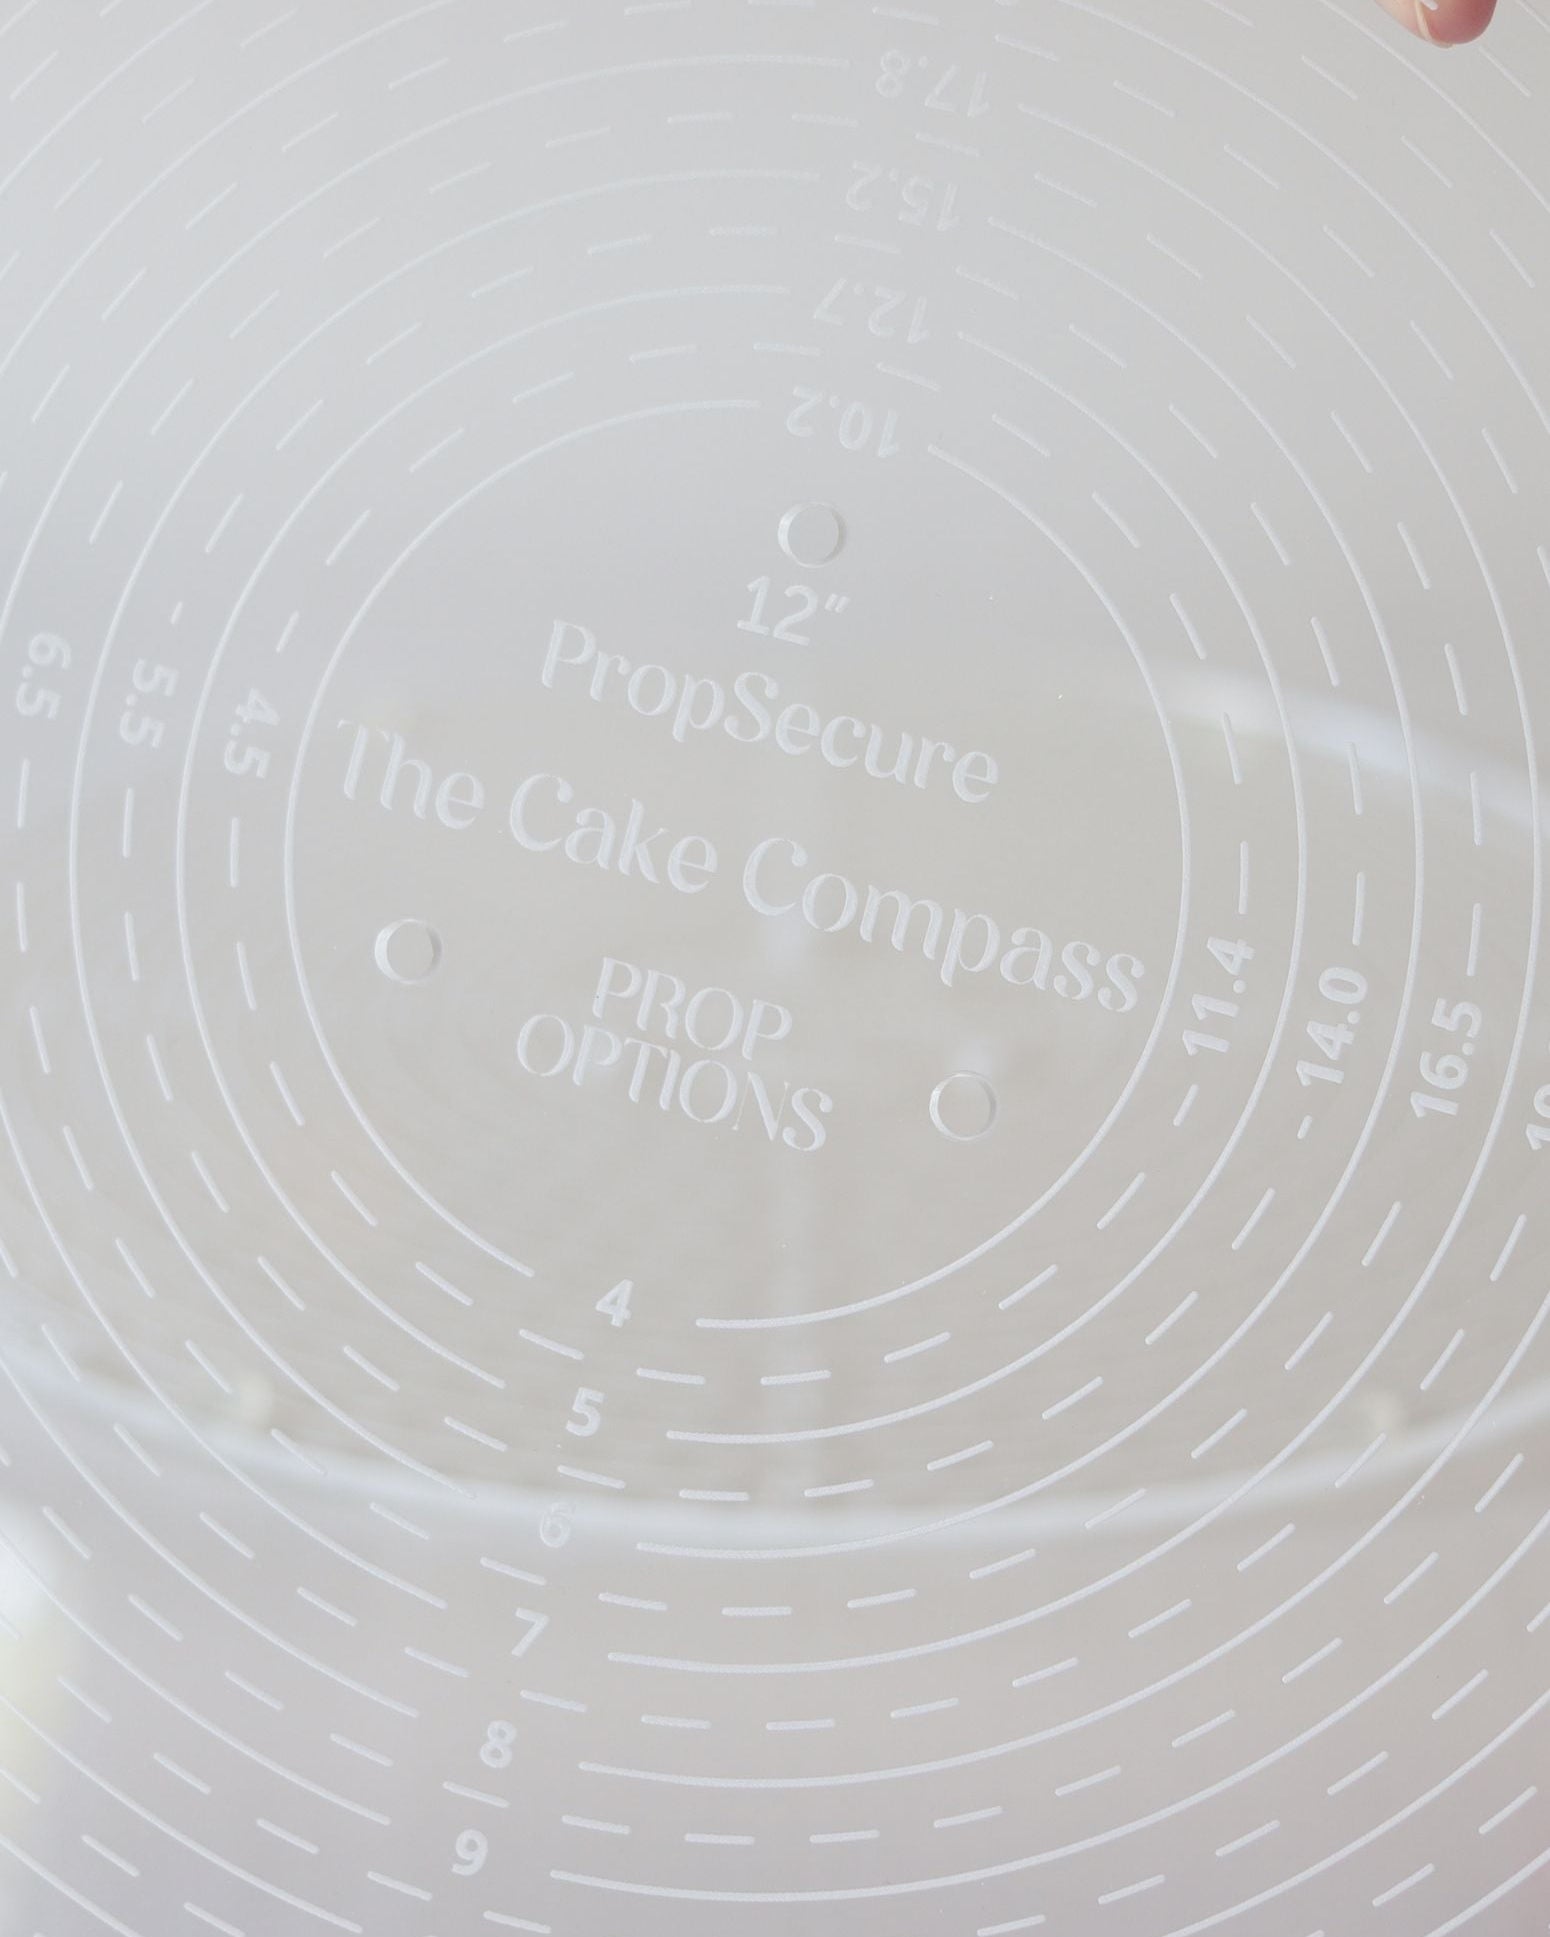
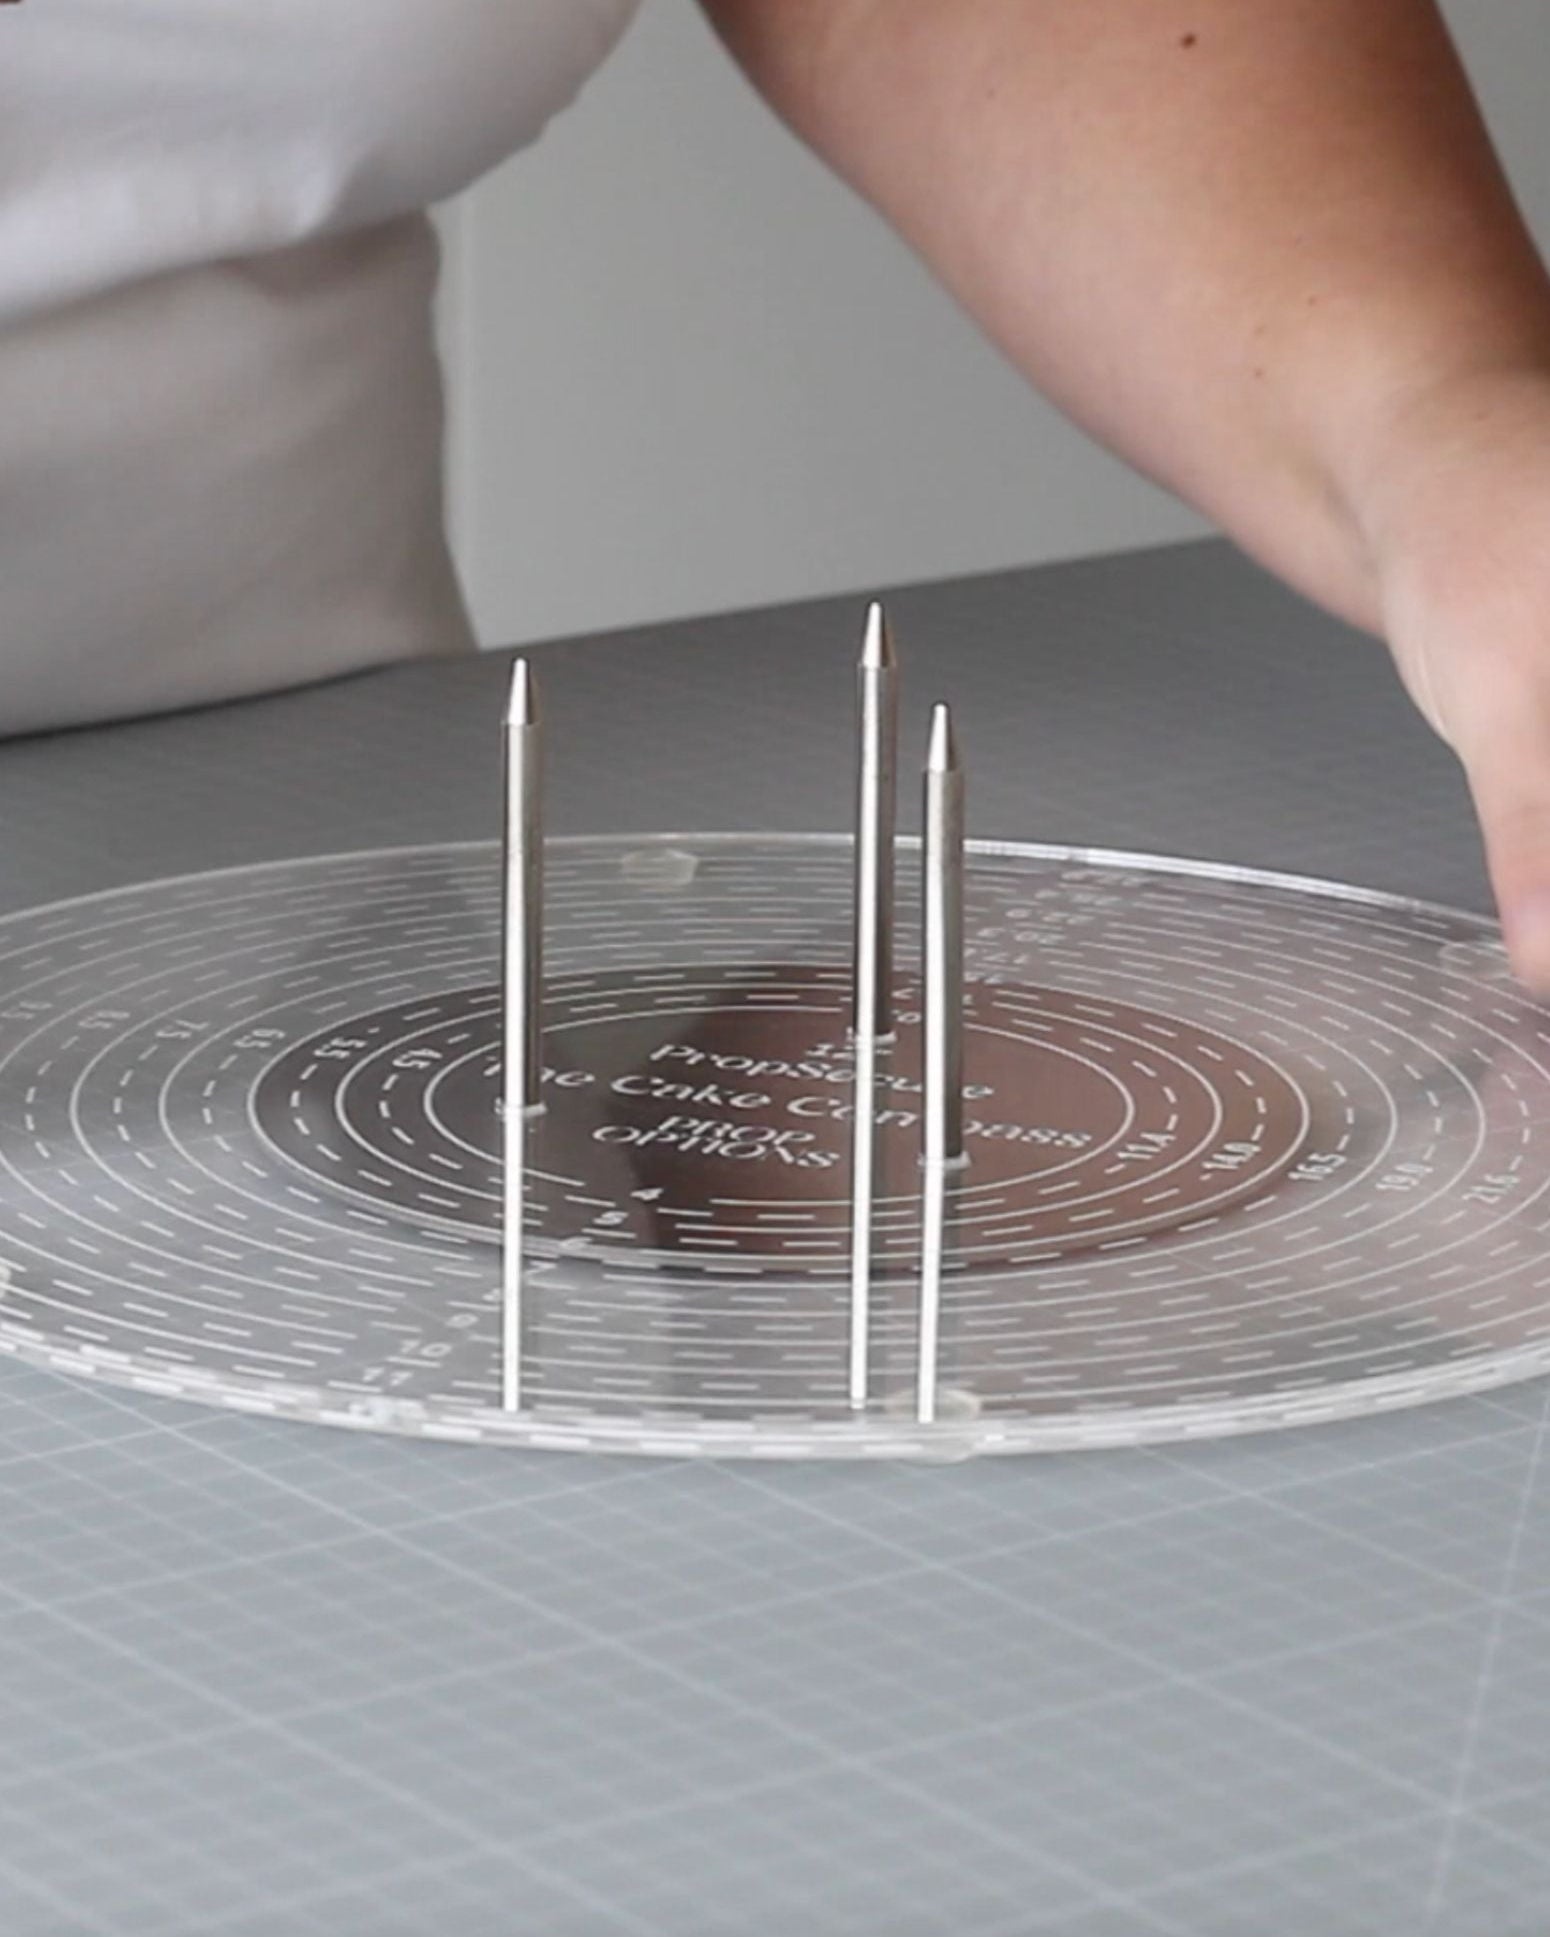
- Slot the Dimension Disc into place on the metal plate to complete the assembly.
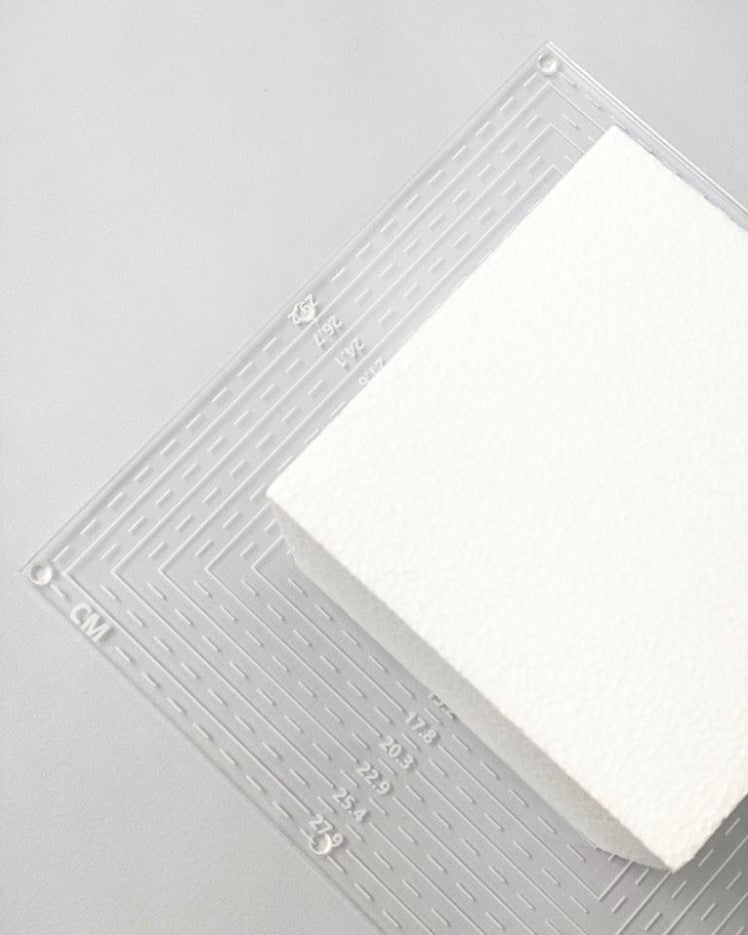
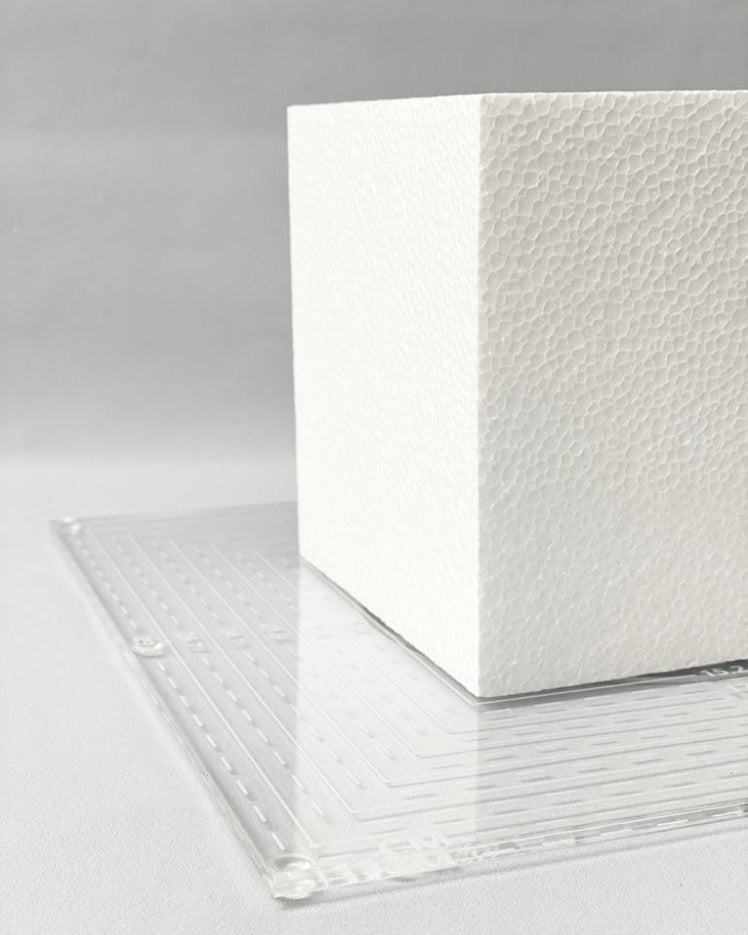
Step Two: Prepare Your Cake
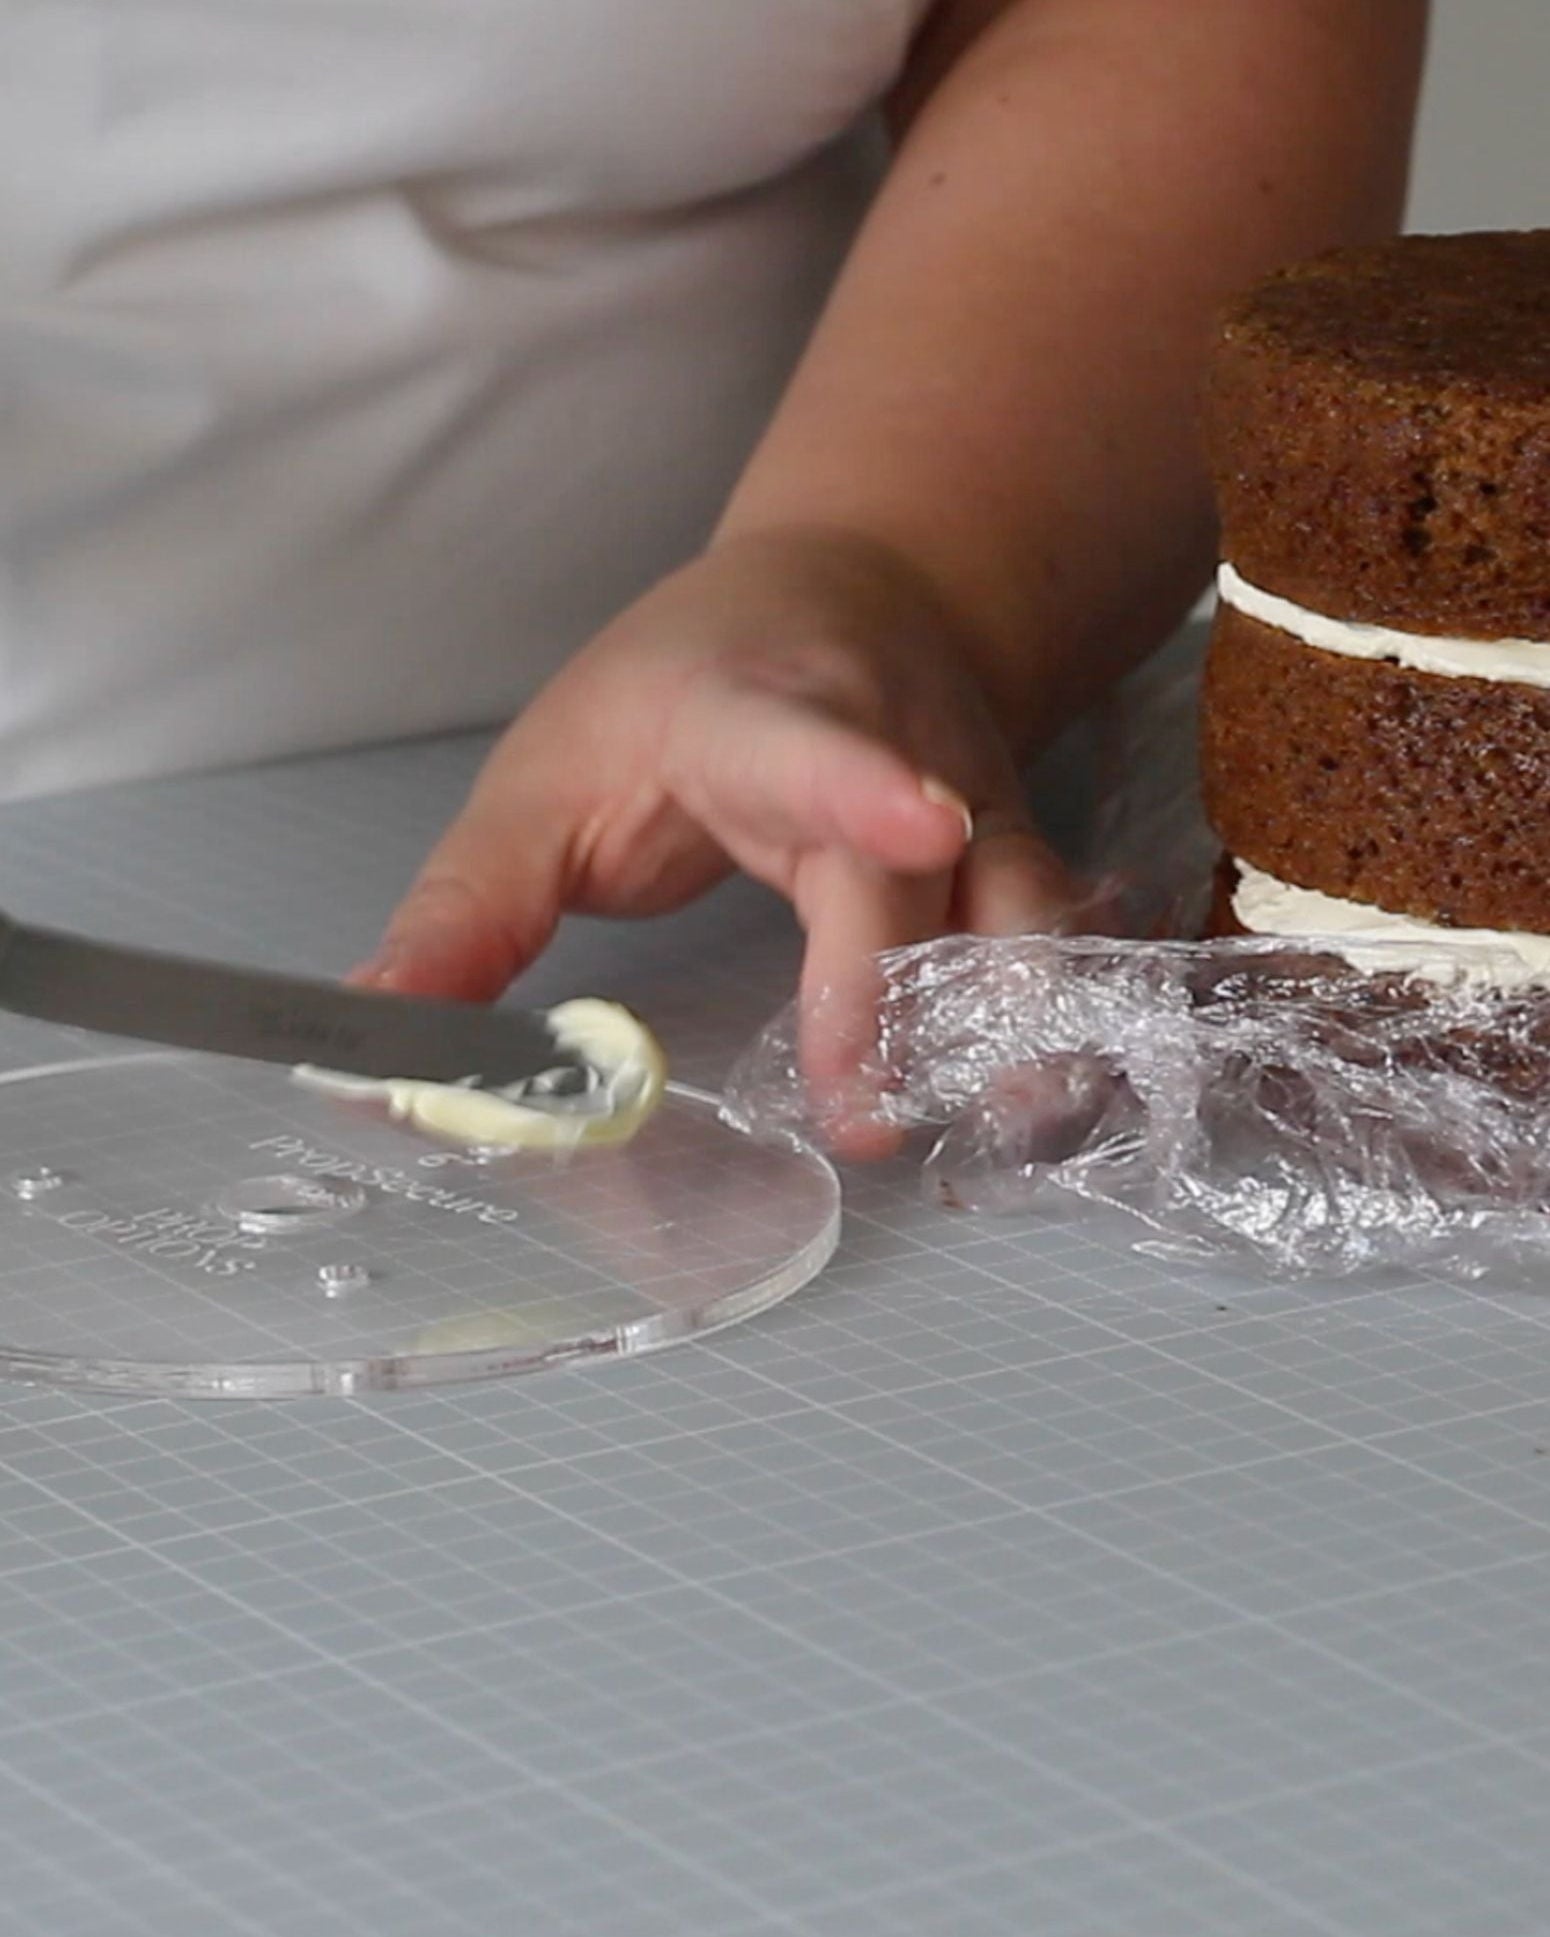
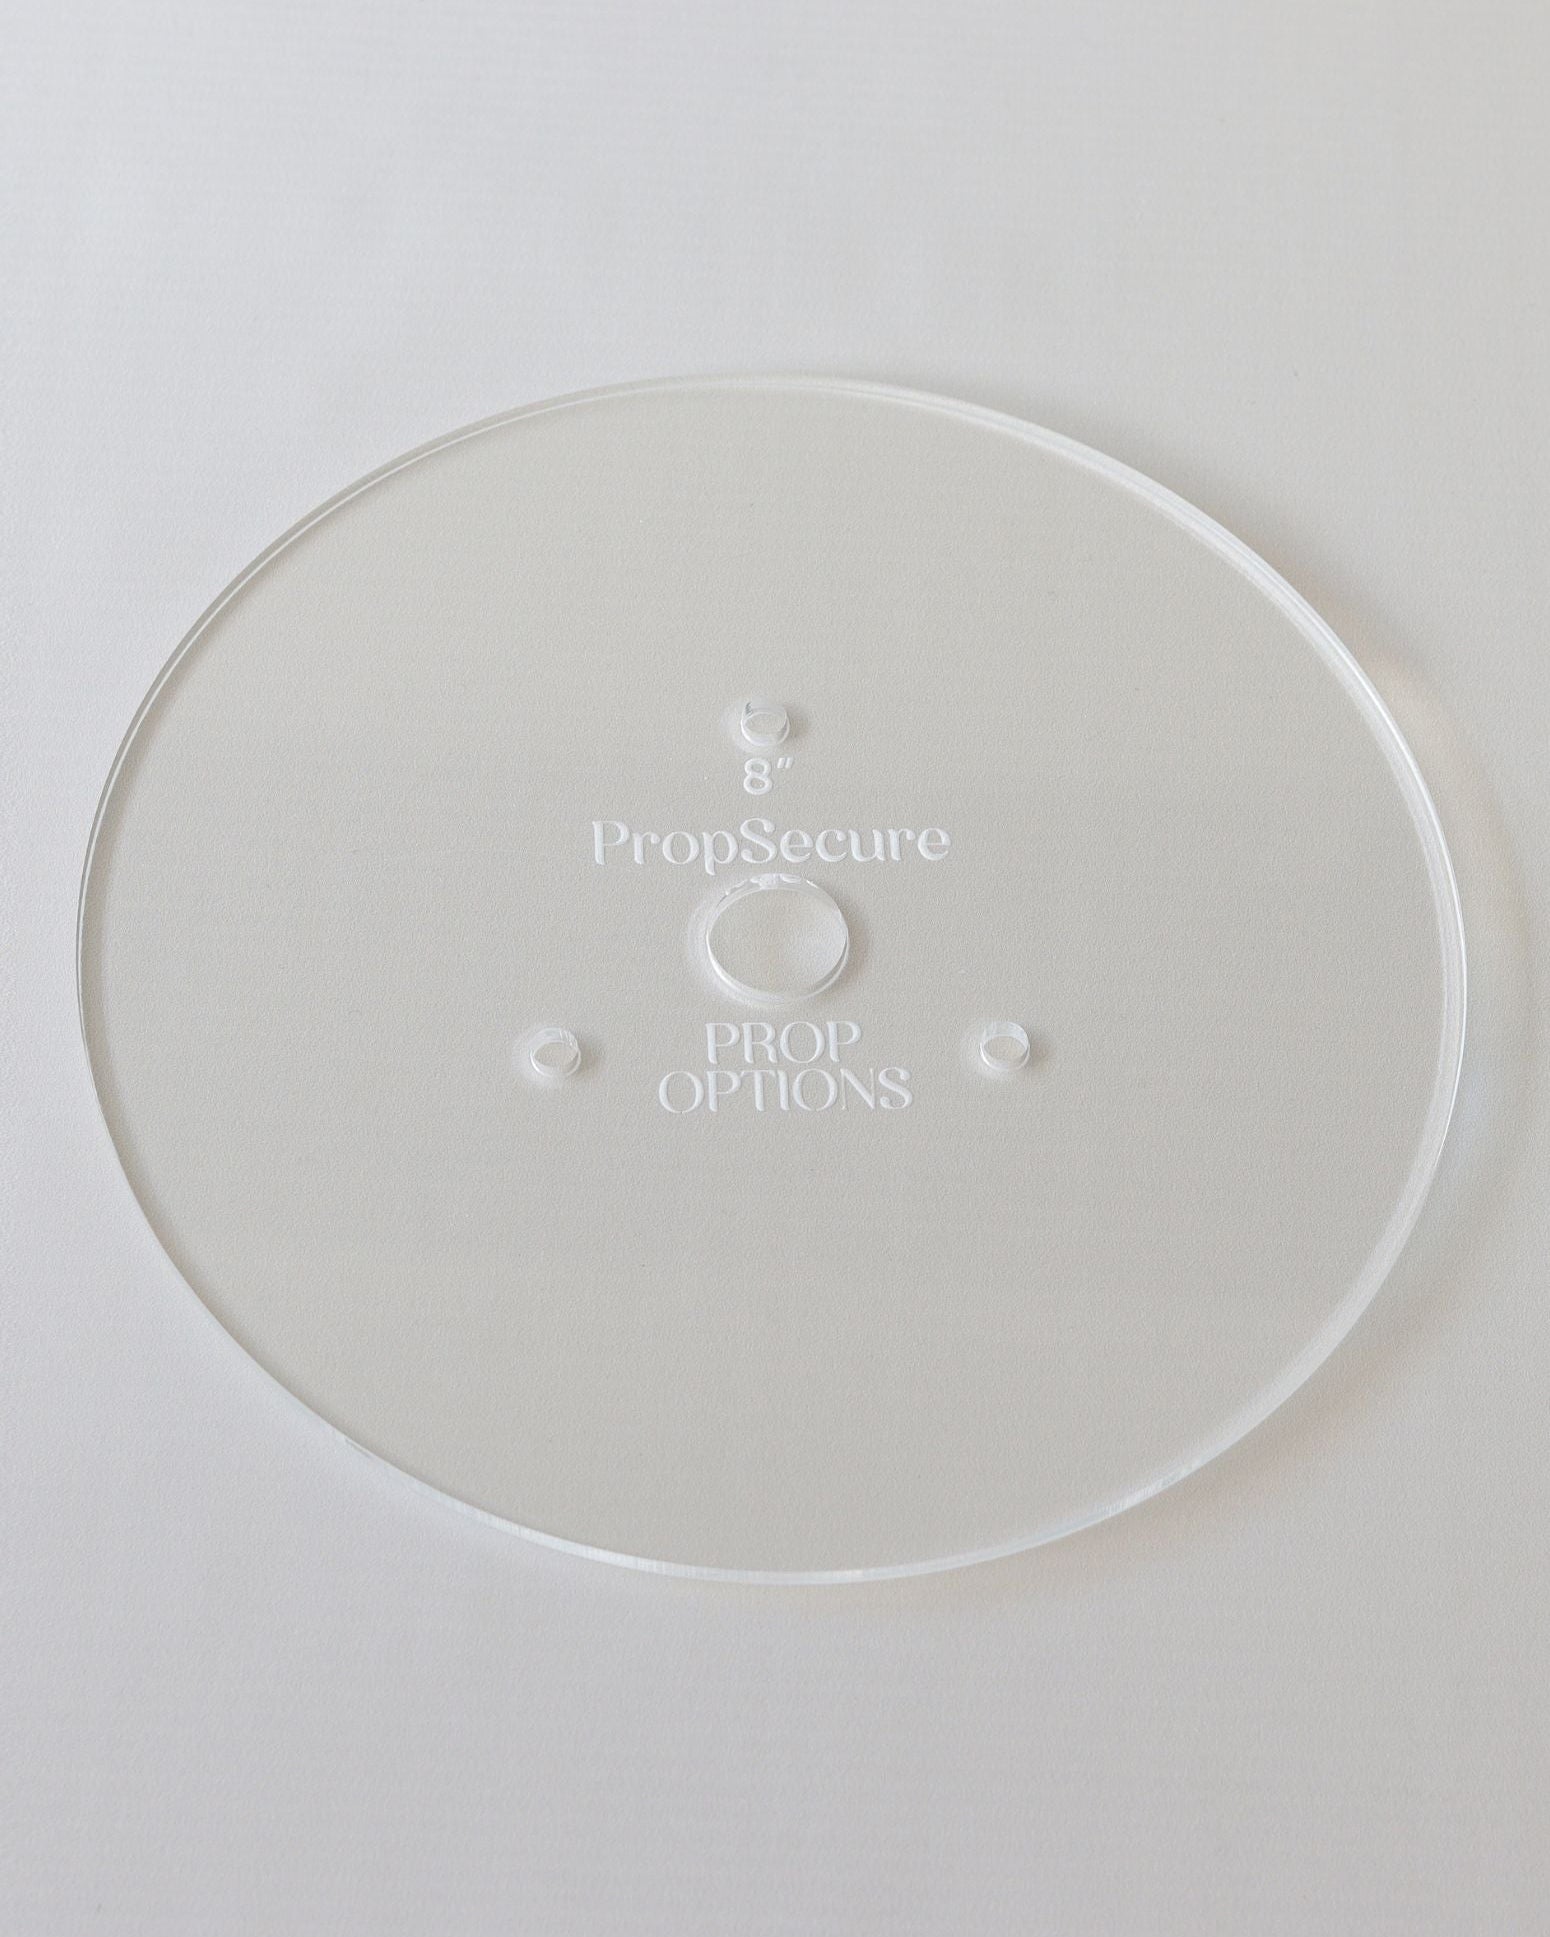
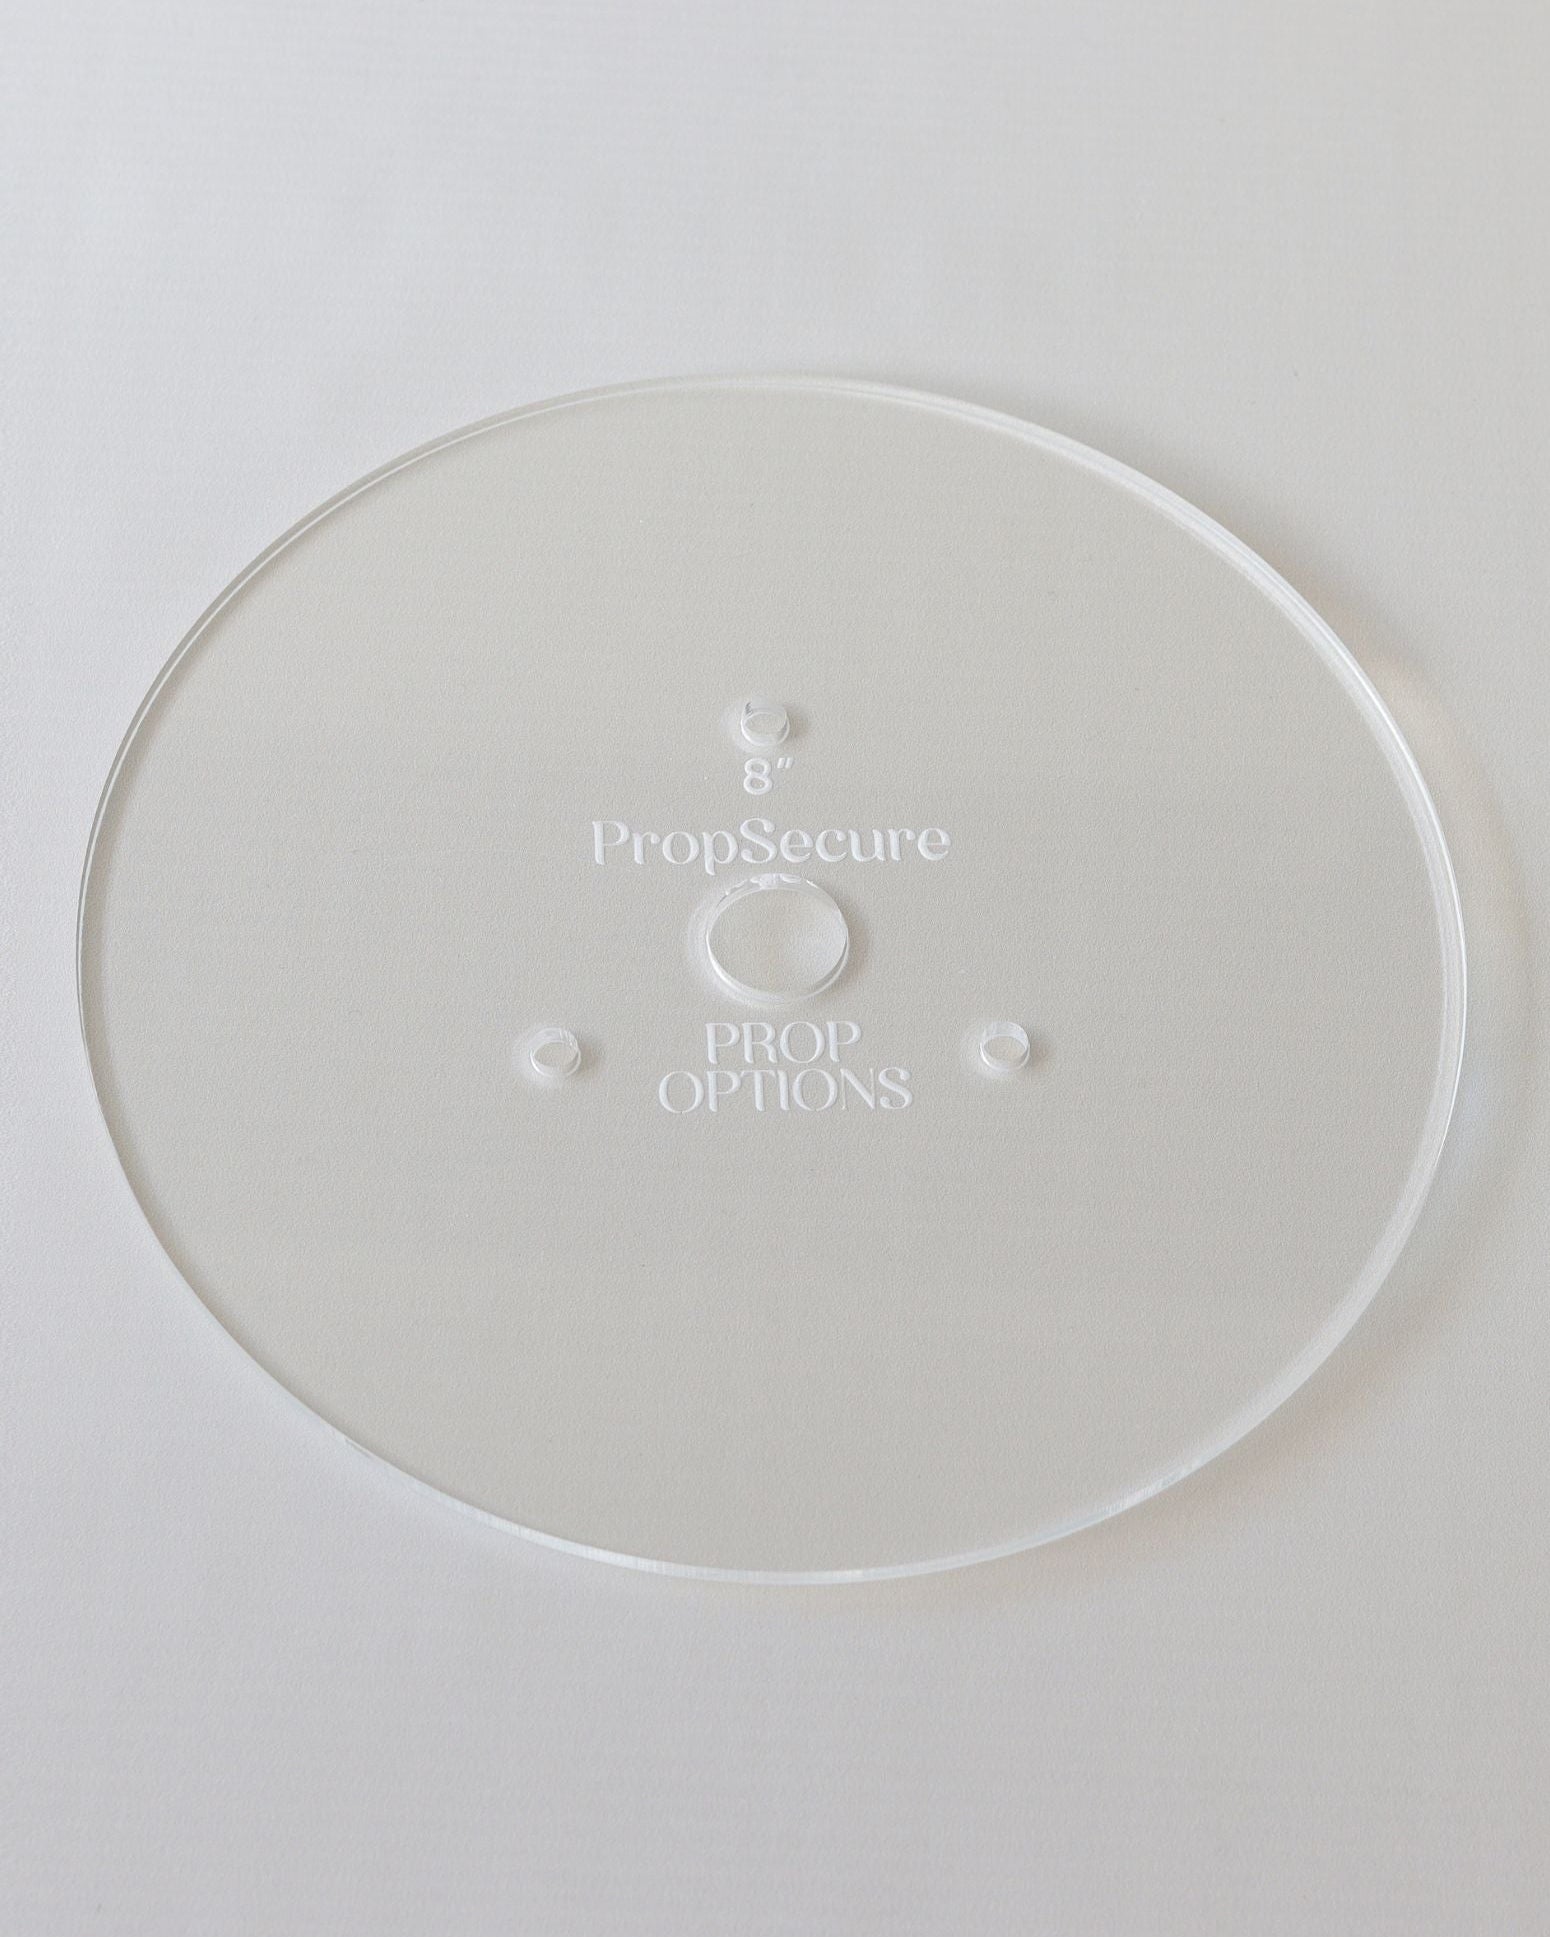
- Prepare your cake on a PropSecure Cake Board:
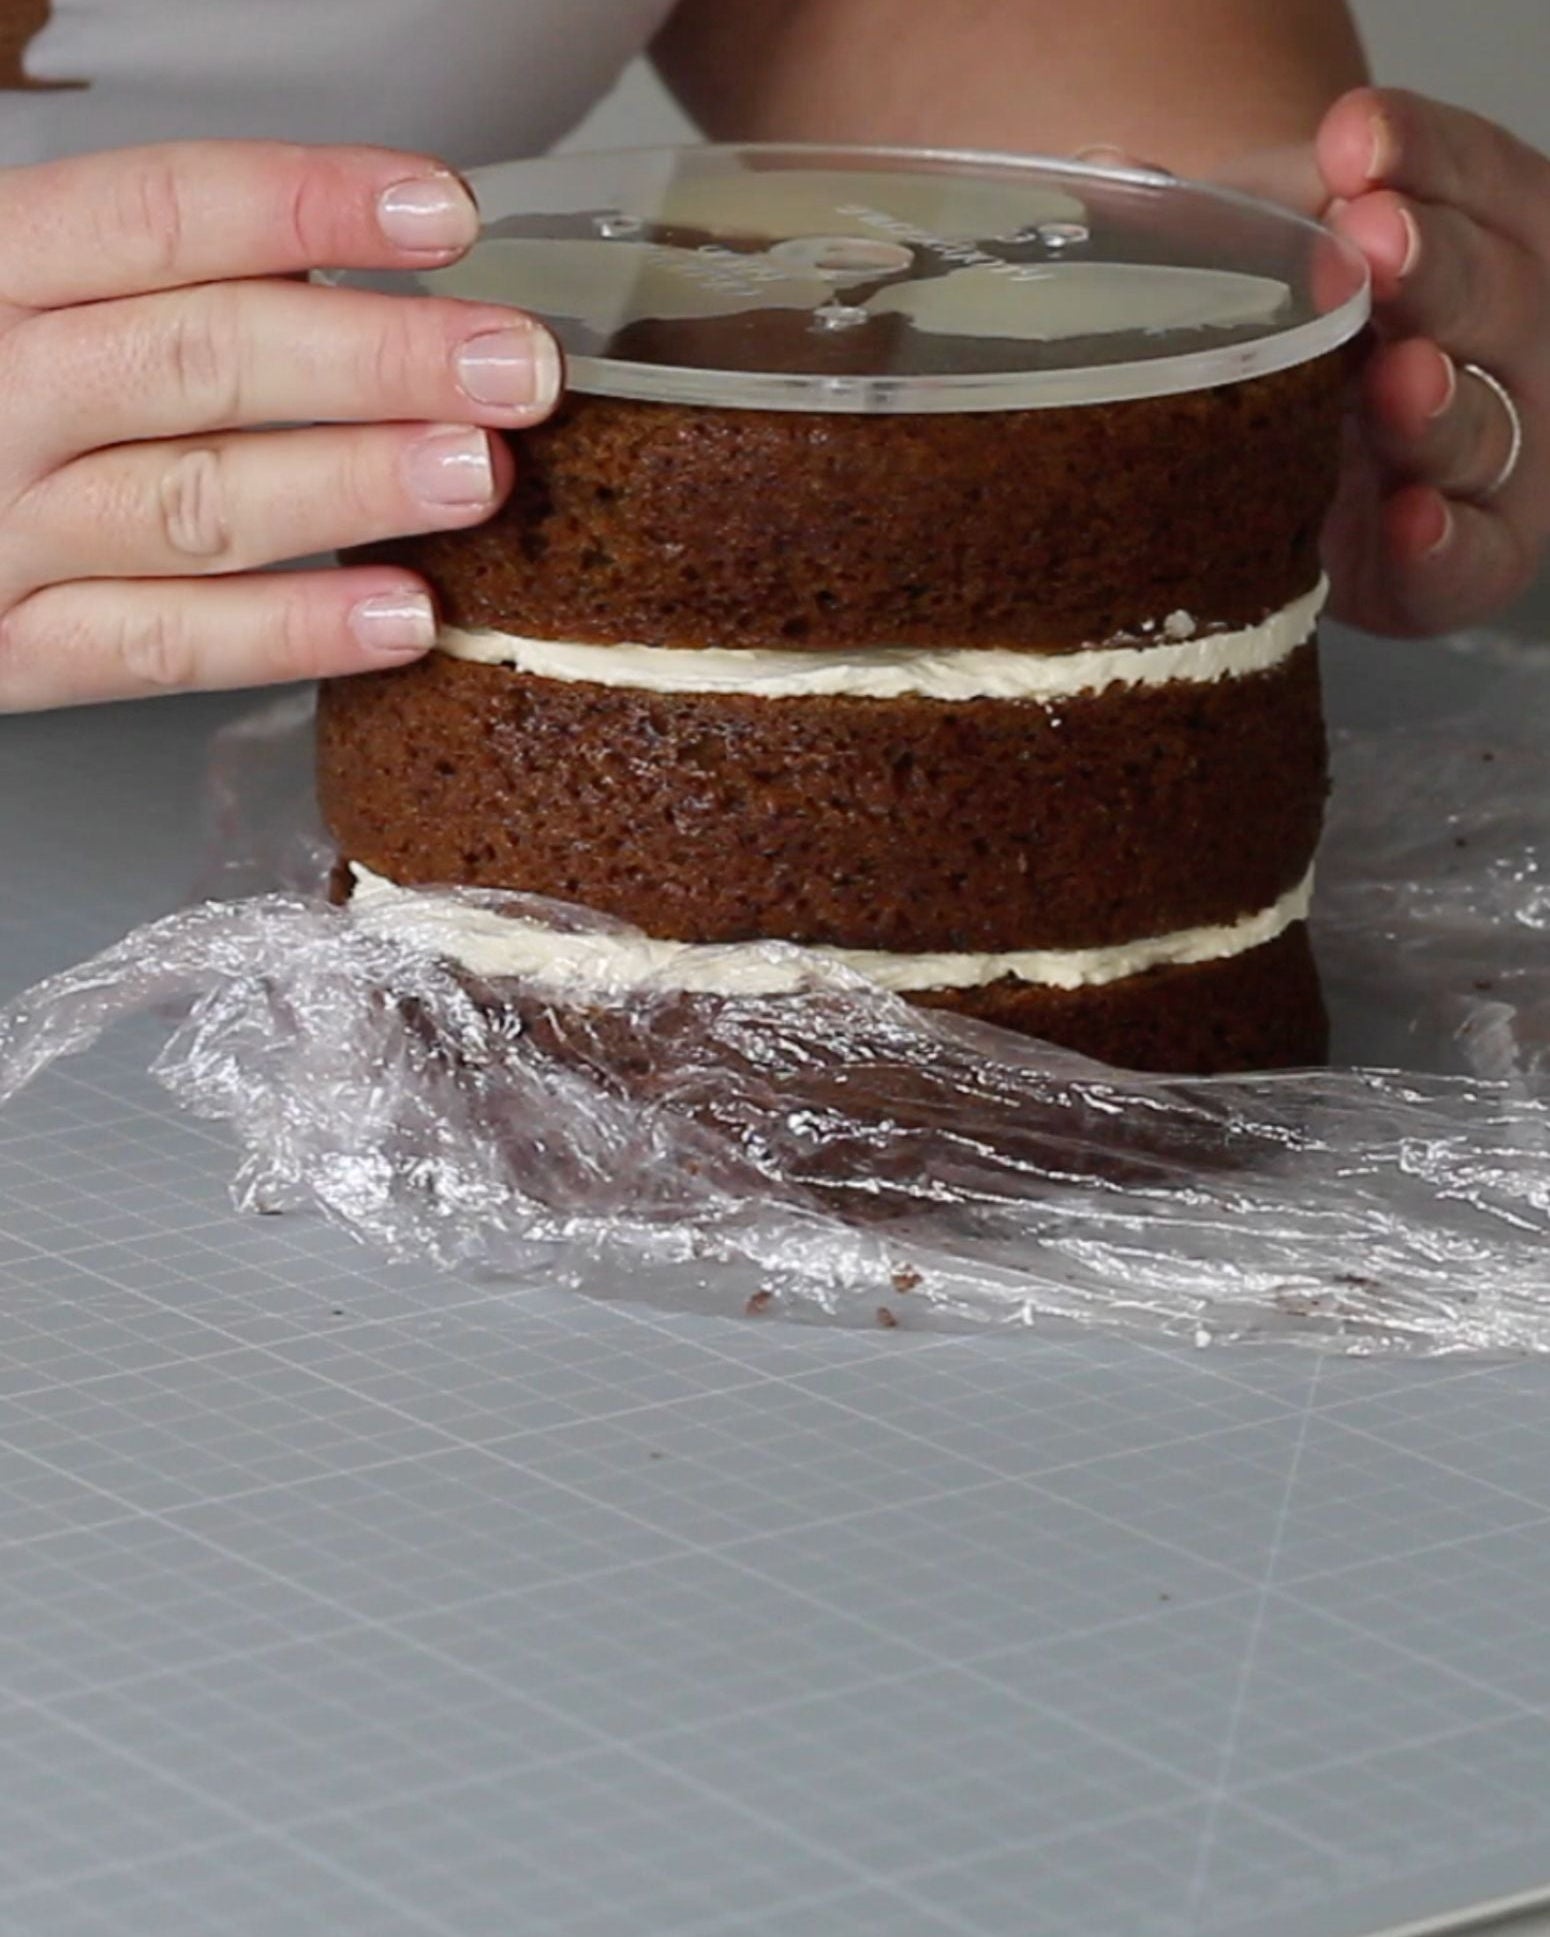
- In this tutorial, a 6-inch round ginger and maple cake filled with buttercream is used.
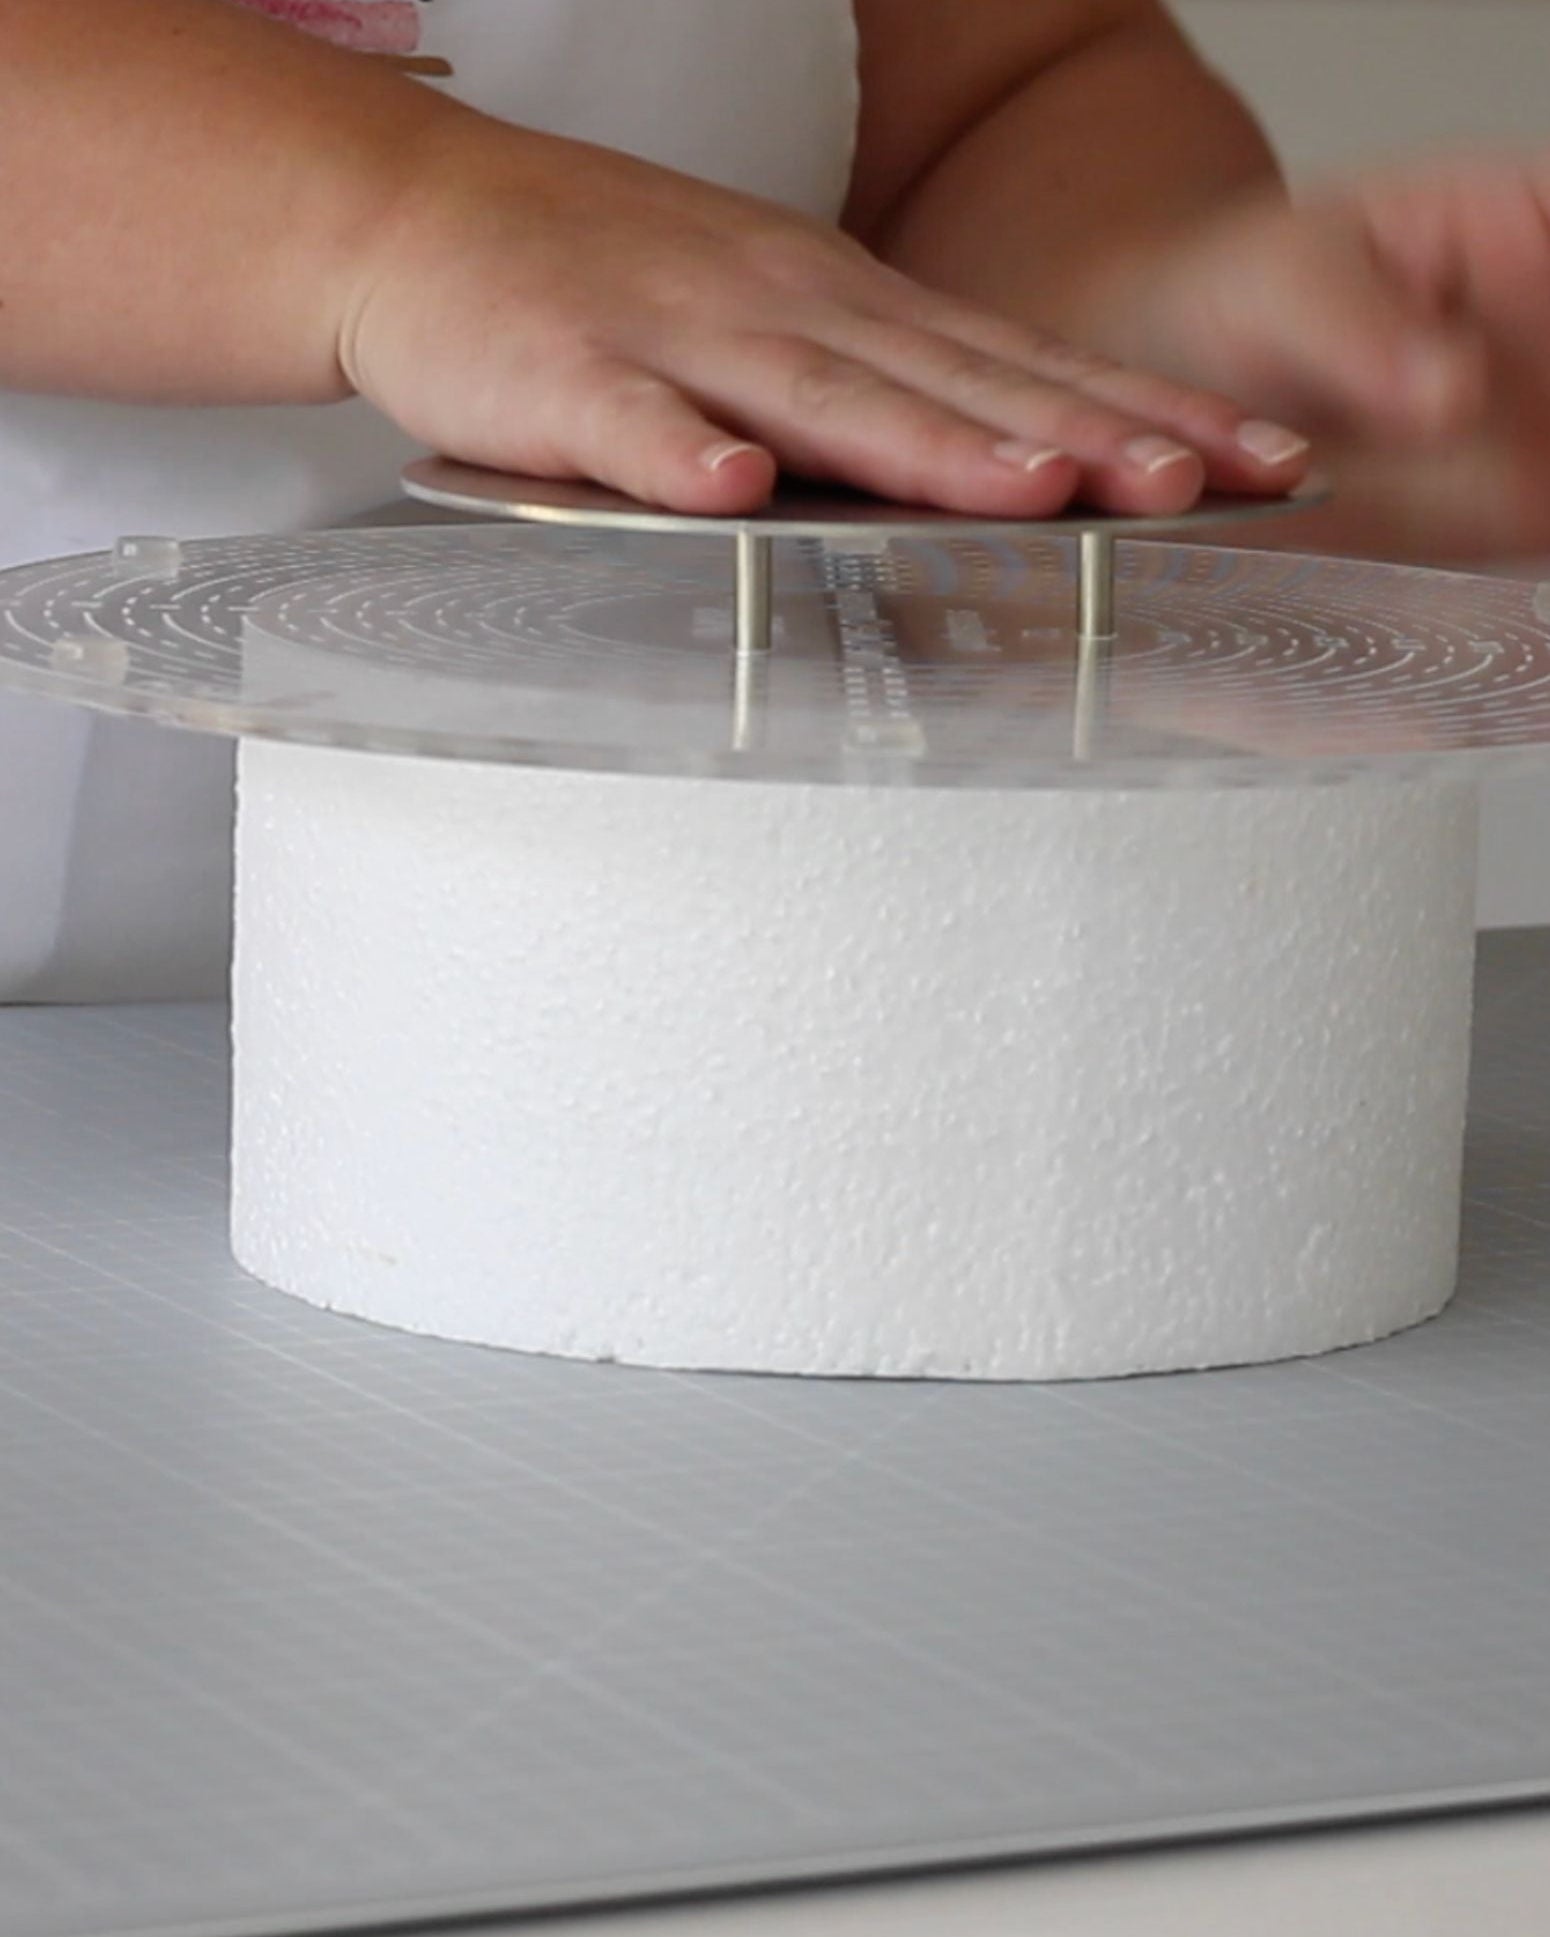
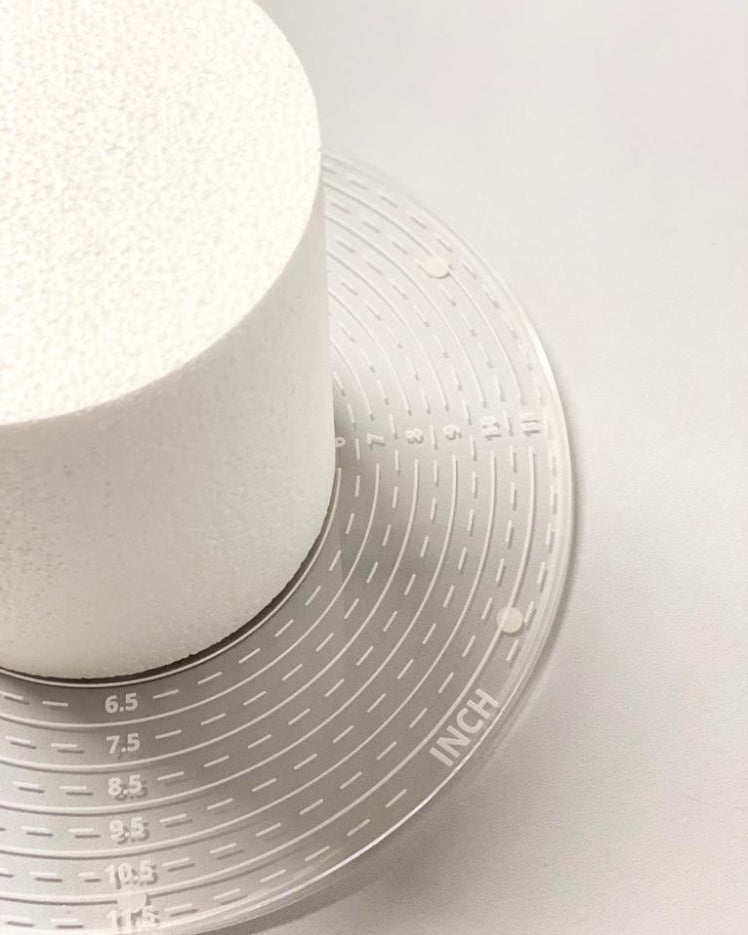
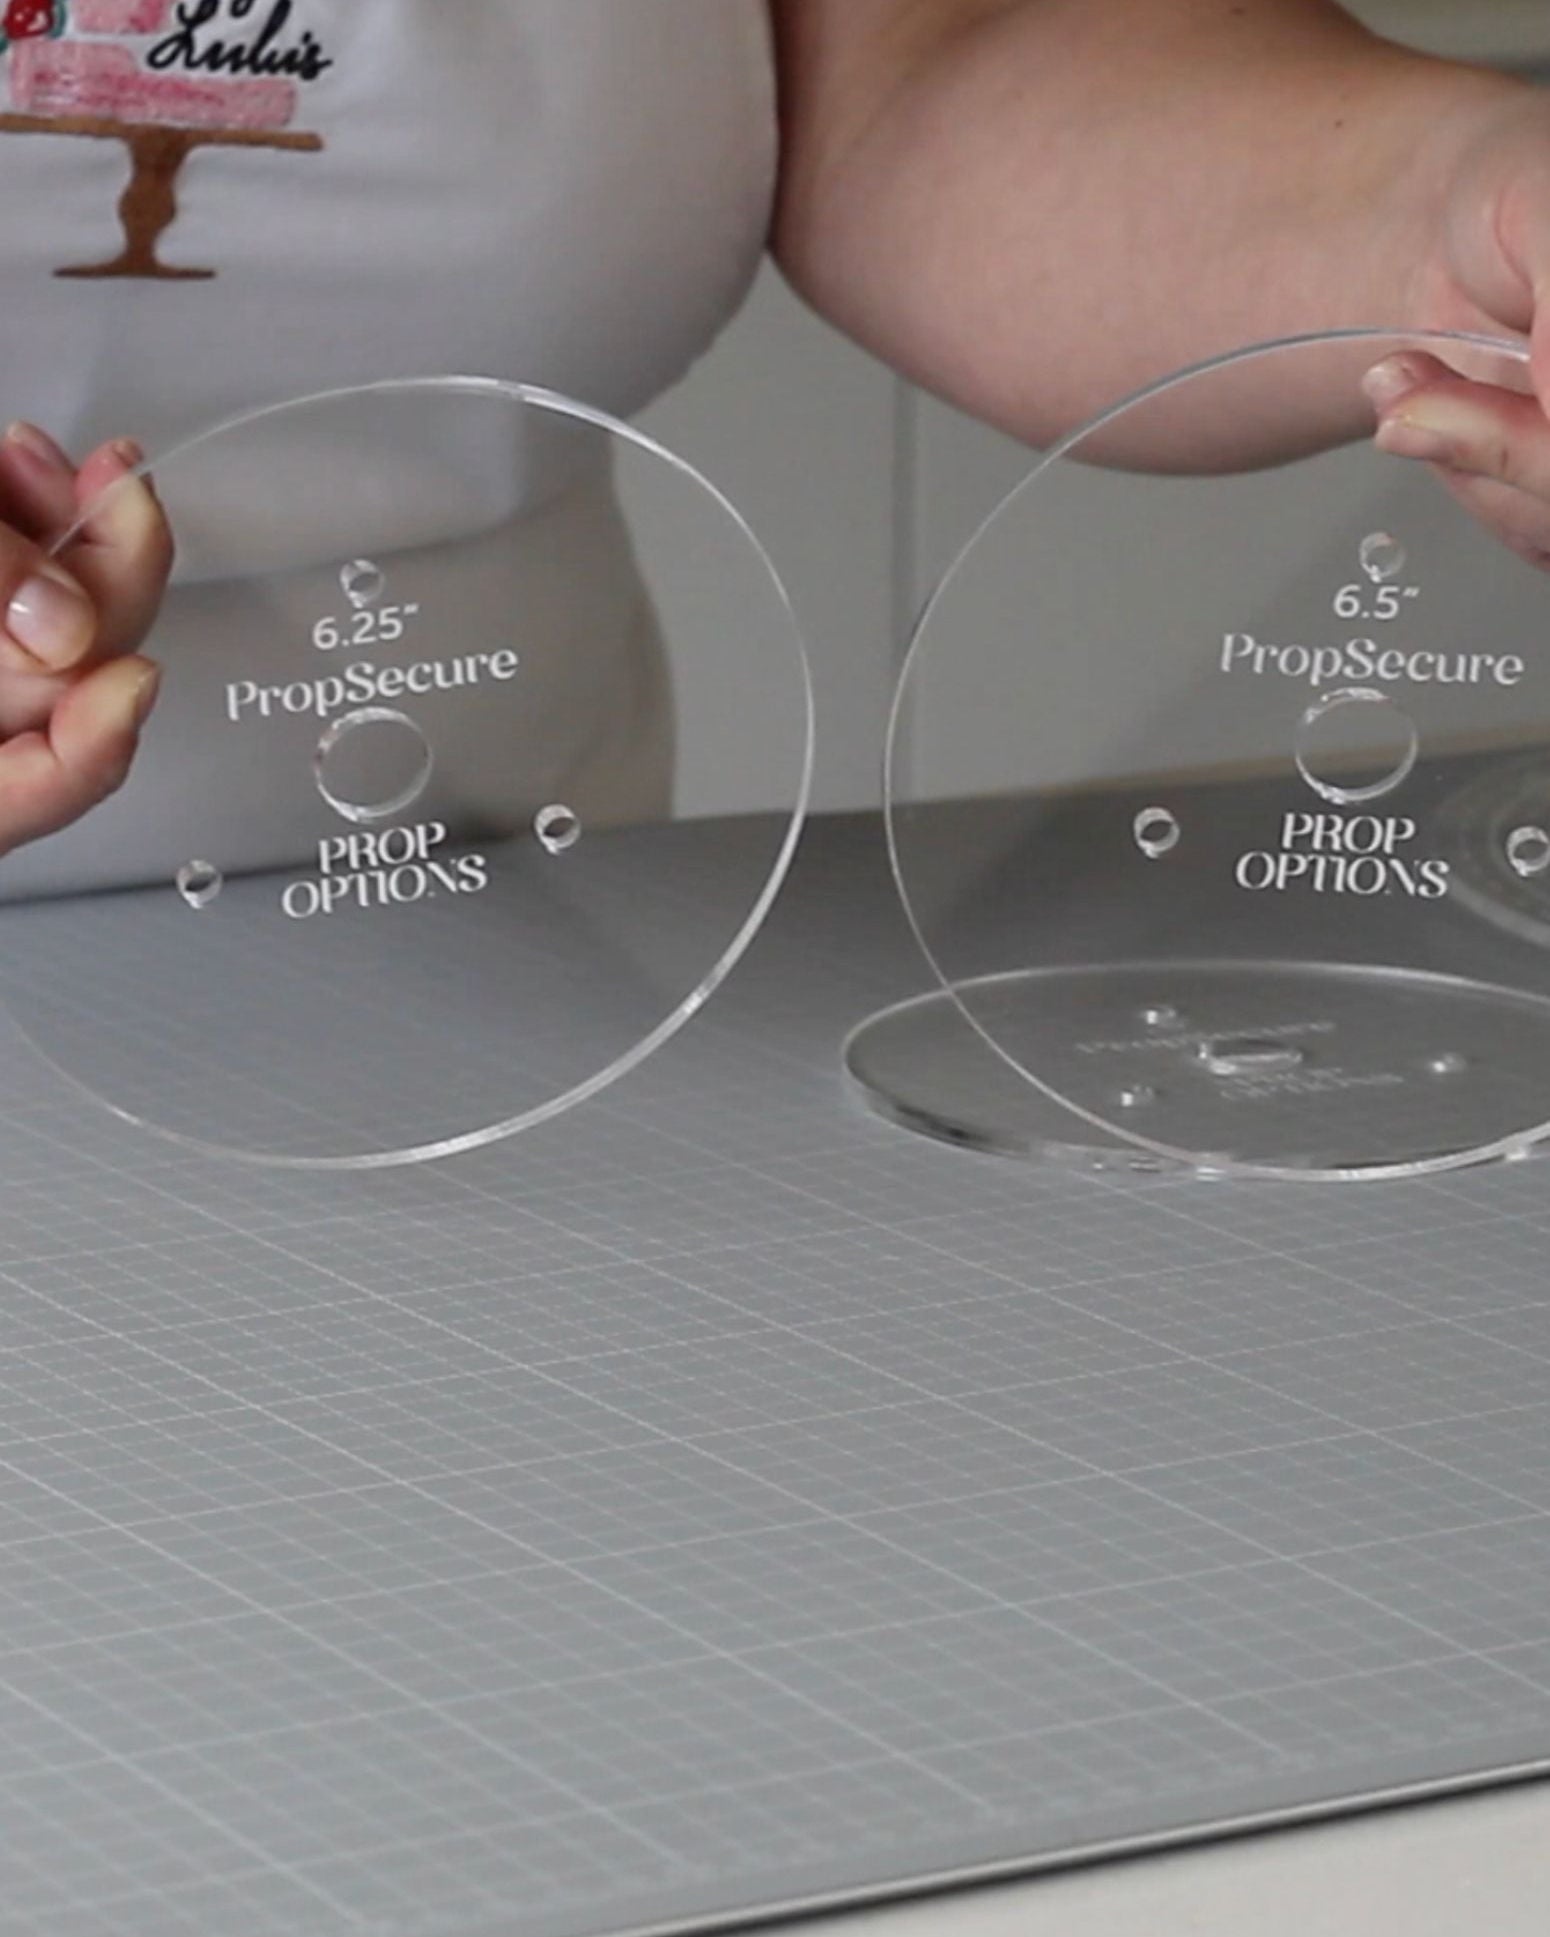
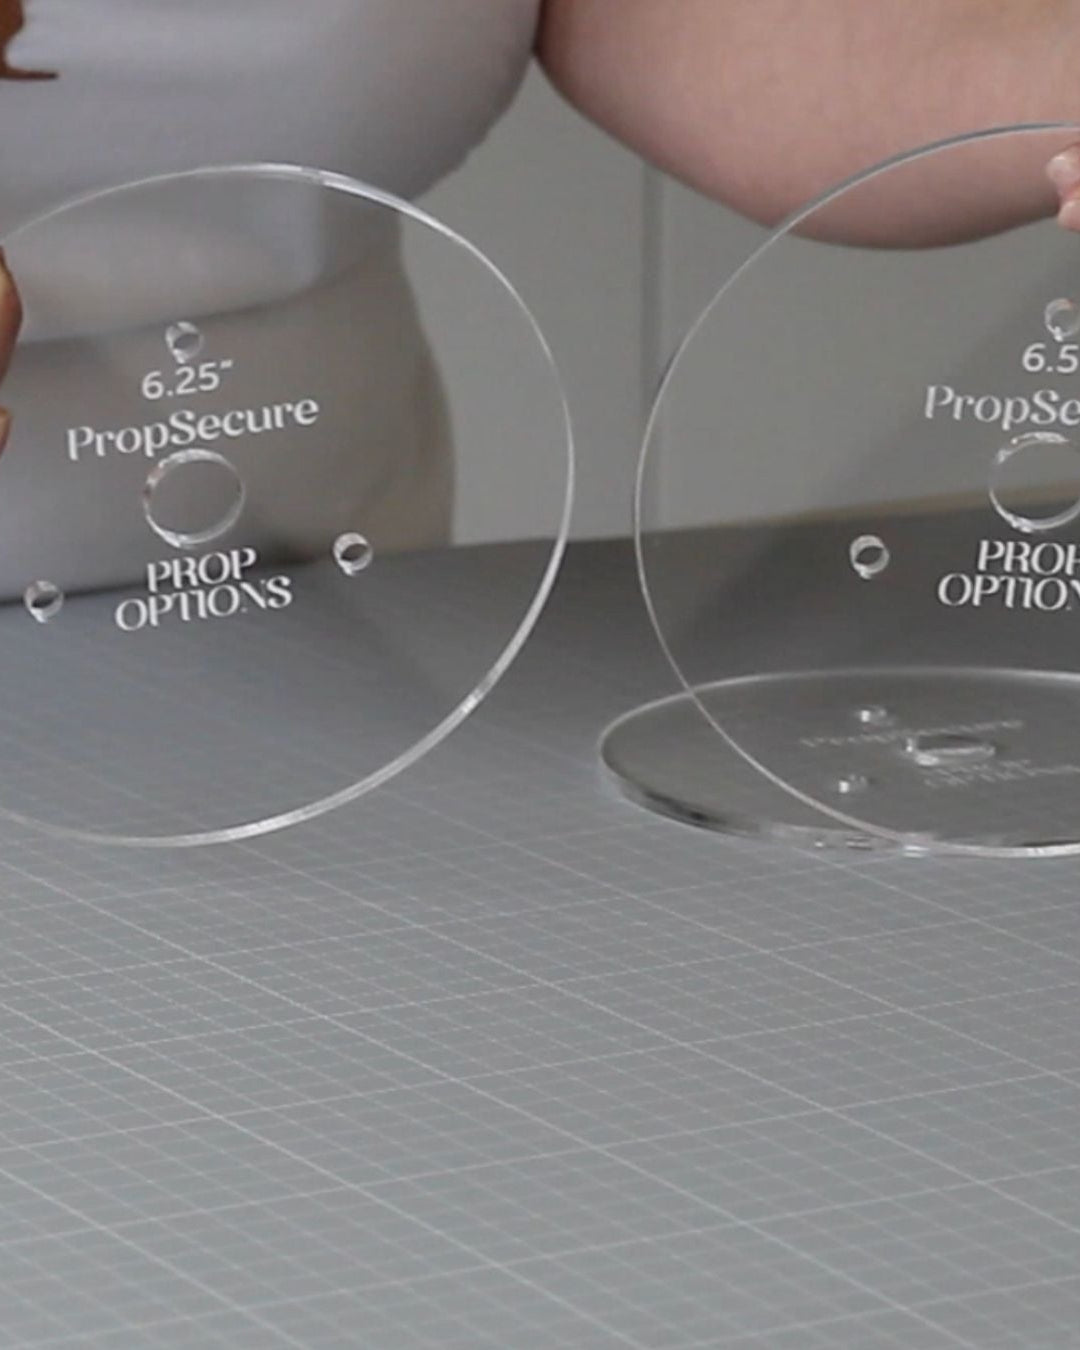
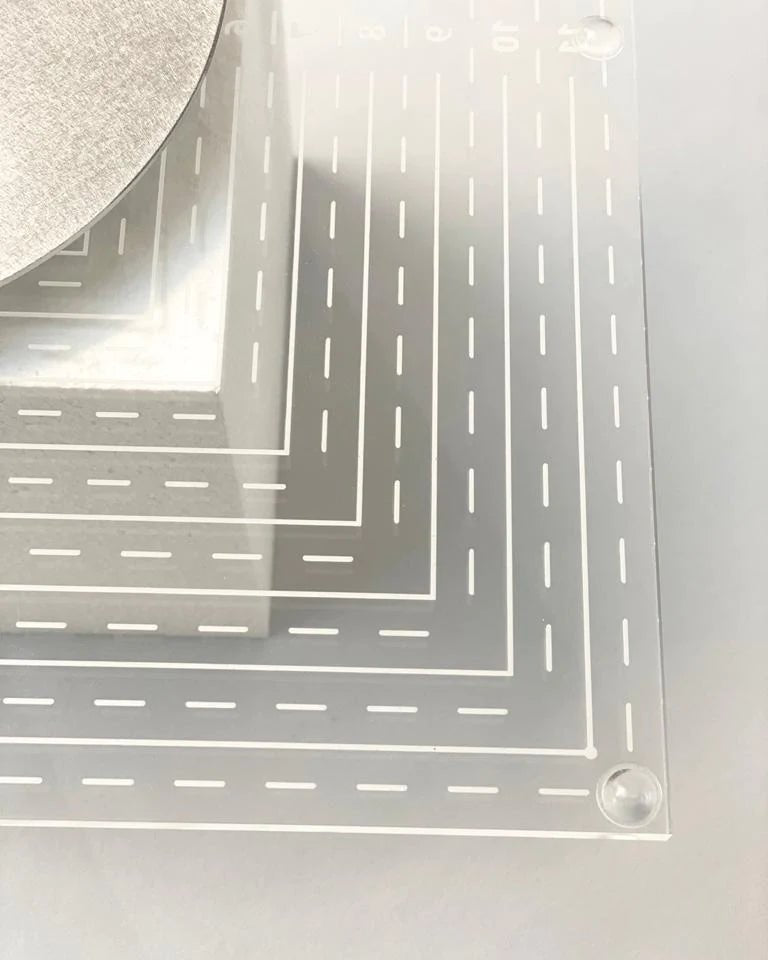
- Attach the cake to your PropSecure Cake Board using a small amount of white chocolate ganache or buttercream. This helps to keep the cake stable during decoration and when you remove the cake from the Cake Compass. You can choose the plate size that suits your design, with boards available in whole-inch sizes, half-inch, and quarter-inch. This acts as the perfect guide for adding your ganache or buttercream. - Bring your assembled Cake Compass into action
- Should you so wish, you can also add the next size cake board, for example a 6.5 inch PropSecure Cake Board, to the Cake Compass to act as an additional ganache guide.
- Place your cake (on its board) on top of the Cake Compass.

Step Three: Apply the Crumb Coat
A crumb coat seals in any loose crumbs and provides a smooth surface for the final ganache layer.
- Use an offset spatula to apply a thin layer of ganache over the entire cake.
- Smooth out the ganache, ensuring the crumbs are fully sealed.
- Let the crumb coat set. This usually takes just a few minutes.

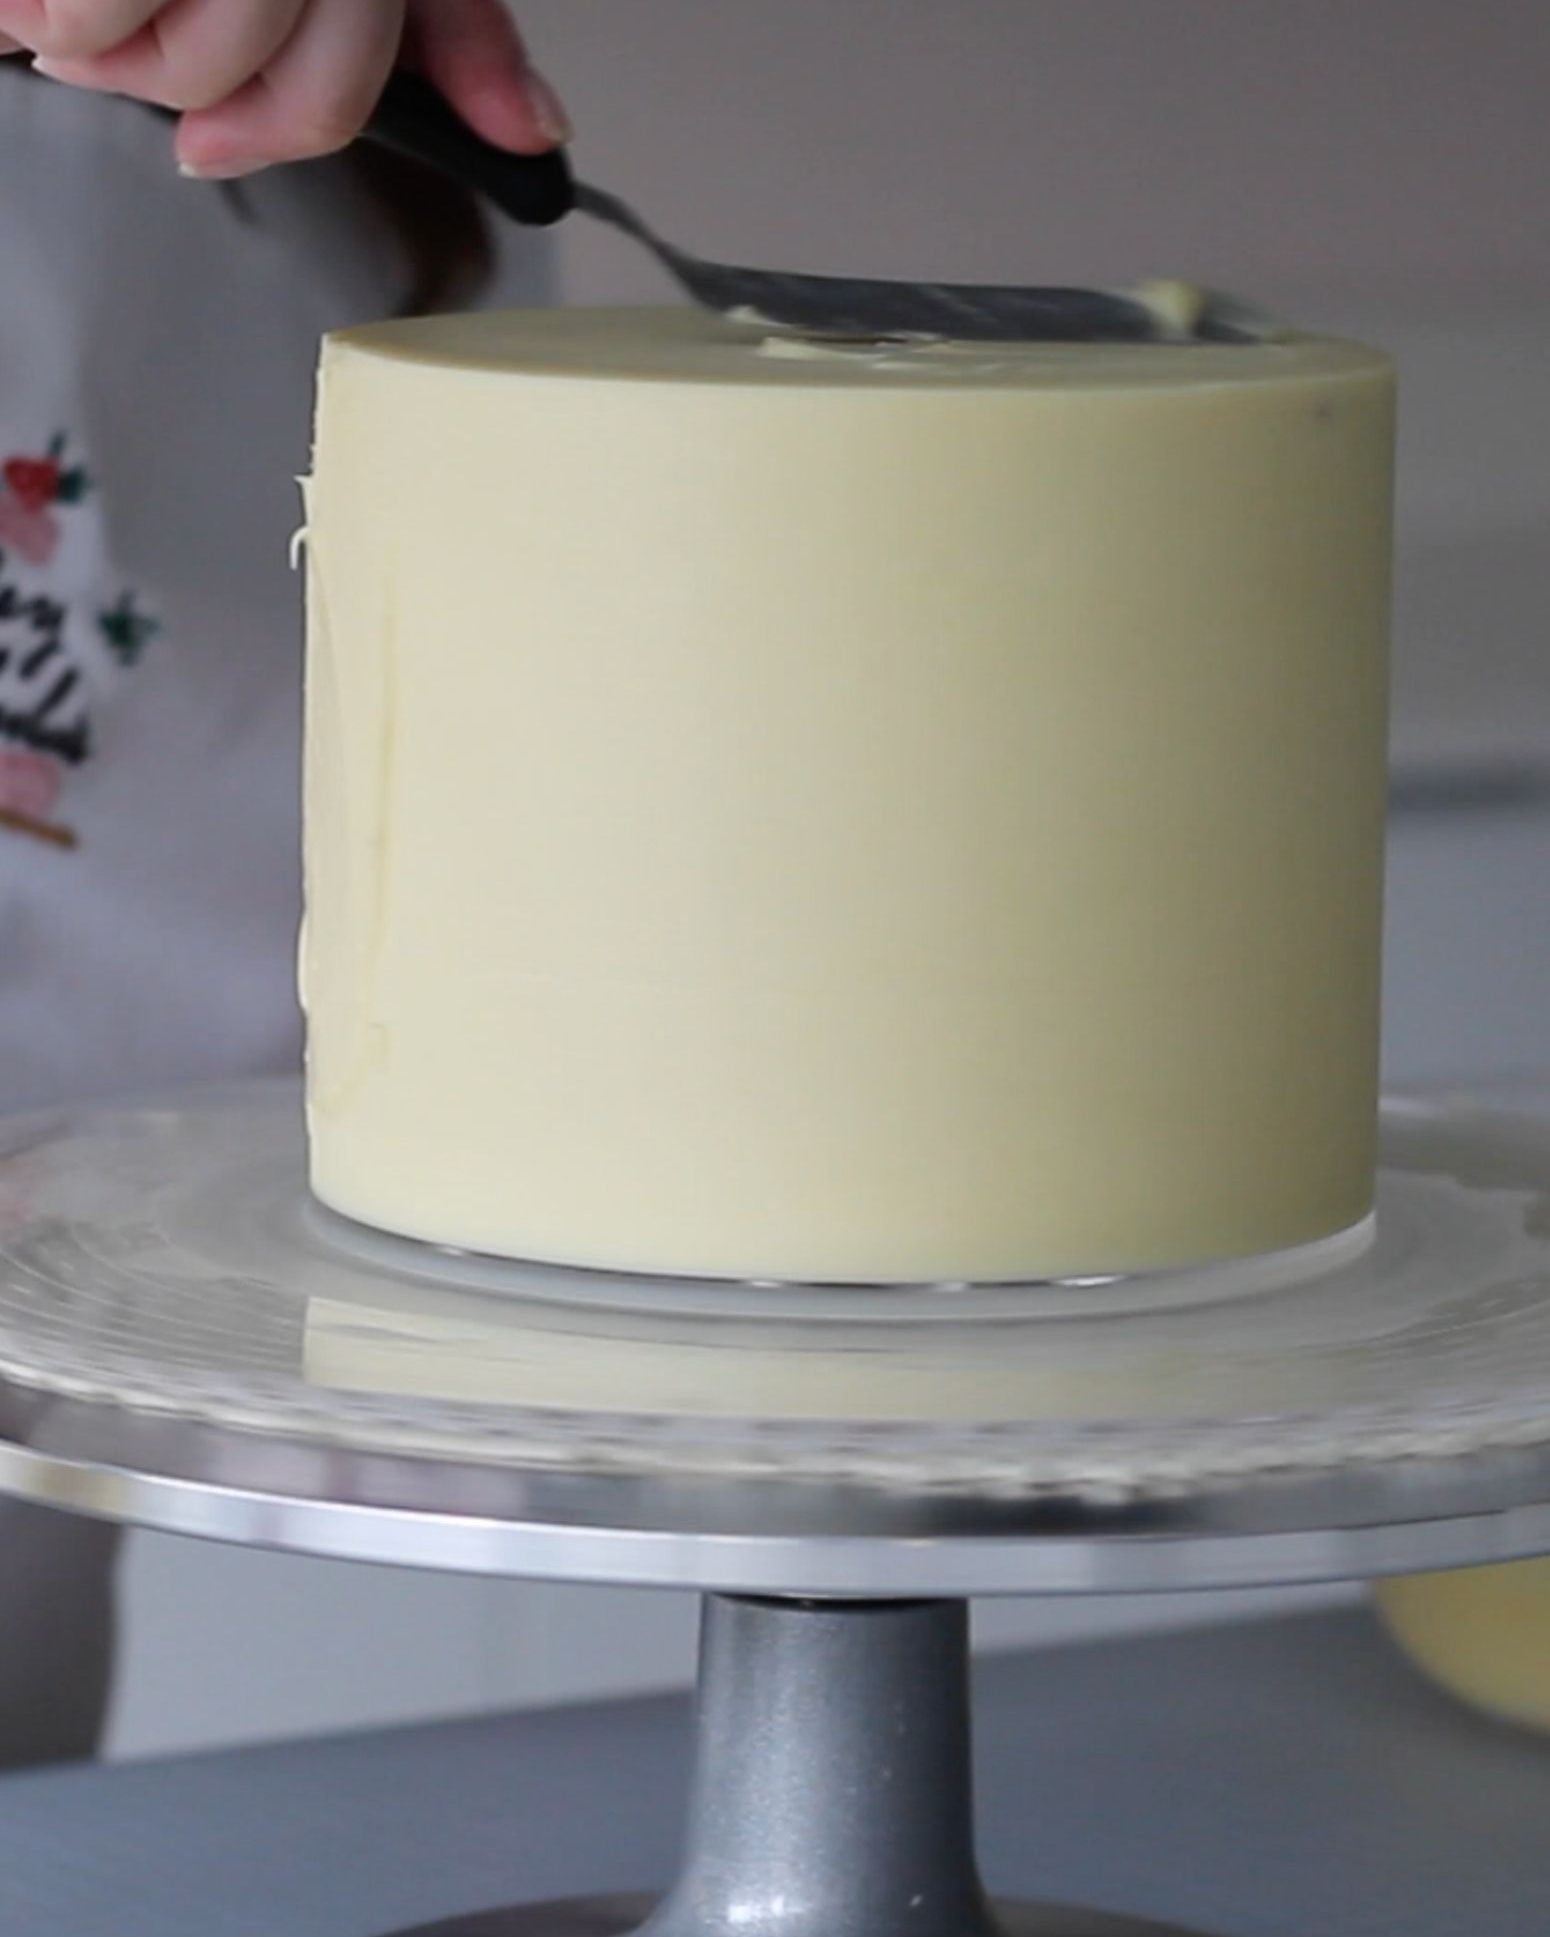
Step Four: Apply the Final Ganache Layer
Once the crumb coat is set, it’s time to add the final layers of ganache:
- Pour some ganache onto the top of the cake and spread it out evenly, working the ganache down the sides.
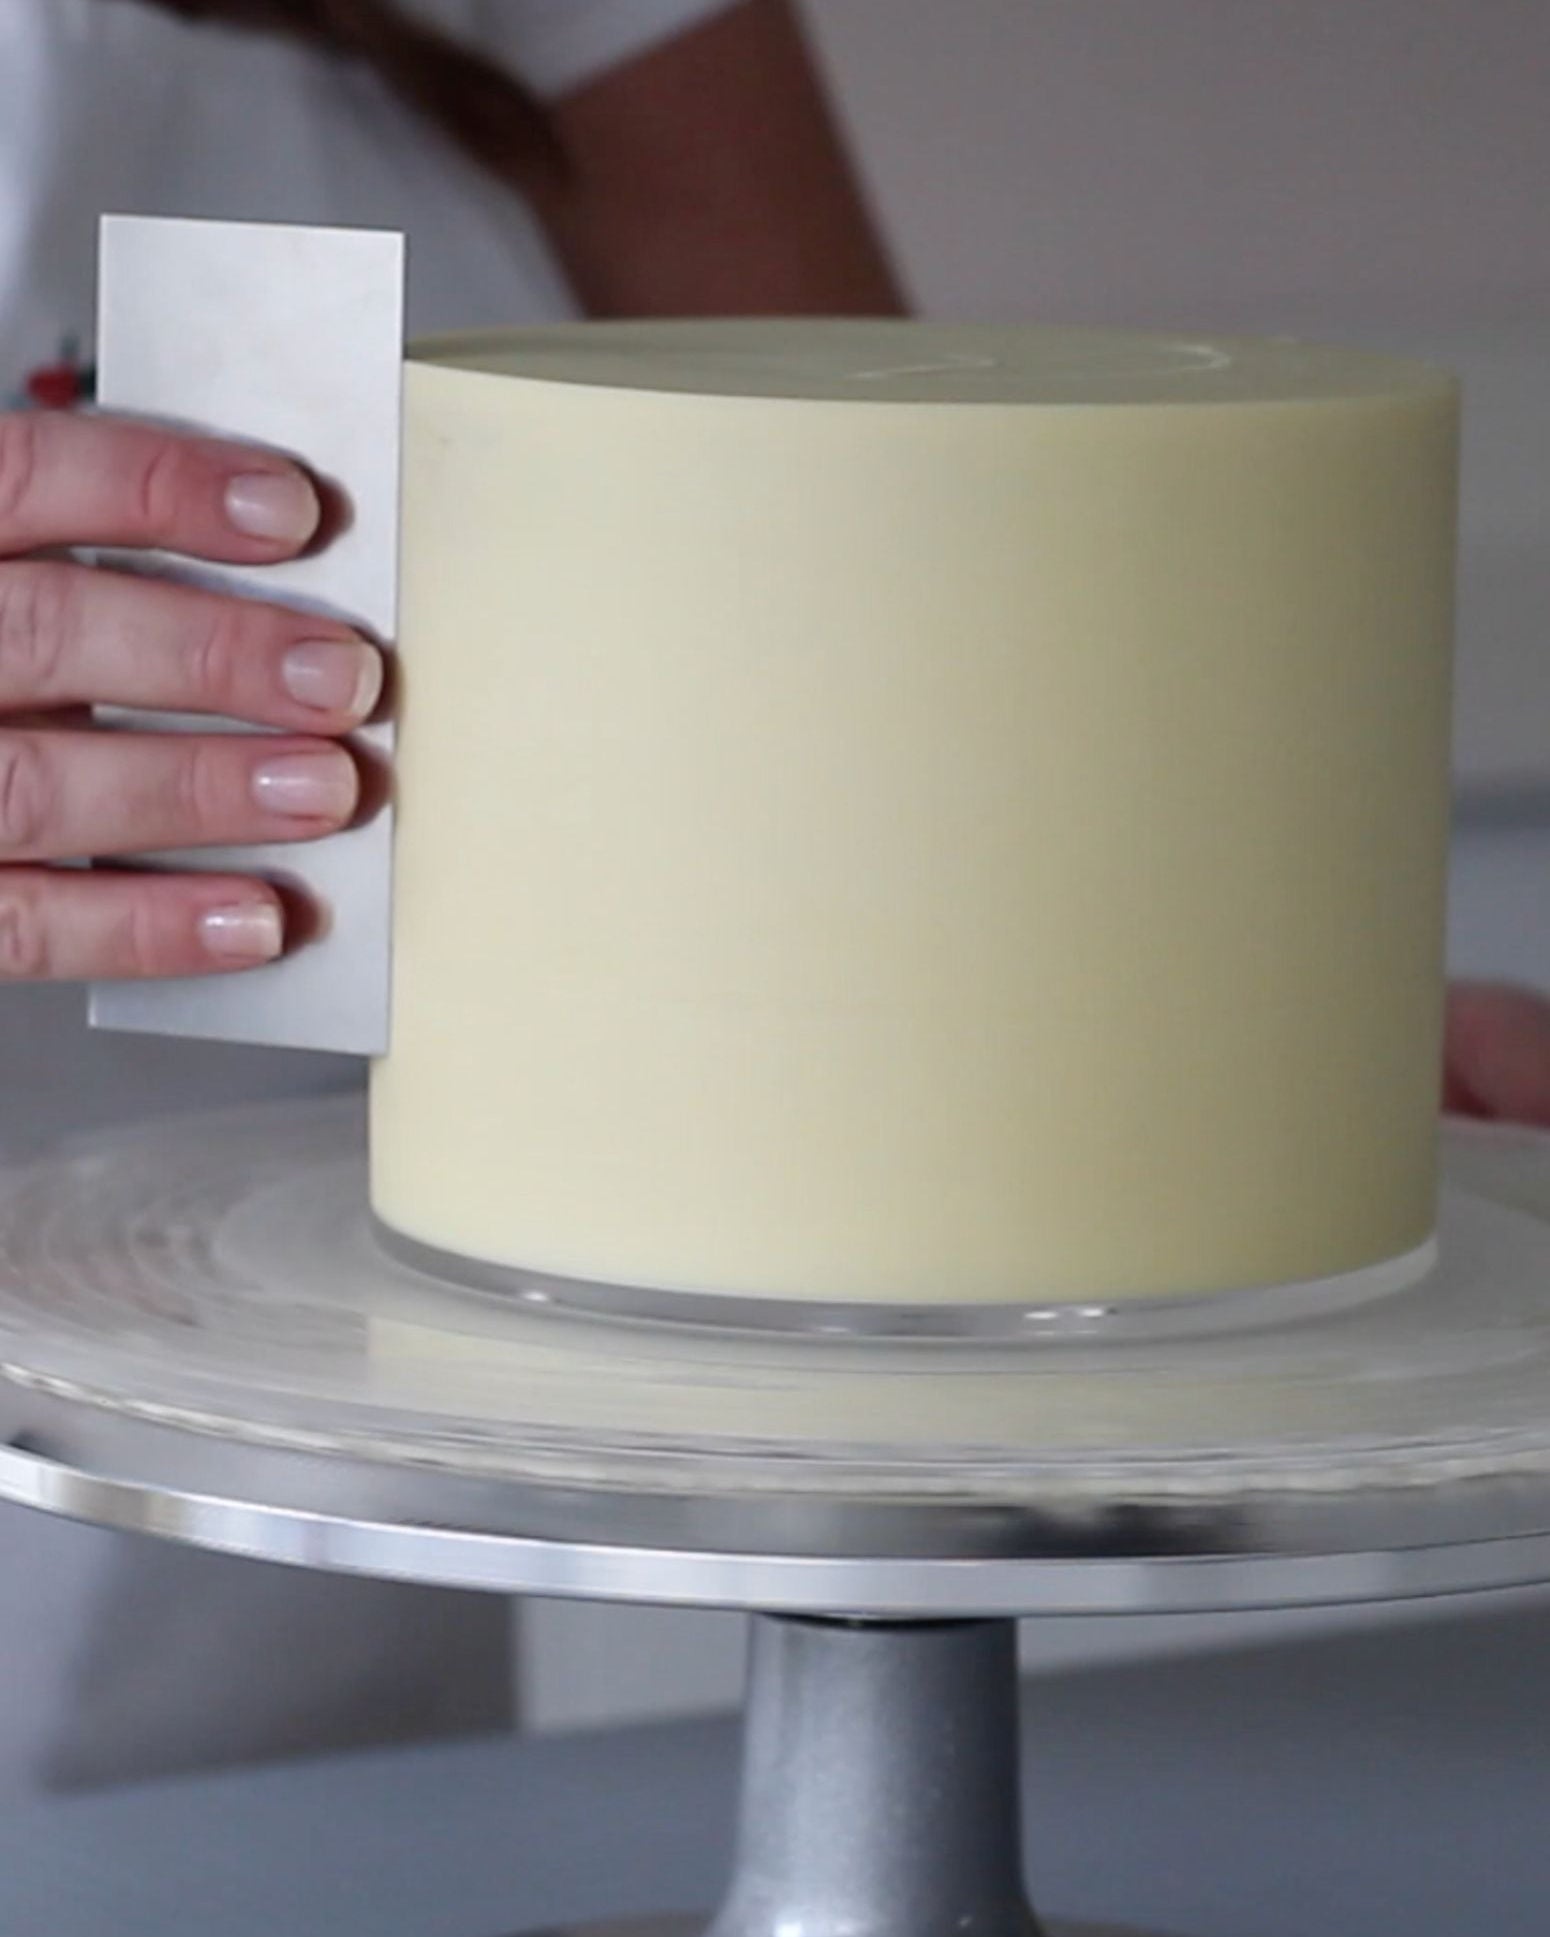
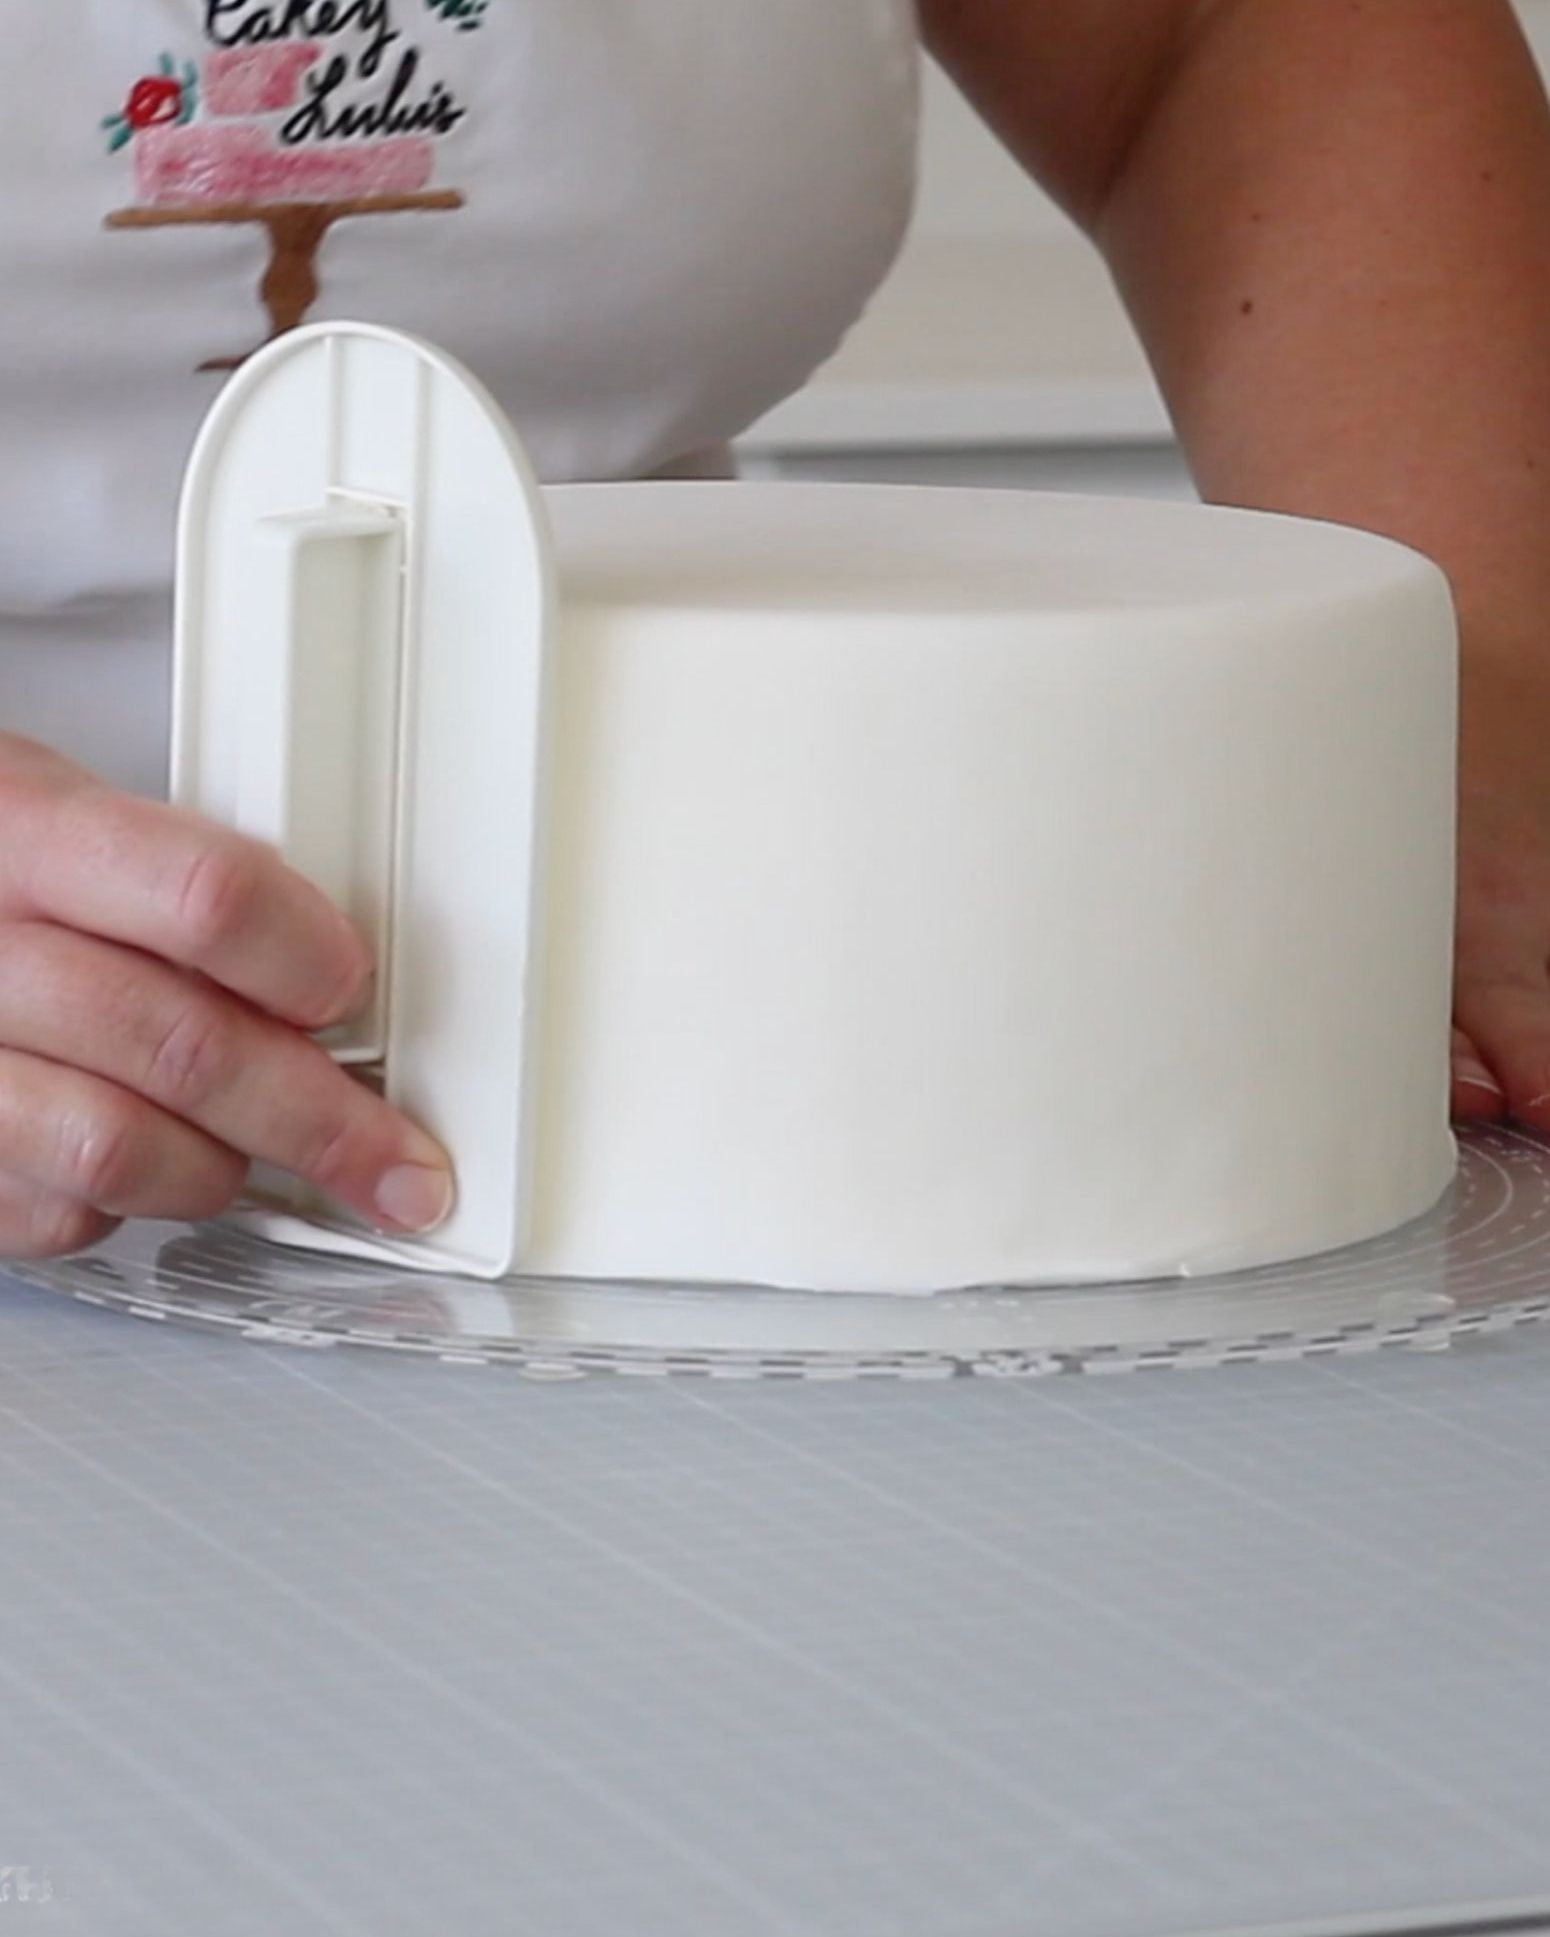
- Use a Pro Froster or a scraper to smooth the ganache:
- Line the Pro Froster against the Cake Board.
- Turn the turntable while holding the Pro Froster steady to scrape off excess ganache.
- Collect the excess ganache in a spare bowl to reuse if needed. - Fill any gaps with additional ganache and repeat the smoothing process until you achieve a perfect finish.
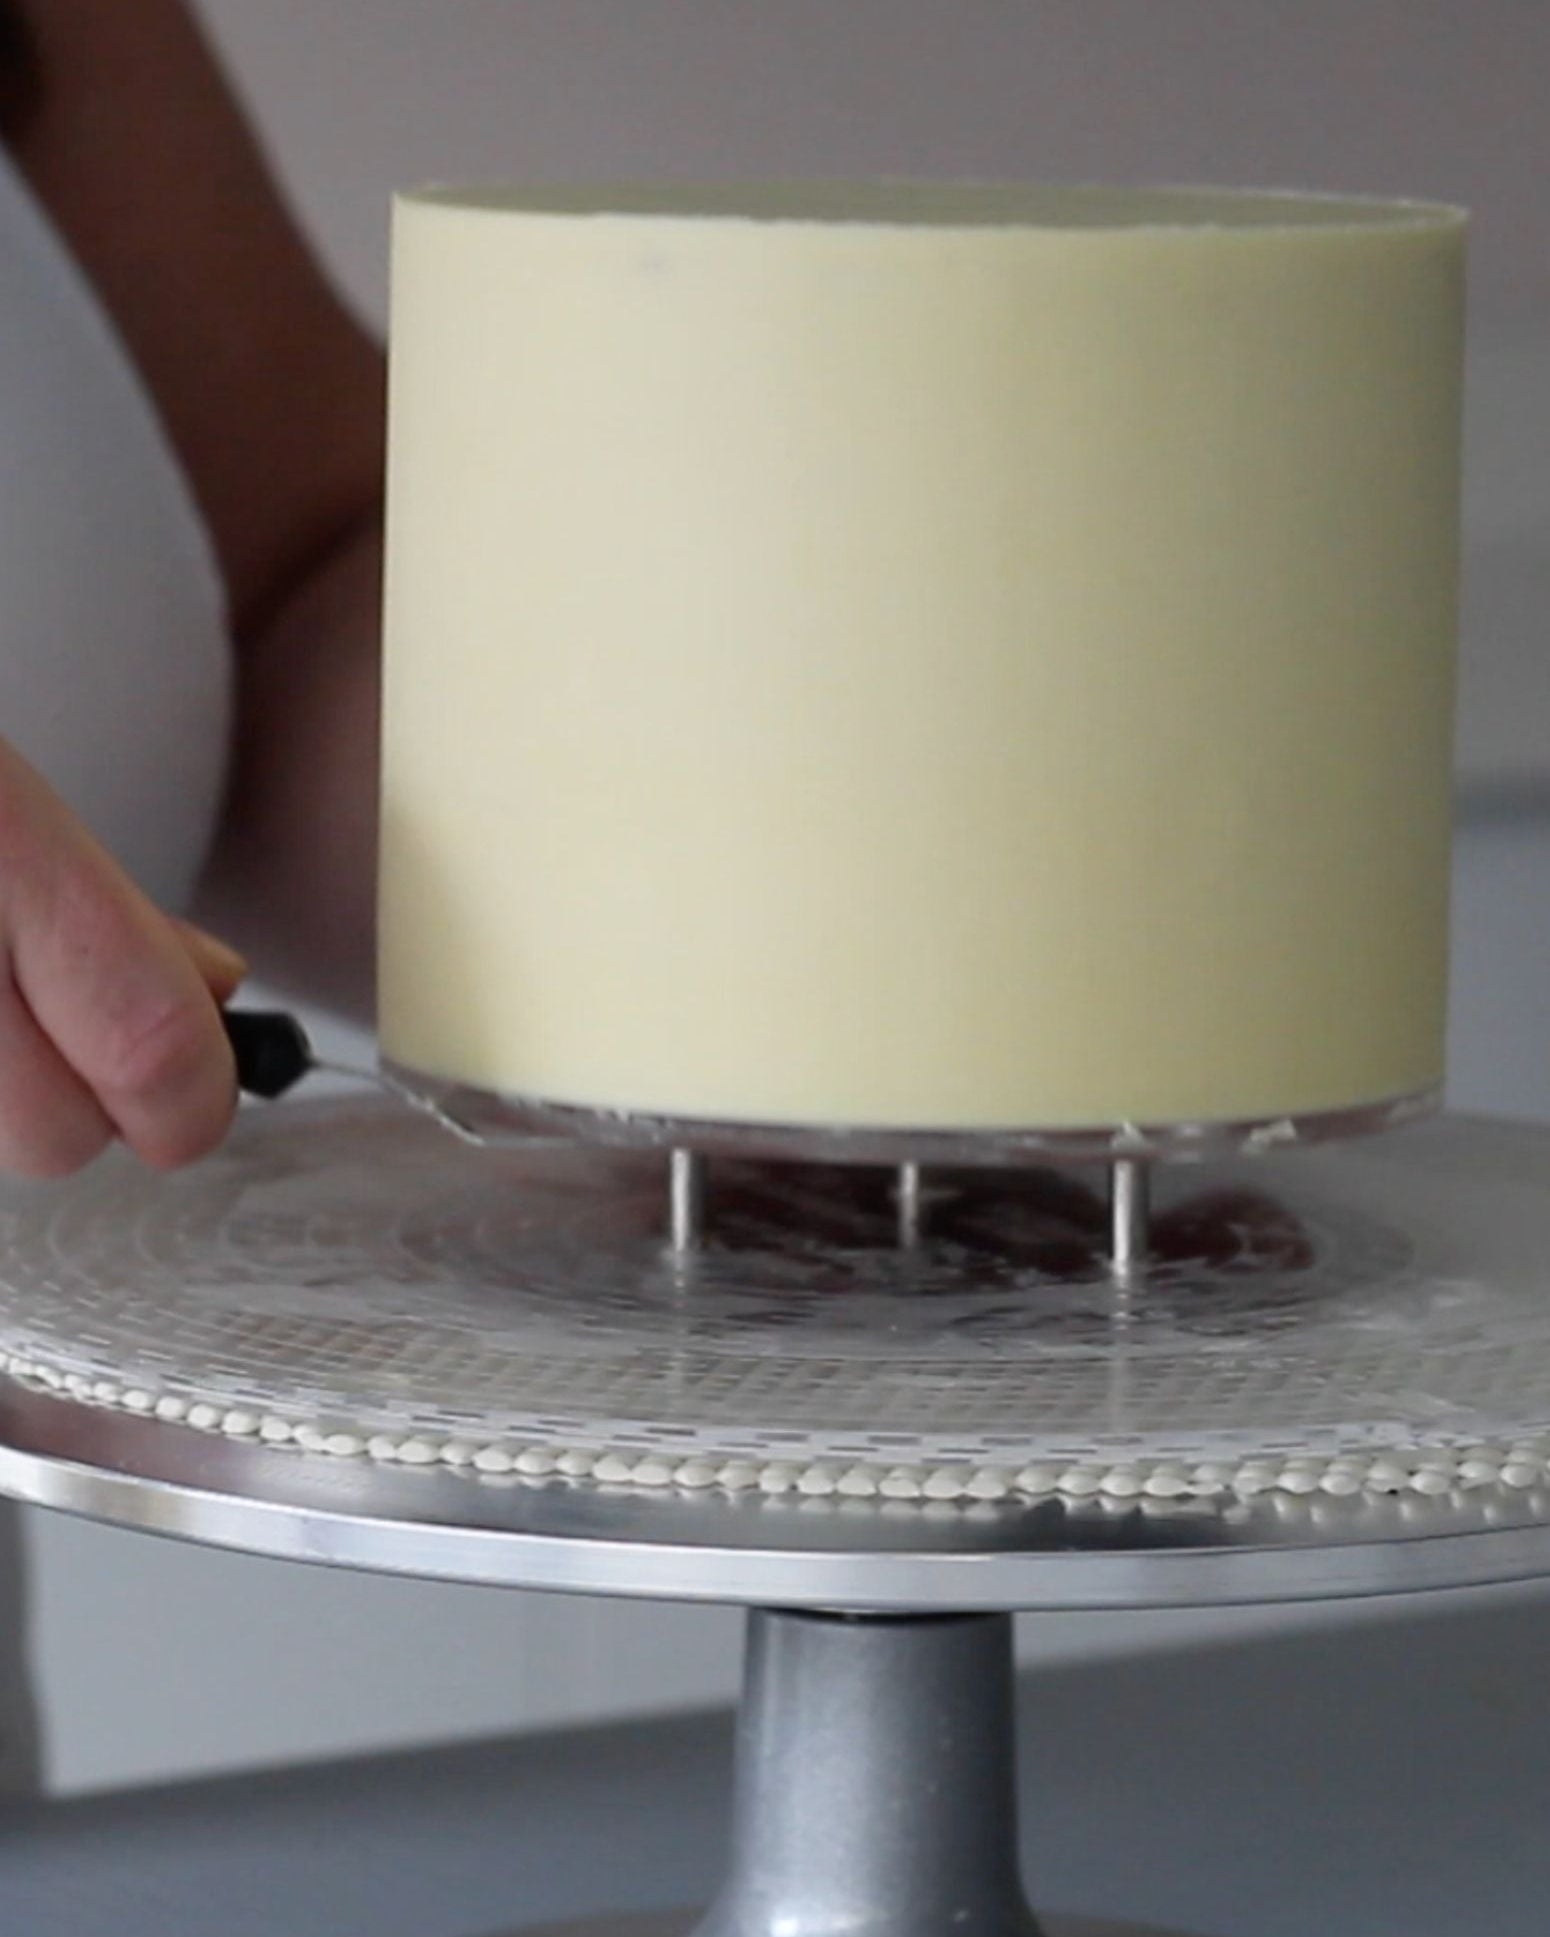
Step Five: Remove the Cake from the Cake Compass
Once the crumb coat is set, it’s time to add the final layers of ganache:
- Pour some ganache onto the top of the cake and spread it out evenly, working the ganache down the sides.
- Use a Pro Froster or a scraper to smooth the ganache:
- Line the Pro Froster against the Cake Board.
- Turn the turntable while holding the Pro Froster steady to scrape off excess ganache.
- Collect the excess ganache in a spare bowl to reuse if needed. - Fill any gaps with additional ganache and repeat the smoothing process until you achieve a perfect finish.
Step Six: Remove the Additional Plate, if applicable
If you have used an additional PropSecure cake board as a guide, once the ganache is fully set, remove the additional plate:
- Flip the cake upside down:
- Place a cake board on top of the ganached cake.
- Lift the cake, supporting it with one hand underneath and the other on top, and carefully flip it upside down. - Use a sharp knife to run along the edge of the cake, loosening the additional plate. It should pop off easily, leaving the Prop Secure Cake Board intact.
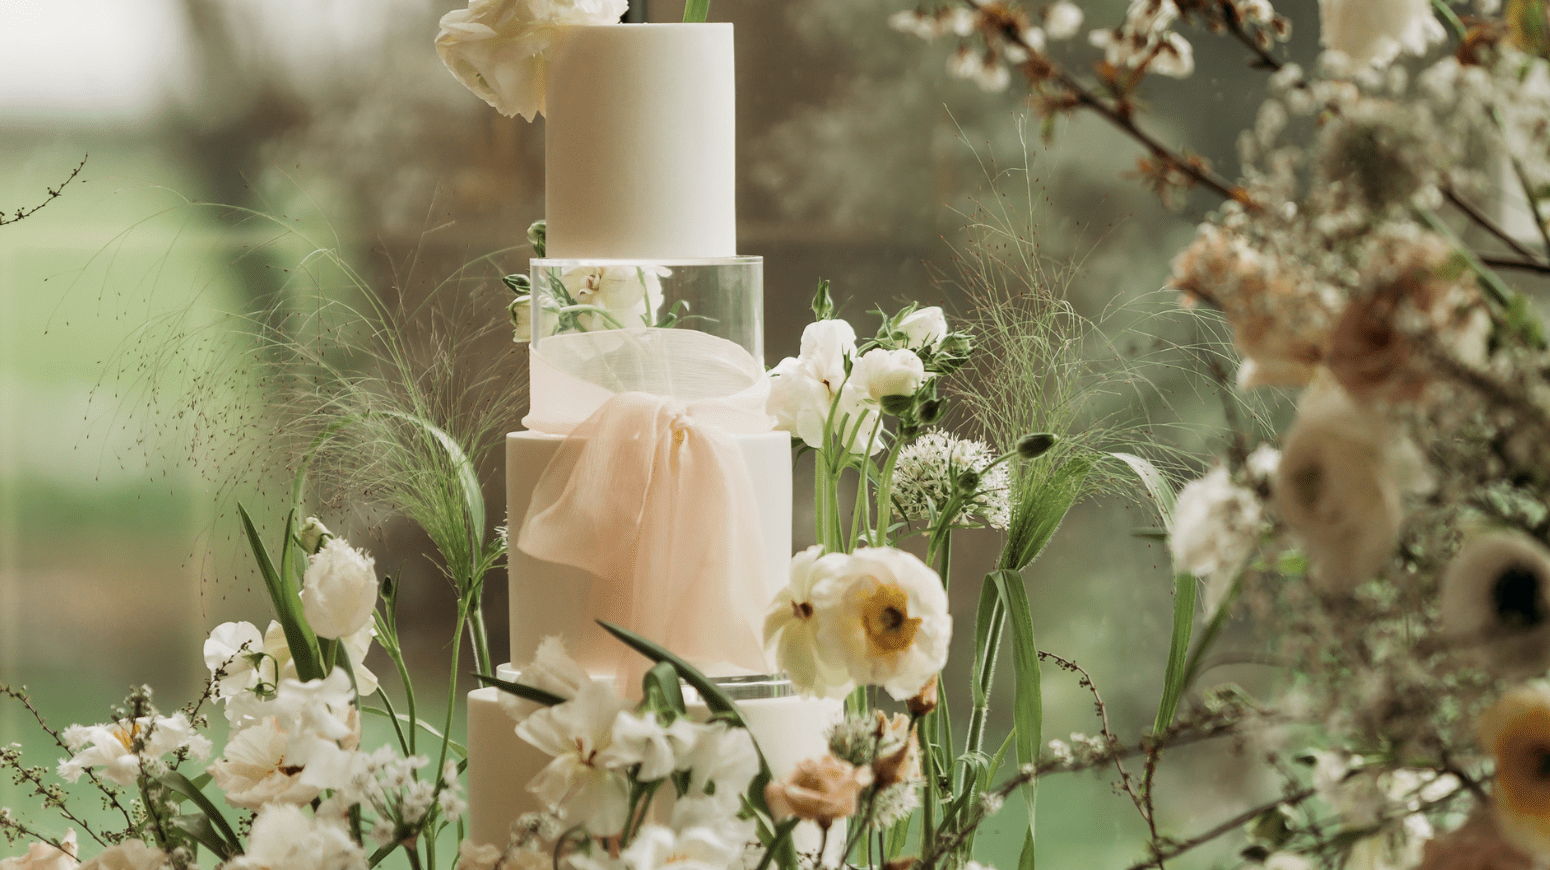
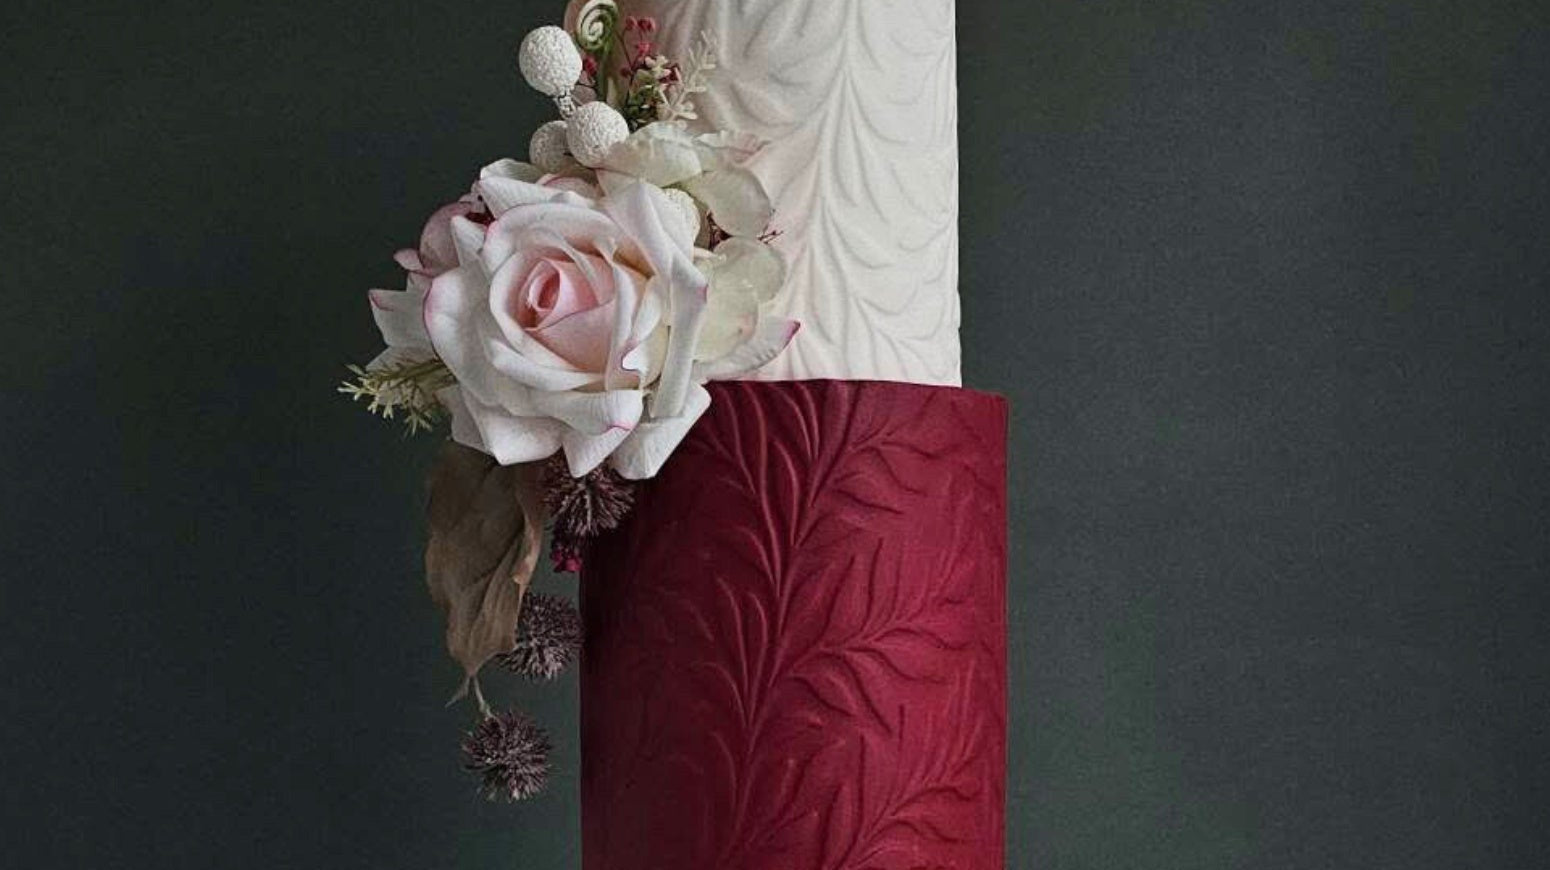
- Flip the cake back upright, and your ganached cake is now ready to be decorated or paired with a Prop Secure Cake Separator for an elegant tiered design.

Final Thoughts
By using the Prop Options Cake Compass, you can achieve a professionally ganached cake with ease and precision. Whether you’re decorating with buttercream or ganache, this tool streamlines the process and ensures consistent results every time.
If you have any questions or need additional tips, feel free to leave a comment or reach out. Don’t forget to check out the Prop Options YouTube channel for more tutorials and cake decorating inspiration. Happy baking!
For endless inspiration and more, find us on Facebook and Instagram, and explore the PropBlog! And don't forget to Subscribe to PropTV over on our YouTube channel for top tips, tutorials, and much more!